Sinkology is proud to present Emily Schuermann, our food-loving guest blogger who runs Food for a Year. Emily is here to share some recipes she has created exclusively for the Sinkology blog that reflect her view of a copper sink: simple, timeless, affordable, and beautifully rustic.
Lemon bars are such a classic, timeless, simple dessert. And whether it’s winter or summer, the ingredients for this recipe are easily obtained — fully independent of the current season.
But there’s something about a sweet and sour, lip-puckering lemon bar with that perfect shortbread crust and creamy curd-like filling, dusted ever-so-lightly with confectioner’s sugar, that screams summer to me.

As I was working on this recipe, I realized that I don’t remember the last time I made lemon bars. I’m not sure why that’s the case because this is one of the simplest dessert recipes to make.
First, it’s just so easy. Between the short list of ingredients and the dump and stir instructions, it really is a recipe anyone can feel comfortable making.
Second, the recipe can be easily doubled making it a perfect go-to for a small after-dinner treat or large enough to feed a crowd.
Last, the entire process requires only one mixing bowl which translates into simple cleanup. I love recipes with simple clean-up, doesn’t everyone?!
So let’s get started. You’ll begin by preparing the crust. This is a standard shortbread-type crust that only requires four ingredients and can be used with a variety of bar cookies such as pecan fingers, nut bars and fudge walnut squares. Here’s what you’ll need:
- butter
- sugar
- flour
- salt
In your mixing bowl (whether using a spatula, hand-mixer or your hands), combine the crust ingredients so that they form a sandy texture with pea-sized bits throughout. Then press the mixture into a glass baking dish. I have a vintage 10″x6″x2″ baking dish I love using for bar-type cookies that works perfectly for this recipe but if you don’t have that size a standard 9″x9″ dish will work nicely too.


Bake the crust for 12 to 15 minutes at 350°. When the crust is light golden brown, remove it from the oven (being sure to leave the oven ON) and allow it to cool for 10-15 minutes before adding the filling.
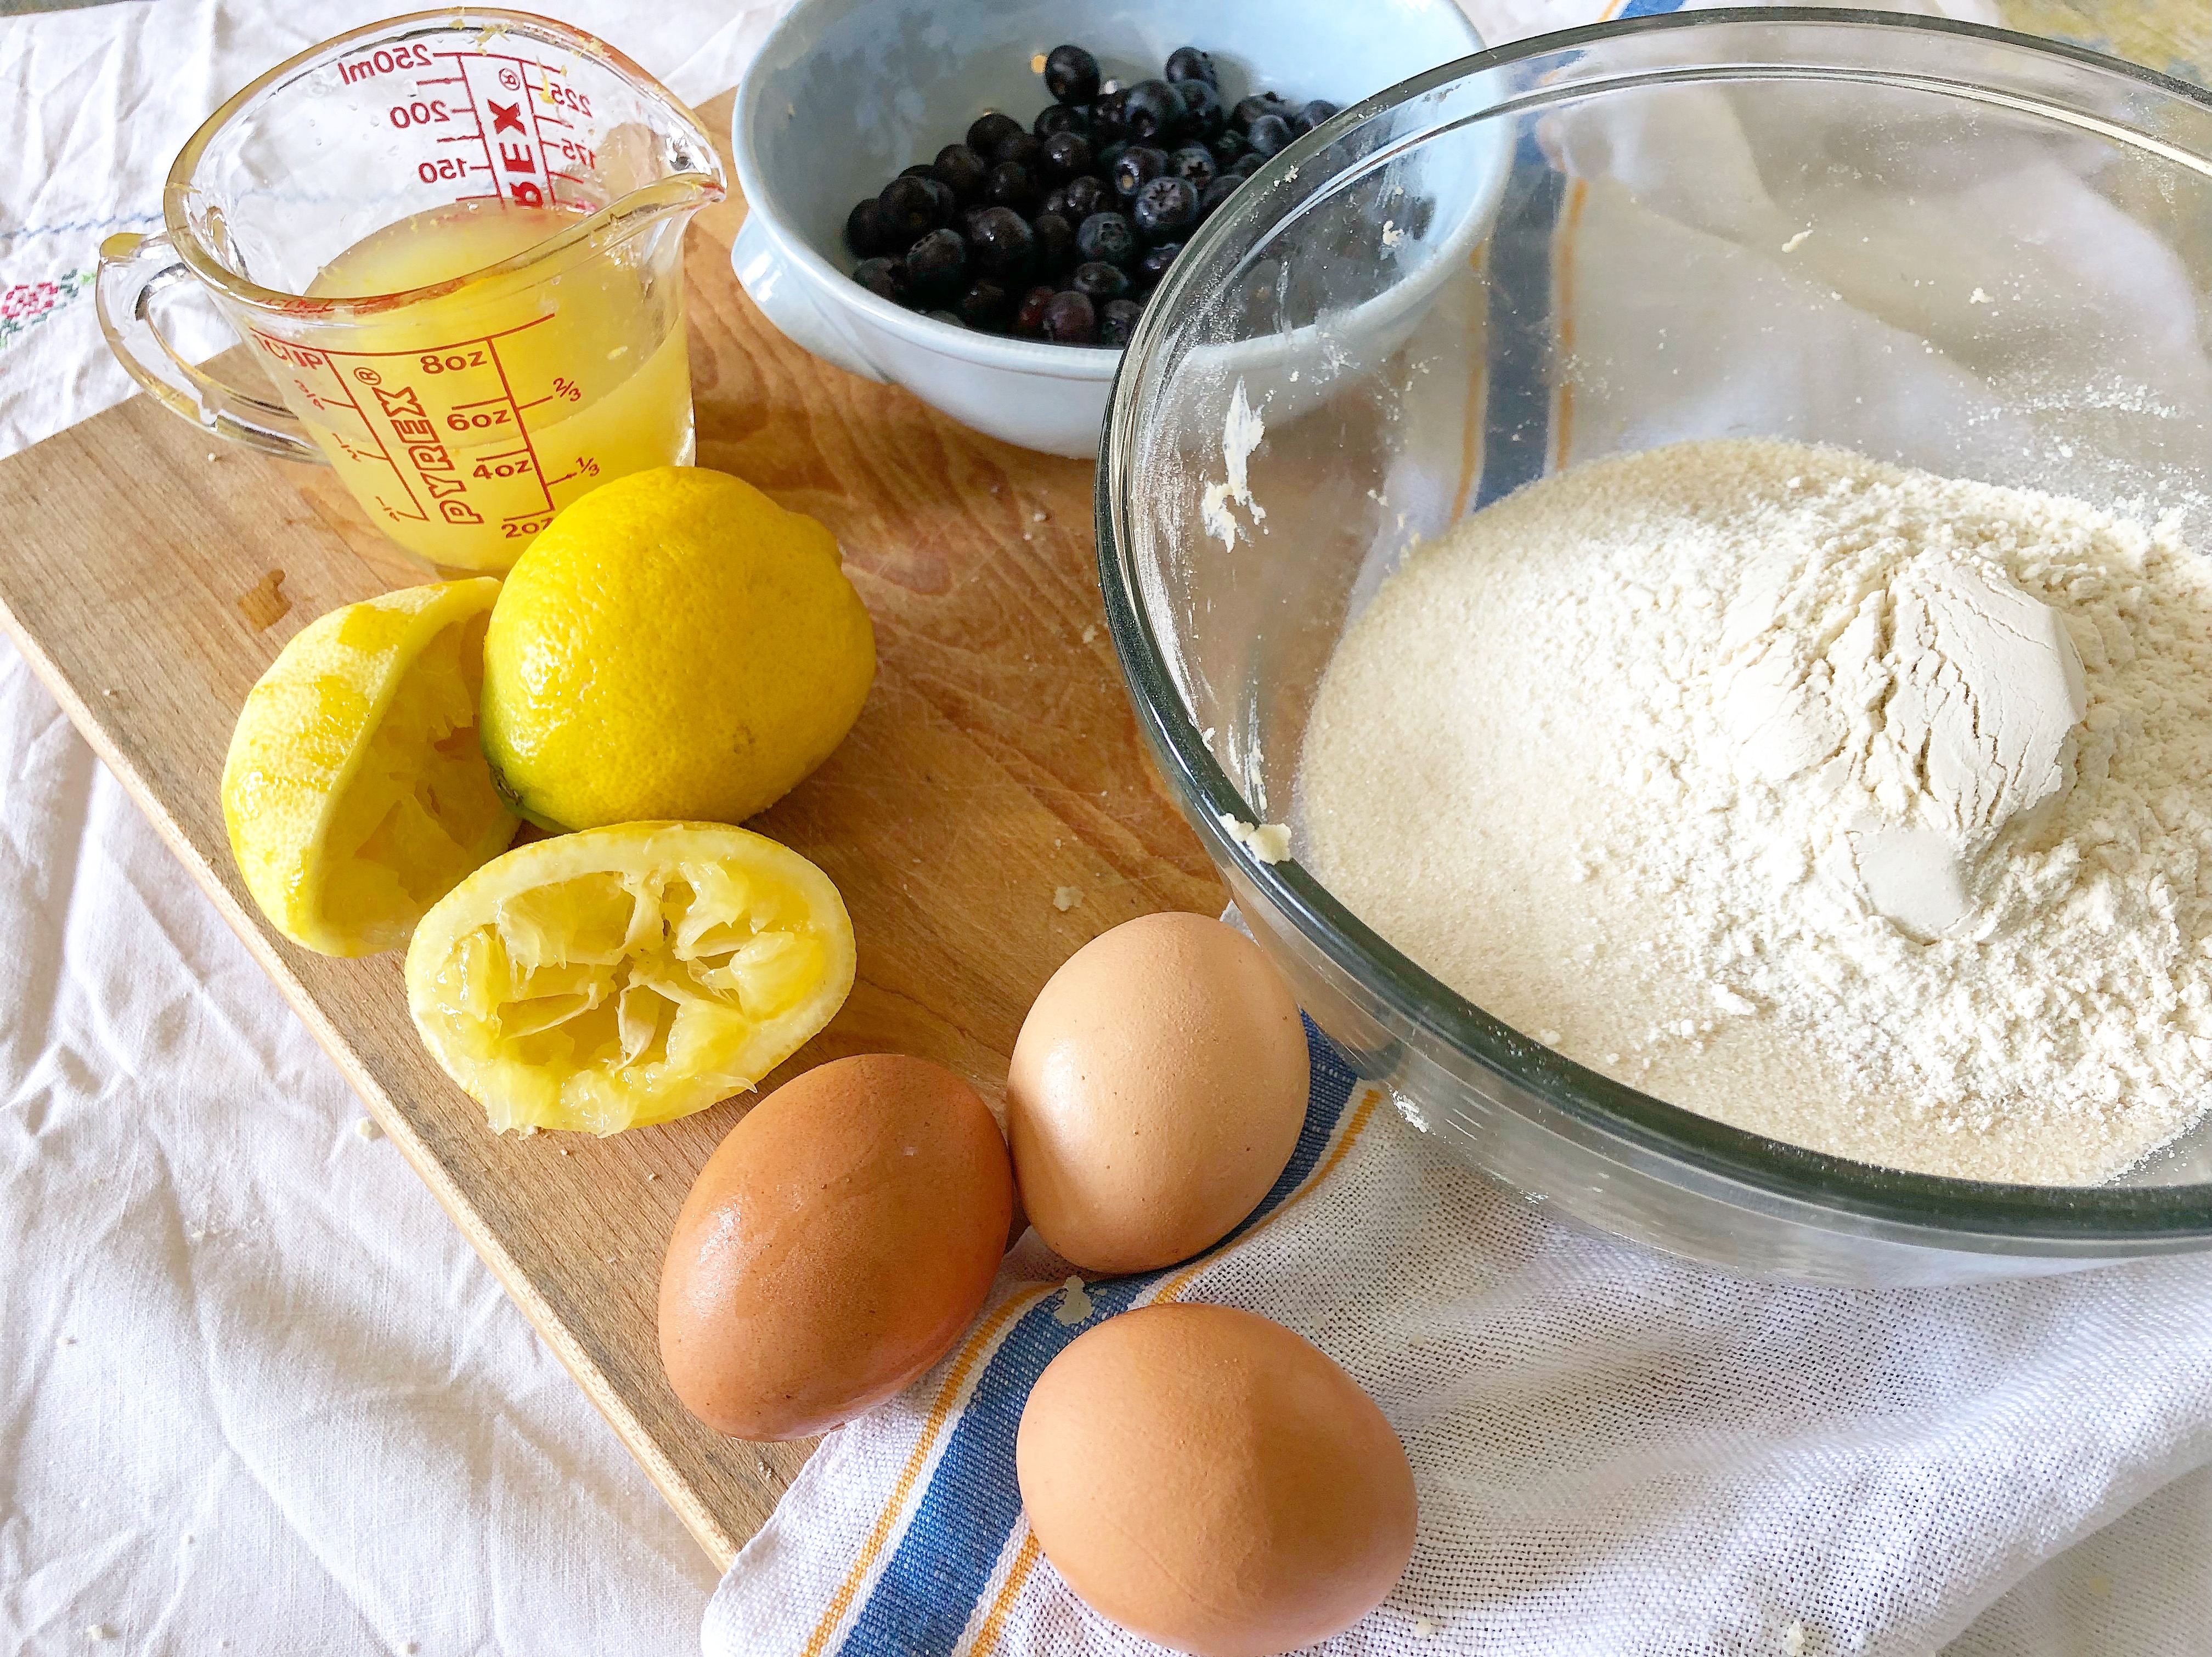


While the crust is baking and cooling, use the same mixing bowl that you used for the crust to prepare the filling. (Don’t even bother wiping out the remnants of crust dough). Many lemon bar recipes will tell you to add one ingredient at a time, but I ignore all that and just dump it all in at the same time. A traditional lemon bar filling also has only four ingredients:
- eggs
- sugar
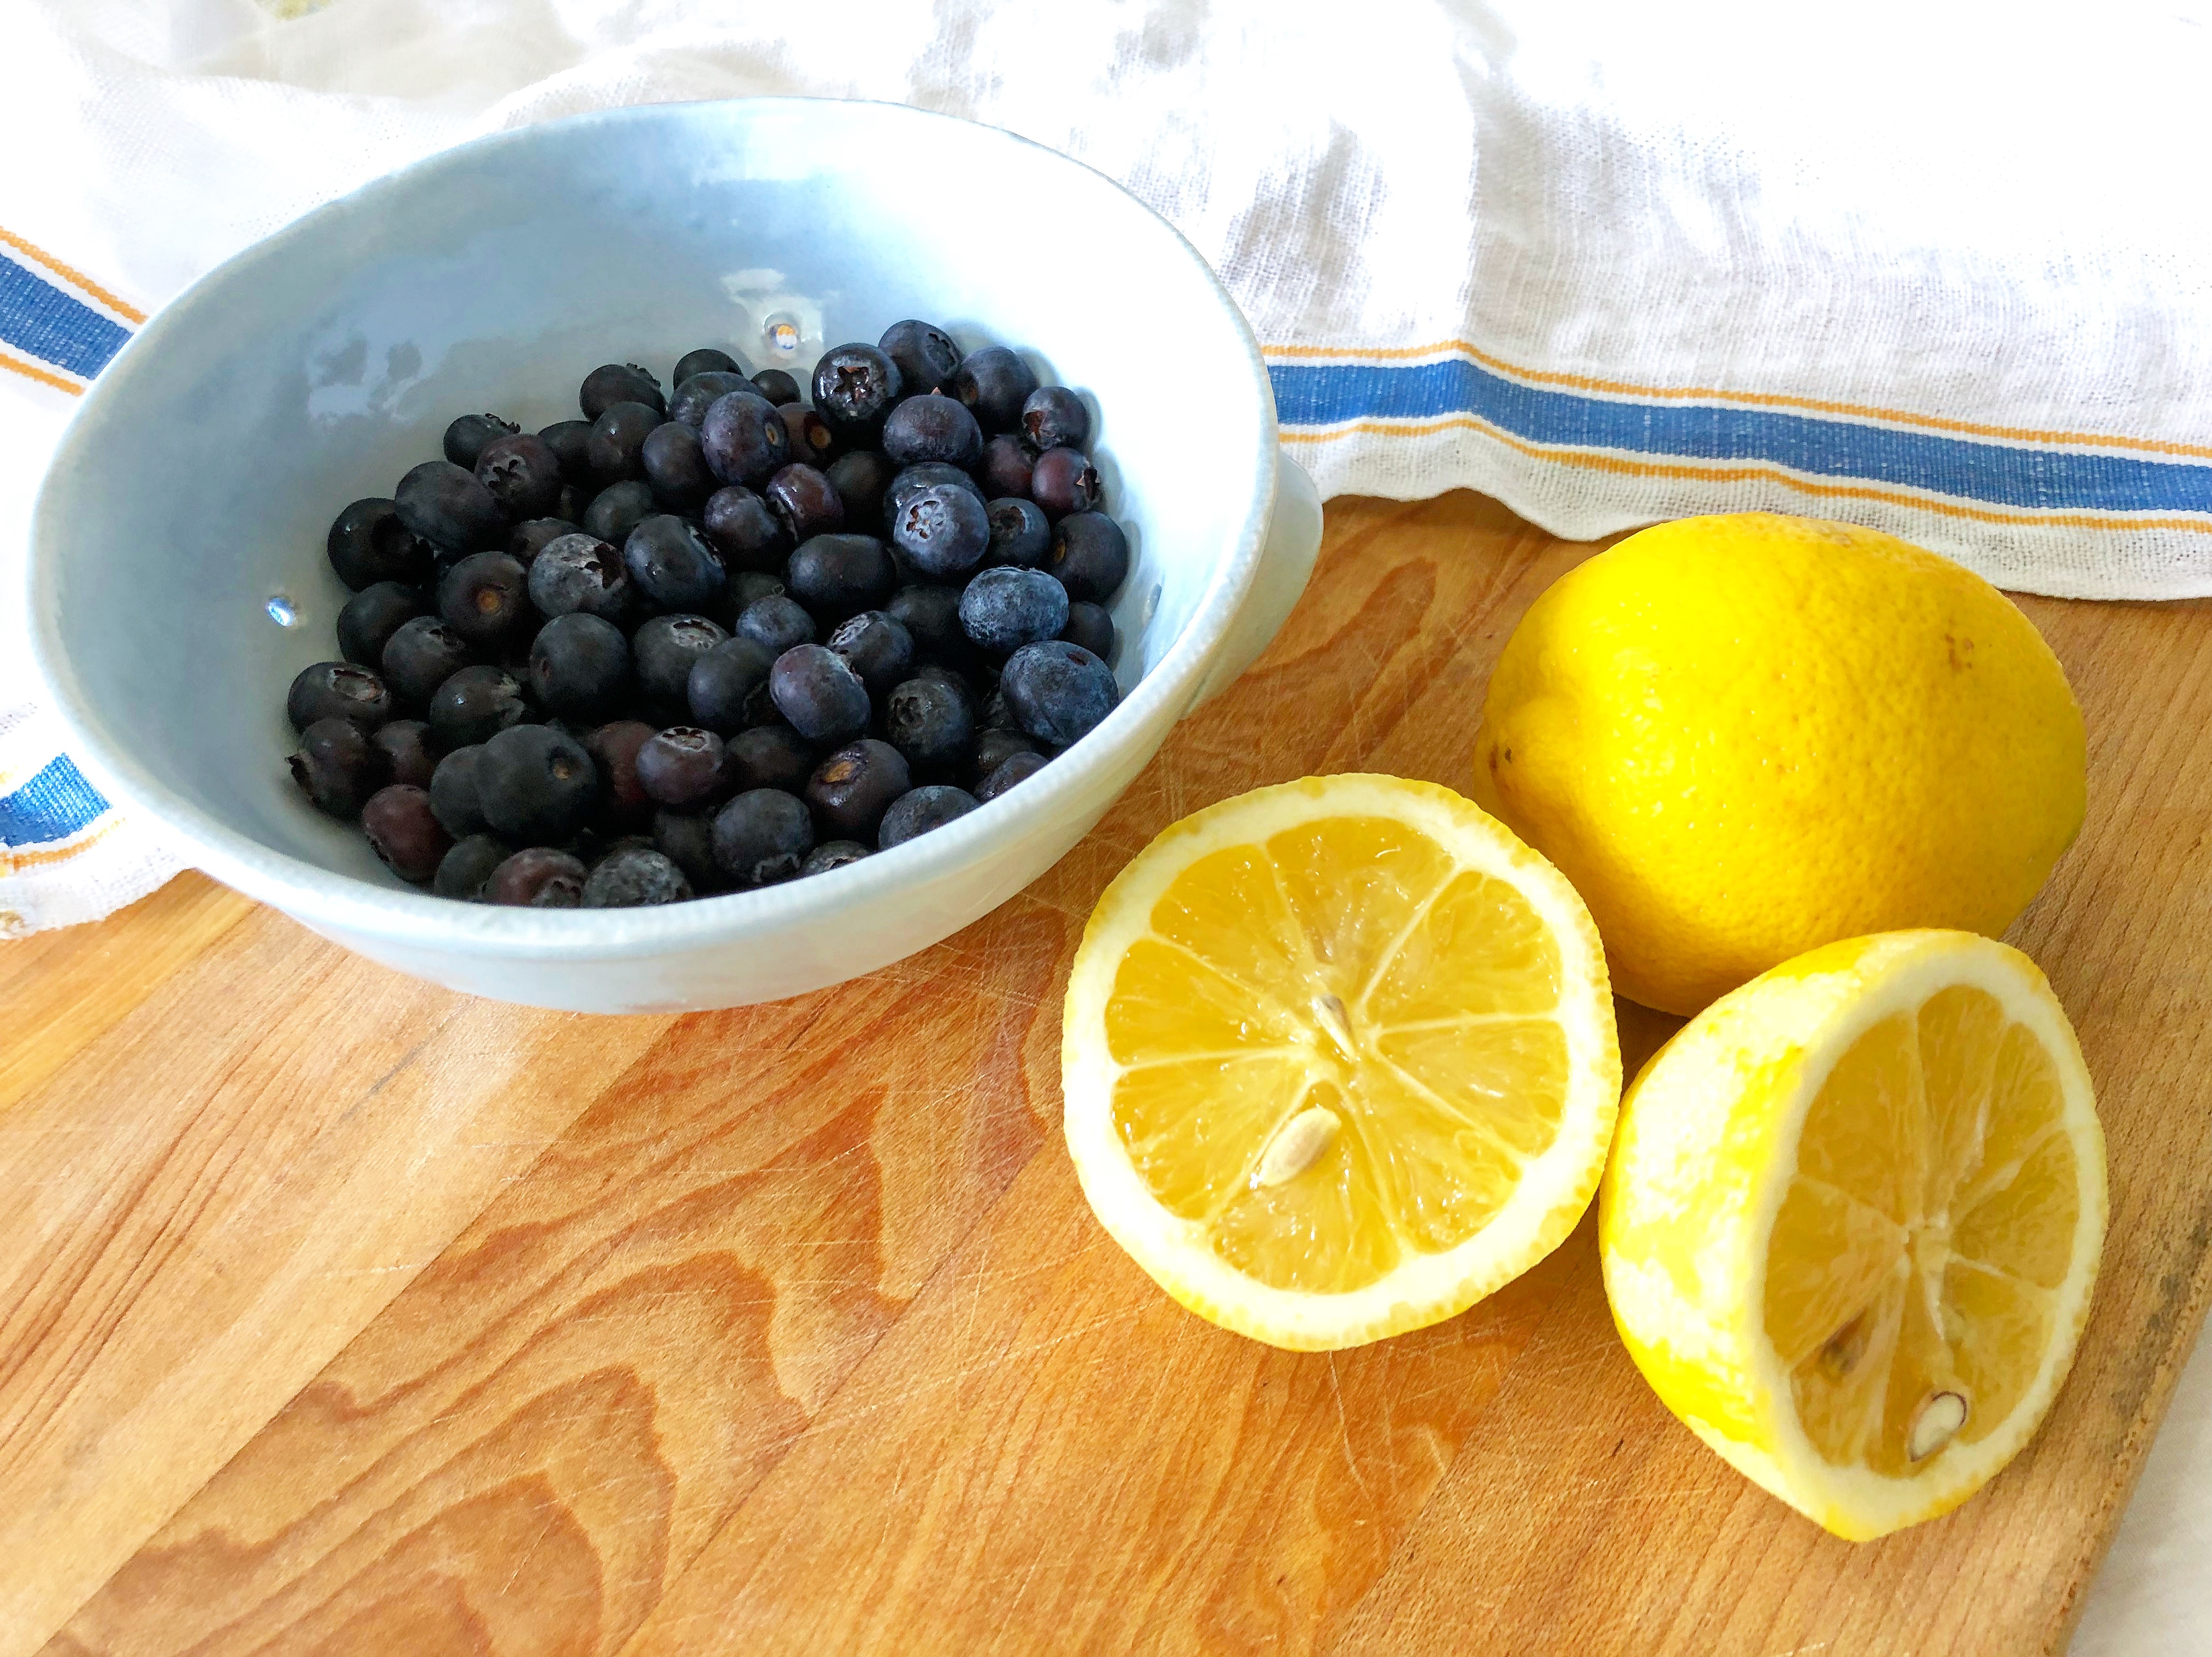
- lemon juice + zest
- flour
Whisk these ingredients together until evenly incorporated and pour into the cooled crust-lined baking dish. At this point you can place the dish into the preheated oven and bake but I decided to give these traditional bars a twist by sprinkling one cup of fresh blueberries over the top before baking.
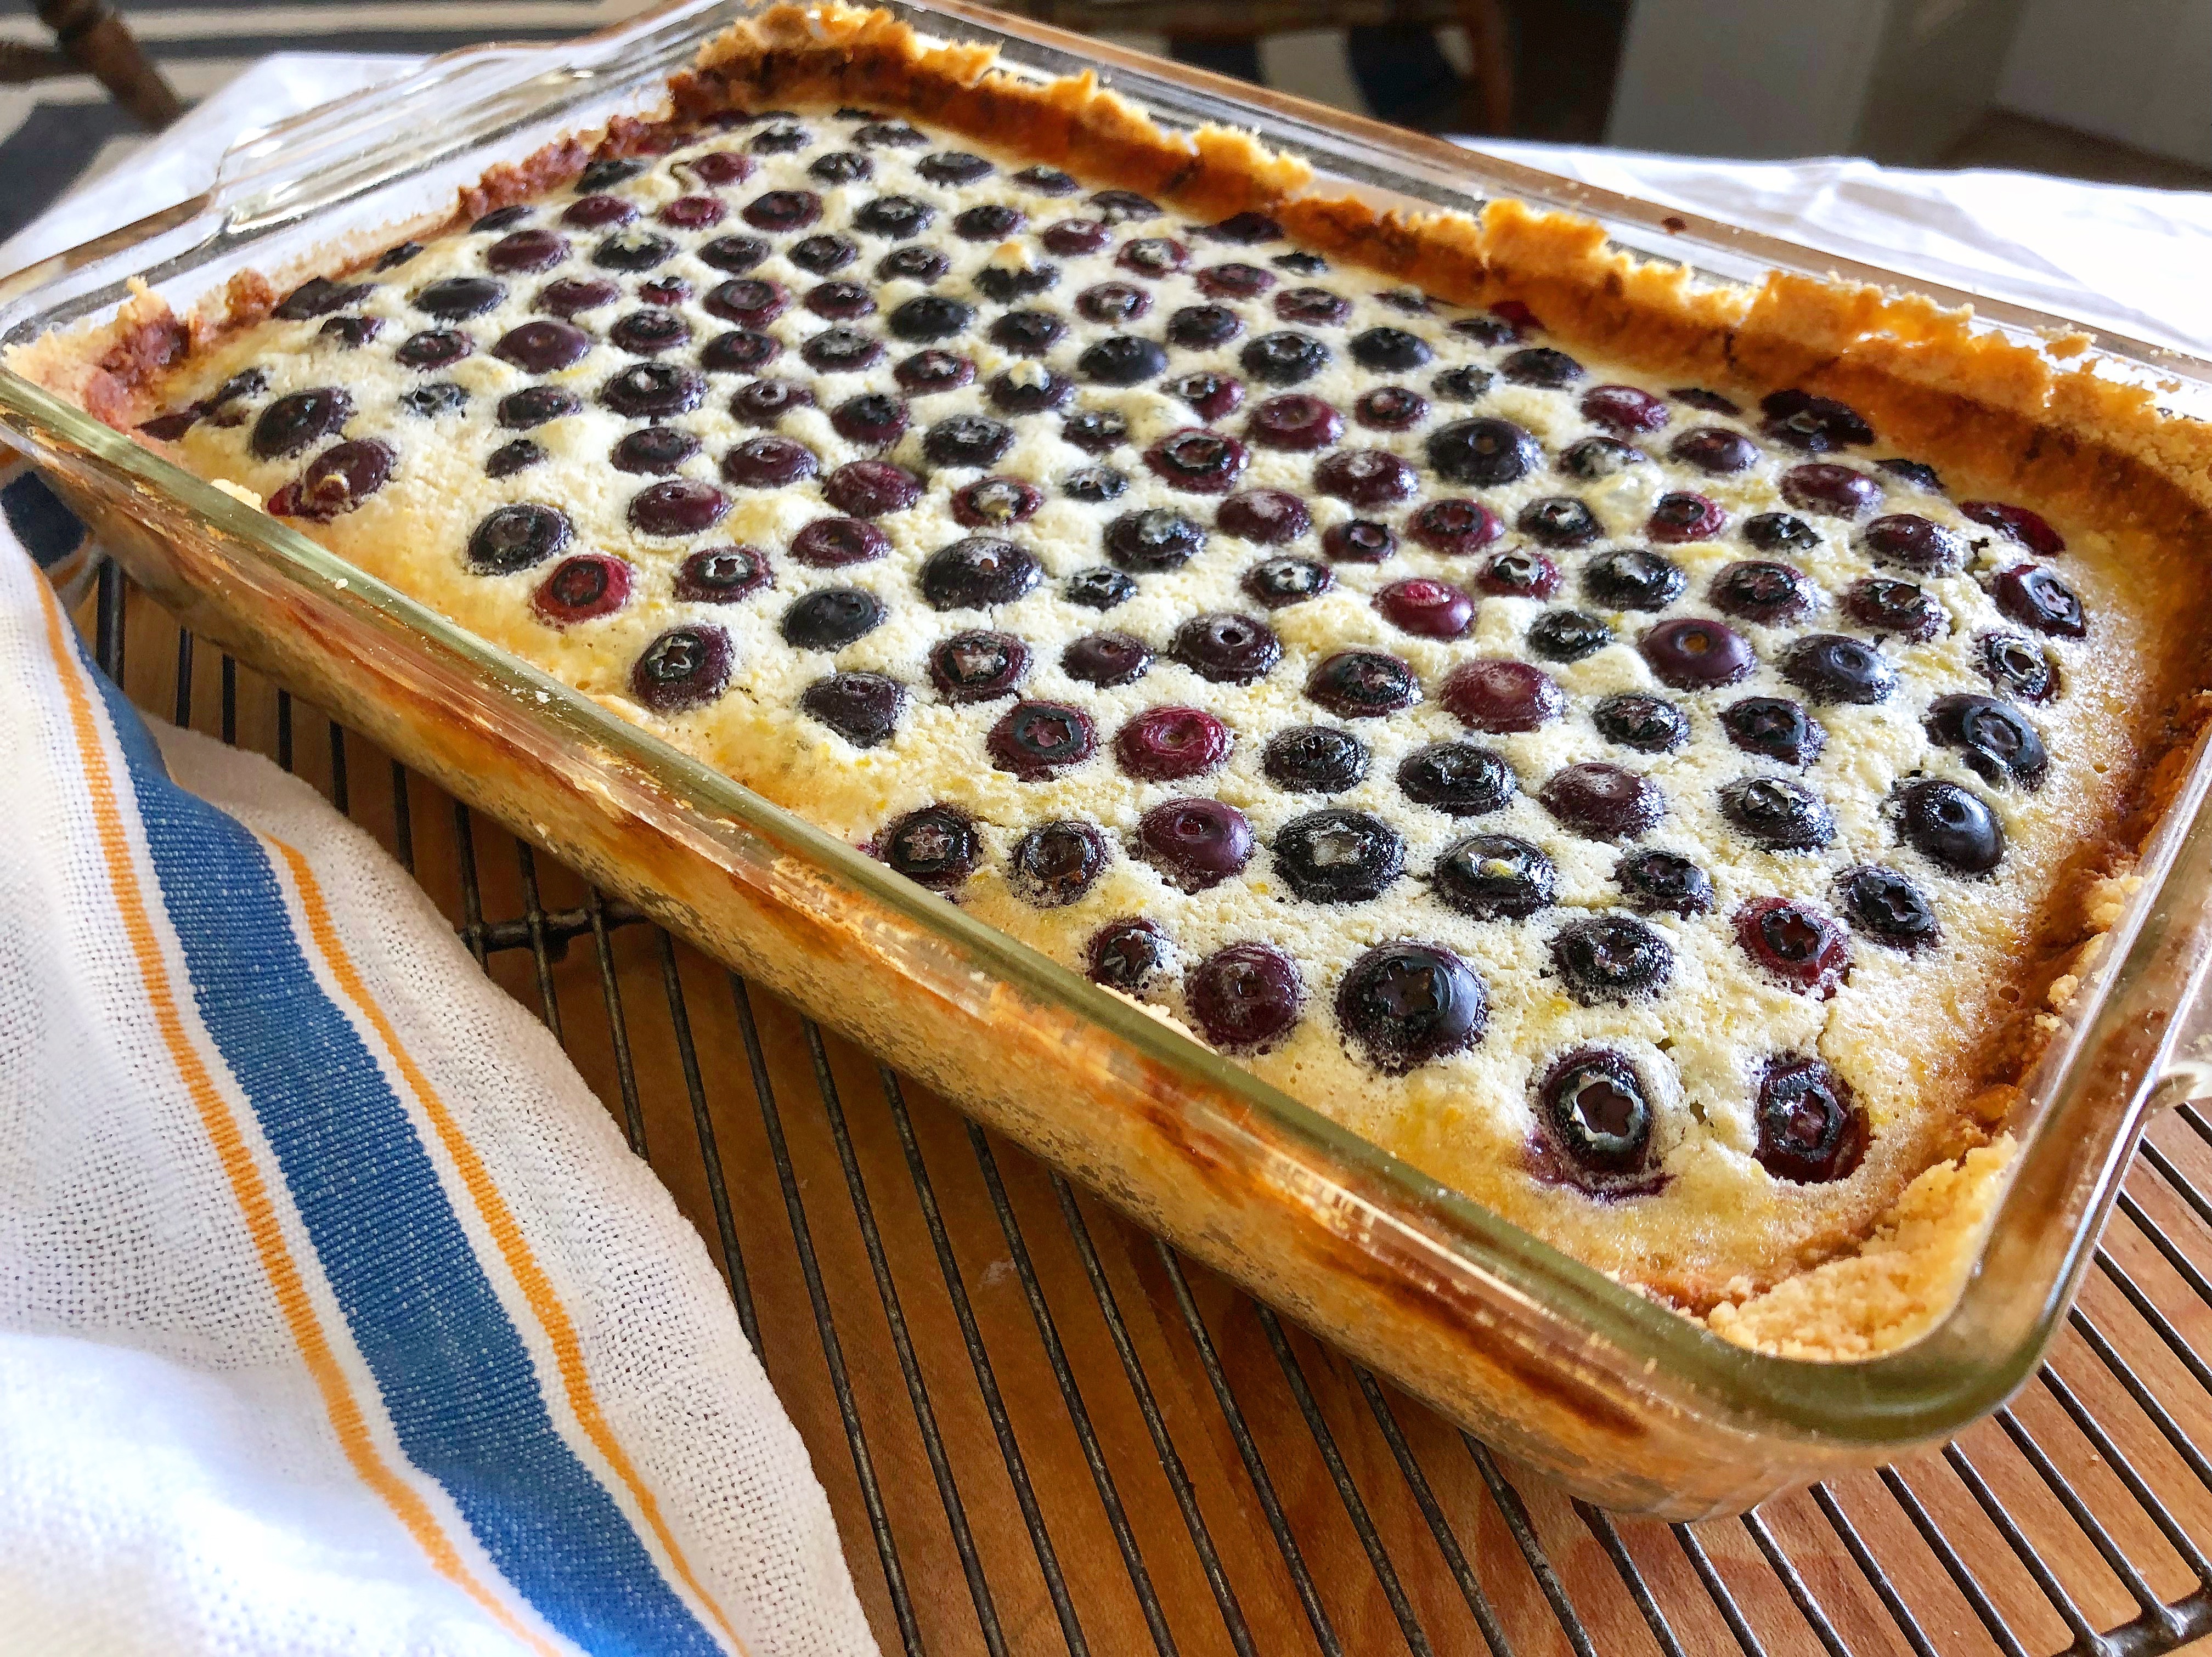
Just look at how perfect those blueberries look! My husband thought I placed each one by hand in order to get such a precise look but I didn’t. I simply sprinkled them by hand and like good little soldiers, they found their place.
As the lemon bars baked, the lemon filling puffed and the blueberries began turning a deep bright purple color and the sweet smell of warm blueberries mingled with the buttery scent of the toasting shortbread crust in such a delightful way.
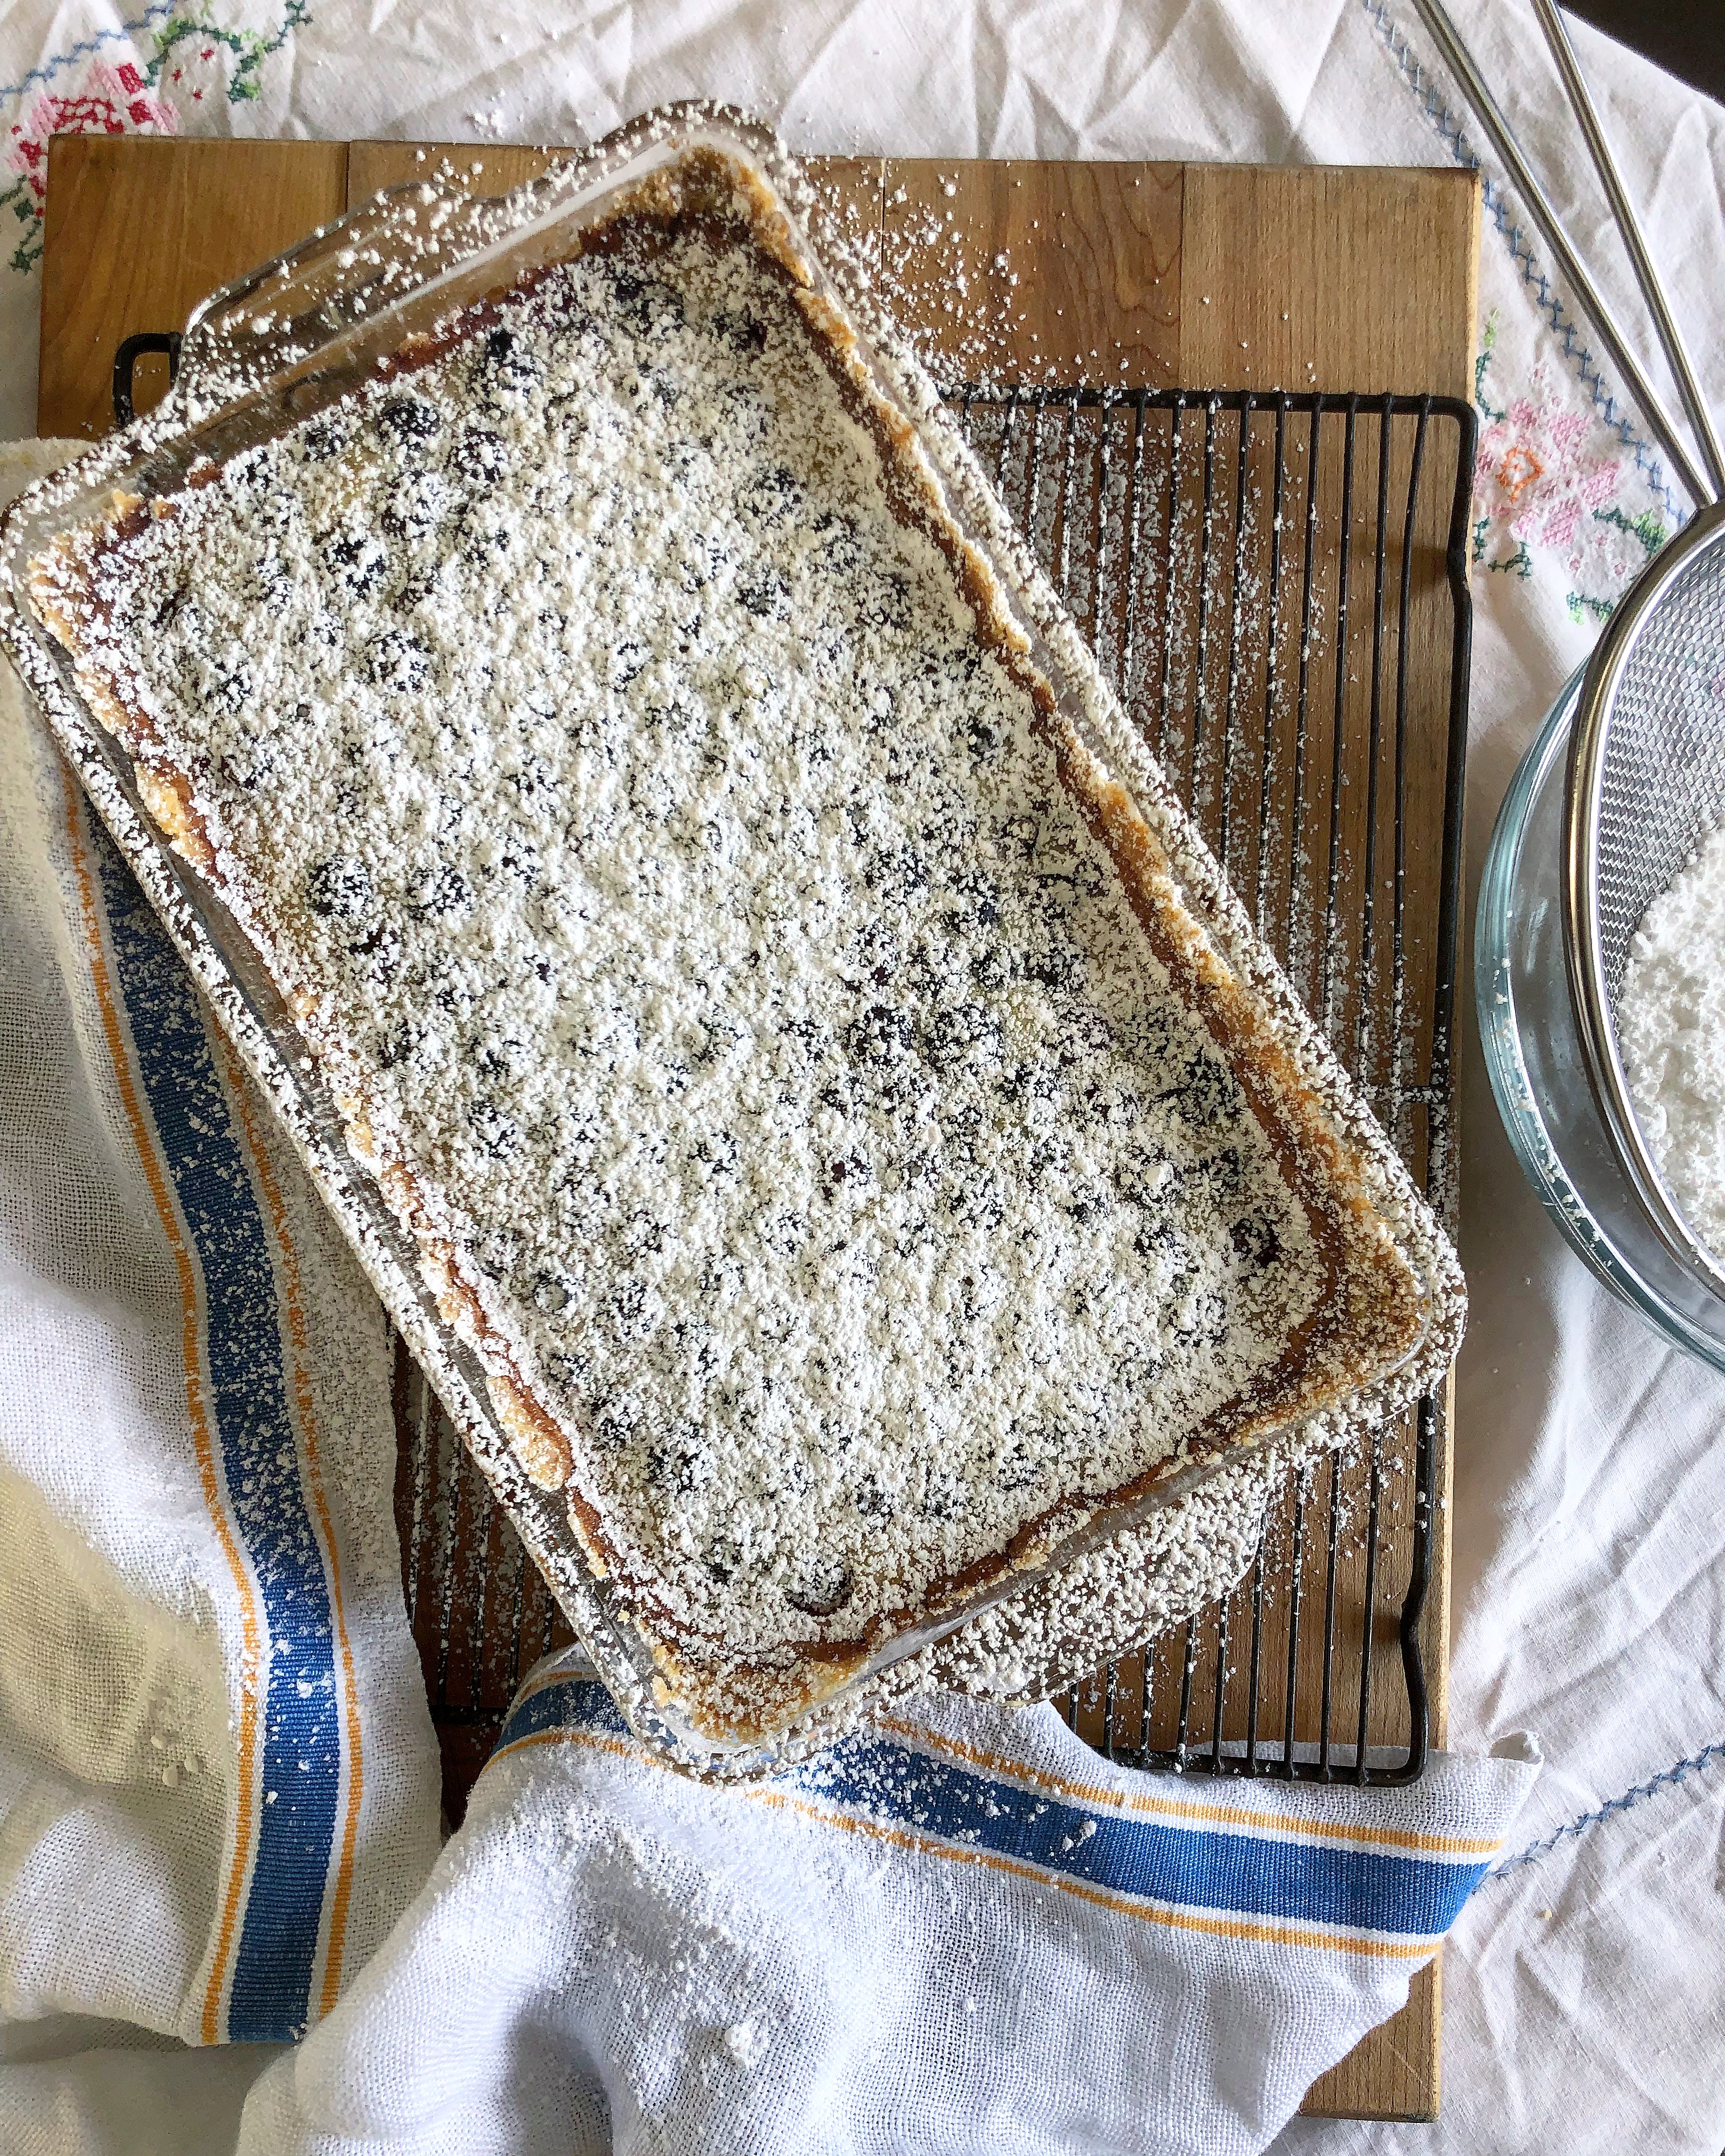
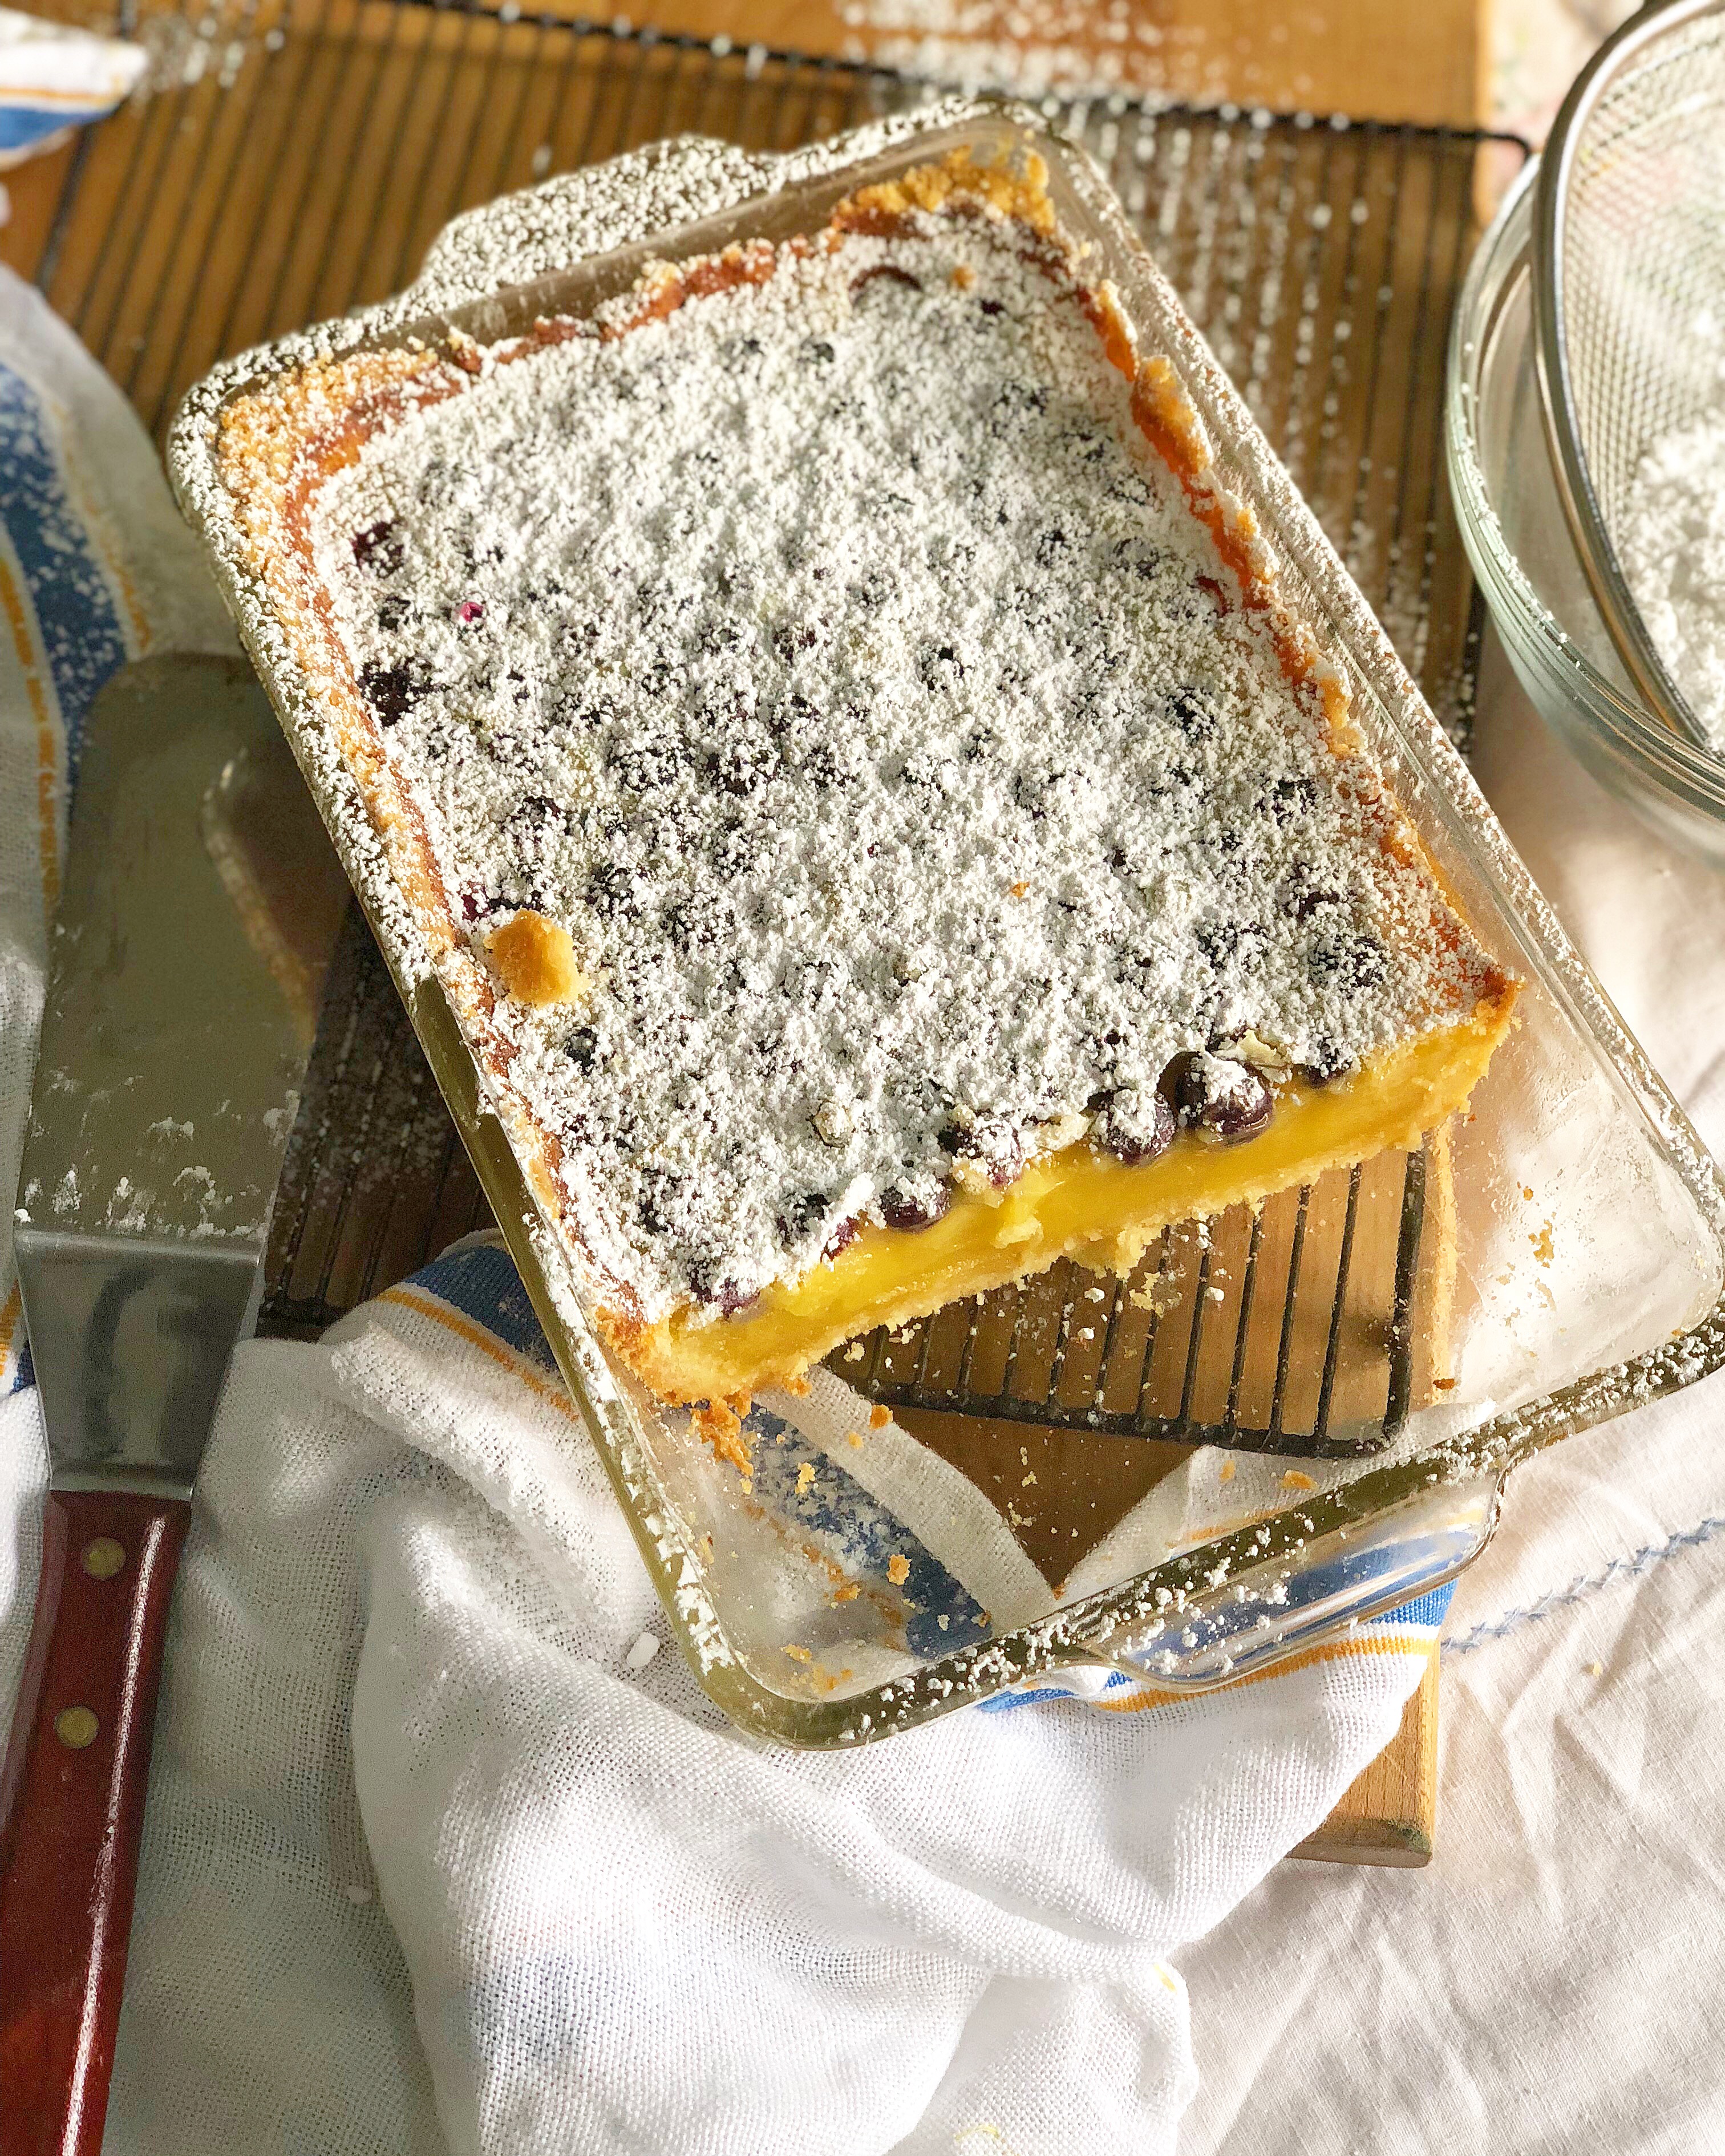
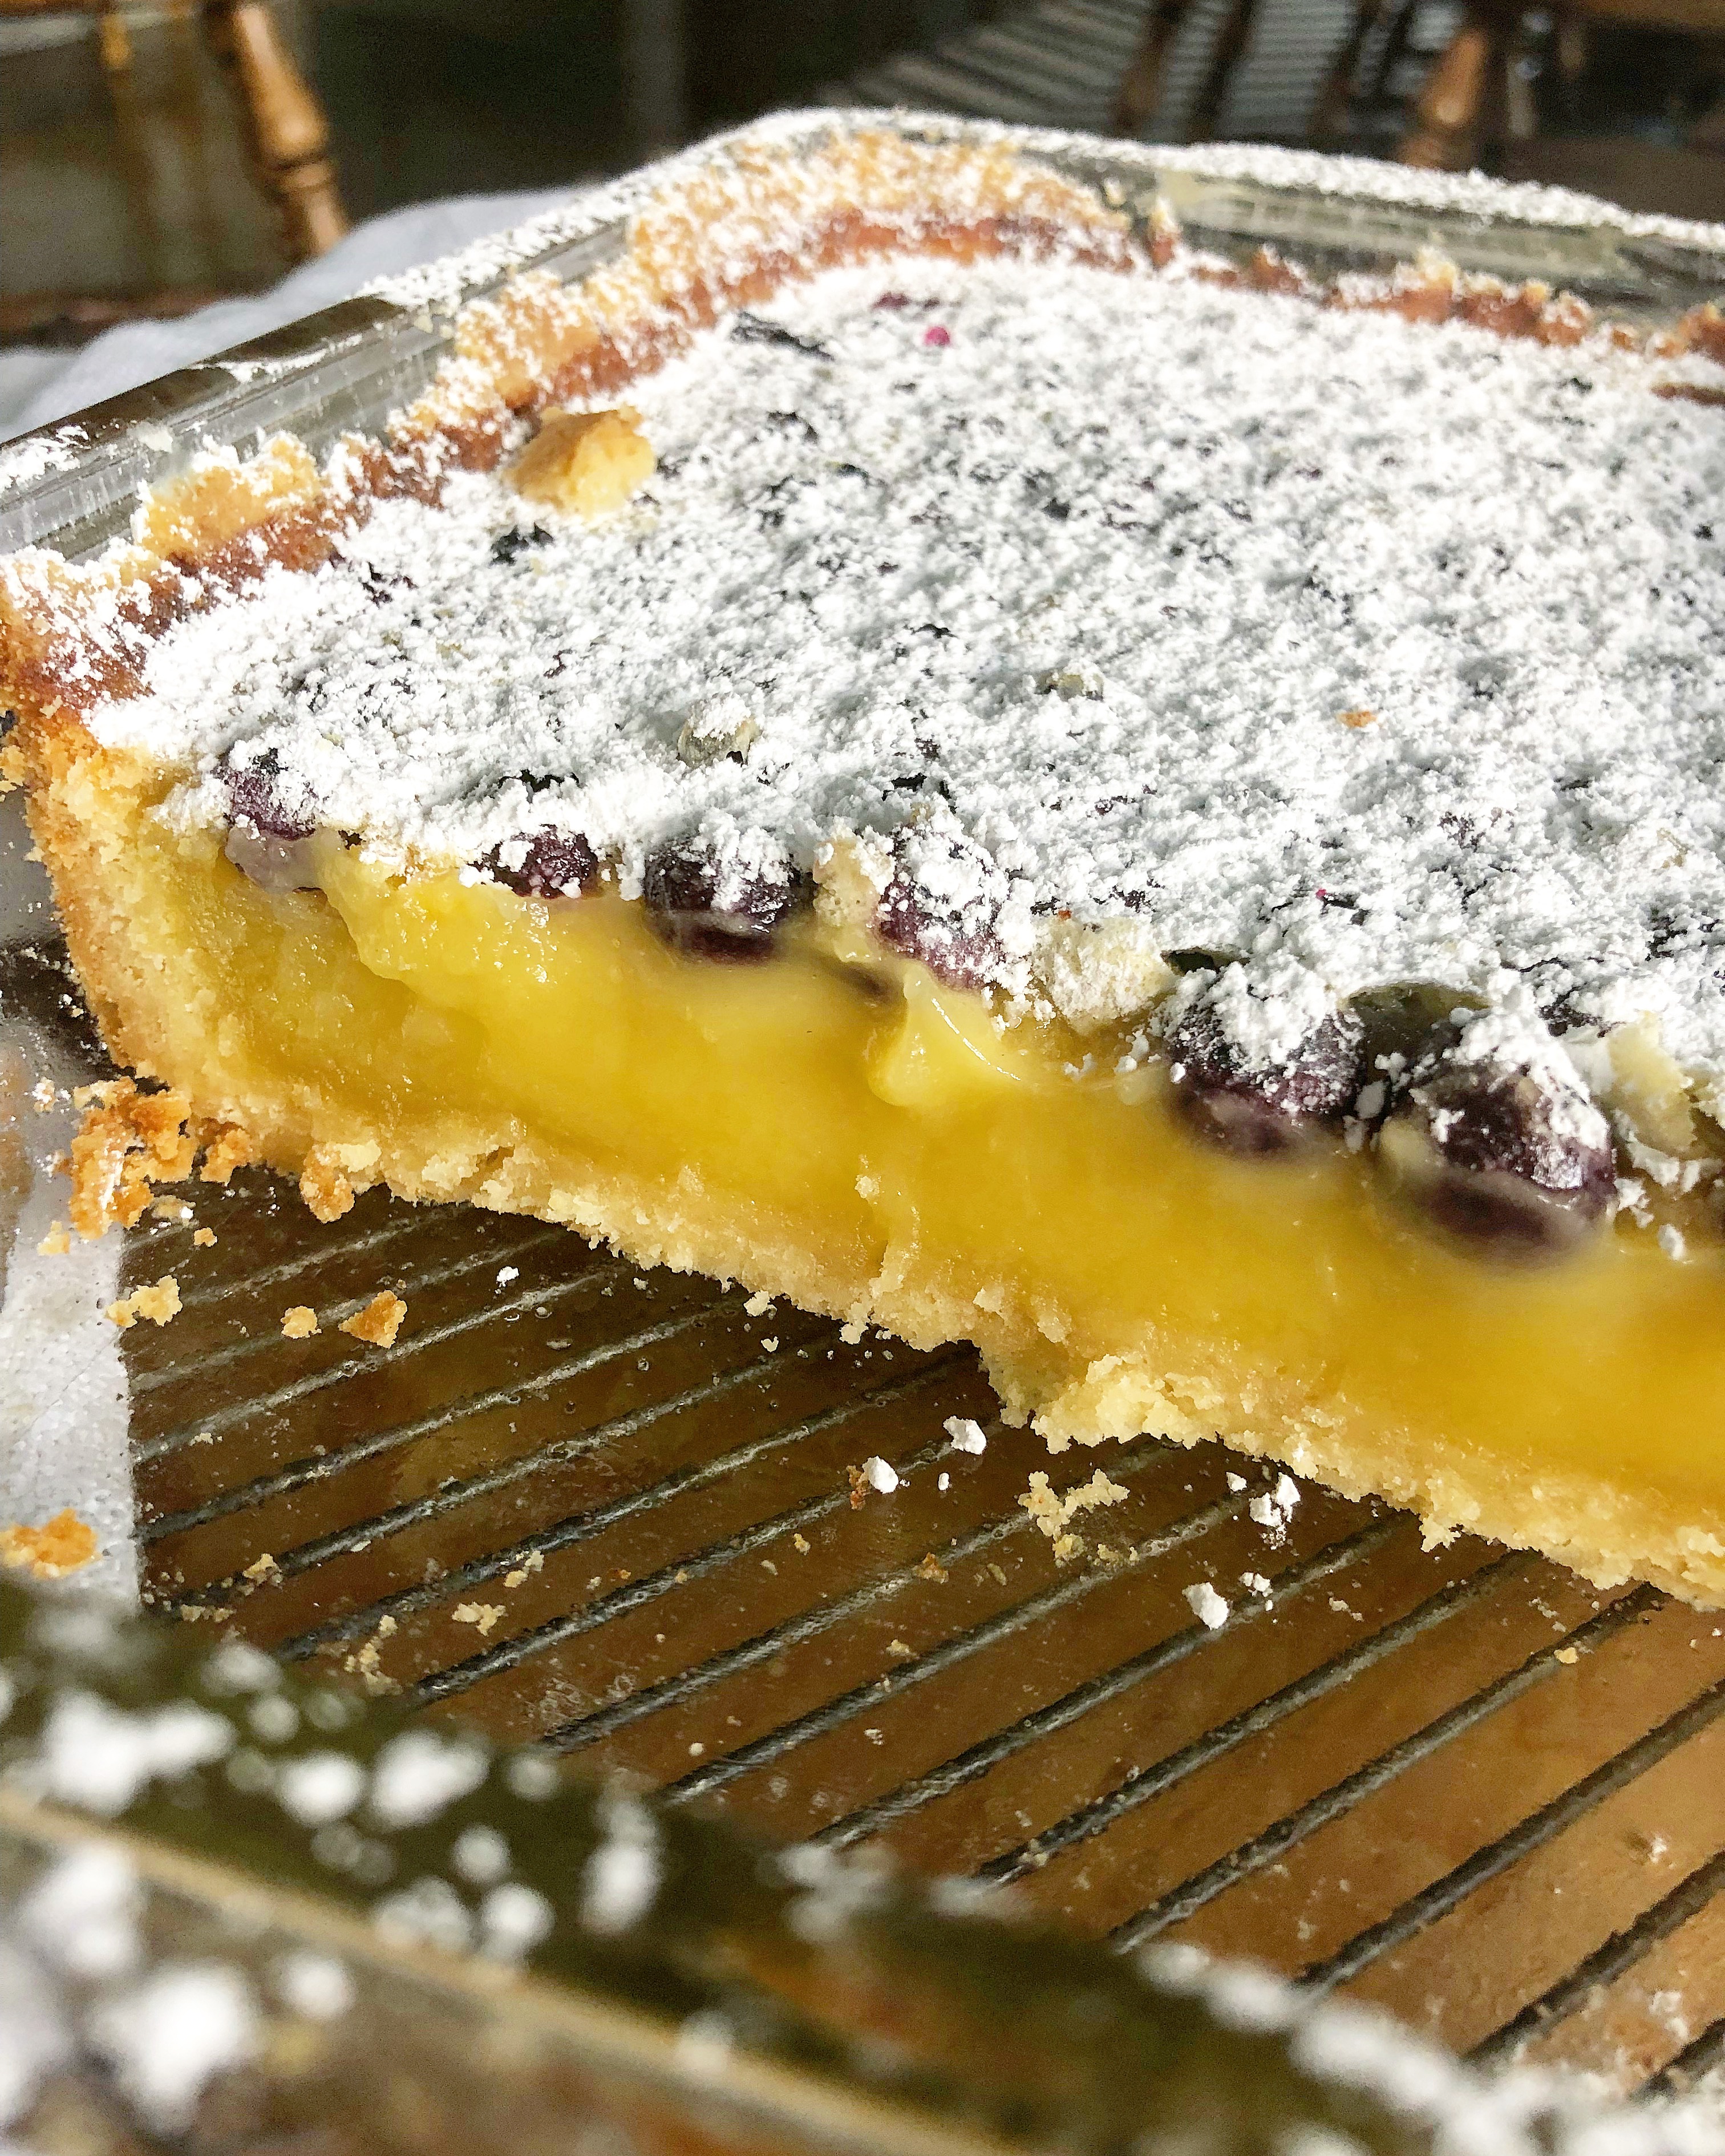
These blueberry lemon bars need to bake for 35-40 minutes. You’ll know baking time is complete when the center jiggles ever-so slightly when you give the oven rack a gentle pull. Allow the bars to cool for 60-90 minutes before slicing, this gives time for the thick, creamy lemon filling to set.
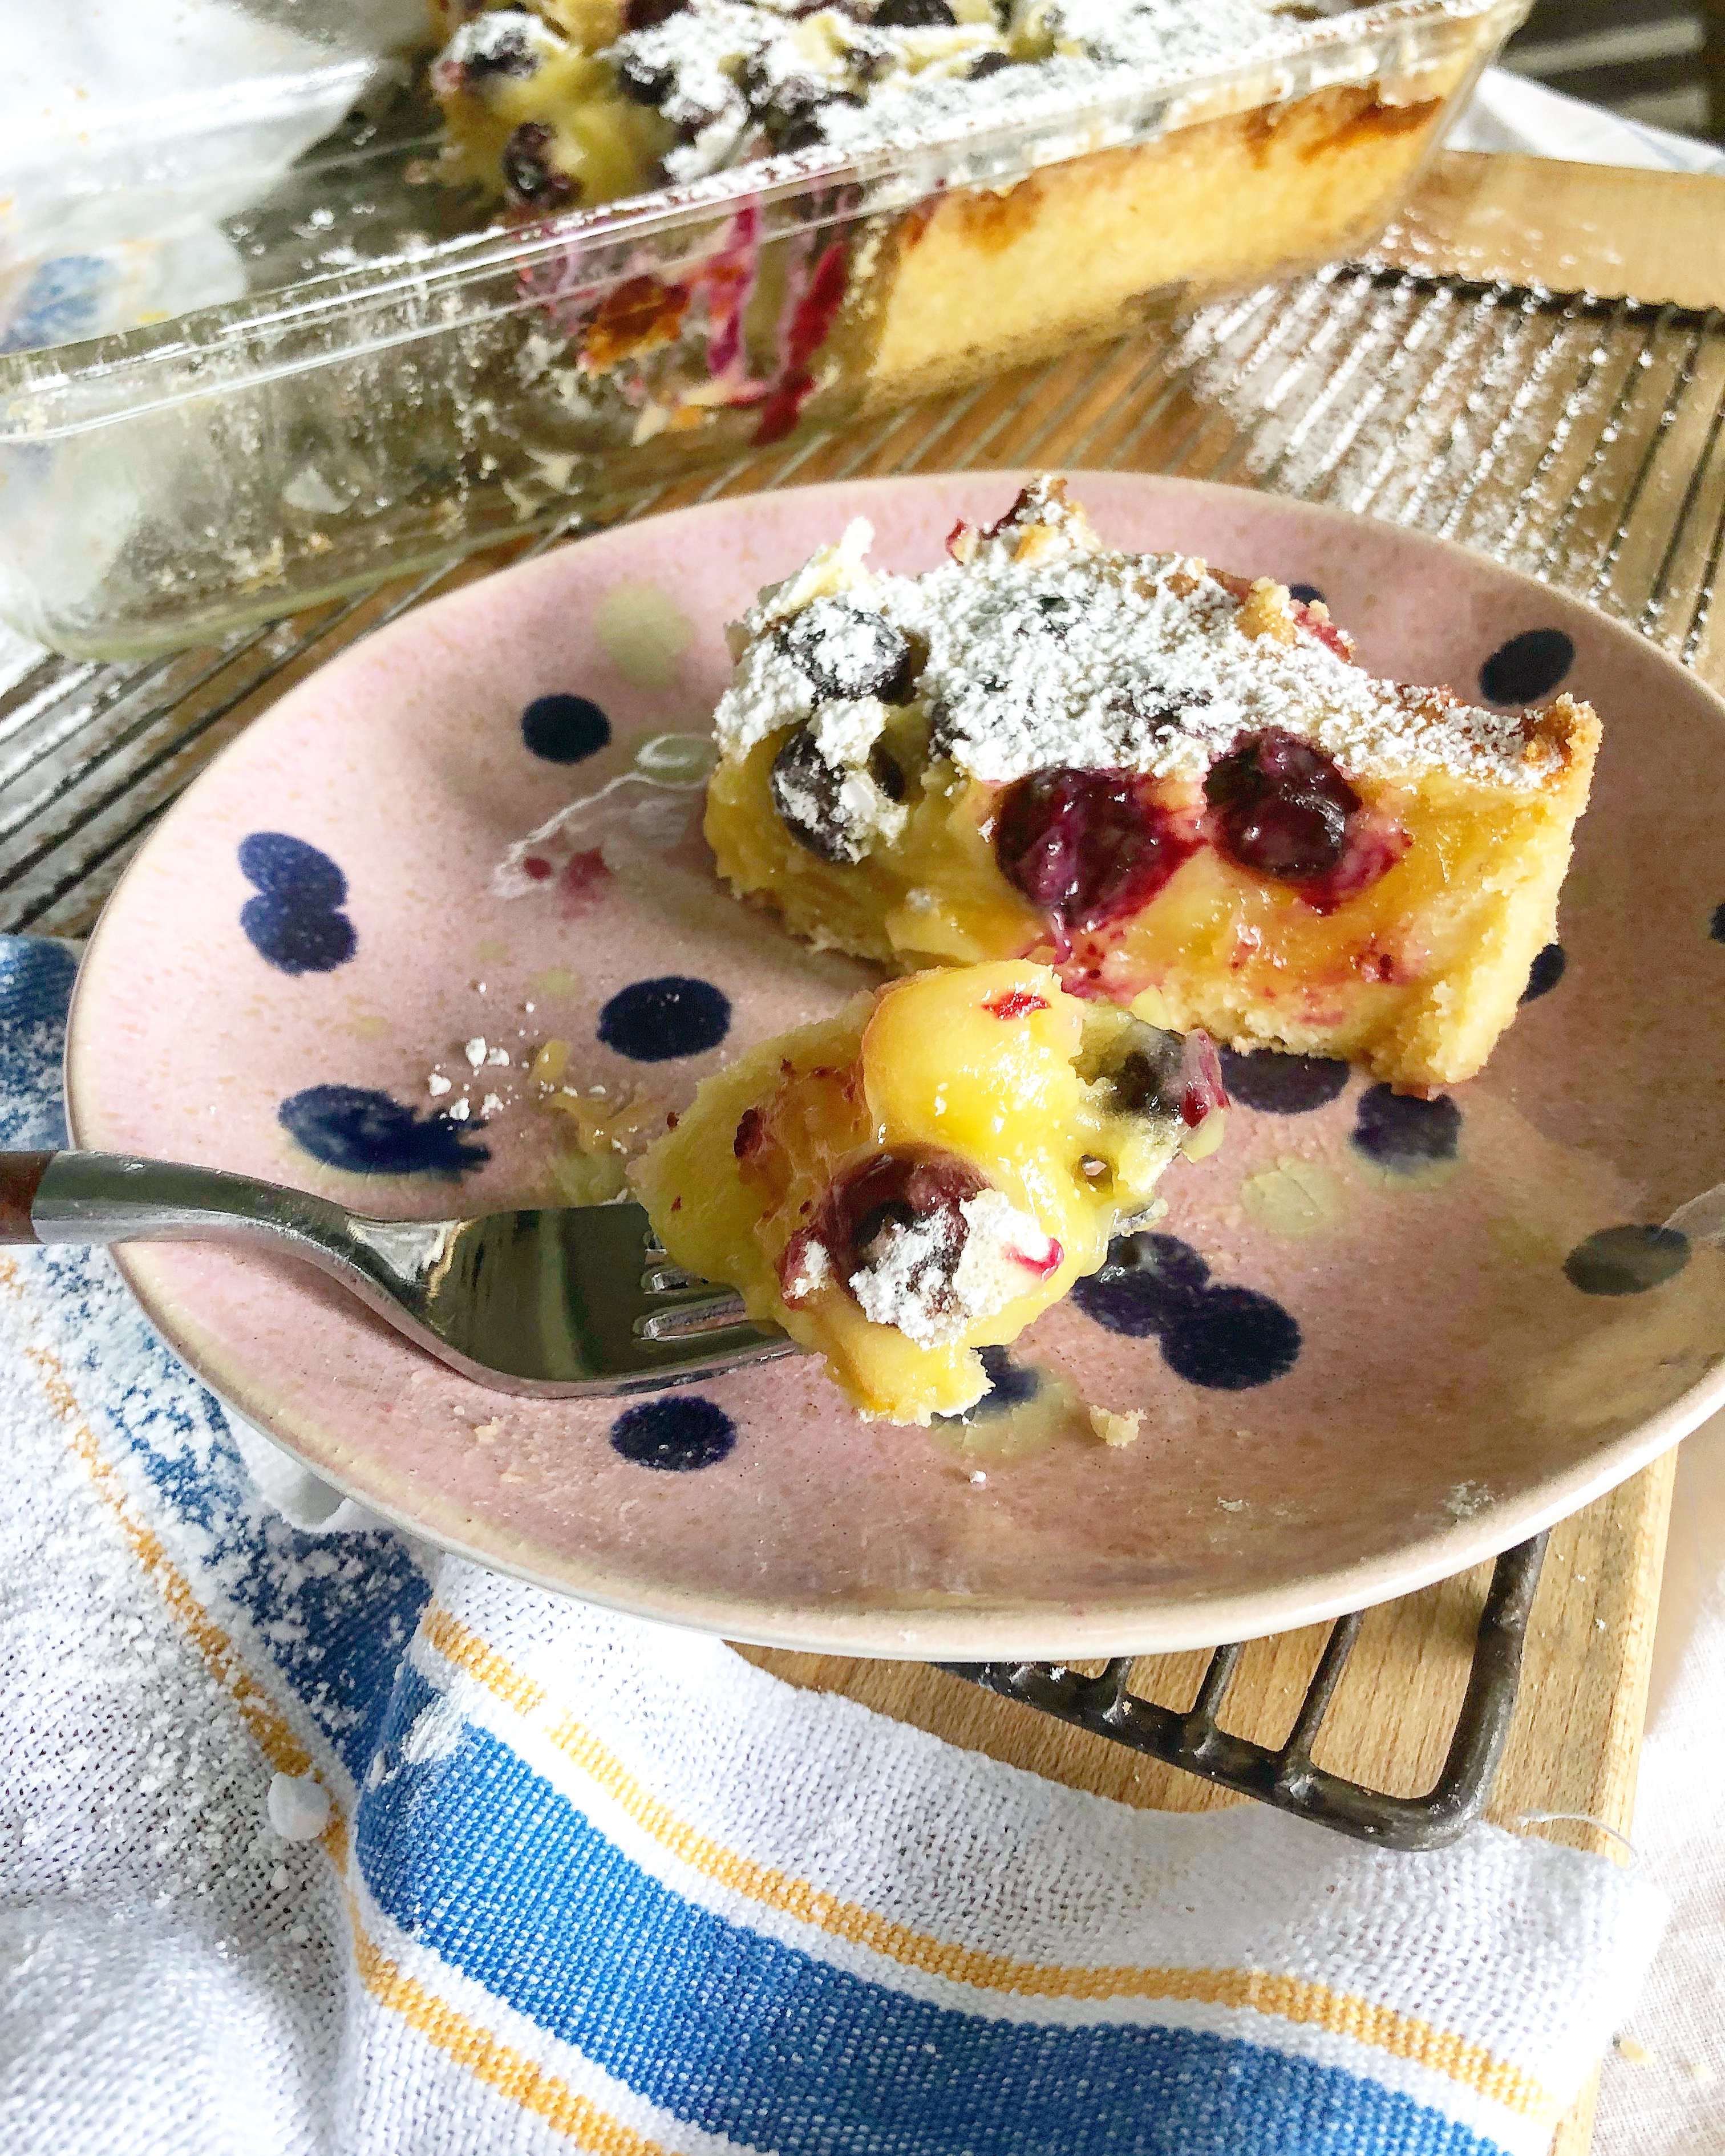
Once the bars were cool, it’s time to slice and serve. As I made that first cut, the aroma of warm lemon and blueberries filled the air and I immediately thought “It should have always been ‘Blueberry Lemon Bars’ and plain lemon bars should be the twist.” They just go together.
Crisp, buttery crust filled with the most creamy, tart and sweet lemon filling and warm, fresh, juicy blueberries … it’s a mouthful of summer!
- 1 stick room temperature butter, salted
- ¼ c sugar
- 1 c flour
- pinch salt
- 3 eggs
- 1½ c sugar
- 2 T lemon zest
- ½ c freshly squeezed lemon juice
- ½ c flour
- 1 c fresh blueberries
- 3-4 T powdered sugar for garnish
- Preheat oven to 350°. In a medium mixing bowl, combine crust ingredients. Use a spatula or hand mixer to thoroughly incorporate ingredients.
- Pour crust mixture into a 10"x6"x2" glass baking dish*. Press evenly on the bottom and up the sides (see photos).
- Bake in the preheated oven for 12-15 minutes, or until light-golden brown.
- Once cooking time is complete, leave oven ON and remove crust to cool 12-15 minutes.
- While crust is cooling, combine filling ingredients (except blueberries) in the same mixing bowl used for the crust. Whisk or use a hand mixer to combine.
- Pour filling into the cooled crust, sprinkle blueberries over the top and bake for 35-40 minutes.
- Allow lemon bars to cool for at least 30 minutes before serving. I found the consistency to be perfect (not too warm and runny) at approximately 1½ hours.
- Serves 6-12 depending on the size of the lemon bar (we prefer lemon bar "slabs" in my home - so this recipe made 6!)
- *a 9"x9" square baking dish will work too, but cooking time may need to be adjusted.

If you have any additional questions during your search for the perfect copper sink or farmhouse fireclay sink, our Sinkologists are here to help. Contact us or follow us on Facebook, Houzz, Pinterest, or Instagram for more helpful tips and design ideas.
The post Blueberry Lemon Bars appeared first on Sinkology.
source http://www.sinkology.com/blog/blueberry-lemon-bars/


