Friday, January 28, 2022

Drain Dreams – Which Drain Is Right For You

When shopping for the right sink for your kitchen, the basin rightfully takes center stage. The reality is that although the actual sink itself might be the biggest focal point, accessories like drains are critical to creating the look and style that you love. Like every rainbow needs rain, every sink needs a drain, and there are some critical factors to consider when selecting the right drain for your sink.


Black drain in black sink with grid

Which Type of Drain is Right for Me?

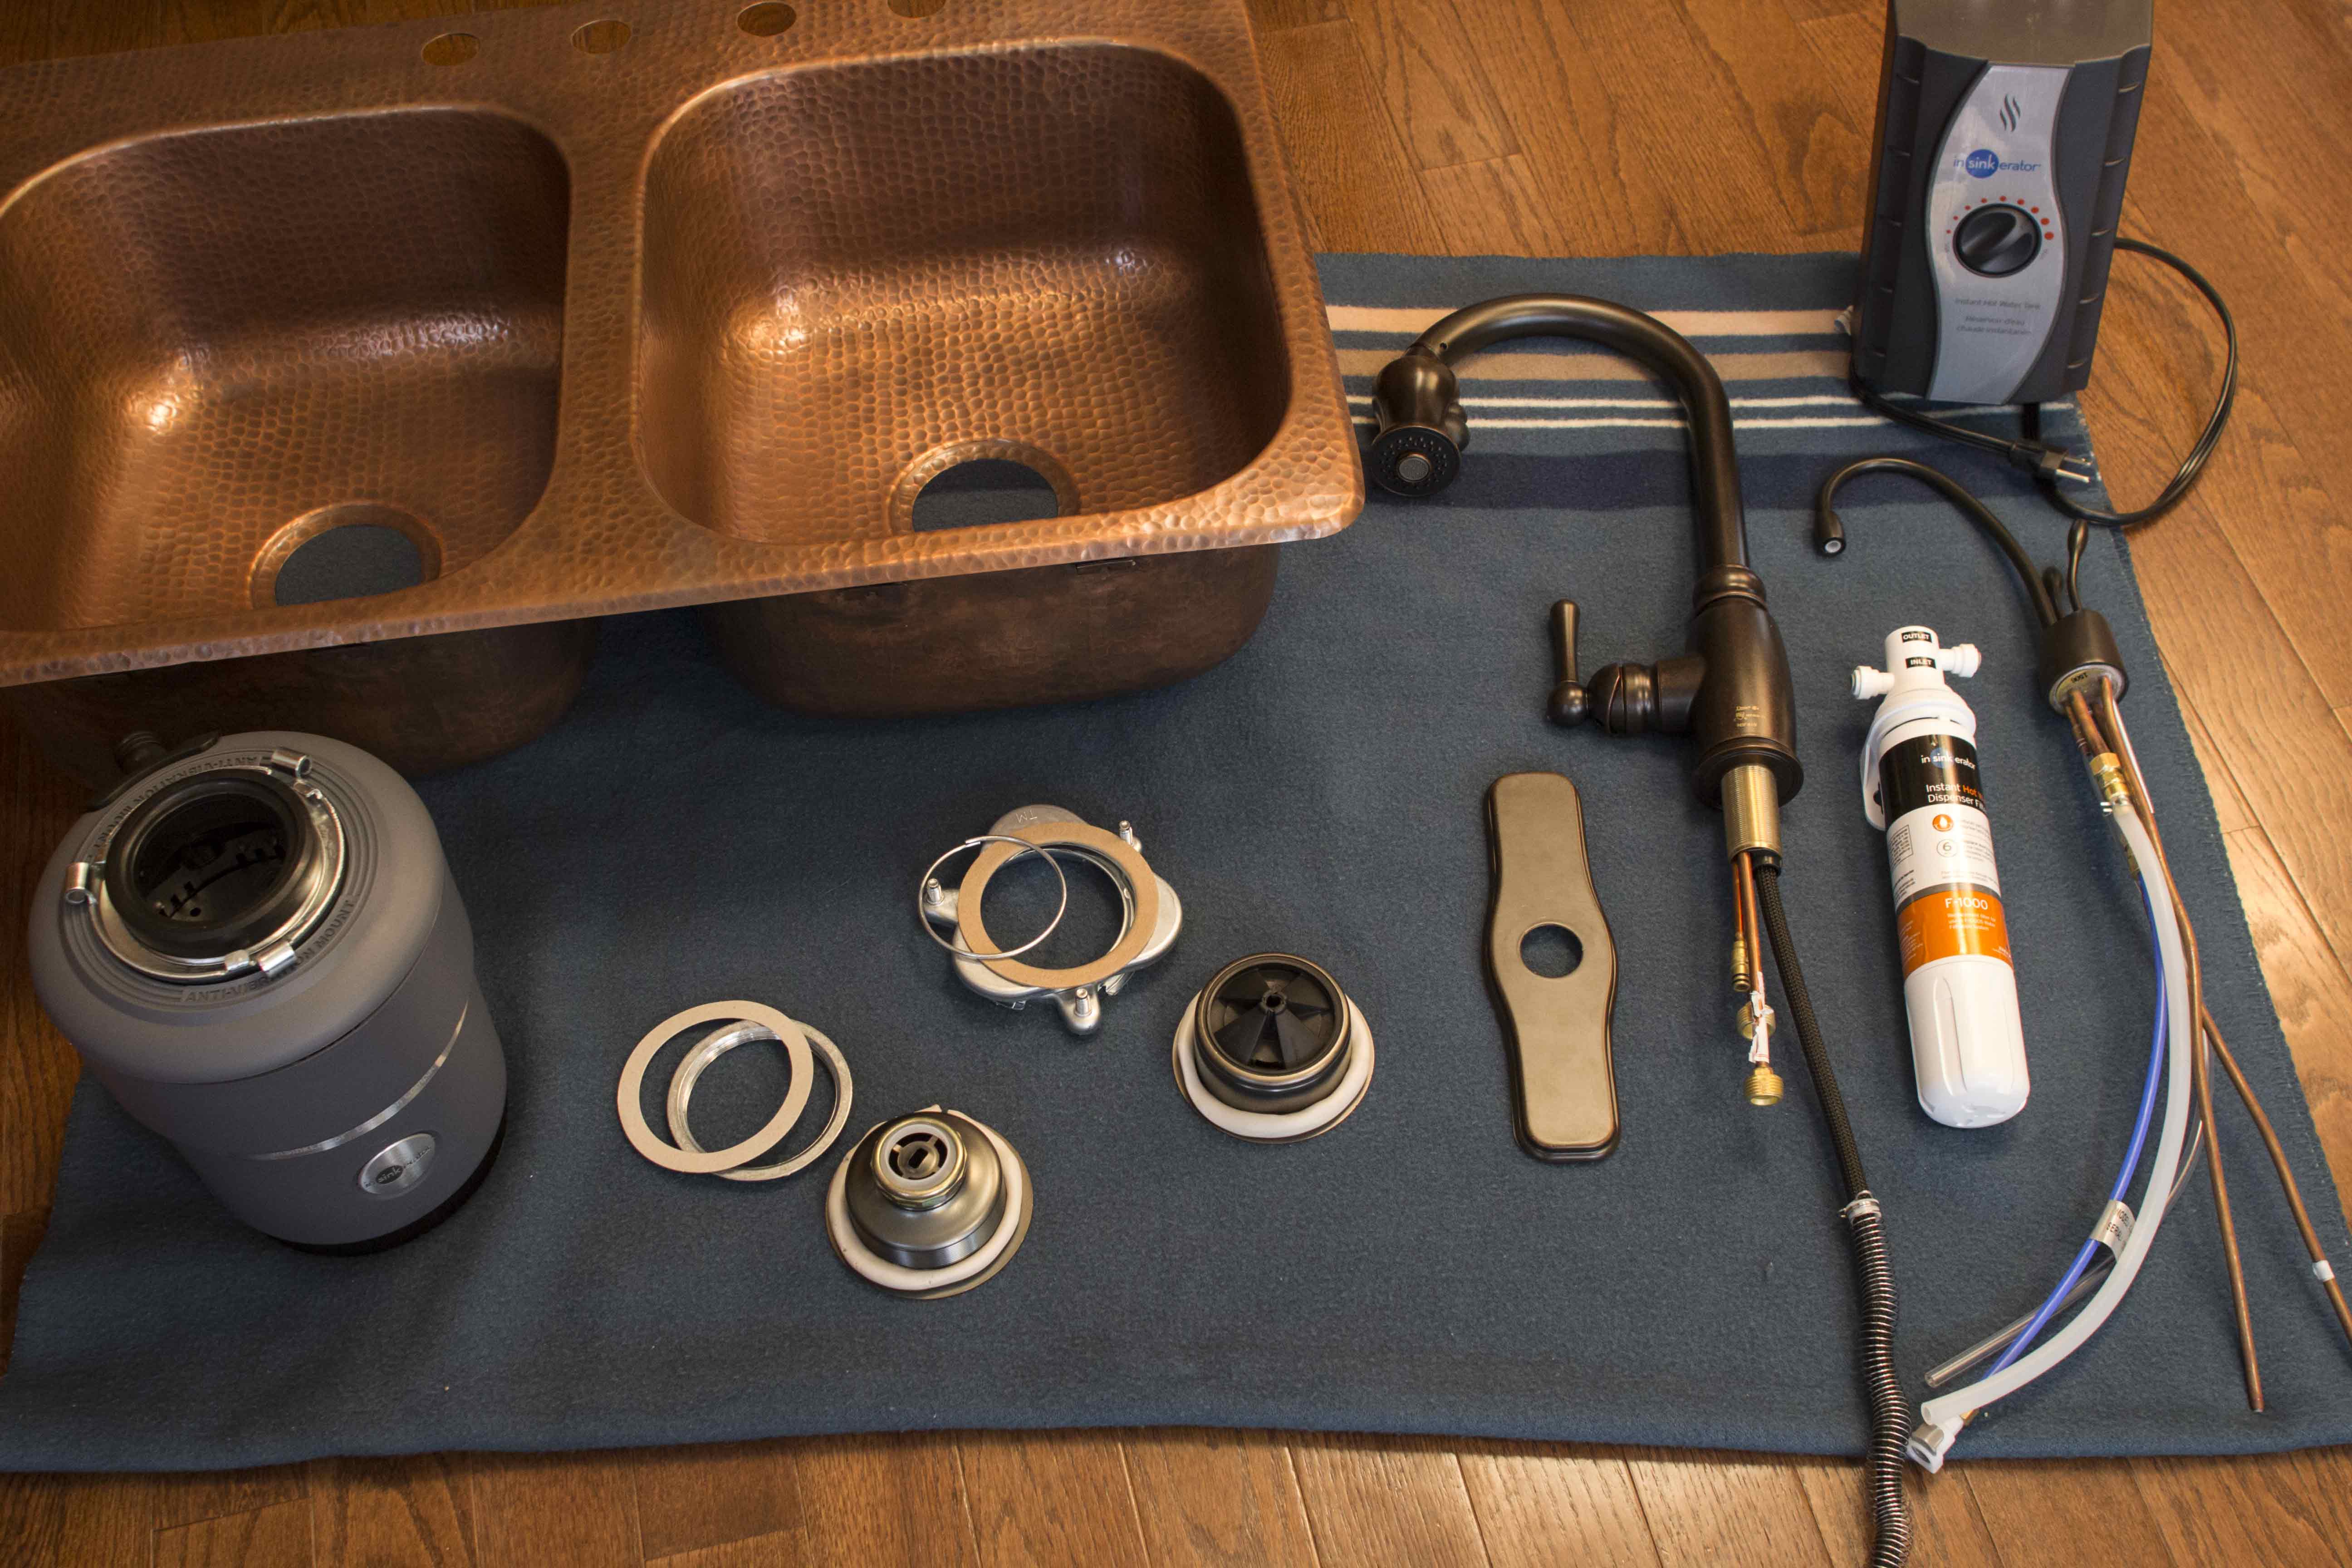
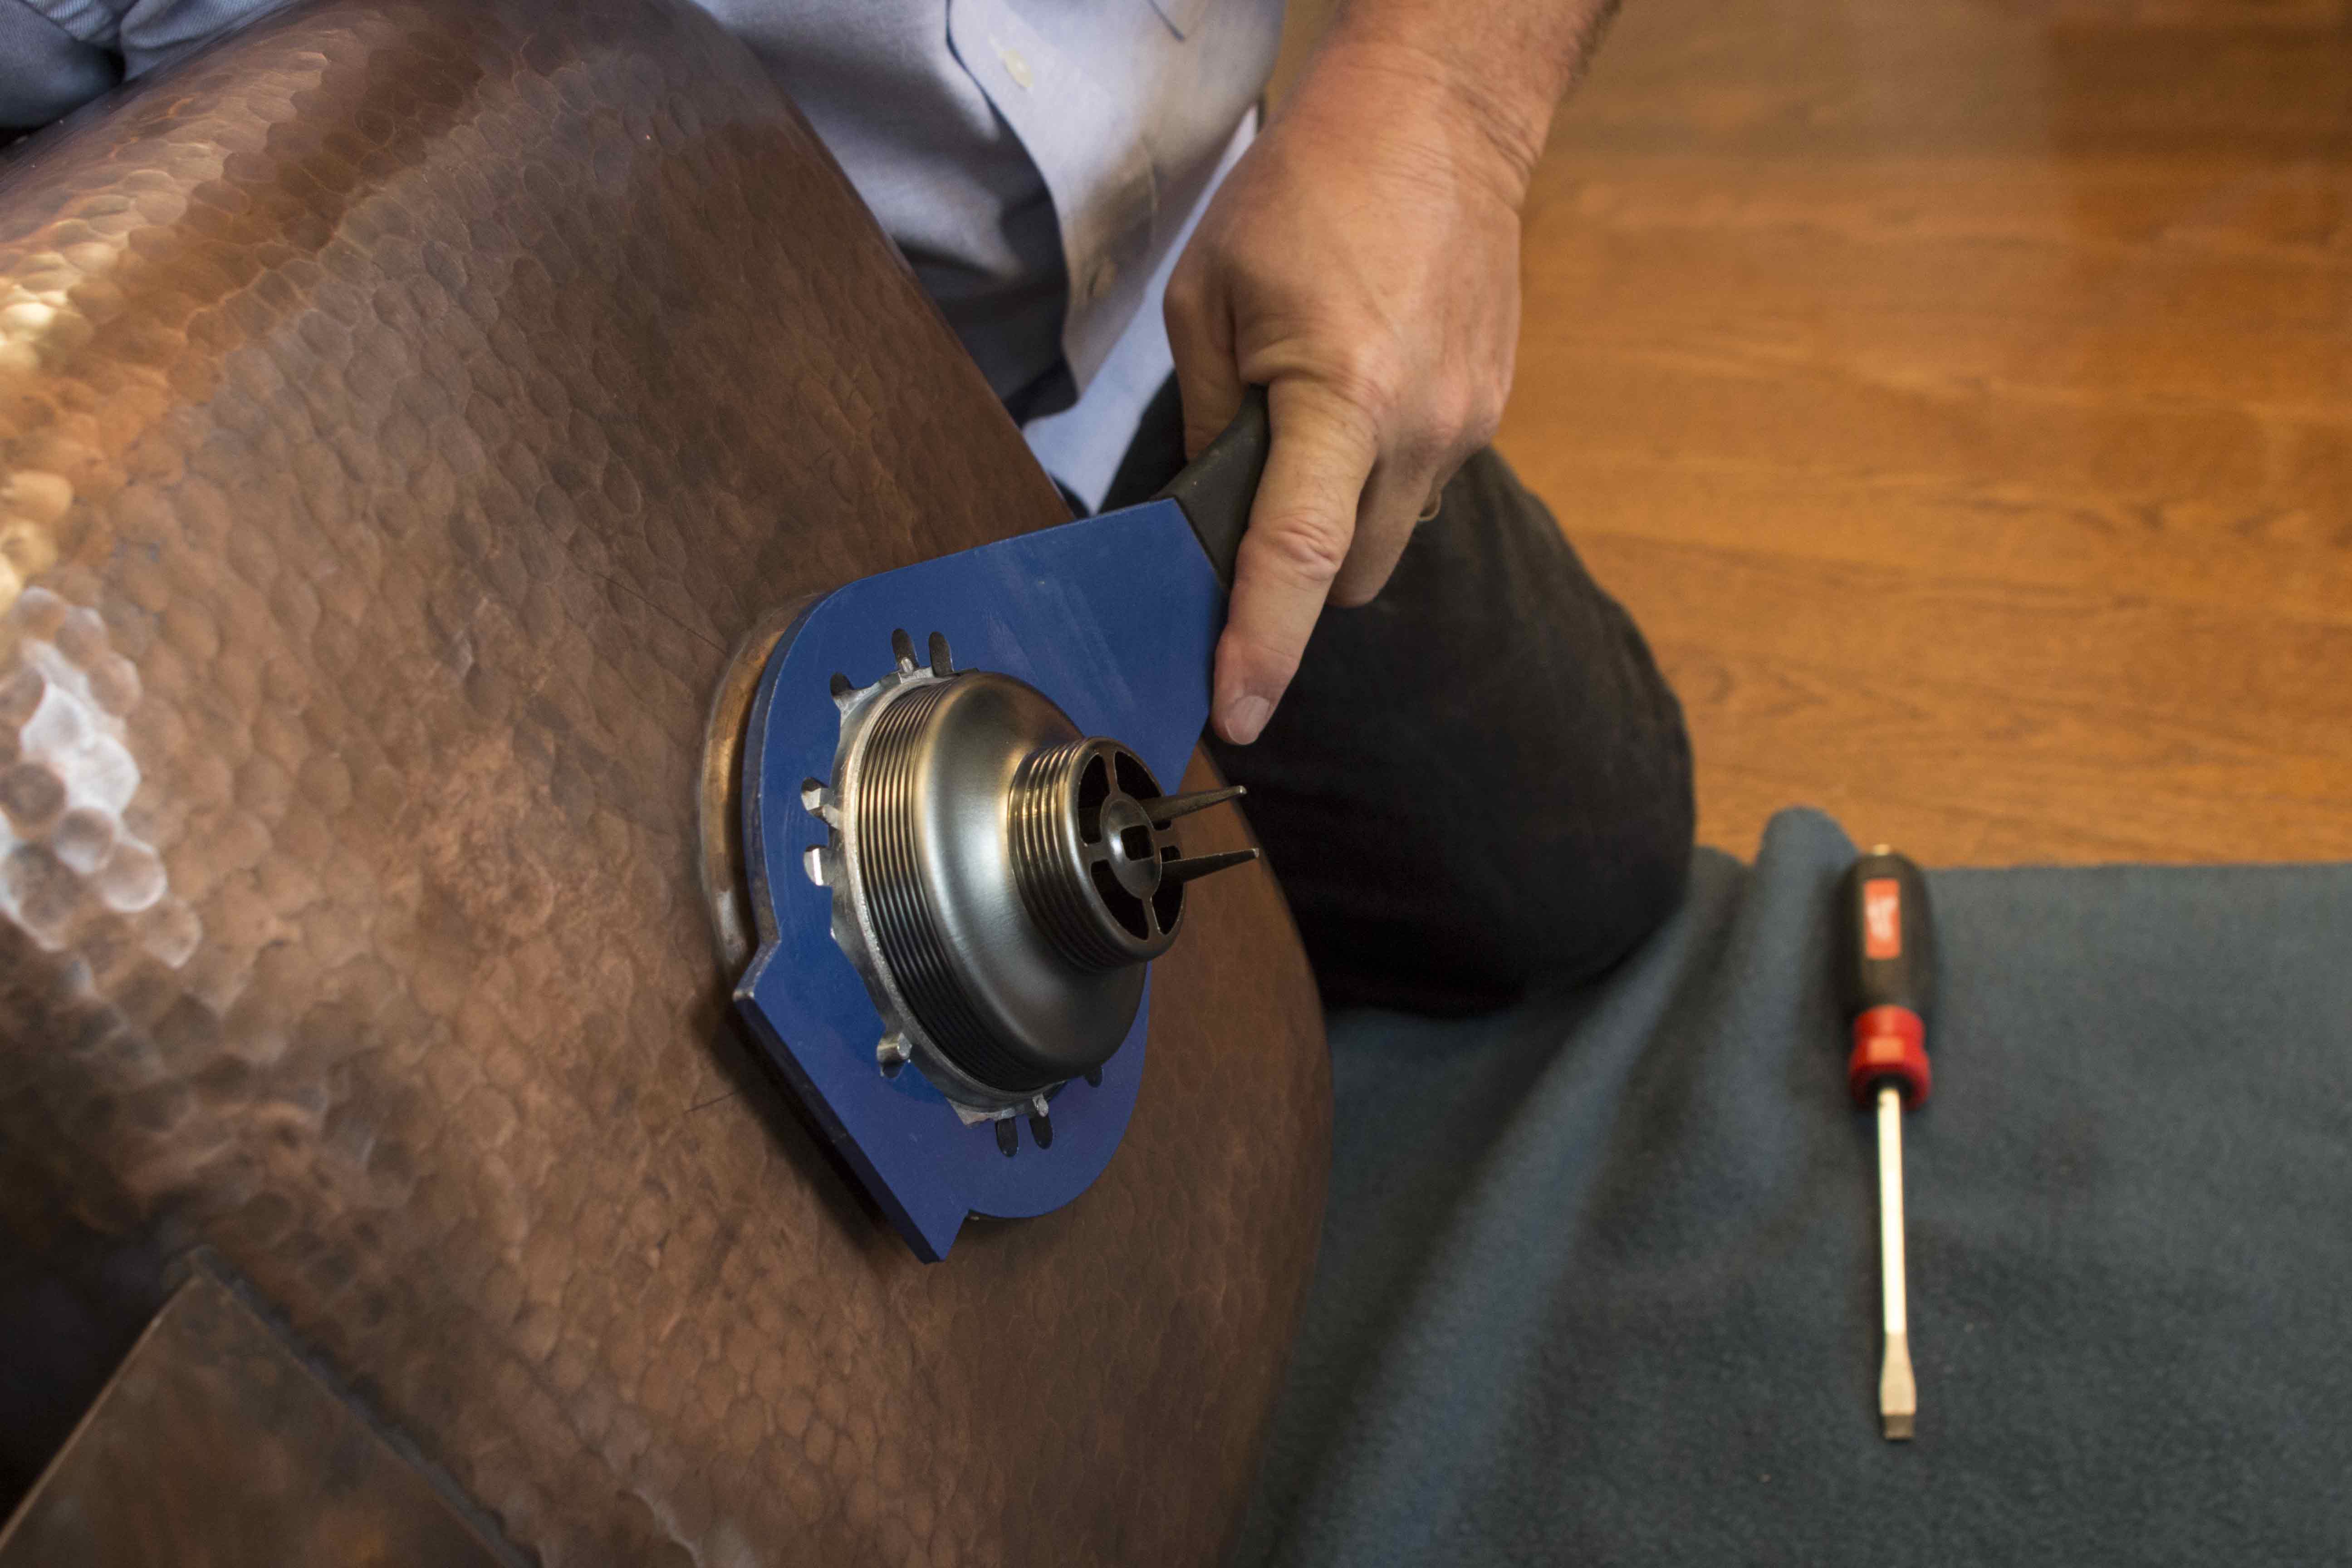
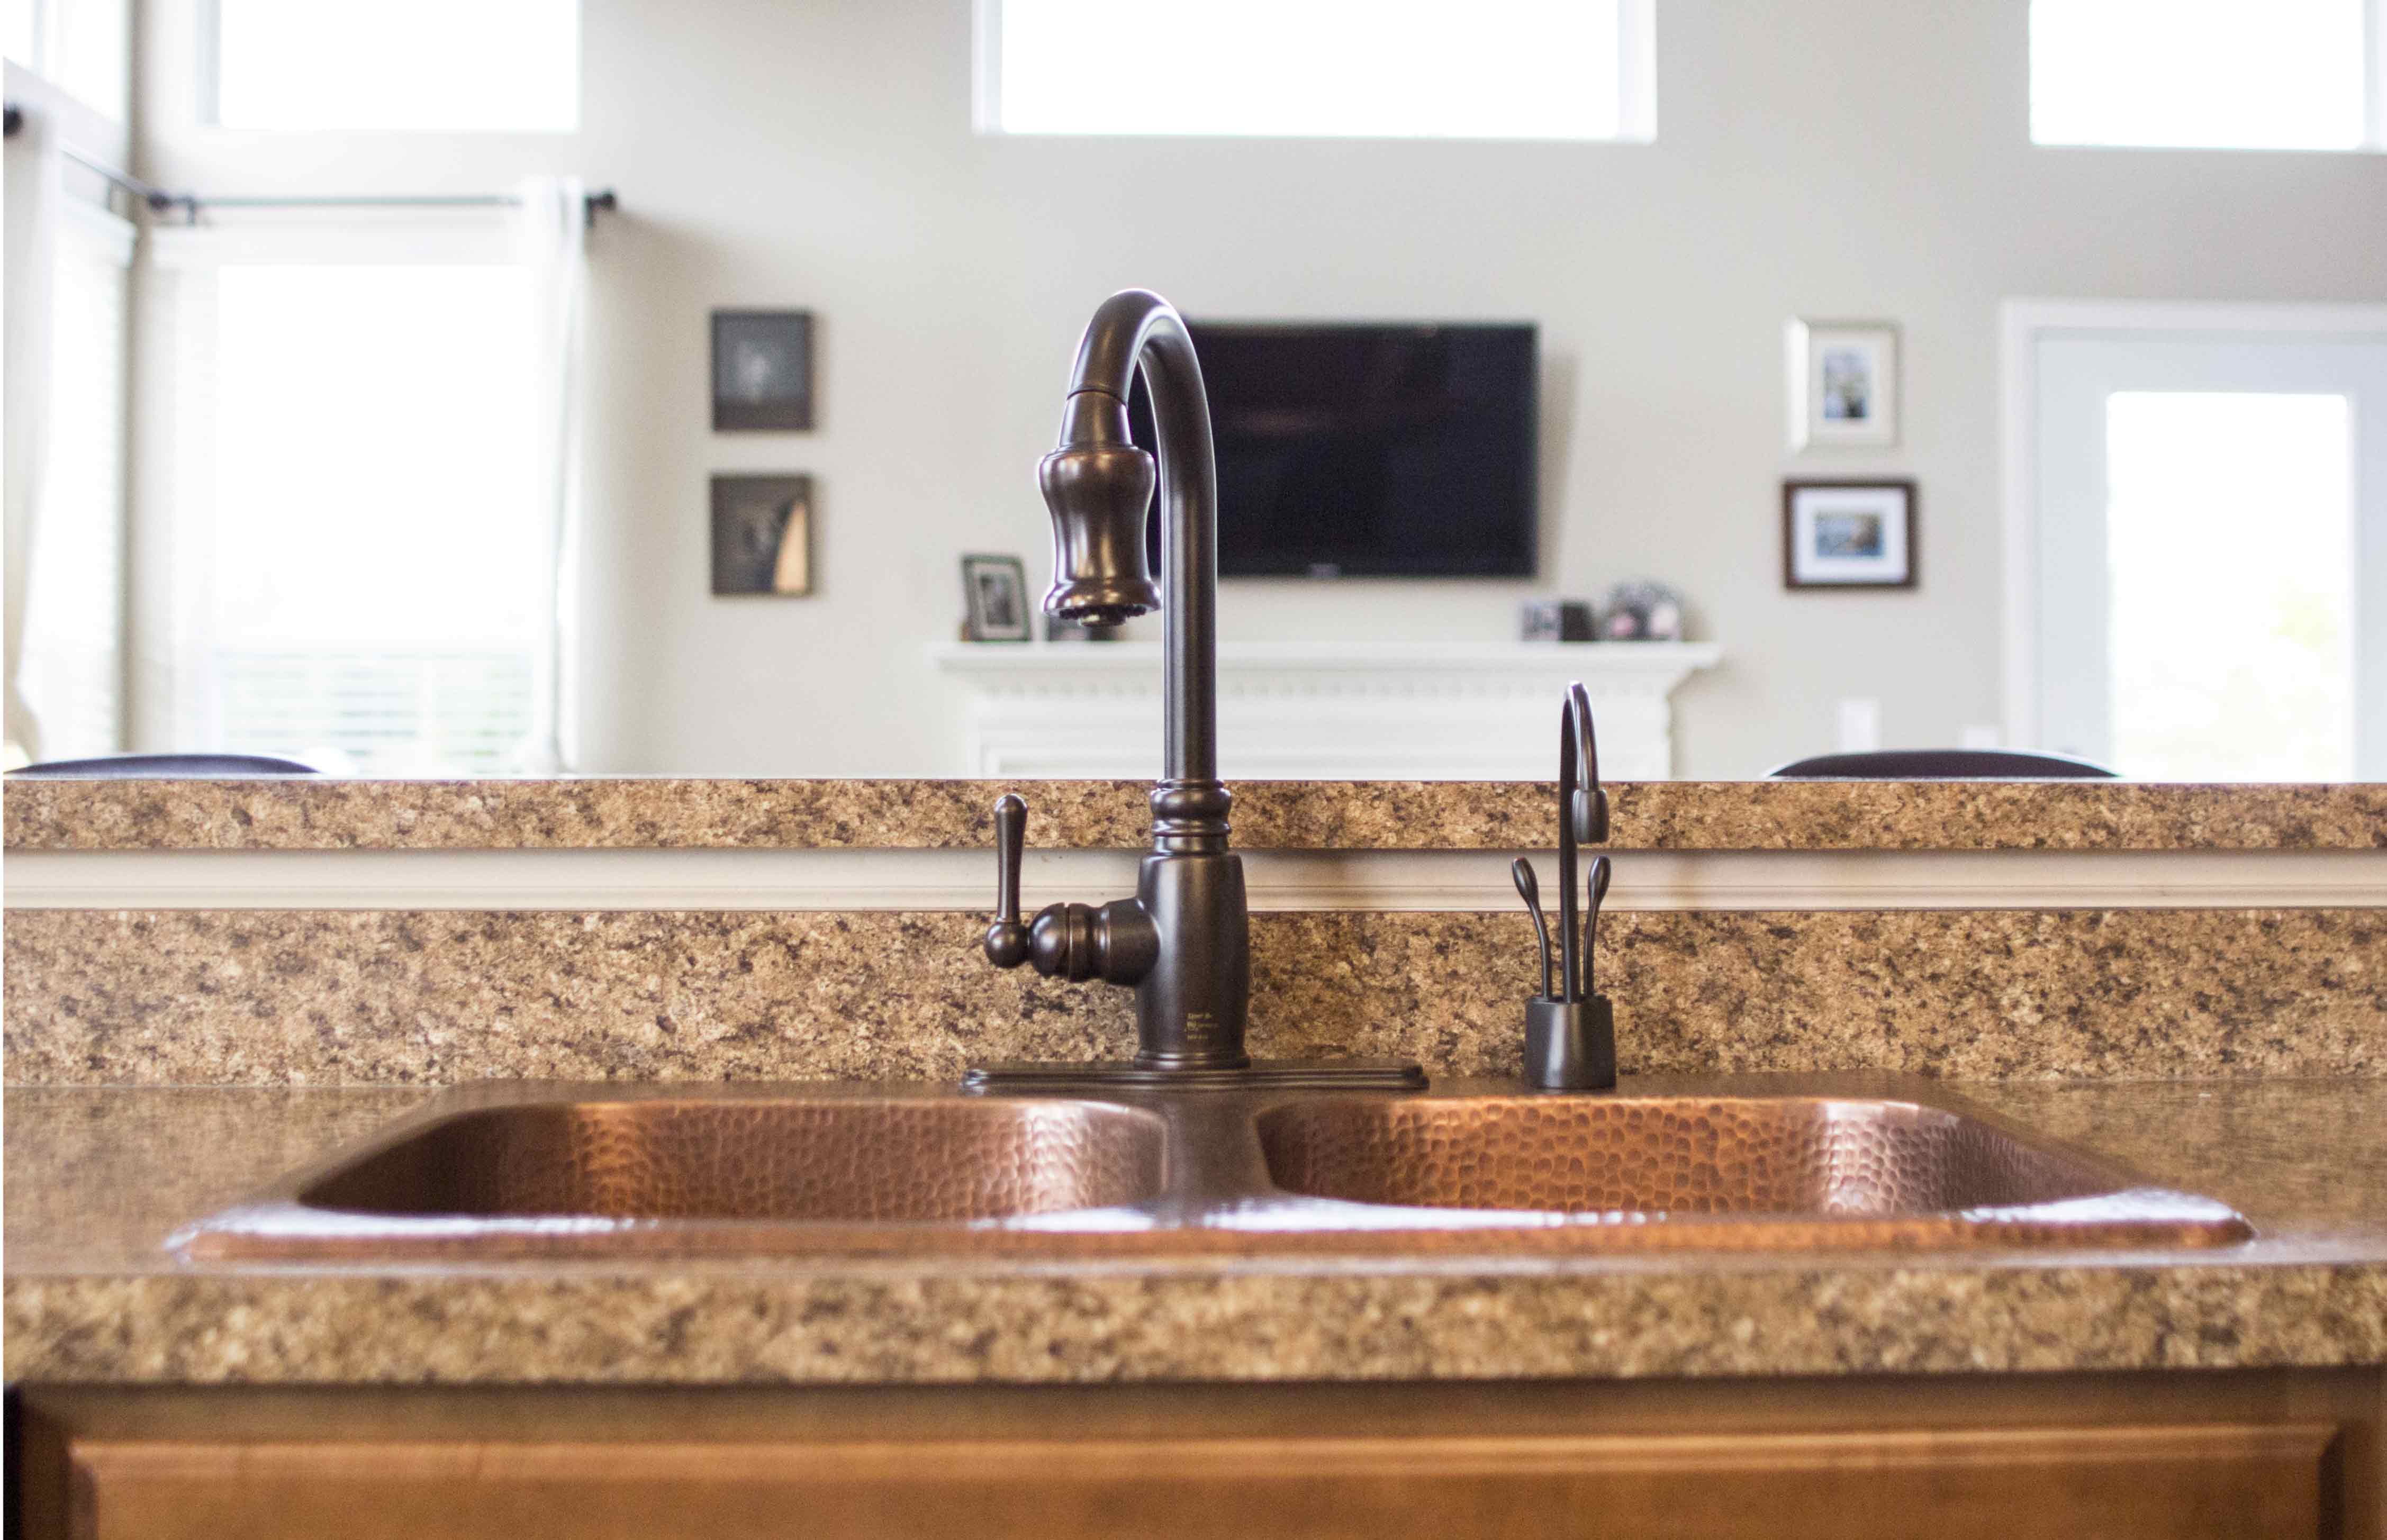
Stopper Drain This type of drain is perfect for multi-purpose double basin sinks. On the one hand, the stopper itself creates a perfect seal so you can fill the basin without the risk of leaking when soaking and handwashing your biggest pots and pans. When the stopper is not in use, the drain is left open to easily access a garbage disposal. 

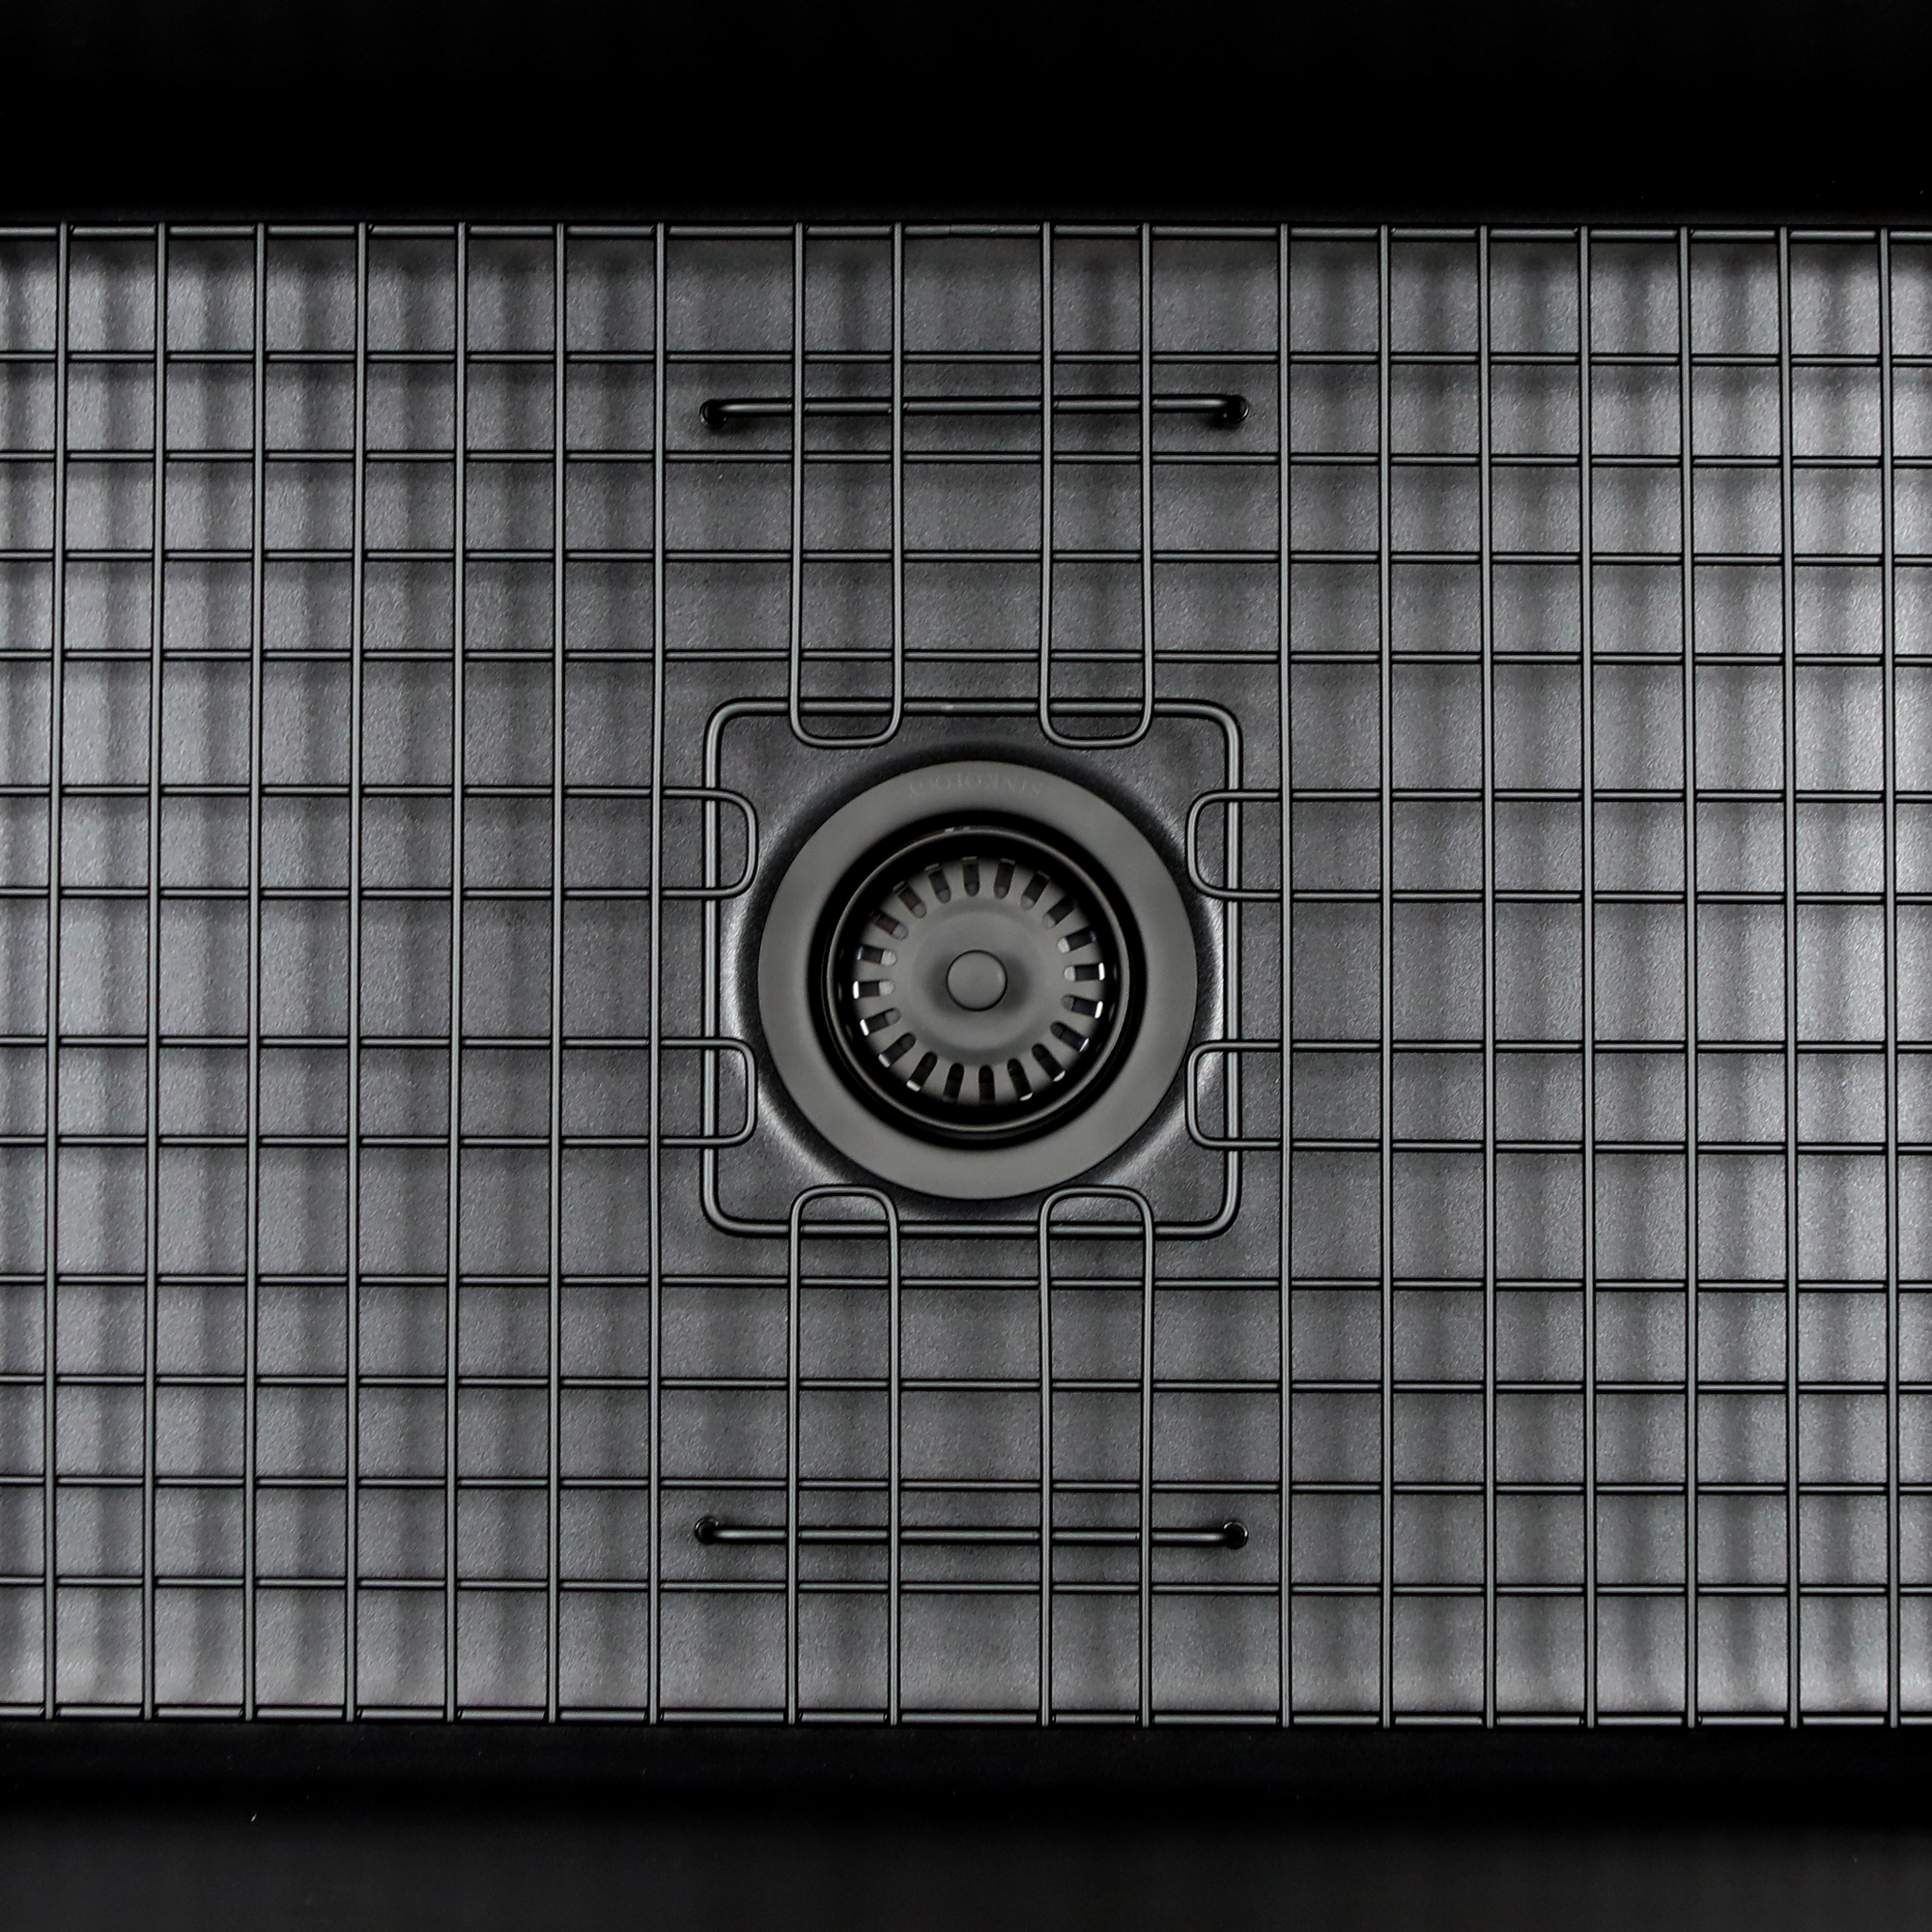
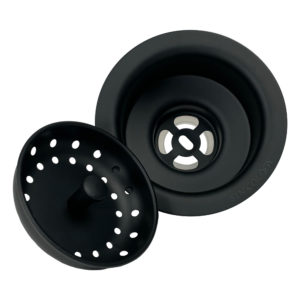
Strainer Drain: This type of kitchen sink is ideal for sinks without a disposal, whether in one side of a double bowl or in single bowl sinks. Strainer drains helps to prevent debris from going down the drain and into your plumbing with the help of a removable basket. But don’t let its strainability worry you about leaks. It holds water just as well as the stopper drain.

Basic Drain Designs

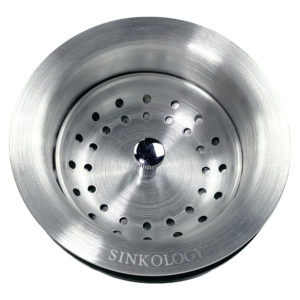
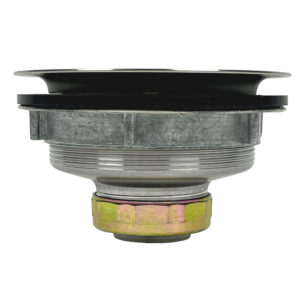
Sinkology carries two unique styles of drains in four finishes. Our classic basic-style drain is the OG in kitchen drains. It was our original design, comes at the most affordable price, and has done the job exceptionally well over the years.

Our original drains come in two finishes, Antique Copper and Stainless Steel.

Copper Strainer Drain

  • Antique Copper Strainer Drain: TB35-01

Copper Disposal Drain

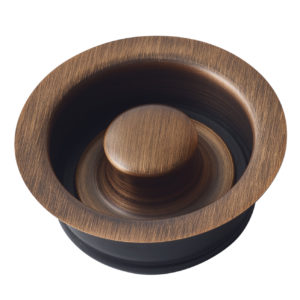
  • Antique Copper Disposal Stopper: TD35-01

Stainless Drain

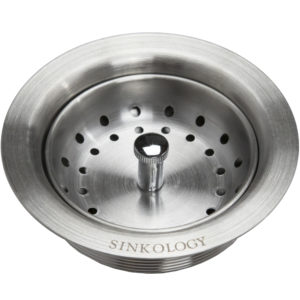
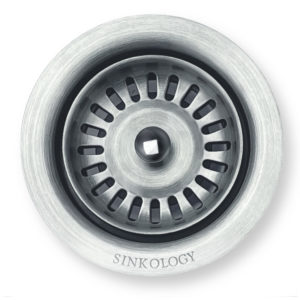
  • Stainless Steel Strainer Drain with Sinkology Logo: TB35-03

Stainless Disposal Drain

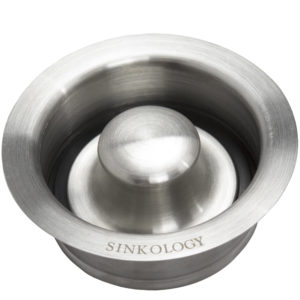
  • Stainless Steel Disposal Stopper with Sinkology Logo: TD35-03


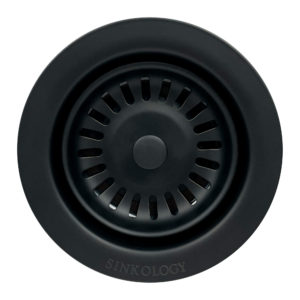
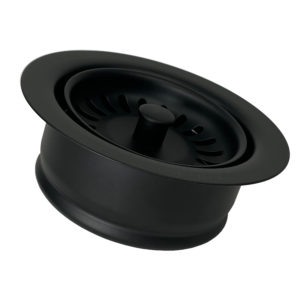
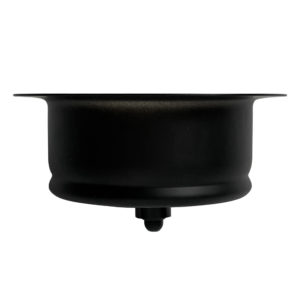
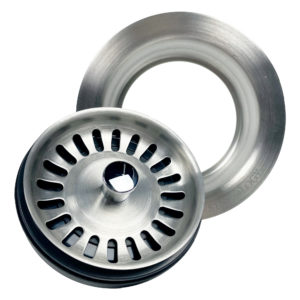
Upgraded Strainer Drain and Disposal Stoppers

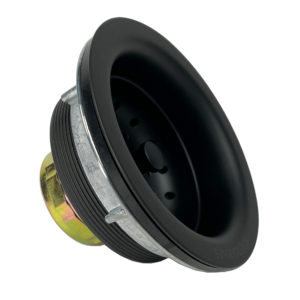
Sinkology’s upgraded versions of drains feature a heavier gauge for increased durability as well as a longer body threading to better fit thick sinks like fireclay and granite. This line of design also features an upgrade disposal stopper that allows for straining when the disposal is not in use or to easily prevent all water flow completely to fill the sink with water. This is a great added safety feature to help keep hands and other objects from getting into the disposal. This dual function replaces standard stoppers, which often go unused and simply take up space.

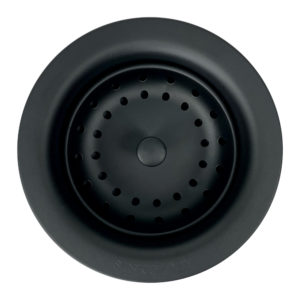
Our upgraded drains come in two finishes, Matte Black and Stainless Steel:


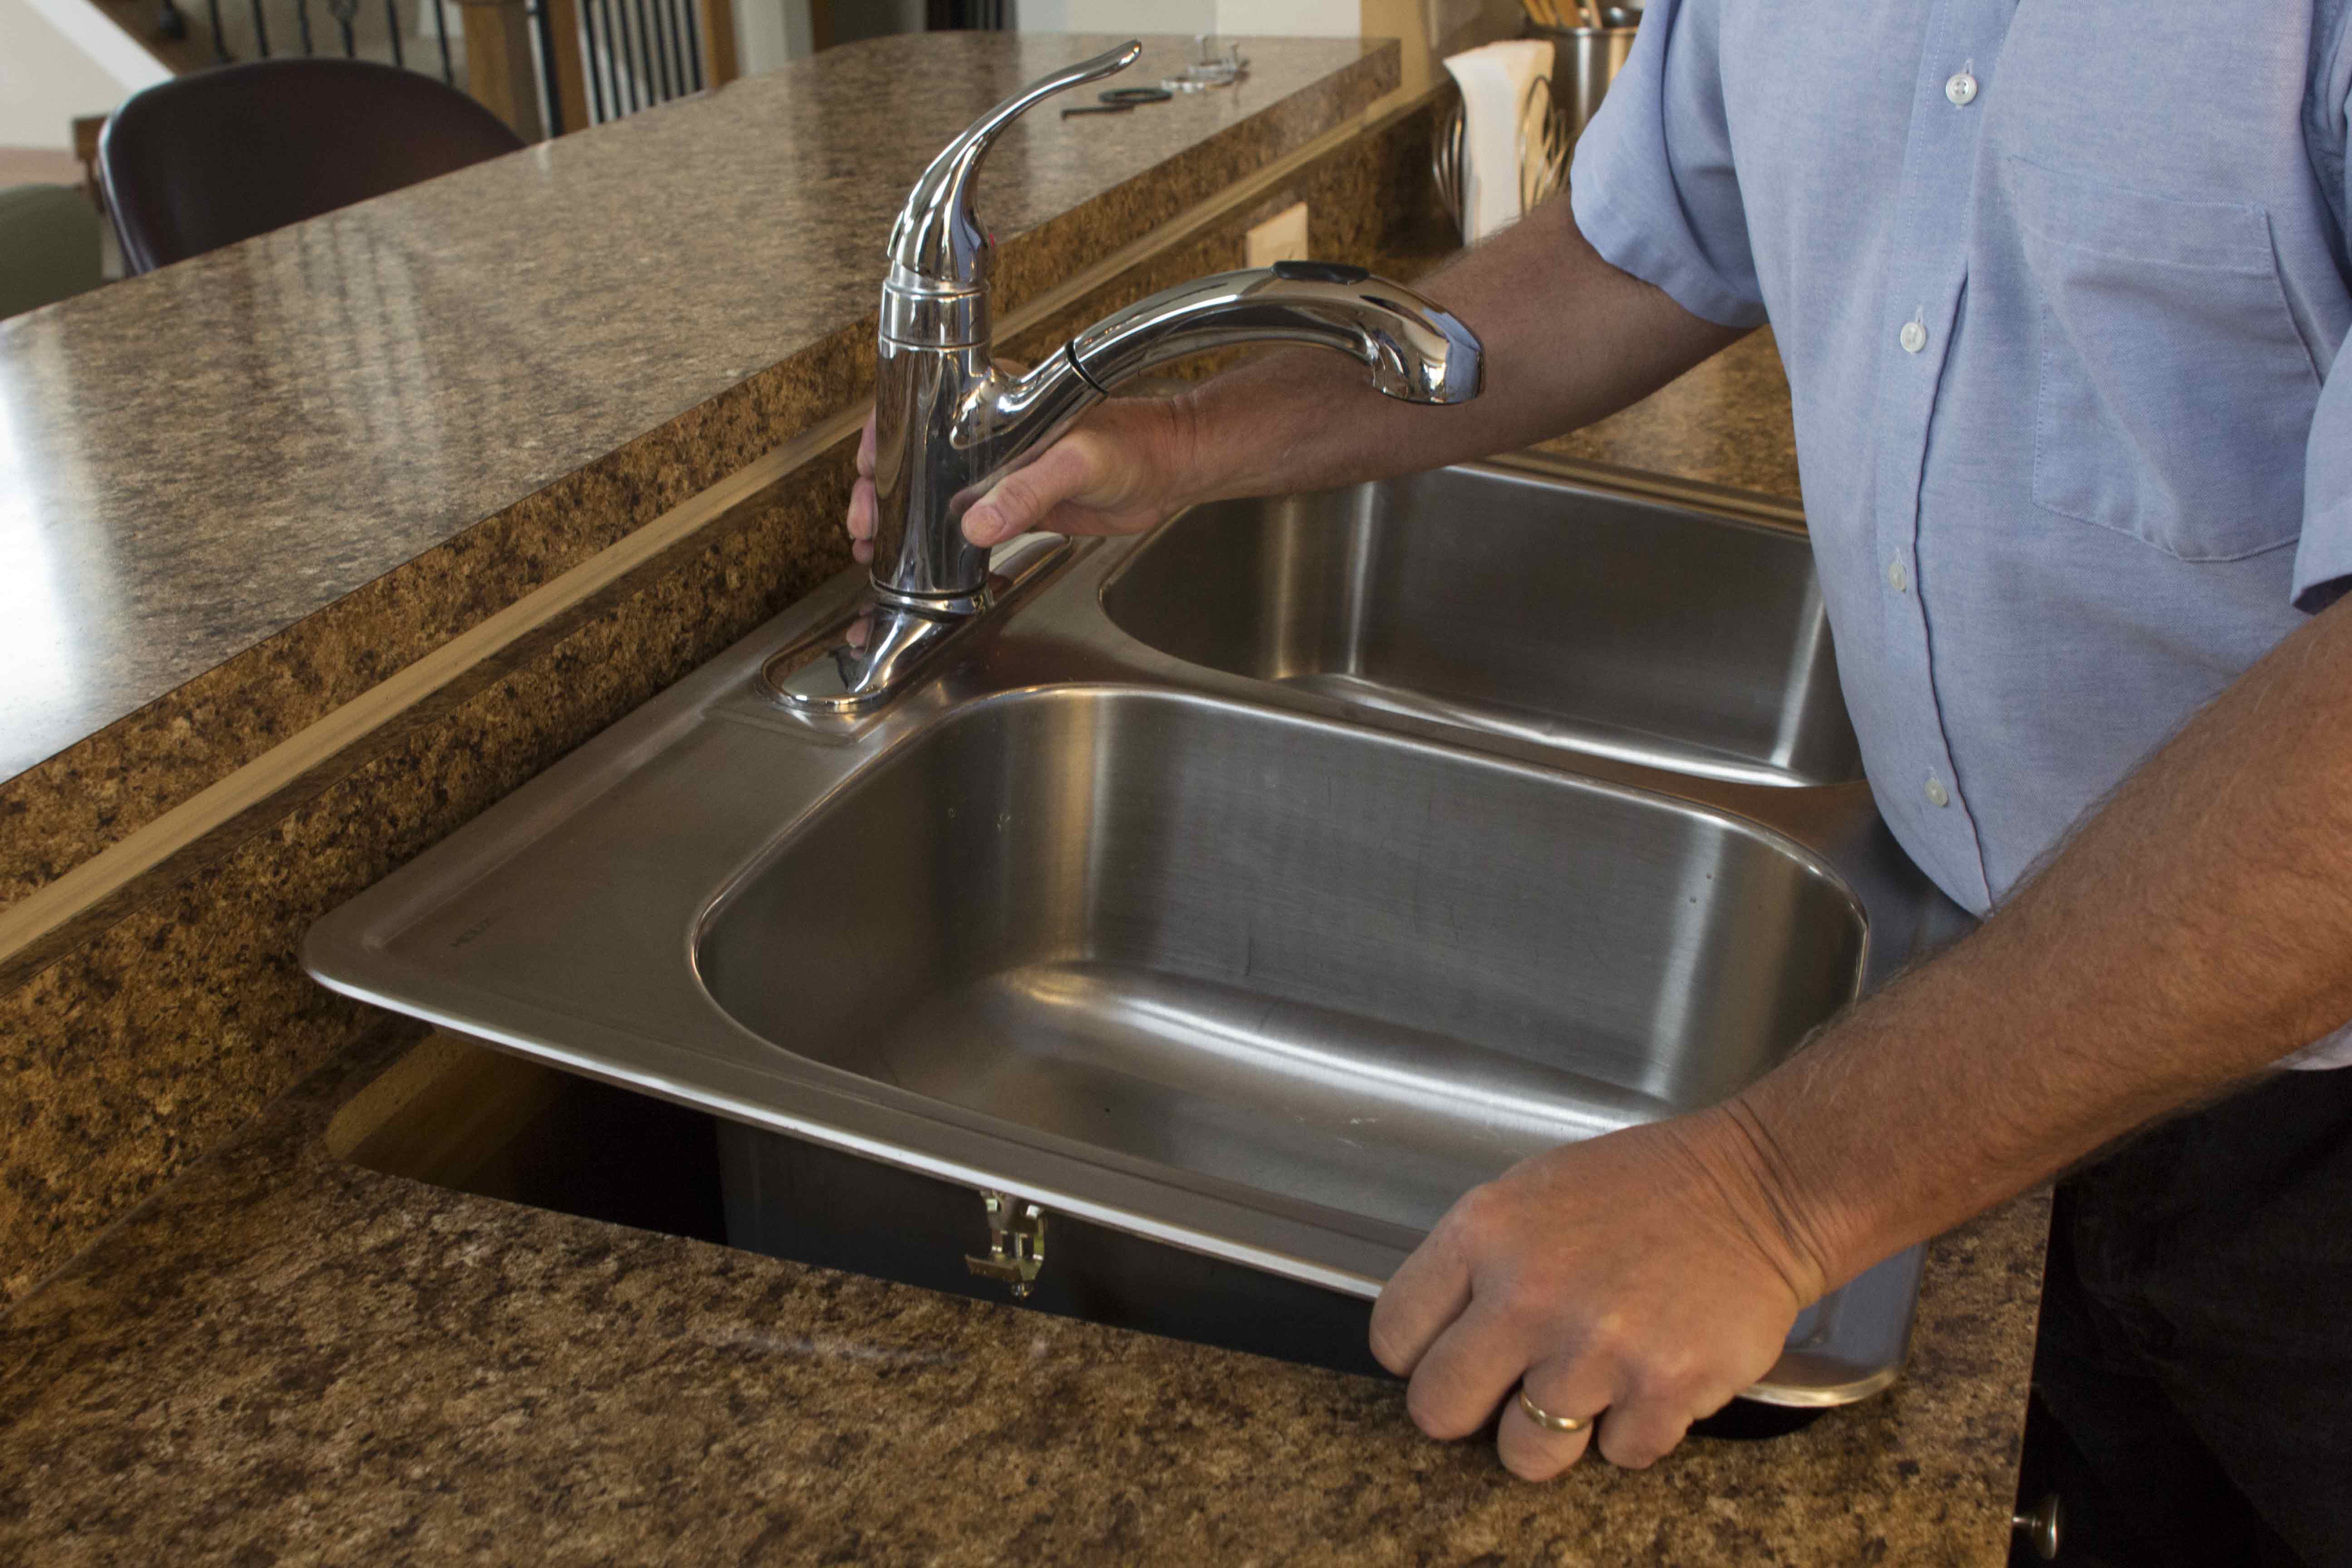
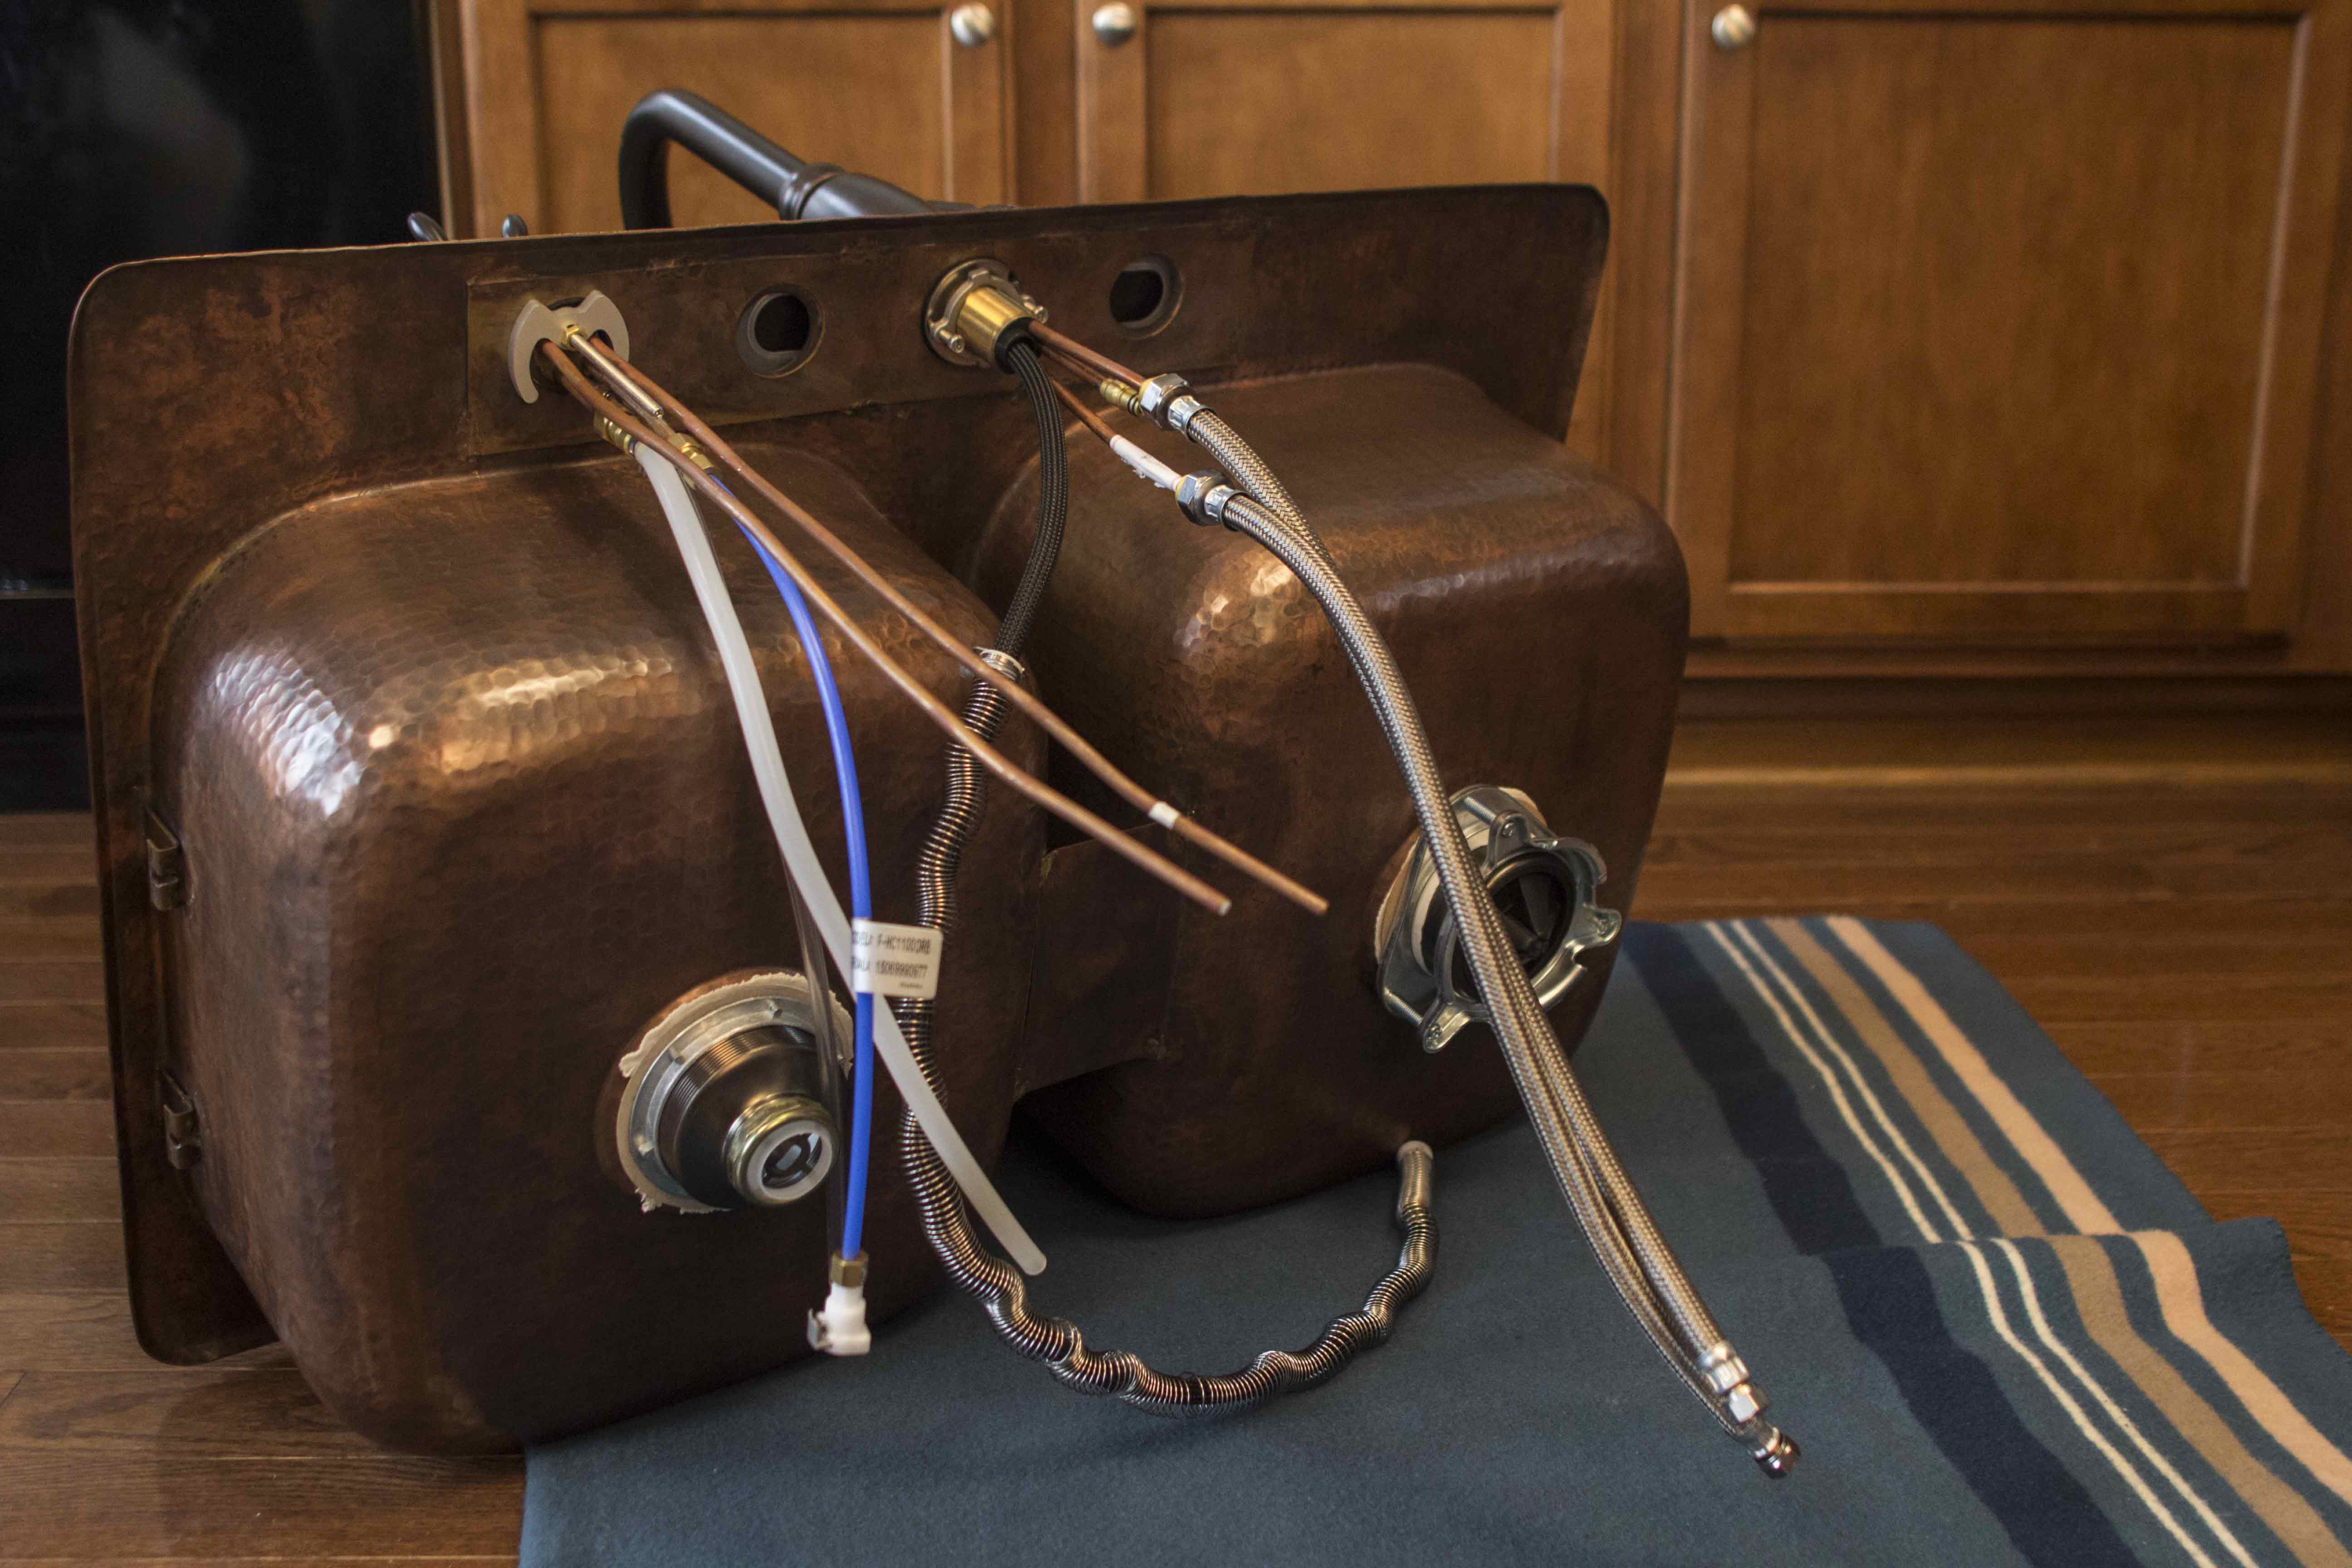
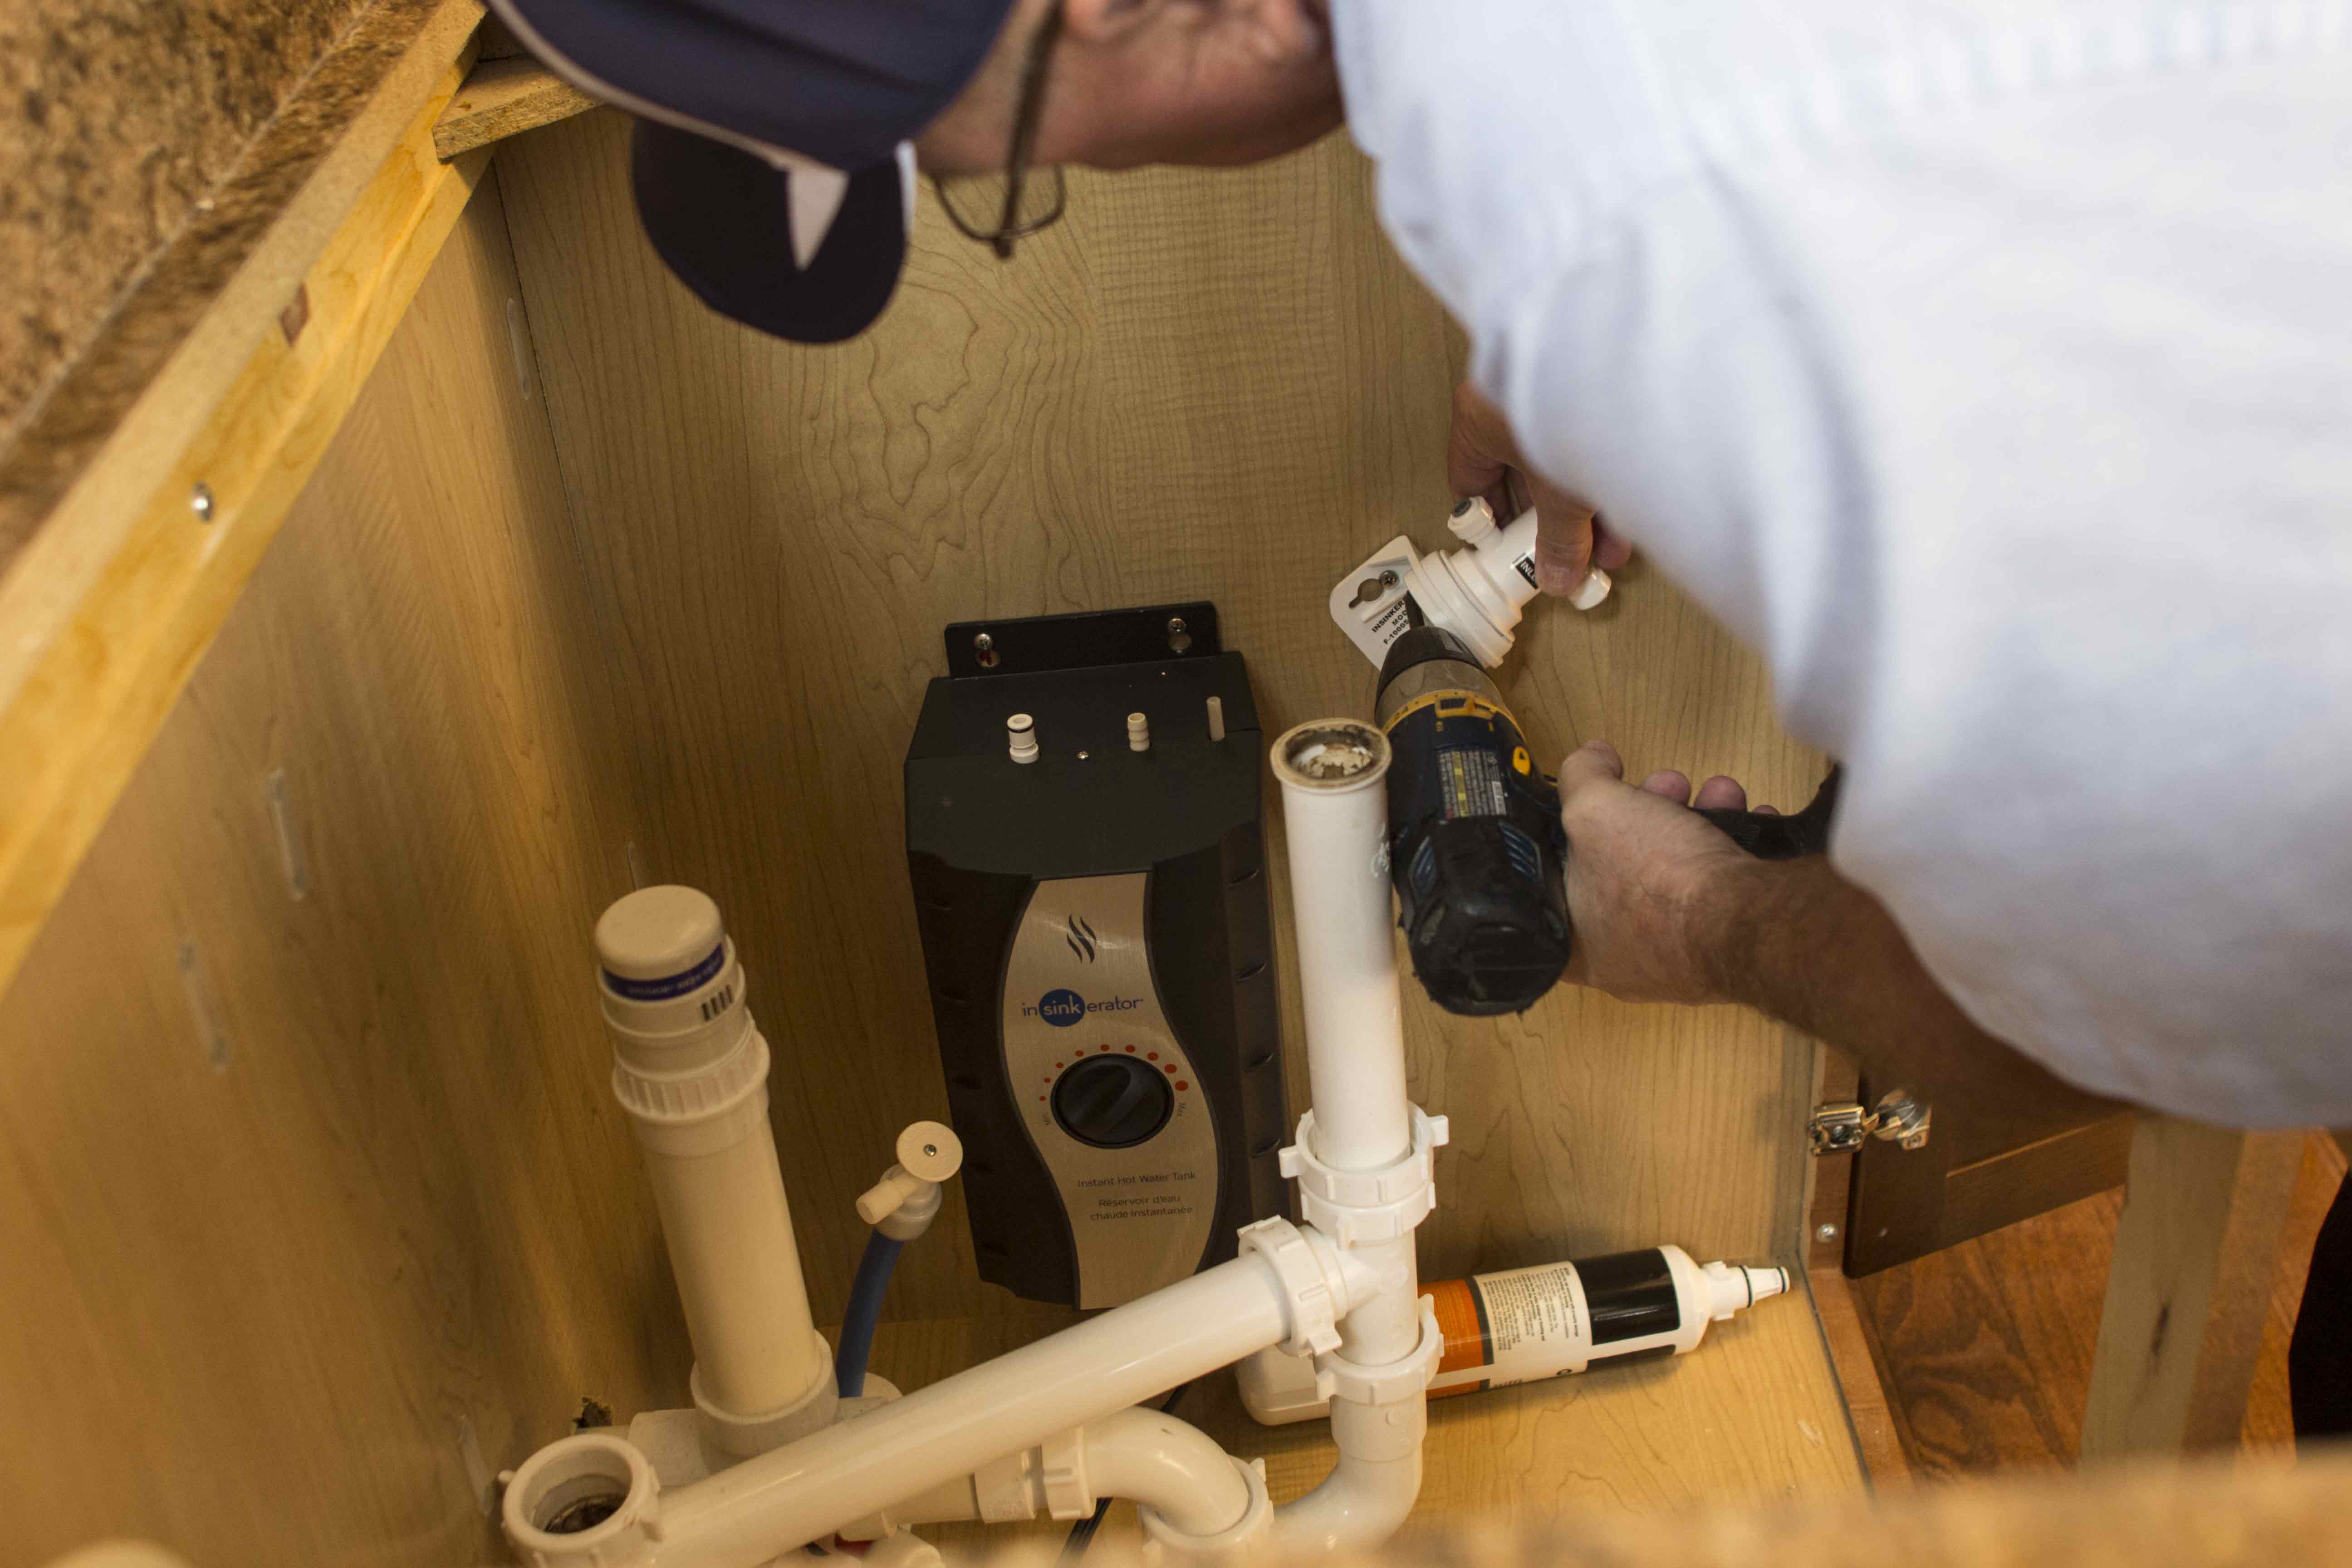
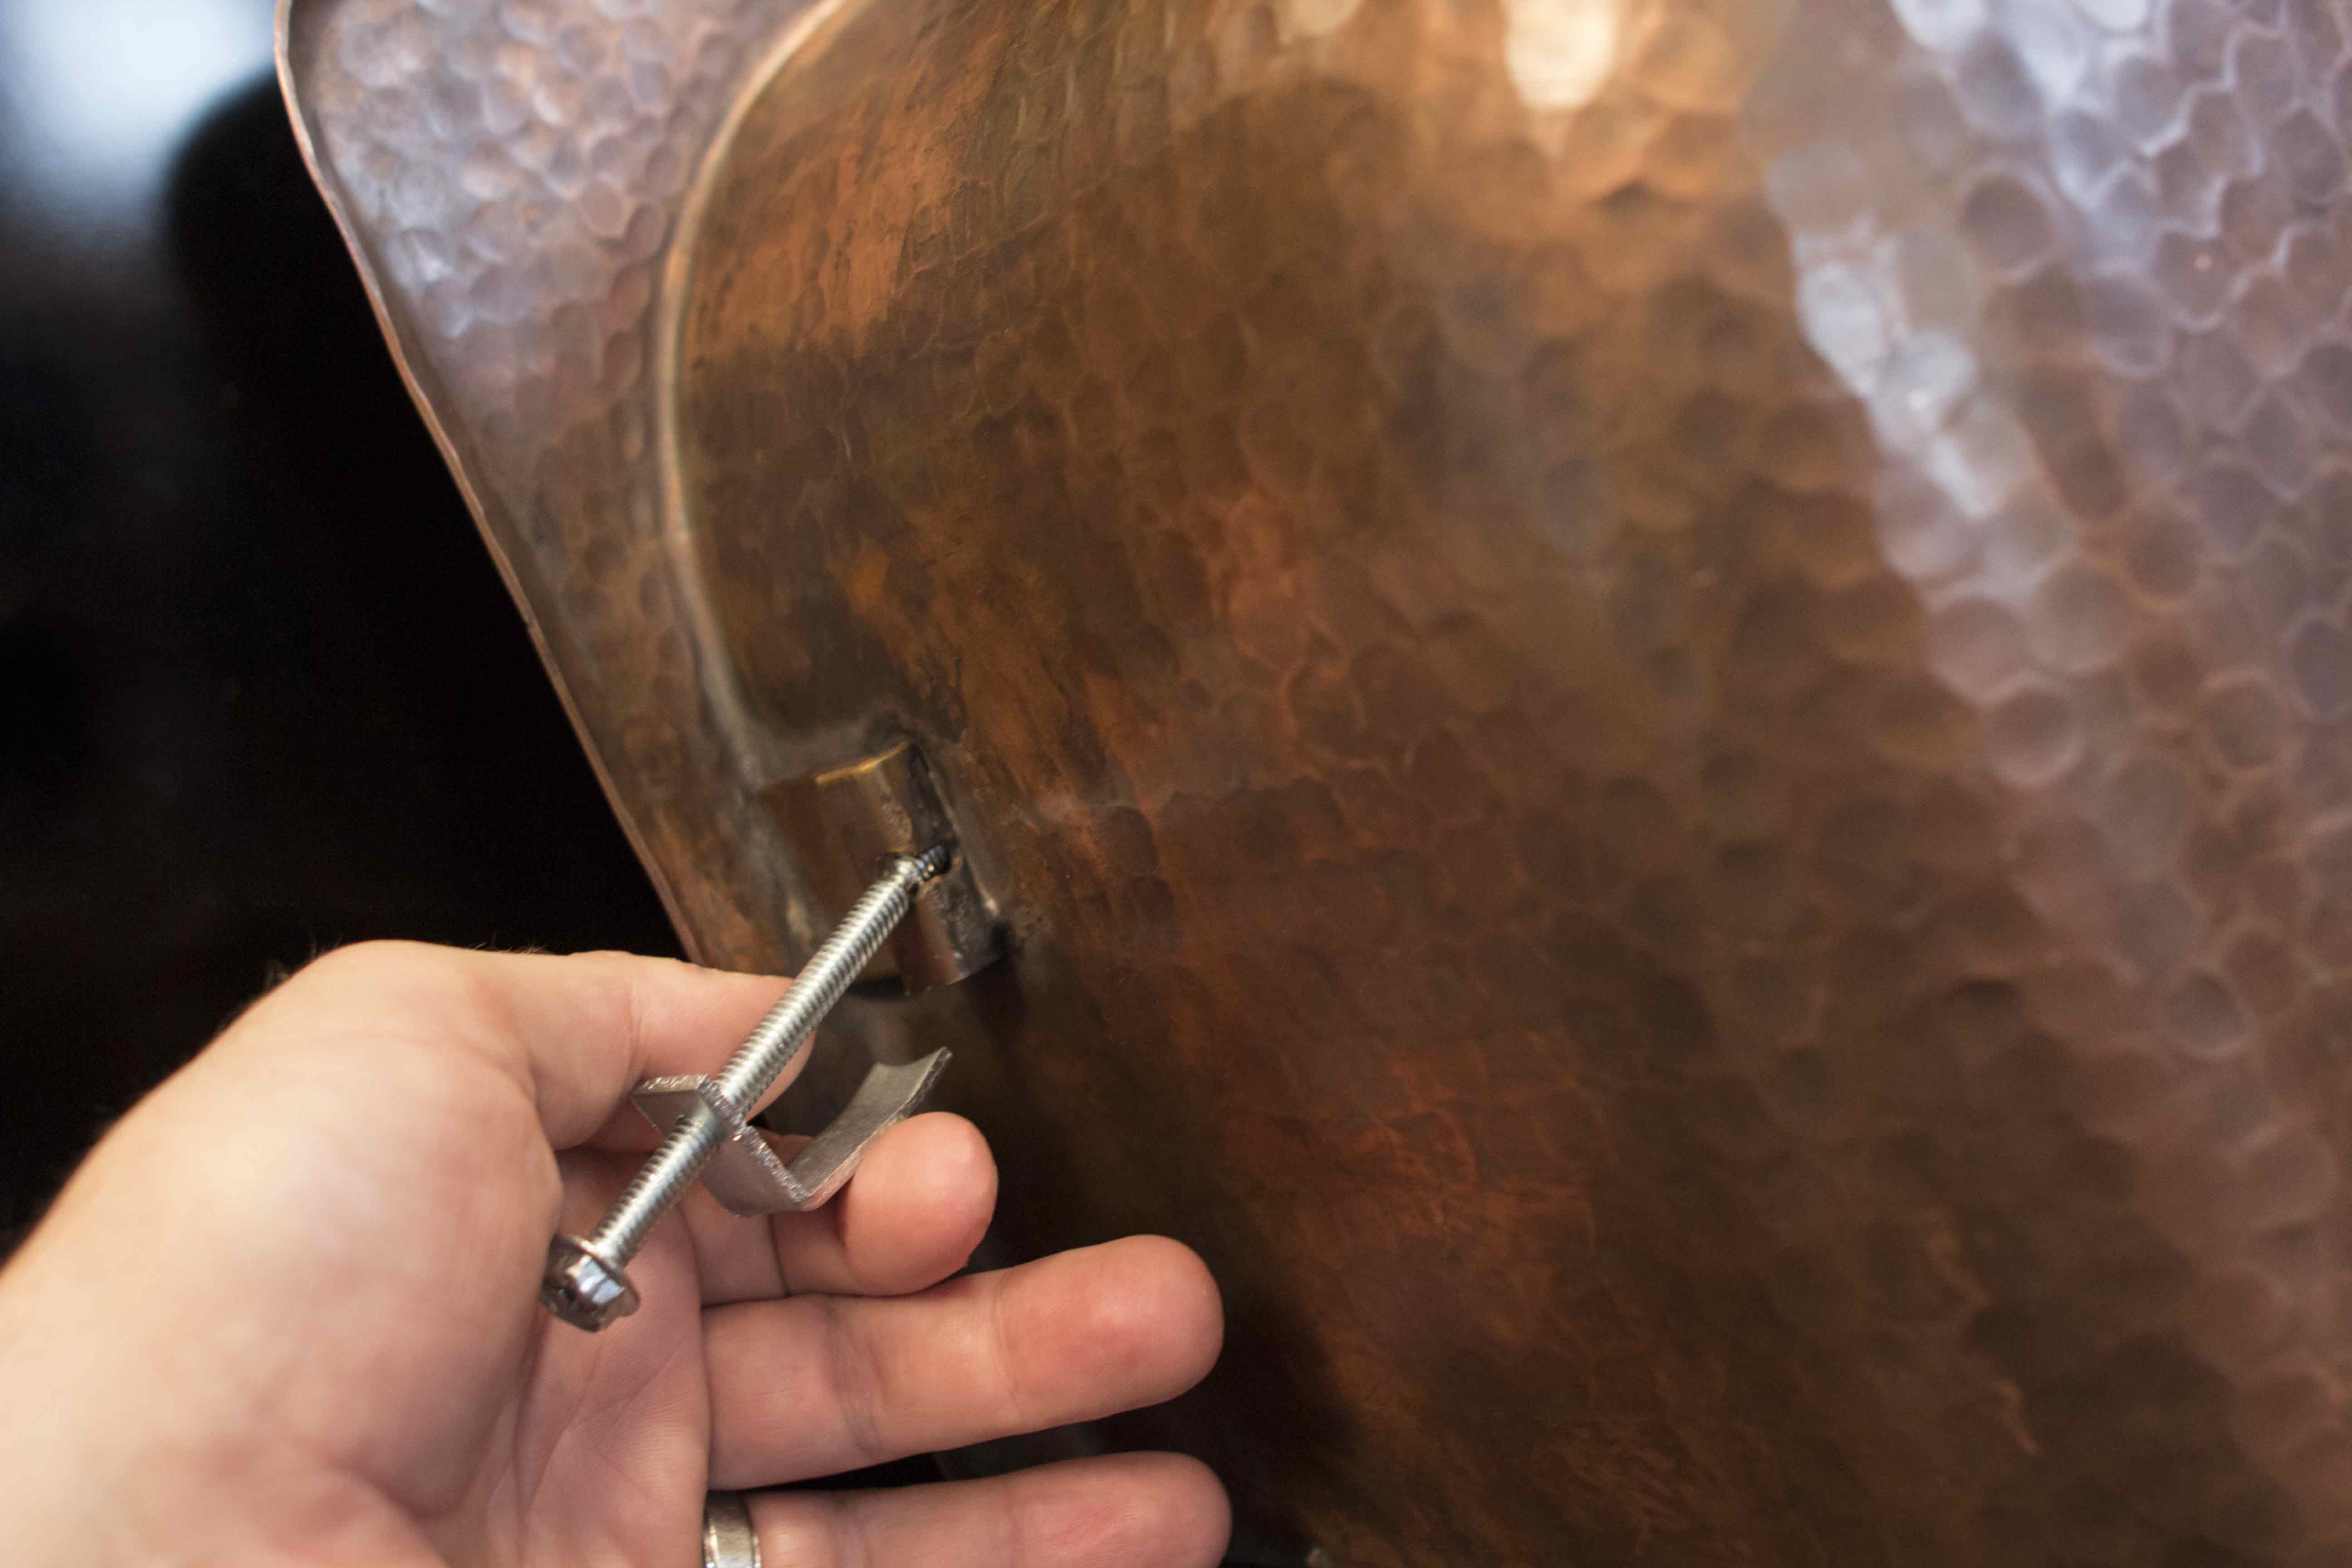
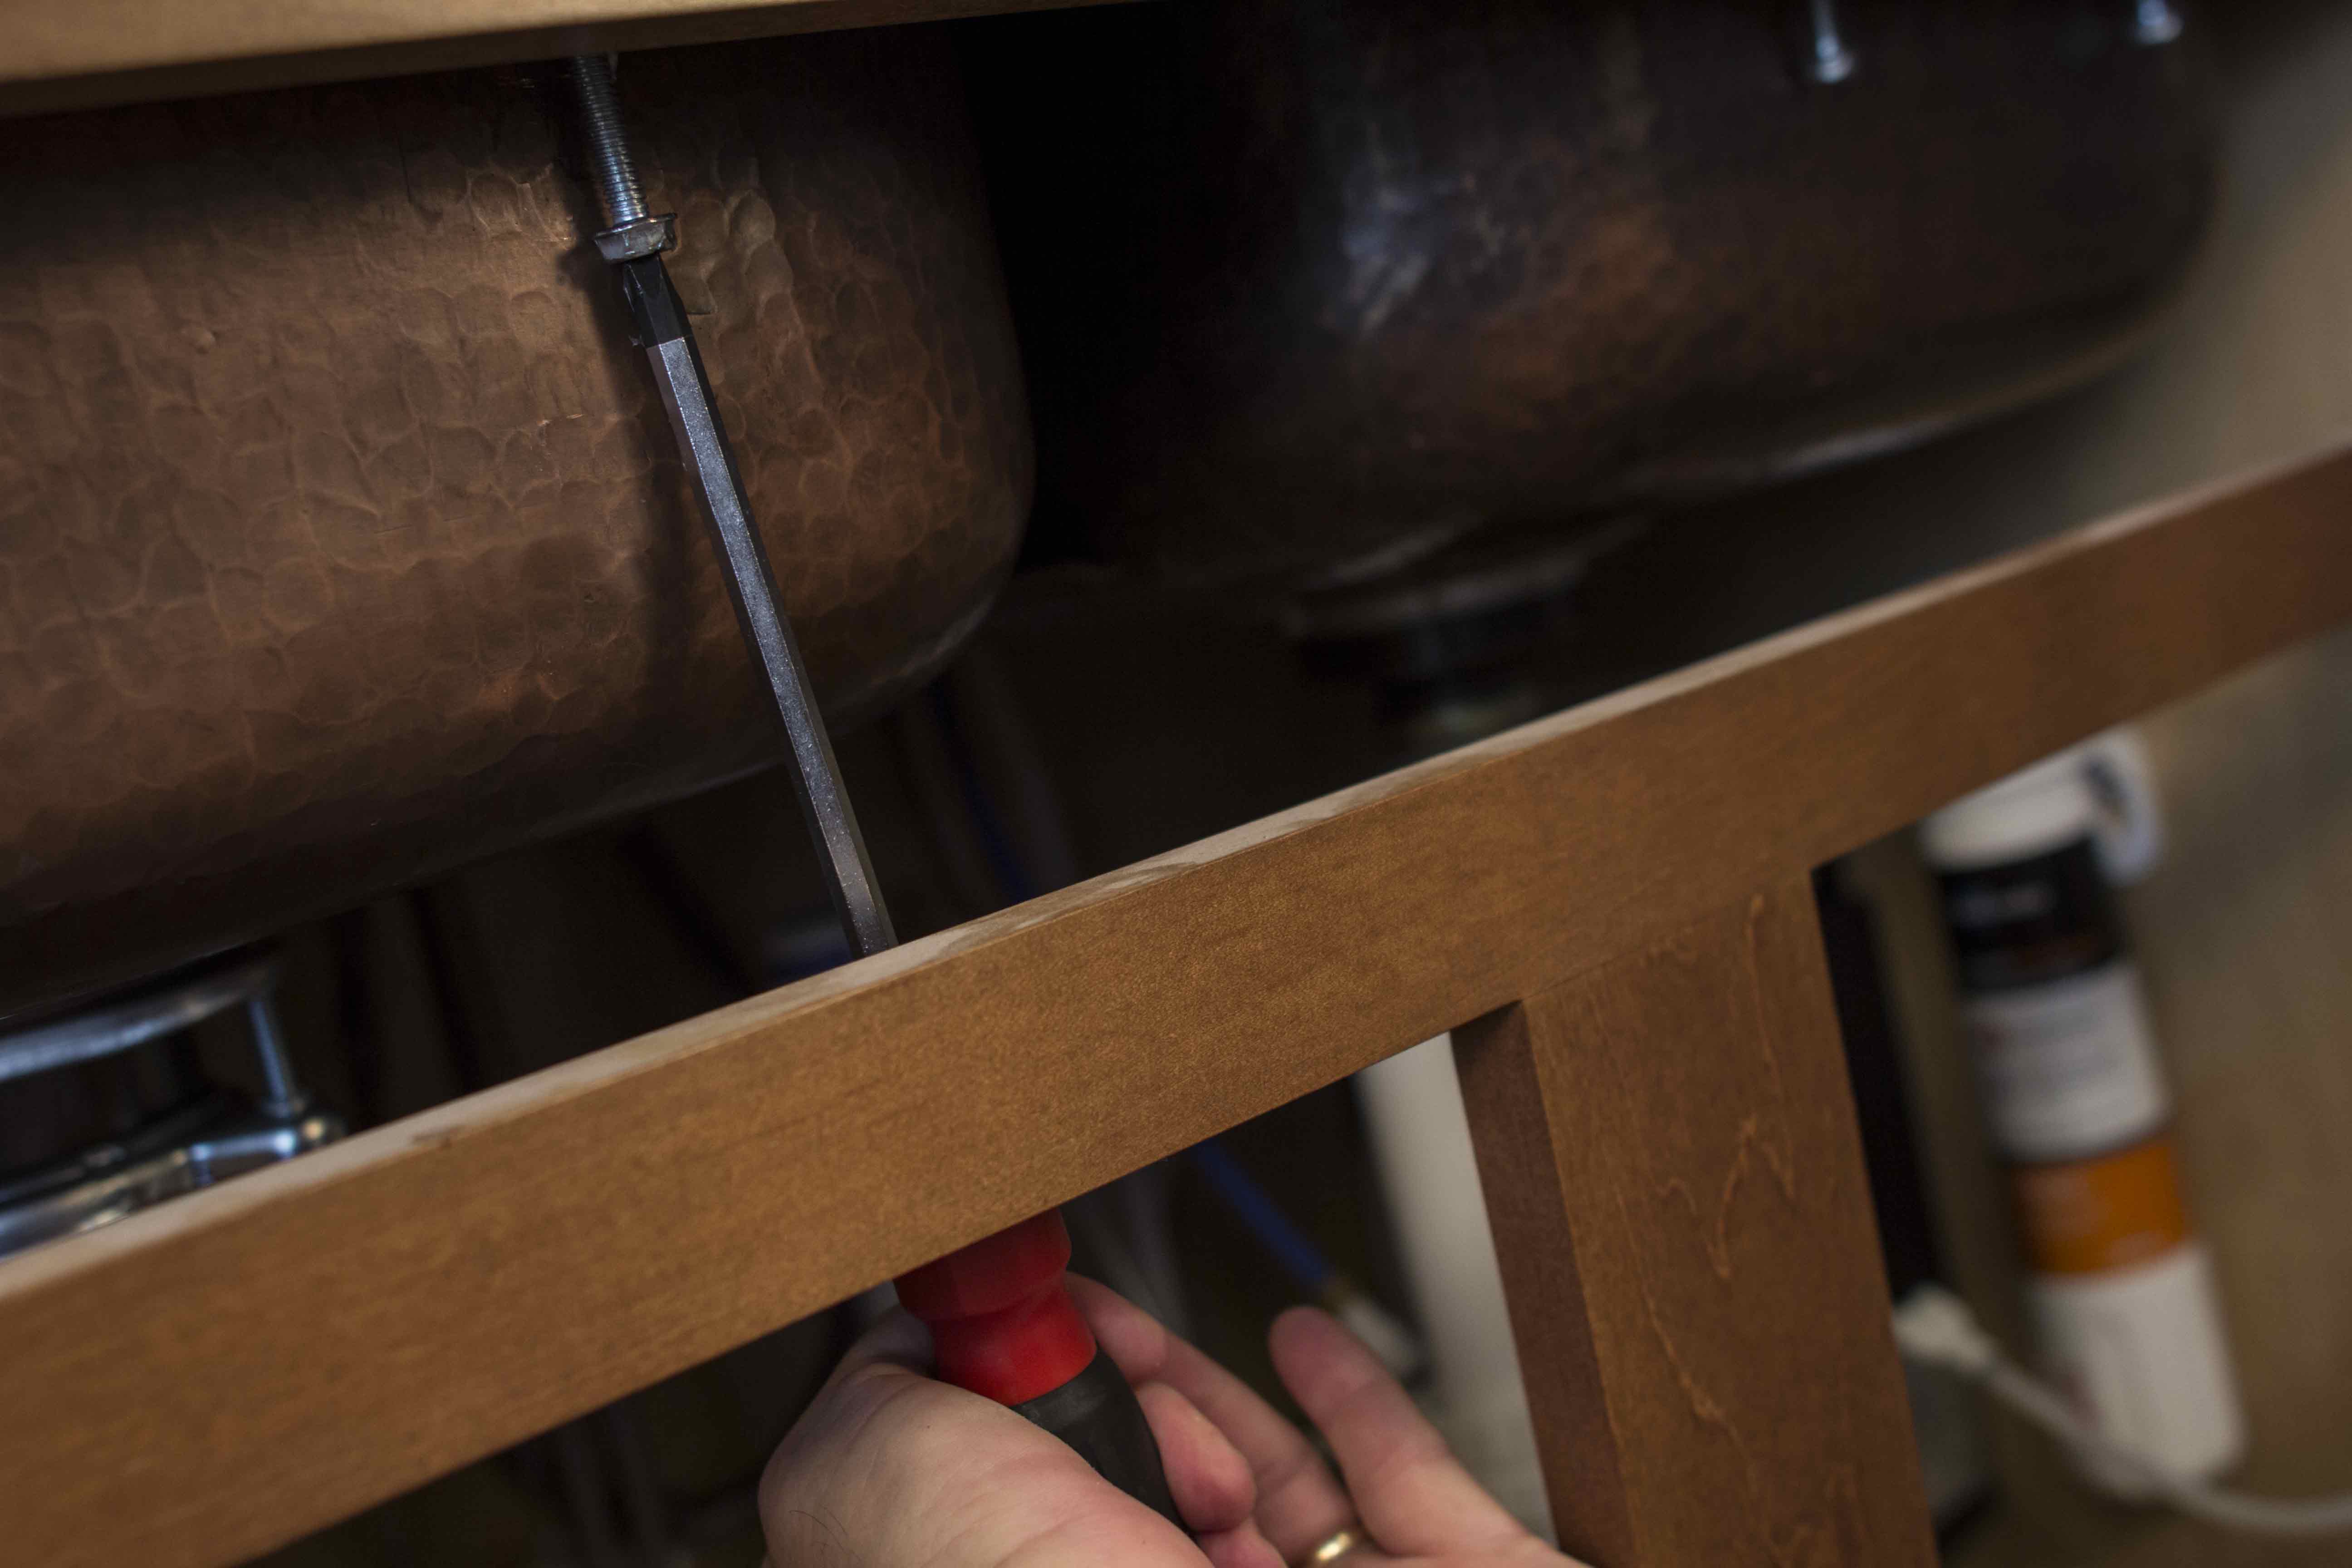
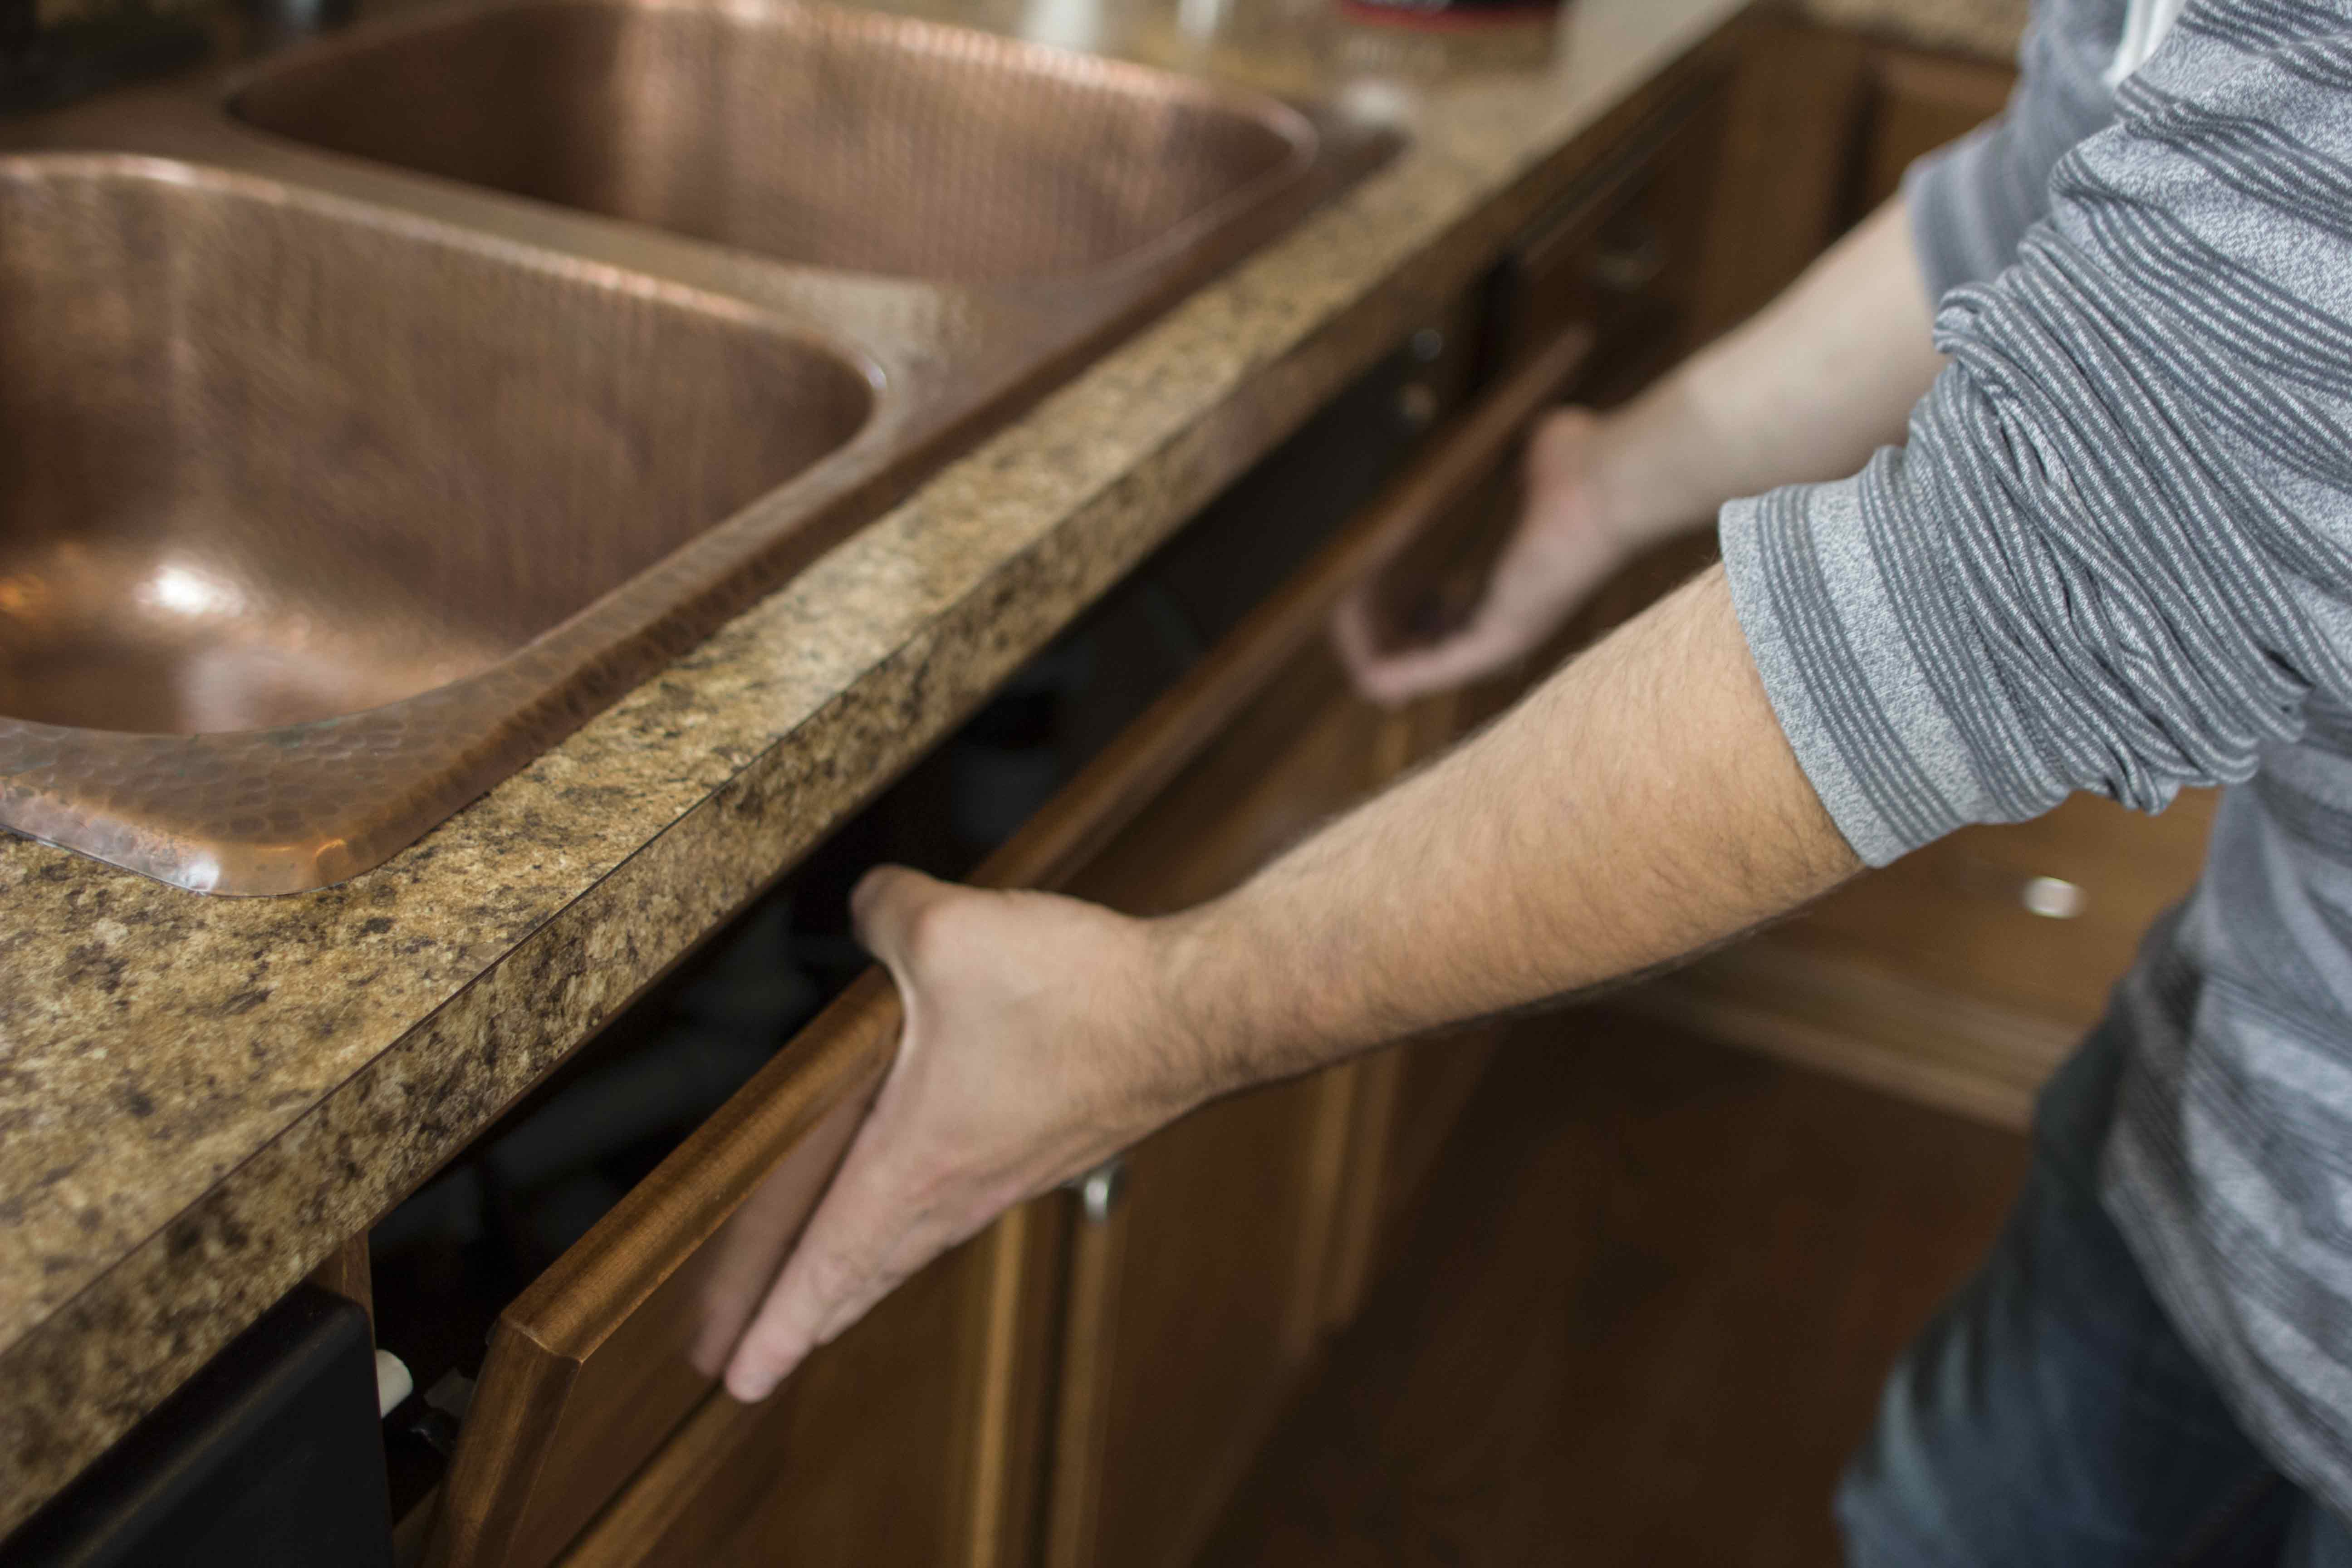
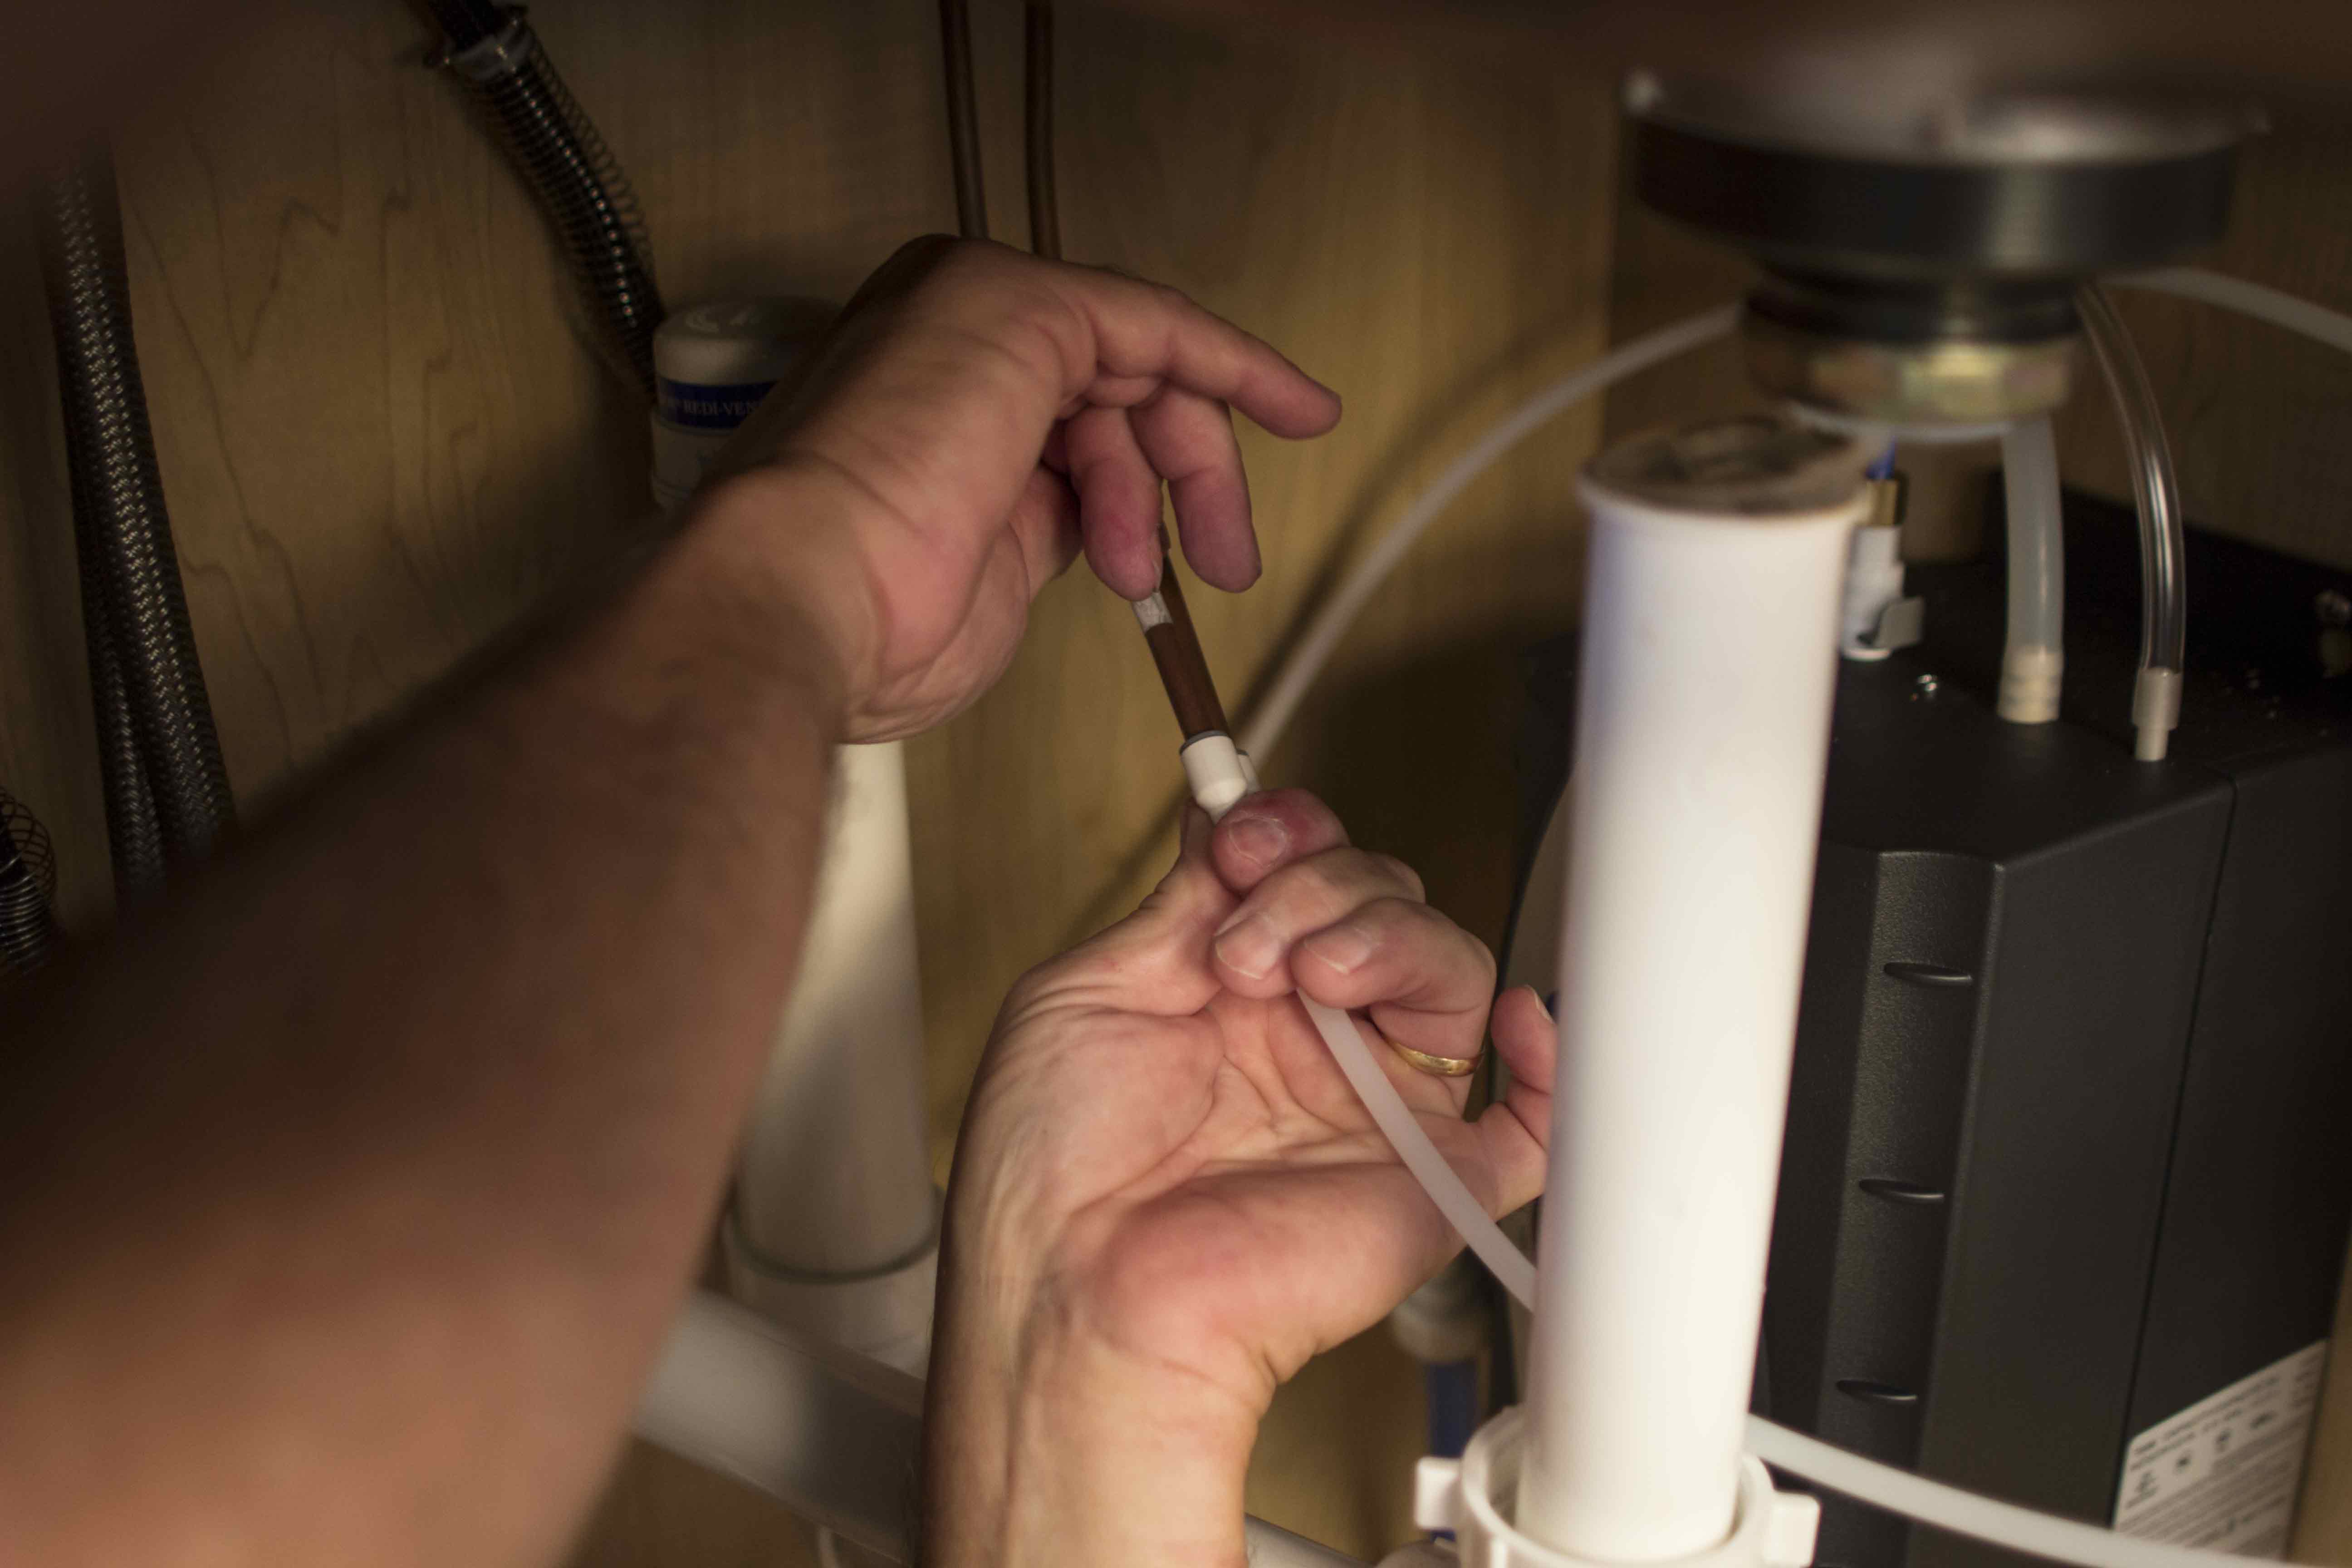
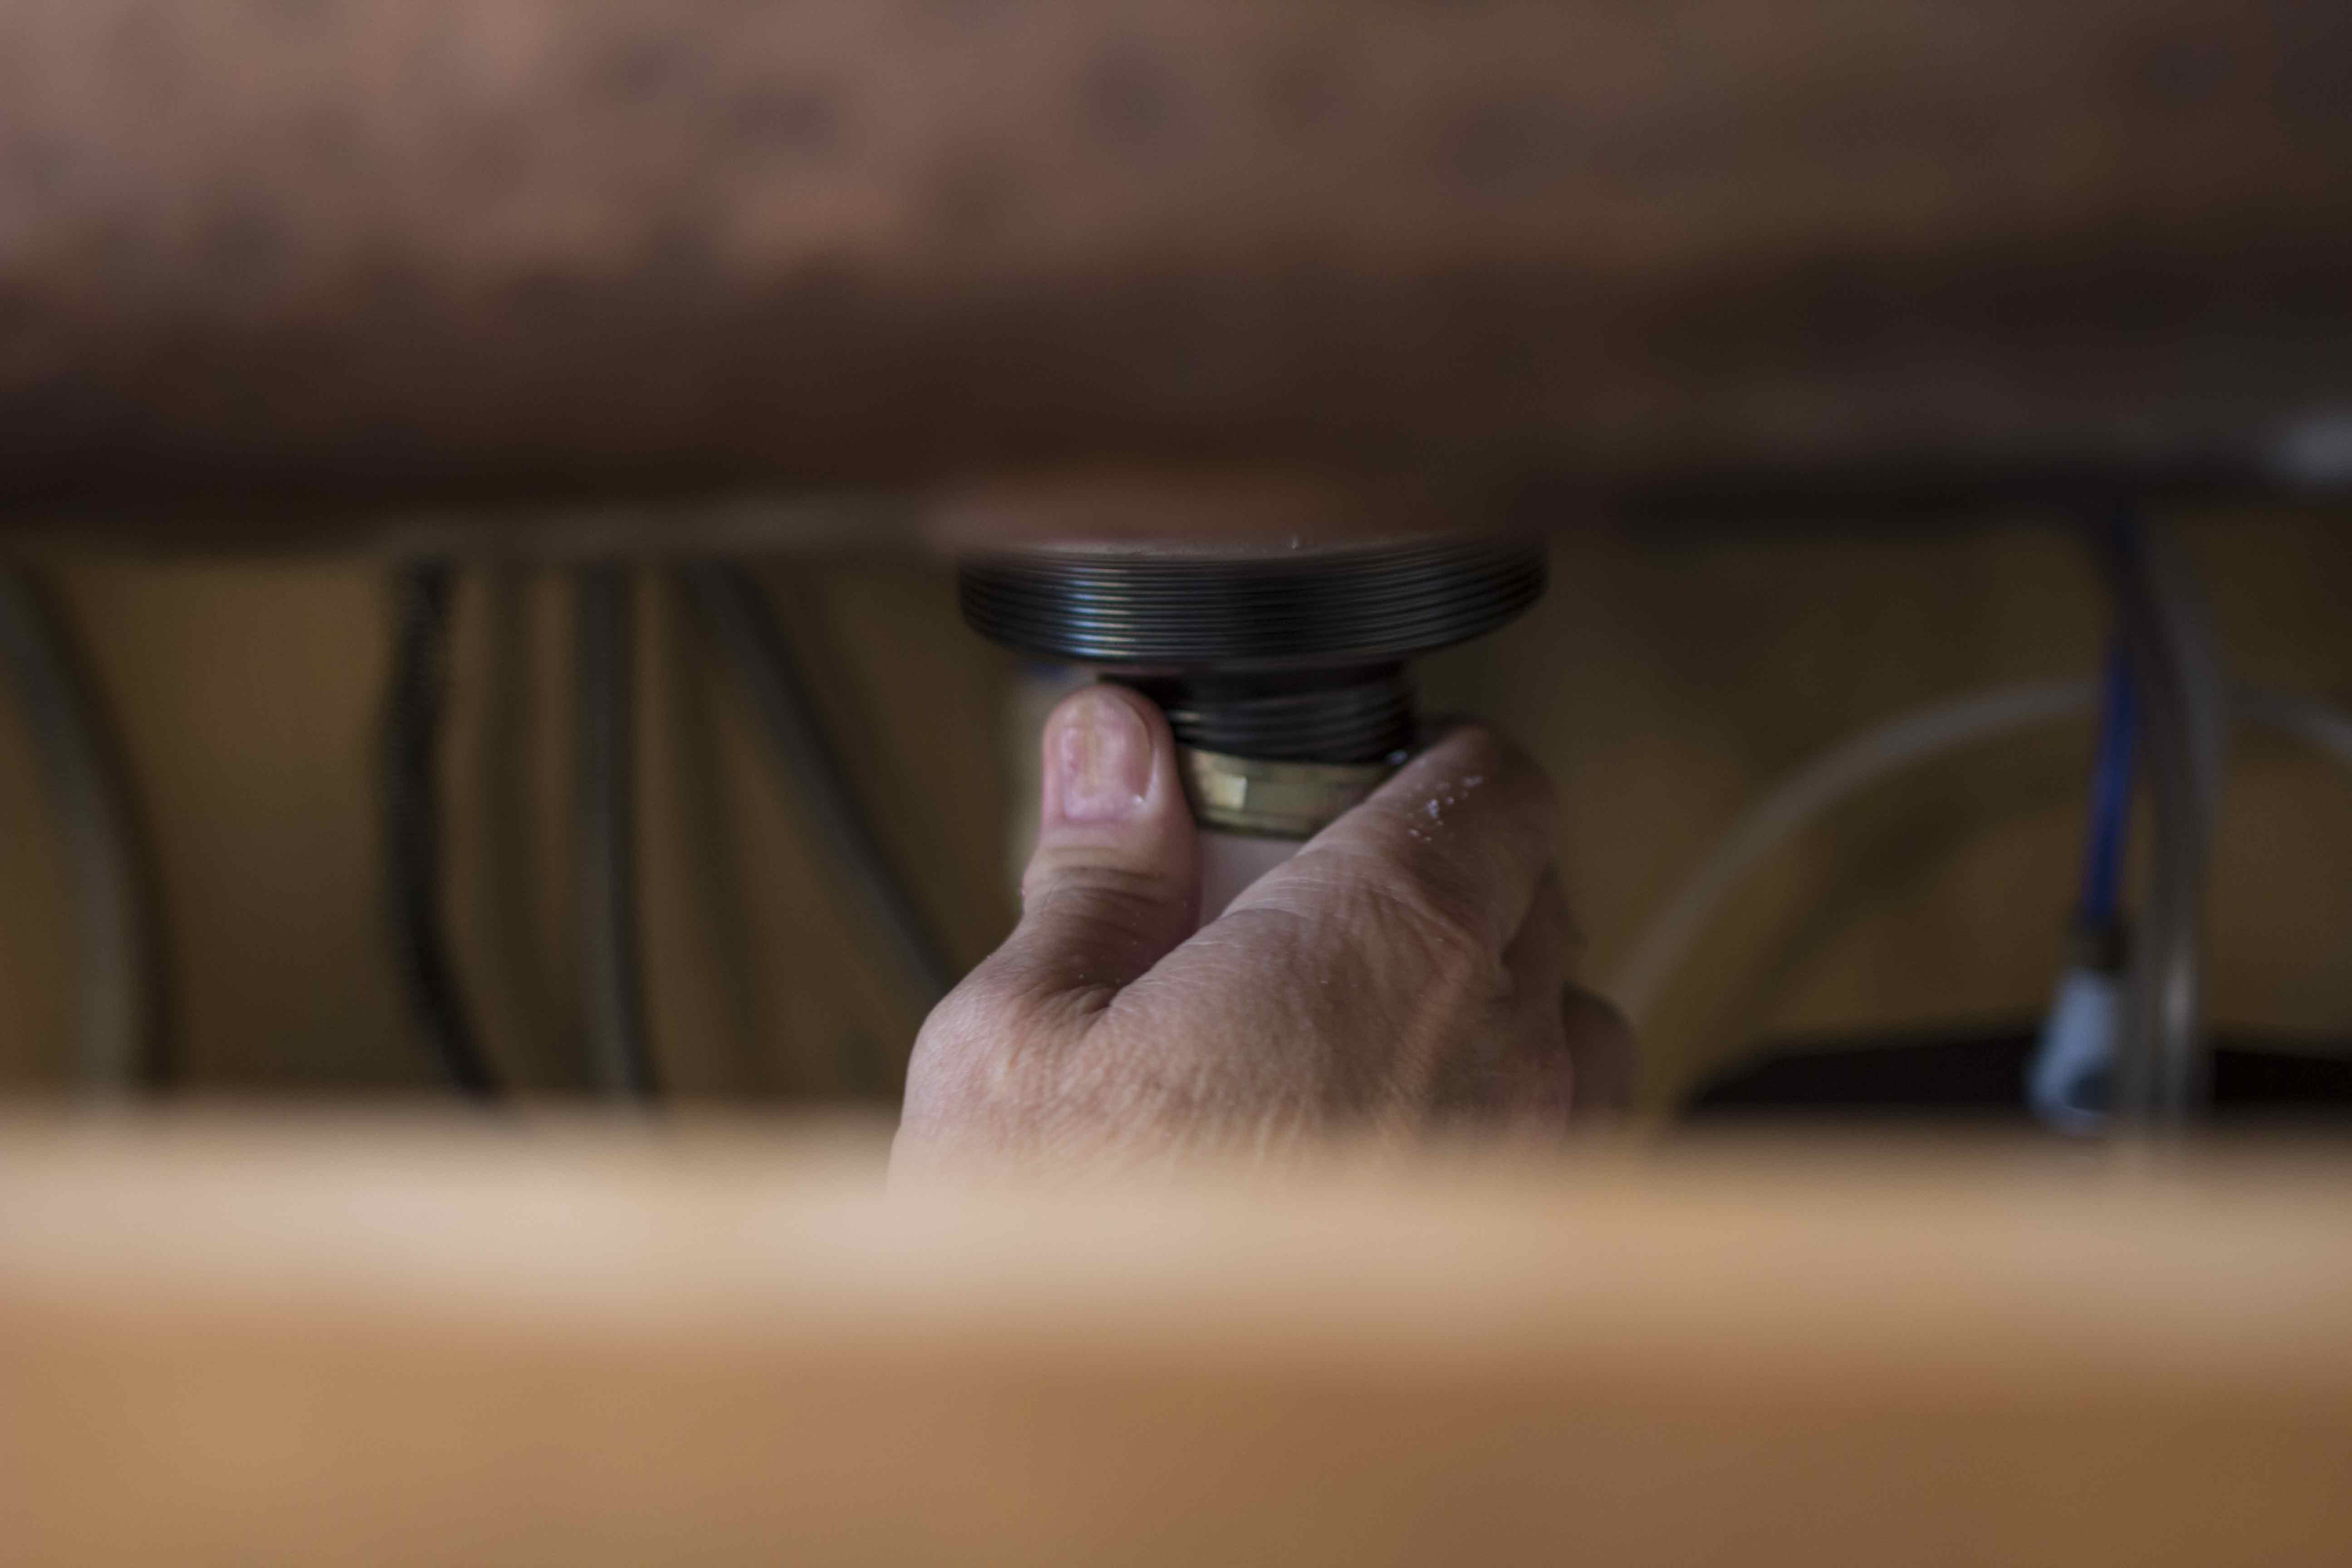
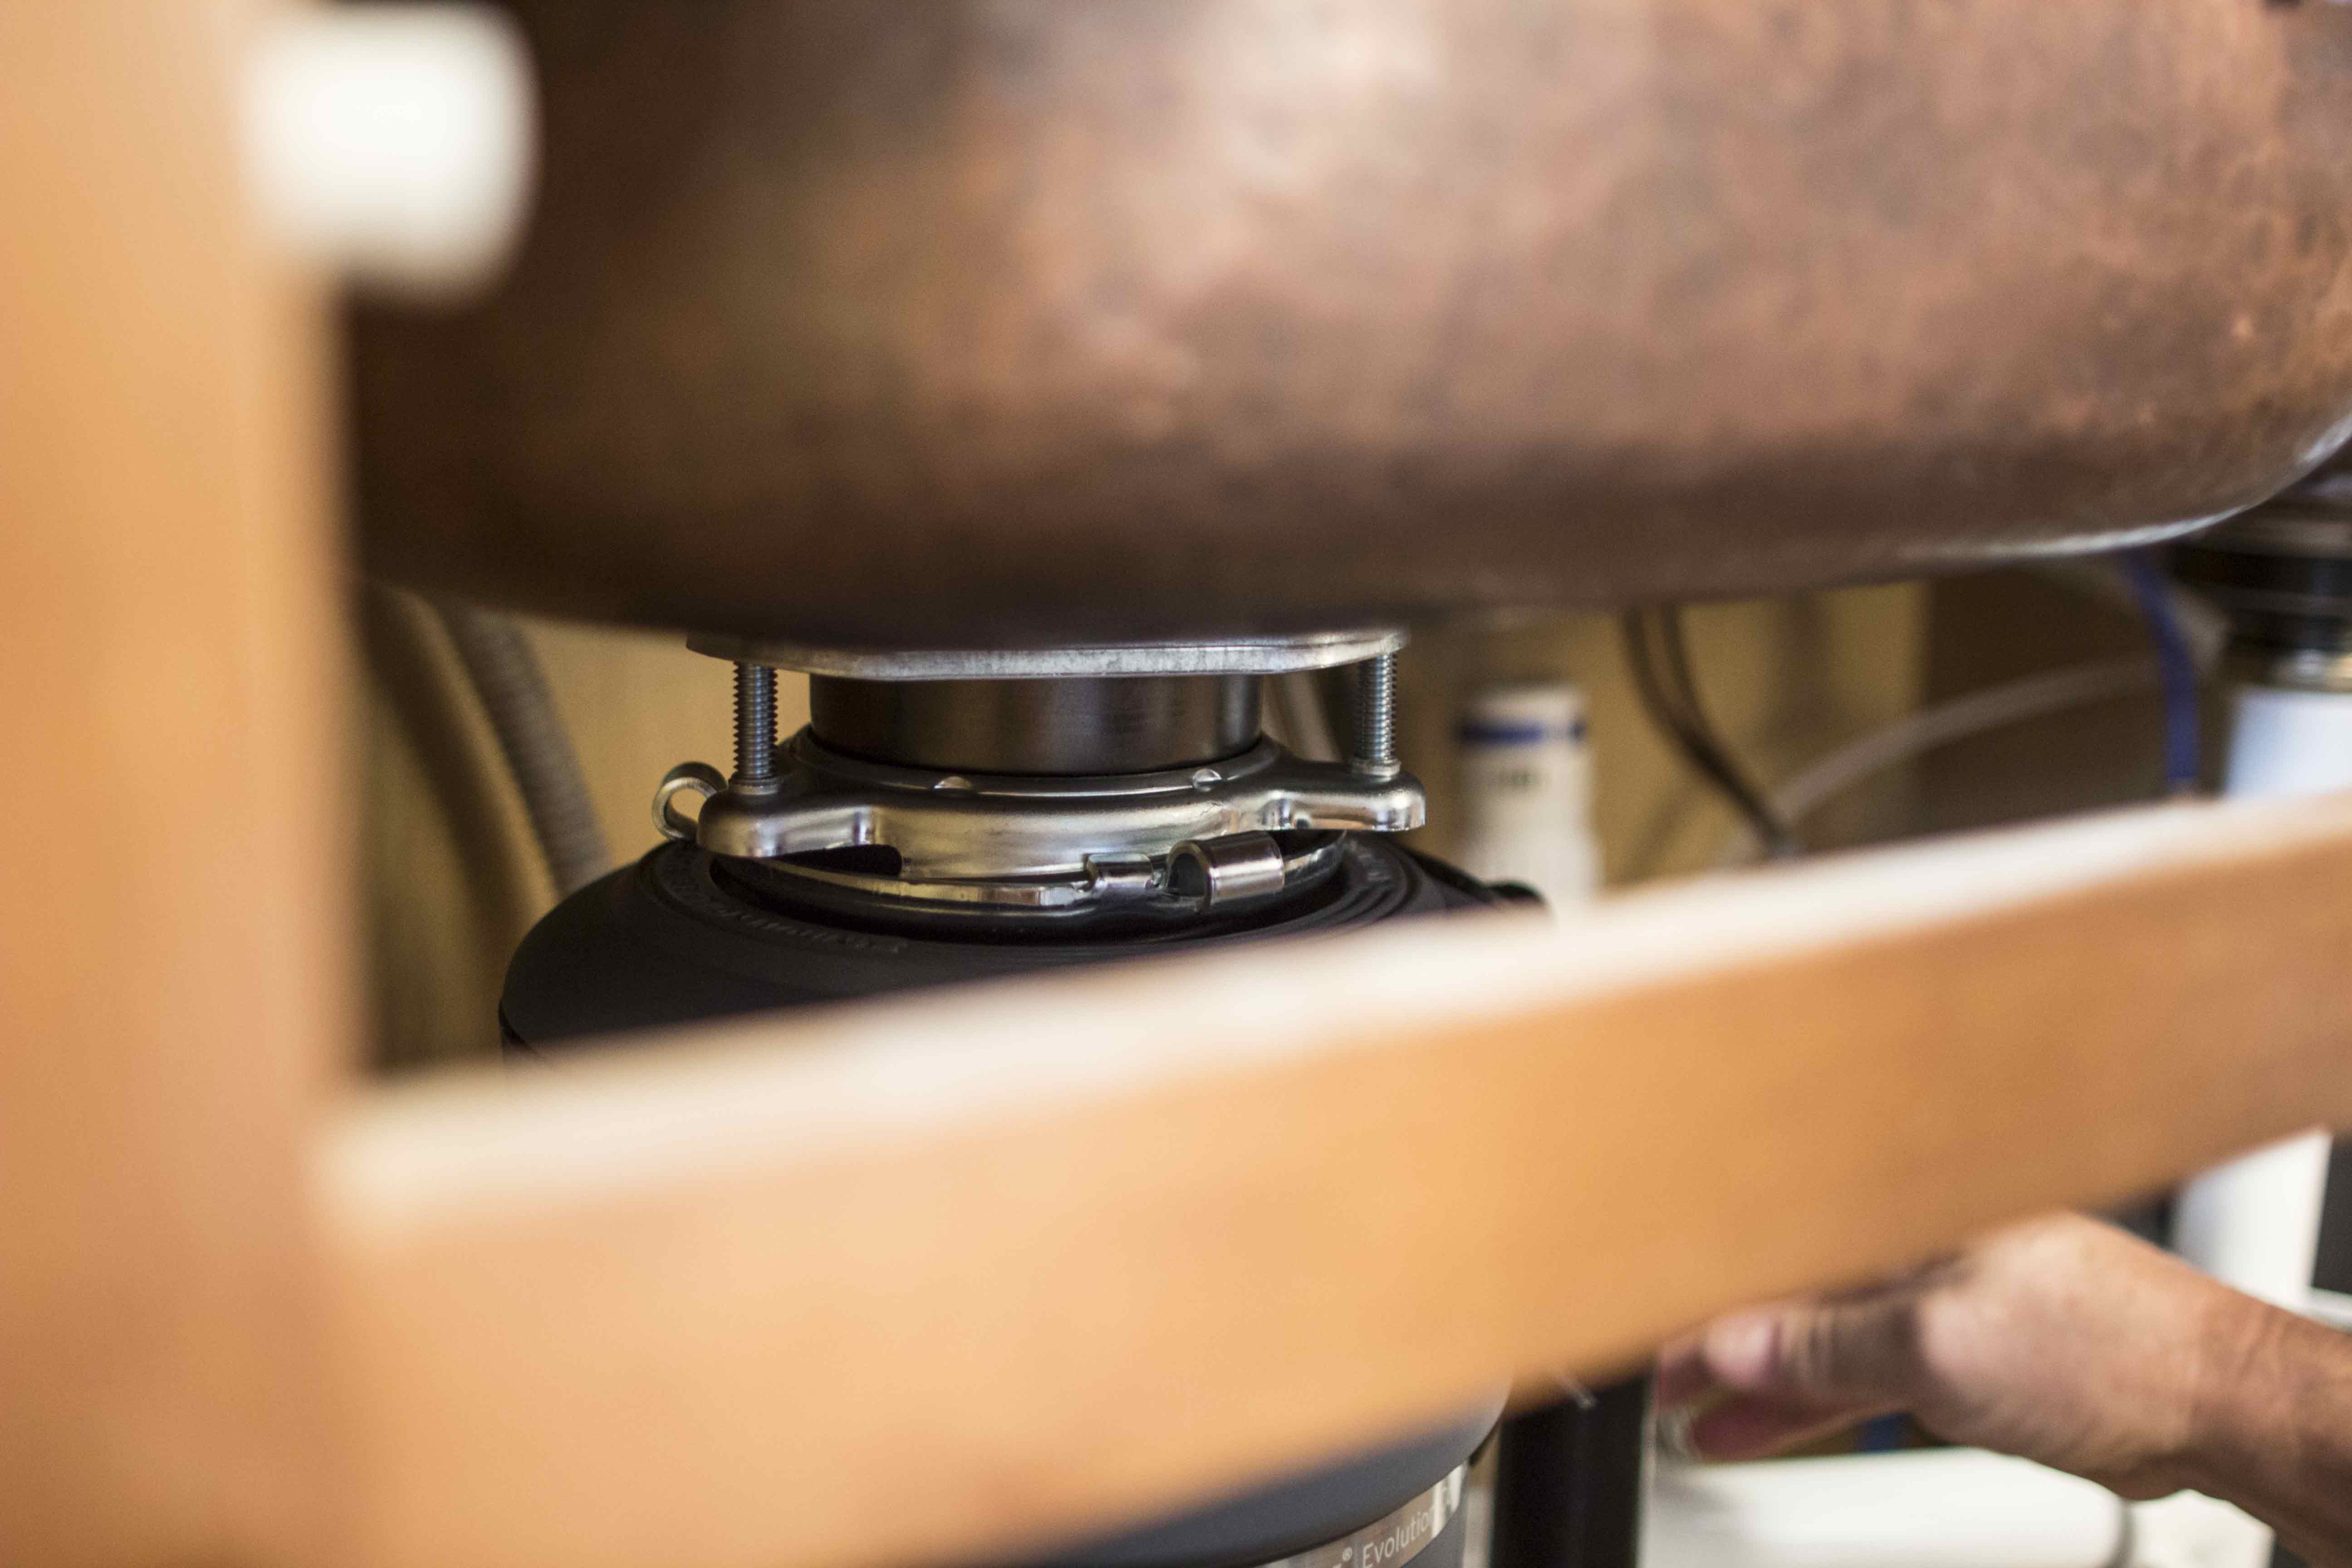
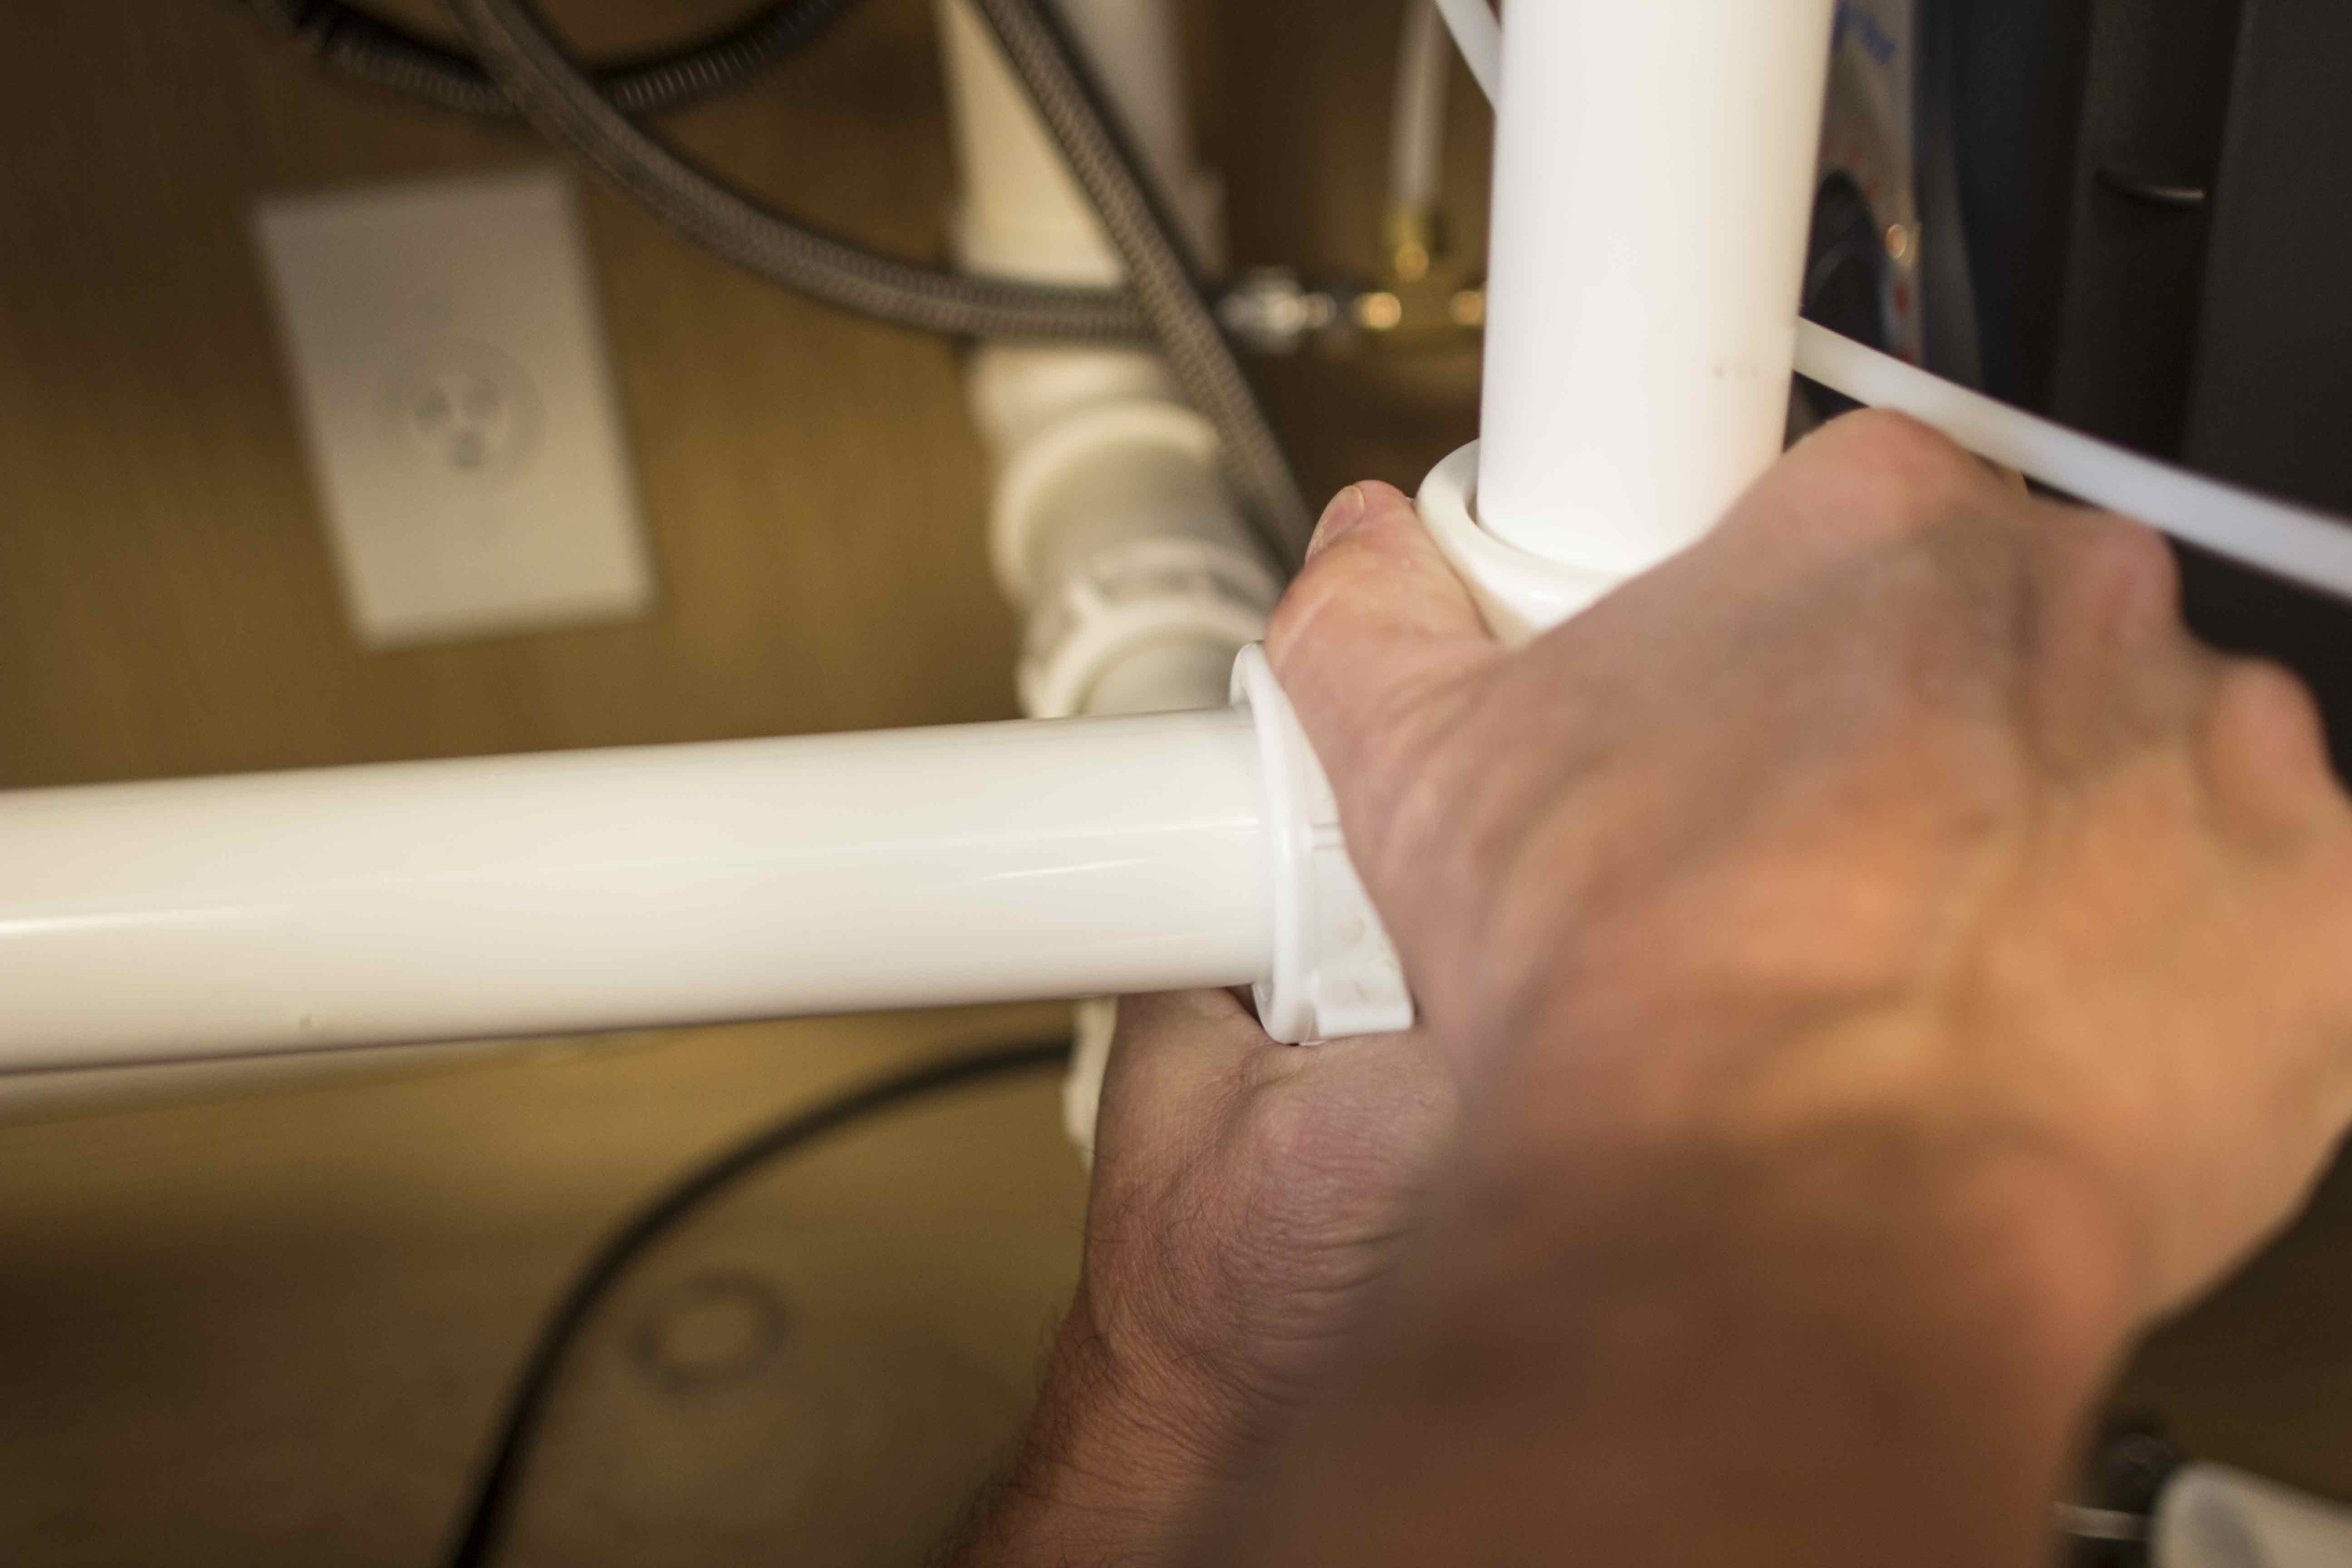
No matter which style you choose, all of our drains are designed for easy installation and lasting durability. You’ll love how they pair perfectly with our stainless steel, fireclay and copper sinks.  

stainless drain in a black sink

_____________________________________________________________________

If you have any additional questions during your search for the perfect copper, fireclay farmhouse sink or crafted stainless steel sink, our Sinkologists are here to help. Contact us or follow us on FacebookHouzzPinterest, Instagram, or TikTok for more helpful tips and design ideas.


The post Drain Dreams – Which Drain Is Right For You appeared first on Sinkology.


source https://www.sinkology.com/blog/drain-dreams/

Thursday, January 27, 2022

Butternut Squash Pasta Bake

Sinkology is proud to present Emily Schuermann, our food-loving guest blogger who runs Food for a Year. Emily is here to share some recipes she has created exclusively for the Sinkology blog that reflect her view of a copper sink: simple, timeless, affordable, and beautifully rustic. 


Butternut squash is such a beautiful ingredient – both the texture and the flavor add such delight to any recipe. That’s what makes me especially excited to share a twist on the classic spaghetti bake! By adding and exchanging several ingredients it’s as if butternut squash should’ve always been part of a pasta bake recipe!

dinner served butternut squash

There are a few things you can do to make this recipe very easy to prepare.

all butternut squash ingredients

Butternut Squash Pasta Bake : Let’s do this the easy way!

Start by purchasing pre-diced butternut squash in the produce section of your grocery store. If you can’t find pre-diced, then I have a hack for you! Just scroll down to the notes section of the recipe to read my tip.

Pre-grated cheese is a handy product if you are short on time. But, if you can spare a few extra minutes, cheese that’s been freshly grated melts so wonderfully that I think it’s definitely worth the effort.

Last hack, save some pasta water to loosen up the mixture before baking. This will help the pasta bake from drying out while baking.

Butternut Squash Pasta Bake :: Maximum flavors!

Between the butternut squash and the fresh sage, the pasta bake is the-perfect-meal! Cheesy, creamy squash and pasta with a crunchy, fried onion topping – my dream comfort food meal for sure! And the all-in one bowl preparation and all-in one pan baking makes this recipe a great weeknight meal solution too!

For a smaller family, divide this into two portions. Bake one pan and freeze another for later use!


Butternut Squash Pasta Bake

  • 3/4 lb spaghetti, cooked 2 minutes less than as instructed on the package
  • 1 c reserved pasta water or heavy whipping cream
  • 3 c diced butternut squash (1/2″ in size), steamed*
  • 1-2 c arugula
  • 1 garlic clove minced (optional)
  • 1 T fresh sage, finely chopped (or 1 t dried sage powder)
  • 1/2 t pepper
  • 1 t salt
  • 1 can petite diced tomatoes, drained
  • 2 c cottage cheese
  • 1 egg
  • 3 c shredded Colby Jack cheese, divided*
  • 1 c gruyere cheese, divided*
  • 1 1/2 c fried onions, for garnish

Instructions

Preheat oven to 375°. In a large mixing bowl, combine all ingredients (except* 2 c Colby Jack cheese + 1/2 c gruyere cheese + fried onions). Stir well so that all ingredients are evenly distributed.

Place the half of the butternut squash and spaghetti mixture into a prepared, buttered, baker (I used a 10″ x  3″ round cast iron baker). Sprinkle with 1 c Colby Jack cheese and then add remaining pasta mixture.

Top with remaining cheeses and fried onions.

Bake 40-45 minutes, or until bubbly and golden on top. If top begins to get too dark, place a piece of foil loosely atop the casserole and continue baking until the center is bubbly and the cheese is melted.

Serves 8

Note

If using a fresh whole butternut squash, use a fork to pierce the skin of the squash about every 3″ all over. Place the squash on it’s side in the microwave and microwave for 2-3 minutes. This will help make peeling easier. Once microwaved, chop the neck portion away from the bulb portion. Peel the neck portion then slice in 1/2″ slices. Cut in 1/2″ slices and the rotate 90° to make the final cut, forming a cube. Place 3 c diced squash in a microwaveable bowl, cover with plastic wrap and microwave on high until tender throughout. 

butternut squash pin

butternut squash bake pin 2

pin 3

pin 4

_____________________________________________________________________

If you have any additional questions during your search for the perfect copper, fireclay farmhouse sink or stainless steel sink, our Sinkologists are here to help. Contact us or follow us on FacebookPinterest, or Instagram for more helpful tips and design ideas.

The post Butternut Squash Pasta Bake appeared first on Sinkology.


source https://www.sinkology.com/blog/butternut-squash-pasta-bake/

How To Replace A Drop-In Kitchen Sink

Installing a new sink in your kitchen could seem like an intimidating task, but it can be quite simple. If you have the right tools and the right instructions, anyone can install a new drop-in sink.

We recently had one of our Sinkology professional plumbers replace an old stainless steel sink with a copper drop-in sink. We documented the installation through video along the way to help demonstrate the proper steps and provide tips that make installation a snap.


In this video, we installed:

install-stuff

The tools you will need include:

  • Painter’s tape
  • Plumber’s putty
  • Plumber’s tape
  • A drill
  • An InSinkErator hex tool (comes with the hot water dispenser)
  • A marker
  • Needle-nose pliers
  • Plumber’s wrench
  • Screwdrivers (flat, Phillips)
  • Adjustable wrench
  • Clear silicone
  • Caulk gun

tools

Before getting started, turn off the power, shut off the water, and unplug any nearby appliances (especially any old disposals or items you will be removing).

Pro tip: Because your new copper sink is metal, it can have fine edges. If you plan on placing the sink on the floor during the transition, make sure to protect your flooring with an old blanket or towel.

Step 1: Detach and remove the old sink.

remove

First, unhook the water lines from the faucet and detach the garbage disposal. Next, remove the drainpipes from the drains and loosen any clips from beneath the sink with a screwdriver. Lift the old sink from the countertop and set it aside. Ensure that you clean any excess silicone from the countertop.

Pro tip: Make sure you have a bucket handy to catch any water that may run out of the drain pipes.

Step 2: Attach drains and faucets to the new sink.

putty

Before you drop your new copper sink into the countertop, try attaching as much as you can to the sink while it’s in an open, accessible, and well-lit space. It’s difficult to attach everything when you are cramped in the cabinet under the sink.

For the drains, ensure you use liberal amounts plumber’s putty around the two drains. Attach drains by hand and then tighten with a plumber’s wrench. Use needle-nose pliers to hold the basket strainer in place as you tighten with the plumber’s wrench. The disposal will come with the support bracket and a metal ring that attaches to the disposal flange. Remove excess plumber’s putty. Attach the faucet per the manufacturer’s instructions.

tighten

disposalflange

If you are installing a water filtration system, attach that faucet per the manufacturer’s instructions as well.

For more information on the InSinkErator Hot Water Tank and Filtration System, visit their website and search for Installation Guides.
bottom-of-sink

Pro tip: Ensure you install the disposal flange on the side where you are going to place the garbage disposal. Nothing is worse than dropping your sink in to discover you need to reinstall the drains.

Step 3: Measure the pipes and attach the water filtration system to the cabinet. Don’t attach any hoses yet.

undersink

Determine the proper placement of your water filtration system by marking it on the interior wall of the cabinet with a market. Attach the water filtration system to the cabinet with a drill.

measure-water

install-water

Pro tip: To ensure that you have the proper lengths of hoses and drains, drop the sink into the countertop. Make sure everything measures up, but don’t attach the hoses or drains yet.

Step 4: Attach clips to the brackets on the copper sink.

clips

Sinkology drop-in copper sinks come with clips that easily slide into brackets on the sides of the sink. These clips tightly draw the sink to the countertop and hold the sink in place.

Step 5: Apply silicone to the countertop.

silicone

Using a caulk gun, apply silicone liberally around the edge of the countertop hole.

tape

Pro tip: Before applying silicone to the countertop, drop the sink into the counter and mark where the edge of the sink sits with painter’s tape. This will help you more easily determine where to put the silicone line.

Step 6: Drop in the copper sink and wipe away any excess silicone.

dropin

Step 7: Align clips and attach them with a screwdriver.

screw

Ensure that the clips are securely placed within the brackets and attached to the countertop as you tighten them.

frontremove

Pro tip: Some cabinets have a removable piece in front of the sink that will allow easier access and better visibility to the clips during installation.

Step 8: Attach hoses and pipes to the water filtration system and drains.

attach-hoses

Be sure to follow the manufacturer’s instructions on installation of the specific water filtration system you have chosen. Attach and tighten all water lines and firmly tighten the drainpipes to the basket strainer drain. Do not attach the drain pipe to the disposal drain yet.

attach-drains

Pro tip: Try placing a pad on the edge of the lower cabinet to protect your back and neck from the sharp edge. A knee-pad from a garden store works great.

Step 9: Attach the garbage disposal to the disposal flange.

disposal-flange

Reference the manufacturer’s installation instructions for proper installation of your garbage disposal. For the InSinkErator Evolution Compact on the InSinkErator website.

disposal-bottom

Pro tip: Many disposals will require you to attach the plug to the disposal. Be sure to follow the manufacturer’s instructions carefully or ask someone experienced with electric work to assist.

Step 10: Attach pipes to disposal, plug in to the wall, and turn on the water.

pipes

Ensure that there are no leaks after running the water for a few seconds. If you are leak-free, turn on the electric and test your disposal.

final-sink

Finally, enjoy your new copper sink!

120715


If you have any additional questions, our Sinkologists are here to help. Contact us or follow us on Facebook, Pinterest, or Instagram for helpful tips and design ideas.

The post How To Replace A Drop-In Kitchen Sink appeared first on Sinkology.


source https://www.sinkology.com/blog/how-to-replace-a-drop-in-kitchen-sink/

Find Your Perfect Match: The Sinkology Guide to Kitchen Sink Grids

Creating the perfect look for your kitchen doesn’t have to be complicated. At Sinkology, we aim to make it as easy as possible to find all of the accessories and finishing touches you need to complete your sink. Our All-in-One Kits pair your favorite Sinkology sink with a hand-selected Pfister faucet, drain options, and bottom grid.

If you bought your kitchen sink as a stand-alone product outside of our All-in-One Kits, have no fear: we have you covered with this handy grid-finder! You deserve to have a grid that was created specifically for your kitchen sink, and we want to make it as easy as possible for you to find exactly what you’re looking for. So, look no further. Use the information below to find your ideal grid.

How to use this grid:

  • The grid-finder below is organized by sink name, size and design
  • Browse the names of the sinks to locate the sink you purchased
  • Select the bottom grid that is corresponding to your sink to ensure the best fit and proper dimensions
  • Snap a pic of your new grid and submit it to us using the hashtag #showusyoursink and tag us on Instagram!

Sinkology Kitchen Sink Bottom Grid Finder:

Sink Name

Antique Brown

Stainless

Matte Black

Adams 33″ Single

Wright

Lange 25″ Single

Fuller

Adams 33″ Double

Sullivan

Angelico 33″ Double

Gehry

Lange 32″ Single

Wright

Lange 32″ Double

Sullivan

Angelico 33″ Single

Rohe

Angelico 25″ Single

Fuller

Santi 33″ Double

Morgon

Orwell 23″ Single

Fuller

Orwell 30″ Single

Johnson

Rivera 31″ Single

Johnson

Rivera 32″ Double

Morgon

Orwell 32″ Double

Morgon

Lange 30″ Single

Foster

Ganku 33″ Single

Wright

Adams 36″ Double

Maybeck

Ganku 36″ Double

Maybeck

Turner 30″ Single

Johnson

Wren

Turner 33″ Double

Spencer

Griffin

Jackson 33″ Single

Johnson

Wren

Ellis

Josephine 34″ Single

Alder

Rinaldi

Grace 34″ Single

Alder

Rinaldi

Parker 26″ Single

Gwynn

Parker 34″ Double

Ashbee

Austen 33″ Single

Johnson

Wren

Ellis

Austen 24″ Single

Fuller

Venturi

Austen 36″ Single

Wagner

Austen 33″ Double

Spencer

Griffin

Austen 36″ Double

Spencer

Griffin

Bradstreet II 30″ Single

Johnson

Wren

Ellis

Percy 32″ Single

Wren

Ellis

Taylor 31″ Single

Wren

Ellis

For questions about your Sinkology sink or bottom grid, feel free to reach out to our amazing team of Sinkologists for help! We offer online support and respond as quickly as possible to make sure you have everything you need to love your sink for life.

_____________________________________________________________________

If you have any additional questions during your search for the perfect copper, fireclay farmhouse sink or granite sink, our Sinkologists are here to help. Contact us or follow us on FacebookHouzzPinterest, or Instagram for more helpful tips and design ideas.

The post Find Your Perfect Match: The Sinkology Guide to Kitchen Sink Grids appeared first on Sinkology.


source https://www.sinkology.com/blog/sink-grid-guide/

Sunday, January 16, 2022

Cranberry Chutney

Sinkology is proud to present Emily Schuermann, our food-loving guest blogger who runs Food for a Year. Emily is here to share some recipes she has created exclusively for the Sinkology blog that reflect her view of a copper sink: simple, timeless, affordable, and beautifully rustic. 


There are a couple of recipes that are a MUST during the winter and ((for me)) cranberry chutney is a snow day essential. It’s the perfect companion to everything at the dinner table AND is delicious as a snack with cheese and crackers.

served chutney

Cranberry Chutney – a simple ‘one-pot’ recipe

This recipe is a surprisingly simple, one-pot recipe that fills your kitchen and home with the most amazing aroma while it simmers. Not only is it simple, it’s also very adaptable to your taste preferences and the ingredients you happen to have on hand. If you’re looking to make this recipe your own, feel free to add some fresh berries (like raspberries or blackberries) and substitute red wine or orange juice in place of the apple cider.

chutney ingredients cranberry chutney ingredients
Cranberry Chutney : the perfect blend of winter spices and orange zest and tart cranberries.

This chutney recipe makes use of several holiday pantry staples – so be sure and grab fresh cranberries and jellied cranberry sauce while they are at the grocery store. The blend of cinnamon, ginger and orange zest is not only delicious, it fills the air with the most delicious aroma – better than any candle!

adding cider to chutney ingredients all the cranberry chutney ingredients in one pot

A few Cranberry Chutney recipe how-to’s :

Simply place all the ingredients into a medium pot over medium flame and simmer until the fresh cranberries burst and thicken. Even though grated apple and celery may sound a little unusual, don’t skip on these ingredients – they add a great texture and flavor balance to this otherwise very sweet and tart chutney.

simmering chutney beginning thickened cranberry chutney

After the chutney reduces to your desired thickness (by about 1/3 to 1/2), allow the chutney to cool to room temperature and then store in a lidded jar and refrigerate overnight to set.

served with cream cheese

A Simple Winter Recipe

Whether as an accompaniment to turkey and dressing or brie or a simple block of cream cheese, this recipe is a great one for all occasions. And YES – I definitely love how simple this recipe is but I also love :

  • that it can be made ahead of the hectic holiday gatherings and
  • lasts for weeks refrigerated in a sealed jar.

All of the flavors of winter  in every bite. This will be your go-to recipe for sure!

Cranberry Chutney

  • 2 c fresh cranberries
  • 1 c whole cranberry sauce
  • 1 c crushed pineapple
  • 3/4 c packed brown sugar
  • 2 T granulated sugar
  • 1-2 T orange zest
  • 1/8 t ground cloves
  • 2 t ground cinnamon
  • 2 T candied ginger, finely chopped
  • 1/2 c grated apple
  • 1/4 c grated celery 
  • 1/2 t salt
  • 6 oz apple cider, red wine or orange juice

Combine all ingredients in a medium saucepan over medium flame.

Bring to a simmer for 15 minutes to thicken, stirring regularly.

Once thickened (reduced by 1/3 to 1/2), remove from flame, allow the chutney to cool to room temperature.

Place in a 32 ounce lidded glass jar and refrigerate overnight to set.

Serve with cream cheese and crackers or as an accompaniment to holiday meals.

Makes approximately 32 ounces.

_____________________________________________________________________

If you have any additional questions during your search for the perfect copper, fireclay farmhouse sink or stainless steel sink, our Sinkologists are here to help. Contact us or follow us on FacebookPinterest, or Instagram for more helpful tips and design ideas.

The post Cranberry Chutney appeared first on Sinkology.


source https://www.sinkology.com/blog/cranberry-chutney/