Thursday, June 18, 2020

Homemade Parmesan Herb Biscuits

Sinkology is proud to present Emily Schuermann, our food-loving guest blogger who runs Food for a Year. Emily is here to share some recipes she has created exclusively for the Sinkology blog that reflect her view of a copper sink: simple, timeless, affordable, and beautifully rustic. 
______________________________________________________________________________

After making her first batch of homemade biscuits, I had a friend tell me just how surprisingly easy homemade biscuits are to make! “Who knew you could mix flour and butter and milk and make something that delicious! I’ll never buy store bought biscuits again!!”

It just so happens I’ve been spending these last few weeks perfecting my “biscuit hand” as well. Have you ever heard that phrase before? “Biscuit hand” simply means a person’s ability to make the perfect, delicate biscuit by hand.

The ingredients are simple, even inexpensive and very easy to come by – but the real trick to making the perfect homemade biscuit is all in the biscuit maker’s hands. It’s said that

“to make the perfect homemade biscuit, stop kneading two kneads before you think you should.”

Julia Child

That may seem a little obscure, but the more you practice – the better you’ll come to understand what that means. And the truth is, (as my friend discovered) there’s really no such thing as a bad homemade biscuit!

Tips for the perfect homemade biscuit

So, let me give you a few tips to help you skip a few steps closer to a better biscuit hand and then I will share one of my all-time favorite biscuit recipes.

  • First, use quality ingredients. With so few ingredients, off flavors and low quality are easily detected.
  • Next, keep refrigerated items (like milk and butter) chilled and room temperature items (like shortening) room temperature. Ingredients work best at their optimum temperatures.
  • Also, do not over work this dough. You want to have inconsistencies in the composition of this biscuit dough – pockets that are a little wetter than others and bits of shortening and butter not fully incorporated into the flour.
  • Last, if adding flavors to your biscuits, use what’s in season. Fresh is ALWAYS best!

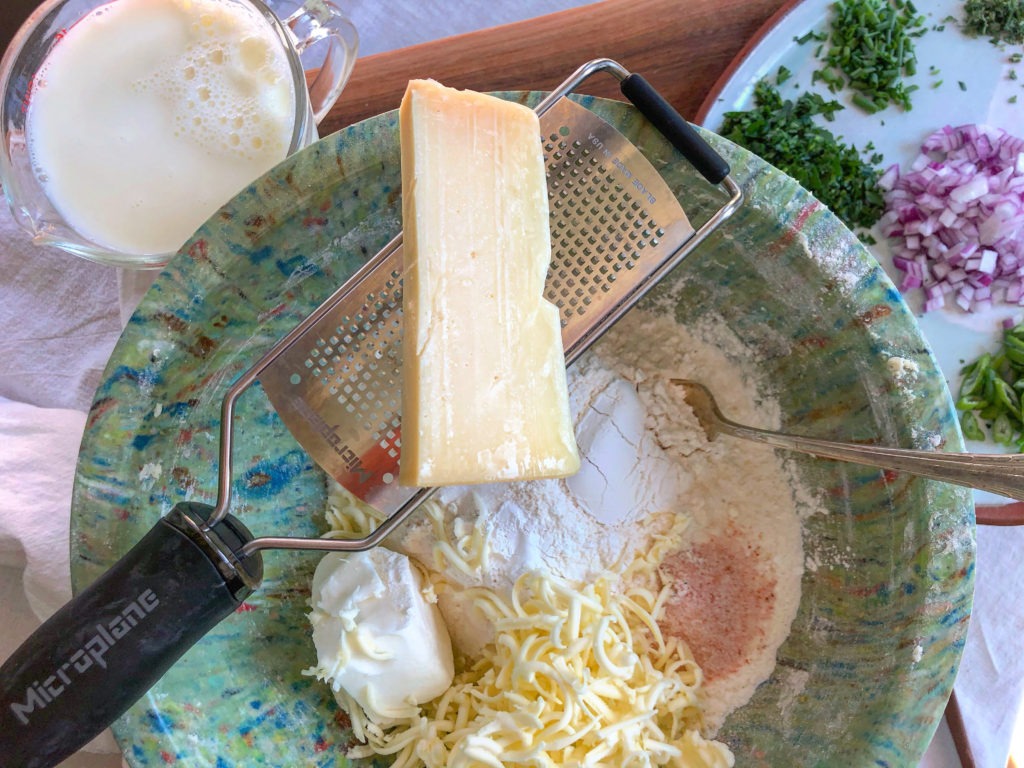
Speaking of fresh, for this recipe, I used all my springtime herbs that have newly sprouted in my garden! Chives, thyme, rosemary, sage and parsley and some green and red onions. If you’re making this recipe and don’t have those herbs readily available, use what you can find in the refrigerator section at the grocery store.

In addition, I added 2 oz. of freshly grated parmesan cheese and the combination of fresh herbs and parmesan cheese was nothing short of glorious.

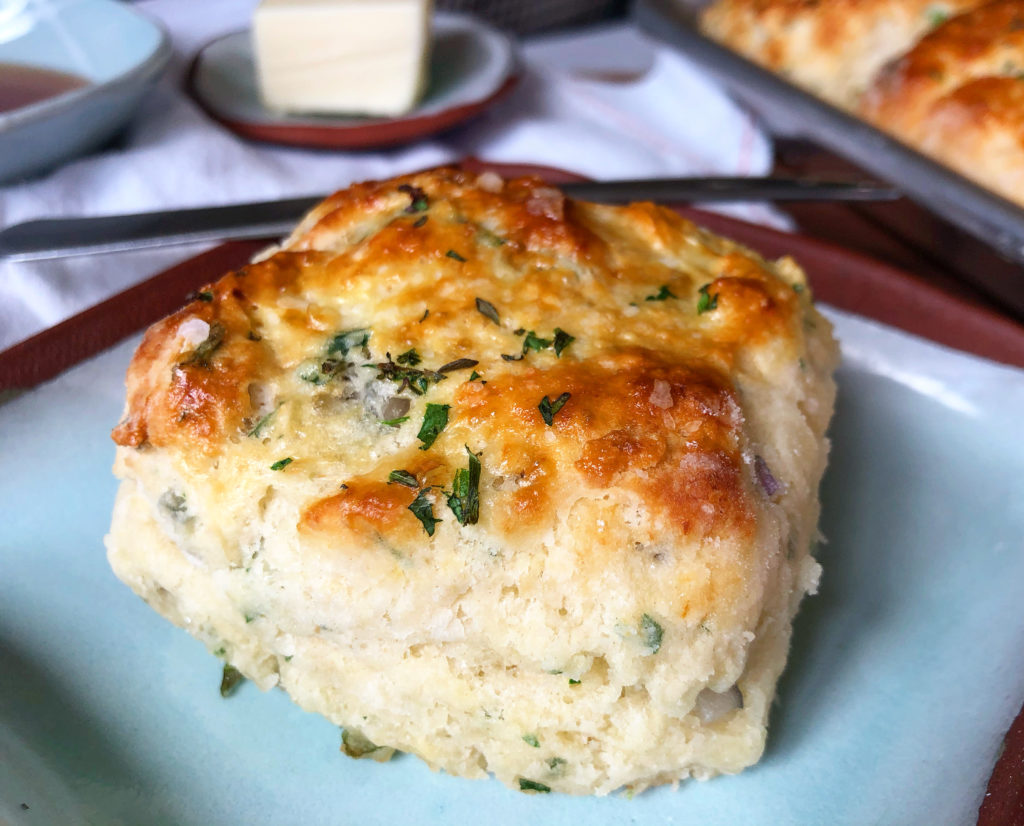
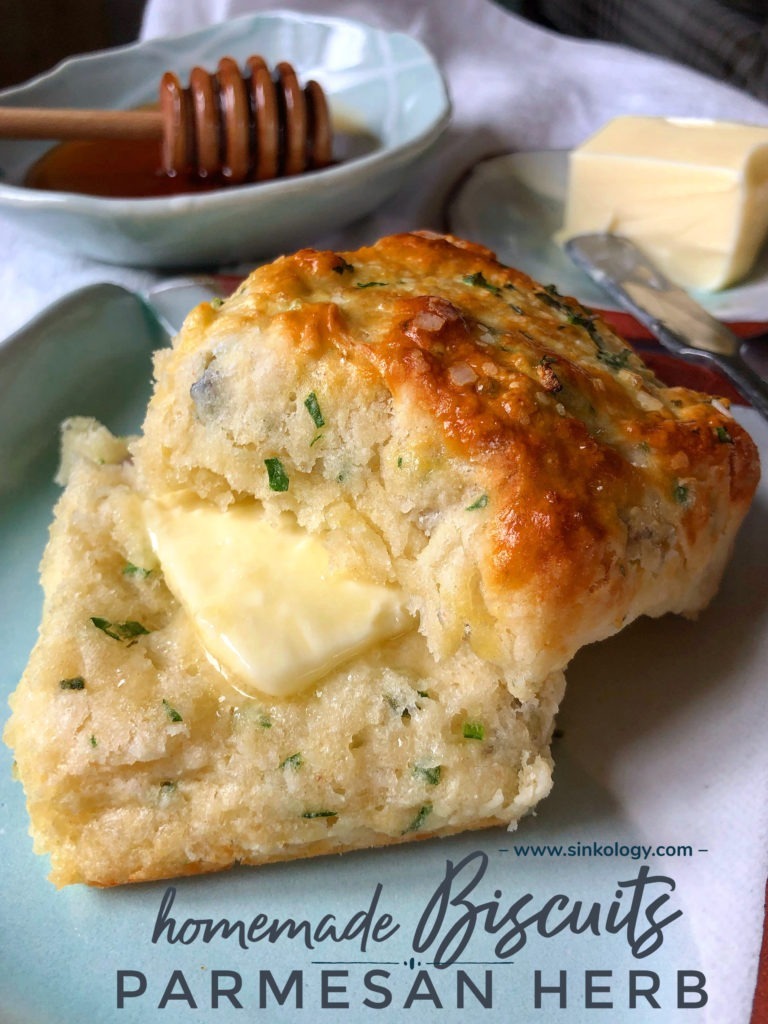
All of my kids and hubby loved these Homemade Parmesan Herb Biscuits – and if you’ve been following along with me here at Sinkology or on my personal blog at Food for a Year then you know that’s a miracle. They were that good! A little salty, a hint of nutty cheesiness and bursting with flavors of springtime herbs.

Homemade Parmesan Herb Biscuits with Red Onion

Ingredients

  • 3 T red onion, finely diced
  • 2 T chopped green onion (just the green parts)
  • 3 T Italian parsley, finely chopped
  • 1 t fresh thyme, chopped
  • 1 t fresh sage, chopped
  • 1.5 T fresh chives, finely chopped
  • 1 t rosemary, chopped
  • 2 oz freshly grated parmesan
  • 4 c AP flour
  • 2 T baking powder
  • 1/2 t baking soda
  • 3 T sugar
  • 3 t kosher salt
  • 1/3 c shortening
  • 1/3 c chilled butter, salted
  • 2 c milk, I prefer 2%
  • 1 egg, whisked
  • flaky sea salt for garnish

Directions

Preheat oven to 425° and prepare 2 – 1/4 sheet pans by spraying with non-stick spray.

In a large mixing bowl, combine dry ingredients – mixing well to incorporate.

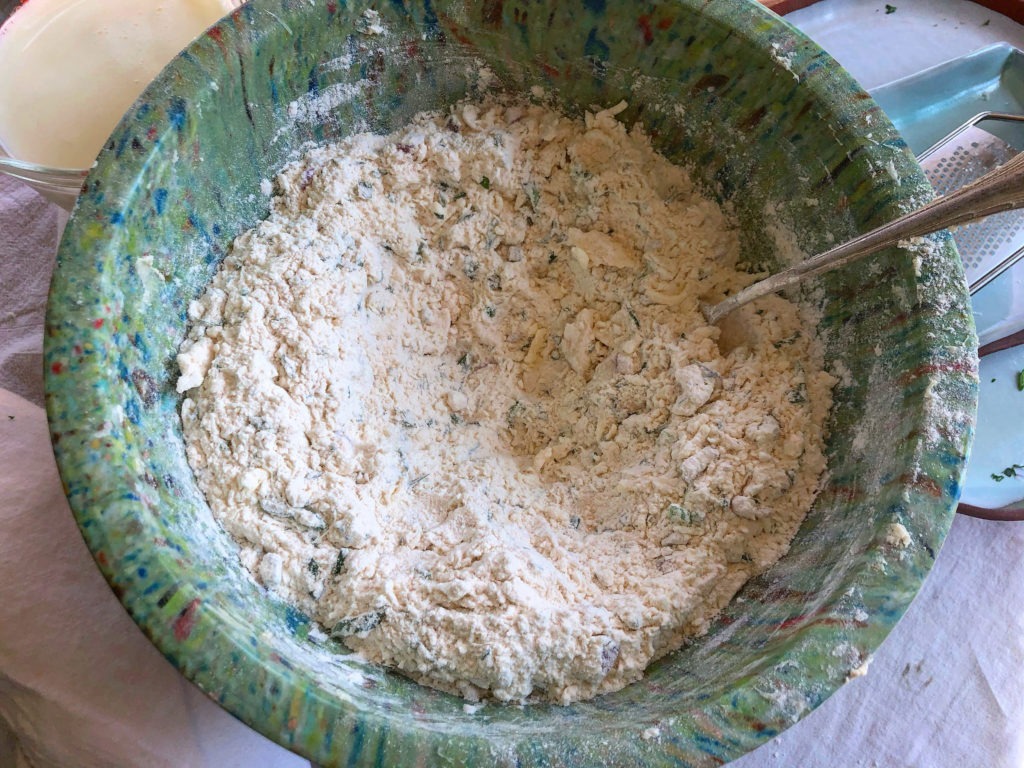
Add shortening, working shortening into the flour mixture by rolling and pressing it between your thumbs and index fingers (be sure to leave some pea-sized clumps).

Grate butter into the flour mixture (using a medium-sized cheese grater). This step is important to making a tender flaky biscuit.

Toss in herbs and onions, (reserving a 1 t of the herbs for garnish) and toss to evenly incorporate butter and herbs into the mixture.

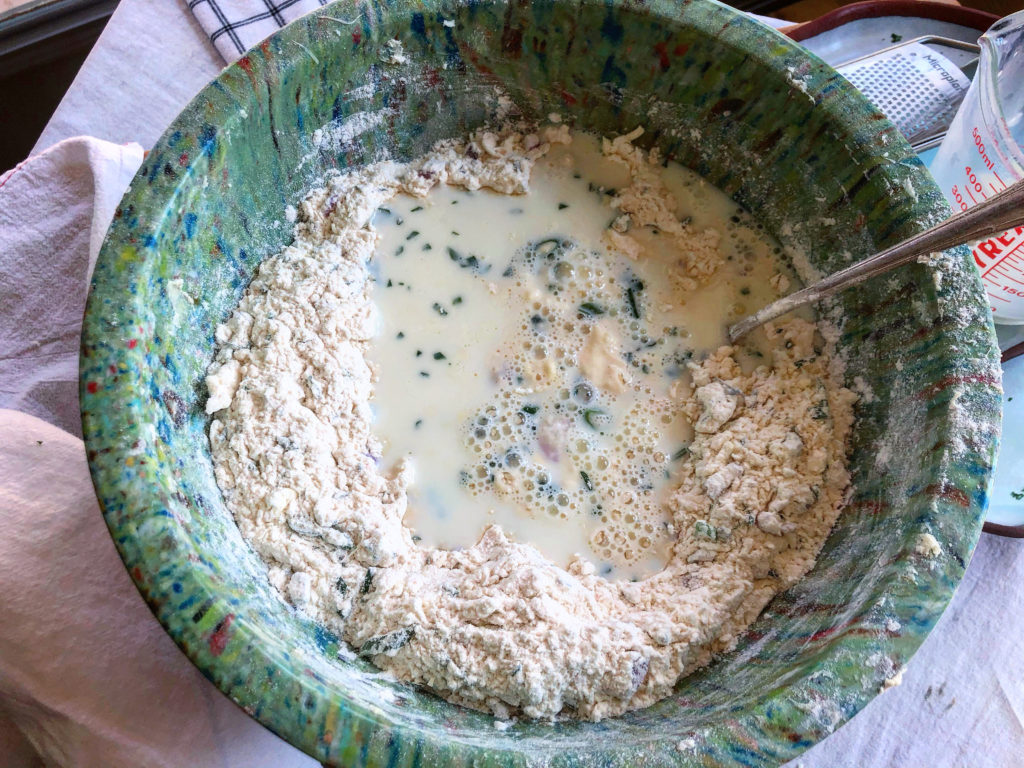
Form a well in the center of the herby flour mixture and pour milk in the well.

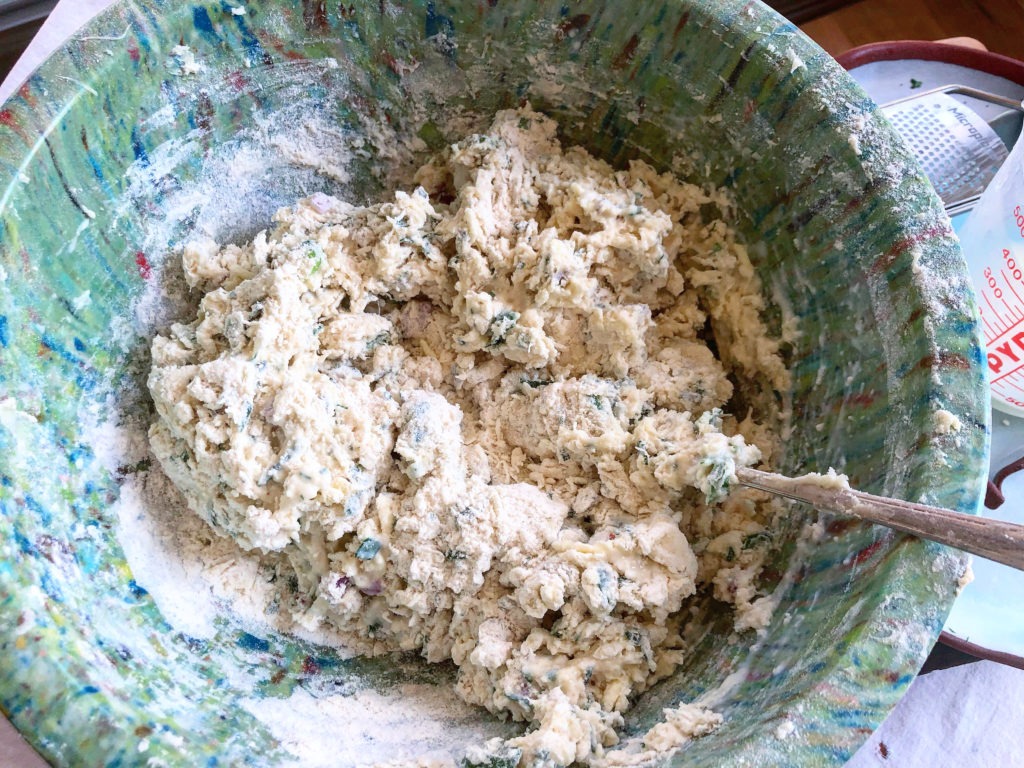
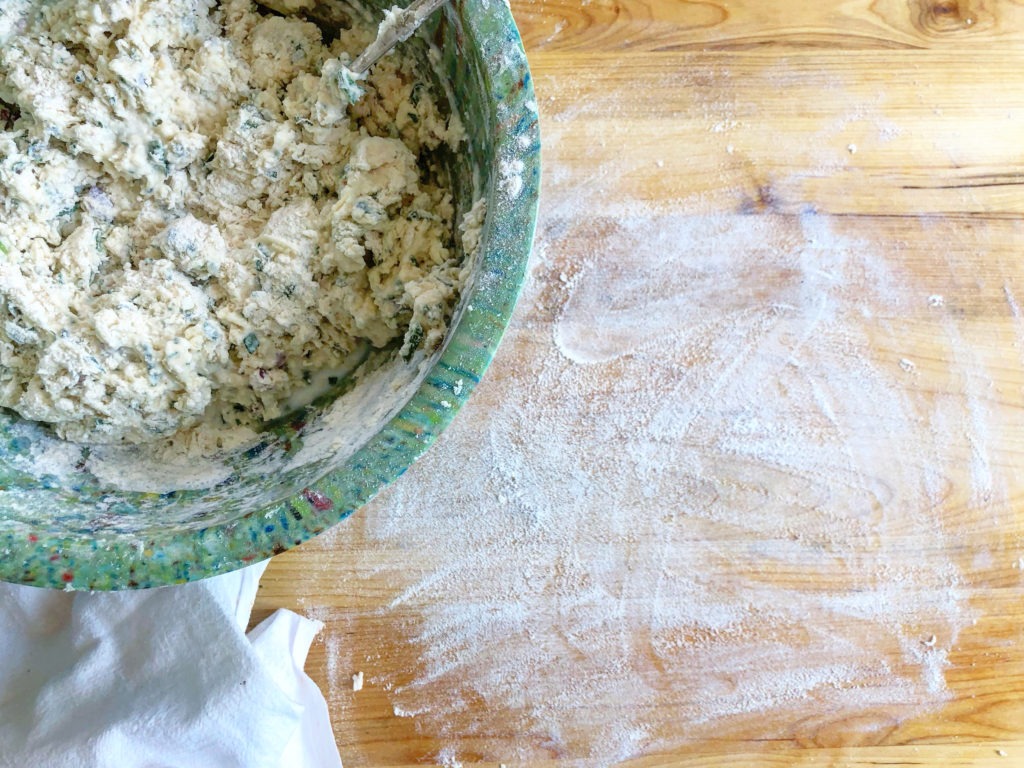
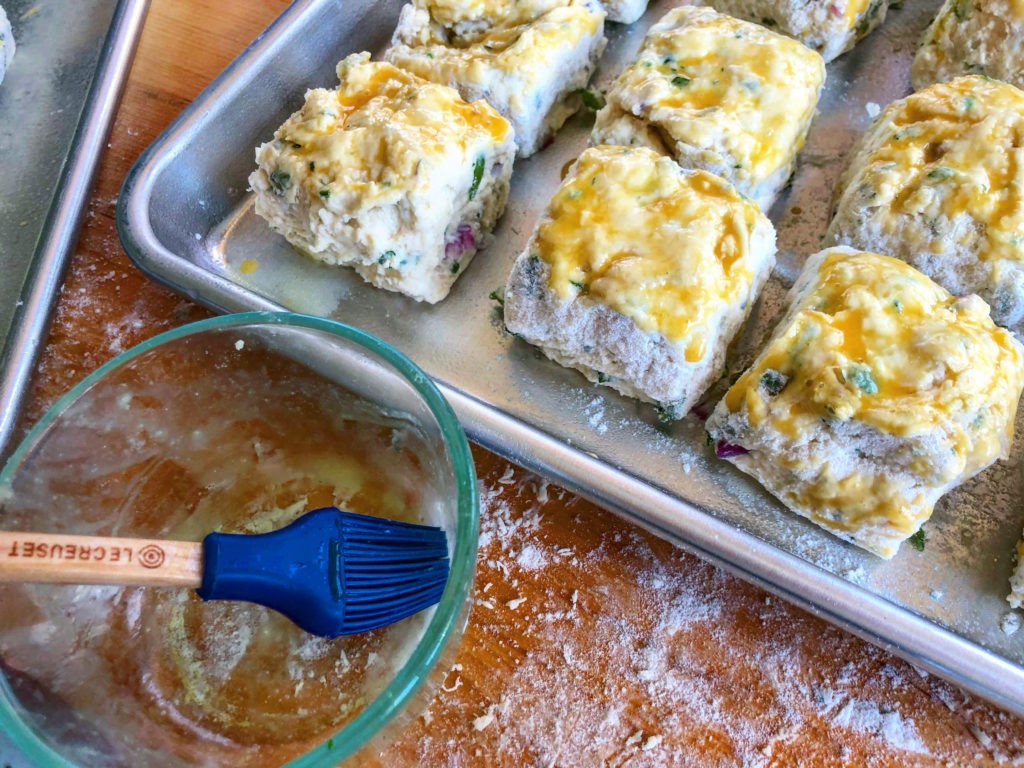
Using a fork, gently combine the ingredients to form a “shaggy dough” (see pictures).

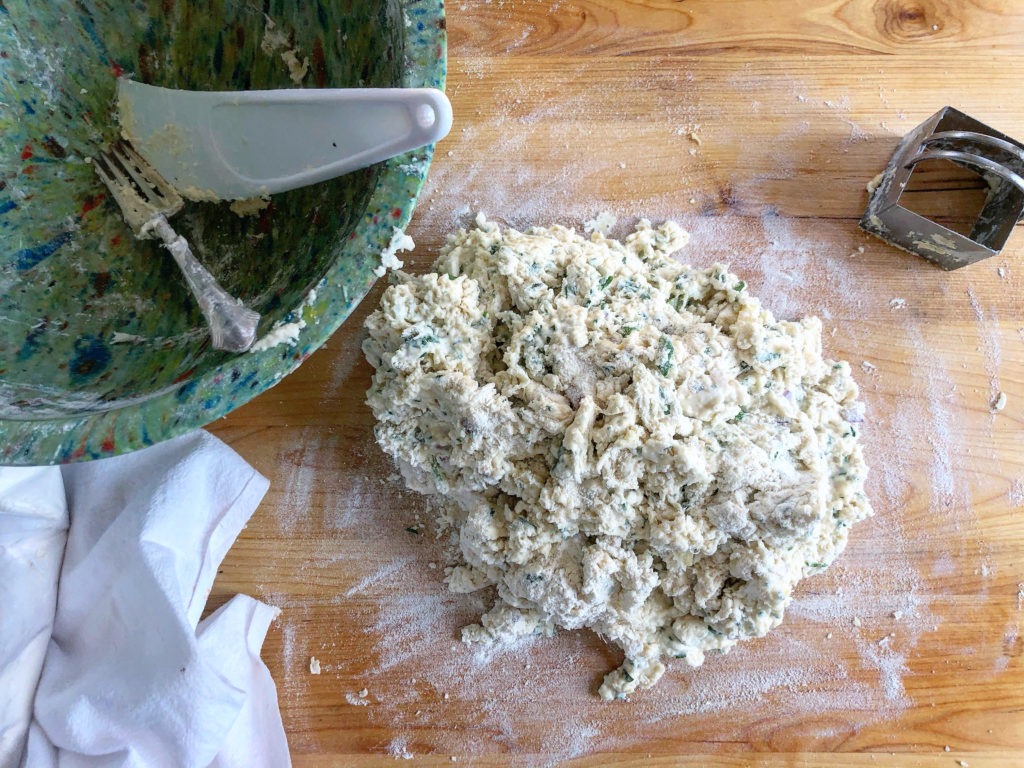
Pour dough out onto a well floured surface, scraping the bowl to to get all of the bits.

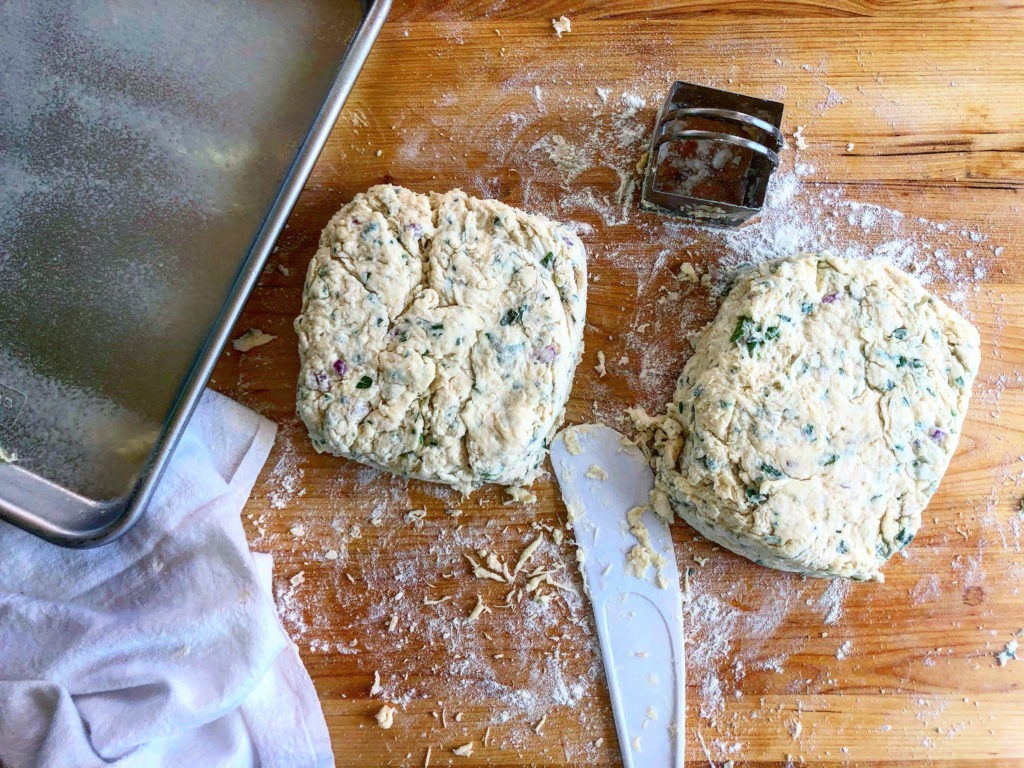
Kneed the dough approximately 10 times, adding additional flour for your hands and the bench if the dough is sticking.

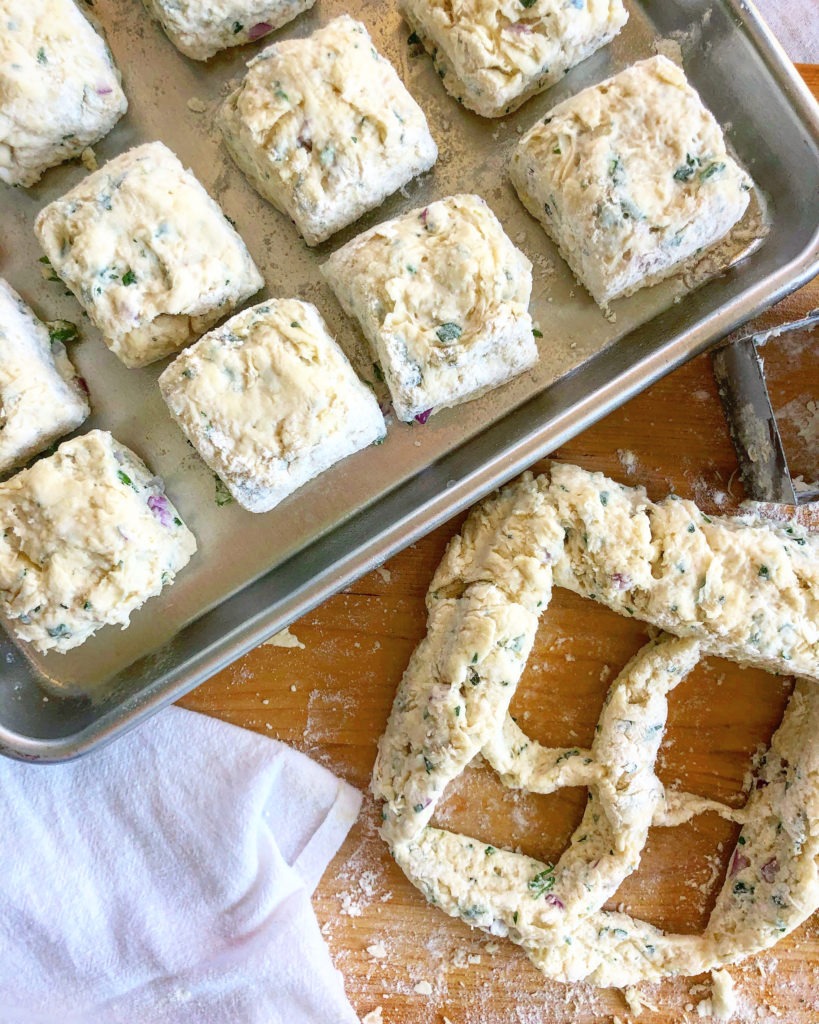
Separate dough into two 6″x8″x2″ rectangles. Using a 2″ biscuit cutter, cut out 16-18 biscuits, flouring the cutter between cuts.

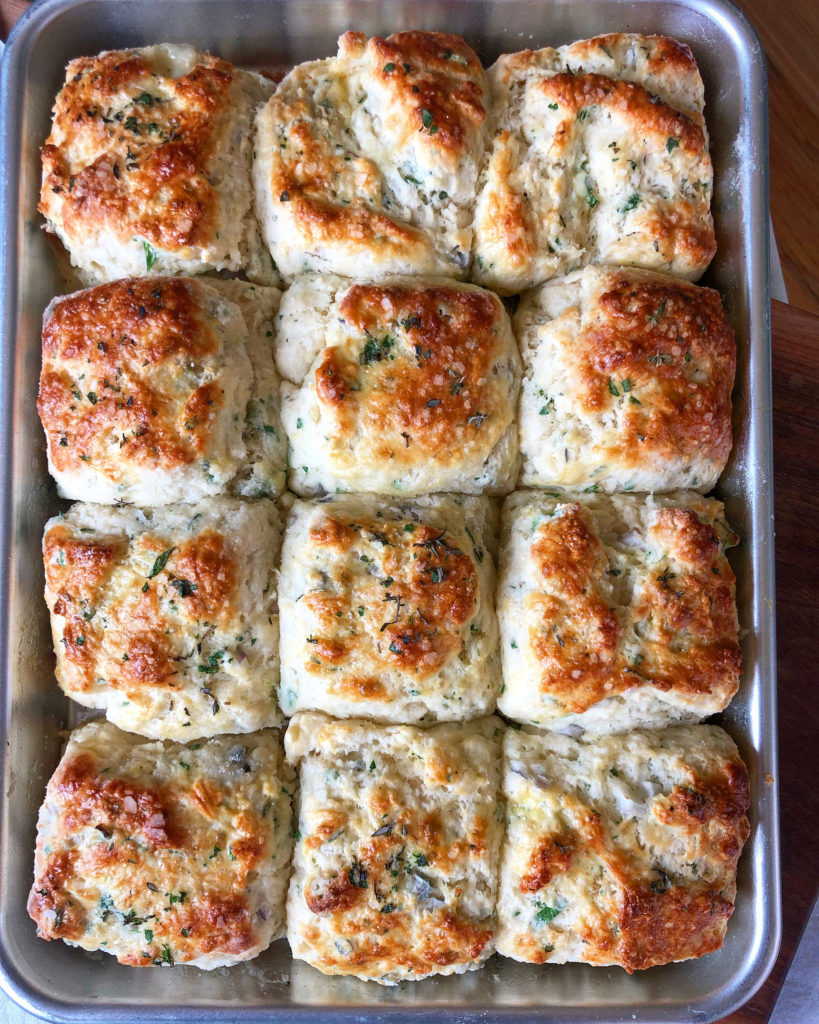
Place biscuits, evenly spaced – 1″ apart, on a prepared 1/4 sheet pan (one pan will perfectly fit 12 biscuits). Place additional biscuits on a second 1/4 sheet pan.* Combine scraps and continue cutting until all the dough is used.

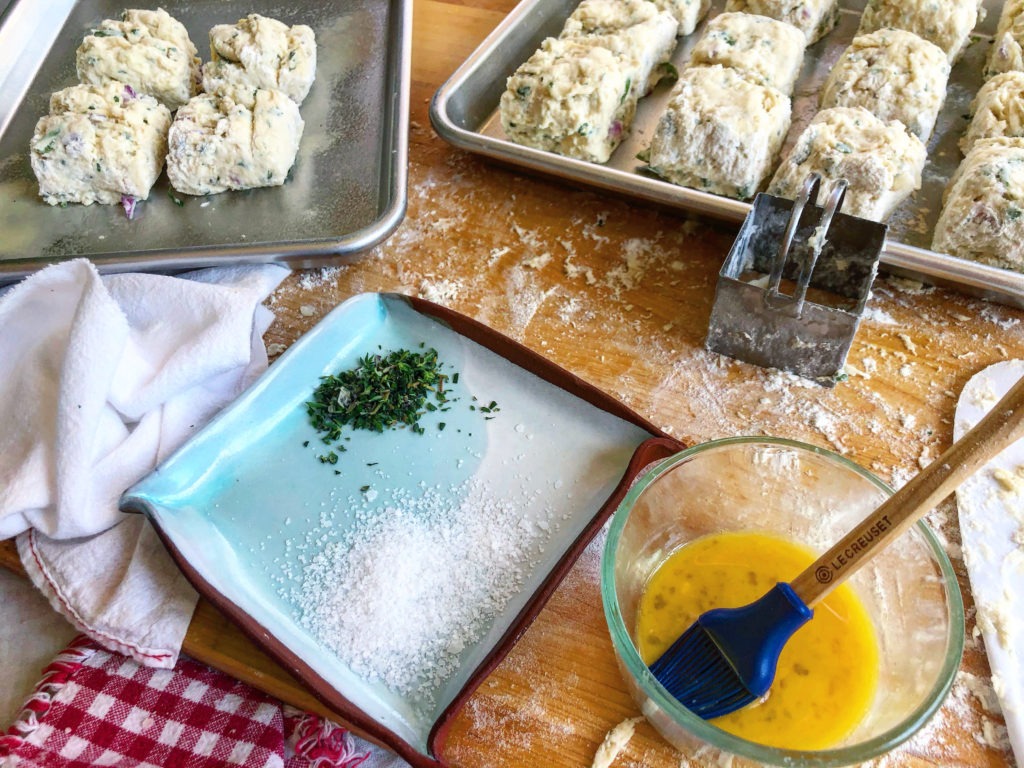
Brush the top of each biscuit with the whisked egg, sprinkle with herbs and flaky sea salt. Bake for 18-20 minutes, until golden brown on top and baked through.

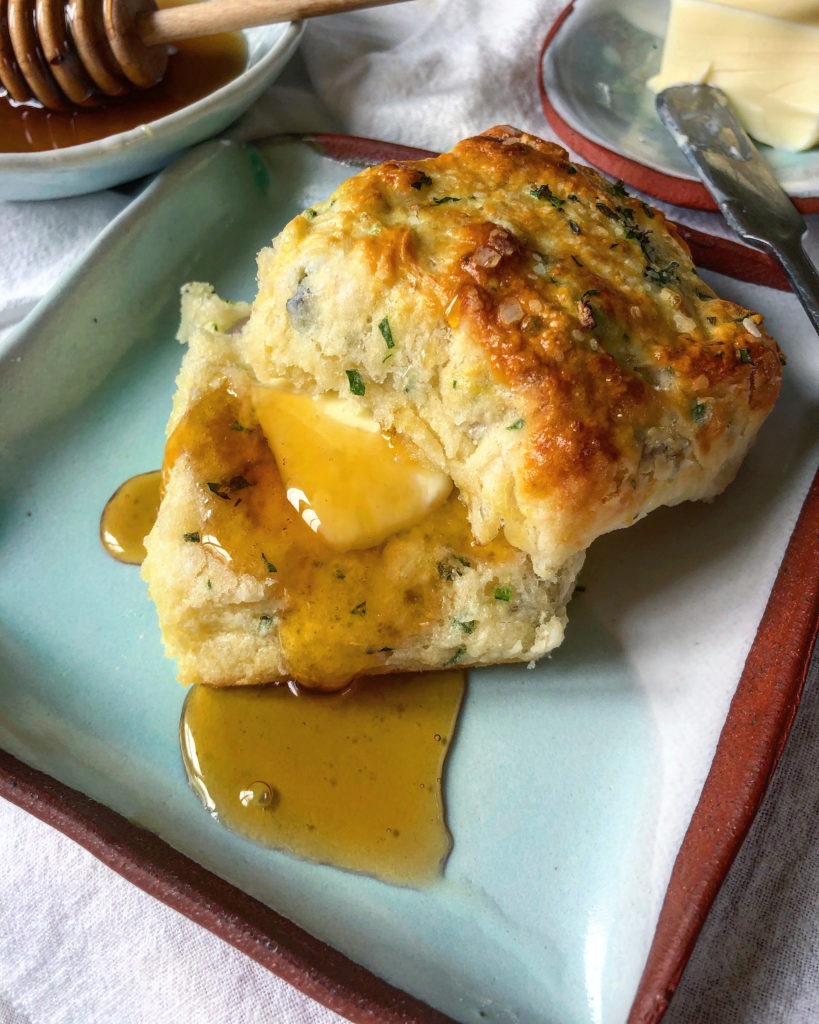
Serve with butter, honey, jam or plain!

makes 16-18

*the pan with less biscuits will require a reduced baking time, approximately 16 minutes total.

For another yummy biscuit recipe, check out this Apple Cinnamon Biscuit recipe.

_____________________________________________________________________

If you have any additional questions during your search for the perfect copper, fireclay farmhouse sink or granite sink, our Sinkologists are here to help. Contact us or follow us on FacebookHouzzPinterest, or Instagram for more helpful tips and design ideas.


The post Homemade Parmesan Herb Biscuits appeared first on Sinkology.


source https://www.sinkology.com/blog/homemade-parmesan-herb-biscuits/

Thursday, June 11, 2020

Our Five Favorite Flowers for Your Kitchen & Bathroom

pink flowers in a stainless steel sink

With all this extra time in our homes, is it just us or are you also dreaming of bringing gorgeous springtime blooms indoors?

We knew it couldn’t be just us.

That’s why we’re listing our five favorite flowers that fit well in our favorite rooms: the bathroom and kitchen. Think beyond just standard bouquets of freshly cut flowers. Picture blooming beauties that last.

Speaking of long-lasting, if you want your indoor flowers to last, the environment must be taken into consideration. Take the bathroom, for example. It’s the most humid room in your house. And, probably not the brightest with little to no natural light. Orchids and eucalyptus are our current top two flowers for the bathroom. Why? They both thrive in a humid bathroom environment and prefer low light over direct sunlight – so much so that they will actually burn in excessive sunlight. But what’s the best way to style them in your bathroom?

Set of beautiful colorful orchid phalaenopsis flowers on white background

Orchids: With an array of colors to choose from, from pure white to vibrant pink, one stem is all you need to bring in some elegant beauty to your bathroom. We recommend you proudly display on your bathroom counter in a flowerpot that suits your bathroom’s color scheme. Look for the color of your orchid’s roots to determine if it needs extra care: brown roots are too wet, grey or white roots are too dry, while green roots are just right.

Eucalyptus round Green leaf Wreath, greenery branches,

Eucalyptus: Eucalyptus is having a moment. And we are here for it. The all-green stalks add an effortlessly earthy touch to sleek bathroom surfaces. While they’re equally as counter-worthy as orchids, we prefer them hanging eucalyptus in the shower. When hung from your showerhead, eucalyptus’ natural essential oil is released into the air with the help of your shower’s steam. With each shower, you’ll experience less congestion, inflammation, and stress. One bundle will last for anywhere from 2 weeks to 2 months.

The kitchen, on the other hand, has varying environments from home to home. Some are well-lit while others are not. No matter the lighting, we love using jasmine and lavender in the kitchen because of their fragrance and appearance.

branch of Jasmine flowers

Jasmine: Jasmine’s natural fragrance is known for its calming properties. In fact, its naturally occurring essential oil is used to improve sleep and reduce anxiety, as well as an antiseptic. Jasmine will do best in a little bit of sunlight. Just be sure it’s kept in well-circulated air between 60-75 degrees Fahrenheit, like your kitchen island.

lavender flowers

Lavender: Like jasmine and eucalyptus, lavender is renowned for its soothing effect. We love planting in a rectangular rustic-chic container that’s beside a beautiful farmhouse kitchen sink. Keep in mind, not all lavender thrives indoors. Look for dwarf variety such as “Goodwin Creek Grey,” “Little Lottie,” or “Munstead.”

Last, but certainly not least, is the flower that thrives in any room: the Peace Lily.

Peace Lily Flowers

Peace Lily: This versatile plant is renowned for its beautiful white blossoms and NASA-approved air cleaning ability. Easy to care for in both humid bathrooms to dimly lit kitchens, all you need to do is watch out for any wilting and you’ll know it needs some water. What are our favorite flowers for your kitchen in bathroom? We’d love to see how you’re bringing spring blooms indoors. Share a picture with us on Instagram @Sinkology

_____________________________________________________________________

If you have any additional questions during your search for the perfect copper, fireclay farmhouse sink or granite sink, our Sinkologists are here to help. Contact us or follow us on FacebookHouzzPinterest, or Instagram for more helpful tips and design ideas.

The post Our Five Favorite Flowers for Your Kitchen & Bathroom appeared first on Sinkology.


source https://www.sinkology.com/blog/favorite-flowers-kitchen/

Thursday, June 4, 2020

Spring Clean Everything, Including the Kitchen Sink

Is it just us, or are homes dirtier this year thanks to all this additional time at home? In 2020, “spring cleaning” has a whole new meaning.

copper care IQ kit next to copper sink

There’s no question that our homes are fully “lived in” now that they are used for more than our typical at-home routines. Now that you’ve added a new fitness studio, home office, and/or classroom, more dust and dirt seem to build up quicker.

Or, maybe we’re just noticing it more since we haven’t been able to escape that much needed deep-clean we’ve been putting off.

No matter the cause or the amount of cleaning needed, your spring cleaning checklist doesn’t have to be completed all at once.  We recommend breaking down each cleaning task by area, taking one step at a time. (You didn’t have weekend plans anyway, right?)

Let’s start with the kitchen sink. After all, it’s probably getting more use than ever before. Dish after dish fills up your kitchen sink after each round of home cooked meals, from breakfast to dinner. You’re probably washing more produce and are more than likely scrubbing down more utensils than your usual week. But even after all that extra use, your sink care won’t be that time consuming…promise.

With the help of our Care IQ Kits, your sink cleanup will be your easiest spring-cleaning step. We’ve carefully created these kits to include everything you need for every type of Sinkology sink:

Copper Care IQ Kit

Click here for Copper Care IQ™ 
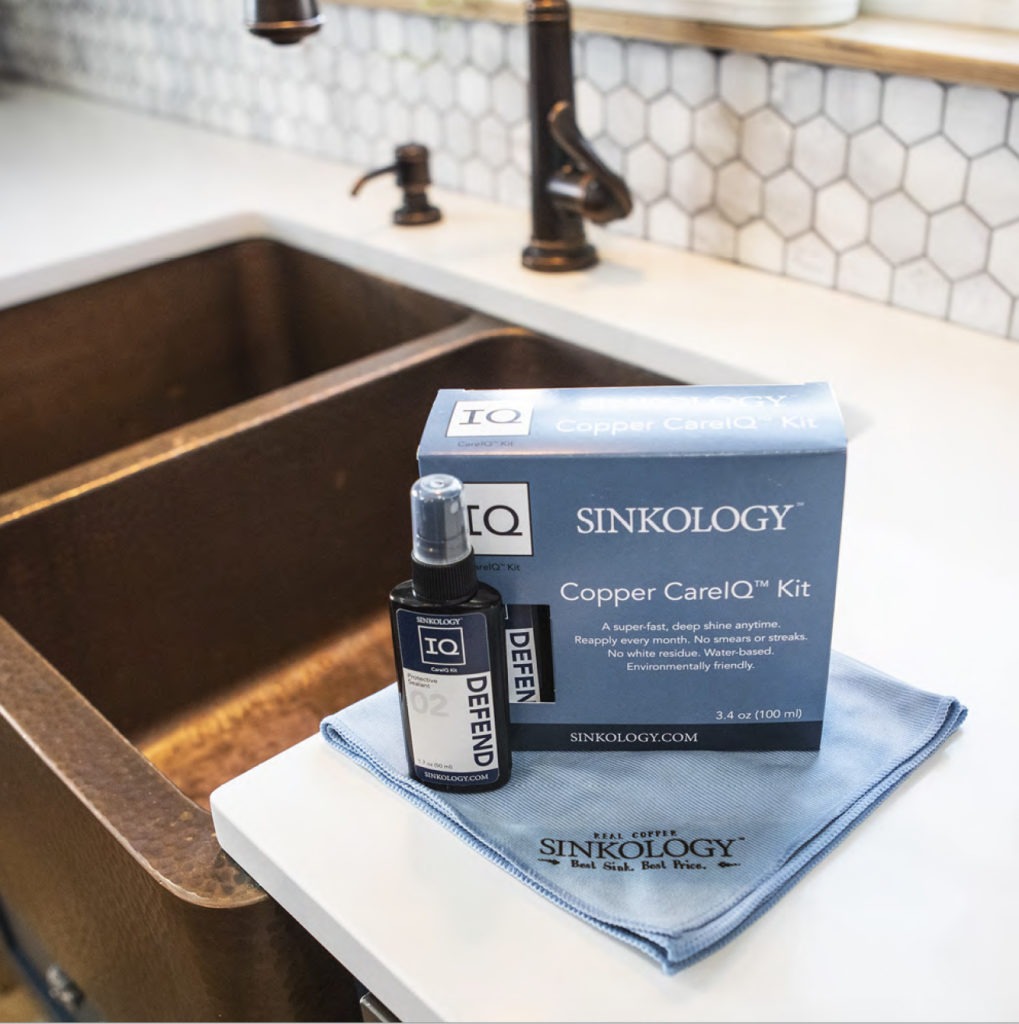
Kit. Don’t worry, this cleaning kit won’t prevent that gorgeous patina from continuing to develop over time. After all, that’s half the beauty of this natural material. 

fireclay careiq kit, defend protective sealant, restore cleaning polish

Click here for Fireclay Care IQ™ Kit that will take care of your family’s farmhouse style sink for decades to come.

scrubber and defend bottle spray next to stainless steel sink

Our Steel & Nickel Care IQ™ Kit is launching soon! Until then, click here for helpful pointers to keep your steel or nickel sink as shining and as beautiful as the day you installed it.

No matter what type of sink you have, preventive care will be critical to maintaining its life and look for years to come. That’s why we include our Defend Protective Sealant. With regular monthly use, you won’t have to worry about stains staying in your sink basin. Trust us, your everyday wear and tear on your sink is no match for this protective product. After just one use, you’ll see how our Defend Protective Sealant beads up water to protect against water spots.

Kitchen-Sink-Accessories

It’s powerful, but not the least bit complicated. You don’t have to be an expert to apply this sealant. The Defend Protective Sealant comes in an easy-spray form. With a little spritz and spread with our microfiber polishing cloth (also included in every Care IQ Kit), you’ll easily create a sleek, strong shell that shines. 

In addition to this sealant, our Fireclay and Stainless Steel Care IQ kits come with our Restore Cleaning Polish. We recommend you wipe away whatever scuffs, scratches, and stains pop up with this polish at the end of every day of use. For Copper sinks, stick with the included microfiber cleaning cloth to keep your patina thriving. This is the easiest way to keep up with cleaning year-round.

When it comes to sink spring cleaning, a little bit of effort goes a long way – literally. Your kitchen sink will look better longer and withstand everyday use better with routine care. Let this spring-cleaning step kickoff a new weekly cleaning routine for every season.

_____________________________________________________________________

If you have any additional questions during your search for the perfect copper, fireclay farmhouse sink or granite sink, our Sinkologists are here to help. Contact us or follow us on FacebookHouzzPinterest, or Instagram for more helpful tips and design ideas.

The post Spring Clean Everything, Including the Kitchen Sink appeared first on Sinkology.


source https://www.sinkology.com/blog/spring-clean-kitchen-sink/