Thursday, April 26, 2018

Life With Copper: Home Care Nurse

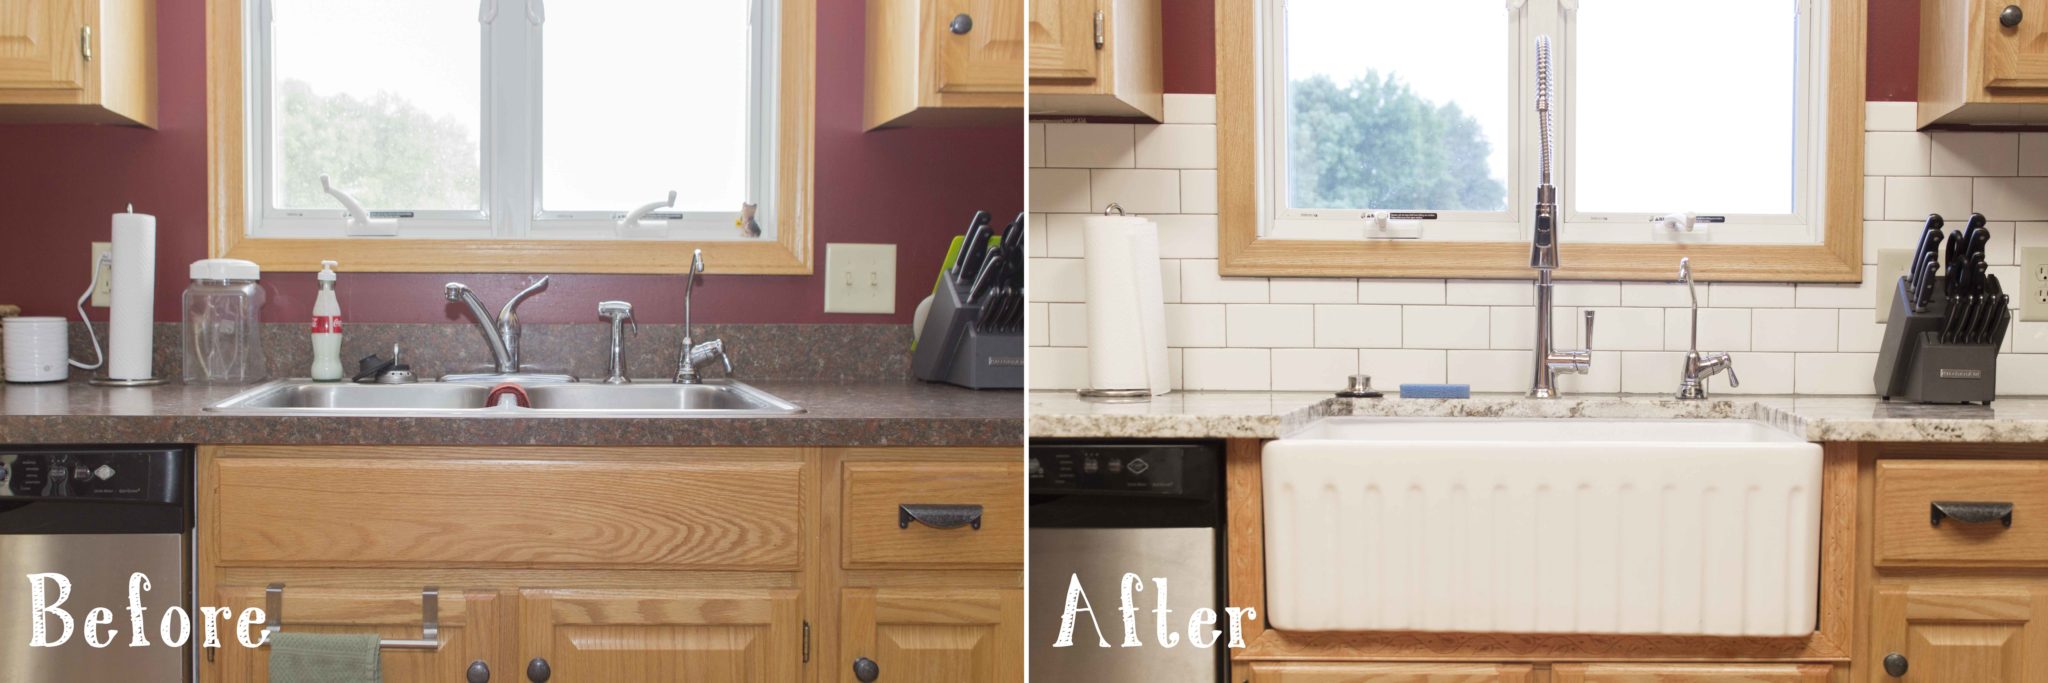
Stacey from @farmhousechic4sure has been renovating her home one room at a time. She wasn’t sure what exactly to do with her out-of-date kitchen, so she hit the web for inspiration. Luckily (for both of us), she found Sinkology. We were able to catch up with Stacey after her installation was completed to ask a few questions, and even snap a few photos of her renovated, beautiful, farmhouse kitchen – complete with her Sinkology Adams copper farmhouse sink. (We also got to be a part of her recent laundry room renovation with our new Bradstreet II Fireclay Farmhouse Sink All-In-One Kit you can see on our recent blog post.)


A Bit About Stacey

I’m Stacey, you may know me as @farmhousechic4sure on Instagram. I’m a busy mom of two, a wife, and a full-time home care nurse. I love DIY and all things modern farmhouse style. I’m a huge DIY hobbyist and have multiple projects on my to-do list at any given time. Ask my husband, my mind goes faster then I can keep up with. With two daughters ages 6 and 9, we are constantly on the go, keeping up with school schedules and activities. We live in the beautiful state of Connecticut, where two incomes is a must. That means both my husband and I hold demanding jobs, each working 40-60+ hours per week. This leaves little time for household duties, much less anything else. To me, its important to balance work, family, and leisure time. Oh, and you must sneak some “me” time in there too. That’s a lot of things to pack into 24 hours, just thinking about it has my head spinning. So functionality and low maintenance are high on our priority list when completing any project.

Why did you decide to do a kitchen renovation?

We purchased our home just over 3 years ago. At that time it was nearly 12 years old. What may have seemed functional and stylish when the house was built was not suitable for us and our family. I’m a huge believer in making use of every square inch.  Functionality is so important and that was missing from the original kitchen design. So much space was wasted and the look and feel was dark and dated. Character, which is also important to me, was minimal at best. We loved the layout and open floor plan of the main level but knew a kitchen remodel was a must.

Where did you start your search for design ideas / inspiration?

Pinterest. Pinterest. Pinterest. And a little bit of Google. As soon as our offer was in on the house, I started pinning to my kitchen makeover board. Saving everything from “How to make Ugly Cabinets Look Great” to “Hammered Copper Farm Sink Design Ideas.” I took to Google, for what seemed like hours, and scrolled through hundreds of kitchen images. Screen shot-ing more images then I’d care to share and making mental notes of design elements that were a must in our remodel.

Why Copper?

In the beginning stages of planning our kitchen remodel I didn’t know I wanted a copper sink. I knew I wanted a modern farmhouse look with some added warmth. In my search for farmhouse sink ideas, I came across the Adams Farmhouse Copper Sink. It was love at first sight. Maybe more like an obsession. I was mesmerized by how gorgeous the hammered copper design was. Modern farmhouse can, at times, seem a bit sterile with so much white and clean lines. A copper sink added just the right amount of warmth, while still keeping with the modern farmhouse feel I wanted.


The post Life With Copper: Home Care Nurse appeared first on Sinkology.


source http://www.sinkology.com/blog/life-with-copper-home-care-nurse/
Monday, April 16, 2018

5 Helpful Tips for Perfectly Styled Shelves

Sinkology is proud to present Ashley Carpenter, a homebody, decor obsessed, DIYer that loves fitness, happy people and wants nothing more than to be on the lake soaking up the sun with good people and good music. Ashley runs the blog Joyfully Growing and is here to share some DIY and design projects created for the Sinkology blog that reflect her timeless, affordable, and beautifully rustic style.


Looking to perfect your shelf styling skills? Today I am sharing my tips on how to style your shelves like a pro! These tips are a mix of classics as well as a few things I’ve learned over the past few years as I’ve honed in on my shelf décor style.

Use varying heights

Mix up the height of the objects to keep the eyes moving from piece to piece. Use a combination of taller items and lower profile pieces to add interest.

The post 5 Helpful Tips for Perfectly Styled Shelves appeared first on Sinkology.


source http://www.sinkology.com/blog/5-tips-for-perfectly-styled-shelves/

How to Install a Fireclay Farmhouse Kitchen Sink: The Wheatley Fireclay Sink

Installing a fireclay farmhouse sink can really add some spark to your kitchen. Not only will the vibrant crisp white color of the fireclay brighten your space, but the quality and features of this sink from Sinkology will make your meal prep and clean-up much easier and rewarding.

We recently had one of our Sinkology professional plumbers install a fireclay farmhouse sink in this kitchen during a renovation. We documented the installation through video along the way to help demonstrate the proper steps and provide tips that make installation a snap. For a sink like this, we recommend hiring a professional since there are so many things to consider: cutting your cabinets, fabricating and installing a new countertop, and building a support structure for this solid, heavy sink.


In this video, we installed:

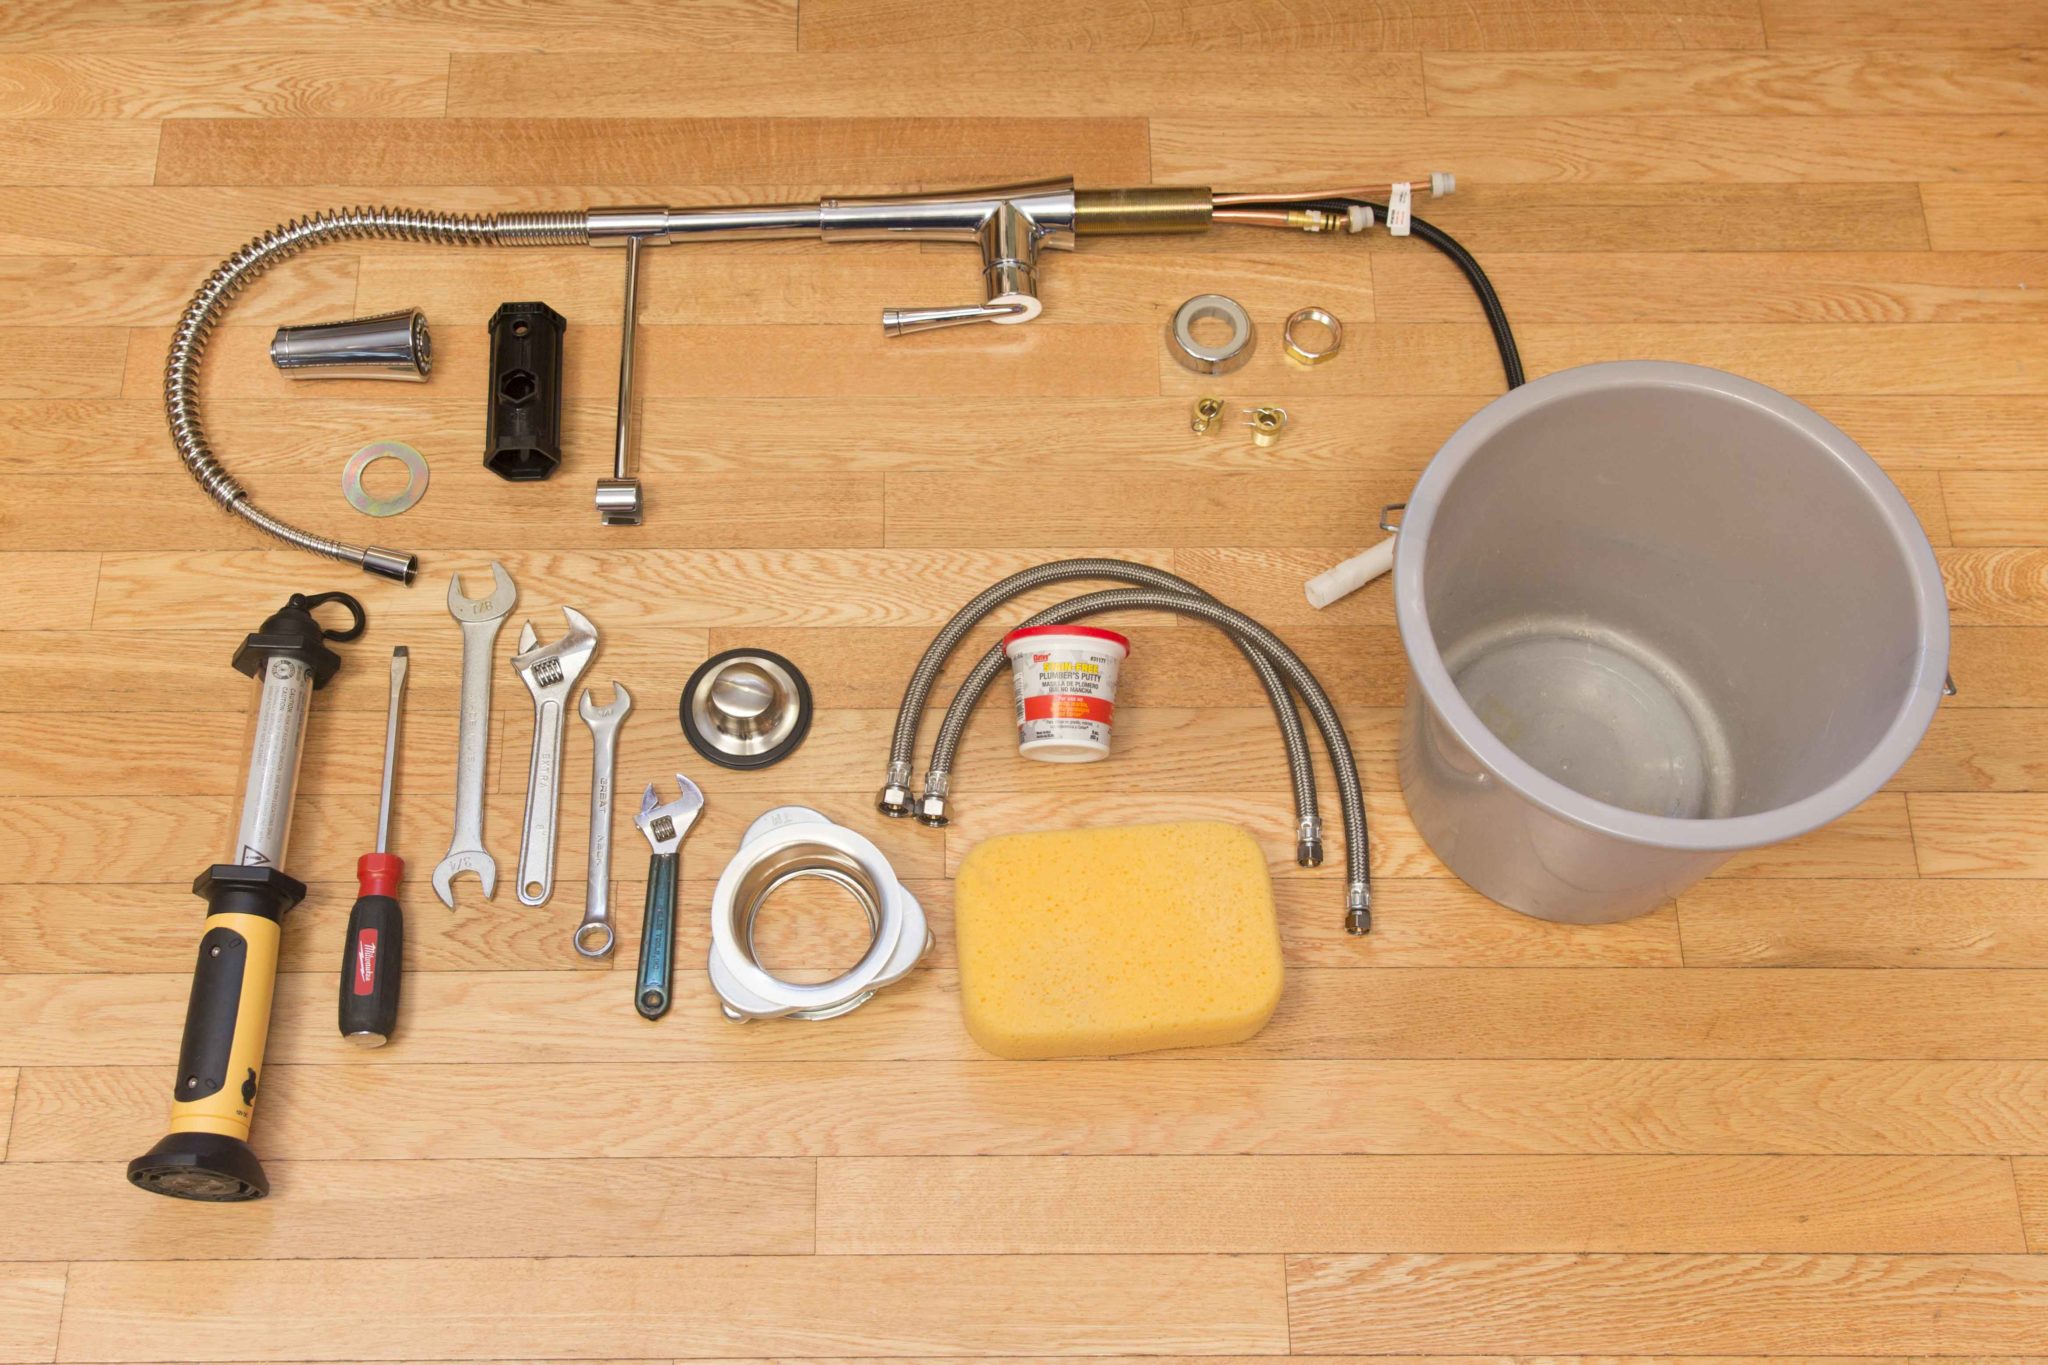
The tools you will need include:

  • Plumber’s putty
  • Plumber’s tape
  • A putty knife or razor blade (to cut old caulk)
  • Adjustable wrench
  • Silicone tube (clear or copper colored)
  • Caulk gun
  • Drain install wrench
  • Bucket or water receptacle

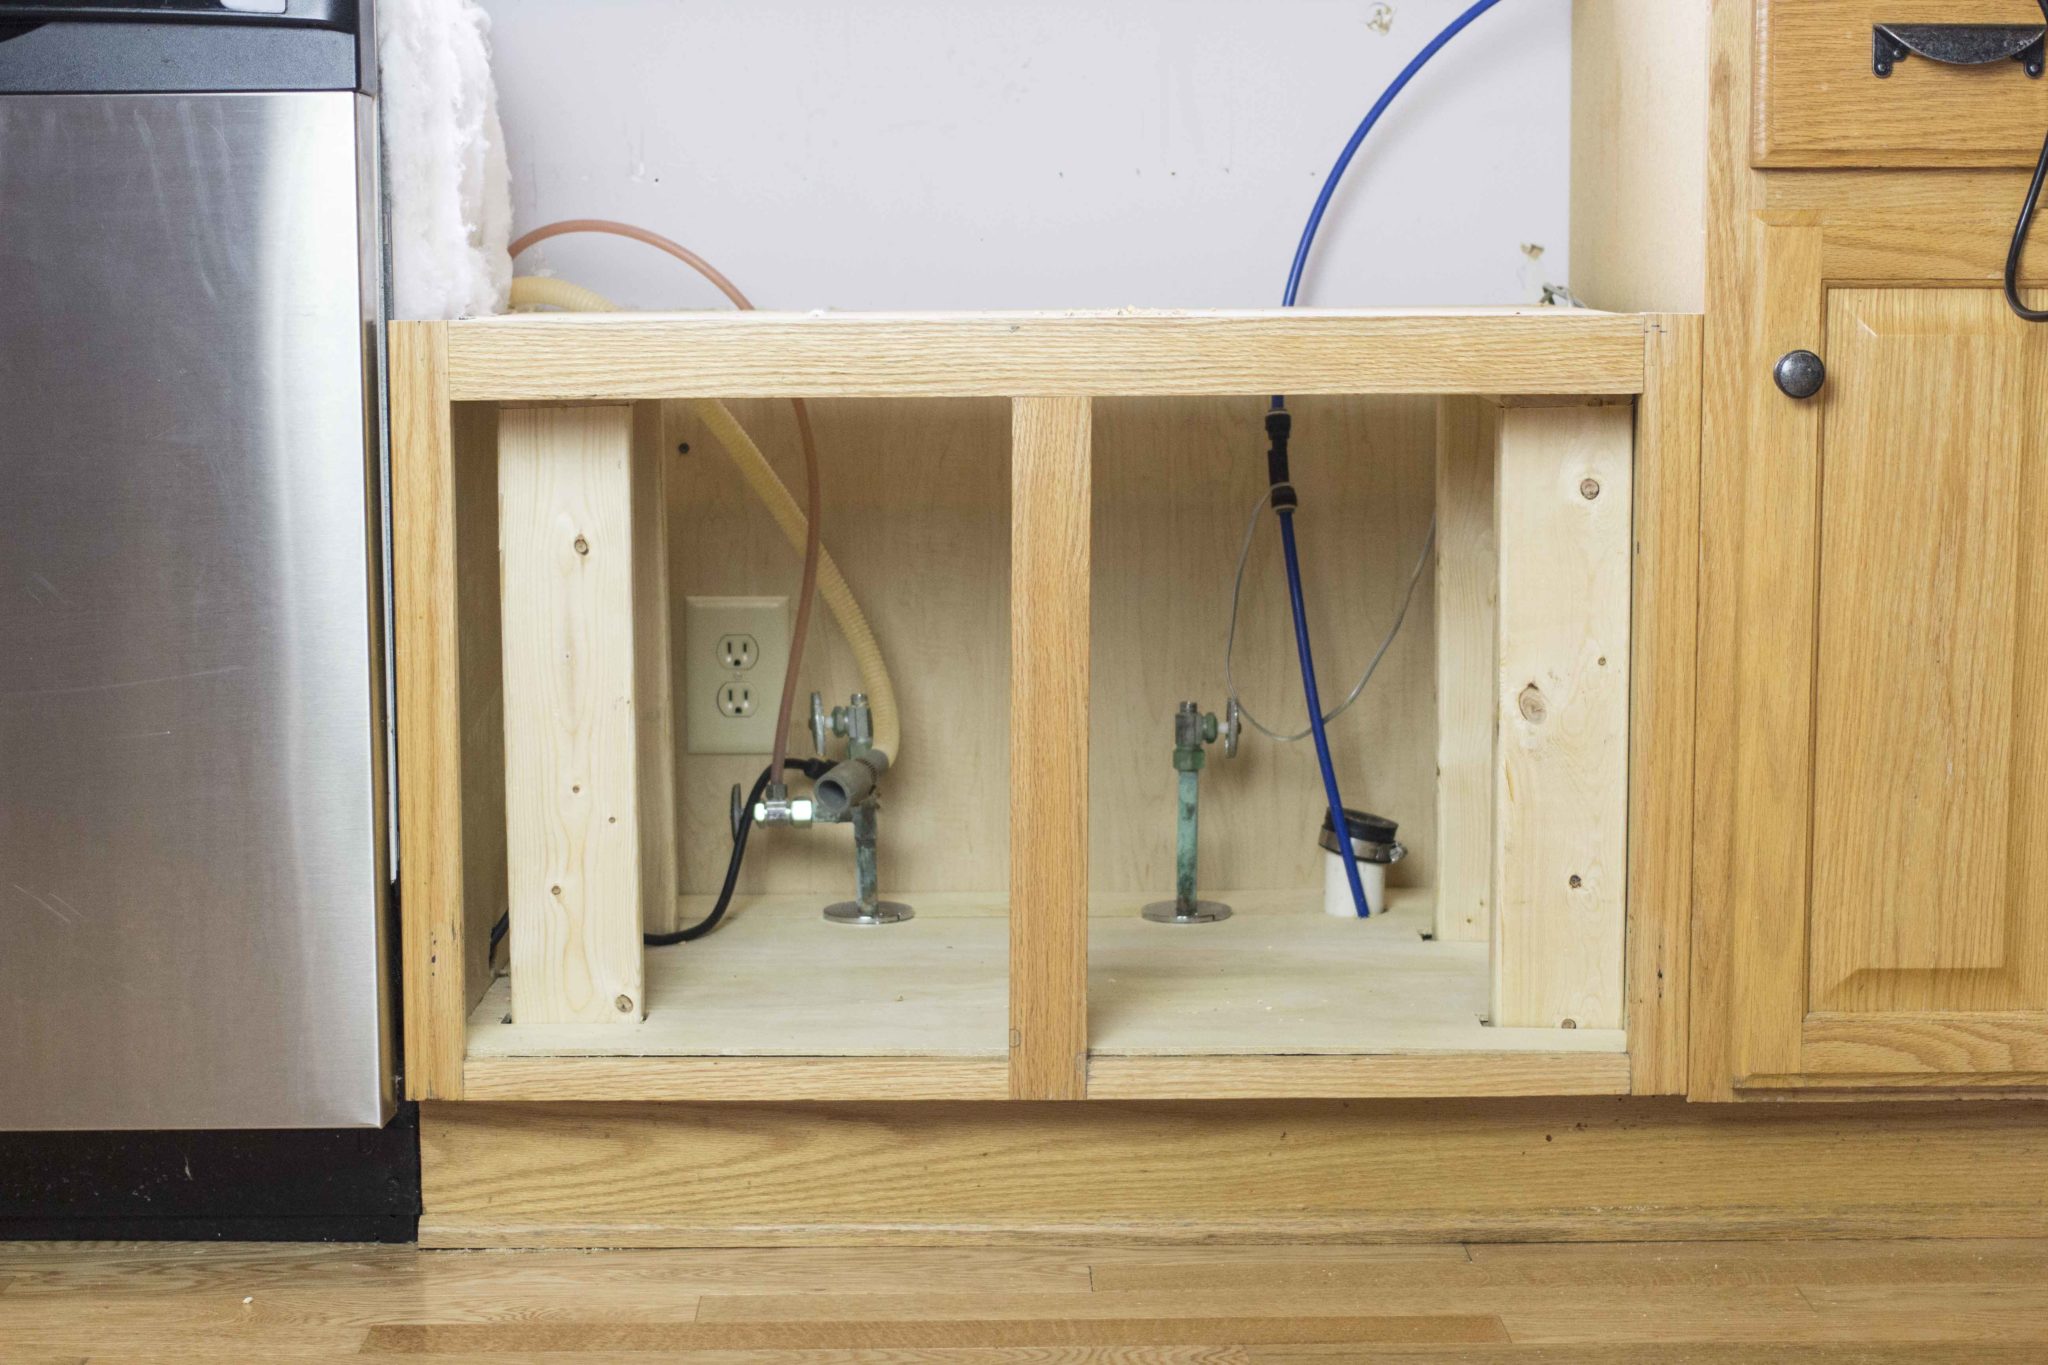
Before getting started, turn off the power, shut off the water, and unplug any nearby electronics. Sinkology fireclay sinks require a solid support built into the cabinet. Sinkology recommends hiring a professional for this installation.

1. Gather the products being installed and the tools you will need.

2. Construct and install the support. See our detailed installation guide for steps on building your support.

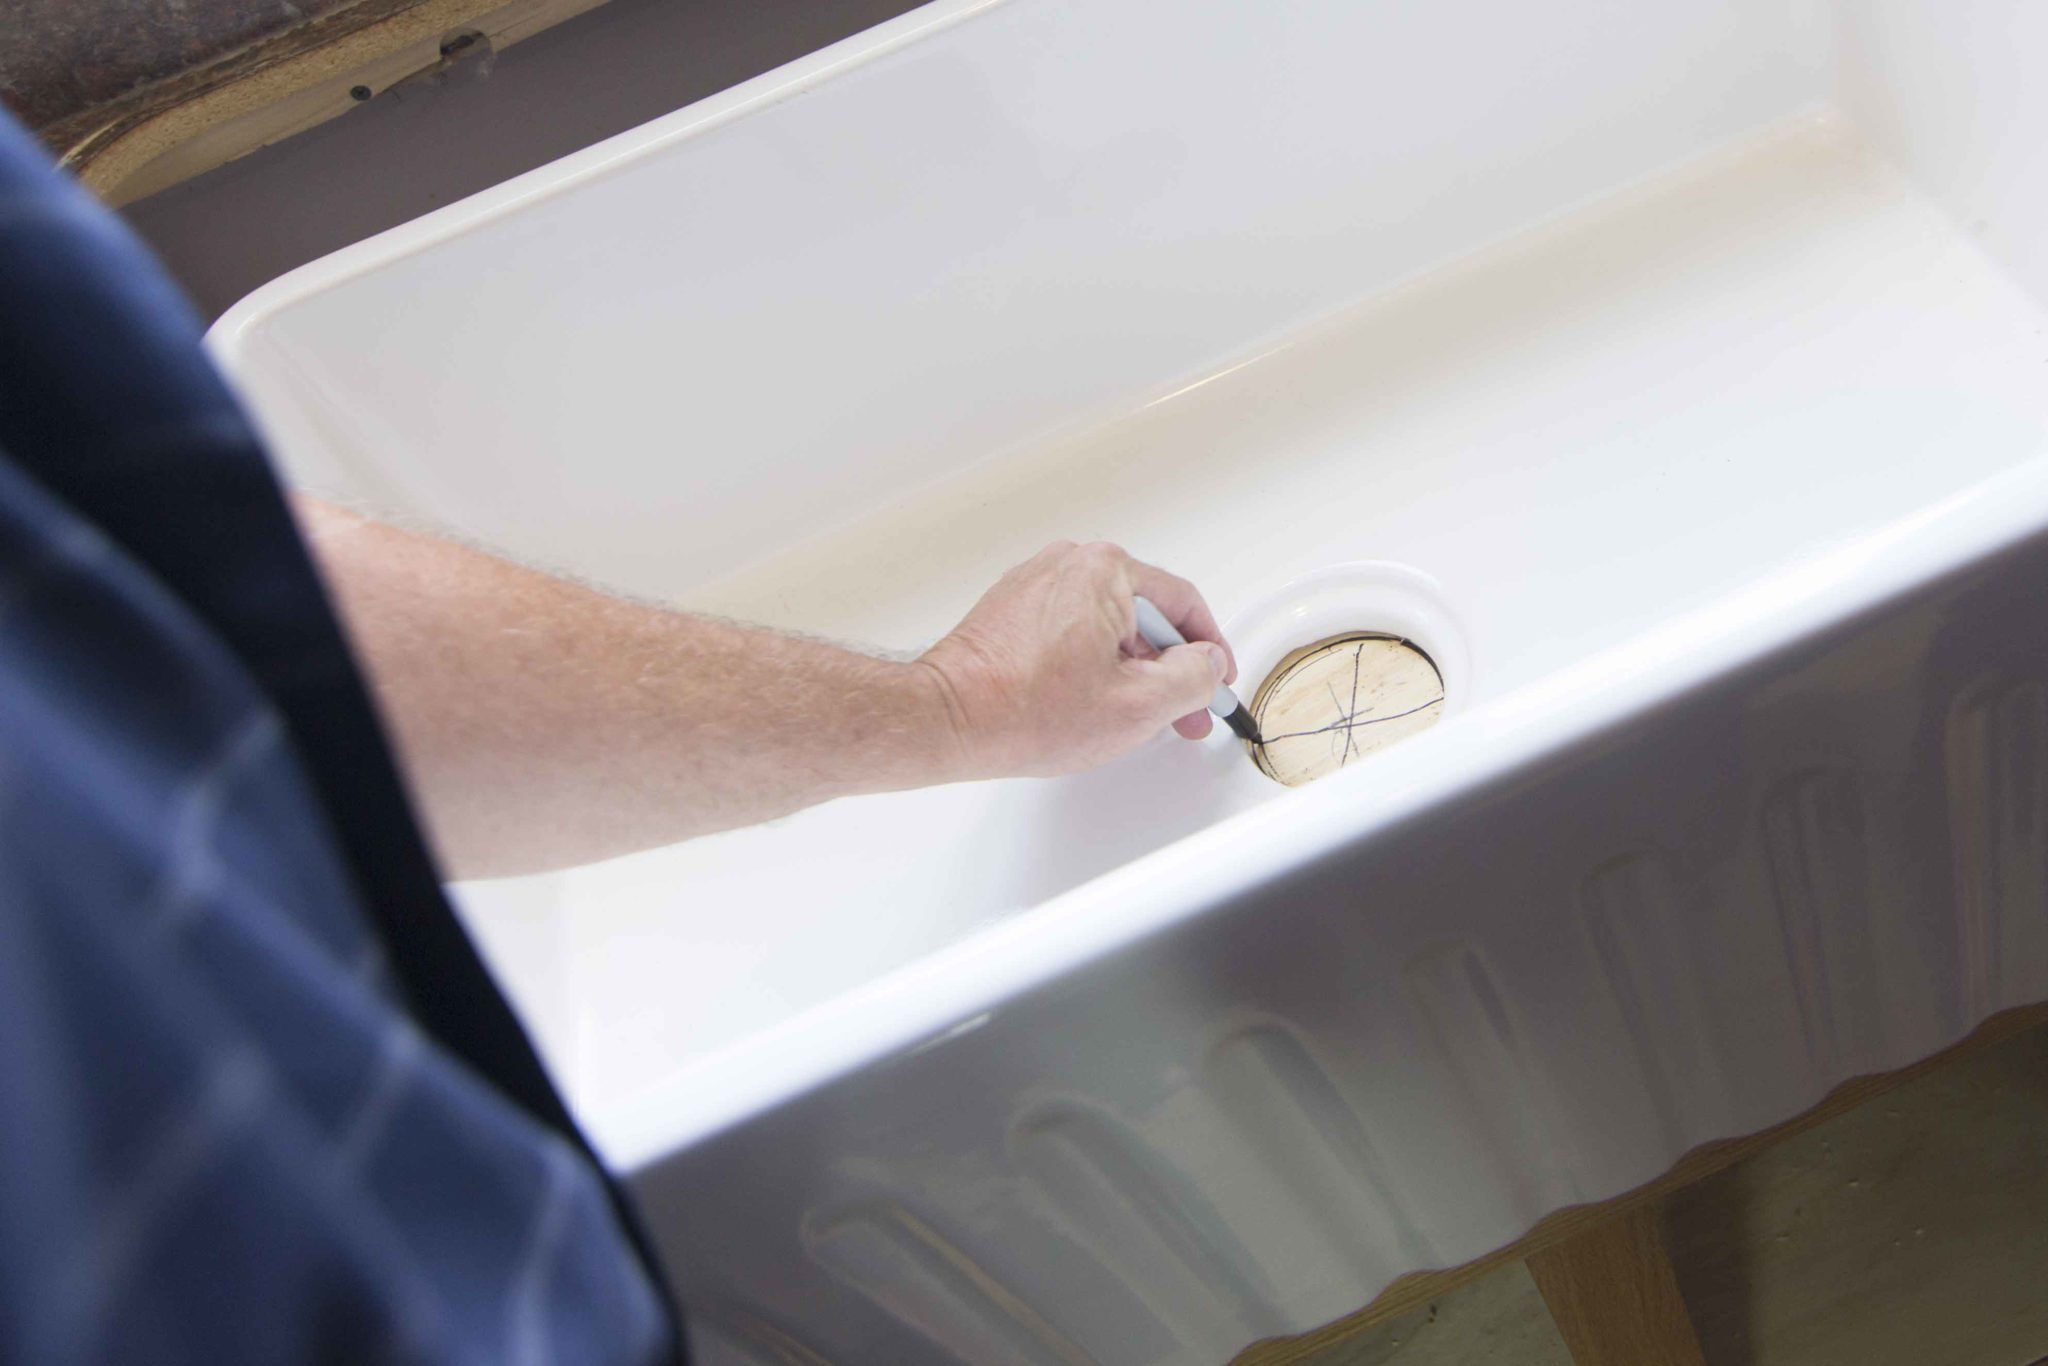
Pro-tip: After you build the support, place the sink in the final desired position and trace the drain hole. Then, cut the final drain hole before installing the sink.

3. The sink should rest 1/8″ inch below your cabinets, ensuring clearance for countertop install. Use a level to make sure the sink is even and will drain correctly.

4. Caulk the sink in place prior to countertop templating and professional installation. We recommend an undermount installation, where the countertop will lay on the cabinets for a seamless look.

5. Attached your disposal flange or basket strainer to the sink using plumber’s putty.

putty-drain-fireclay-installation

Pro-tip: Over-tightening your disposal drain could damage your kitchen sink. Use plumbers putty to make a watertight seal between the drain and the sink.

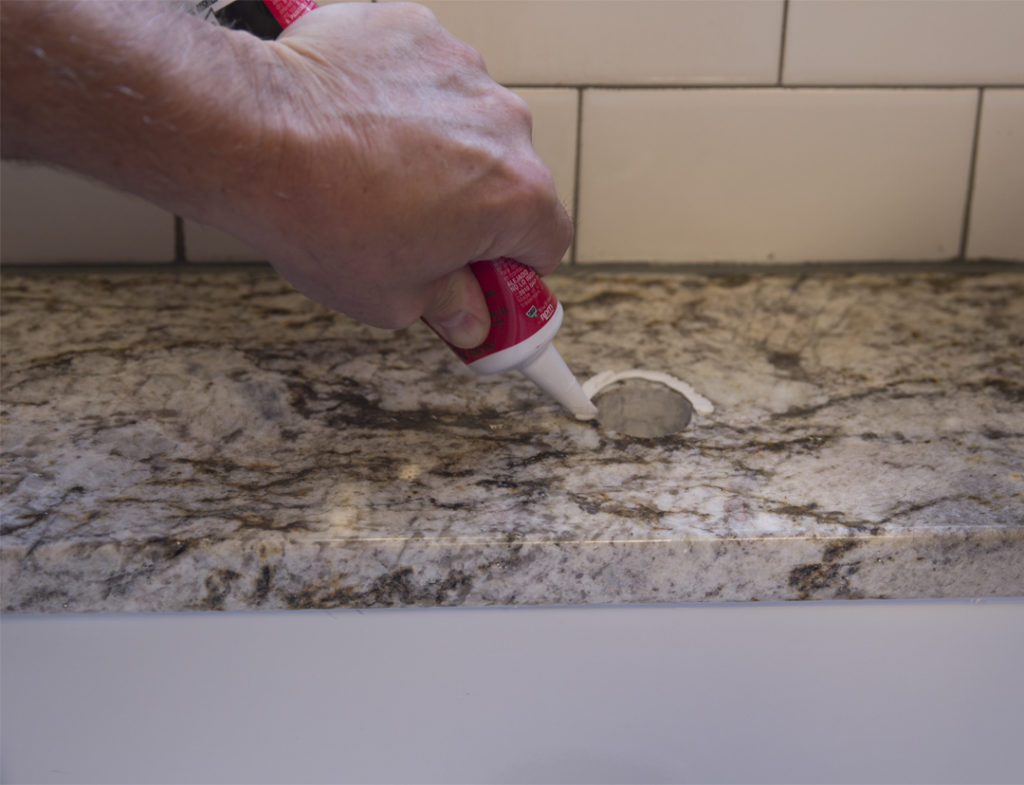
6. Install your faucet in the countertop with caulk and attach the waterlines beneath the sink.

caulk-sink-faucet-fireclay-installation

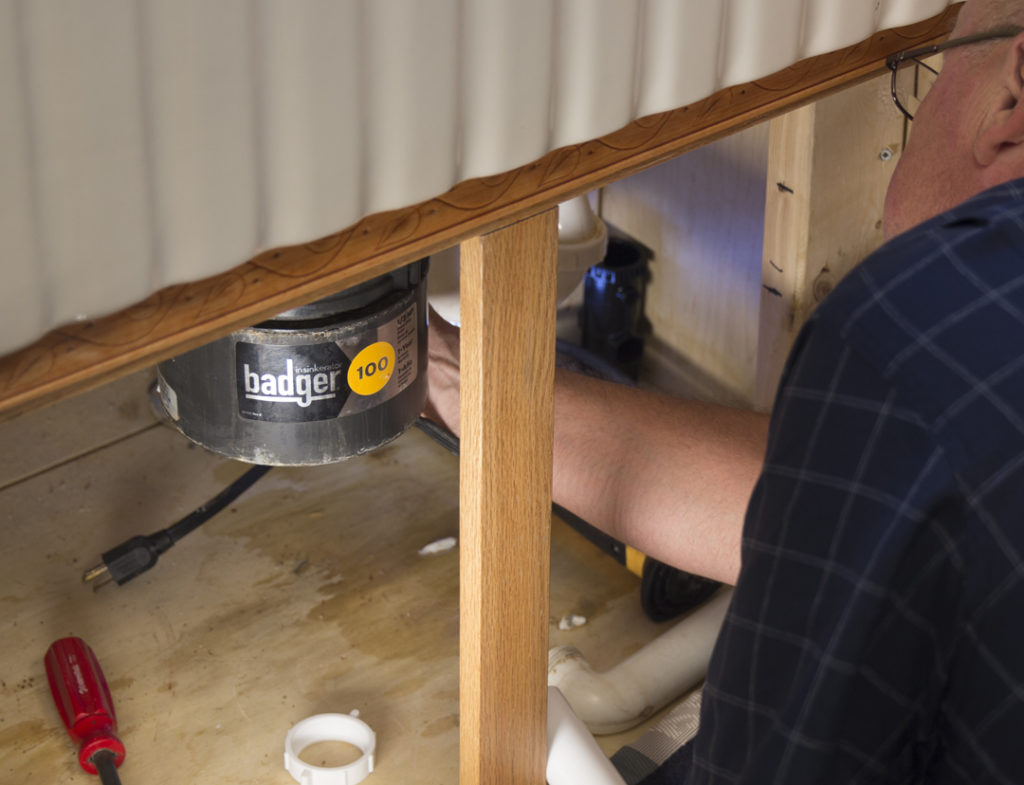
7. Install the garbage disposal and connect the drainpipes.

install-fireclay-garbage-disposal

8. Turn on the faucet and check the drain, disposal, and waterlines for leaks.

9. Enjoy your new fireclay farmhouse sink from Sinkology!

If you are searching for a new fireclay farmhouse kitchen sink, or need additional information on Fireclay Installation or Fireclay Sink Care, check out our Fireclay page.

The post How to Install a Fireclay Farmhouse Kitchen Sink: The Wheatley Fireclay Sink appeared first on Sinkology.


source http://www.sinkology.com/blog/how-to-install-a-fireclay-farmhouse-kitchen-sink-the-wheatley-fireclay-sink/

Spring Green Tortellini Salad

Sinkology is proud to present Emily Schuermann, our food-loving guest blogger who runs Food for a Year. Emily is here to share some recipes she has created exclusively for the Sinkology blog that reflect her view of a copper sink: simple, timeless, affordable, and beautifully rustic.


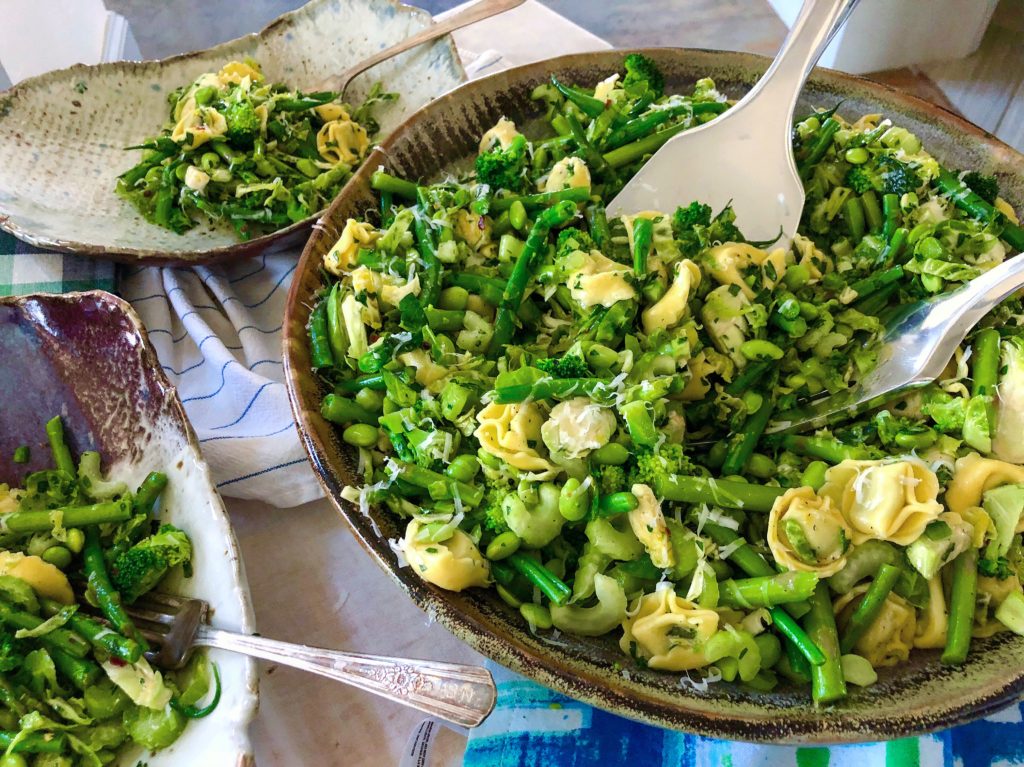
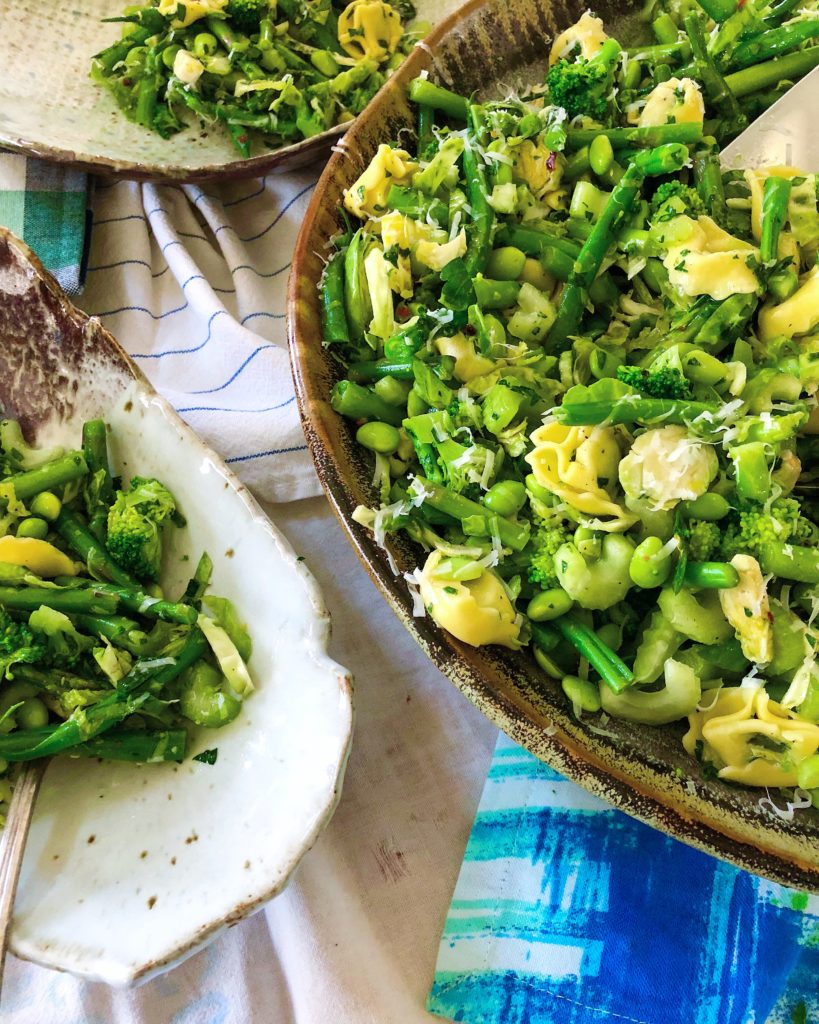
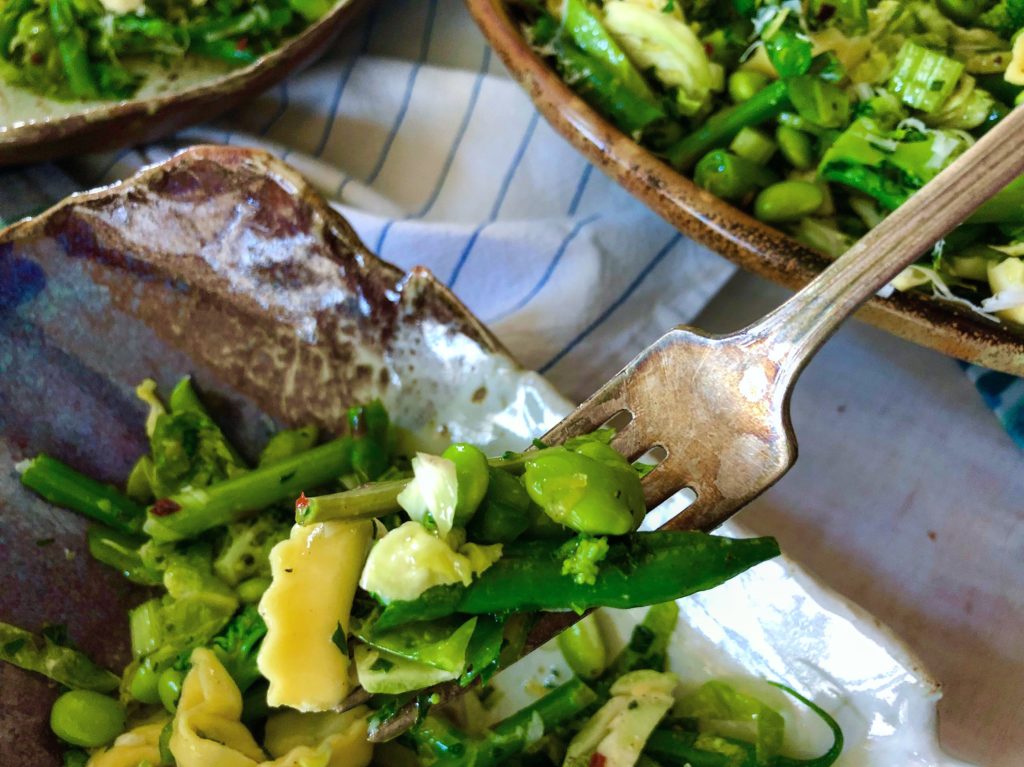
How better to celebrate the entrance of Spring than to prepare a simple, fresh “ALL GREEN” tortellini salad. Full of fresh green vegetables and herbs, dressed in a quick, fresh homemade lemon vinaigrette — this recipe is sure to bring your tastebuds out of hibernation!

This “all green” salad can act as a wonderful side but is hearty enough to be served as the main course.

Here’s what you’ll need:

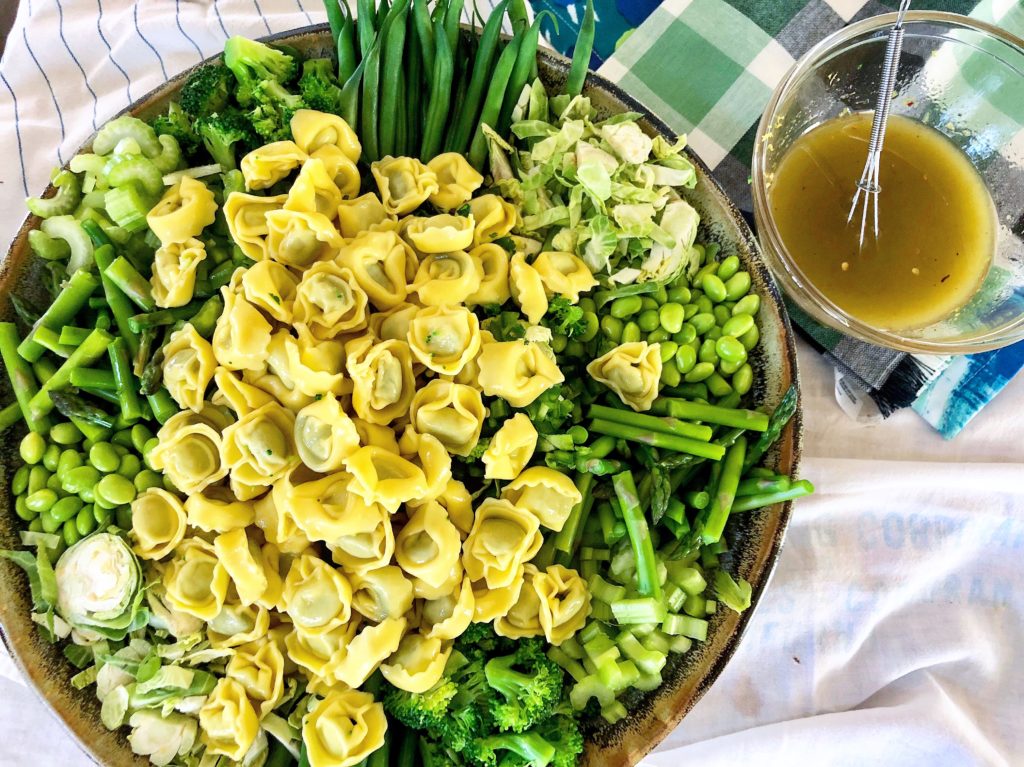
  • haricots verts style green beens, blanched
  • lightly steamed or blanched broccoli, chopped
  • shaved Brussels sprouts
  • fresh asparagus, blanched
  • jalapeno, finely diced
  • Italian parsley 
  • fresh cilantro
  • celery
  • shelled edamame 
  • green onions
  • green bell pepper, finely diced
  • spinach stuffed tortellini

You can use any green veggies & herbs – I chose these because they offer a variety of textures and shades of green.

A note about haricots verts ::  If you’ve never encountered them, they may sound like fancy French snails – but they are just very long, tender, skinny green beans. When blanched and dipped in ice water, they are tender and crisp with just a hint of natural sweetness. I think they make the perfect addition to this salad!

Grab your favorite mix of Spring green veggies and chop, dice or blanche and add them to a large mixing bowl.

For the tortellini, look for fresh tortellini in the refrigerator section of your local grocery store. There are usually several flavors of tortellini available. I chose spinach stuffed fresh tortellini for this salad – it made the perfect addition to the fresh veggies and really soaked up the flavors of the lemon vinaigrette. (To prepare the tortellini, just follow the package instructions and then drain and chill.)

This lemon vinaigrette recipe is one you’ll want to keep on hand. It takes under 5 minutes to whip up and is better than anything you could purchase in the store. Simply whisk olive oil, lemon juice, lemon zest, salt, pepper and crushed red pepper flakes together and chill until it’s time to drizzle over the vegetables.

If you’re thinking about serving this for a crowd, here’s a tip to help make the process a little easier :: prepare the veggies, tortellini and vinaigrette a day ahead and chill individually in the fridge overnight.

30 minutes before serving time, toss the veggies & tortellini with the lemon vinaigrette, chill and serve.

Let’s talk options — depending on what’s available and what you love, the possibilities for this salad are limitless. 

  • kohlrabi
  • zucchini
  • jicama
  • green tomatoes
  • green peas, frozen
  • sugar snap peas
  • snow peas
  • English cucumber

This salad is Spring on a plate – thanks to the chilled, crisp veggies and the bright, tangy homemade fresh lemon vinaigrette. Every bite has a different combination of veggies, adding a variety of tastes and textures. It’s so hard to stop with just one serving – a perfect way to squeeze in your daily veggie quota!


Spring Green Tortellini Salad
Serves 12
Write a review
Print
Prep Time
45 min
Cook Time
10 min
Prep Time
45 min
Cook Time
10 min
Ingredients
  1. 12 oz haricots verts style green beens (blanched*) and chopped into 1” pieces
  2. 6 oz lightly steamed or blanched broccoli, chopped
  3. 10 oz shaved Brussels sprouts
  4. 1 bunch asparagus, trimmed (blanched*) and chopped into 1” pieces
  5. 1 jalapeno, finely diced
  6. 1 c Italian parsley, chopped
  7. 1/2 c fresh cilantro, chopped
  8. 2 c celery, sliced
  9. 10 oz shelled edamame
  10. 2 green onions, whites removed, chopped
  11. 1/2 medium green bell pepper, finely diced
  12. 10 oz fresh spinach stuffed tortellini** (prepared according to package instructions)
  13. 1 c fresh grated parmesan cheese
Lemon Vinaigrette
  1. 1/2 c olive oil
  2. 4 T lemon juice, fresh squeezed
  3. 2 T lemon zest
  4. 1/4 c champagne or white balsamic vinegar
  5. 1 T sea salt
  6. 1/2 T black pepper
  7. 1/2 t crushed red pepper
Instructions
  1. Prepare tortellini according to package instructions, drain and set aside.
  2. In a large bowl, combine salad ingredients (including pasta).
  3. In a medium mixing bowl, whisk together lemon vinaigrette ingredients.
  4. Pour vinaigrette over salad, toss and refrigerate for 30 minutes before serving.
  5. Top with grated parmesan cheese and serve.
  6. Serves 12.
  7. ((lasts refrigerated 1-2 days))
Notes
  1. *to blanche vegetables place in salted boiling water for no longer than one minute. Remove and immediately place into a salted ice bath. I used this process for Haricots Verts, asparagus as well as the broccoli. (all were blanched separately)
  2. **I prepared the tortellini in the same water I used to blanche the veggies. (Fresh tortellini can be found in the refrigerator section of your local grocery store.)
Adapted from Food for a Year
Sinkology http://www.sinkology.com/

The post Spring Green Tortellini Salad appeared first on Sinkology.


source http://www.sinkology.com/blog/spring-green-tortellini-salad/

Saturday, April 7, 2018

The Wilcox Fireclay Farmhouse Sink and Contemporary Style: Designing with the Sink in Mind

The Wilcox Fireclay Farmhouse Sink: Designing with the Sink in Mind

So, modern and contemporary seem to mean the same thing. According to the dictionary, “modern” means “relating to the present or recent times as opposed to the remote past;” while “contemporary” means “belonging to or occurring in the present.” So, while these words mean the same thing in the English language, they do mean something a little different when it comes to home design. Here’s the breakdown.

A Modern Home

The most distinguishing factor in “modern” home design is the time period. Anything beyond the early to mid-1900’s is technically considered modern design. A common example would be mid-century modern design. It seems a little dated to be considered modern, but relative to farmhouse styles which originated with colonial American families in the 1700’s.

The modern style is typically clean and simple. It contains many natural materials like leather, wood, and linens. Many modern homes have polished wooden and polished metal furniture. For example, in mid-century modern design, furniture is typically raised and organized in a way to make a space feel expansive and large. Modern design typically incorporates accent colors (think bold reds, oranges, greens) and can contain geometric patterns.

Contemporary Living

Remembering that modern is between now and the early to mid-1900’s, contemporary is the absolute here-and-now. There’s no firm definition of contemporary because it changes with the times. This doesn’t mean that everything will be brand new and cutting-edge, but typically, right now, a contemporary home would likely have large windows, sculptural shapes, and may tie in some elements from mid-century design. Contemporary homes are typically unadorned and very clean.

Currently, a big craze in real estate is tiny homes. Typically, tiny homes utilize a contemporary style because of the tidiness and minimalism that is required to fit everything you absolutely need in such a tiny space. Sinkology has been designing copper sinks specifically for tiny homes, and now we’ve added a tiny home fireclay sink to the roster.

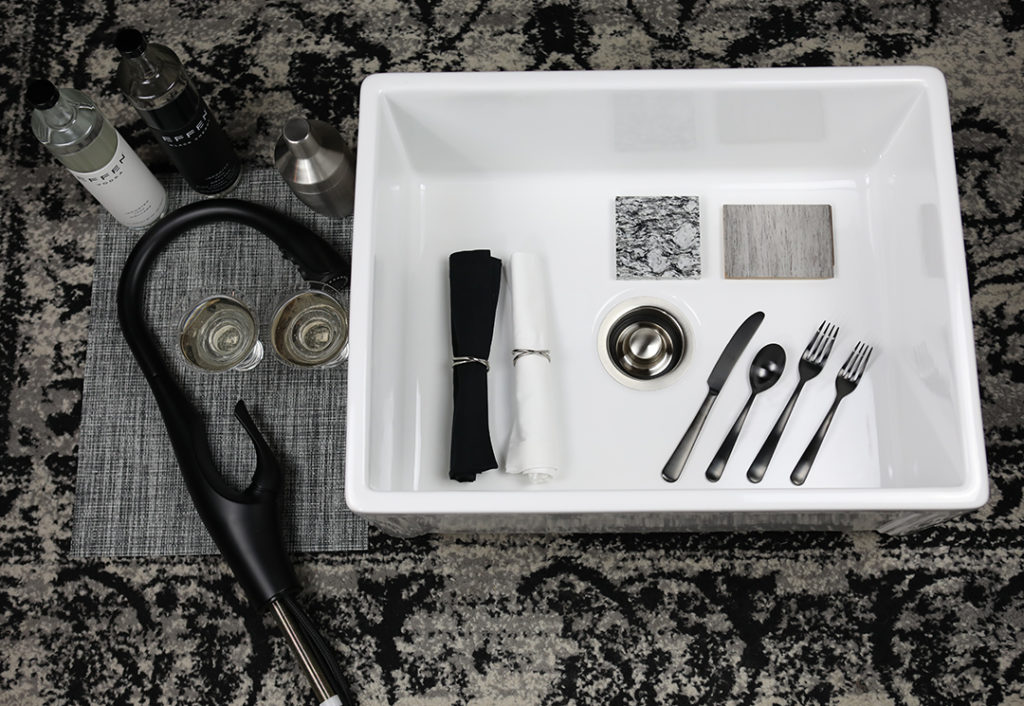
wilcox-fireclay-design-kit-2

The Wilcox Fireclay Farmhouse Sink for Tiny Homes

The Wilcox is the ideal sink for a tiny home. With its low-profile apron front, it maximizes the bowl space for it’s 24-inch size. It also comes with a reversible front to give two different style options. The contemporary style faucet that goes perfectly with this sink is the Kai matte black faucet from Pfister. The pull-down faucet head has 3 sprayer options, swivels 360 degrees, and comes with the Pfister Pforever lifetime limited warranty.

The post The Wilcox Fireclay Farmhouse Sink and Contemporary Style: Designing with the Sink in Mind appeared first on Sinkology.


source http://www.sinkology.com/blog/wilcox-fireclay-farmhouse-contemporary-design/

Wednesday, April 4, 2018

DIY Floral Hoop Wall Decor

Sinkology is proud to present Megan Wilson, our design expert, DIYer, and guest blogger who runs Life On Shady Lane. Megan is here to share some design ideas and inspiration around designing your home around your copper sink. She recently shared this DIY project on her blog.


Is anyone else dealing with chilly Spring weather?! It’s rainy and cloudy here today and, while typically I don’t mind the rain…I am SO ready for warmer temps already. It’s almost April, and I’m still cold!

Despite the chill in the air, I have been doing some Spring decorating around our house. Our front entry was looking a little sad, though, and needed a refresh. I hadn’t really done anything with it since taking down our CHRISTMAS decor! I wanted something simple and easy that could last through Summer – and these DIY floral hoops totally fit the bill.

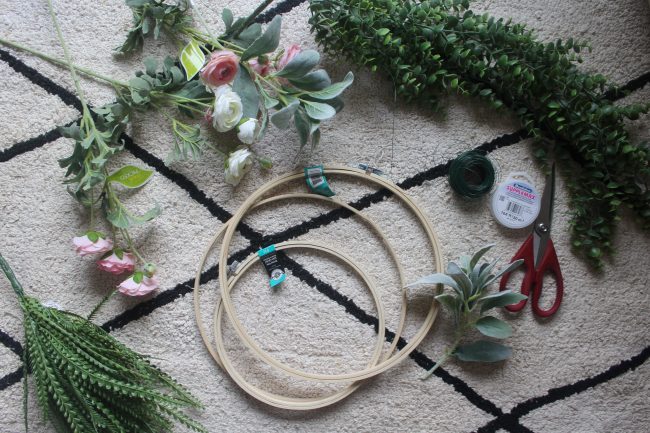
This was a pretty inexpensive DIY, too – I already had the green floral wire and clear “invisible” string. I picked up some embroidery hoops and greenery/flowers (I always wait until florals are 50% off!), and that was all I needed! 

DIY-floral-hoop

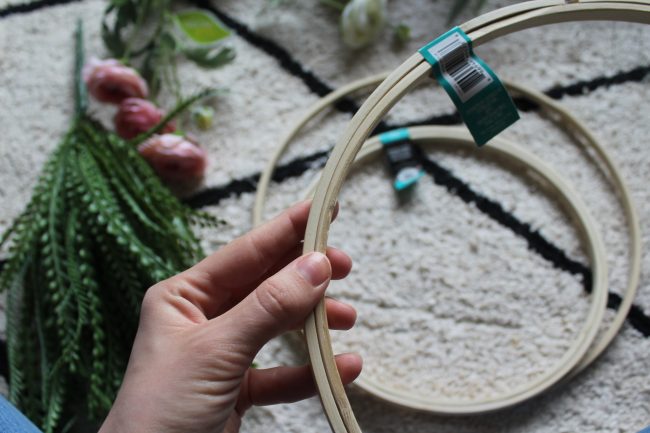
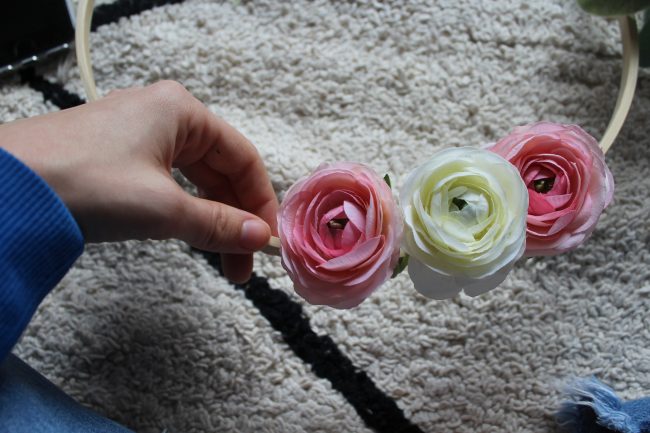
The embroidery hoops are really a two-for-one deal for this project, because you can separate them into two separate hoops.

floral-hoop-DIY

I found that the easiest way to go about starting was to decide what I wanted the “middle” to look like, and then build out from there. I also found I liked the look of keeping thing pretty symmetrical. So, for example, in the one pictured below, I picked a white flower for the middle, and began to build out from there.

flowers-on-DIY-floral-hoop

The green floral wire worked really well to secure everything to the hoop. I just held the greenery in place and wrapped the wire around it and the hoop. Once I started adding more greenery and flowers, it was even more secured (because it was wrapped in more places).

greenery-floral-DIY-hoop-decor

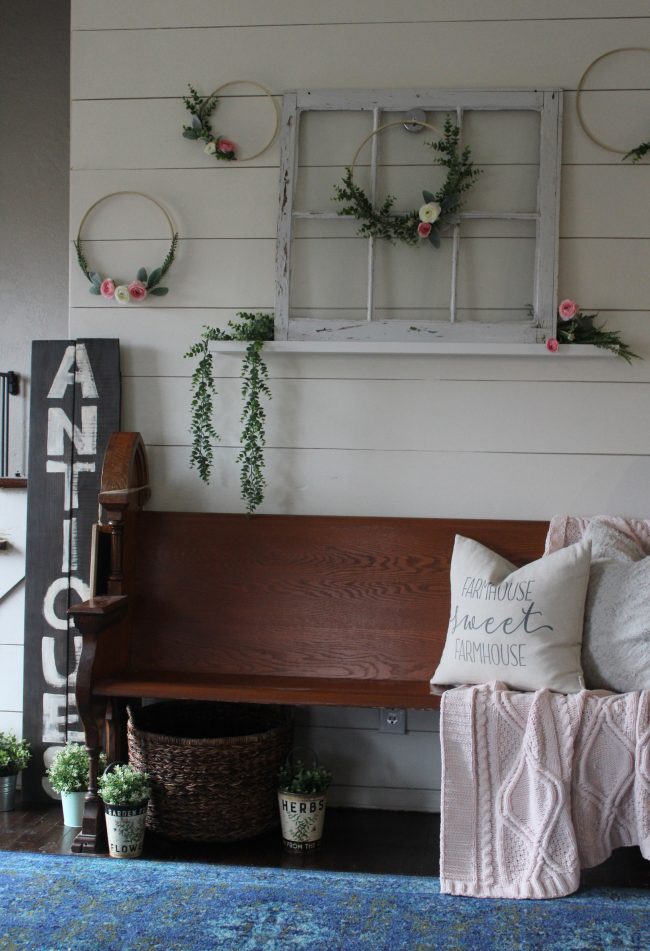
I secured 3M hooks to the wall near the ceiling, and then hung the hoops with my clear string. 

DIY-floral-hoop-wall-decor

I wasn’t quite sure what to do with my extra greenery, so I tucked it behind the vintage window on my IKEA picture ledge…and I think it finished things off perfectly!

You can kind of see the 3M hooks in the pictures below – they’re really close to the ceiling!


The post DIY Floral Hoop Wall Decor appeared first on Sinkology.


source http://www.sinkology.com/blog/diy-floral-hoop-wall-decor/

Monday, April 2, 2018

Carrot Cake Cookies

Christy, Sinkology’s food-loving recipe blogger, is here to share some recipes she has created for the Sinkology blog that reflect our view of a copper sink: simple, timeless, affordable, and beautifully rustic.


Carrot cake is my absolute favorite cake flavor so when I saw this recipe for carrot cake cookies in my Bon Appetit magazine years ago, I had to make them. Since then, it has become one of my top 5 favorite cookie recipes. Most carrot cake cookie recipes are for soft and “cakey” type cookie instead of a true cookie with buttery crisp edges and chewy middle. One bite of this delicious cookie will evoke all the characteristics of a carrot cake wrapped up in a cookie with its subtle cinnamon and brown sugar base speckled with grated carrots, walnuts, and shredded coconut.

Let’s start baking some delicious carrot cookies! Preheat the oven to 375 degrees. Grate your carrots if you didn’t take the easy route like I did by buying the already pre-shredded carrots in a bag. Those are handy. My grated carrots were super long so I did a rough chop to make them smaller, about 1“ long – not minced.

The post Carrot Cake Cookies appeared first on Sinkology.


source http://www.sinkology.com/blog/carrot-cake-cookies-recipe/