Sinkology is proud to present Emily Schuermann, our food-loving guest blogger who runs Food for a Year. Emily is here to share some recipes she has created exclusively for the Sinkology blog that reflect her view of a copper sink: simple, timeless, affordable, and beautifully rustic.
One of the things I love most about my Sinkology farmhouse copper sink is it’s perfect balance of beauty and simplicity. It’s so easy to take care of– which may be surprising based it’s eye-catching charm. This gorgeous sink requires very little attention and provides so much beauty within the walls of my kitchen! It’s because of this, that this sink will always be one of my favorite things.
I’m always trying to add things to my life that satisfy my need for manageable, functional, uncomplicated, undemanding yet beautiful, timeless, eye-catchingly stunning design and my over-sized copper kitchen sink does just that.

And that brings me to our monthly Sinkology recipe :: 20-minute Creamy Broccoli Cheddar Soup!
It may surprise you to hear that a soup recipe can remind me of my copper sink, so let me explain why.
What’s more classic in the ‘creamy soup world’ than Broccoli Cheddar soup?
But if you’ve ever looked through broccoli cheddar soup recipes, you’ll quickly find out there are several steps to creating the perfect, velvety cream soup base. Likely, you’ll start off by making a roux, then alternate between adding ingredients and developing layered flavors in hopes of reaching creamy perfection. But these kinds of things take time and attention and I’m short on both – can you relate?
So, that’s why I’m sharing this modified, speedy Creamy Broccoli Cheddar Soup recipe with you! This recipe skips a few traditional steps without skimping on flavor or creaminess and (as it’s name says) comes together in 20 minutes.
To start, combine cream + butter + sea salt + crushed red pepper + black pepper + finely diced white onion in a medium soup pot over medium/medium-high flame. Bring the cream mixture to a low simmer, stirring occasionally (1-2 minutes). Reduce flame to medium/medium-low, add diced (1/2″ cubed) fresh cauliflower. Simmer for 10 minutes, continuing to stir occasionally. (NOTE :: The cream should NOT be boiling. Boiling without a roux in the base can cause the cream to break, yielding a grainy texture.)
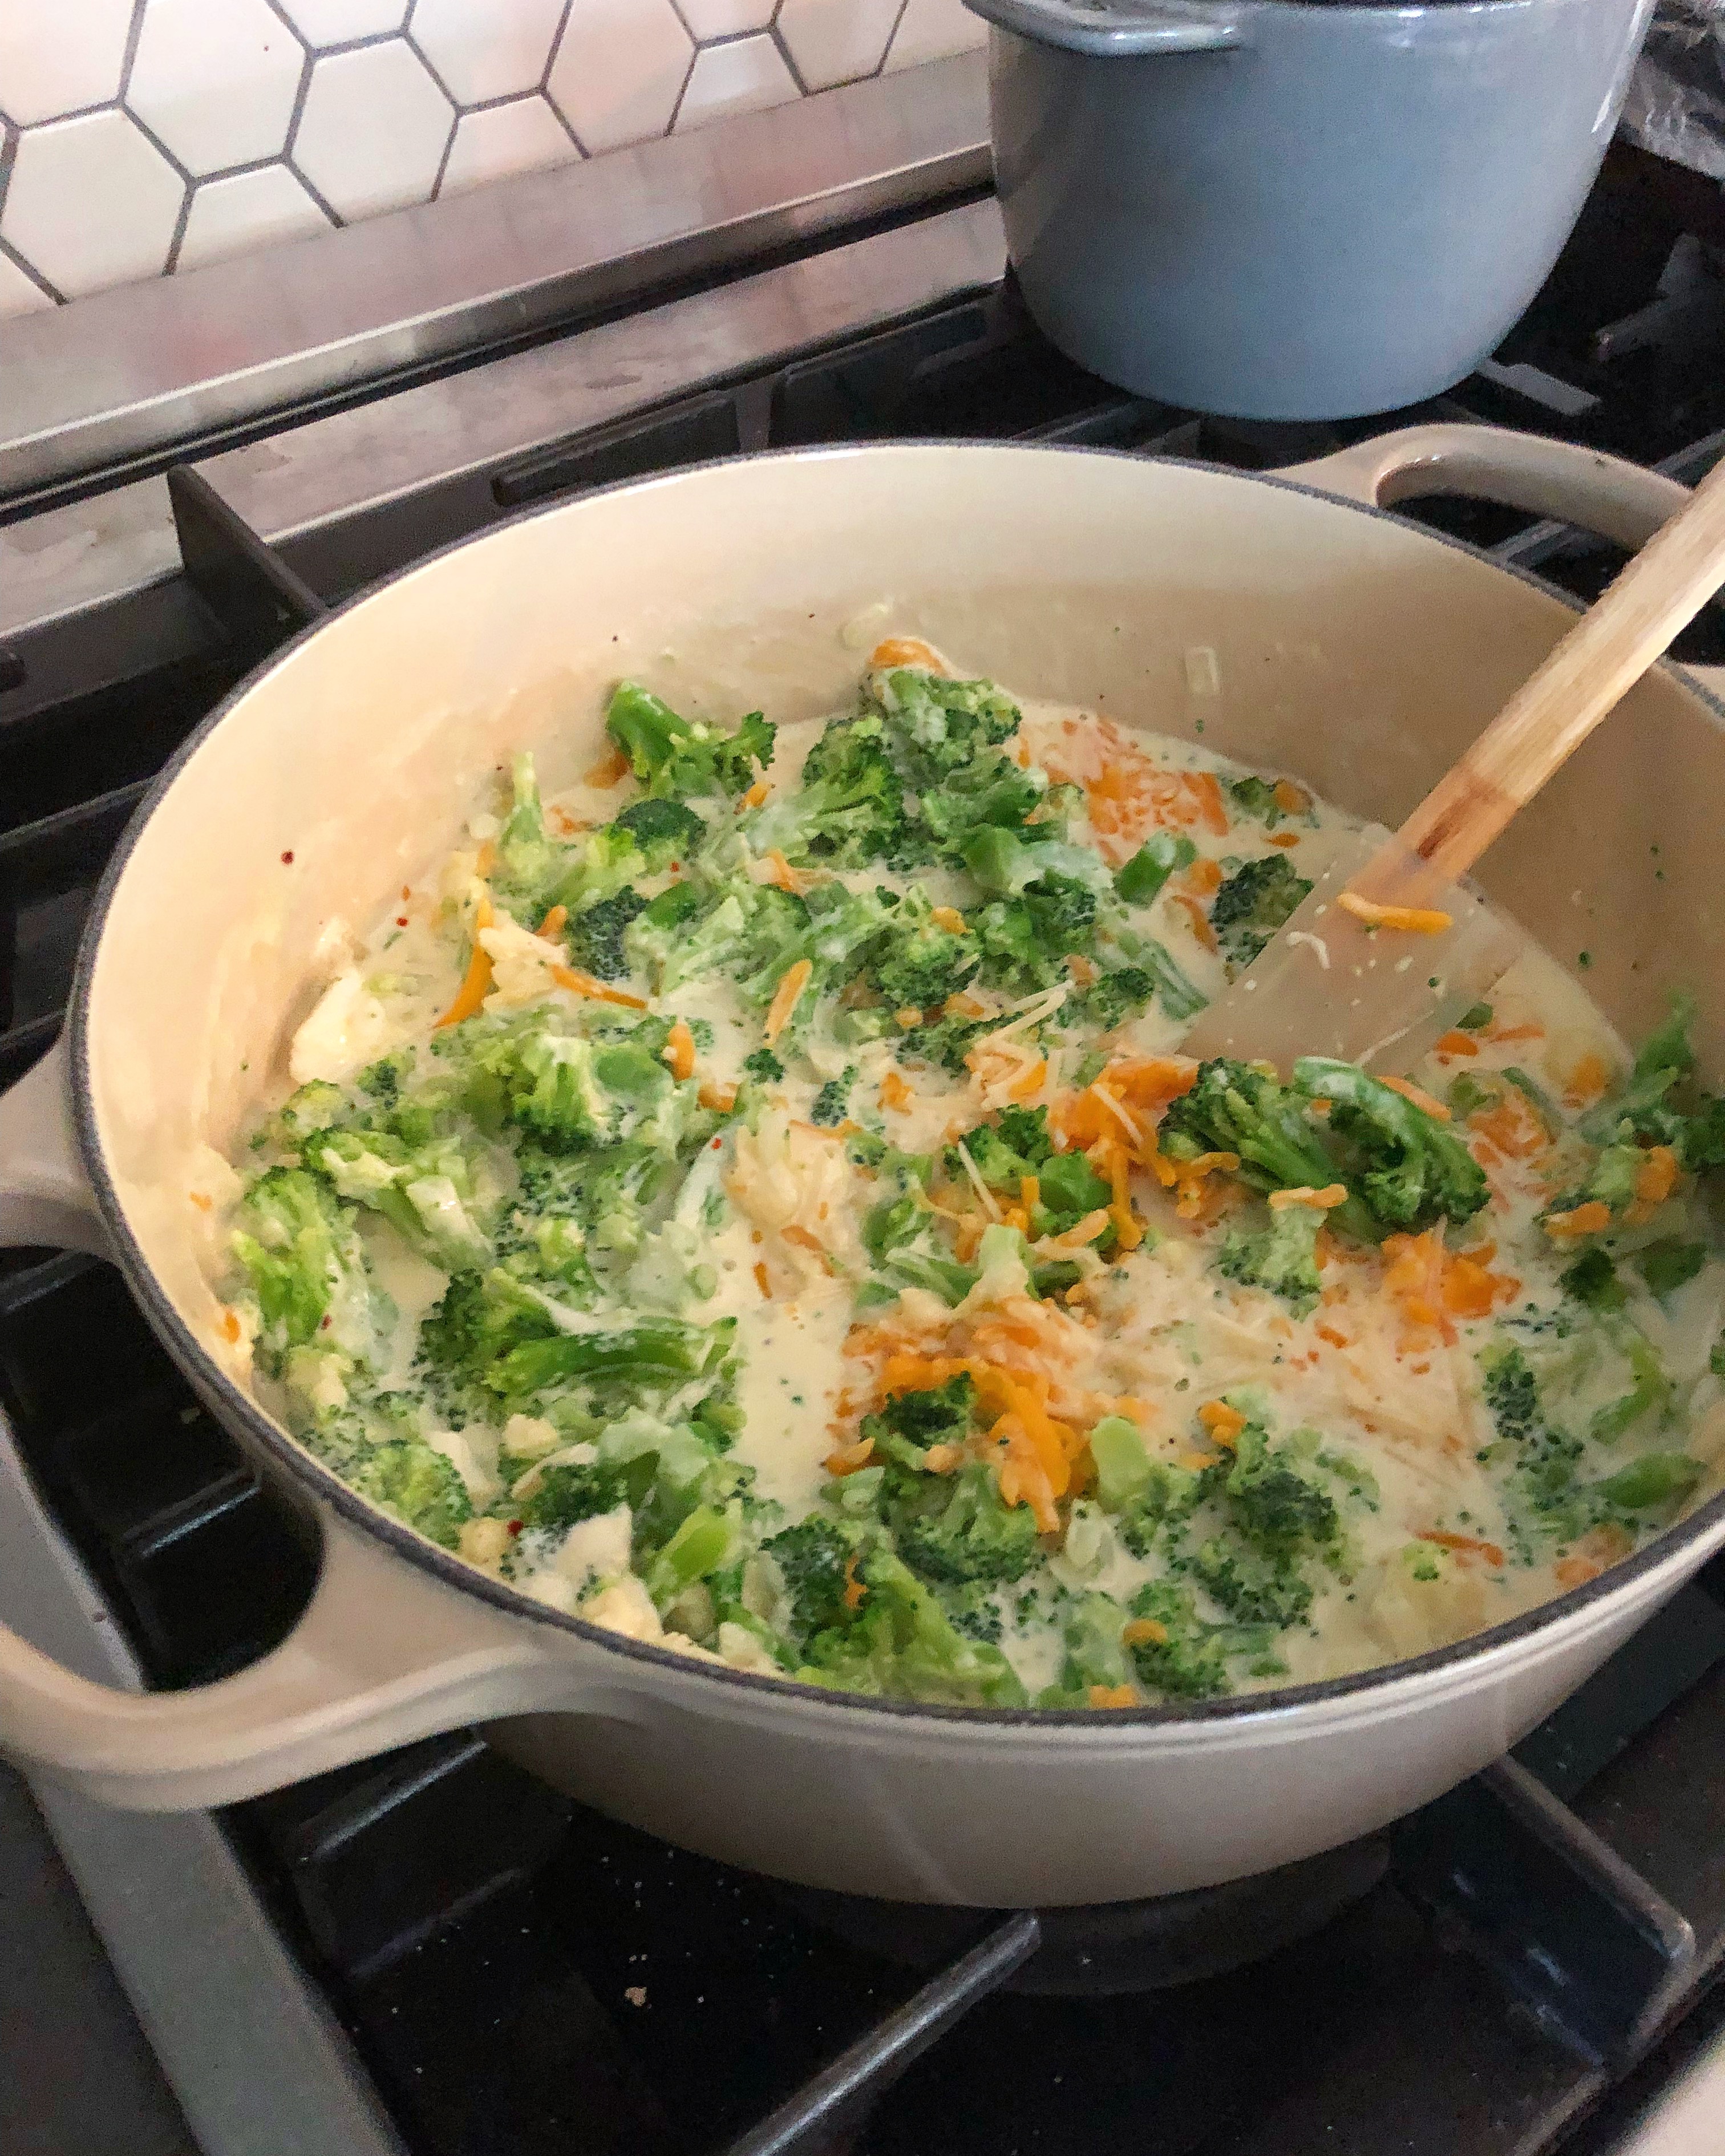
While the cauliflower and cream mixture is at a LOW simmer, microwave frozen broccoli florets for 1-2 minutes (just until warm). Drain the warmed broccoli and chop into 1/2″ pieces. Add (chopped and drained) broccoli + dijon mustard to the cauliflower cream mixture. Reduce flame to LOW stirring continuously (1 minute) until broccoli is warmed through.
Next, add shredded sharp cheddar + shredded parmesan. Continue simmering and stirring continuously on LOW for 1-2 minutes (the soup should be simmering, NOT boiling). Remove from flame, cover and allow to sit for 5 minutes while cheeses continue to melt. Stir and serve.

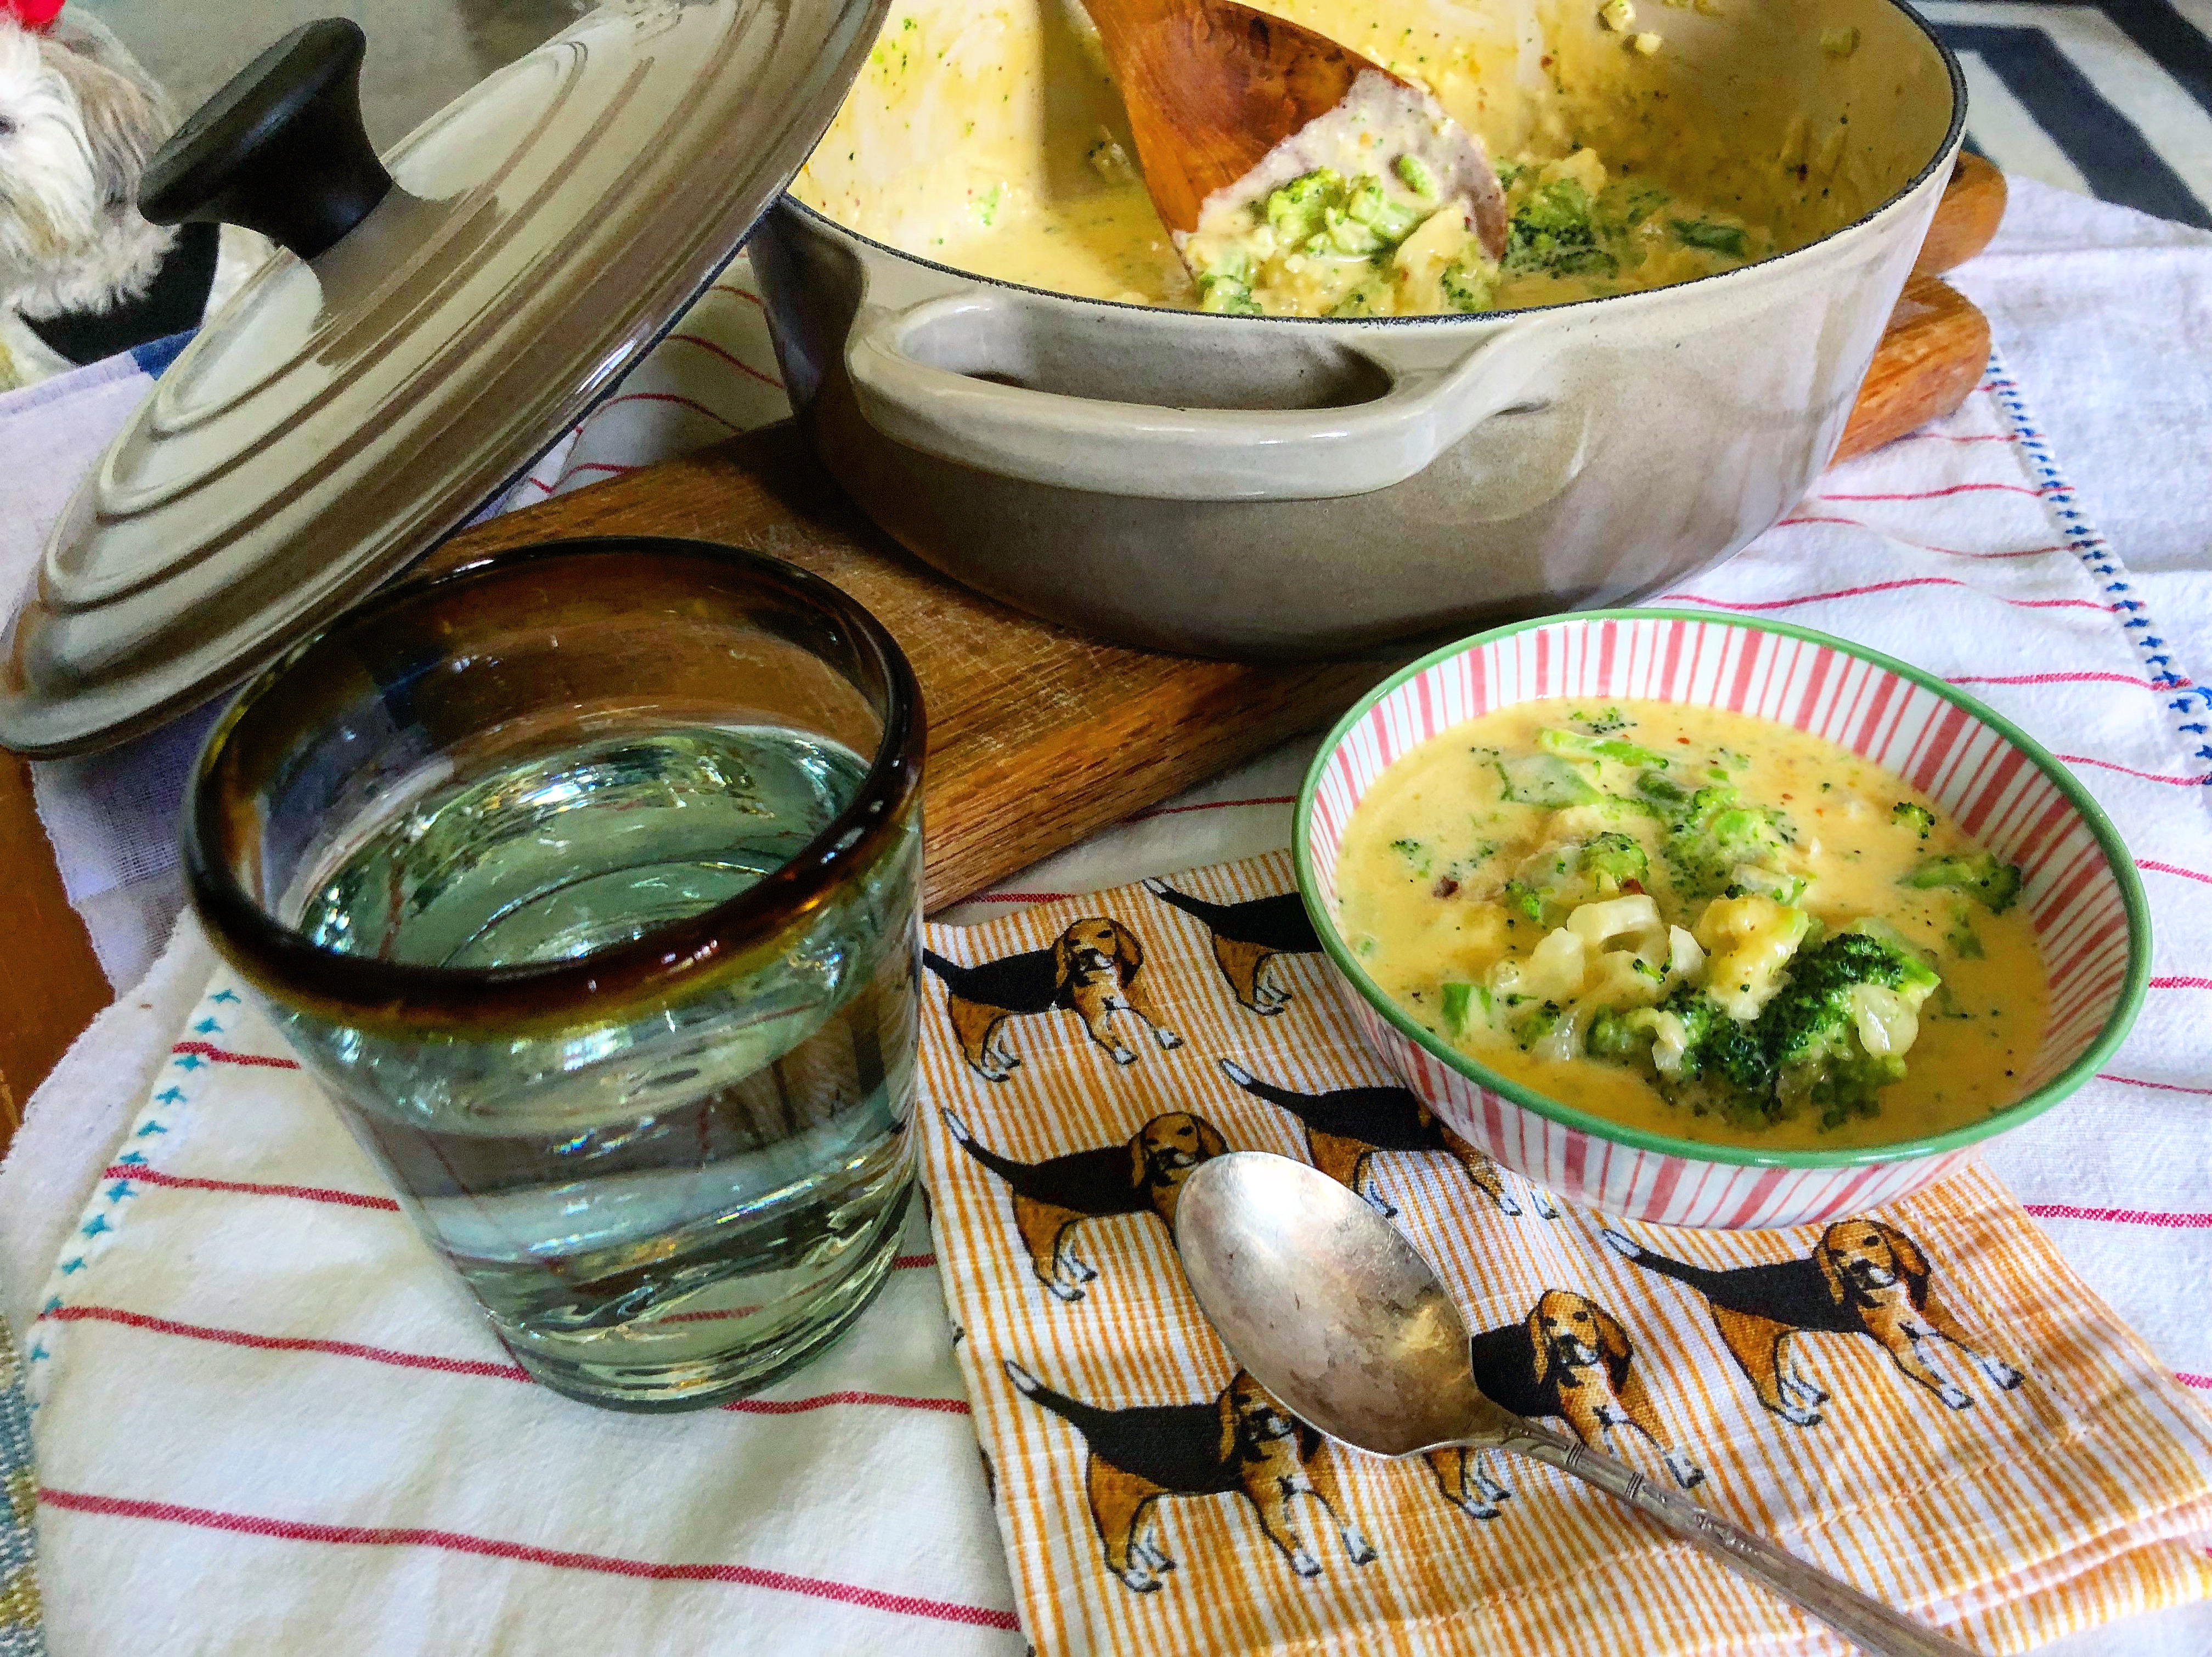
Thanks to the LOW flame and heavy cream + cheese, this quick soup’s classic velvety texture is on point. Plus, with the addition of red pepper flakes and a spoonful of dijon mustard, the resulting flavor dimension rivals (and really beats) traditionally time-consuming Creamy Broccoli Cheddar Soup recipes.
I hope you enjoy this delicious, satisfying and speedy soup and much as my family has and that the minutes saved in making this recipe will give you a chance to enjoy a “sit-down meal” in the midst of life’s busyness.
Oh, and two bonuses that come with this recipe ::
- It’s gluten-free
- It’s KETO friendly

If you have any questions during your search for the perfect copper sink, farmhouse fireclay sink or granite sink, our Sinkologists are here to help. Contact us or follow us on Facebook, Houzz, Pinterest, or Instagram for more helpful tips and design ideas.
20-minute Creamy Broccoli Cheddar Soup
- 8-10 oz heavy whipping cream
- 3 T butter
- 1/2 small white onion (finely diced)
- 1 t sea salt
- 1/2-1 t finely ground black pepper
- 1/2 t crushed red pepper flakes (optional)
- 10 oz frozen broccoli florets
- 1-1/2 c fresh cauliflower, chopped (1/2" diced)
- 1 T dijon mustard
- 1 c shredded sharp cheddar cheese
- 1 c shredded parmesan cheese
- 1/2 c water (optional, to reach desired consistency)
-
To start, combine cream + butter + sea salt + crushed red pepper + black pepper + finely diced white onion in a medium soup pot over medium/medium-high flame.
-
Bring the cream mixture to a low simmer, stirring occasionally (1-2 minutes).
-
Reduce flame to medium/medium-low, add diced (1/2″ cubed) fresh cauliflower. Simmer for 10 minutes, continuing to stir occasionally. (NOTE :: The cream should NOT be boiling. Boiling without a roux in the base can cause the cream to break, yielding a grainy texture.)
-
While the cauliflower and cream mixture is at a LOW simmer, microwave frozen broccoli florets for 1-2 minutes (just until warm).
-
Drain the warmed broccoli and chop into 1/2″ pieces.
-
Add (chopped and drained) broccoli + dijon mustard to the cauliflower cream mixture.
-
Reduce flame to LOW stirring continuously (1 minute) until broccoli is warmed through.
-
Next, add shredded sharp cheddar + shredded parmesan.
-
Continue simmering and stirring continuously on LOW for 1-2 minutes (the soup should be simmering, NOT boiling).
-
Remove from flame, cover and allow to sit for 5 minutes while cheeses continue to melt.
-
Stir and serve.
-
Serves 4
* depending on desired consistency, you may wish to thin the soup slightly using water.

The post 20-minute Creamy Broccoli Cheddar Soup appeared first on Sinkology.
source http://www.sinkology.com/blog/20-minute-creamy-broccoli-cheddar-soup/