Friday, November 29, 2019

VIBE with Sinkology

When it comes to color in kitchens, trends have varied greatly over the years. From tone-on-tone to black-and-white to monochromatic, each shade and application style impacts us in more ways than what first meets the eye. Your surroundings shift with new shades…and so do your emotions.

Have you ever heard of color psychology? Color psychology is the study of how color influences people’s emotions. When used properly, color can create the right vibe for your kitchen.

Neat, right?

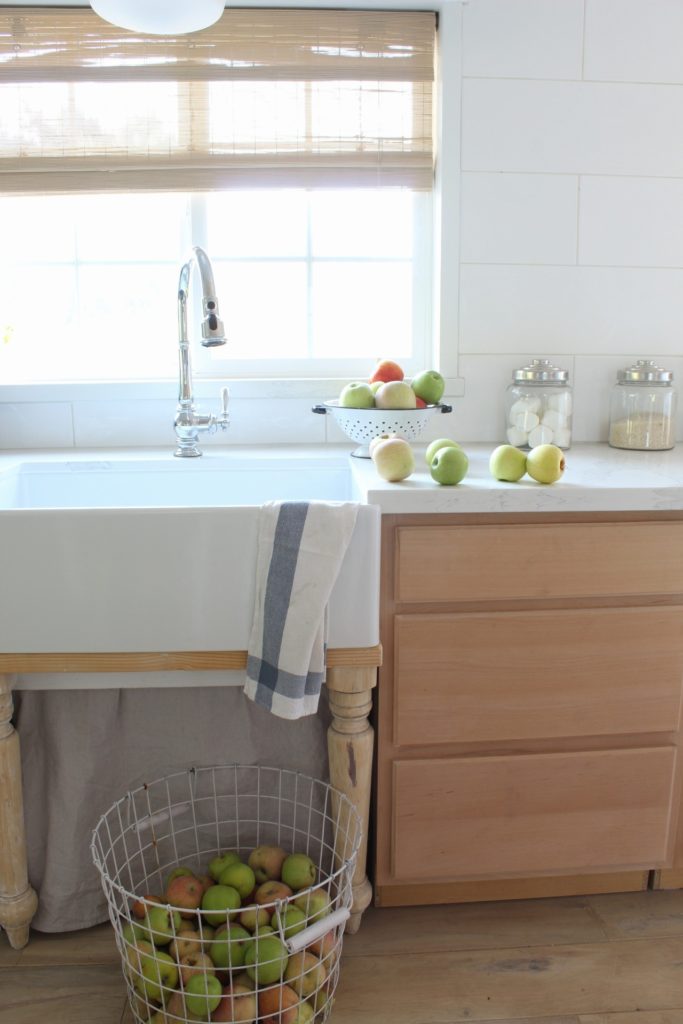
Setting the tone of your kitchen intentionally is, arguably, the most important of all. Your kitchen is the heart of your home: it’s the place where recipes are tested and perfected, the central hub for party to guests congregate, and the backdrop to many family memories.

Introducing VIBE by Sinkology

We have always offered more sink shades than the standard or expected at home improvement stores. In fact, highlighting the natural beauty that copper and fireclay bring to your home is kind of our thing. We love to show off each material’s unique color, surface, and shine.You might be thinking: what’s better than the lifelike transition of patina on a copper sink? It just might be our newest collection: VIBE Collection by Sinkology.

The collection features an array of family- and memory-inspired colors on our favorite fireclay material. The natural shades stand out in a powerful way that is bold and beautiful, without being overpowering and distracting. Deep and vibrant blues soothe your space while fresh greens connote a naturally clean kitchen. The collection also includes understated tans for those that want to create a subtler impact.

Here are the names and colors we’re excited to roll out—tell us: which do you love for your kitchen?

Colored Fireclay Options: VIBE by Sinkology

gloss black drop-in fireclay sink

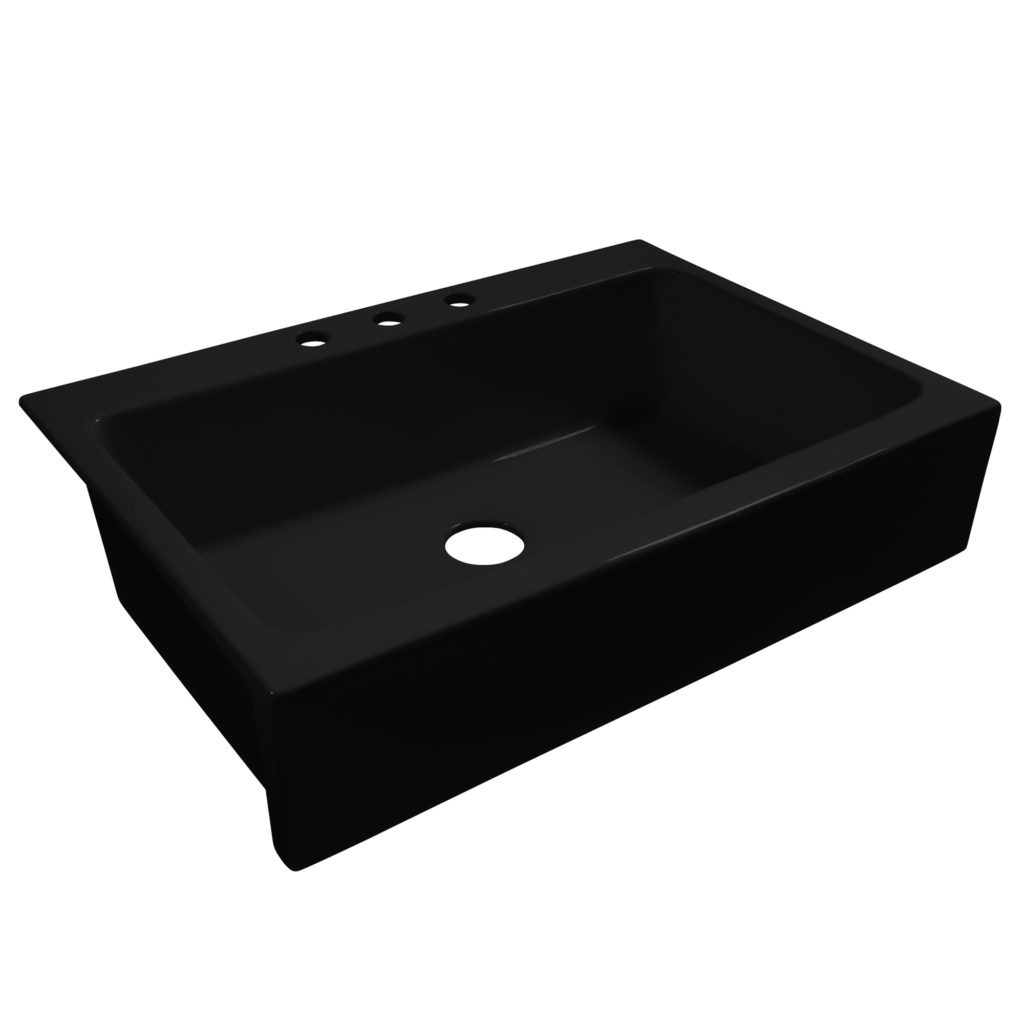
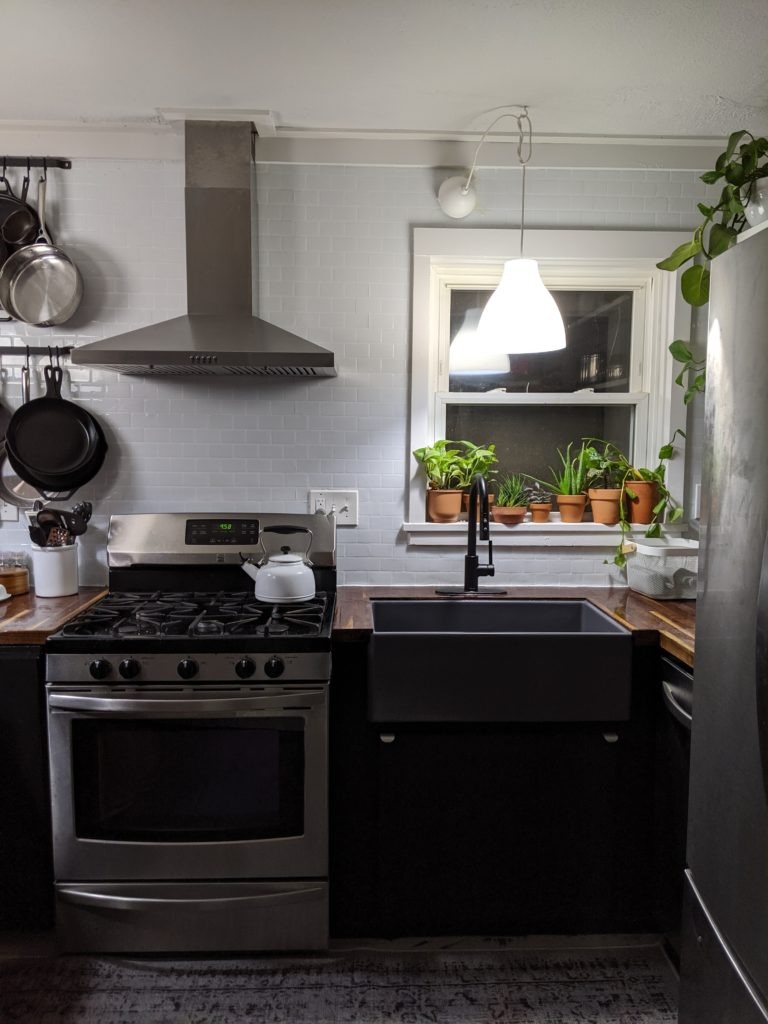
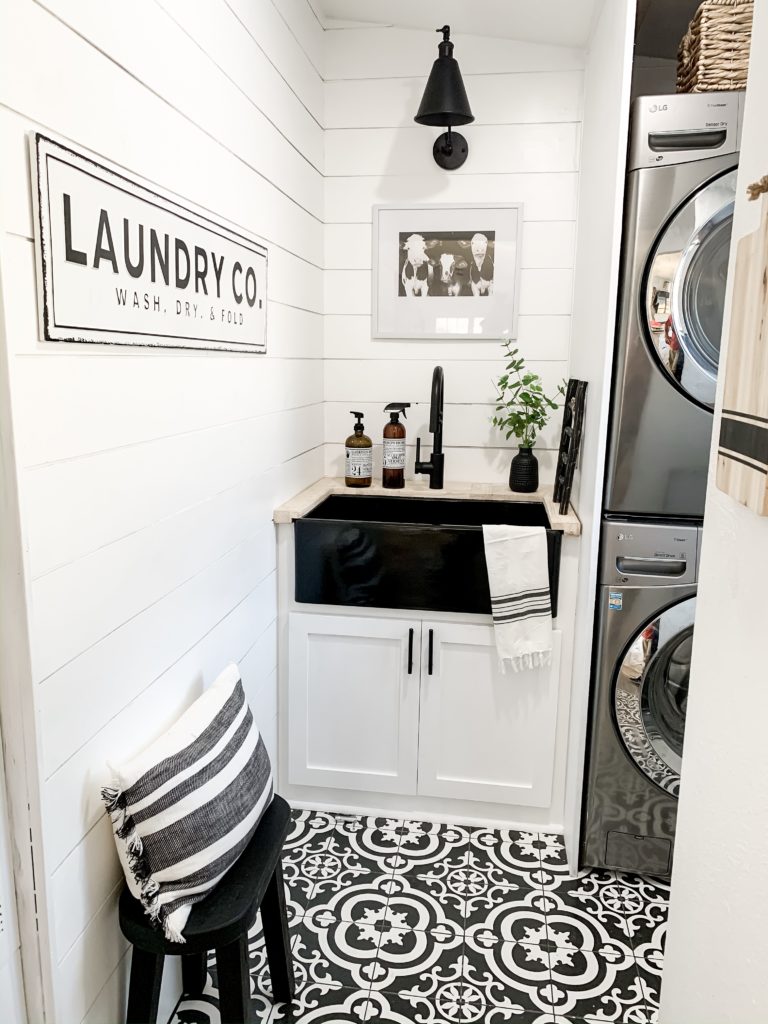
Tea Kettle: Glossy and glamorous, Tea Kettle’s reflective black fireclay kitchen sink surface is bold without being overbearing. The dark color is forgiving of food debris and minor scrapes and scratches, and the high-gloss finish offers a high-impact shine for your apron-front fireclay sink.

matte black farmhouse fireclay sink

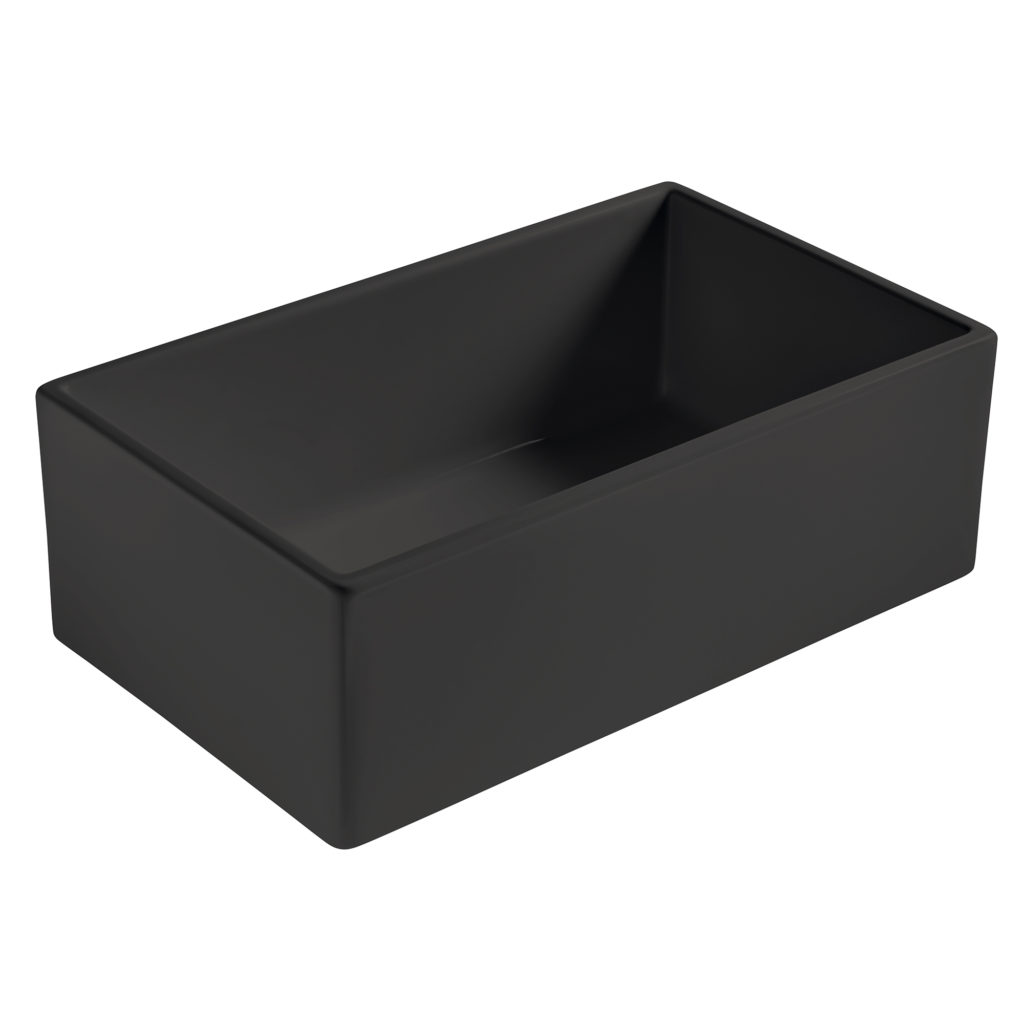
Summer Night: Change up your classic farmhouse kitchen with an ode to the beauty of clear summer nights. This matte black surface is an ultra-modern and clean style that blends beautifully with the farmhouse-style fireclay sink. The depth of the black finish is softened by the matted surface, just like the depth of a black summer night is softened by starlight.

matte blue drop-in fireclay sink

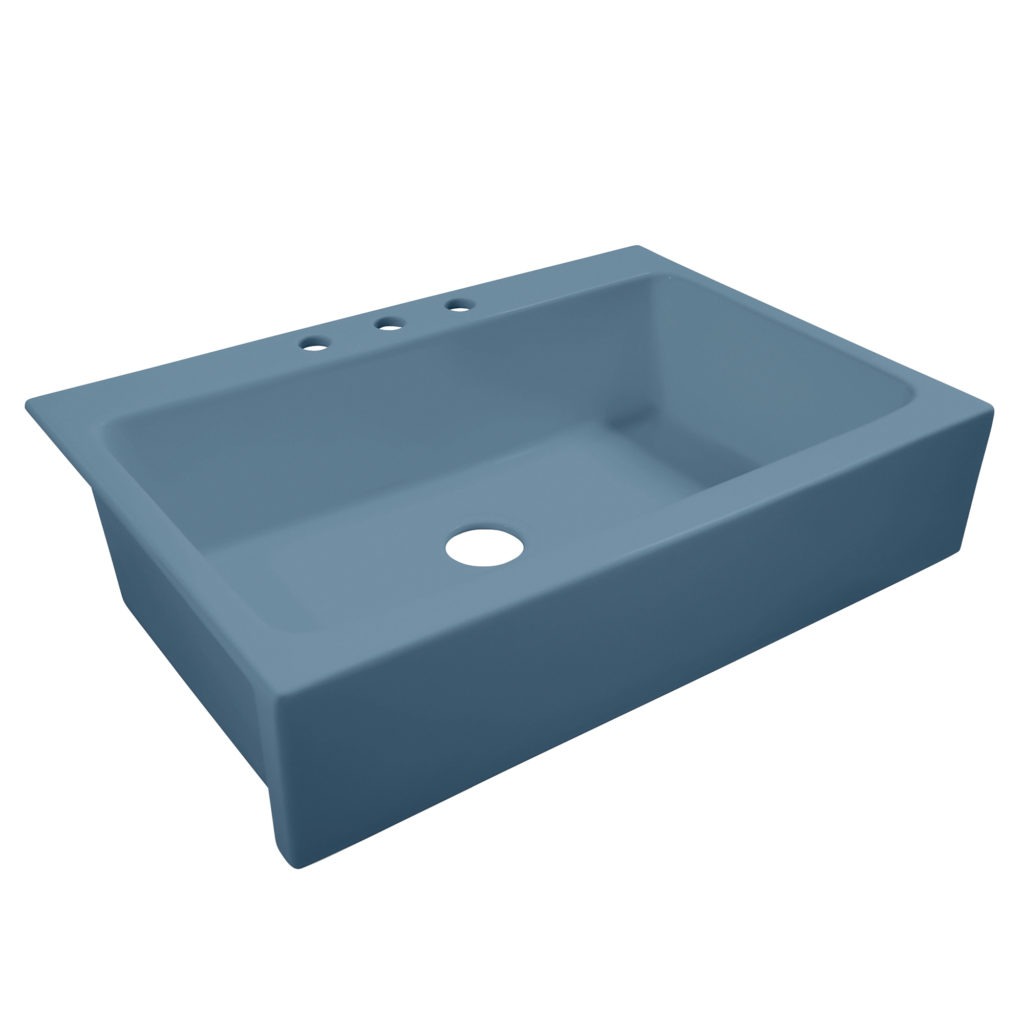
Oceanside: Catch the best kind of blues with Oceanside, a beautiful, tranquil matte blue option in the VIBE Collection of farmhouse-style fireclay kitchen sinks. Inspired by beachside views and the ocean’s calm mornings, Oceanside is ideal for kitchens that want to offer an unexpected view in the heart of their home.

matte gray farmhouse fireclay sink

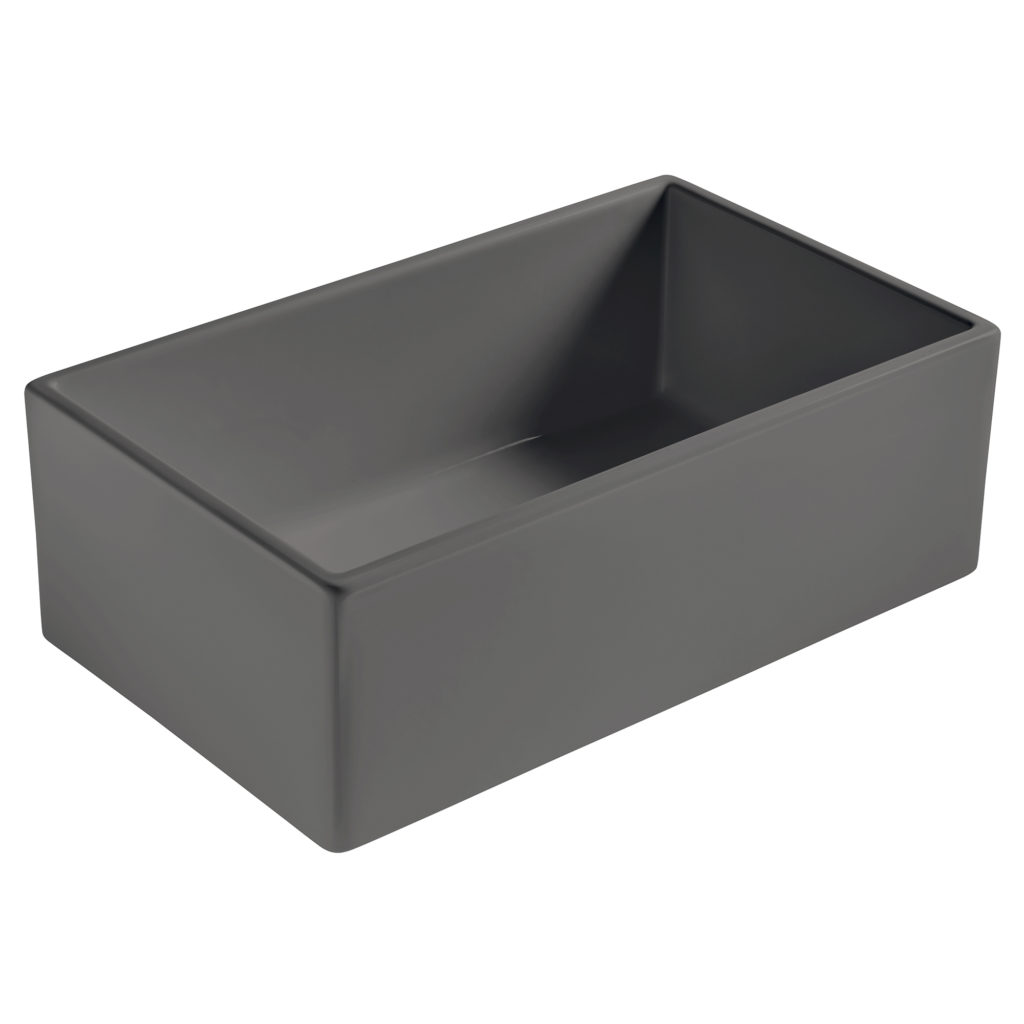
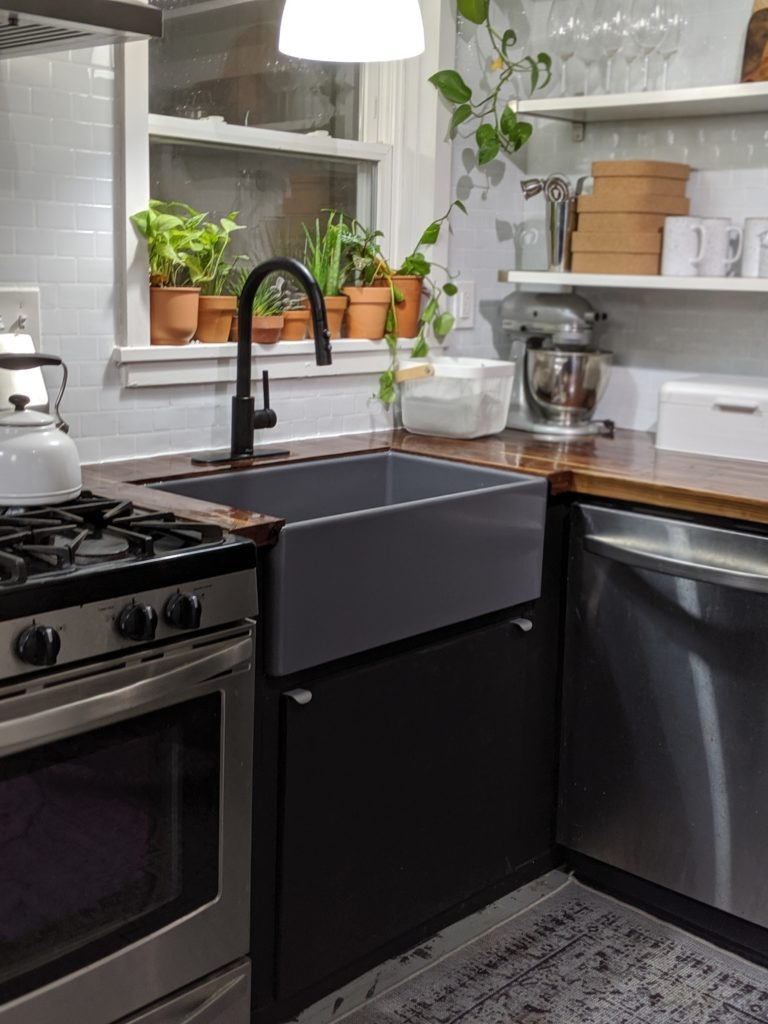
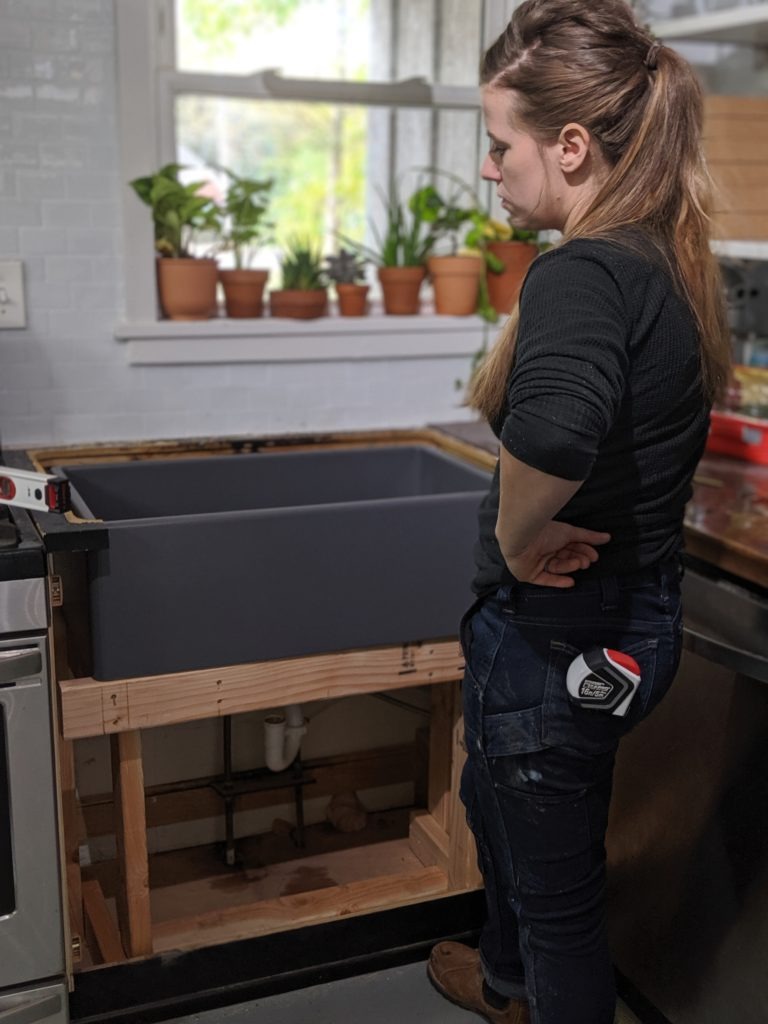
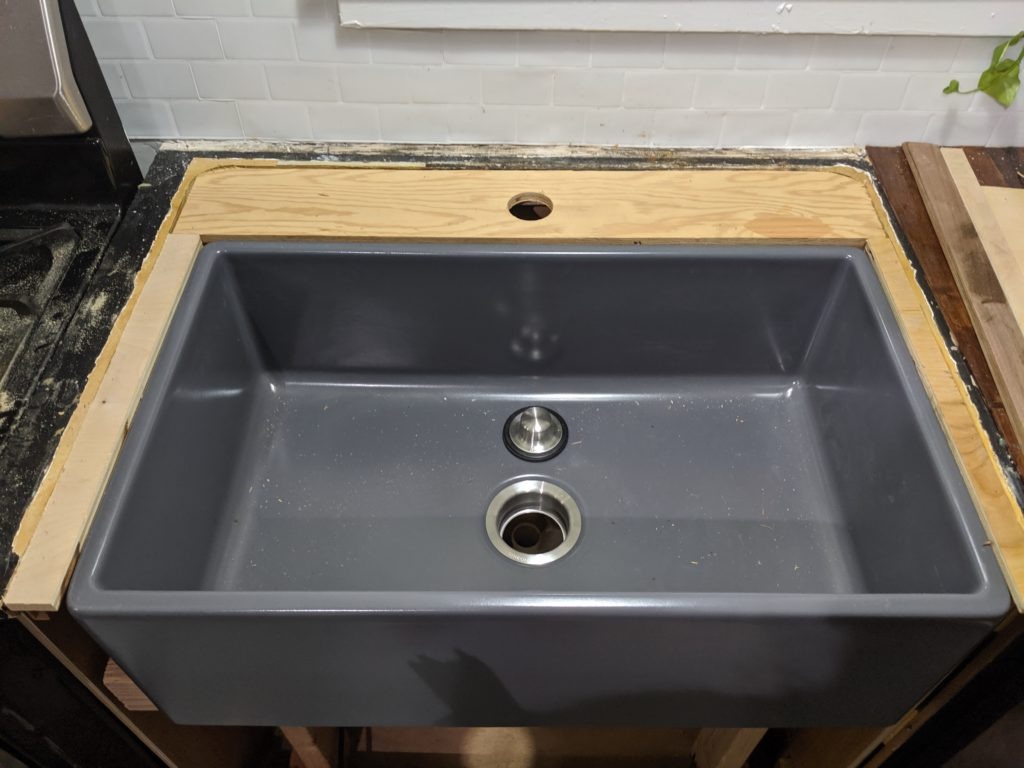
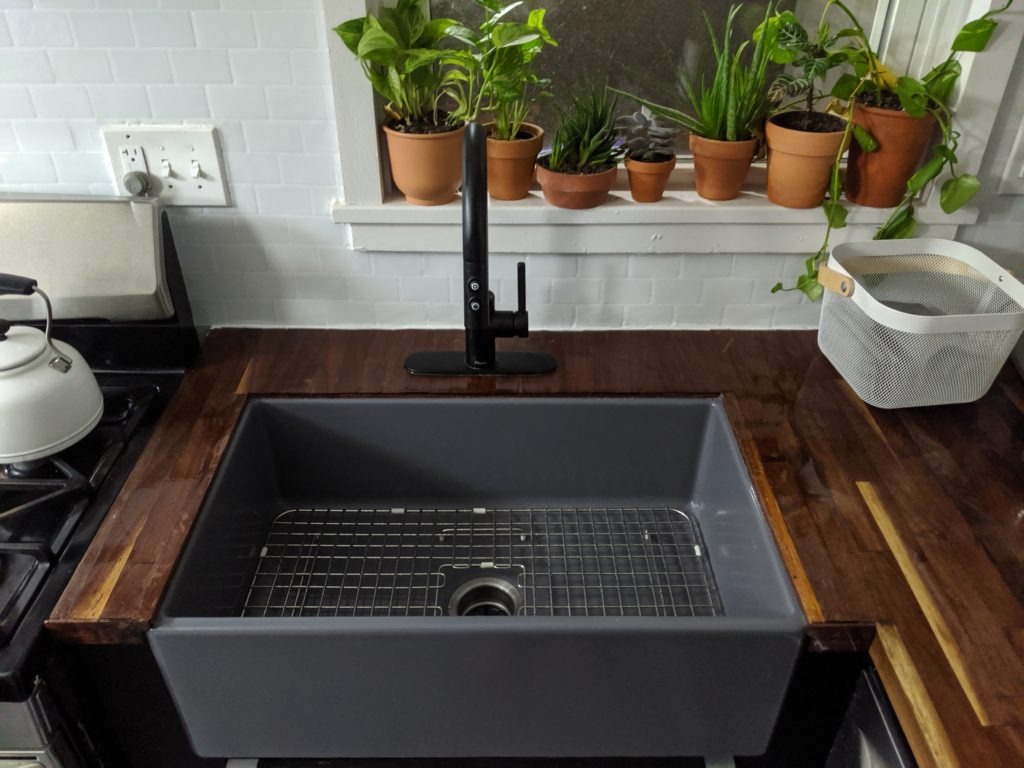
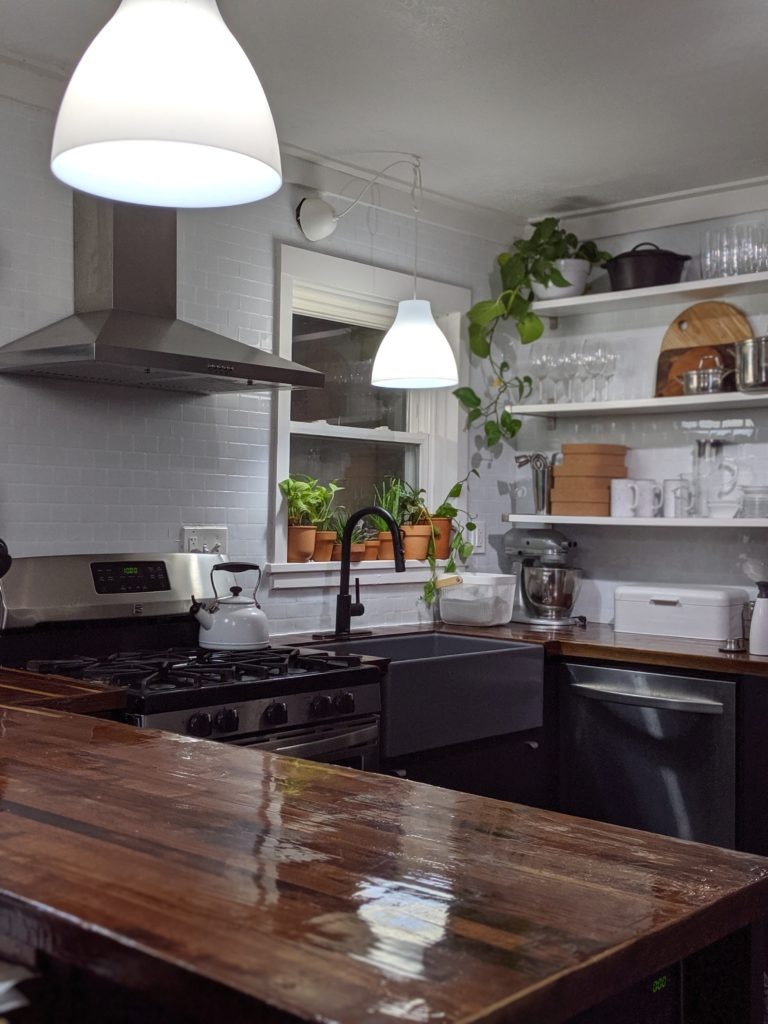
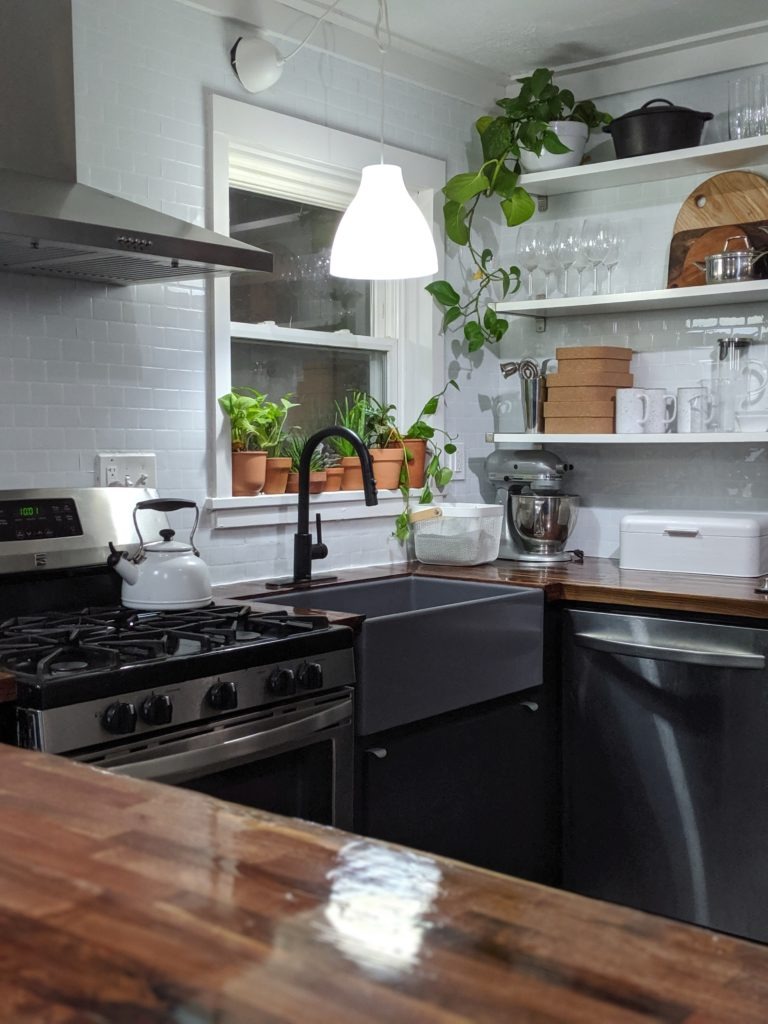
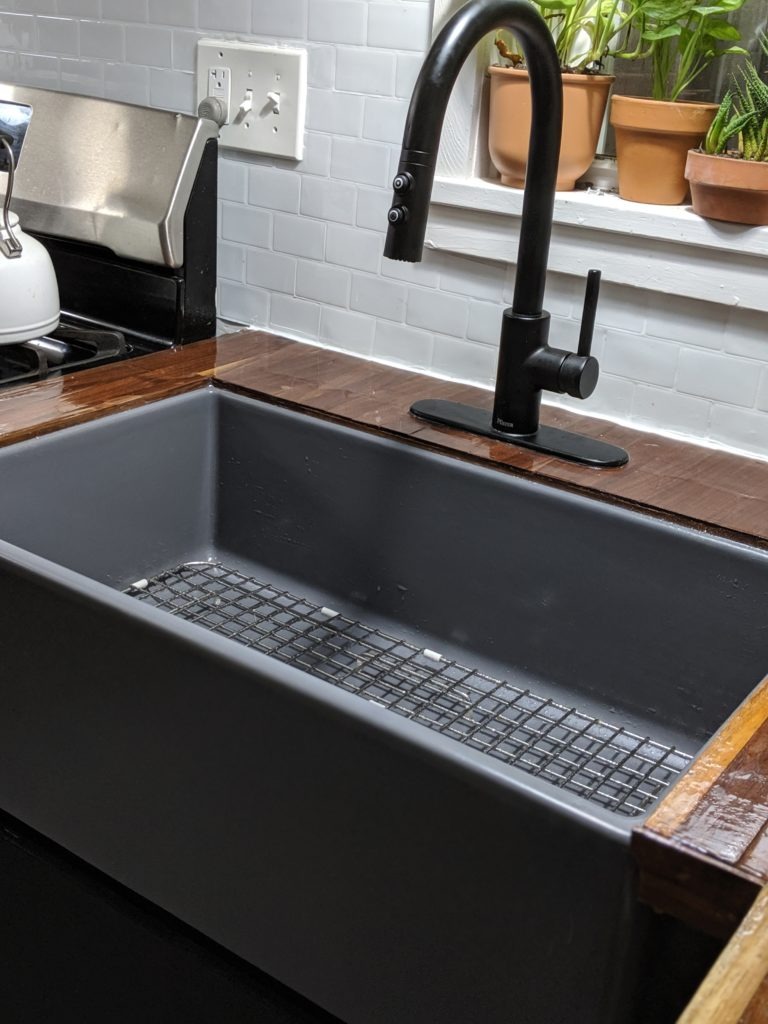
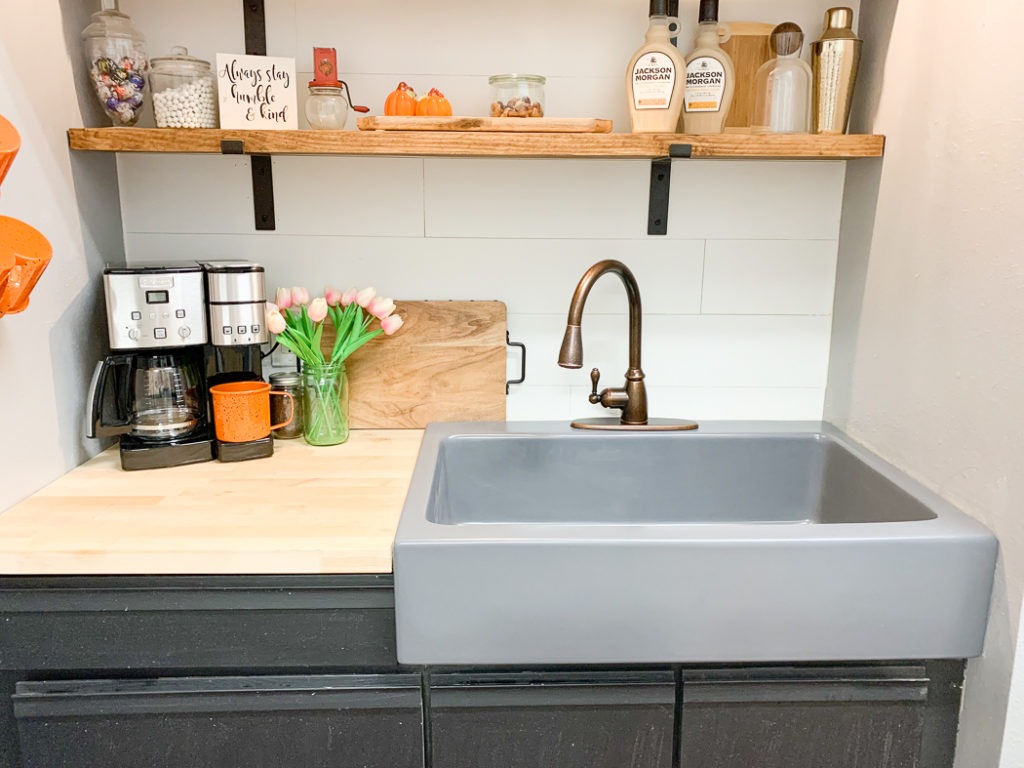
Block Party: Block Party is a matte gray selection for VIBE by Sinkology collection of colored fireclay apron-front kitchen sinks. Inspired by summer streets and real-life block parties, this color offers a subtle shift away from the expected neutrals without overpowering the heart of your home.

matte white drop-in fireclay sink

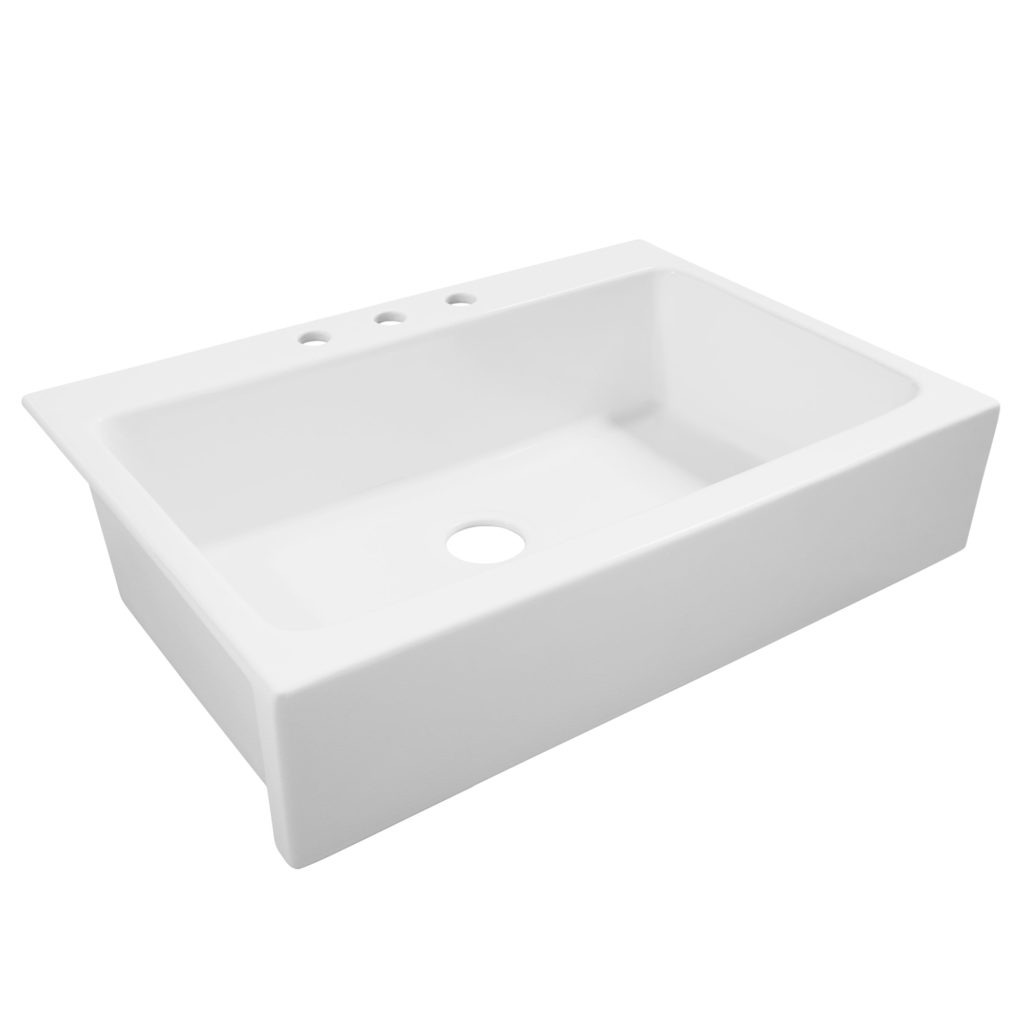
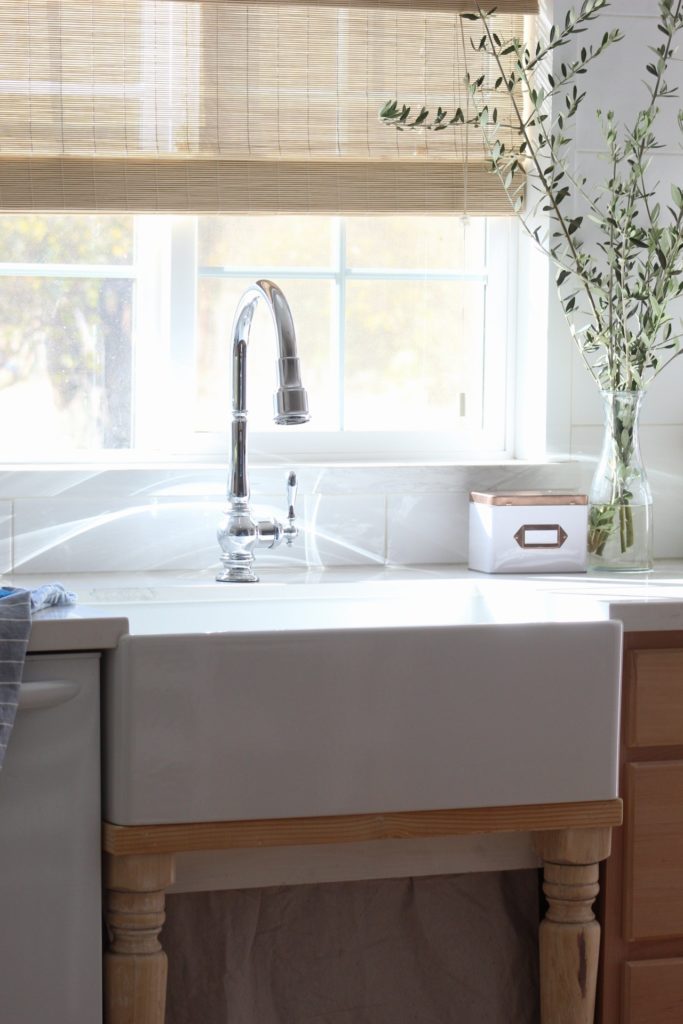
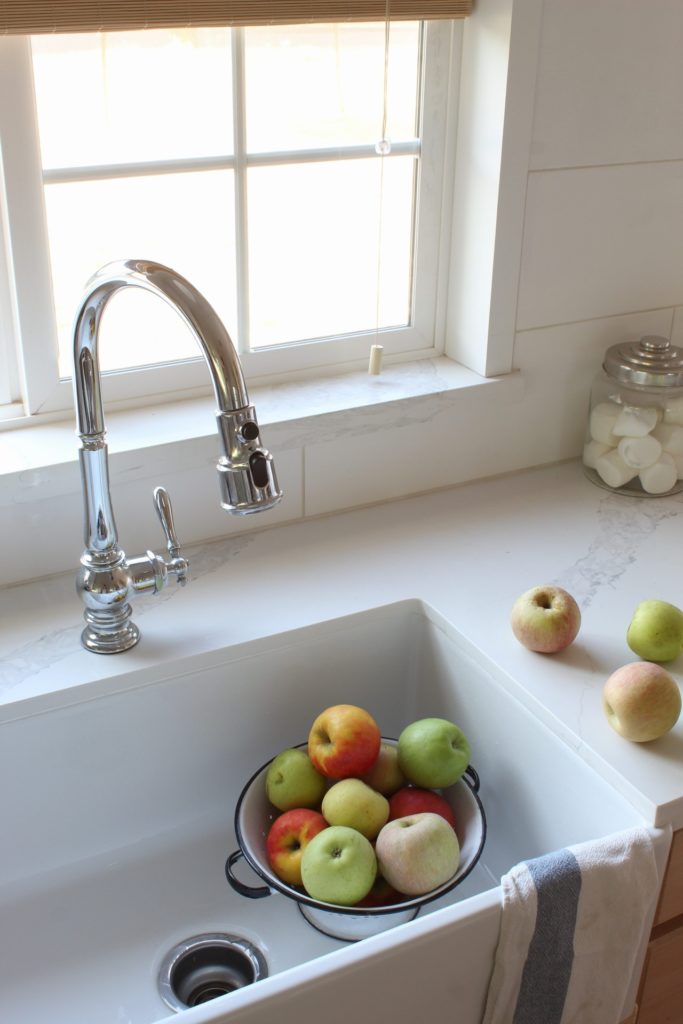
Snow Day: Sinkology’s Snow Day finish offers a soft and gentle touch to the classic fireclay farmhouse Crisp White color. Sinkology’s VIBE Collection of kitchen sinks in Snow Day feature a matte surface, which is a subtle touch that changes the vibe of your kitchen sink with minimal impact on other design elements.

Frankly, we love them all.

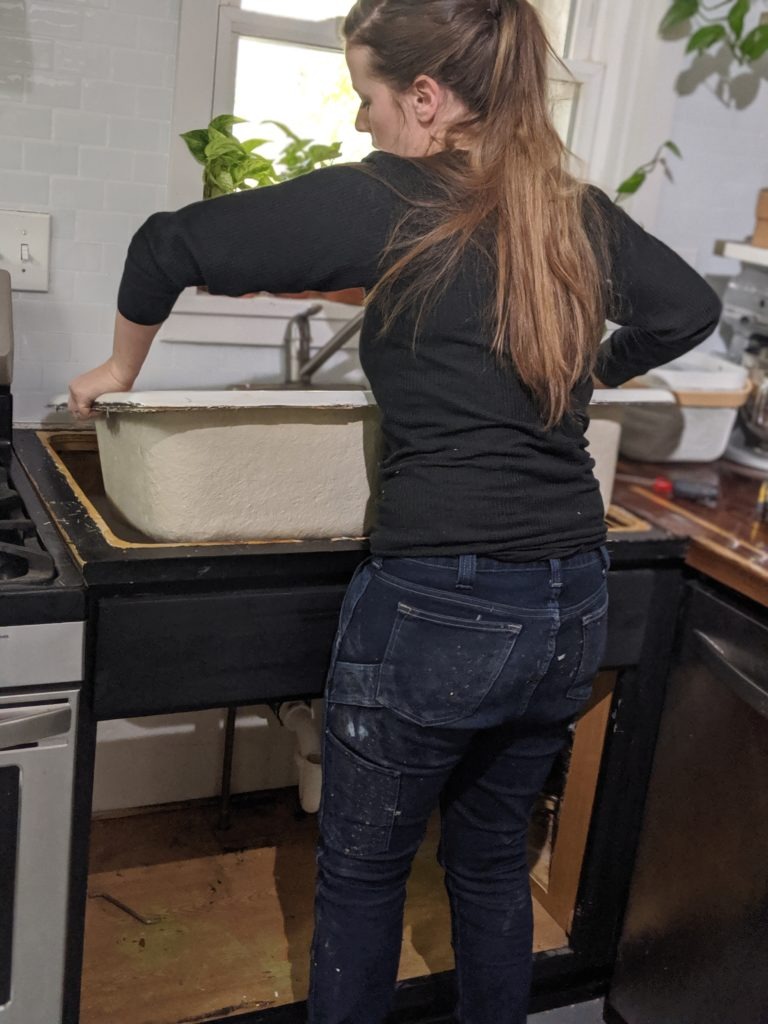
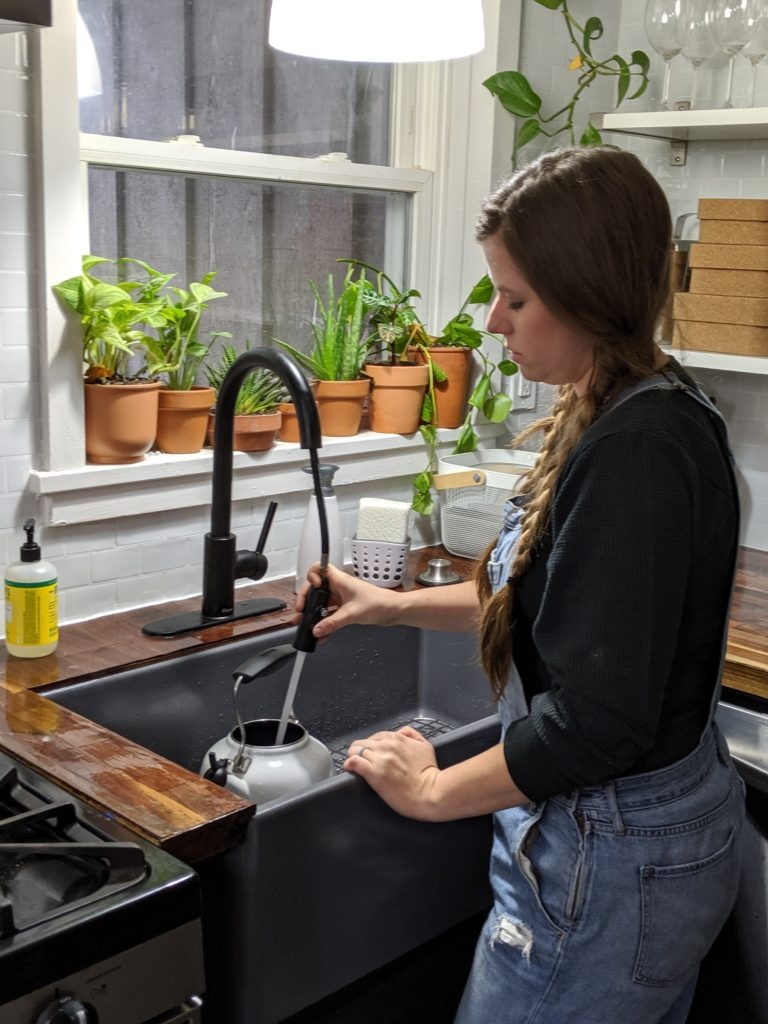
Whether you make your sink the focal point or blend with your colored cabinetry, our Vibe Collection will impact your kitchen in more ways than one with just one single swap out of your old sink. And, with the reliability of fireclay, you’ll be able to stick with this sink – and all the vibes it provides – for quite some time. Visit our website to see the complete collection.

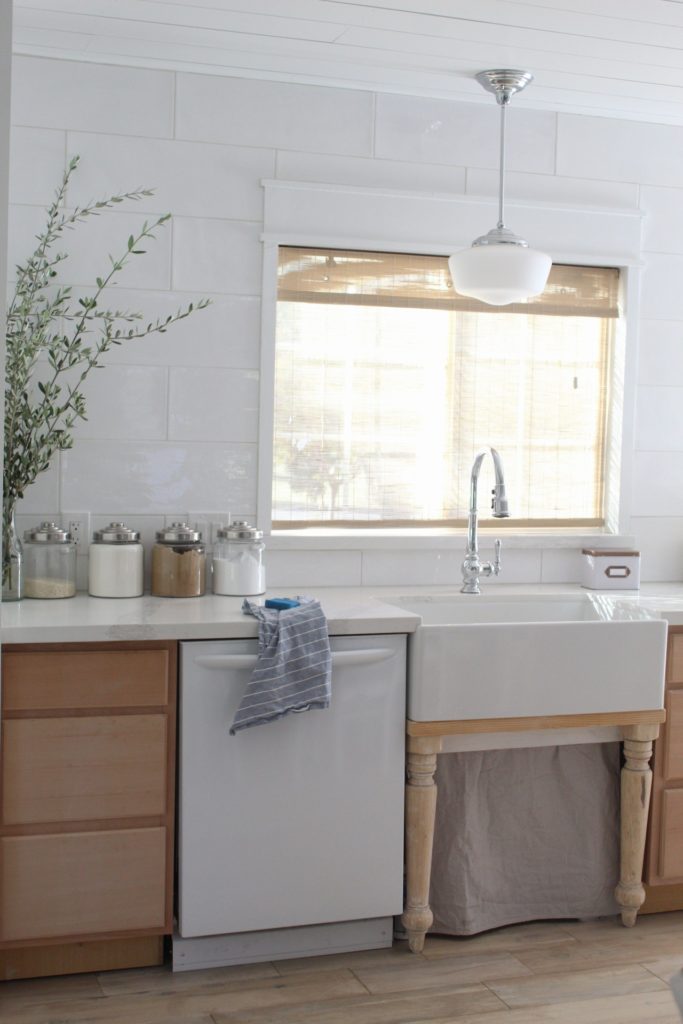
Color is a powerful upgrade in home improvement projects across the country. This comes as a new option from the long-standing all-white kitchen trend.If you’ve recently renovated with all-white everything, you created a clean look and feel for your kitchen….and we love that, too.

In previous posts, we’ve discussed the hot new trend of incorporating color through cabinetry and fixtures (and how much we absolutely love it). But even if you still love the crisp brightness of your space, you can bring in touches of mood-enhancing shades on a smaller scale. You don’t have to make a major renovation to bring in a new emotion with fresh colors.

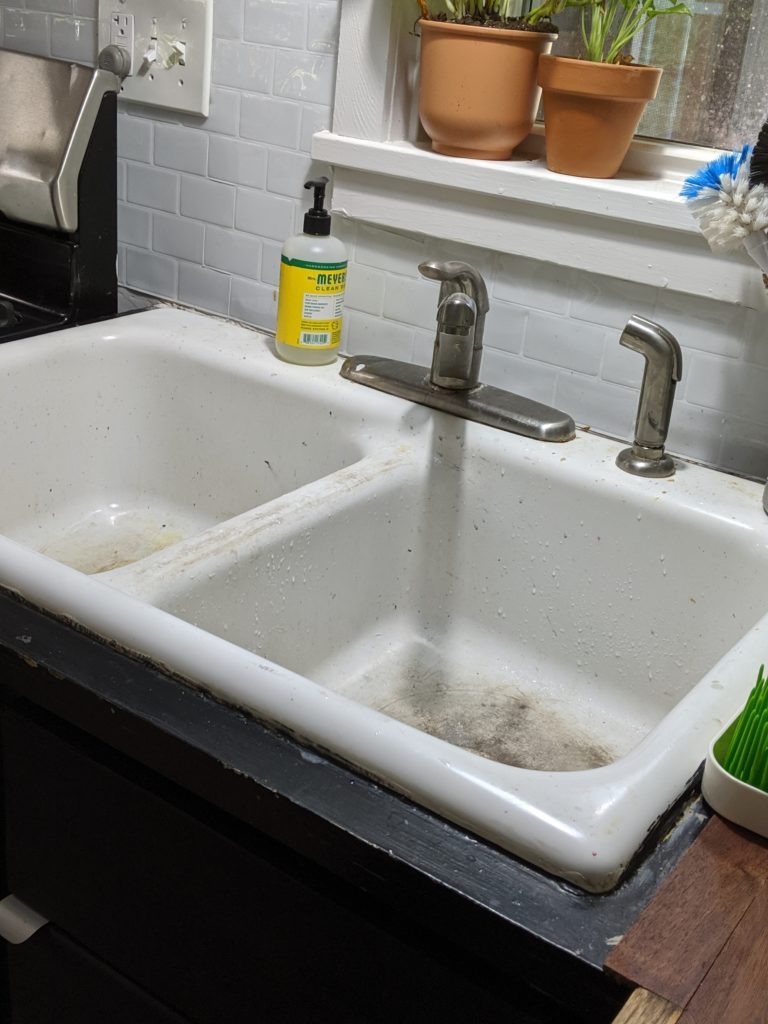
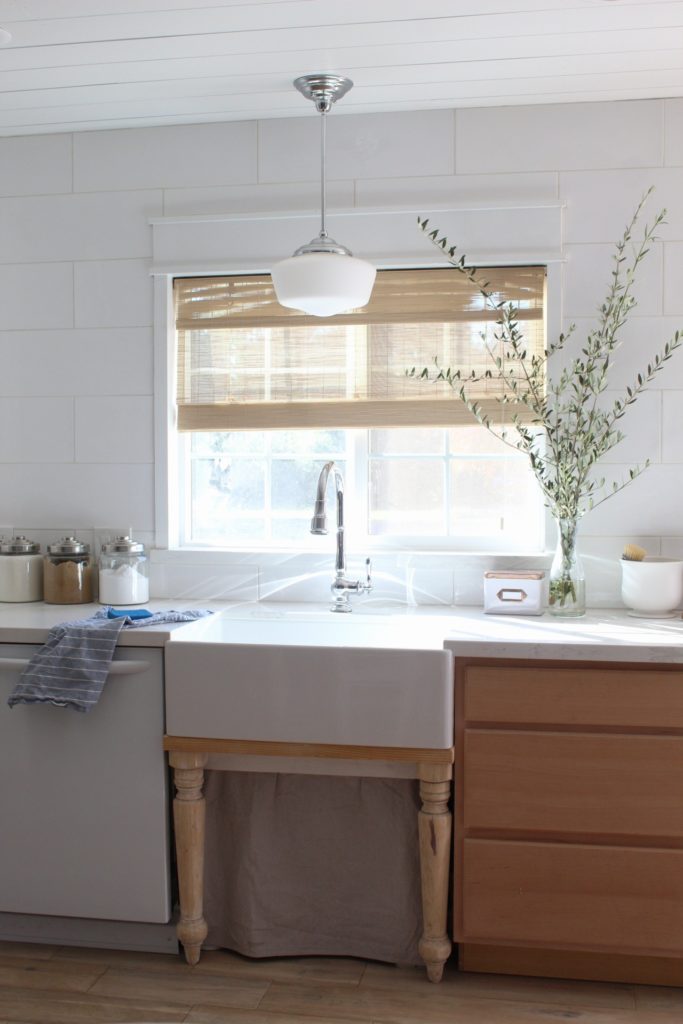
Simply start with your sink.

_____________________________________________________________________

If you have any additional questions during your search for the perfect copper, fireclay farmhouse sink or granite sink, our Sinkologists are here to help. Contact us or follow us on FacebookHouzzPinterest, or Instagram for more helpful tips and design ideas.

The post VIBE with Sinkology appeared first on Sinkology.


source https://www.sinkology.com/blog/vibe-with-sinkology/

New Fireclay Sink Changes Up The Vibe

Our friend Ellen, @littlebarefurniture on Instagram, recently updated her kitchen with the Bradstreet ll farmhouse fireclay kitchen sink. She was kind enough to share how the renovation went.
_____________________________________________________________________________

This kitchen has seen many changes in the four years we have lived in this house. The painting of the honey oak cabinets, followed shortly by the removal of the freshly painted upper cabinets. The stripping of laminate from the counters and painting them white, then changing it to black. Painting the cabinets, again. Removing the old stick on tile floor. Painting the floor. Extending the peninsula.  I put a lot of bandaids on our kitchen. Granted they were stylish bandaids but still the true challenges remained. I have a small kitchen, with one window and the sink.   Y’all, the sink was bad. There was no bandaid for the sink, it had to be replaced and no renovation would be complete without it. So when I planned my kitchen overhaul for this fall, I knew a sink was a top priority.

We are a creative family, in the kitchen and out. We cook together all the time, and we make a lot of dishes.  We also paint, and build, and make clay sculptures and tie dye. Our old sink could tell you all about the crazy things that stained its worn white(ish) basin. So when it was time to choose a sink to replace the old, tired one, I knew it had to be able to handle our creative chaos.

This beautiful sink does just that. This Sinkology VIBE fireclay sink handles are messy life  and does it with style.

Installation was straight forward. After removing the old sink and the majority of the base cabinet I built a frame from 2x4s to support the weight of the sink. Once the base was level and ready I slid the sink into place. This part definitely required an extra set of hands, this sink is sturdy, and heavy.

Once in place I had to get creative. I installed the kitchen sink under the existing countertop, but because of its amazing apron front I had to build up the area behind the sink where the snazzy Pfister Faucet would be installed. Once this area was level with the counter edge, I skinned it in walnut as I had done on the other counters and sealed it with epoxy. I also cut and fit individual strips along the top edge of the sink to provide a barrier.

I wrapped every inch of my beautiful sink in paper and tape to protect it from the epoxy pour and then I waited.

This was the hardest part, I could not wait to see the way the gray finish of the fireclay was complemented by the warm walnut counters. During this time I built the undercabinet, well actually drawer under the sink.

When your sink looks this good, the under sink storage has to keep up. I knew the plumbing shift required one drain and the centered garbage disposal would take up a large amount of space, as would the 2×4 base. The drawer face is the width of the sink and the soft close drawer slides perfectly under the garbage disposal and plumbing lines.

Once the epoxy was cured, I removed the paper and tape and dove into the plumbing. I installed the Matte Black Pfister Faucet first. The faucet kit included adapters for my existing lines so installation was a breeze. I secured the plate with plumbers putty and then clear silicone caulk both of which I purchased at The Home Depot. Next step, drain flange and garbage disposal. Again using plumbers putty I placed the Sinkology drain flange and obsessively centered the logo. Once again able to use my existing garbage disposal and attachment kit installation was a breeze. I did replace the j tube and pipes running to the wall which was simple using the universal sink plumbing kit I also picked up while at The Home Depot. I installed the undersink drawer, ran silicone along the sink edge and my project was complete.

I can’t put into words my love for this sink. Maybe the fact that I enjoy doing dishes is one way to describe it. Or that even my biggest cast iron pans are easy to wash. The stainless steel grate at the bottom of the basin protects not only the finish of the sink but my dishes when my four year old drops her cereal bowl in each morning. Before, our kitchen sink and faucet were a functional eyesore that showed wear. Now they are so much more.They suit the style and function of our home.  Our sink is a collector for our creative chaos, soaker for baked on kitchen experiments, and a bathtub for our puppy.

From filling pasta pots, watering plants, washing paint brushes, the Pfister Faucet and Sinkology fireclay sink are the perfect team to handle whatever our wild and busy life needs.

It may be silly to love an inanimate object but when the kitchen is the heart of the home, and no kitchen is complete without a sink, is it really that silly after all?

_____________________________________________________________________

If you have any additional questions during your search for the perfect copper, fireclay farmhouse sink or granite sink, our Sinkologists are here to help. Contact us or follow us on FacebookHouzzPinterest, or Instagram for more helpful tips and design ideas.

The post New Fireclay Sink Changes Up The Vibe appeared first on Sinkology.


source https://www.sinkology.com/blog/fireclay-sink-changes-up-the-vibe/

Step-by-Step Support: Sinkology Partners with BILT Intelligent Instructions®

At Sinkology, we’re all about weekend projects and DIY renovations. We know the power of taking a project into your own hands—but we also know that there can be bumps and challenges during the renovation process, especially when it comes to installations.

Your time is valuable, and we want to respect that in every way we can. From making our sinks easy to find and buy online to offering exceptional customer support, helping you meet your goals has always been a part of our business. Now, we’re taking it to the next level with our new partnership with BILT Intelligent Instructions.

Sinkology is bringing the power of professional installation directly to your phone with the BILT Intelligent Instructions app. Using the BILT app, you can easily access clear steps for installing your Sinkology sink.

Move seamlessly through the installation process on your own timeframe and budget, one expertly guided step at a time. Here’s how simple it really is with BILT:

  • Download the BILT app on your smartphone
  • Search for your Sinkology product by name or type in Sinkology to find your sink
  • Check out great statistics, like how many people have installed your sink using the BILT app and about how long the installation took
  • View all of the tools and parts you’ll need for your installation
  • Then follow along, step-by-step with video guidance and professional tips for your specific sink!

And that’s it! With the power of the BILT app, you no longer have to second-guess whether you’re moving through the installation correctly or try to read instructions while simultaneously holding up a kitchen sink (we know you’ve tried it!). Our partnership with BILT ensures that every project can move forward as planned with easy-to-follow, simple-to-use instructions.

We are working to adding BILT instructions for all of our sinks, but we’re rolling out the partnership with some of our beloved fireclay sinks, like the Bradstreet II and the Josephine. BONUS: Both of these sinks are also part of our VIBE Collection! The all-new VIBE Collection features our most popular fireclay material in a suite of eye-catching colors to make your home project stand out even more. From neutrals and calm colors to bold and rich hues, the VIBE Collection is ideal for projects and spaces that are craving a pop of color in an unexpected way.

For more information on BILT, download the app or visit www.BILTapp.com for details. To learn more about Sinkology’s all-new VIBE Collection, visit our website at www.sinkology.com.

_____________________________________________________________________

If you have any additional questions during your search for the perfect copper, fireclay farmhouse sink or granite sink, our Sinkologists are here to help. Contact us or follow us on FacebookHouzzPinterest, or Instagram for more helpful tips and design ideas.

The post Step-by-Step Support: Sinkology Partners with BILT Intelligent Instructions® appeared first on Sinkology.


source https://www.sinkology.com/blog/step-by-step-support/

Tuesday, November 26, 2019

In Love With Our Sink – The Bradstreet ll

Our friend Rendi over at thevintagebucket on Instagram, recently installed the Bradstreet ll. Take a look as she shares about her experience installing the sink in her home, which is located on their gorgeous orchard!
_____________________________________________________________________

Once we began the remodeling process of our home, there were a few key items I knew I wanted to ensure we incorporated into the new design. A farmhouse sink was at the top of my list for our tiny kitchen. After using a divided sink for the last 4 years, I could not wait to have a huge sink where I could actually fit a whole cookie sheet or casserole dish in it to soak. Since we were remodeling a tiny 840 square foot farmhouse, I could not purchase just any sink;I didn’t want one so large that it took up too much of my precious countertop space.

The Bradstreet II from Sinkology was the answer to all my sink desires. It was large enough for a good dish soak, but still small enough to allow for plenty of prep space.

As we remodeled our home, I brainstormed several ideas around the sink cabinetry. The extra cost for buying a cabinet built for this style of sink was not in our budget, and I could not justify spending money on a stock cabinet I then had to cutup to modify for the sink. After much thought, I approached my husband about building a table for the sink instead. The weight of the sink was the greatest factor and contributor to the table design, to ensure it would be strong enough to hold not only the substantial sink, but also if the sink was full of soapy water and dirty dishes. We came up with a beautiful design using salvaged tables legs to give it a custom look. I love the way it turned out, and could not wait to use it once everything was complete, and we were able to move in.

After our first family dinner, I couldn’t help but smile as our family of six piled their dirty plates into the sink on top of the pots and pans already present from cooking the meal. This sink held it all! Just not having dirty dishes spill out all over the countertops alone makes a kitchen feel cleaner, and that makes any momma happy! After I rinsed off all the dishes and loaded them into the dishwasher, I was so relieved to see that not one of the metal pots or pans, glass dishes, or metal utensils that were haphazardly tossed in, left a mark in the sink. No chips, black marks, rust spots, or dings. It was utterly flawless.A quick wipe down with the amazing little lavender sponge that accompanies the sink (which happens to be our children’s favorite thing ever due to the amazing smell), and it was like brand new .

Three weeks later, and I’m still in love with our Bradstreet II sink. It has seen a large washing of our or chard apples, a birthday party sleepover of 5 little girls, an extended family dinner for 14, and numerous breakfasts, lunches, and dinners for our brood of six. I’m thrilled to say it continues to hold up tremendously to the hard work load required by such a family as ours, and I’m looking forward to many more holidays and memories made around this kitchen sink.

_____________________________________________________________________

If you have any additional questions during your search for the perfect copper, fireclay farmhouse sink or granite sink, our Sinkologists are here to help. Contact us or follow us on FacebookHouzzPinterest, or Instagram for more helpful tips and design ideas.

The post In Love With Our Sink – The Bradstreet ll appeared first on Sinkology.


source https://www.sinkology.com/blog/in-love-with-our-sink/

Tuesday, November 19, 2019

Butternut Squash Stuffed Mushrooms

One of my favorite things about Fall (besides the cool, cozy weather) is the giant list of beautiful Fall ingredients partnered with numerous opportunities to share food in the company of people I love! It really is a great time of year, don’t you agree?

Over the years, I’ve shared some of my most favorite Fall recipes here on the Sinkology blog. And before I tell you about this month’s Thanksgiving inspired recipe, let me remind you of a few delicious archived Fall recipes that are sure to make this season even more delicious!

Drinks, desserts, dips and sides :: there’s a yummy start to your Fall menus!

So how about a crowd pleasing appetizer for 2019? It doesn’t matter where I take them, these stuffed mushrooms are ALWAYS the first to disappear. And thanks to a couple of pre-prepared ingredients (found at your local grocery store), these stuffed mushrooms are a breeze to make.

Ingredients ::

  • medium/large white button mushrooms, cleaned and de-stemmed
  • pre-diced butternut squash (I find this in the refrigerated produce department), steamed and drained
  • ricotta cheese
  • Monterey jack cheese, shredded
  • shallot, diced
  • yellow onion, diced
  • garlic clove, finely diced
  • sage leaves
  • salted butter
  • heavy cream
  • white wine
  • pumpernickel bread crumbs
  • salt and pepper

Instructions ::

Saute’ –

Once your ingredients are assembled, preheat your oven to 400°. In a medium sized (8″-9″ cast iron or heavy) oven-safe skillet, saute´ sage leaves with butter for 2-3 minutes over medium flame. Once butter is browned and leaves are crisp, remove and allow to drain on a paper towel.

Add diced onions and shallots to the hot skillet and cook for 4-5 minutes, until tender and translucent. Add garlic and cook an additional 2 minutes, stirring constantly to prevent burning. Once cooked through, remove to a medium (2qt) bowl.

Next, for the pumpernickel bread crumb topping, add 1/2 c bread crumbs and butter (I just quickly toasted two slices of pumpernickel bread and crumbled them up to make bread crumbs) to the same skillet we’ve been using for the onions and sage. Saute the bread crumbs for 2 minutes, stirring regularly. Remove to a small bowl and set aside.

Combine –

To the bowl that contains the onions and garlic, add steamed butternut squash, ricotta, half of the shredded cheese and 1/2 t salt and 1/4 t pepper. Stir to combine.

Stuff –

Then, place approximately 2 T of filling in each mushroom cavity and place back into the skillet. Repeat to fill each mushroom (you’ll probably have some extra filling).

Bake –

Last, top with remaining shredded cheese and bread crumbs. Add cream and white wine to the skillet and bake at 400° for 20 minutes, until slightly thickened and bubbly. Top with sage leaf garnish and serve.

Makes 12-14

Yum!! Tender stuffed mushrooms filled with buttery squash and creamy melted cheese and onions and garlic — all with the perfect hint of white wine and sage topped with crisp bits of toasted pumpernickel. It really is the star of the show!

Butternut Squash Stuffed Mushrooms

  • 12-14 medium/large white button mushrooms, cleaned and de-stemmed
  • 1/2 c pre-diced butternut squash (I find this in the refrigerated produce department), steamed and drained
  • 1 c ricotta cheese
  • 8 oz Monterey jack cheese, shredded
  • 1/4 c shallot, diced
  • 1/4 c yellow onion, diced
  • 1 garlic clove, finely diced
  • 10 sage leaves
  • 6 T salted butter, divided
  • 3/4 c heavy cream
  • 1/4 c white wine
  • 1/2 c pumpernickel bread crumbs
  • salt and pepper to taste (1/4 – 1/2 t each)

First :

Preheat your oven to 400°. In a medium sized (8″-9″ cast iron or heavy) oven-safe skillet, saute´ sage leaves with butter for 2-3 minutes over medium flame. Once butter is browned and leaves are crisp, remove and allow to drain on a paper towel.

Add diced onions and shallots to the hot skillet and cook for 4-5 minutes, until tender and translucent. Add garlic and cook an additional 2 minutes, stirring constantly to prevent burning. Once cooked through, remove to a medium (2qt) bowl.

Second :

Next, for the pumpernickel bread crumb topping, add 1/2 c bread crumbs and butter (I just quickly toasted two slices of pumpernickel bread and crumbled them up to make bread crumbs) to the same skillet we’ve been using for the onions and sage. Saute the bread crumbs for 2 minutes, stirring regularly. Remove to a small bowl and set aside.

To the bowl that contains the onions and garlic, add steamed butternut squash, ricotta, half of the shredded cheese and 1/2 t salt and 1/4 t pepper. Stir to combine.

Third :

Then, place approximately 2 T of filling in each mushroom cavity and place back into the skillet. Repeat to fill each mushroom (you’ll probably have some extra filling).

Fourth :

Last, top with remaining shredded cheese and bread crumbs. Add cream and white wine to the skillet and bake at 400° for 20 minutes, until slightly thickened and bubbly. Top with sage leaf garnish and serve.

Makes 12-14

The post Butternut Squash Stuffed Mushrooms appeared first on Sinkology.


source https://www.sinkology.com/blog/butternut-squash-stuffed-mushrooms/

Tuesday, November 12, 2019

It’s True: Clean Kitchens = Better Health

We can all agree that maintaining kitchen cleanliness is important. No one wants to spend time in a grimy kitchen: not family, guests, or even hosts themselves. But keeping a clean kitchen is about much more than just creating a visibly clean space that limits embarrassment. When you clean your kitchen, you support everyone’s health. Here are the top 5 ways keeping a cleaner kitchen will lead to better health:

1. A deep clean helps to prevent cross-contamination and the spreading of bacteria, including food-borne diseases. The U.S. Centers for Disease Control says that there are more than 75 million cases of food borne illness in the United States every year, including things like Salmonella and Listeria.

2. When you keep grime out of your kitchen, you’ll keep pests away, too. By removing pests’ temptation to pick up crumbs and leftovers , you’ll eliminate your need for trapping unwelcome visitors.

3. It will keep you – and your family – safe from accidents. When you address drips on the floor, oil splatter on the stovetop, and put away sharp objects immediately, you’ll avoid potential disasters.

4. Deep cleaning your kitchen has some incredible calorie-burning benefits. As you eliminate grime you’ll increase your strength, so put in that elbow grease. With every scrub, you’re working off your mealtime indulgences.

5. Last, but certainly not least: as you cut out grime, you’ll lower stress levels. A clean kitchen brings peace of mind. Plus, you’ll sleep better, knowing that that nagging chore isn’t waiting for you as soon as you wake up.

As an added bonus, the longer you keep your kitchen clean, the more likely you’ll be to actually use it. Meal prep is no fun when your cooking area is overpowered by grime. And, the cleaner your cooking area, the more likely your diet will also get a clean up.

The benefits are clear, but if you’re not sure how to stay on top of your kitchen cleaning, keep reading.

Light cleaning is relatively easy to stay on top of. A quick wipe here. A little scrub there. But it’s the deep cleaning that will make the difference. Consider adding these 5 steps to your kitchen routine and you’ll feel the physical benefit:

1. Keep your own hands clean. Your palms pickup particles every time you handle something, especially perishable foods. And that doesn’t mean just after you’re done handling your ingredients. Wash your hands before you start prepping, throughout the meal prep (i.e. any time you rub your nose or handle raw meat), and as soon as you’re finished.

2. Keep the prep area fresh, too. Use hot, soapy water every time you use a cutting board. And once it’s filled with deep cuts, toss it. Bacteria loves to hide in those crevices. Aside from the cutting board itself, always wipe down every utensil and appliance used, down to the spoon rest.

3. Beyond the more obvious prep equipment, take the time to clean out things like your garbage disposal, range hood, dishwasher, toaster, coffeemaker, and food processor on the regular, down to every corner.

4. Keep household cleaners away from food prep areas. It might seem counterintuitive, but only food-grade cleaners are safe in an active kitchen space. This really applies to any non-food items. Keep dirty purses, mail, and towels far away from any foods.

5. Take care of your food even well after mealtime. Don’t keep any leftovers for more than a few days, and if it looks questionable, don’t even consider keeping it. Prevent spoilage

Do your part to prevent things like Salmonella, pests and smells from entering your kitchen with routine thorough cleaning.

_____________________________________________________________________

If you have any additional questions during your search for the perfect copper, fireclay farmhouse sink or granite sink, our Sinkologists are here to help. Contact us or follow us on FacebookHouzzPinterest, or Instagram for more helpful tips and design ideas.

The post It’s True: Clean Kitchens = Better Health appeared first on Sinkology.


source https://www.sinkology.com/blog/clean-kitchens-better-health/

Tuesday, November 5, 2019

Orange Spice Sugar Cookies

It’s finally time to break out the Fall spice blends (yay!!) and so, I thought I’d highlight some of those warm, sweet-smelling spices in one of my all-time favorite cookies!

Orange spice is one of my favorite cool weather flavors — a perfect blend of bright citrus orange, warm cinnamon, and just a hint of cloves. (Hey, it almost sounds like I’m putting together my Fall wardrobe doesn’t it?!)

Now, I know there’s a huge camp of pumpkin spice lovers (and to be clear, I LOVE a good pumpkin spice latte), but orange spice has always been my first choice for Fall flavors. Orange is a great and unexpected partner and really stands out when lined up with all the other confections floating around this time of year.

To make these cookies, you’ll start off with 3 things ::

  • fresh orange zest
  • ground cinnamon
  • ground cloves

In a stand mixer with the paddle attachment, combine these three ingredients with the fats and sugars. Add water and eggs, continuing to mix until combined. Next, add the dry ingredients. Mix on low speed to incorporate, scraping sides as necessary, until the cookie batter is thoroughly mixed.

Using a 2T sized scoop, scoop out cookie dough balls and evenly space on a parchment lined baking sheet. I prefer 6 cookies per sheet as to not overcrowd.

The next step is important :: gently tap the bottom of a glass onto the remaining dough then press the bottom of the glass in a bowl of granulated sugar. This little tip will help the first pressed cookie NOT to stick to the bottom of the glass.

Before pressing each cookie, tap the bottom of the glass into the granulated sugar then gently press the cookie to approximately 1/3″ thick (as pictured). Once each cookie is pressed I like to repeat the process, minus the pressing (just a light tap), just to leave a little more sugar atop each cookie.

Bake the cookies in a preheated 350° oven for 8-10 minutes (I’ve found 10 minutes is perfect for my oven). You’ll know the cookies are done when the shiny-ness on the top of the cookie disappears. (It’s taken my about 100 dozen cookies to notice that little detail so if you don’t notice it – just remove between 9-10 minutes.)

While the cookies are baking, prepare the orange spiced sour cream buttercream by combining the buttercream ingredients in a stand mixer using the whisk attachment.

Once the cookies have cooled, spread 1-2 T icing over each cookie and top with your favorite sprinkles. (colorful Halloween sprinkles are sure to make this cookie the star of any Halloween party, don’t you agree?)

I love this simple buttercream recipe that combines the same cookie flavors in a smooth, creamy buttercream with a little ‘zip’ thanks to the sour cream.

These ‘crisp on the outside, chewy on the inside’ orange spice sugar cookies are the perfect flavors of Fall! Bring a little Fall into your home and whip up a batch!

Orange Spice Sugar Cookies

Wet Ingredients

  • zest of 3 oranges (approx 3 T)
  • 1 1/2 t ground cinnamon
  • 3/4 t ground cloves
  • 1 c butter (room temperature)
  • 3/4 c vegetable oil
  • 1 1/4 c sugar
  • 3/4 c powdered sugar
  • 2 T water
  • 2 eggs

Dry Ingredients

  • 1/2 t baking soda
  • 1/2 t baking powder
  • 1/2 t cream of tarter
  • 1 t kosher salt
  • 5 1/2 c flour
  • 1/2 c granulated sugar for pressing cookies

Buttercream Ingredients

  • zest of one orange (approximately 1 T)
  • 3/4 t ground cinnamon
  • 1/4 t ground cloves
  • 1/2 c butter (room temperature)
  • 1/2 c sour cream
  • 1/4 t sea salt
  • 1/4 c milk
  • 2 lb bag of pure cane powdered sugar

Instructions

In a stand mixer with the paddle attachment, combine the first 7 wet ingredients. Add water and eggs, continuing to mix until combined.

Next, add the dry ingredients. Mix on low speed to incorporate, scraping sides as necessary, until the cookie batter is thoroughly mixed.

Using a 2T sized scoop, scoop out cookie dough balls (be sure the dough is leveled in the scoop for consistent baking) and evenly space on a parchment lined baking sheet. I prefer 6 cookies per sheet as to not overcrowd.

The next step is important :: using the remaining 1/2 c sugar, gently tap the bottom of a glass onto the remaining dough then press the bottom of the glass in a bowl of granulated sugar*.

Before pressing each cookie, tap the bottom of the glass into the granulated sugar then gently press the cookie to approximately 1/3″ thick (as pictured). Once each cookie is pressed I like to repeat the process, minus the pressing (just a light tap), to leave a little more sugar atop each cookie.

Bake the cookies in a preheated 350° oven for 8-10 minutes (I’ve found 10 minutes is perfect for my oven).

While the cookies are baking, prepare the orange spiced sour cream buttercream by combining the buttercream ingredients in a stand mixer using the whisk attachment. Whisk to combine (approx 3 minutes), scraping the sides for even mixing.

Once the cookies have cooled, spread 1-2 T icing over each cookie and top with your favorite sprinkles.

Makes 3 dozen

*This will help the first pressed cookie NOT to stick to the bottom of the glass.

_____________________________________________________________________

If you have any additional questions during your search for the perfect copper, fireclay farmhouse sink or granite sink, our Sinkologists are here to help. Contact us or follow us on FacebookHouzzPinterest, or Instagram for more helpful tips and design ideas.

The post Orange Spice Sugar Cookies appeared first on Sinkology.


source https://www.sinkology.com/blog/orange-spice-sugar-cookies/