Sinkology is proud to present Emily Schuermann, our food-loving guest blogger who runs Food for a Year. Emily is here to share some recipes she has created exclusively for the Sinkology blog that reflect her view of a copper sink: simple, timeless, affordable, and beautifully rustic.
______________________________________________________________________________
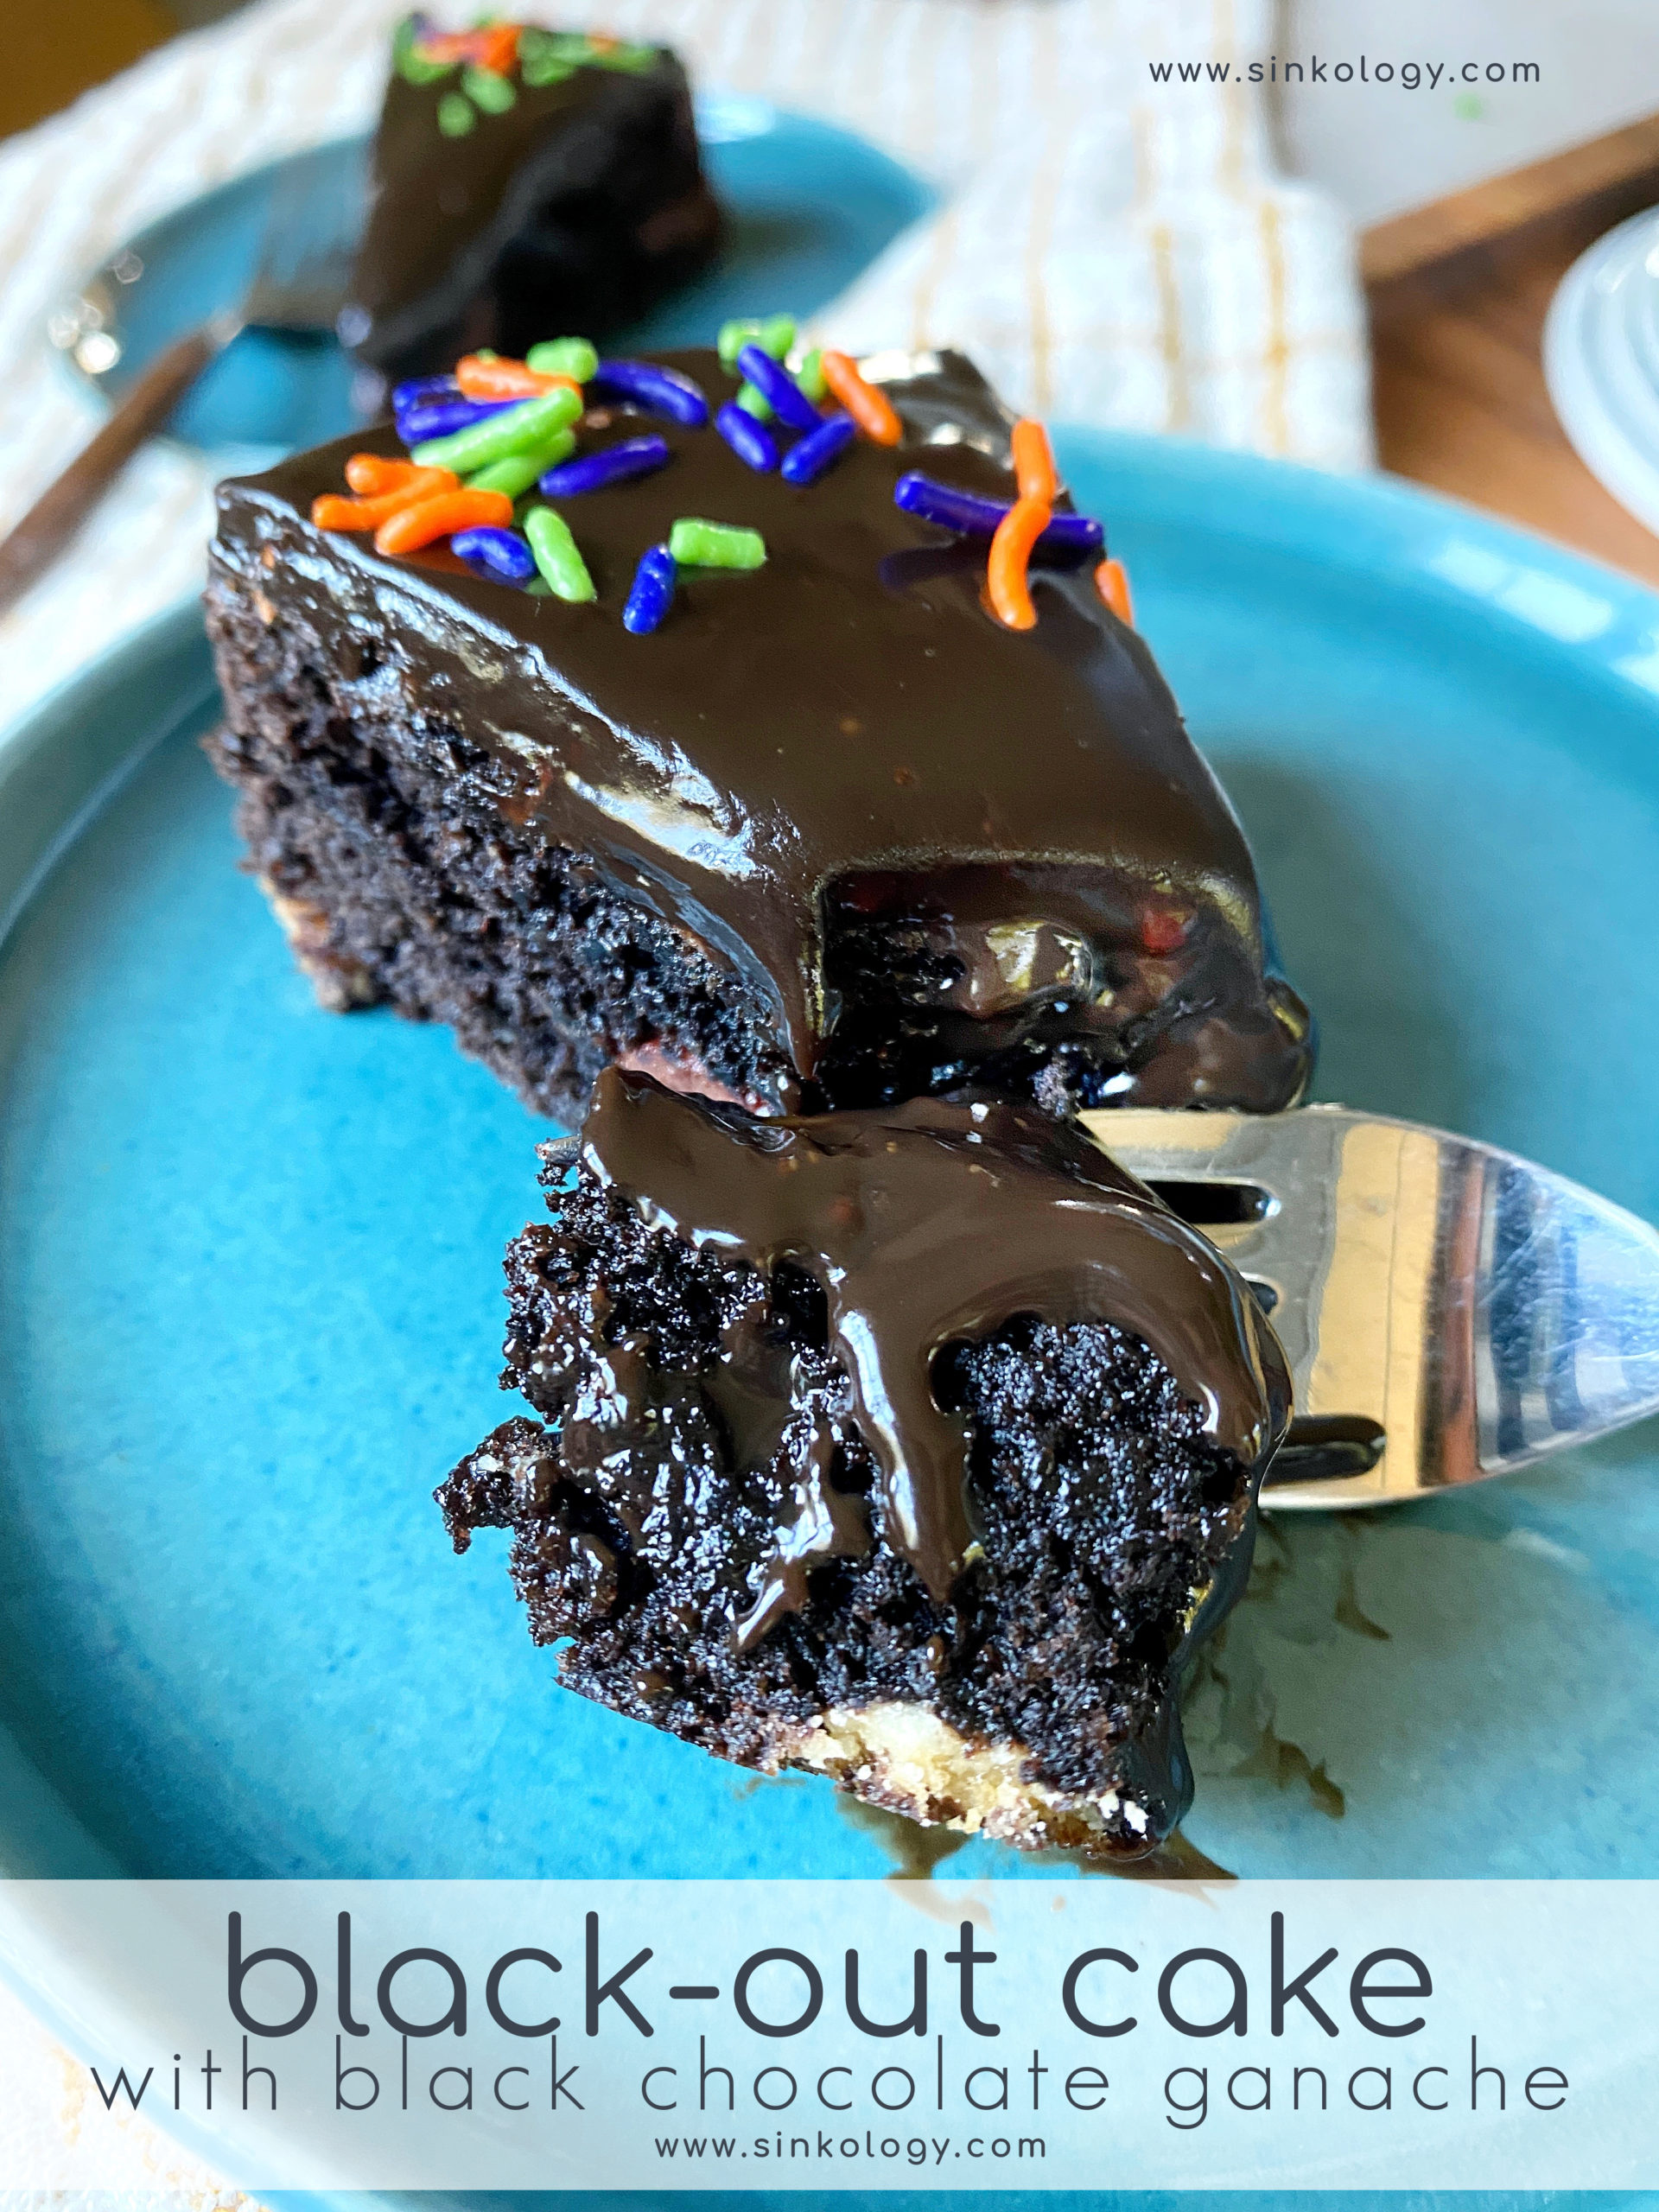
‘What’s a ‘Black-Out’ Cake??’ you might be wondering. Well, it’s a super moist cake that’s full of deep, rich dark chocolate flavors. This Black-Out Cake is a twist on a little recipe I’ve had in my back pocket for several decades. The-most-simple-delicious-chocolatey quick cake you’ll ever come across — trust me.
Two Key ingredients
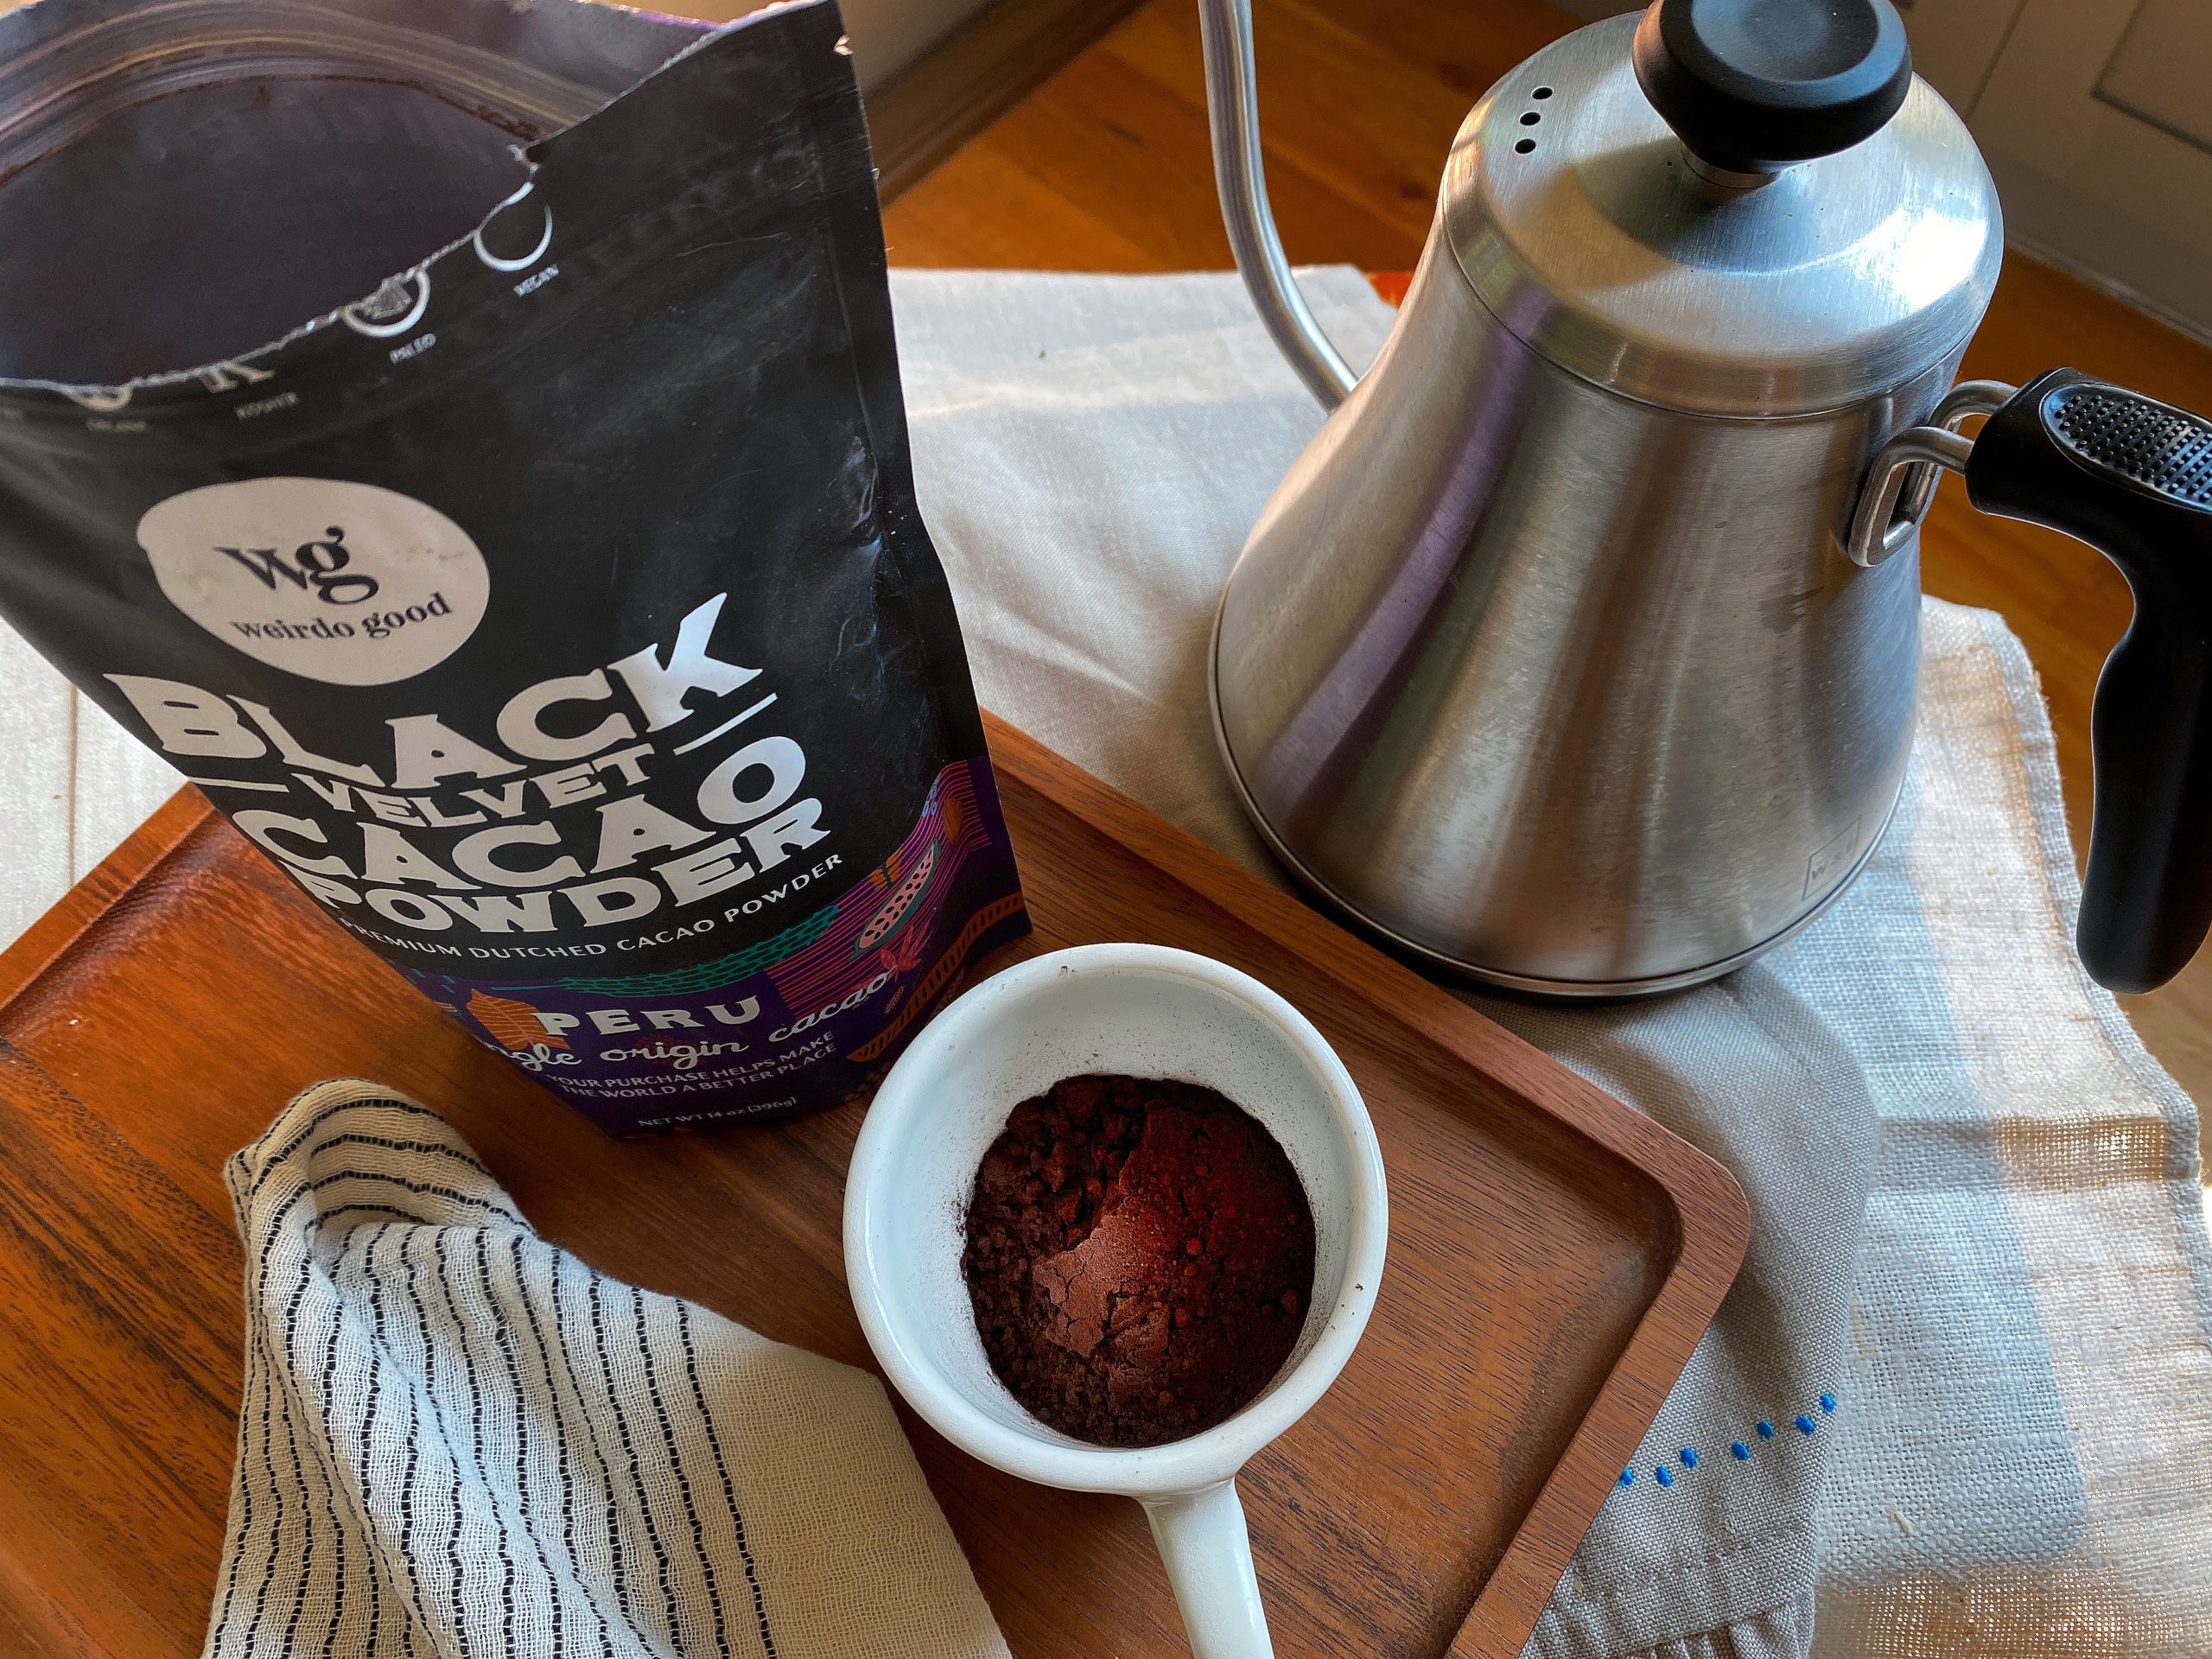
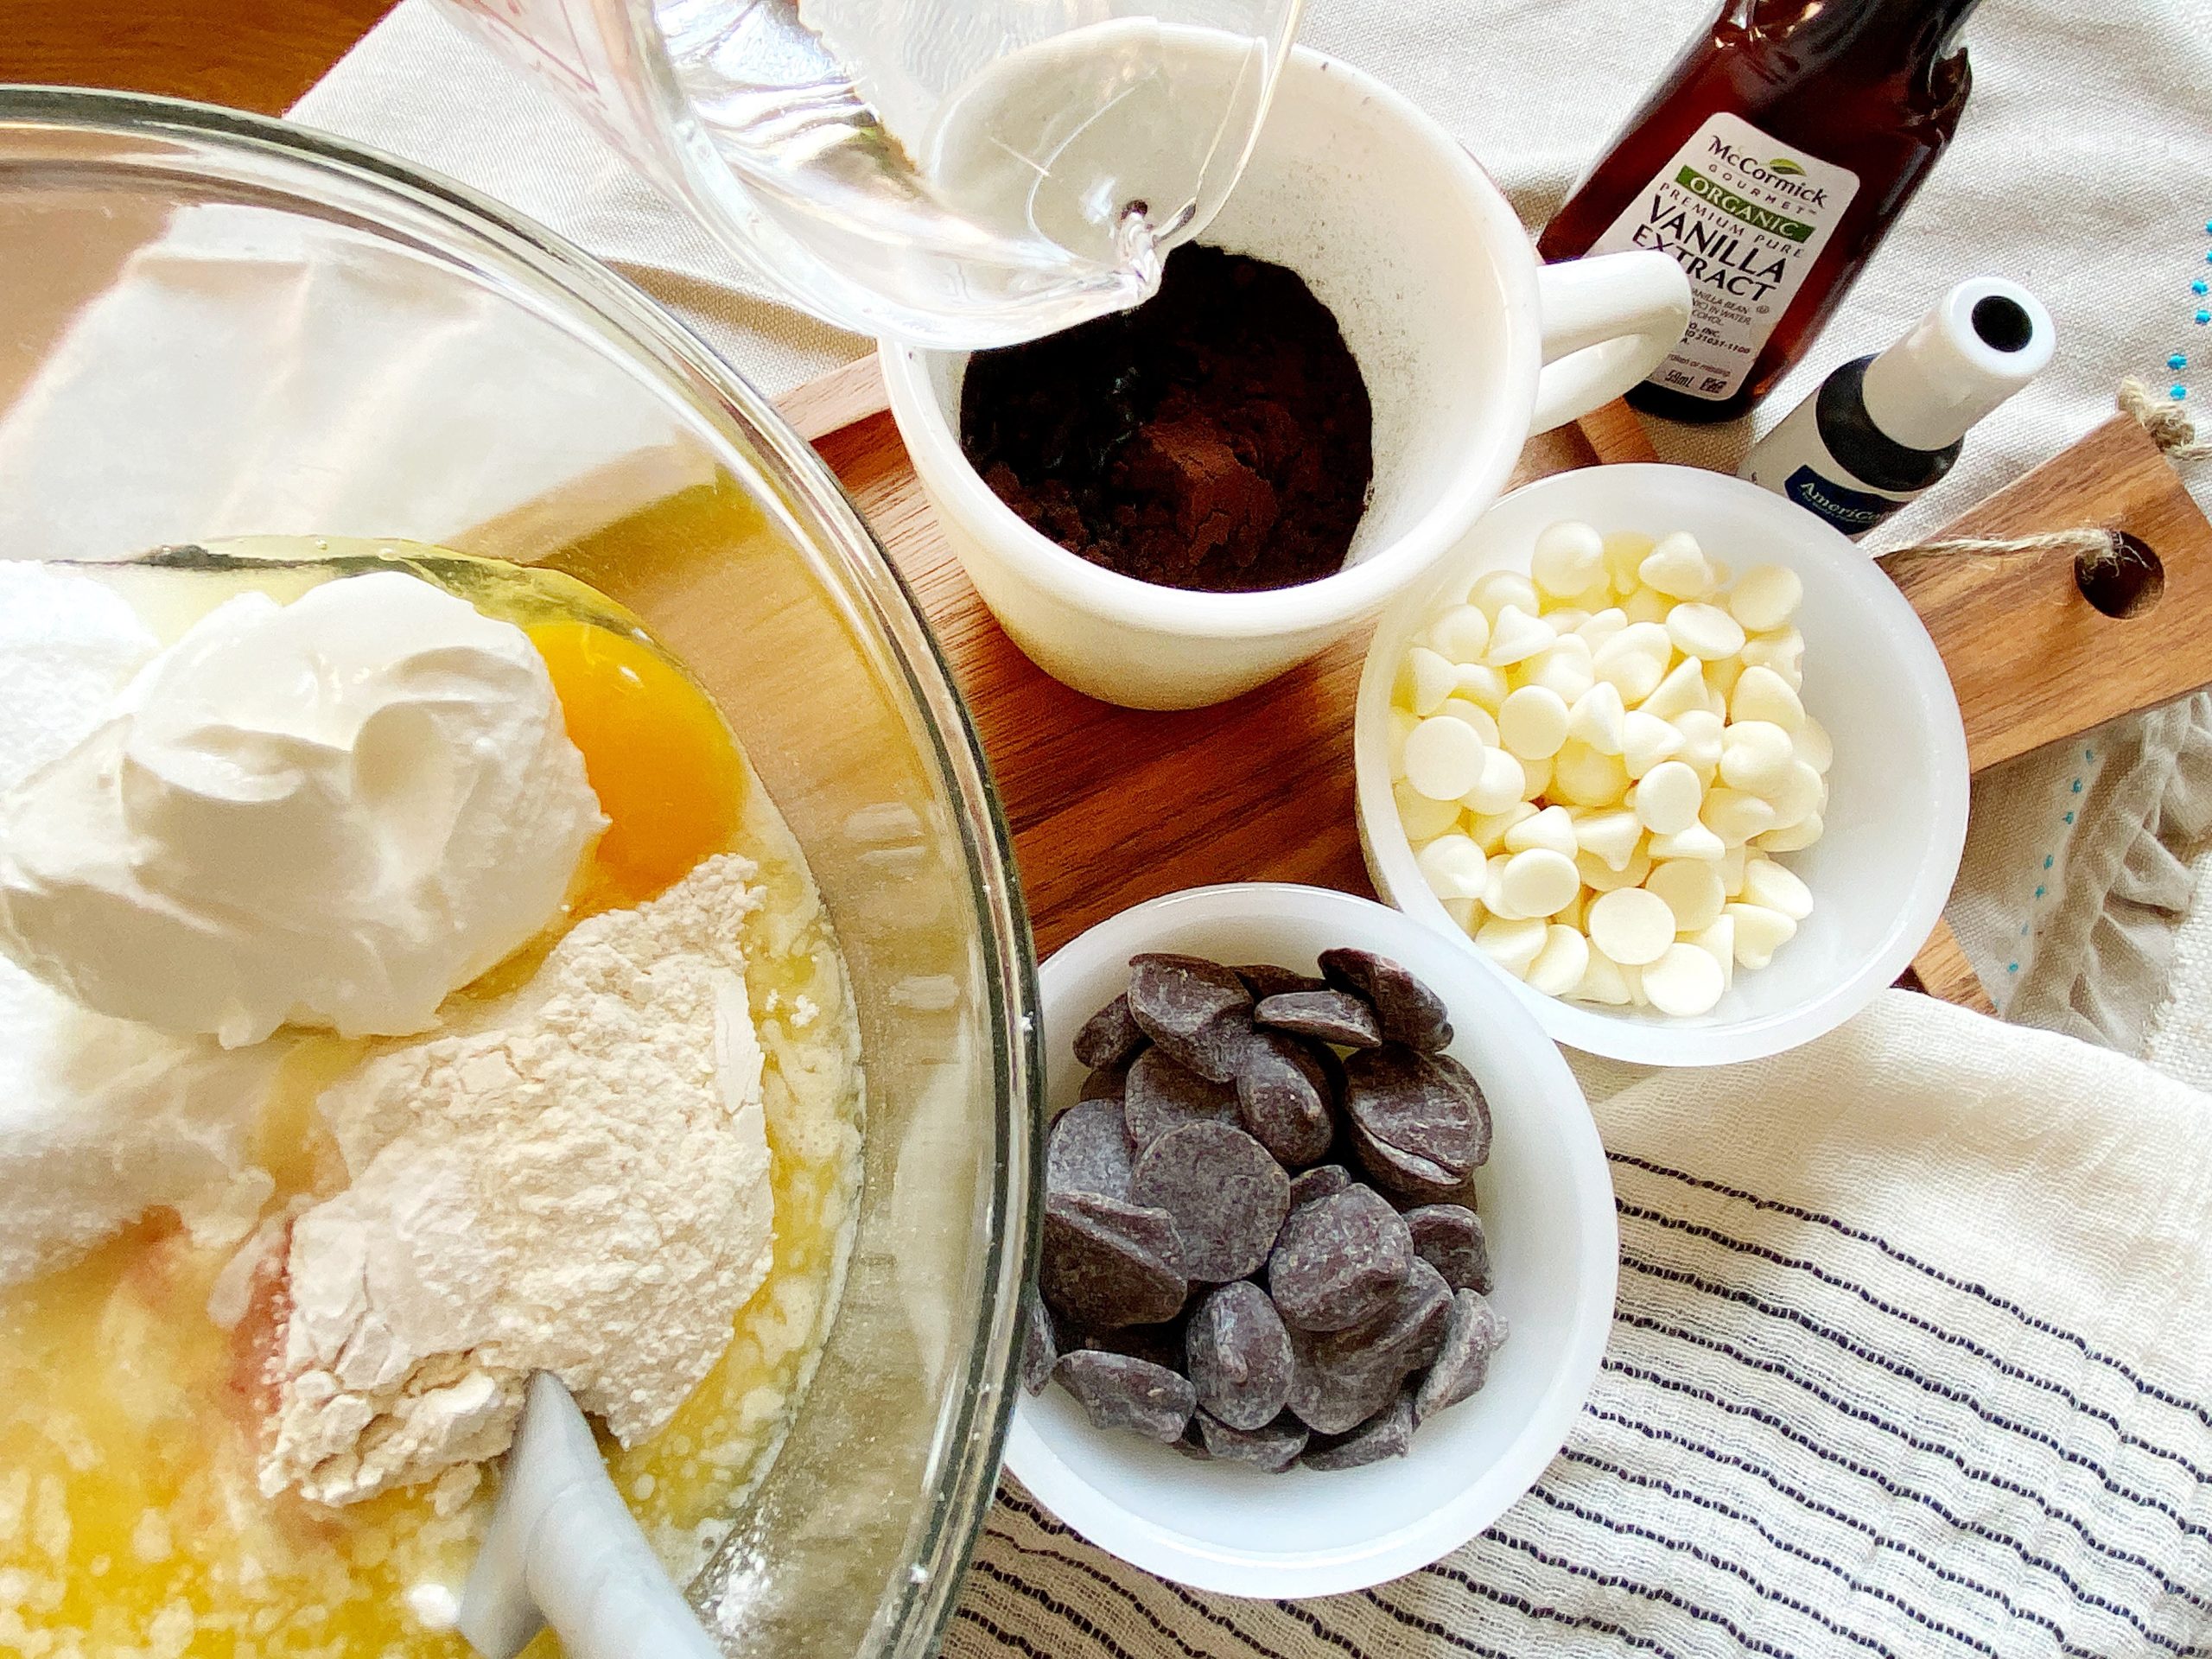
To bump the tone of this chocolate cake from dark brown to ‘black-out’, I used the darkest cocoa powder available and super black food coloring paste.
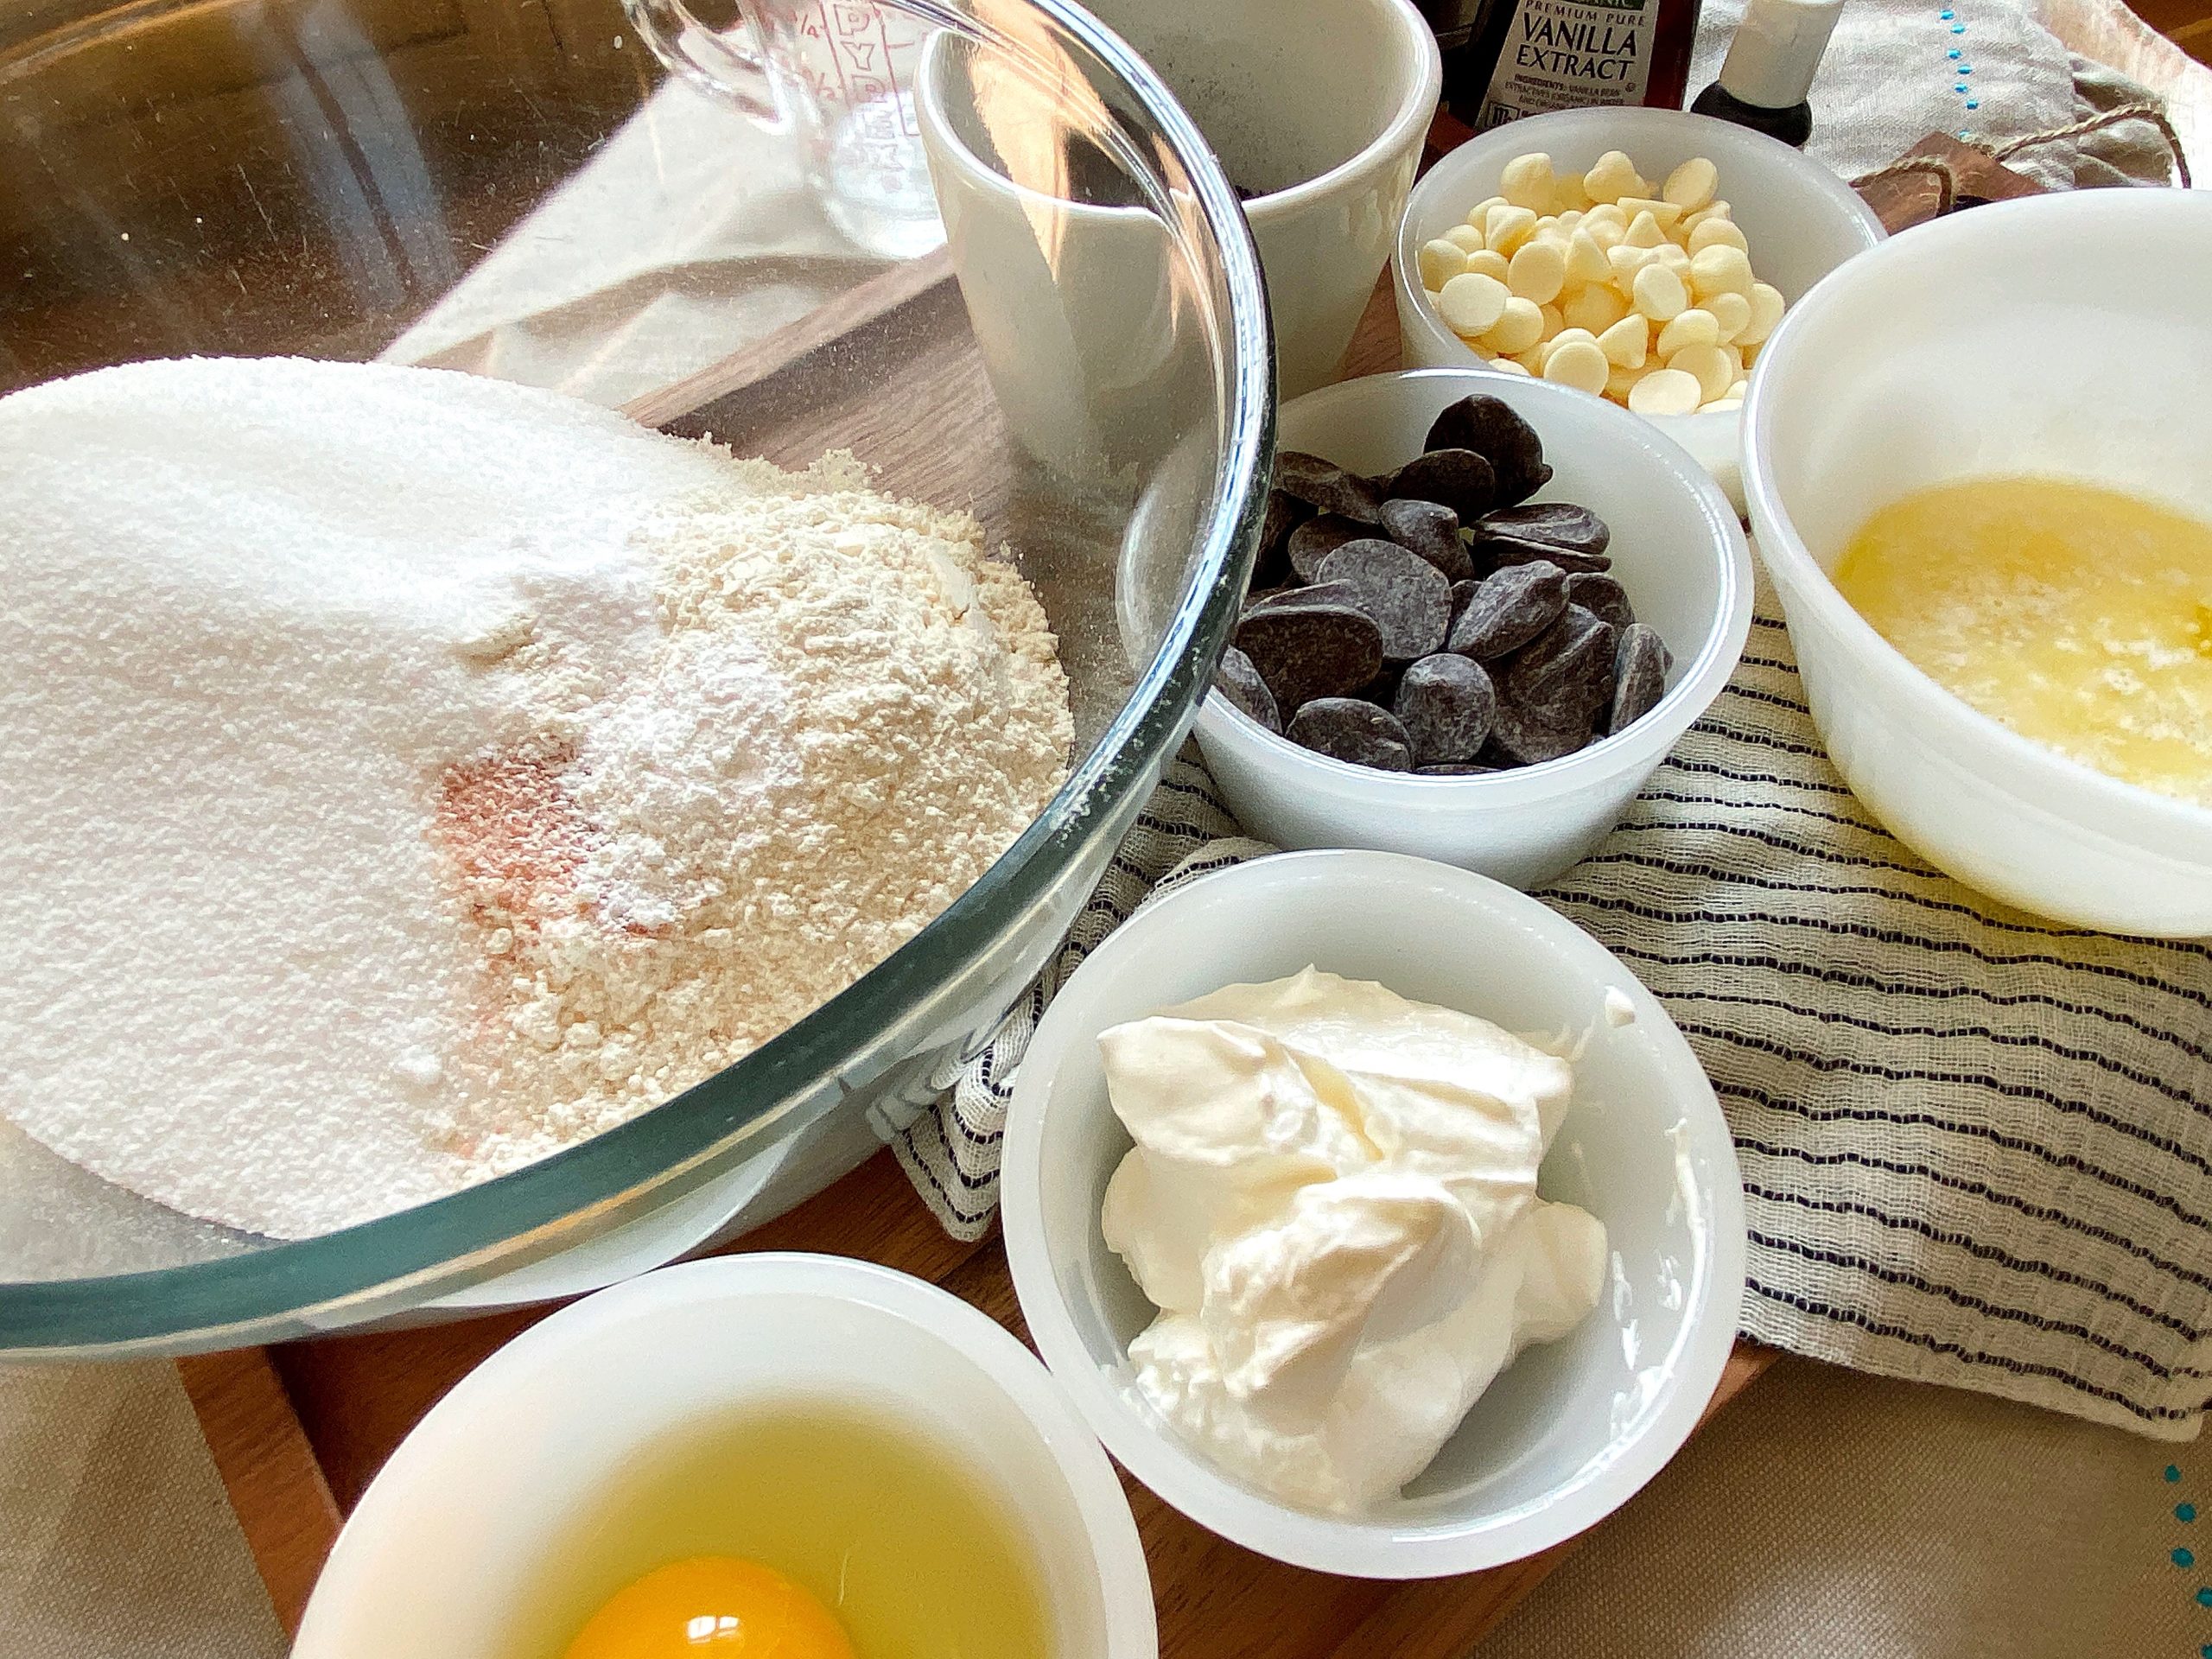
One-Bowl Recipe
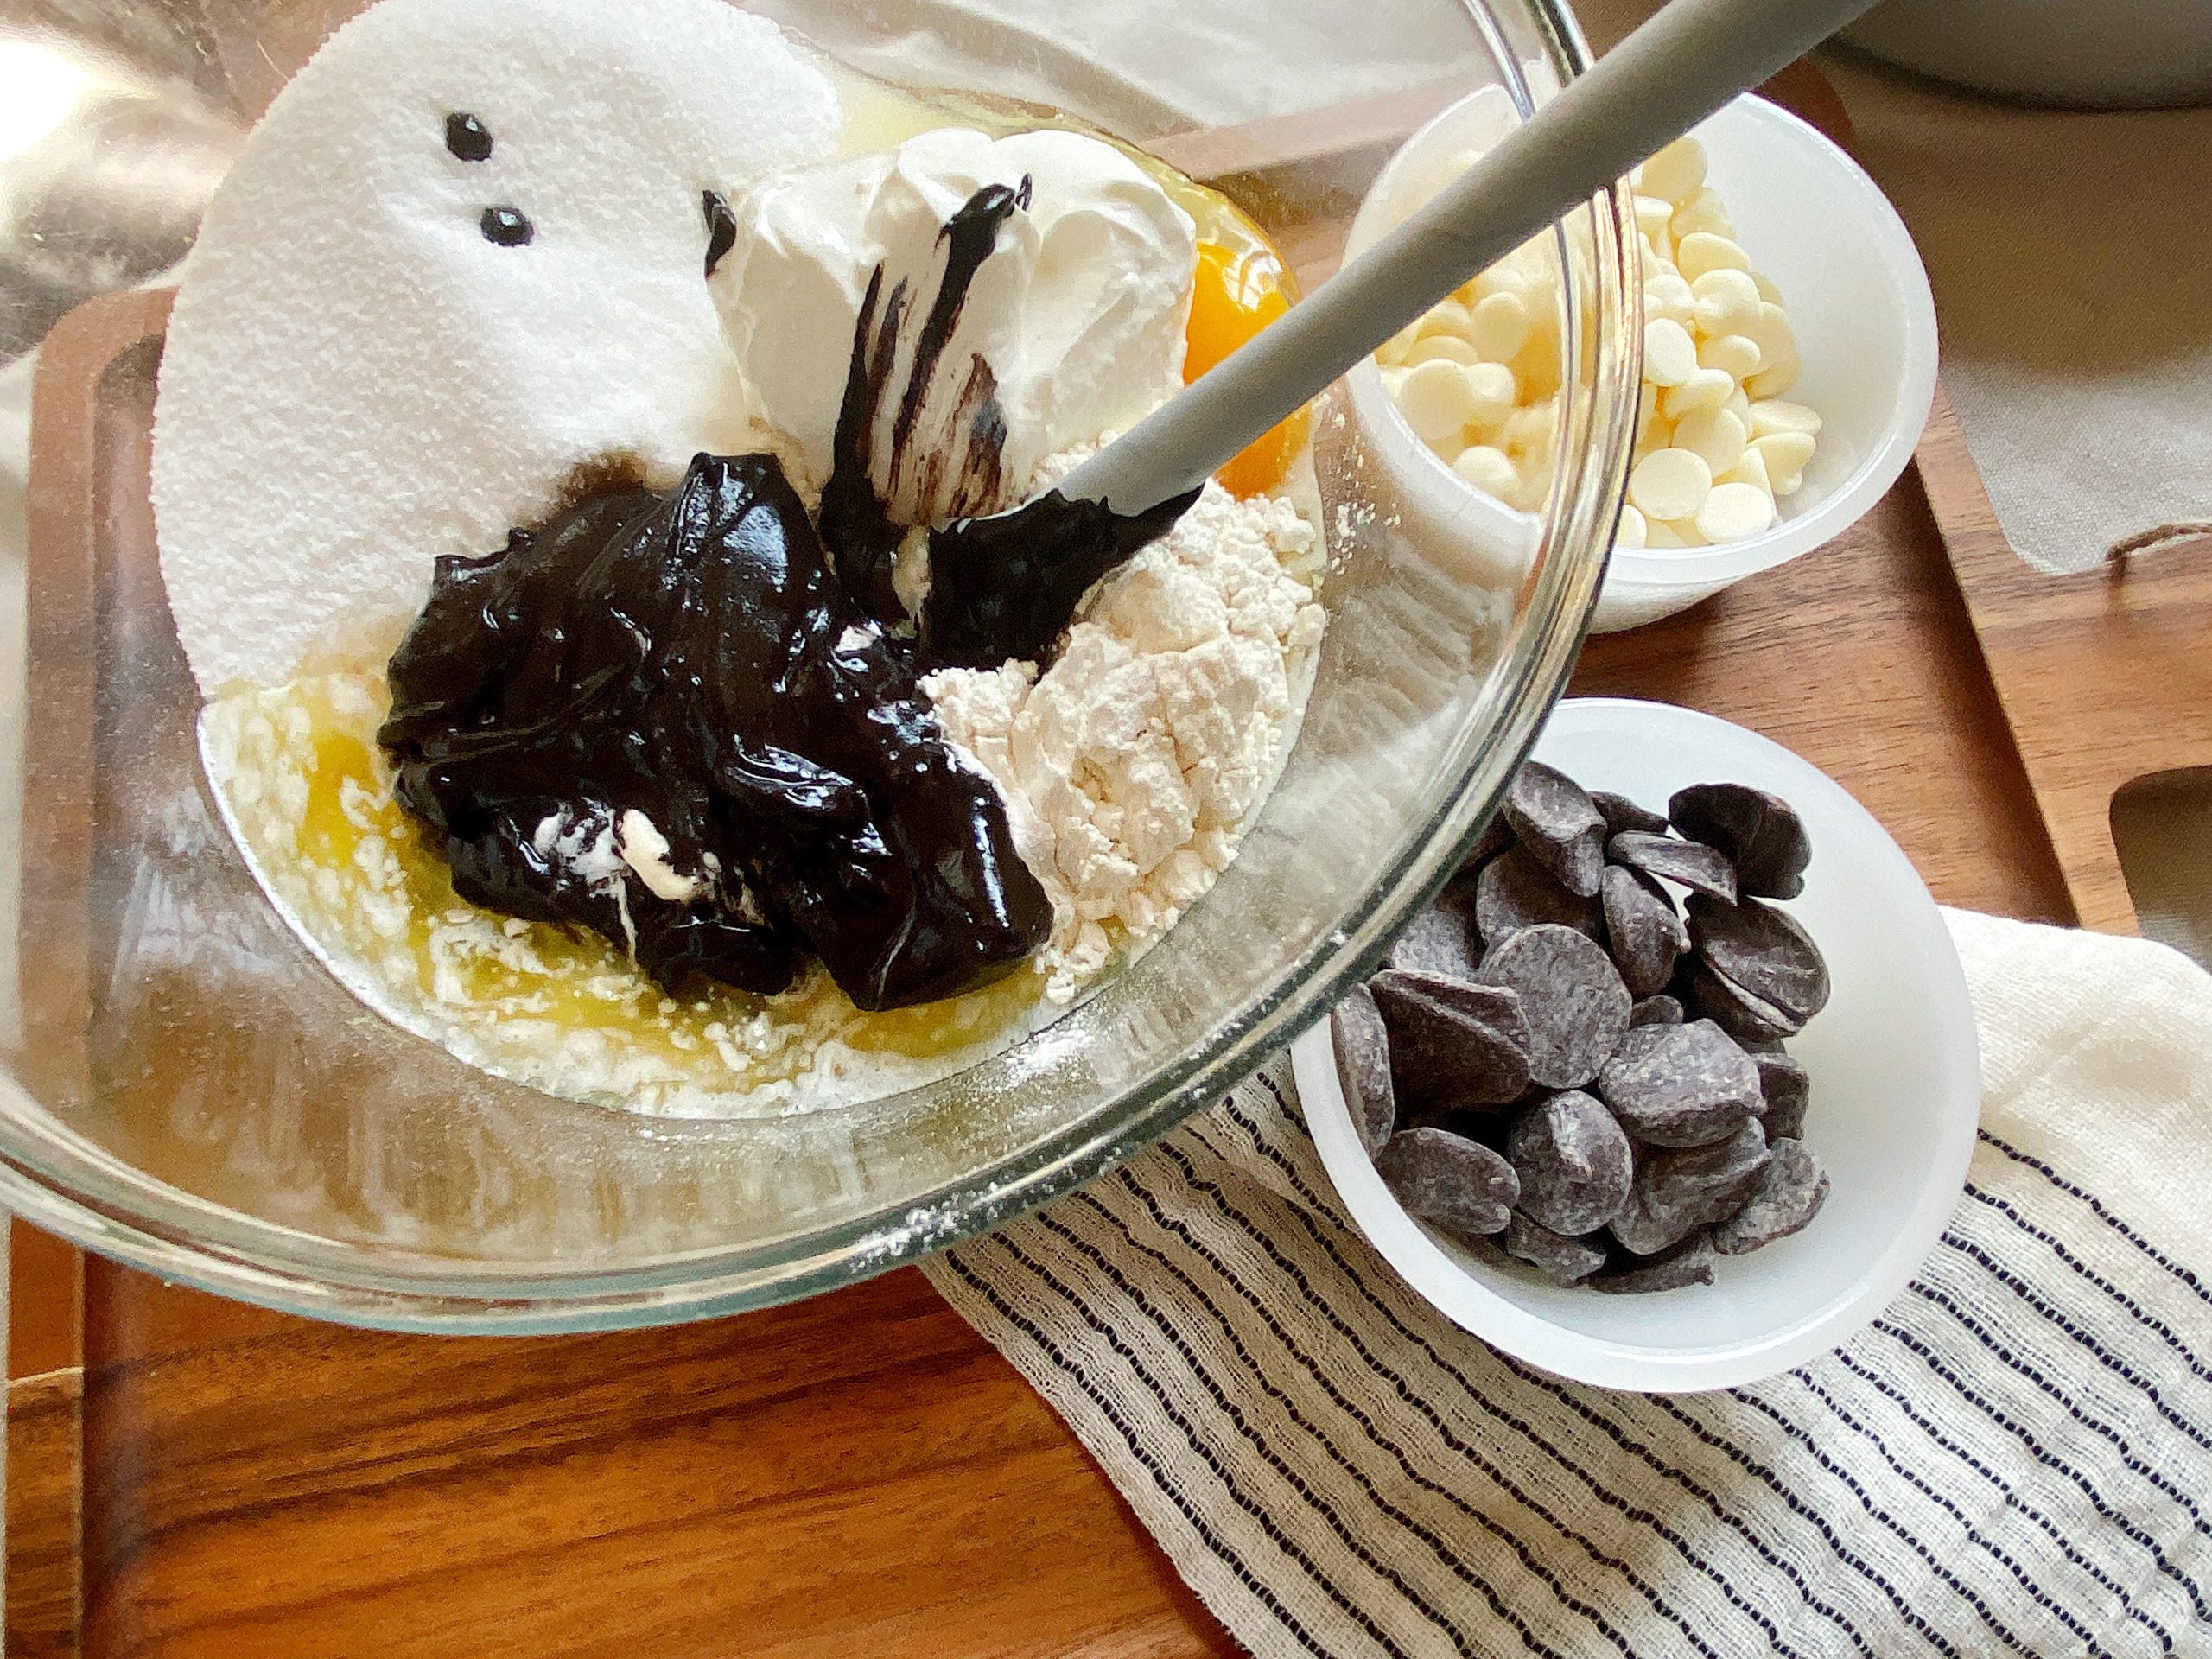
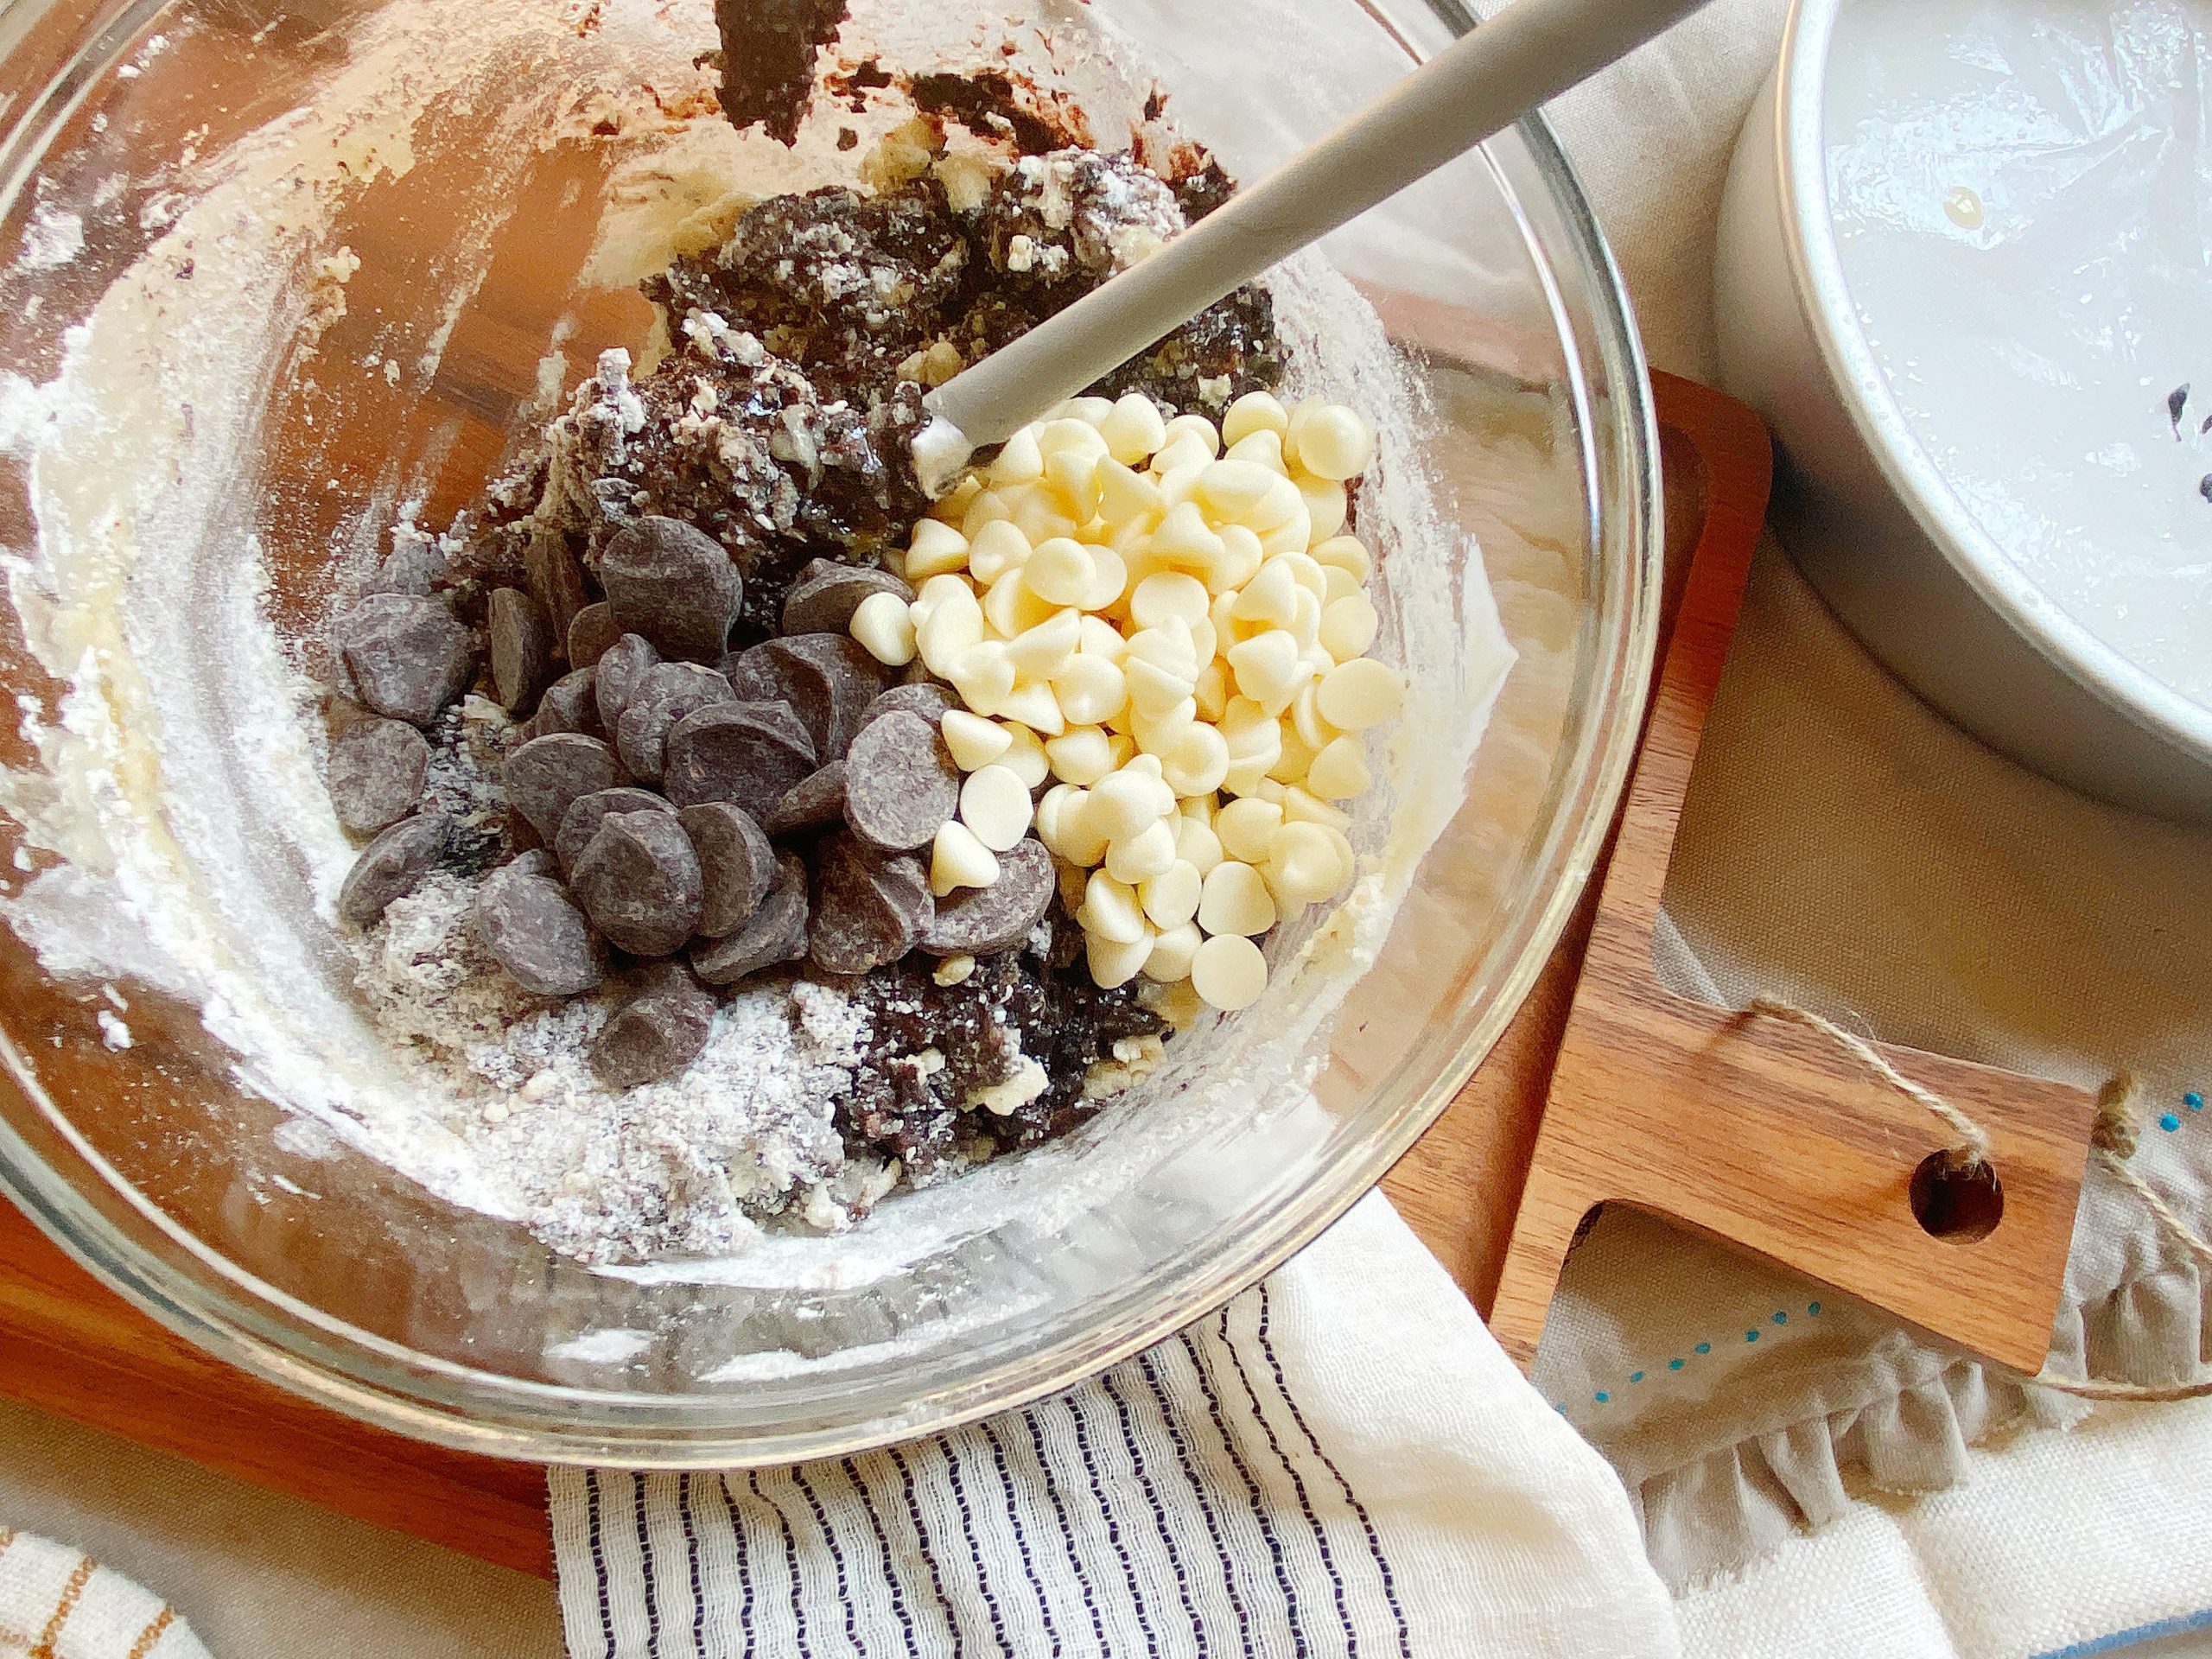
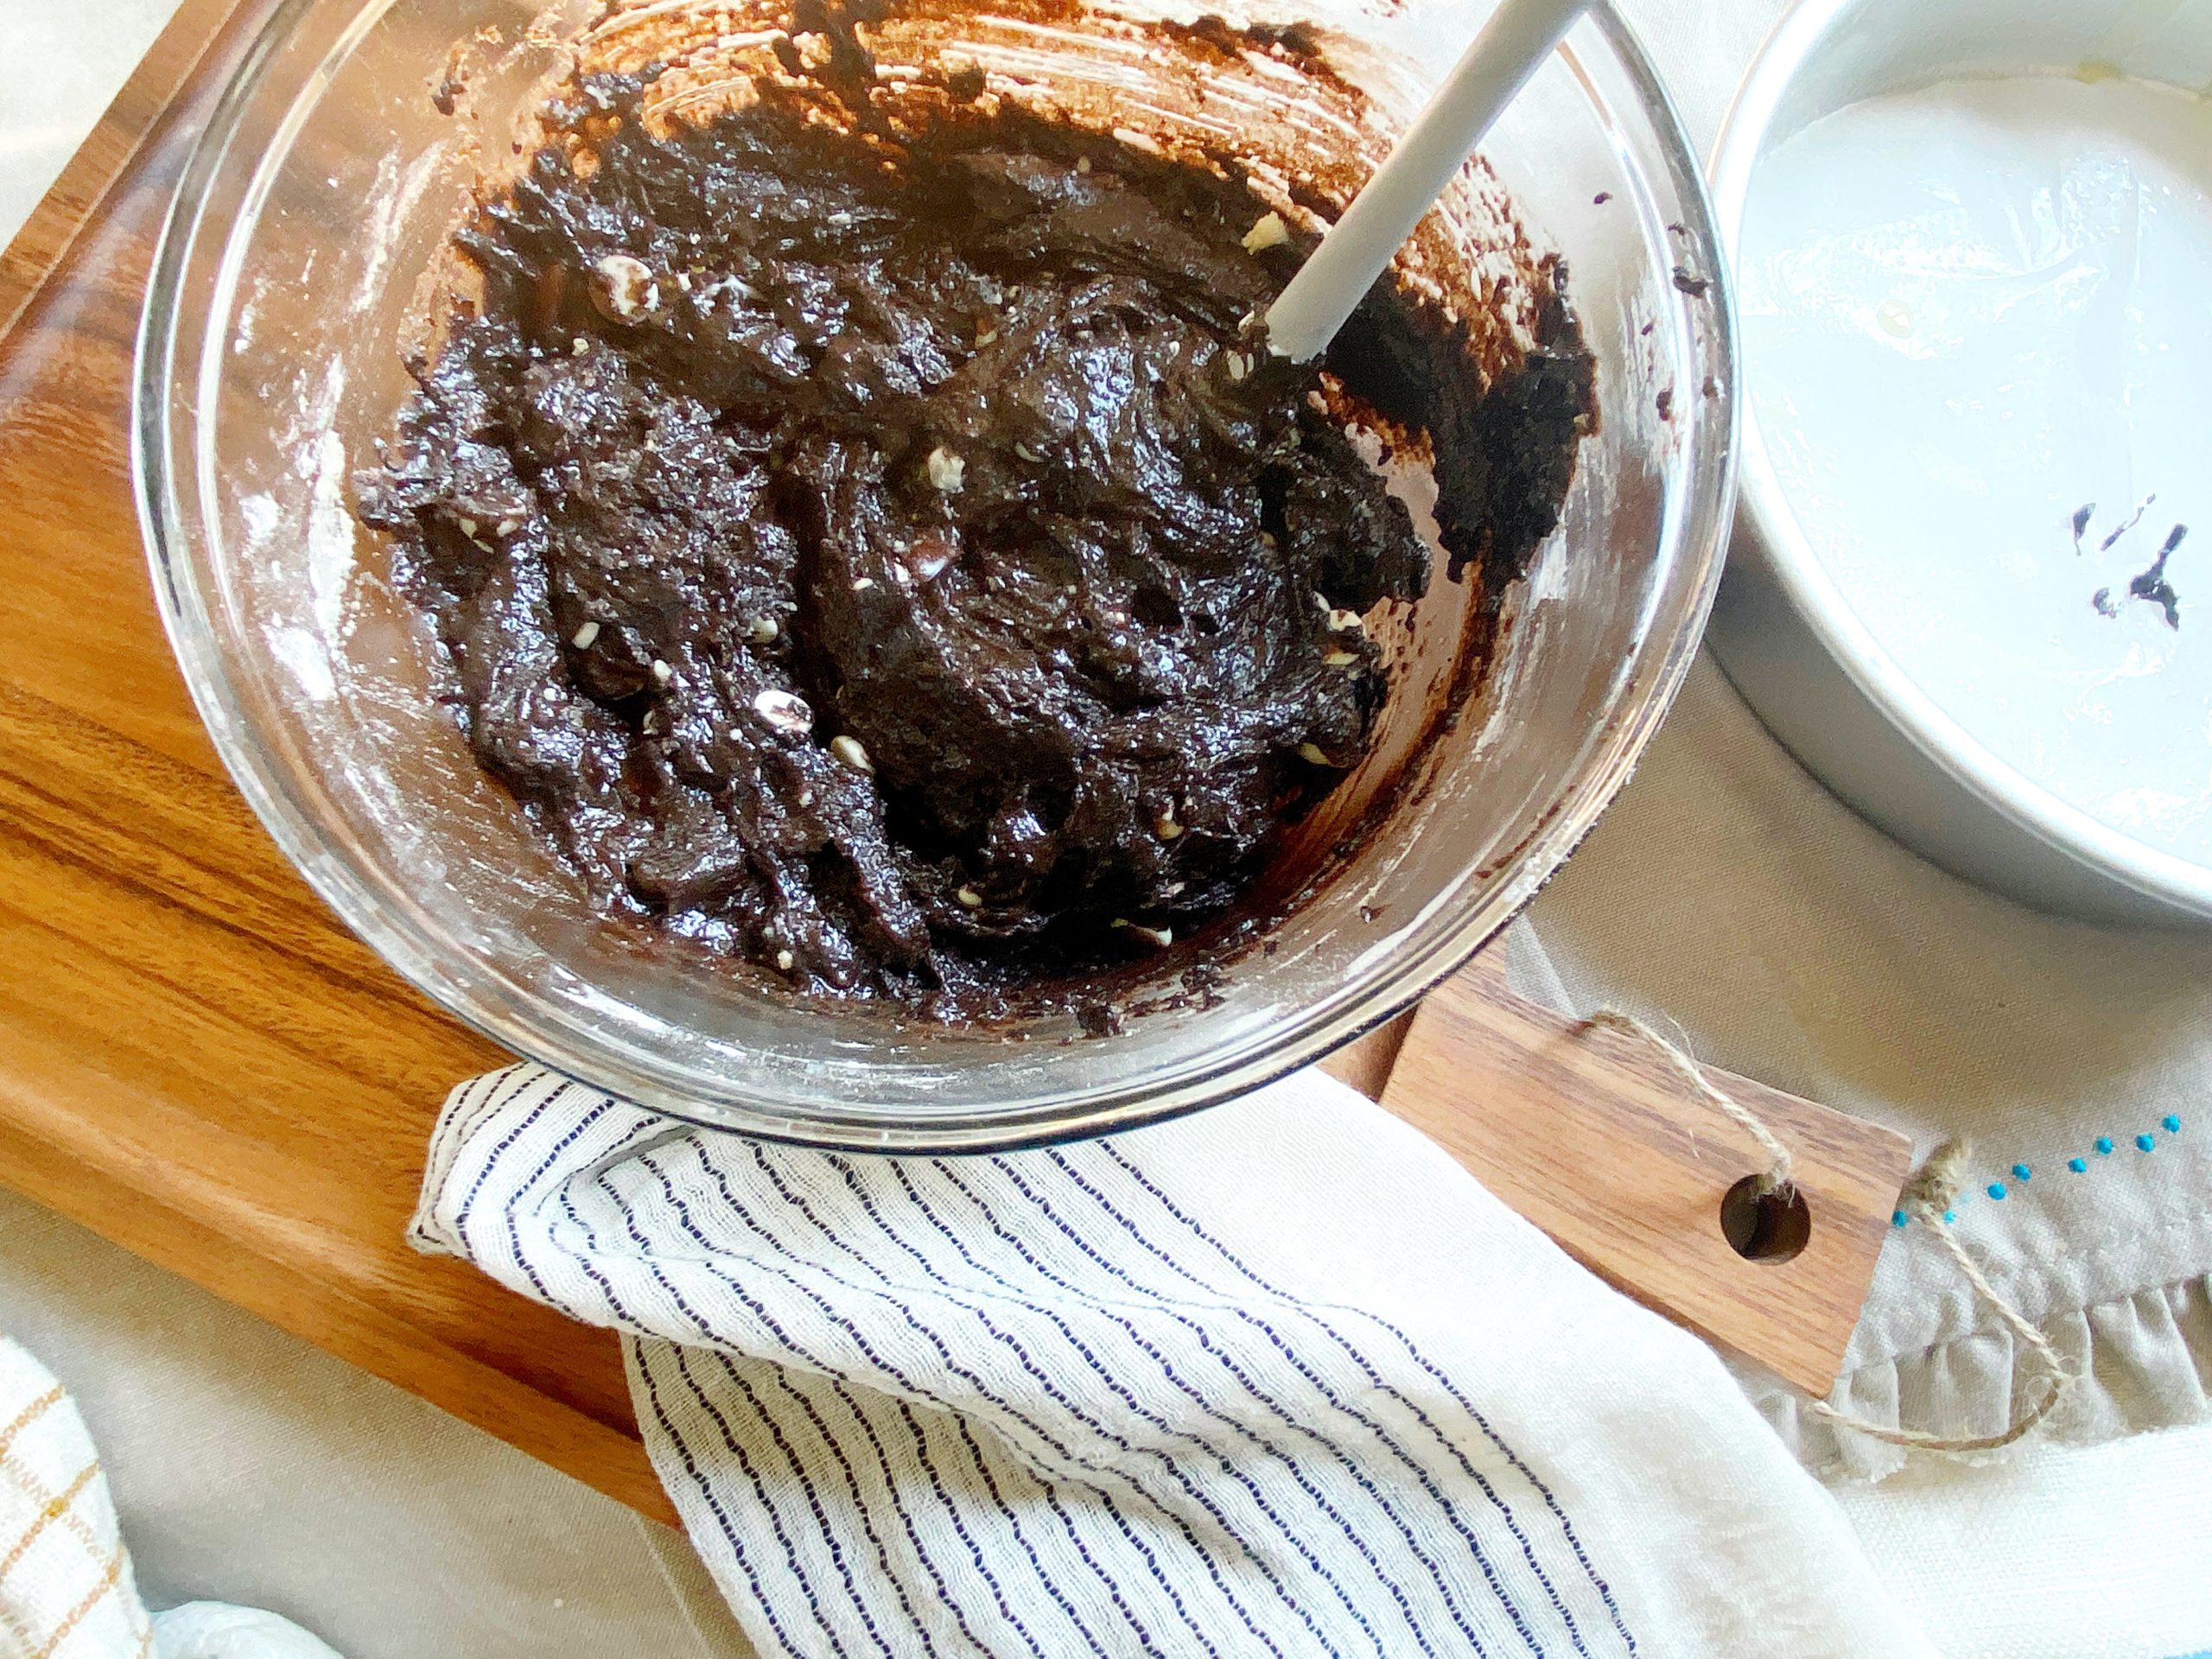
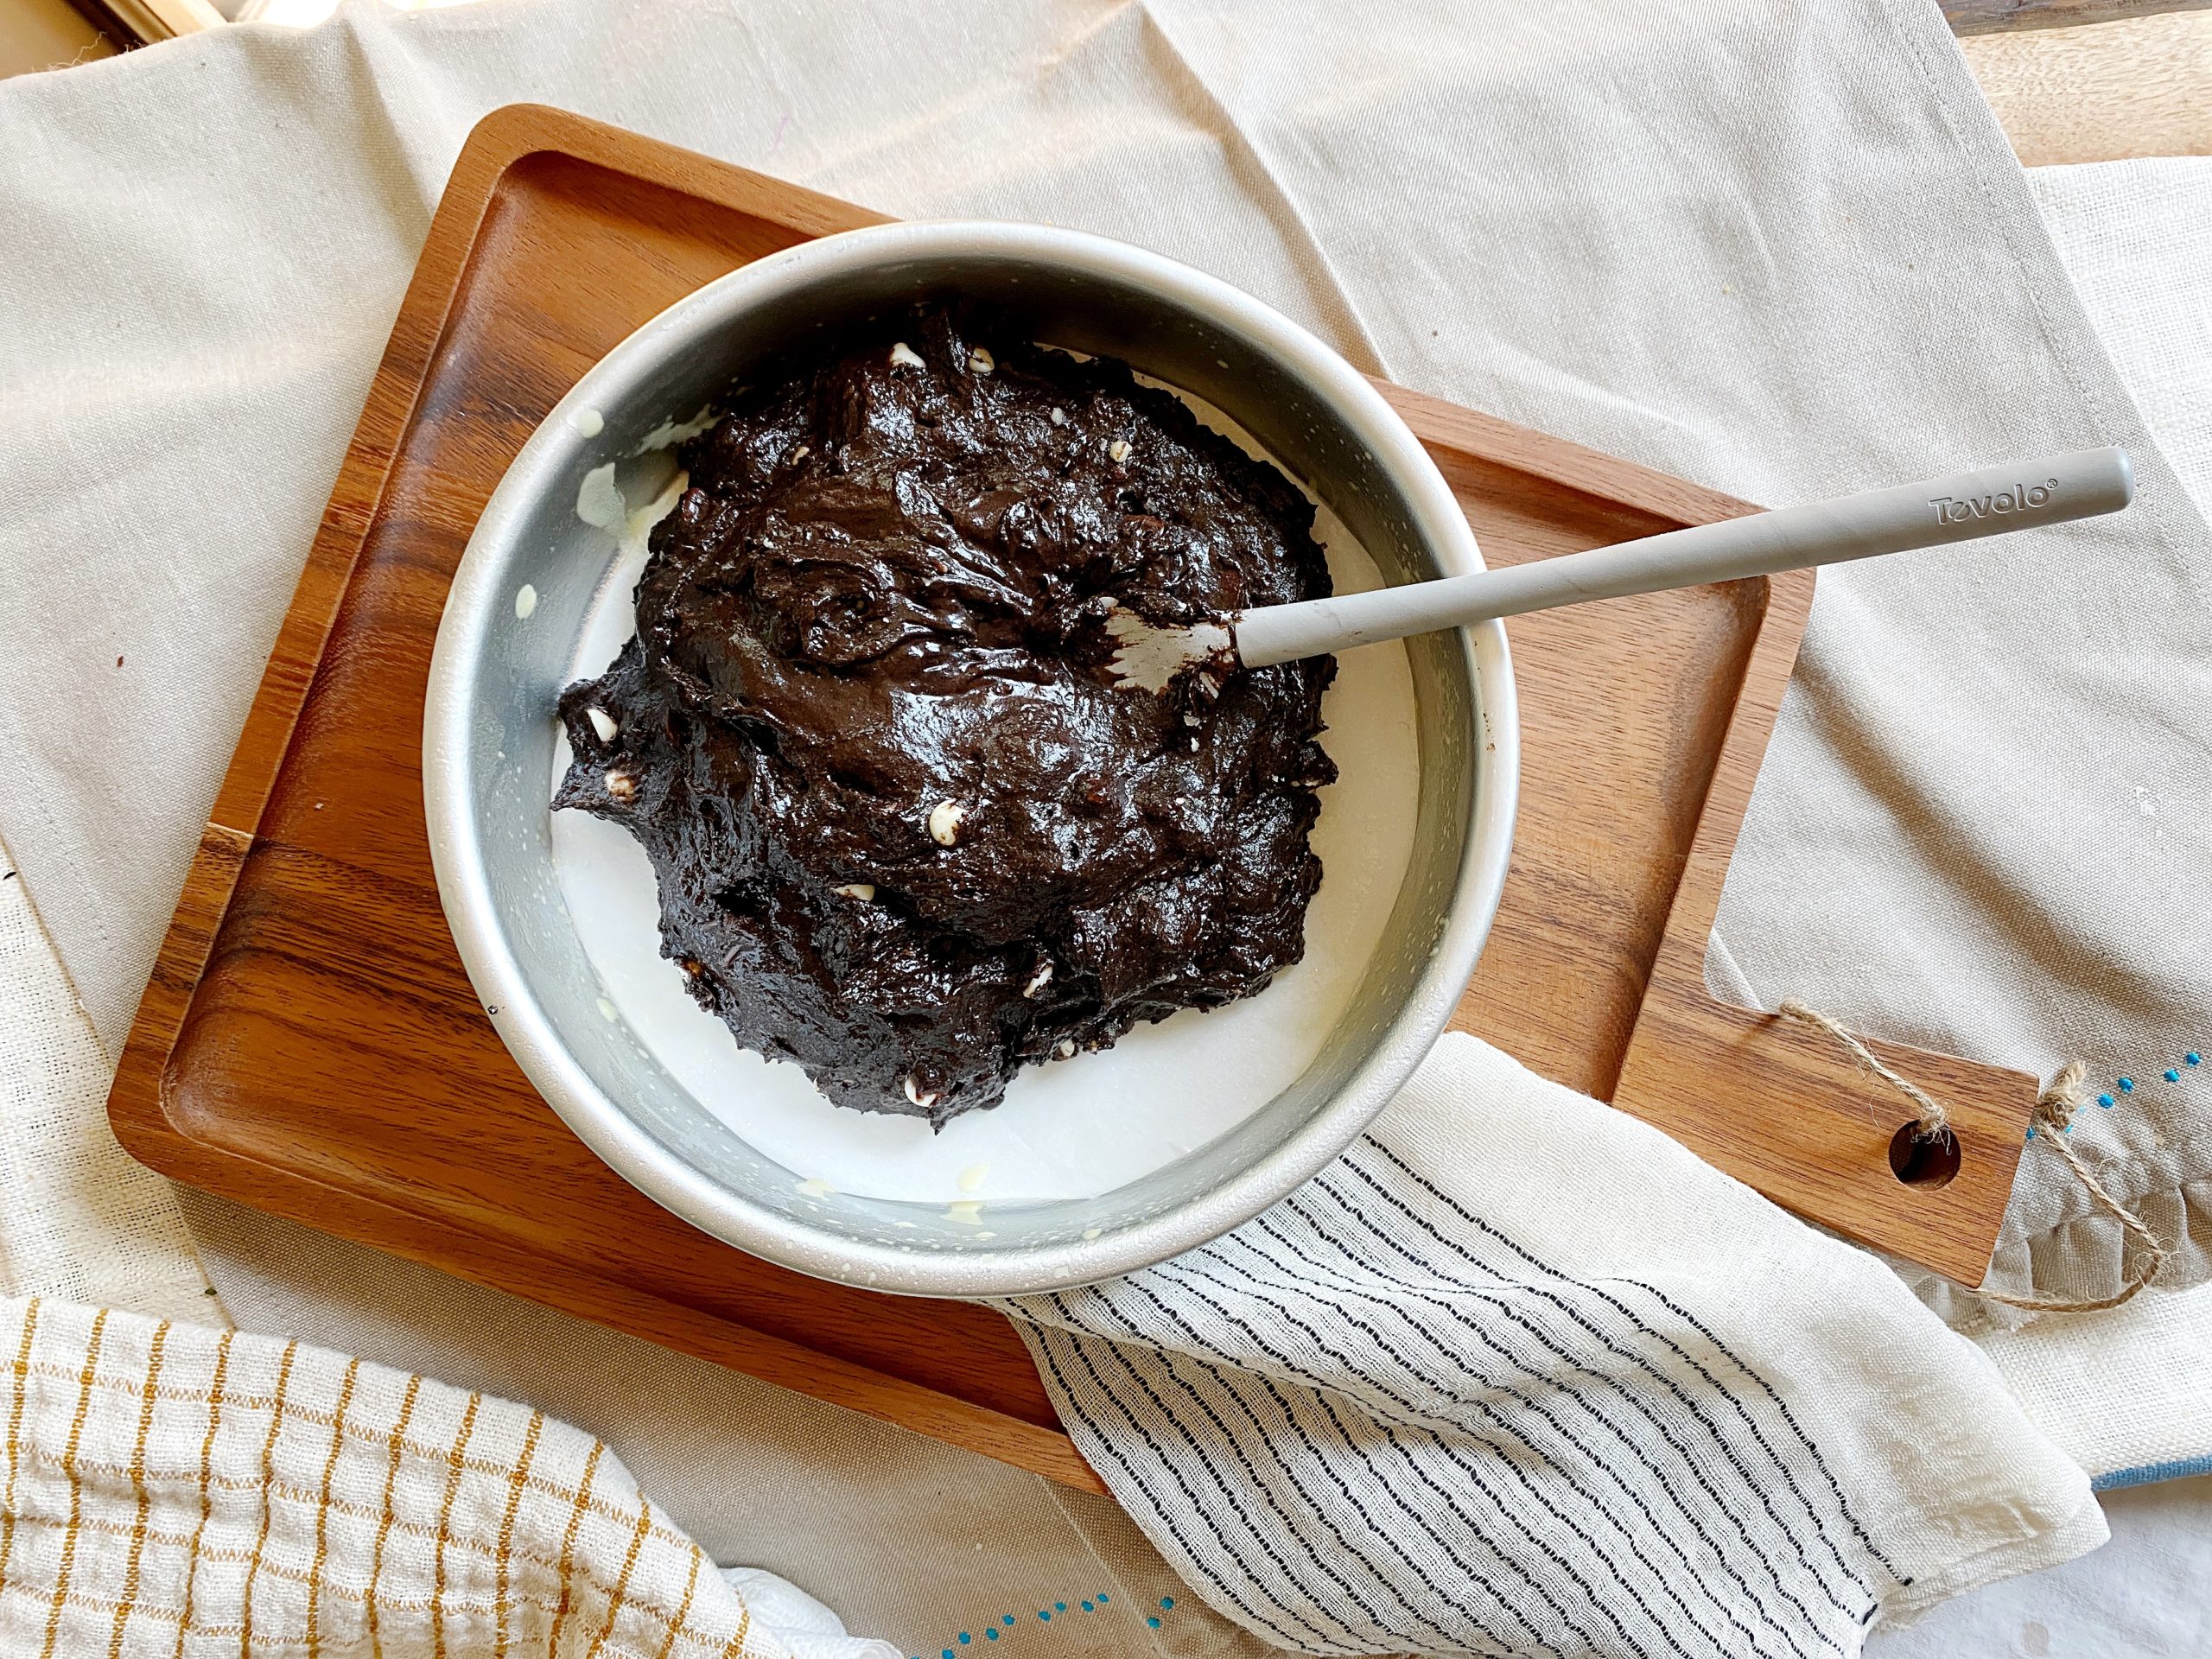
Not only is this a delicious, deep chocolate cake recipe, it’s also a very simple recipe! Start by creating a cocoa powder paste by combining the black cocoa powder with boiling water and then combine all cake ingredients in one bowl. Stir to combine, pour into a greased, parchment paper-lined cake pan and bake!

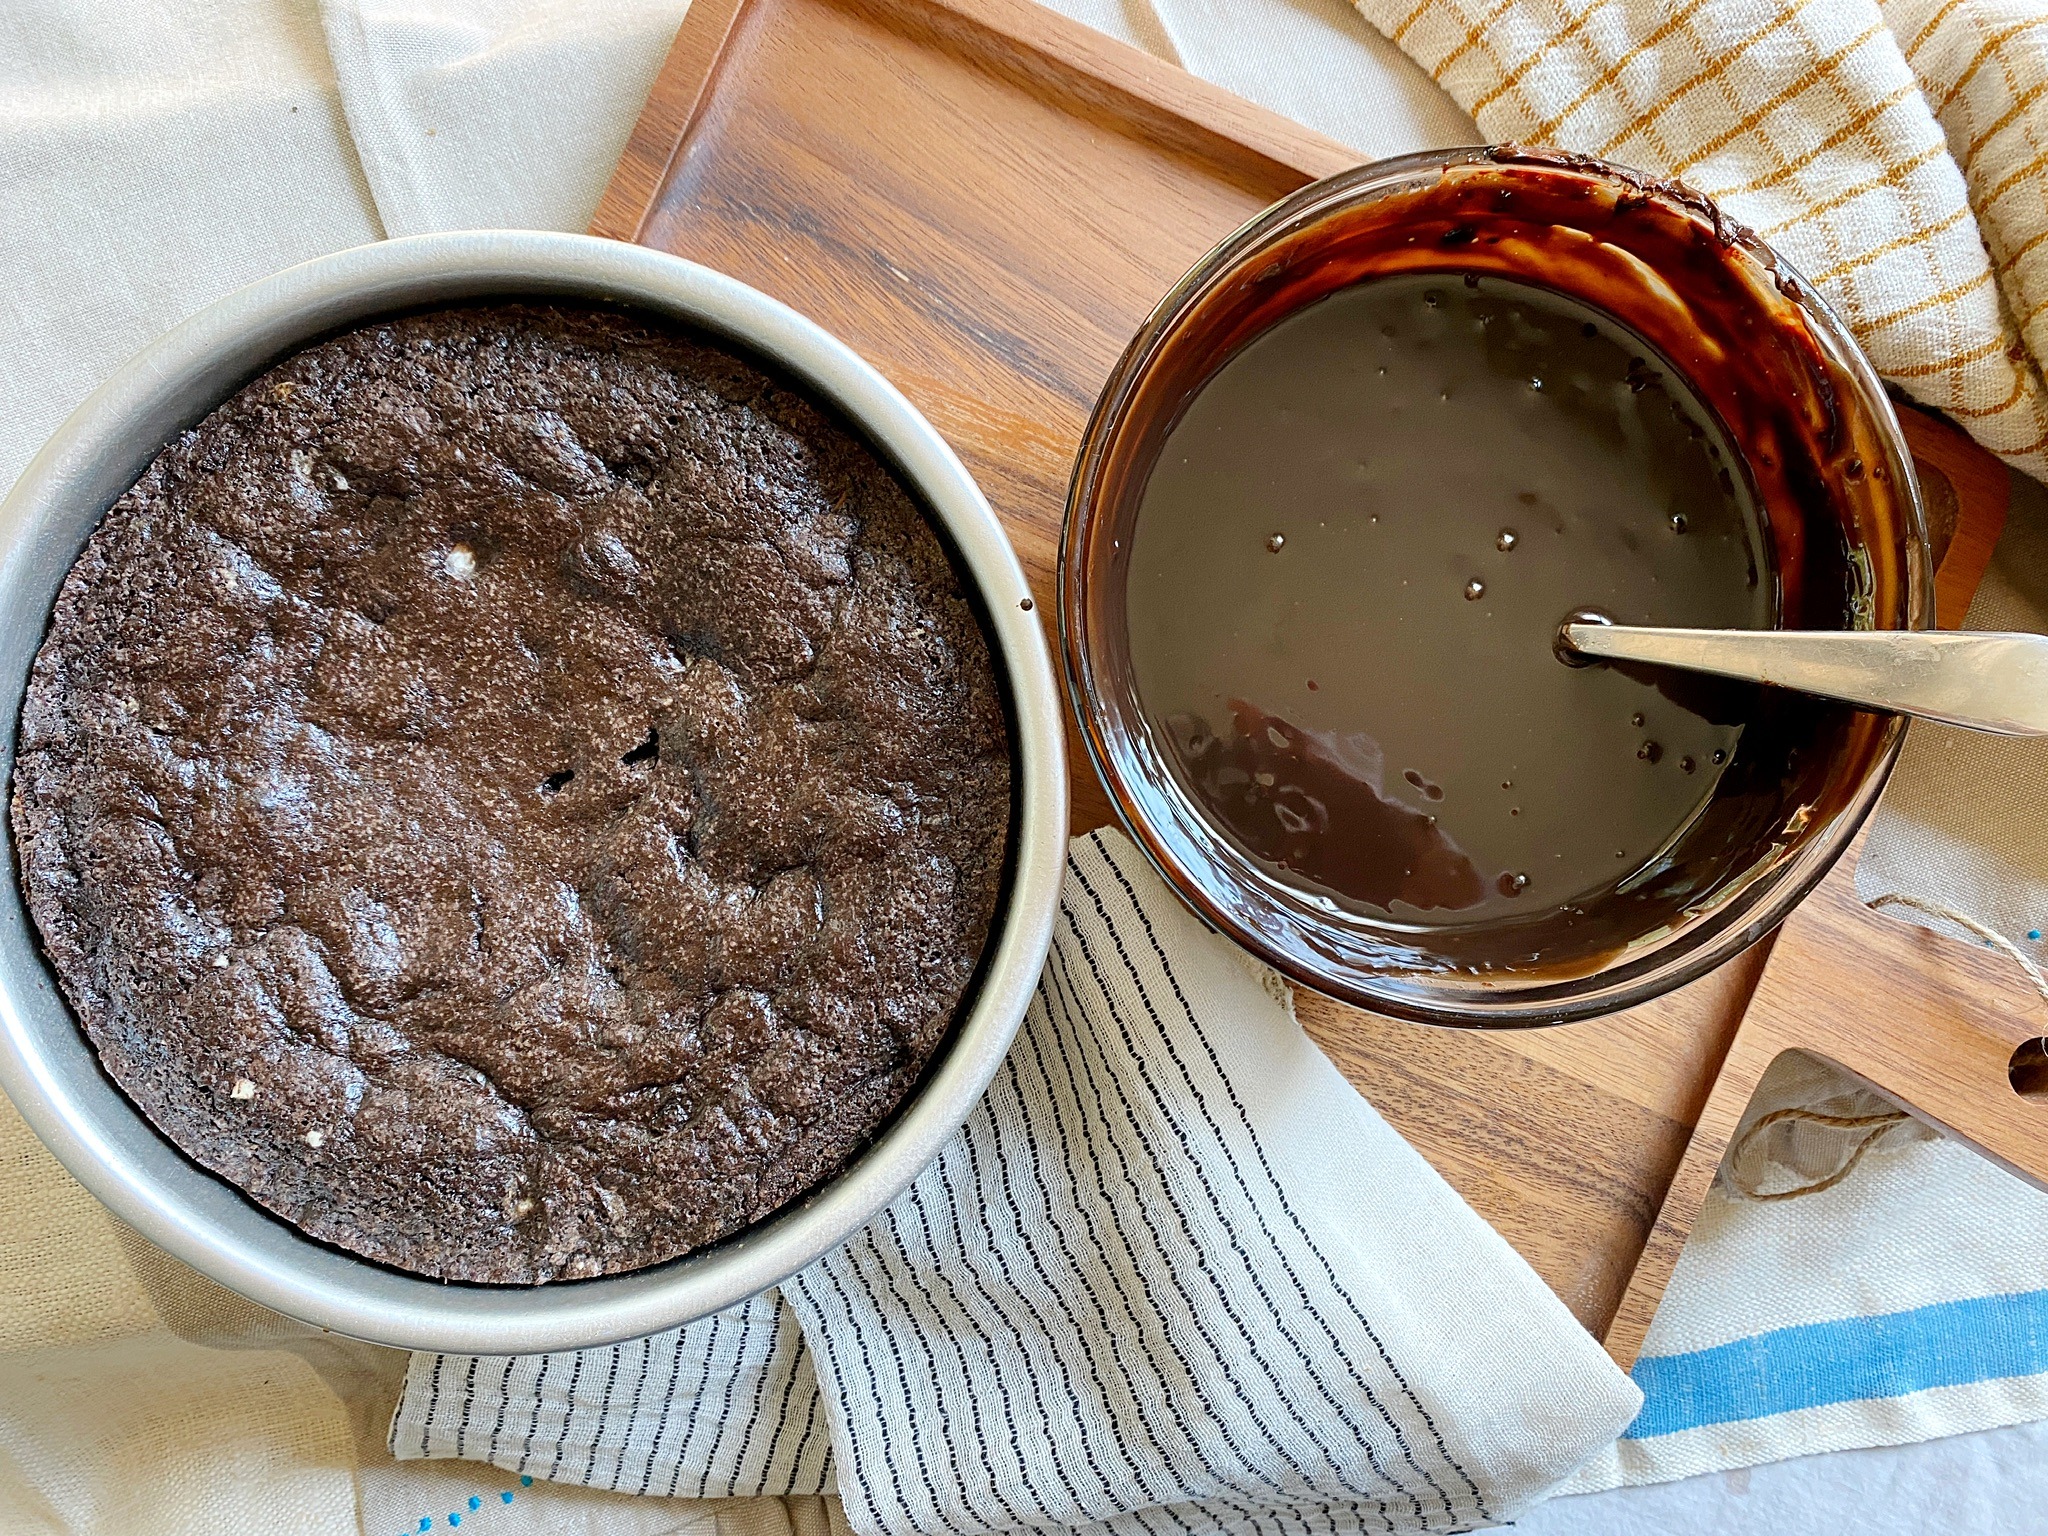
Once the cake is baked, allow it to cool for 10 minutes before removing to a wire rack, where it will need to cool completely to room temperature before topping with black chocolate ganache.
Black Chocolate Ganache
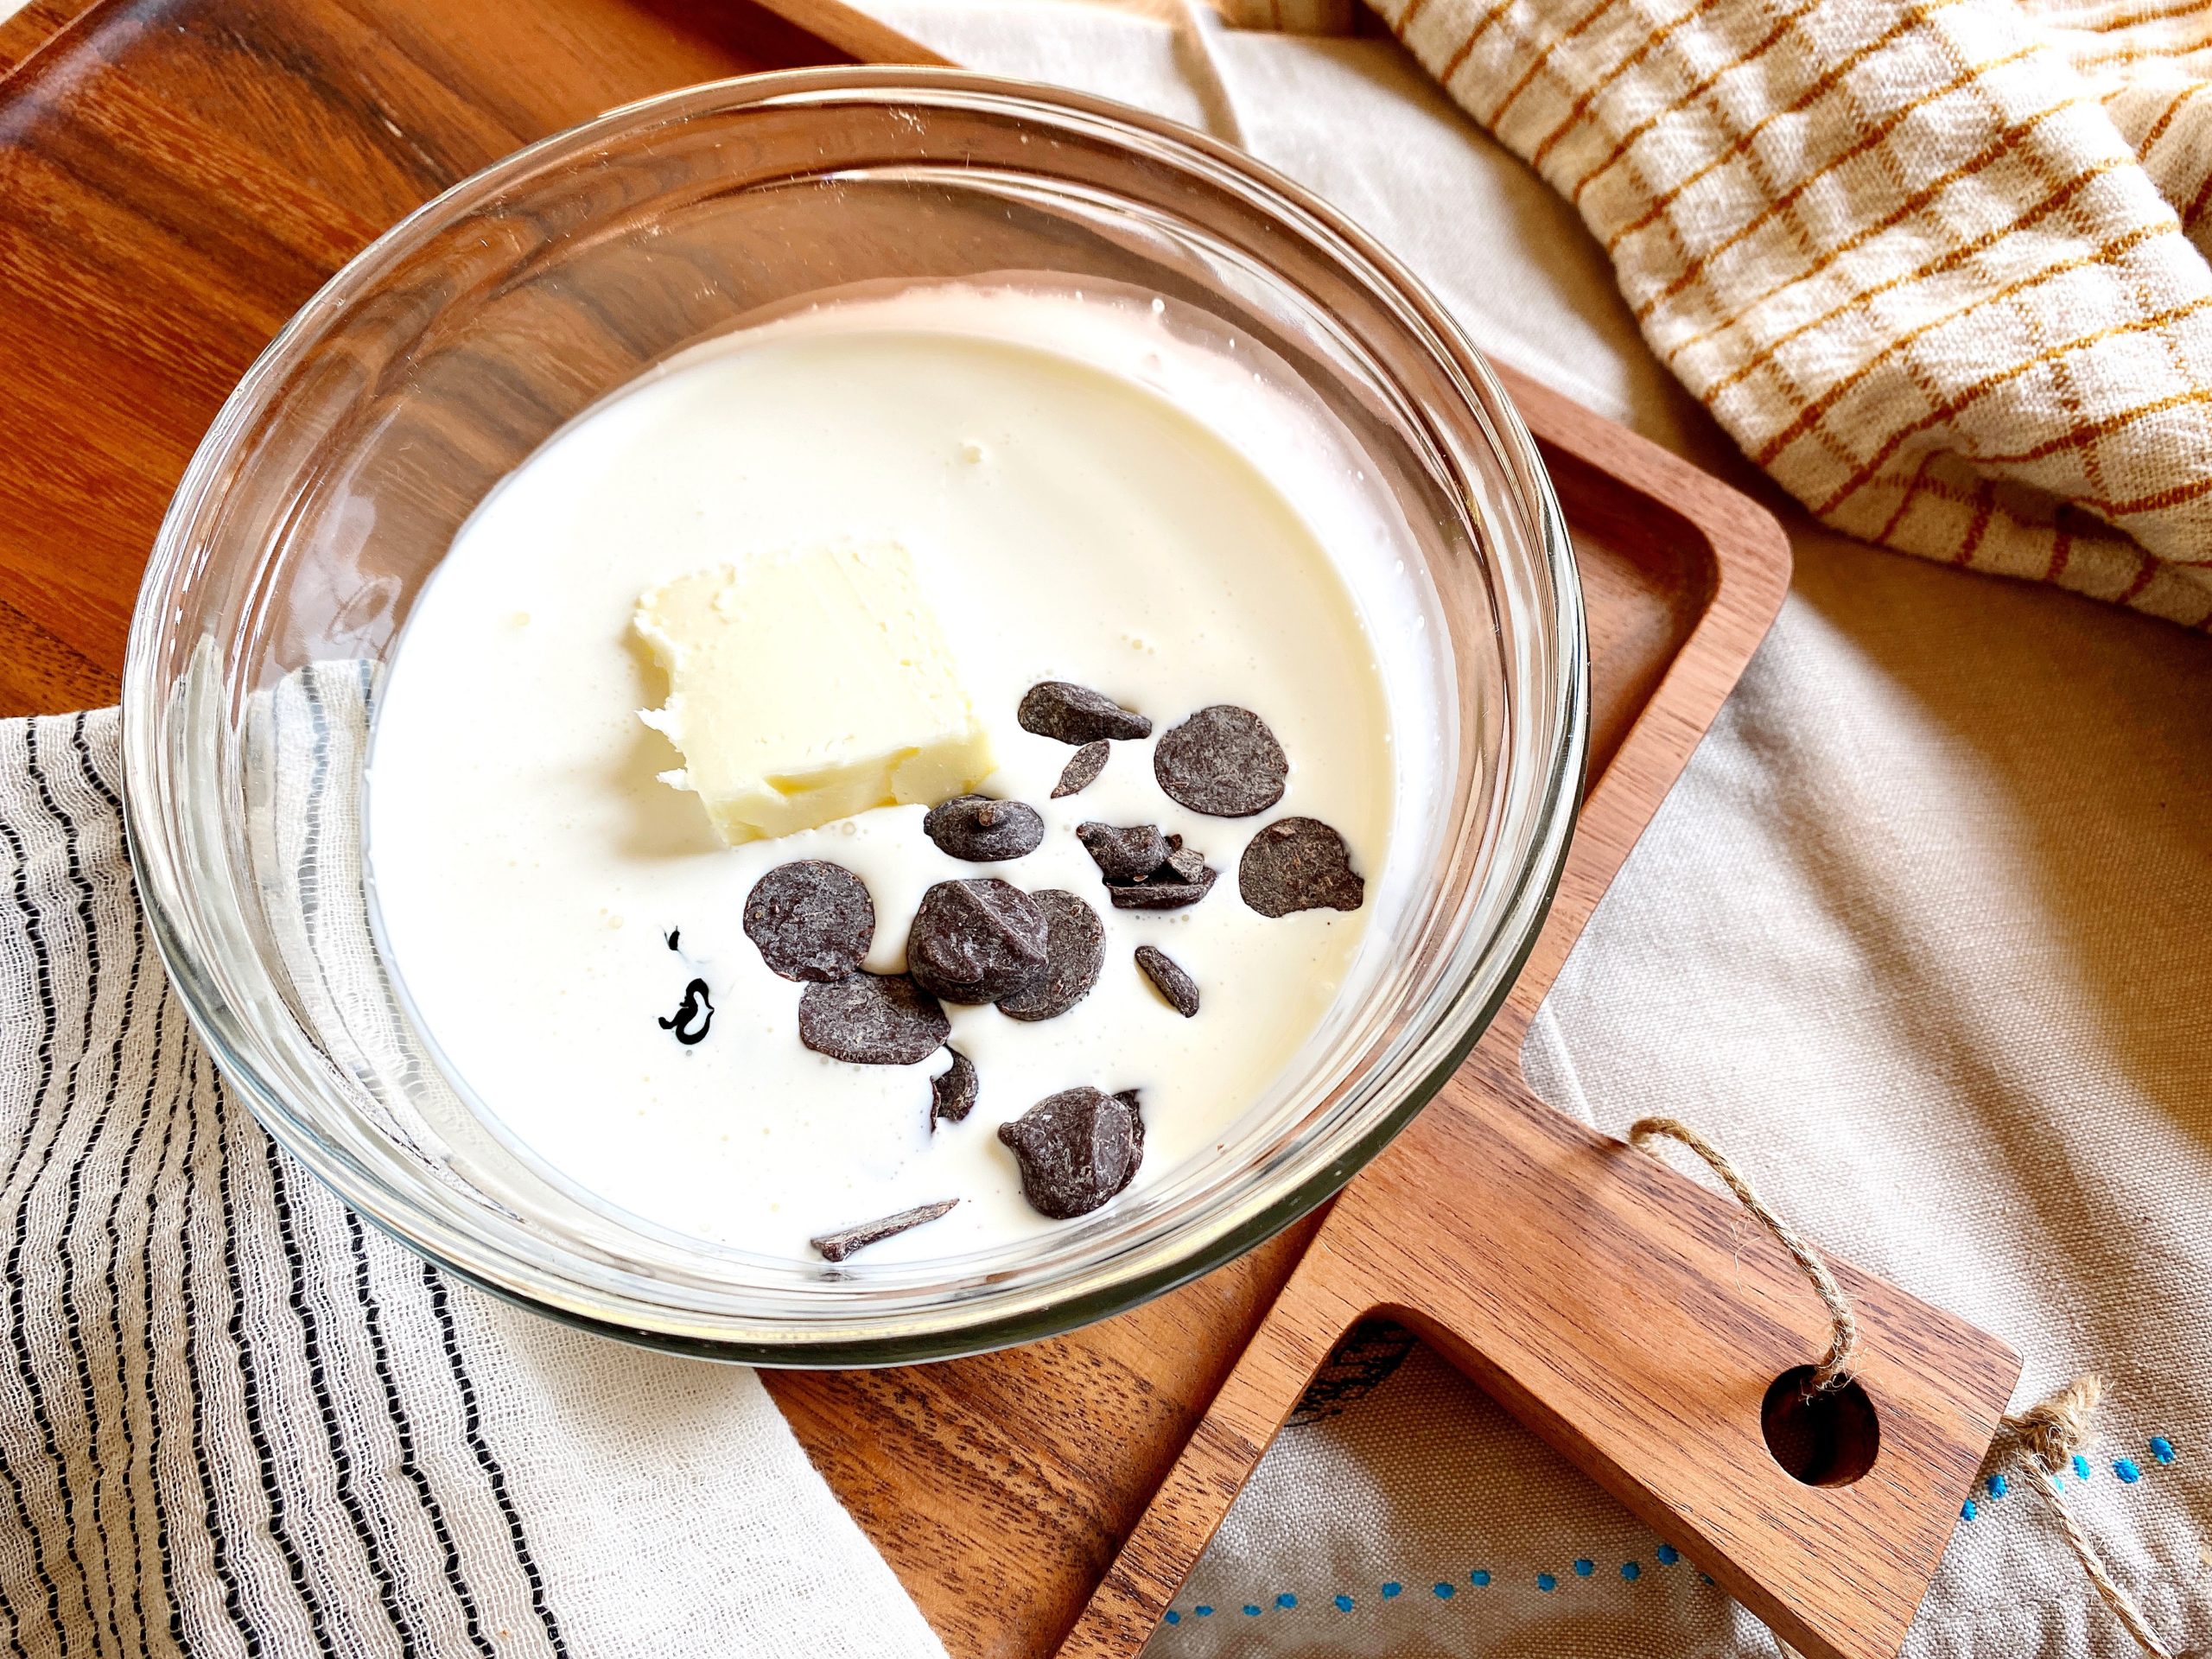
Ganache is a surprisingly easy recipe to prepare, traditionally using only 3 ingredients (cream, dark chocolate and butter). I’ve added a pinch of salt and a few drops of black food coloring paste to amplify the black-out theme.
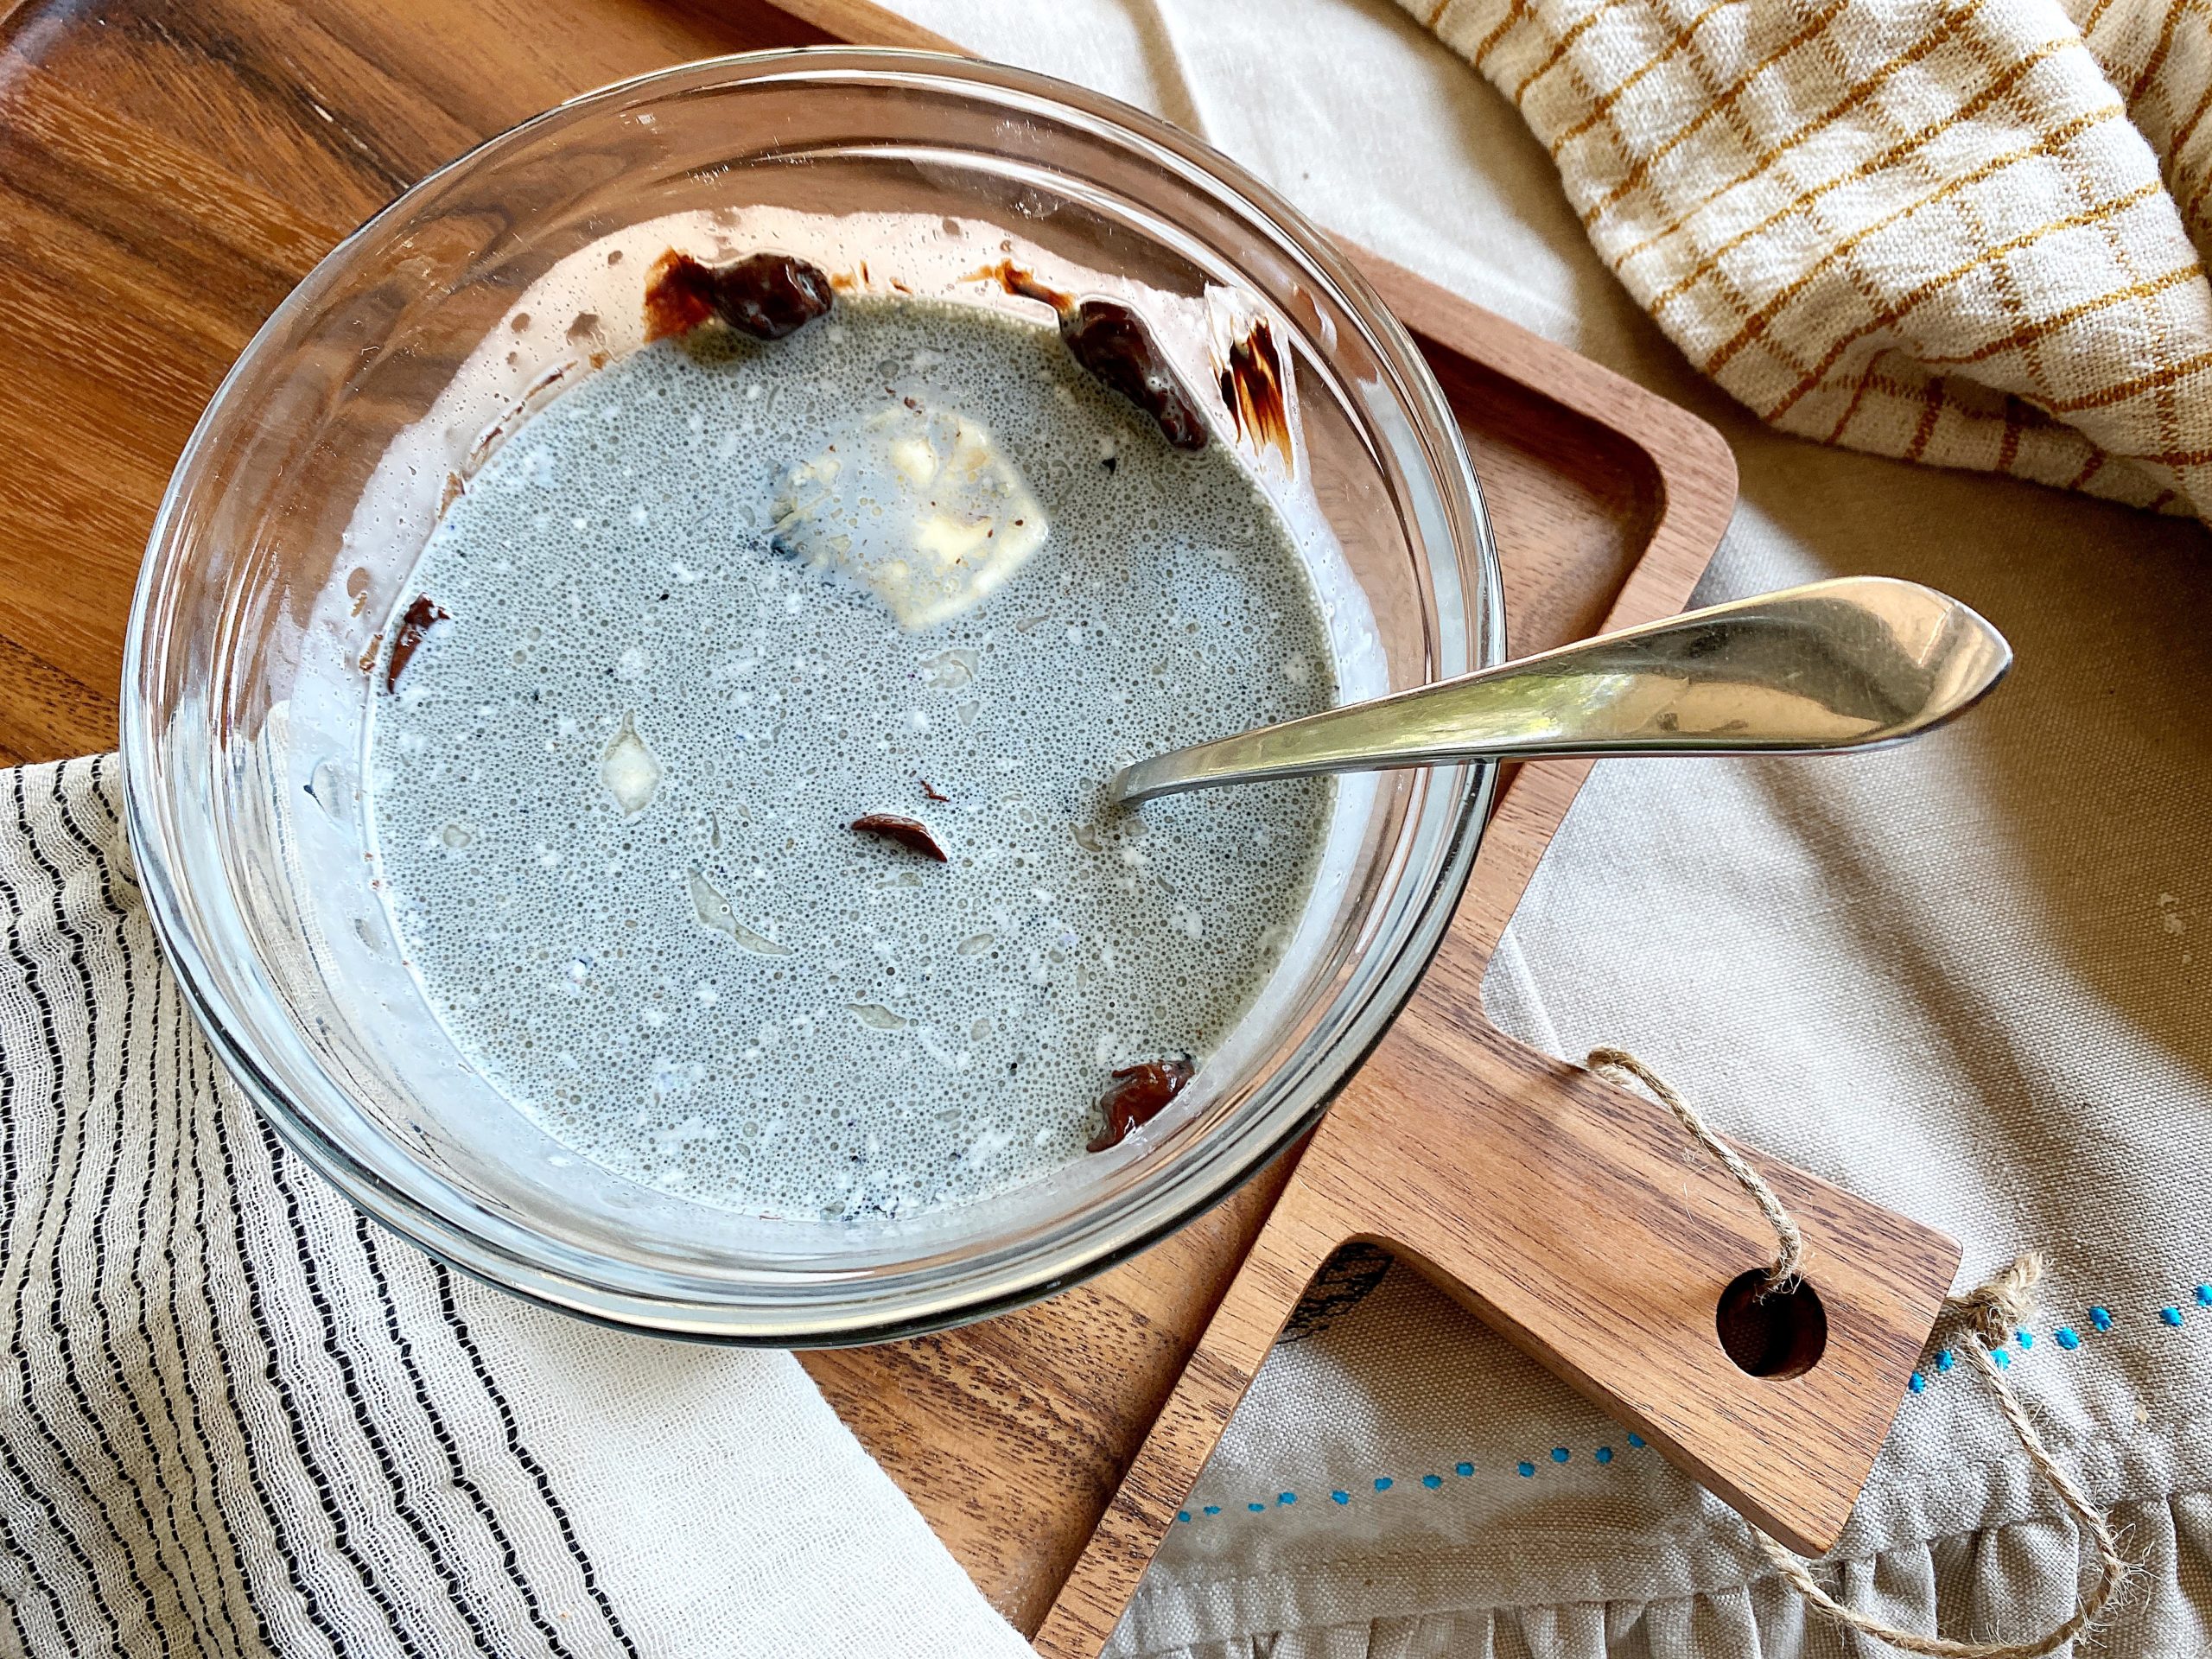
Microwave in 30 second increments until the warm cream begins to melt the chocolate. Then stir vigorously to combine. Allow the mixture to cool for 1 hour before using.

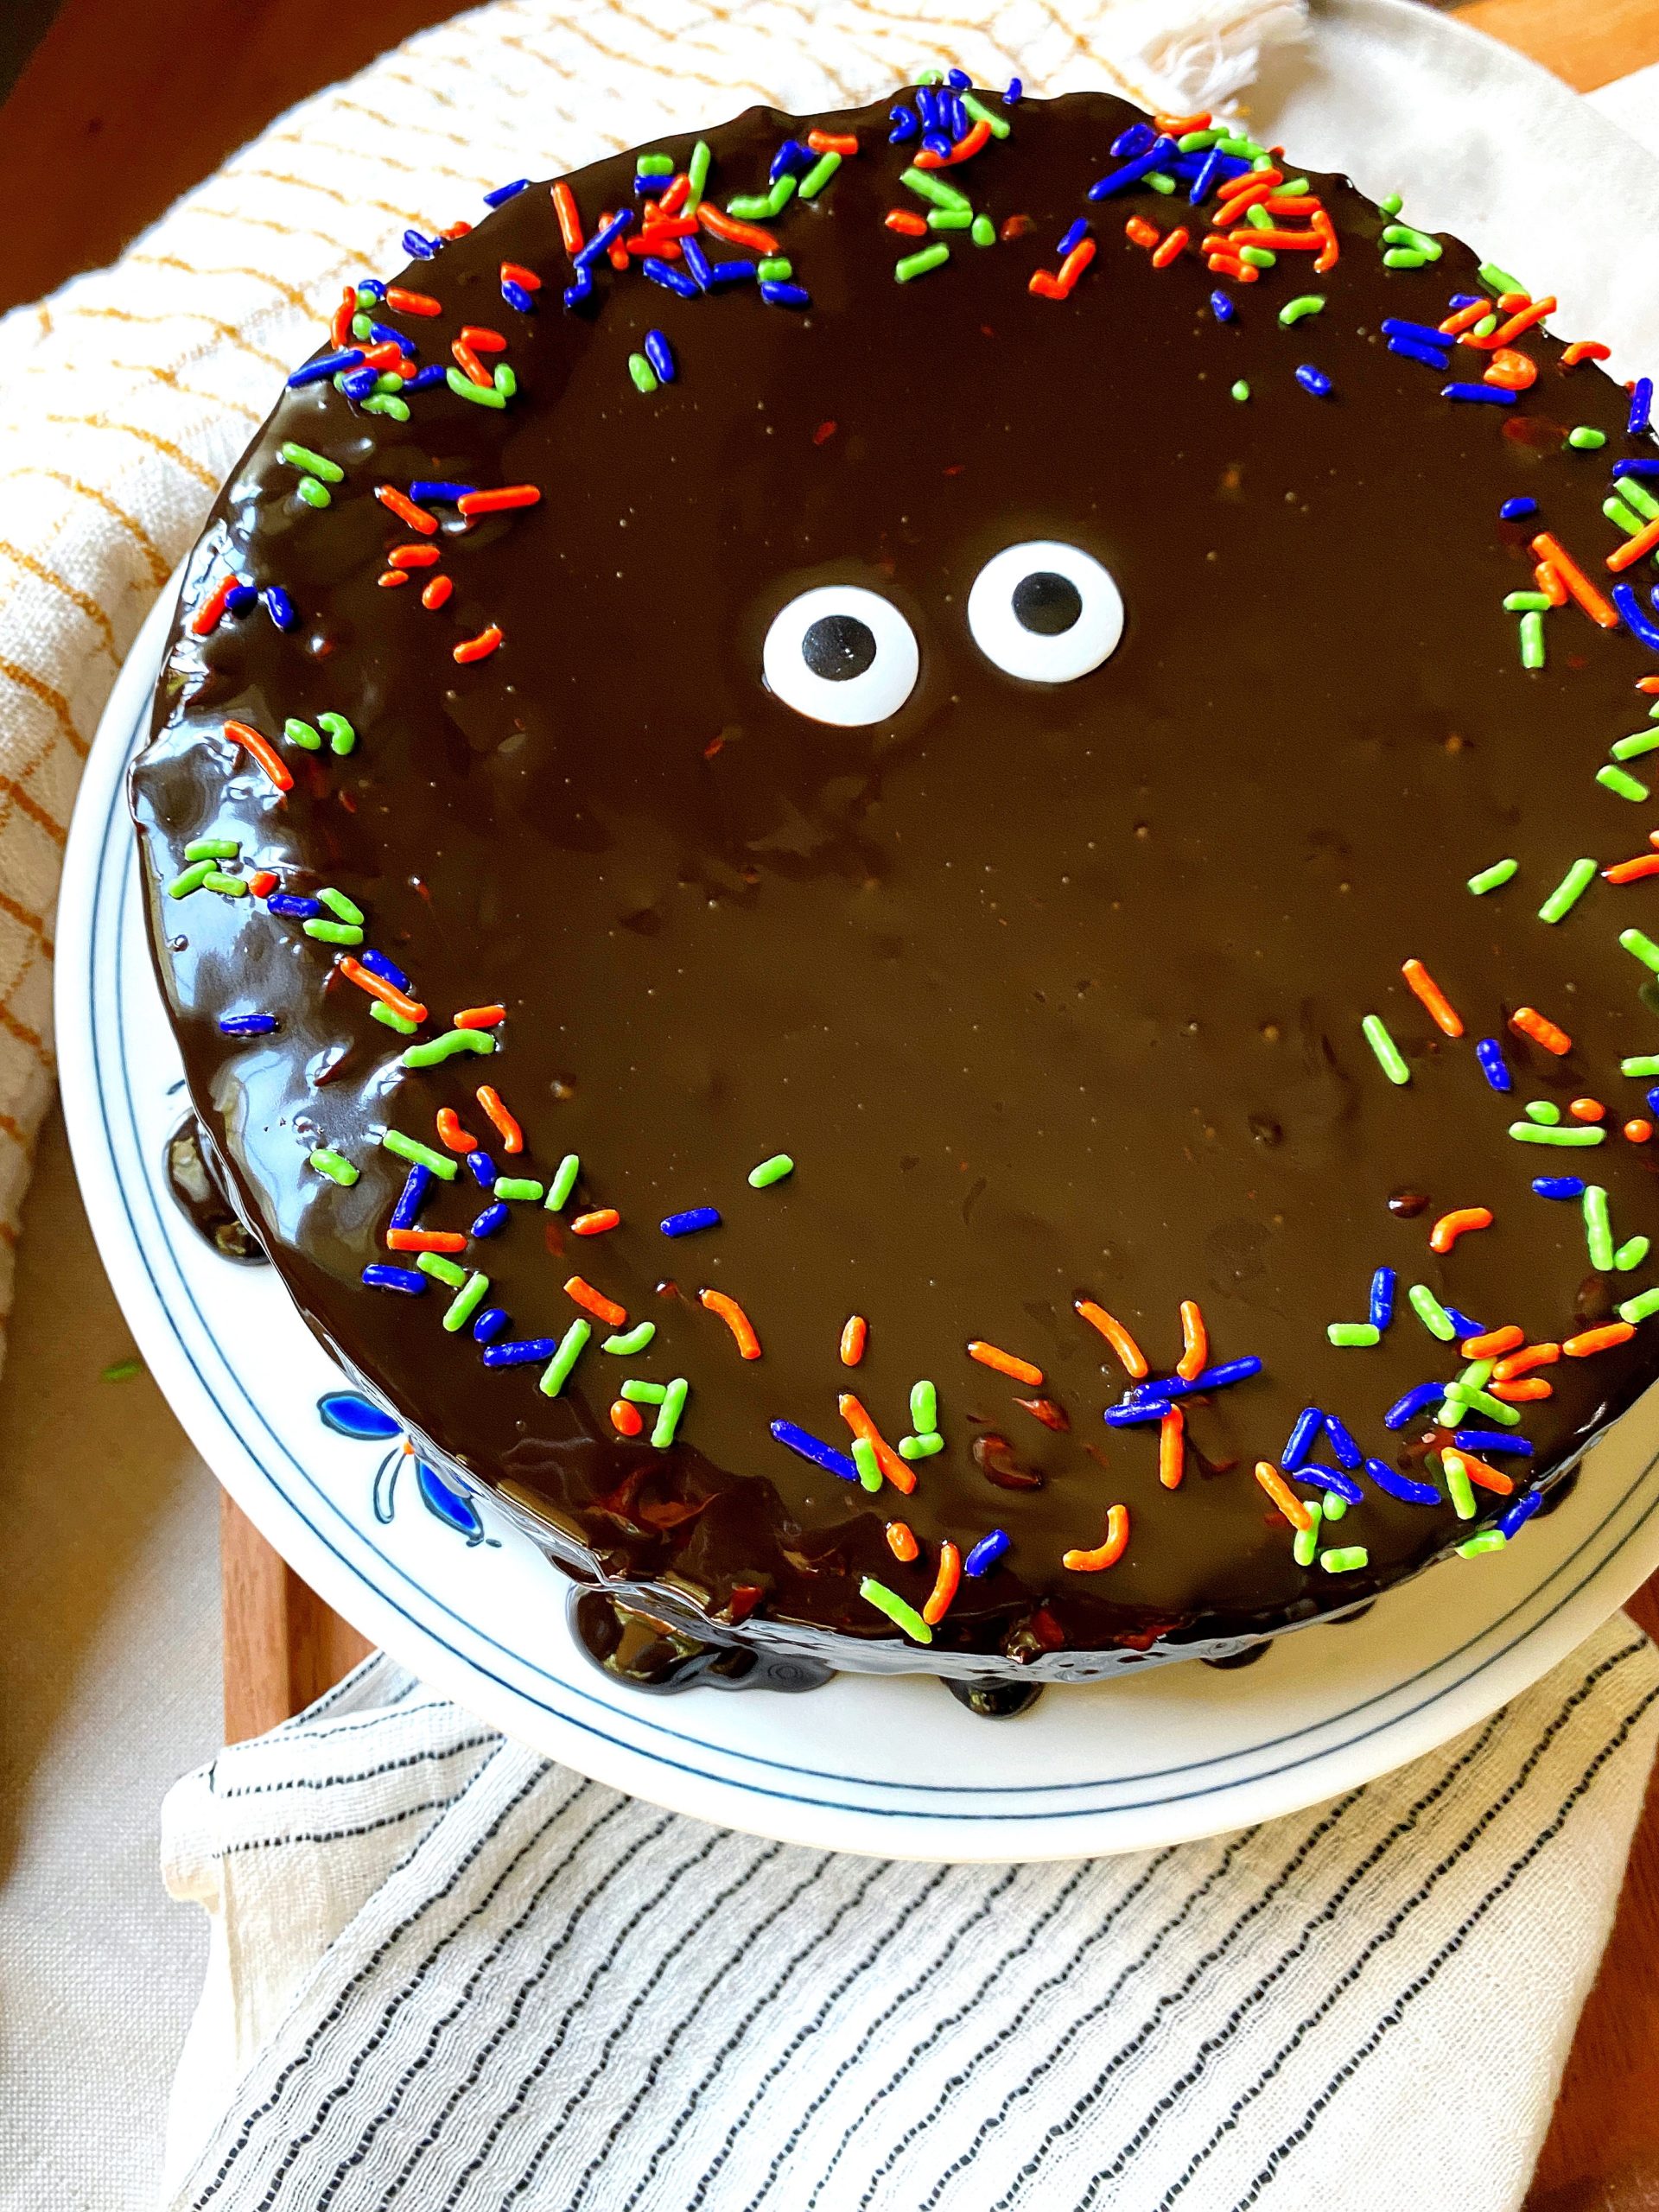
I’ve never been accused of being a cake decorator, but with a recipe this delicious, no one’s taking the time to notice how it’s decorated.
BUT if you want to serve a cute and festive cake (while still amazingly delicious) for G-rated Halloween fun, I have a few tips for a festive & simple cake design!
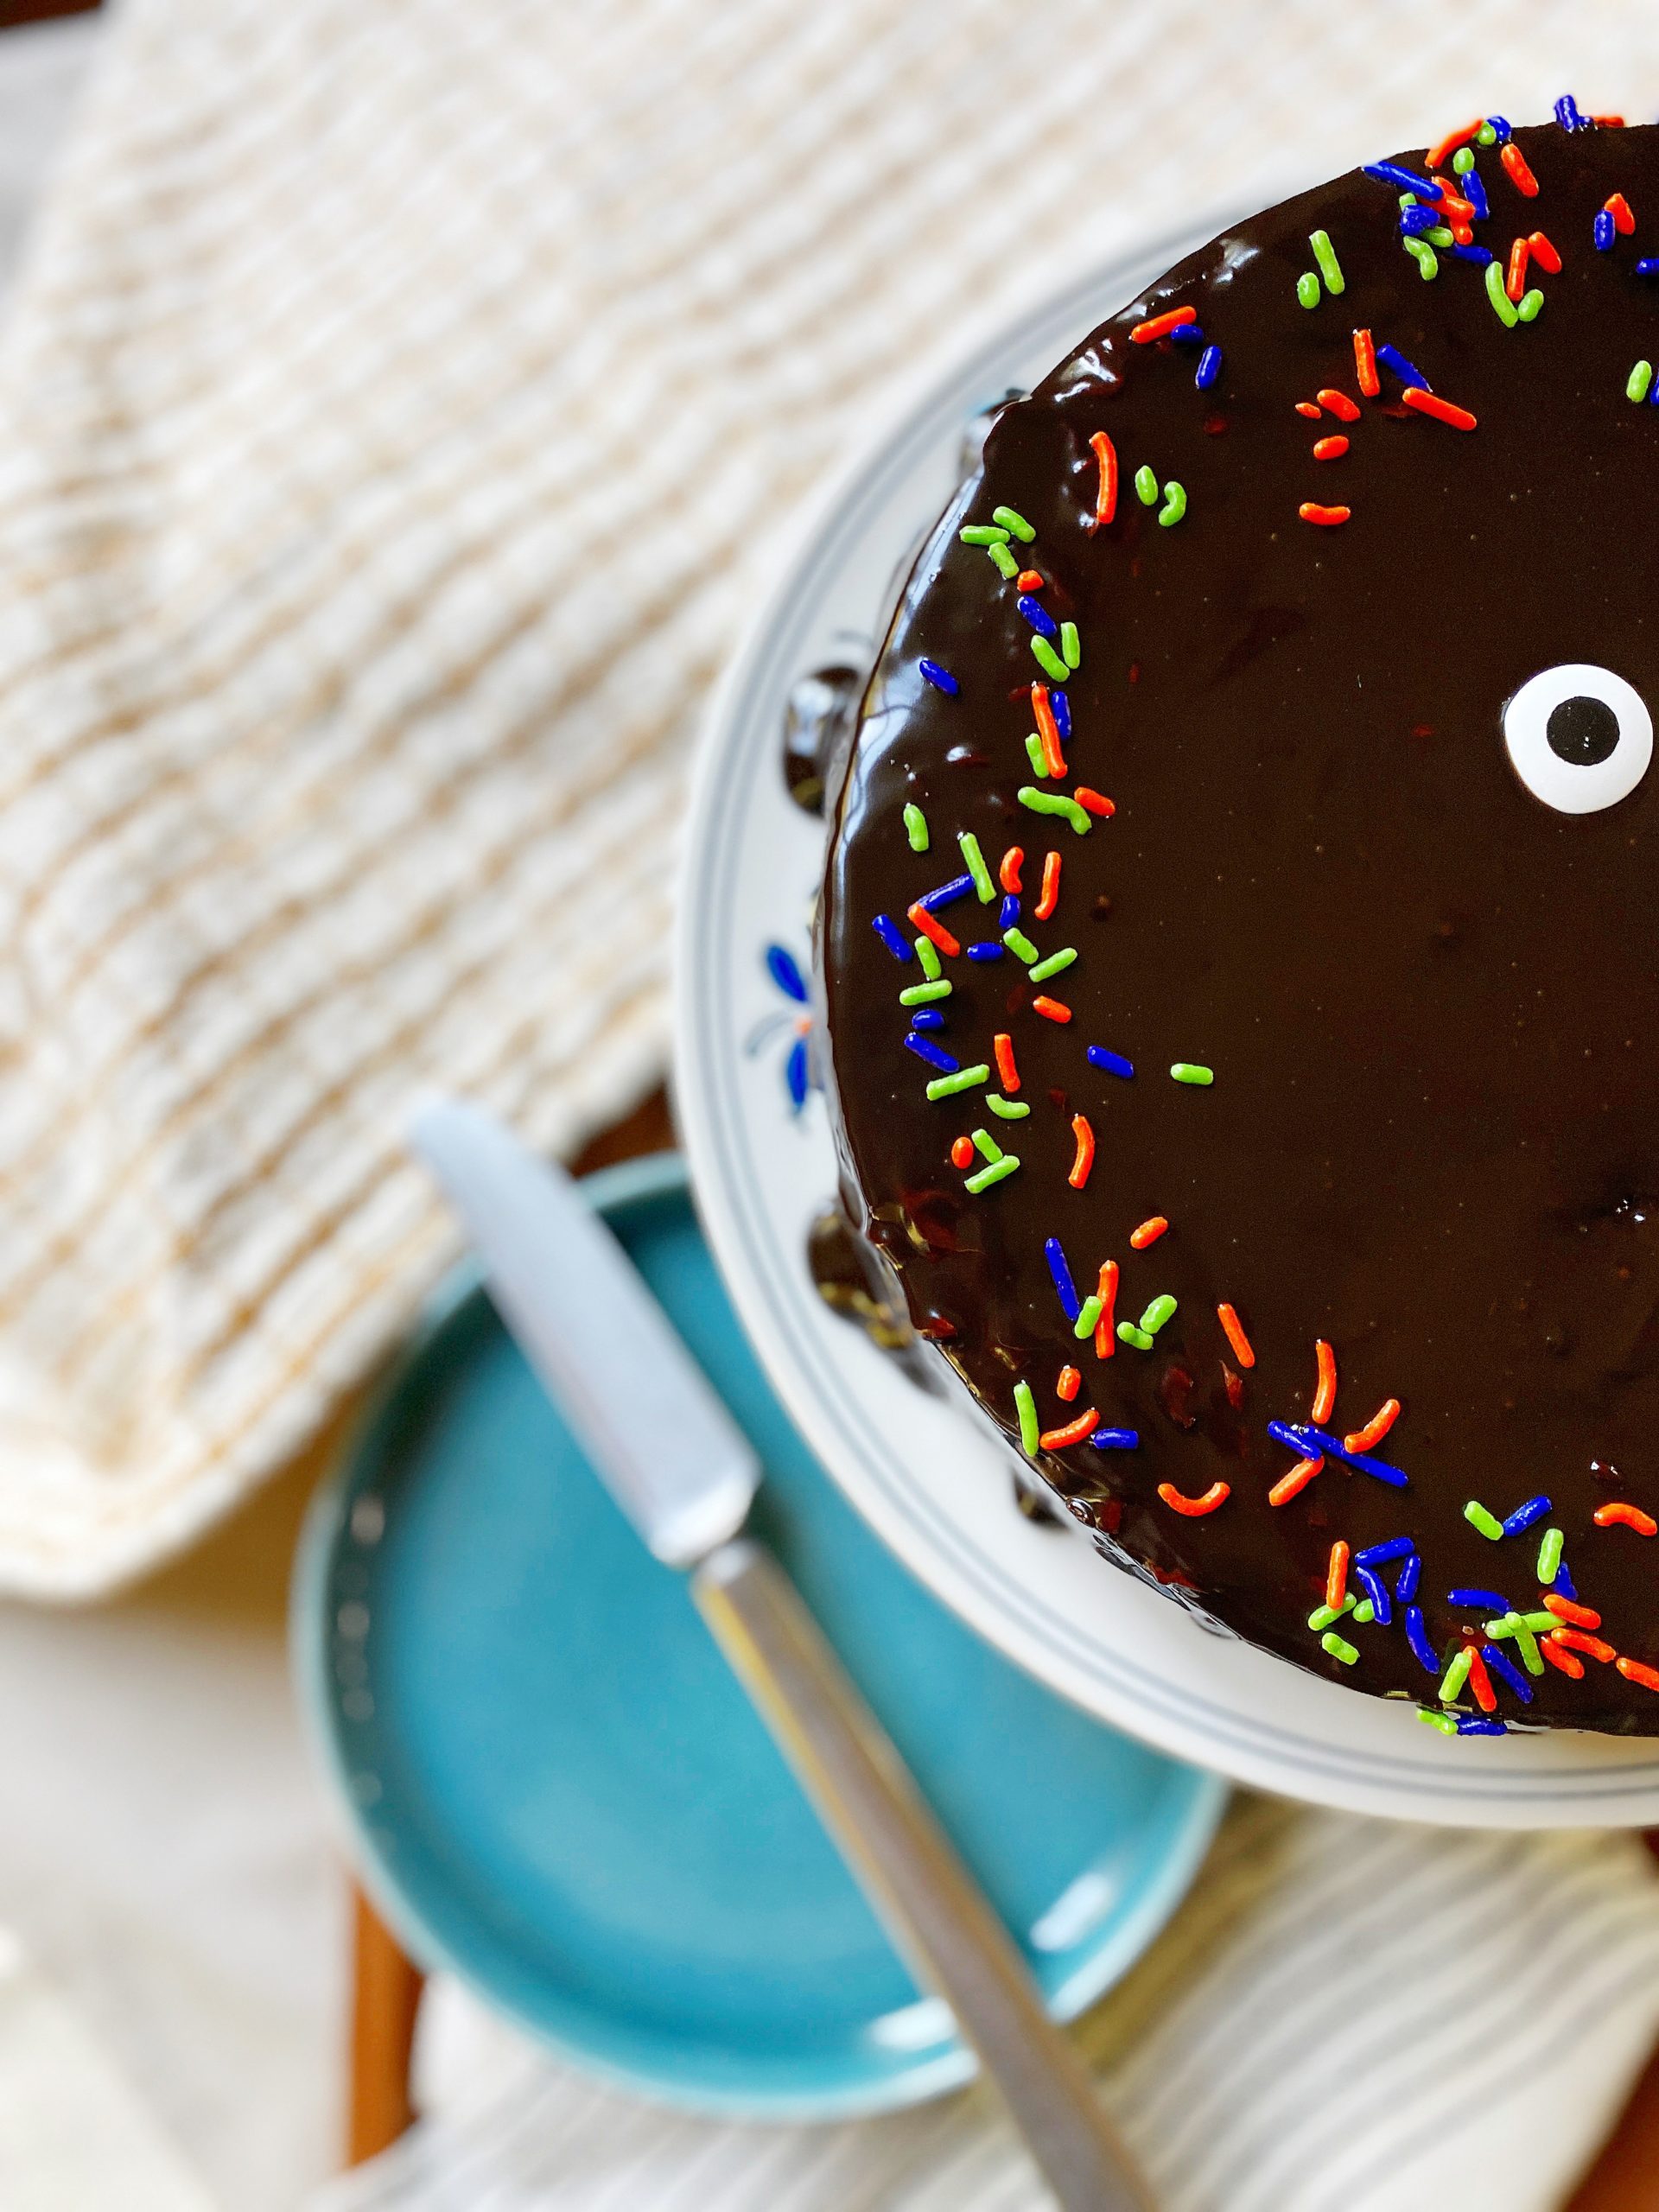
Cute sprinkles make everything better! I added 2 large candy eyes and an outline of Halloween-colored sprinkles and suddenly the cake was transformed into a party-worthy dessert!

Black-Out Cake
Ingredients
- 1/4 c + 2 T boiling water
- 4 t black cocoa powder
- 1 c all purpose flour
- 1 c granulated cane sugar
- 1/2 t baking soda
- 1/2 t salt
- 1/4 t baking powder
- 1/4 c + 2 T sour cream*
- 1/2 stick melted butter
- 1 egg
- 2 t vanilla
- 3 oz dark chocolate morsels
- 3 oz white chocolate morsels
- 7 drops black food coloring paste
Instructions
Preheat oven to 350°. Line an 8 round cake pan with parchment and spray with a flour-based non-stick spray.
Combine cocoa powder & boiling water, stirring to dissolve (this will form a thick paste).
Combine all ingredients, including the cocoa water/mixture. Beat on HIGH either by hand or using a mixer for 2 minutes.
Add the white and dark chocolate morsels, stirring to combine.
Pour the batter into the prepared pan and bake for 30 – 35 minutes until the center is set and an inserted toothpick doesn’t come out with wet batter on it. (Or it reaches a center temperature of 198°-200° with an instant-read thermometer.
Allow to cool for 10 minutes before inverting on a baking rack.
Top with black chocolate ganache ((see ganache recipe below))
Notes
* buttermilk or whole milk can be subbed for sour cream
Black Chocolate Ganache
- 1 cup heavy cream
- 2 tablespoons unsalted butter
- 1 3/4 c semisweet chocolate or bittersweet chocolate (high-quality), chopped
- pinch of sea salt
- 3-5 drops of black food coloring gel
In a medium microwaveable glass bowl, combine all ingredients. Microwave in increments of 30 seconds, stirring between.
Within 3 microwave sessions, chocolate and cream should be warm enough to melt.
Stir vigorously to combine.
Set aside and allow to cool for approximately 1 hour before pouring over the cooled cake.
- you’ll likely have extra ganache left over.

The post Black-Out Cake with Black Chocolate Ganache appeared first on Sinkology.
source https://www.sinkology.com/blog/black-out-cake-with-black-chocolate-ganache/