
We all have those types of friends who we can count on to be there for us through thick and thin. They’re the type of people who will support us when we want to try something new, who stand by our sides and put up with the trials of everyday life, and whose loyalty withstands the test of time.
We believe you deserve that same level of care when you purchase any product from Sinkology. That’s why we created our Sinkology Everyday Promise. With this lifetime product guarantee, we hope you see us as your most trusted friend in your kitchen and bathroom. You can count on us and our products, no matter what happens today, tomorrow, and for the rest of your life.
When you purchase a sink, bathtub, or accessory from Sinkology, you will receive more than just short-lived peace of mind. You’re getting a lifetime of comfortable, functional, and beautiful use. We are so proud of our products, which is why we can confidently stand behind their quality. We carefully handcraft our products to weather everyday wear and tear, so that no matter what your family throws at it, it will stay looking beautiful and working well. We take the extra time to create products that can handle all the bumps, drops, and messes that come with daily life in the kitchen and bathroom, so you can get back to enjoying your daily life.
Not only do we believe in the products our artisans’ handcraft, we want nothing more than to make our customers happy. There’s nothing quite like the satisfaction of knowing you’re making an impact people’s lives, especially in their homes. We promise we have your back every day, every year, for life.

But what exactly does the Sinkology Everyday Promise guarantee? In short, if you are not fully satisfied with your Sinkology product, you don’t have to put up with it. It’s unlikely that you’ll ever need this product insurance, but if you do ever find yourself in one of the following situations, you can trust that we will take care of you:
- Maybe the product you purchased doesn’t look quite right in your home once you take it out of its box. Simply return it directly to the store you purchased it from.
- You might like the product you received, but it was damaged during the shipping process. If so, you can contact us directly for a perfect replacement.
- Or, you may have completely changed your mind, which is fine, too. All you need to do is reach out to us to get a full refund.
But here’s the thing, this guarantee isn’t just for when you first receive your Sinkology product. We back all of our products with the Sinkology Everyday Promise, every single day. If your item has abnormal wear and tear, we’ll look into it and make sure you’re happy. We promise to review any and all requests on a claim-by-claim basis, so don’t hesitate to contact us if you aren’t satisfied in any way.
In essence, we at Sinkology promise you’ll be happy with your purchase every day. So, the next time you’re tackling a pile of pots and pans in your kitchen sink or are saying your morning mantra in front of your bathroom sink, remember that we’re there for you, every day.
_____________________________________________________________________
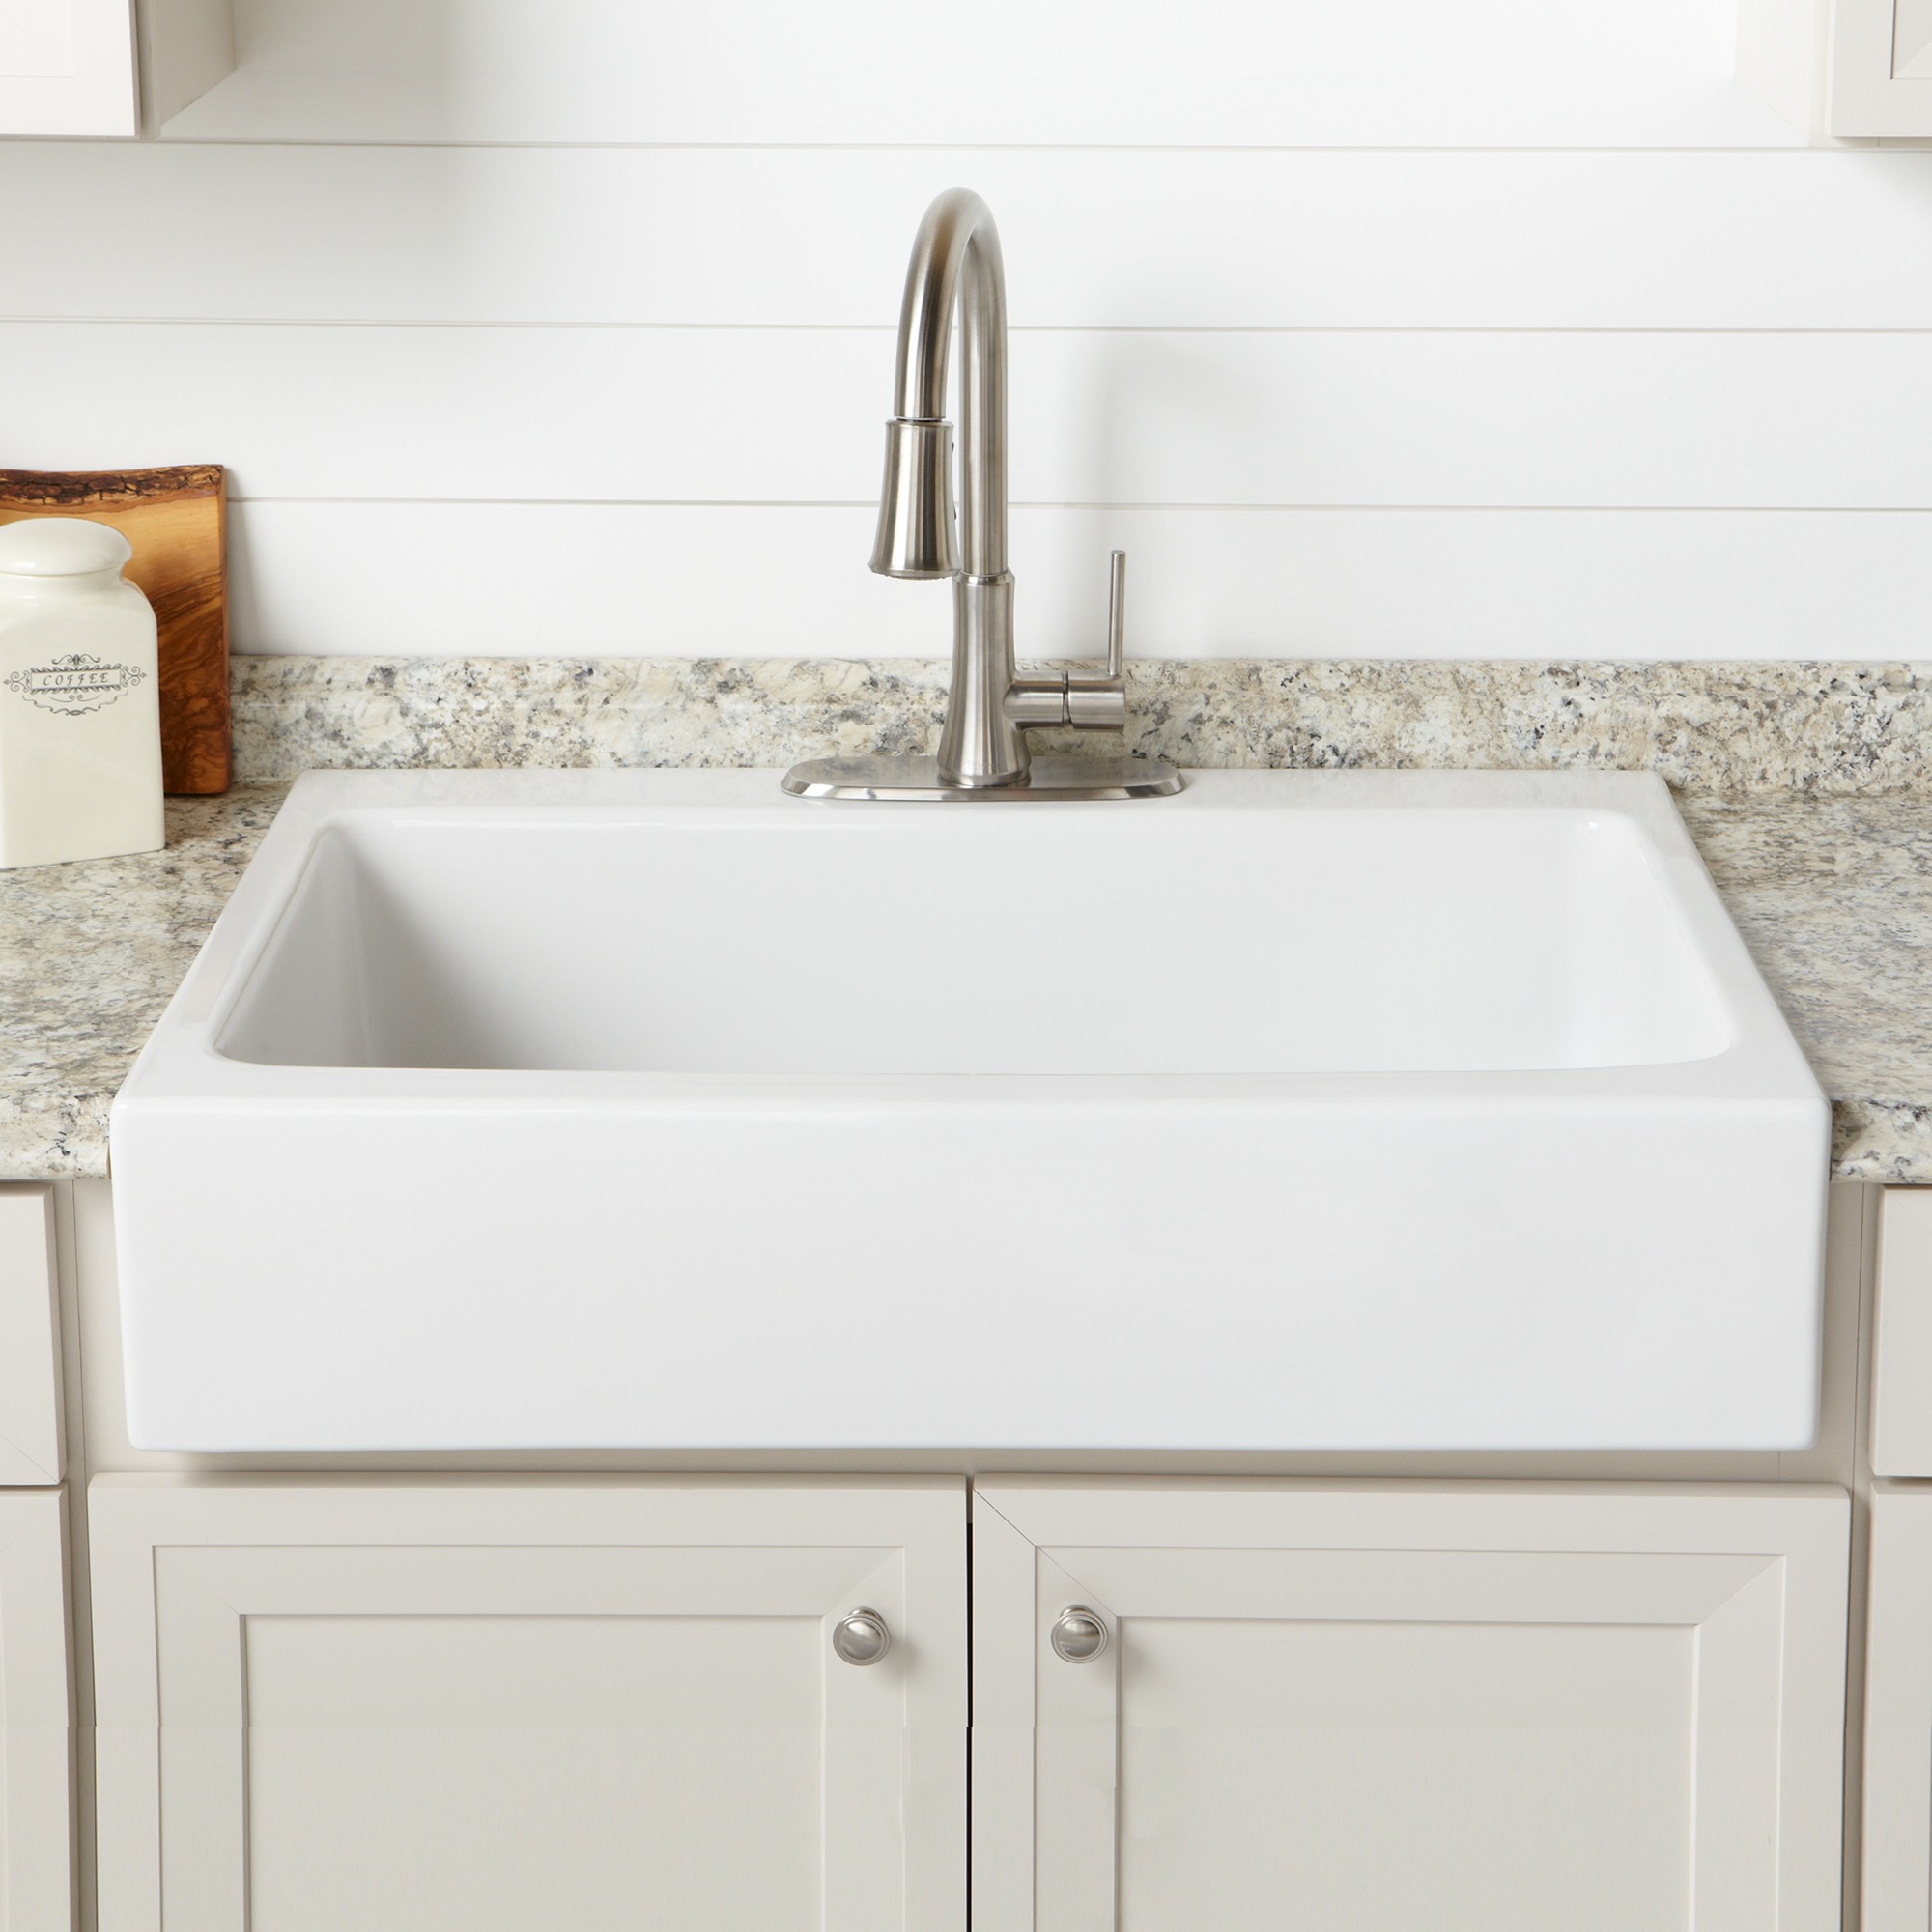
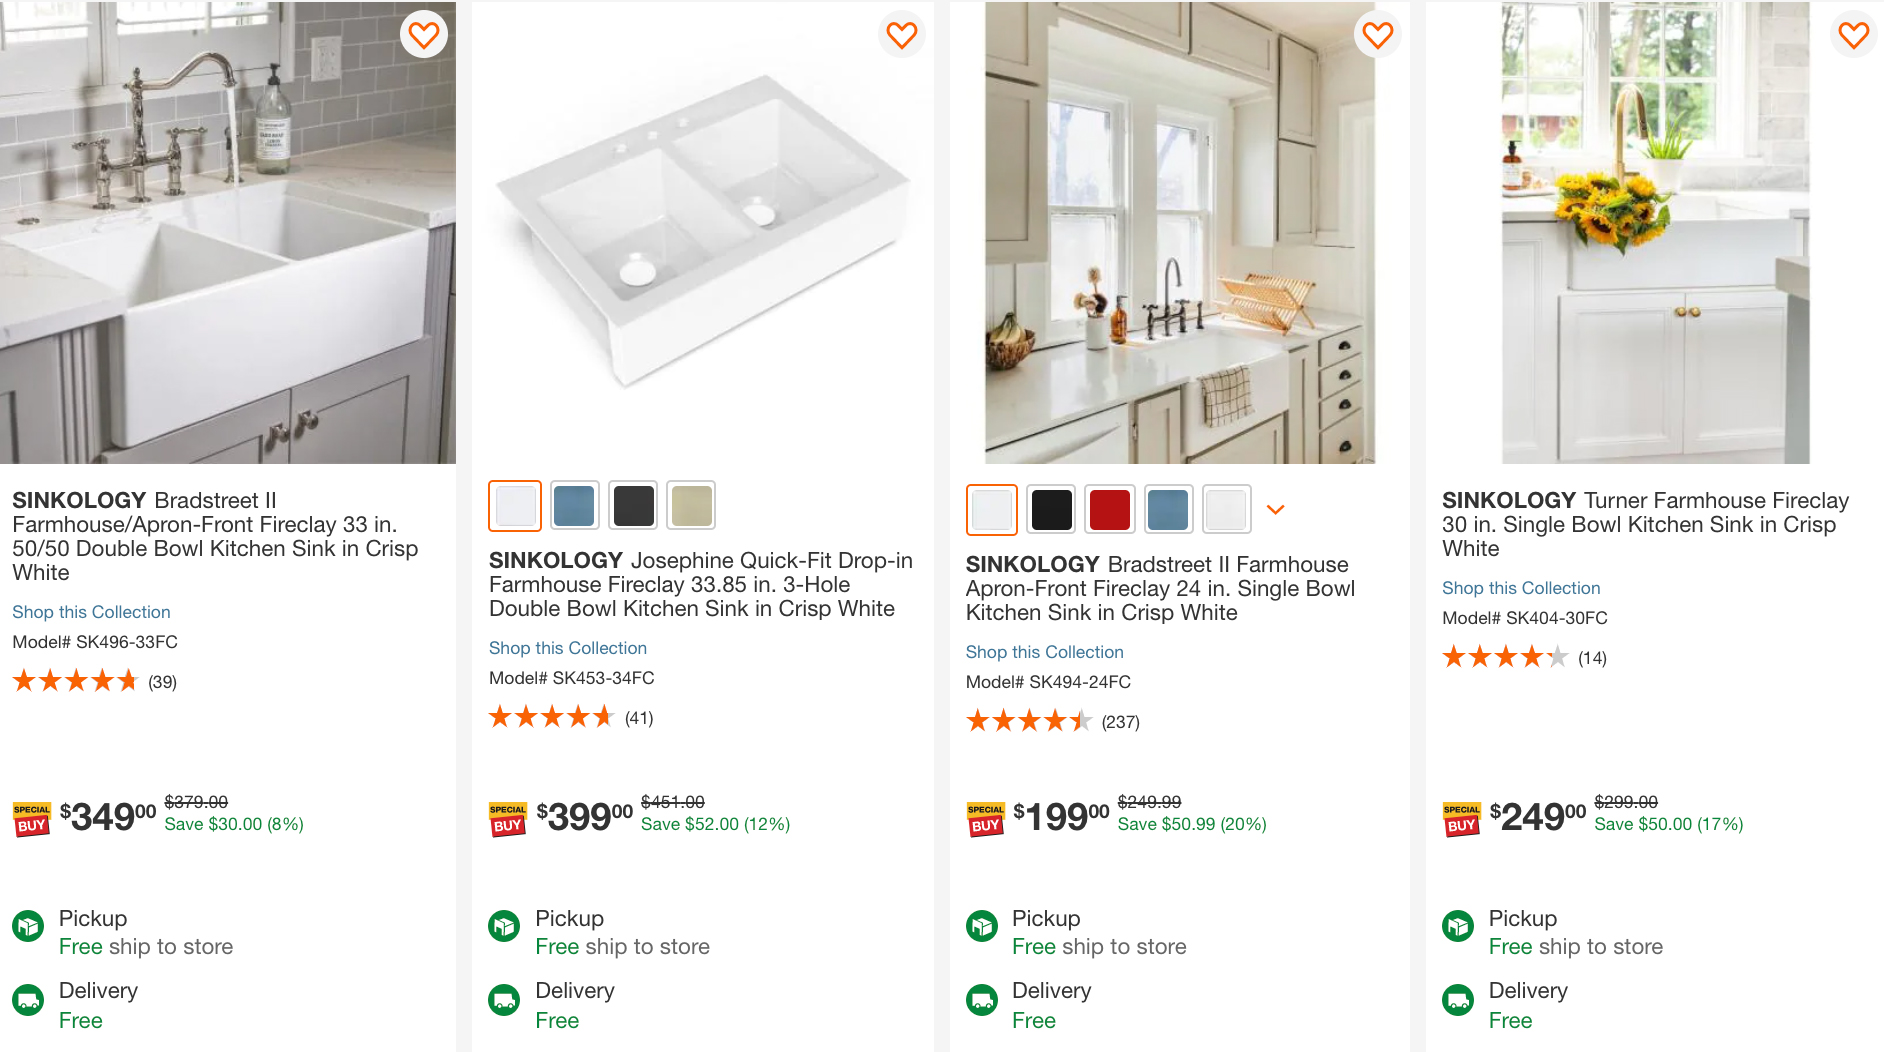
If you have any additional questions during your search for the perfect copper, fireclay farmhouse sink or crafted stainless steel sink, our Sinkologists are here to help. Contact us or follow us on Facebook, Houzz, Pinterest, or Instagram for more helpful tips and design ideas.
The post The Sinkology Everyday Promise appeared first on Sinkology.
source https://www.sinkology.com/blog/the-sinkology-everyday-promise/


