Back to school days are just around the corner and whether your family is doing school in person or on-line or virtual or blended or home (or some other option that I’ve overlooked), I think we can all agree : school breakfasts are a struggle.
As a mom of 4 (with 3 in high school), my 2 biggest school morning breakfast obstacles are TIME and TASTEBUDS. I’ve tried smoothies and pre-made breakfast tacos, over-night oats and yogurt/granola parfaits – and it never fails, someone (or all) is unhappy. All of those complaints left me determined to develop something that met all of our criteria.
A couple of years ago, about this time of year, I thought “What about cookies for breakfast? I bet they’d love that!” Inspired and hopeful, I decided to play with the base of an oatmeal cookie and began sneaking in a few ingredients that would please their tastebuds AND feed their brains.
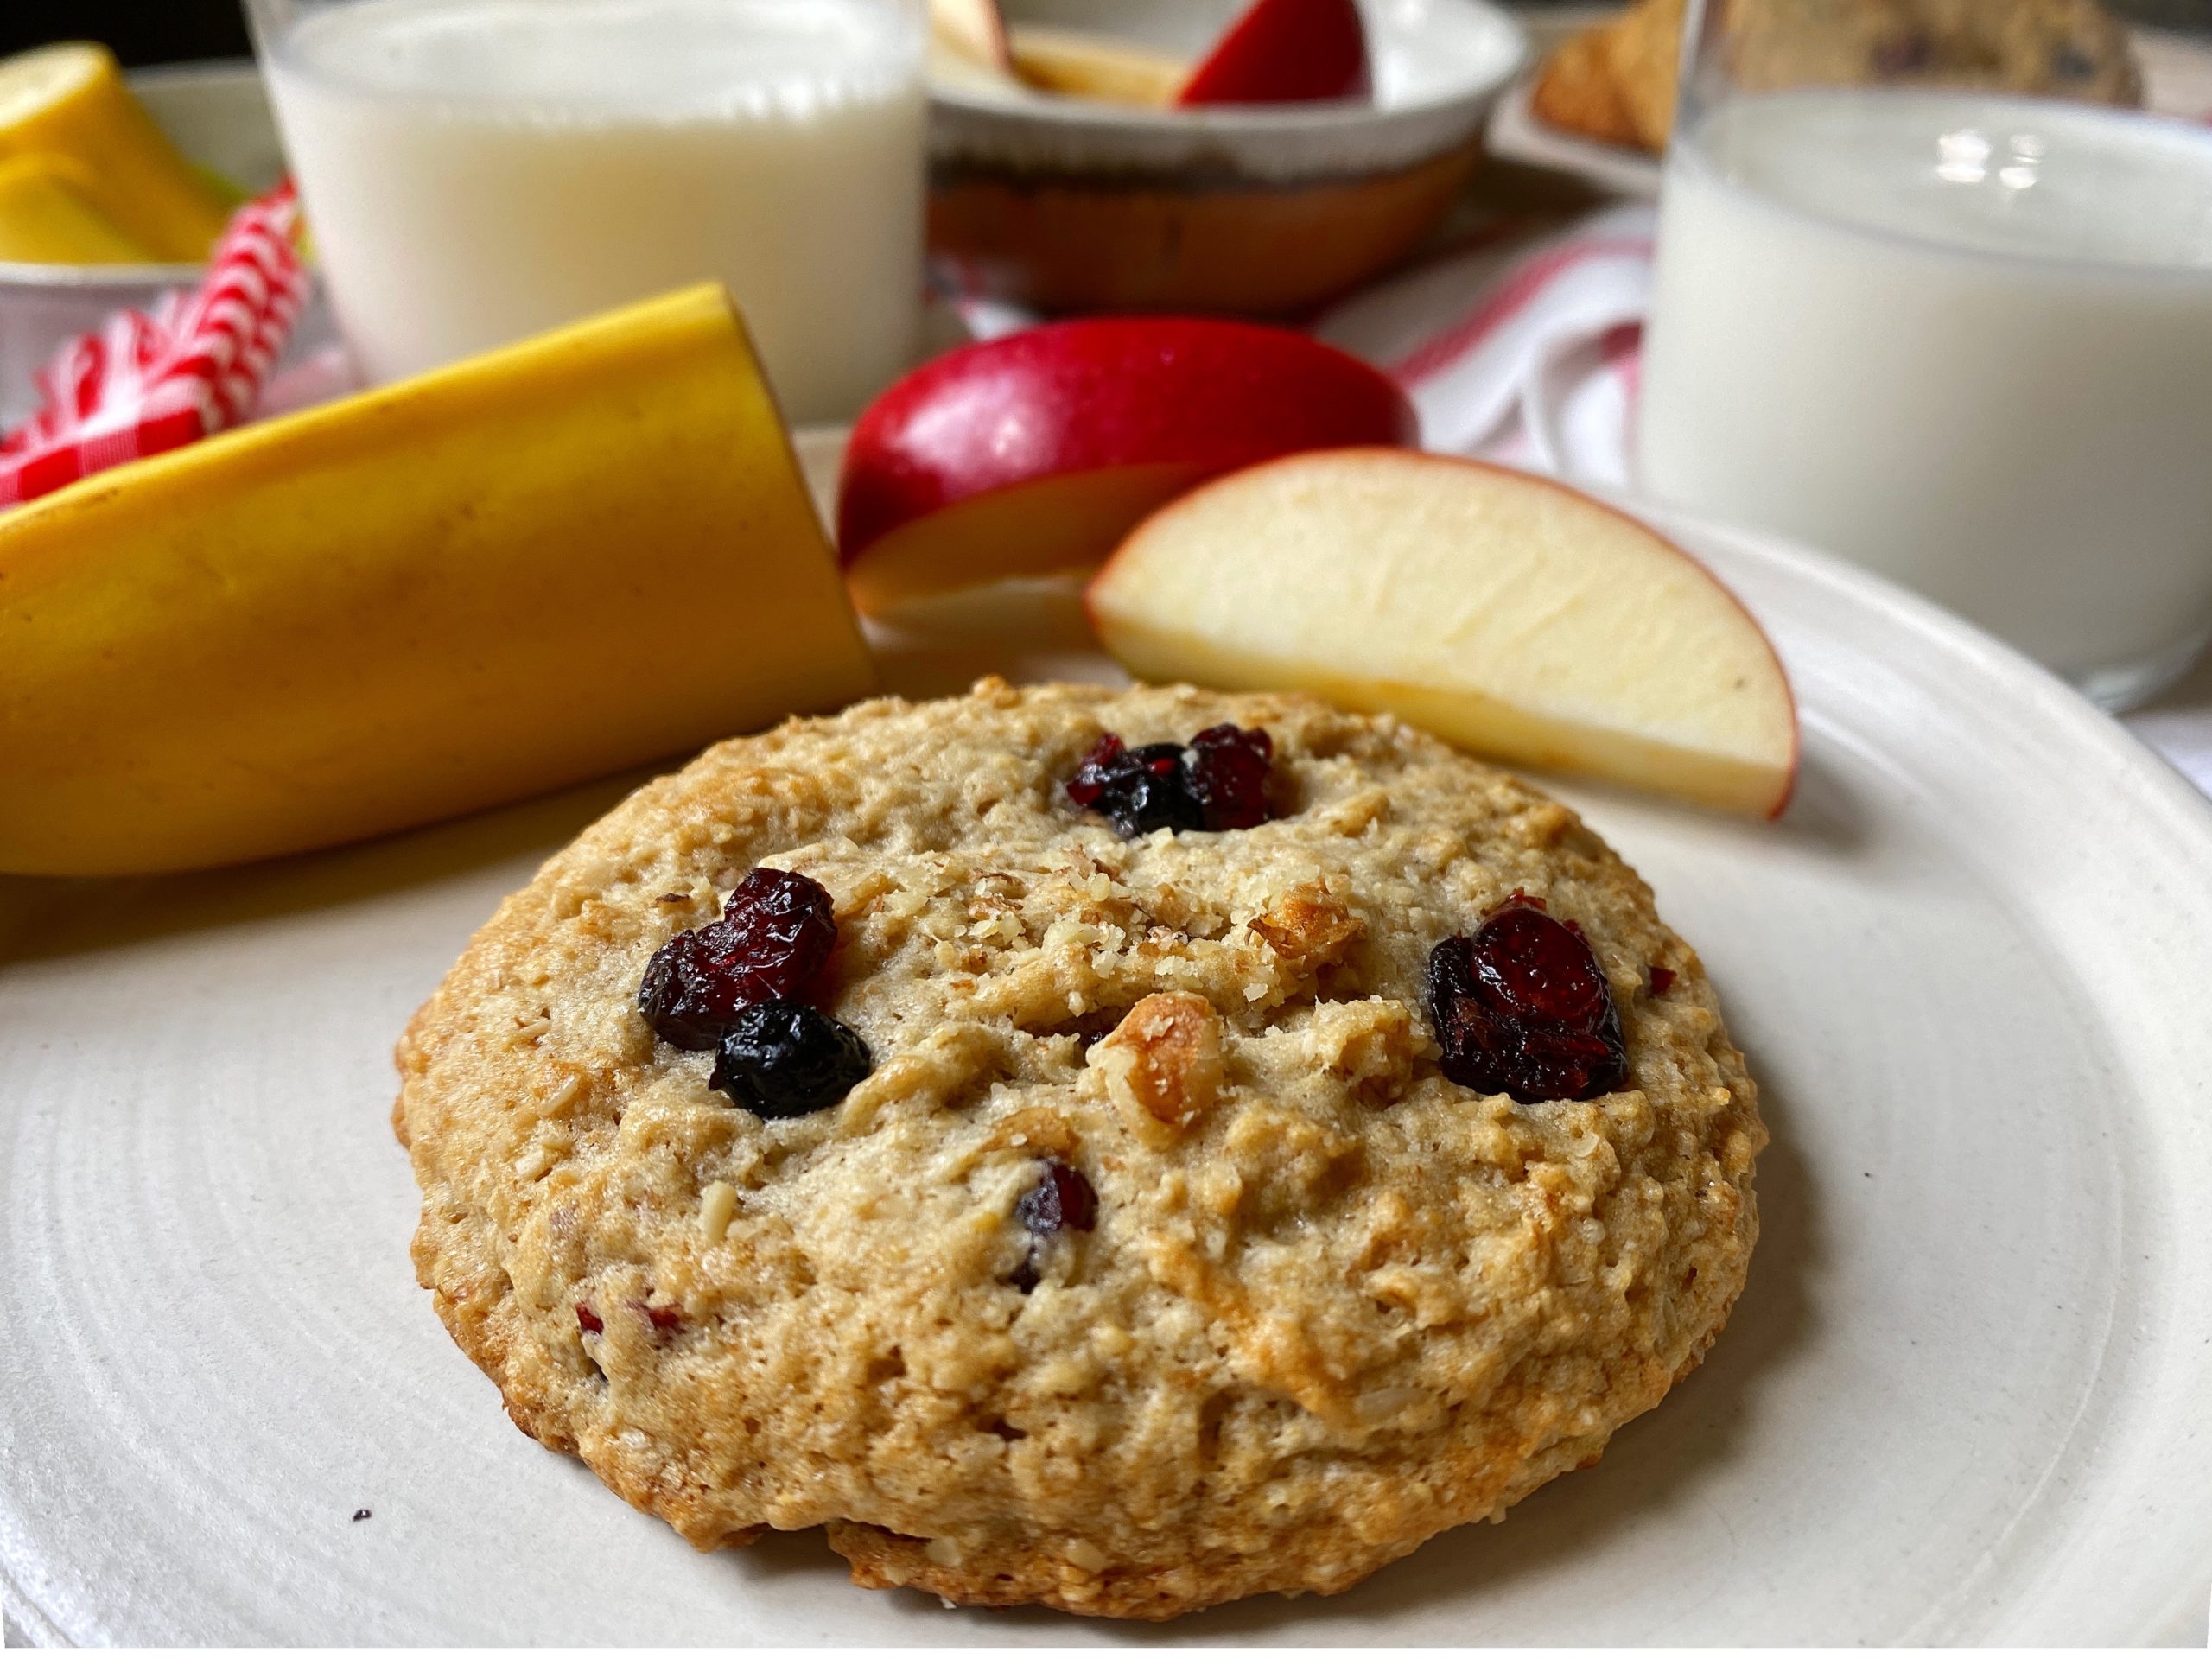
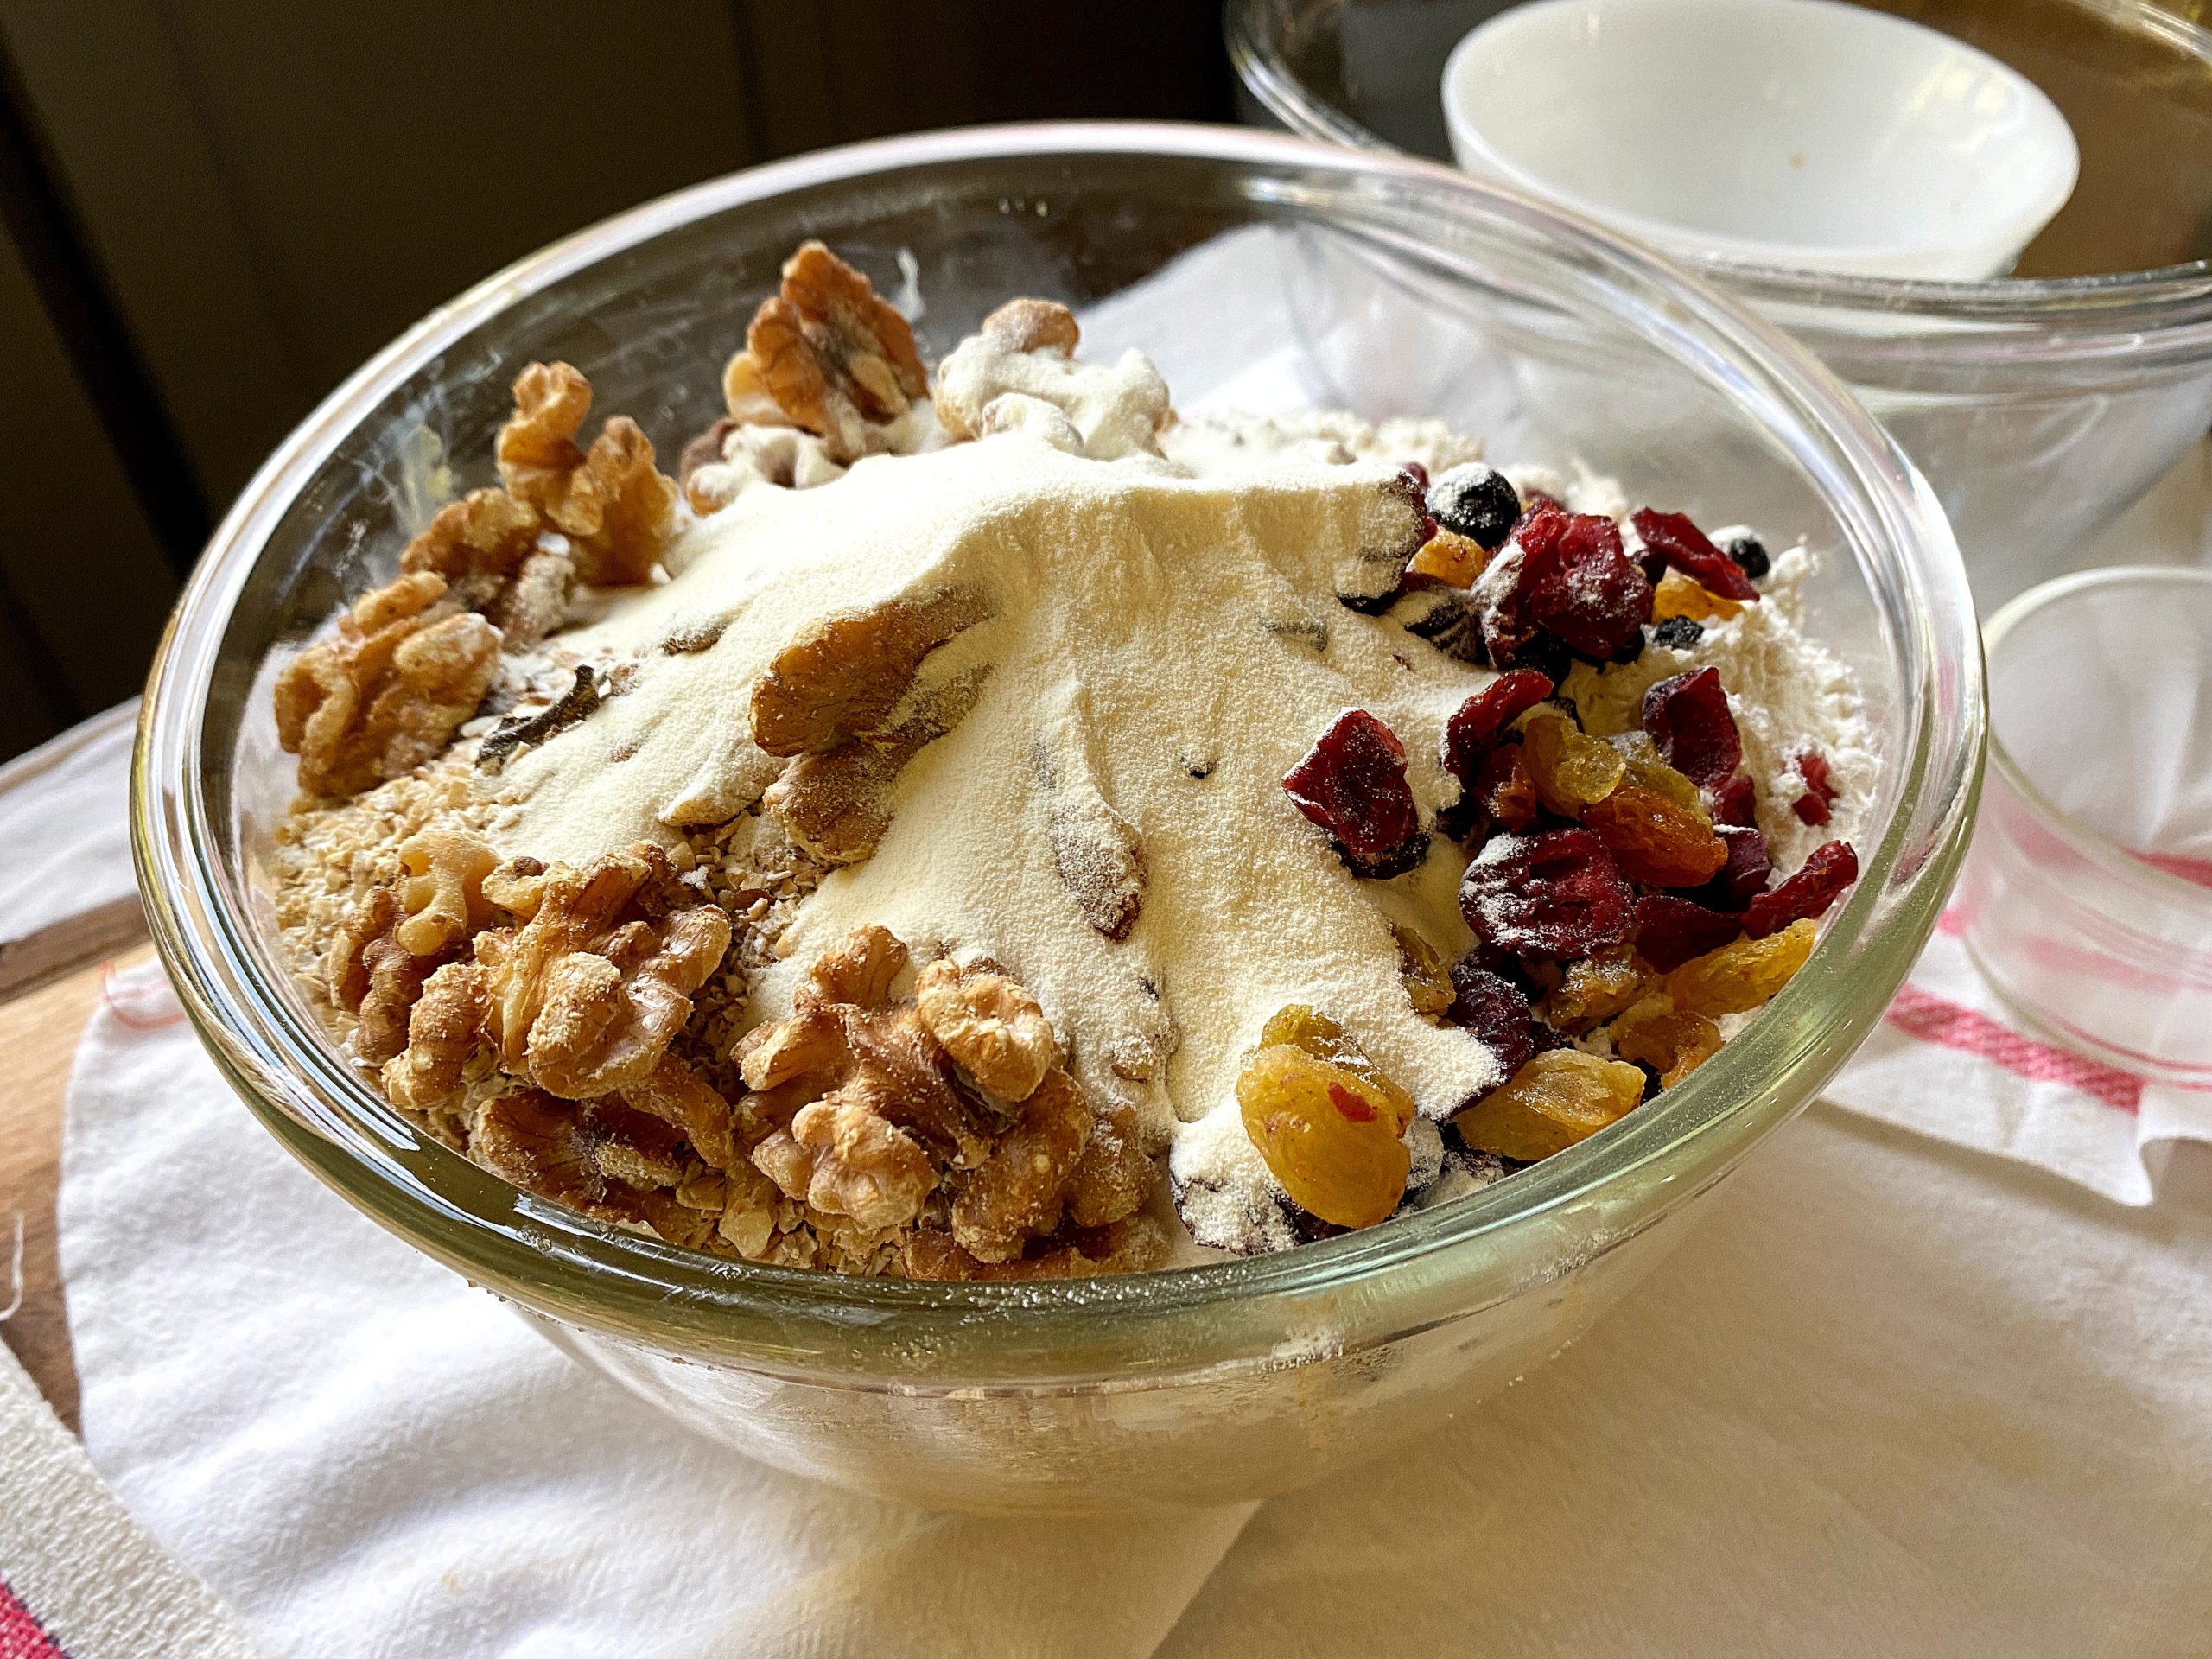
This recipe is packed full! Nuts and fruits, whole grain oats + a protein boost (thanks to collagen peptides). These Big Banana Nut Breakfast Cookies fuel the brain AND charm the taste buds. BONUS?? This recipe makes enough cookies to last the whole week!
BREAKFAST COOKIE TIPS FOR SUCCESS ::
After several recipe test runs, I’ve landed on a few perfect techniques that promise to produce the perfect breakfast cookie:
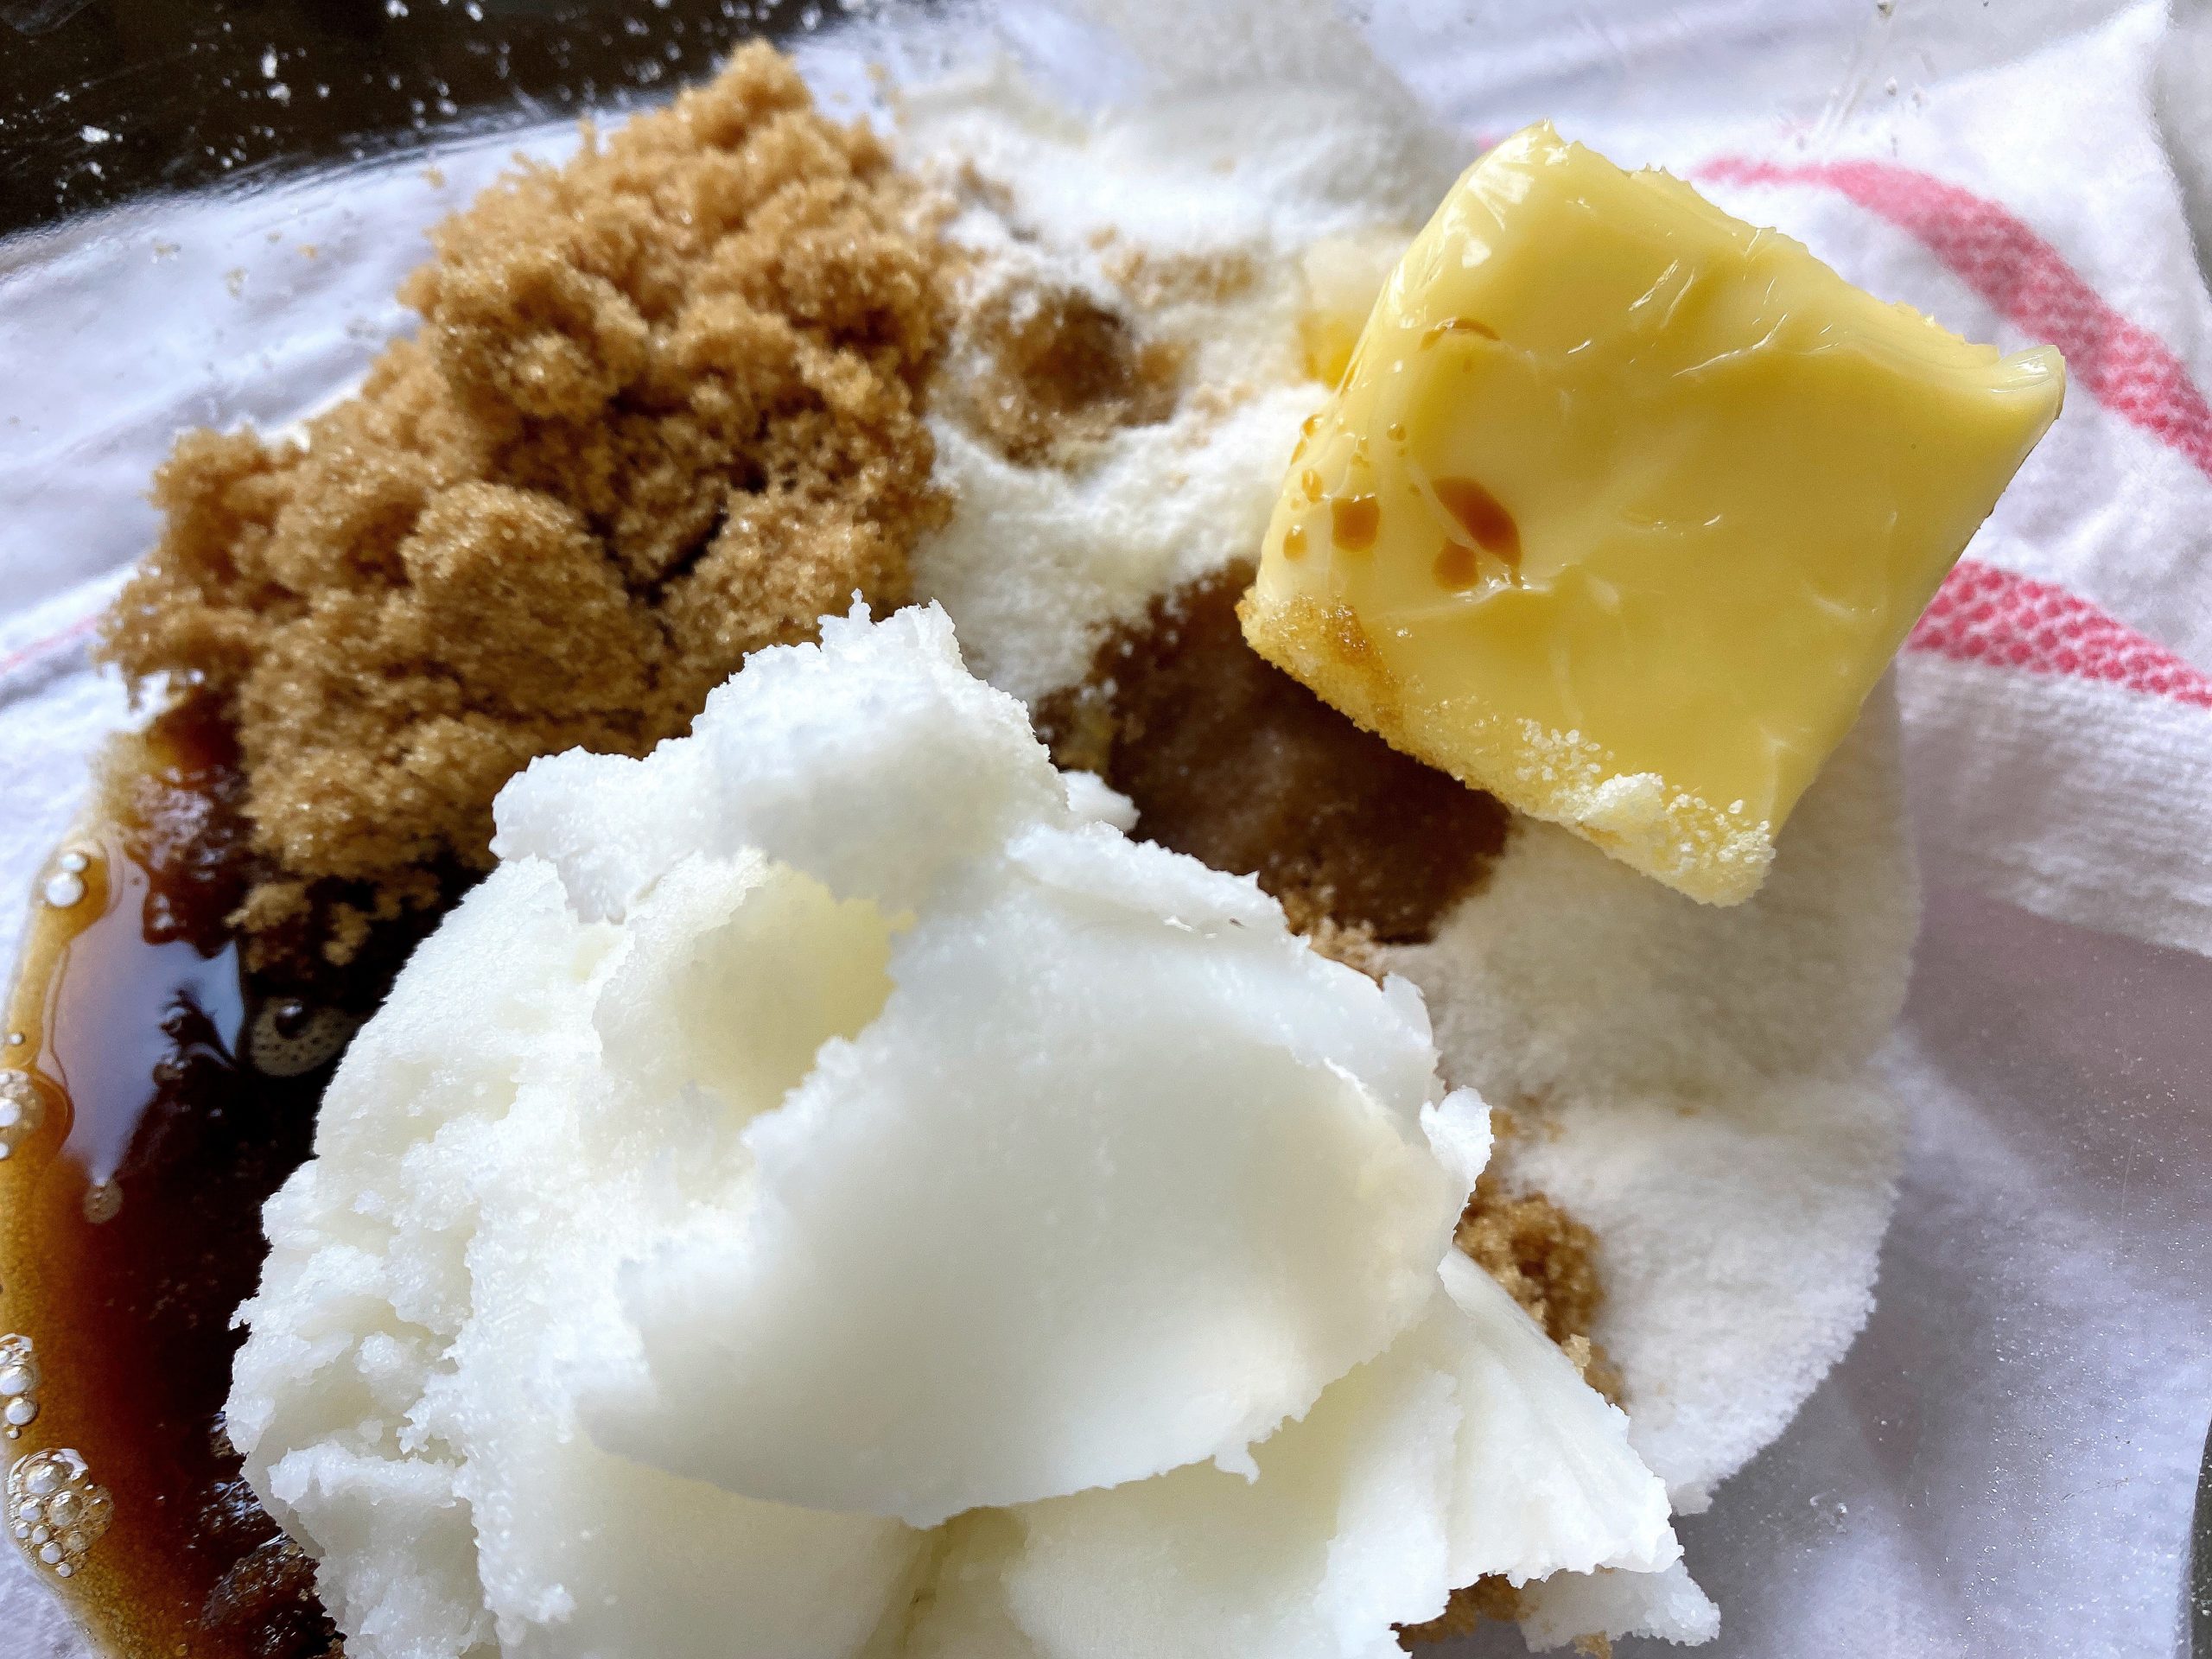
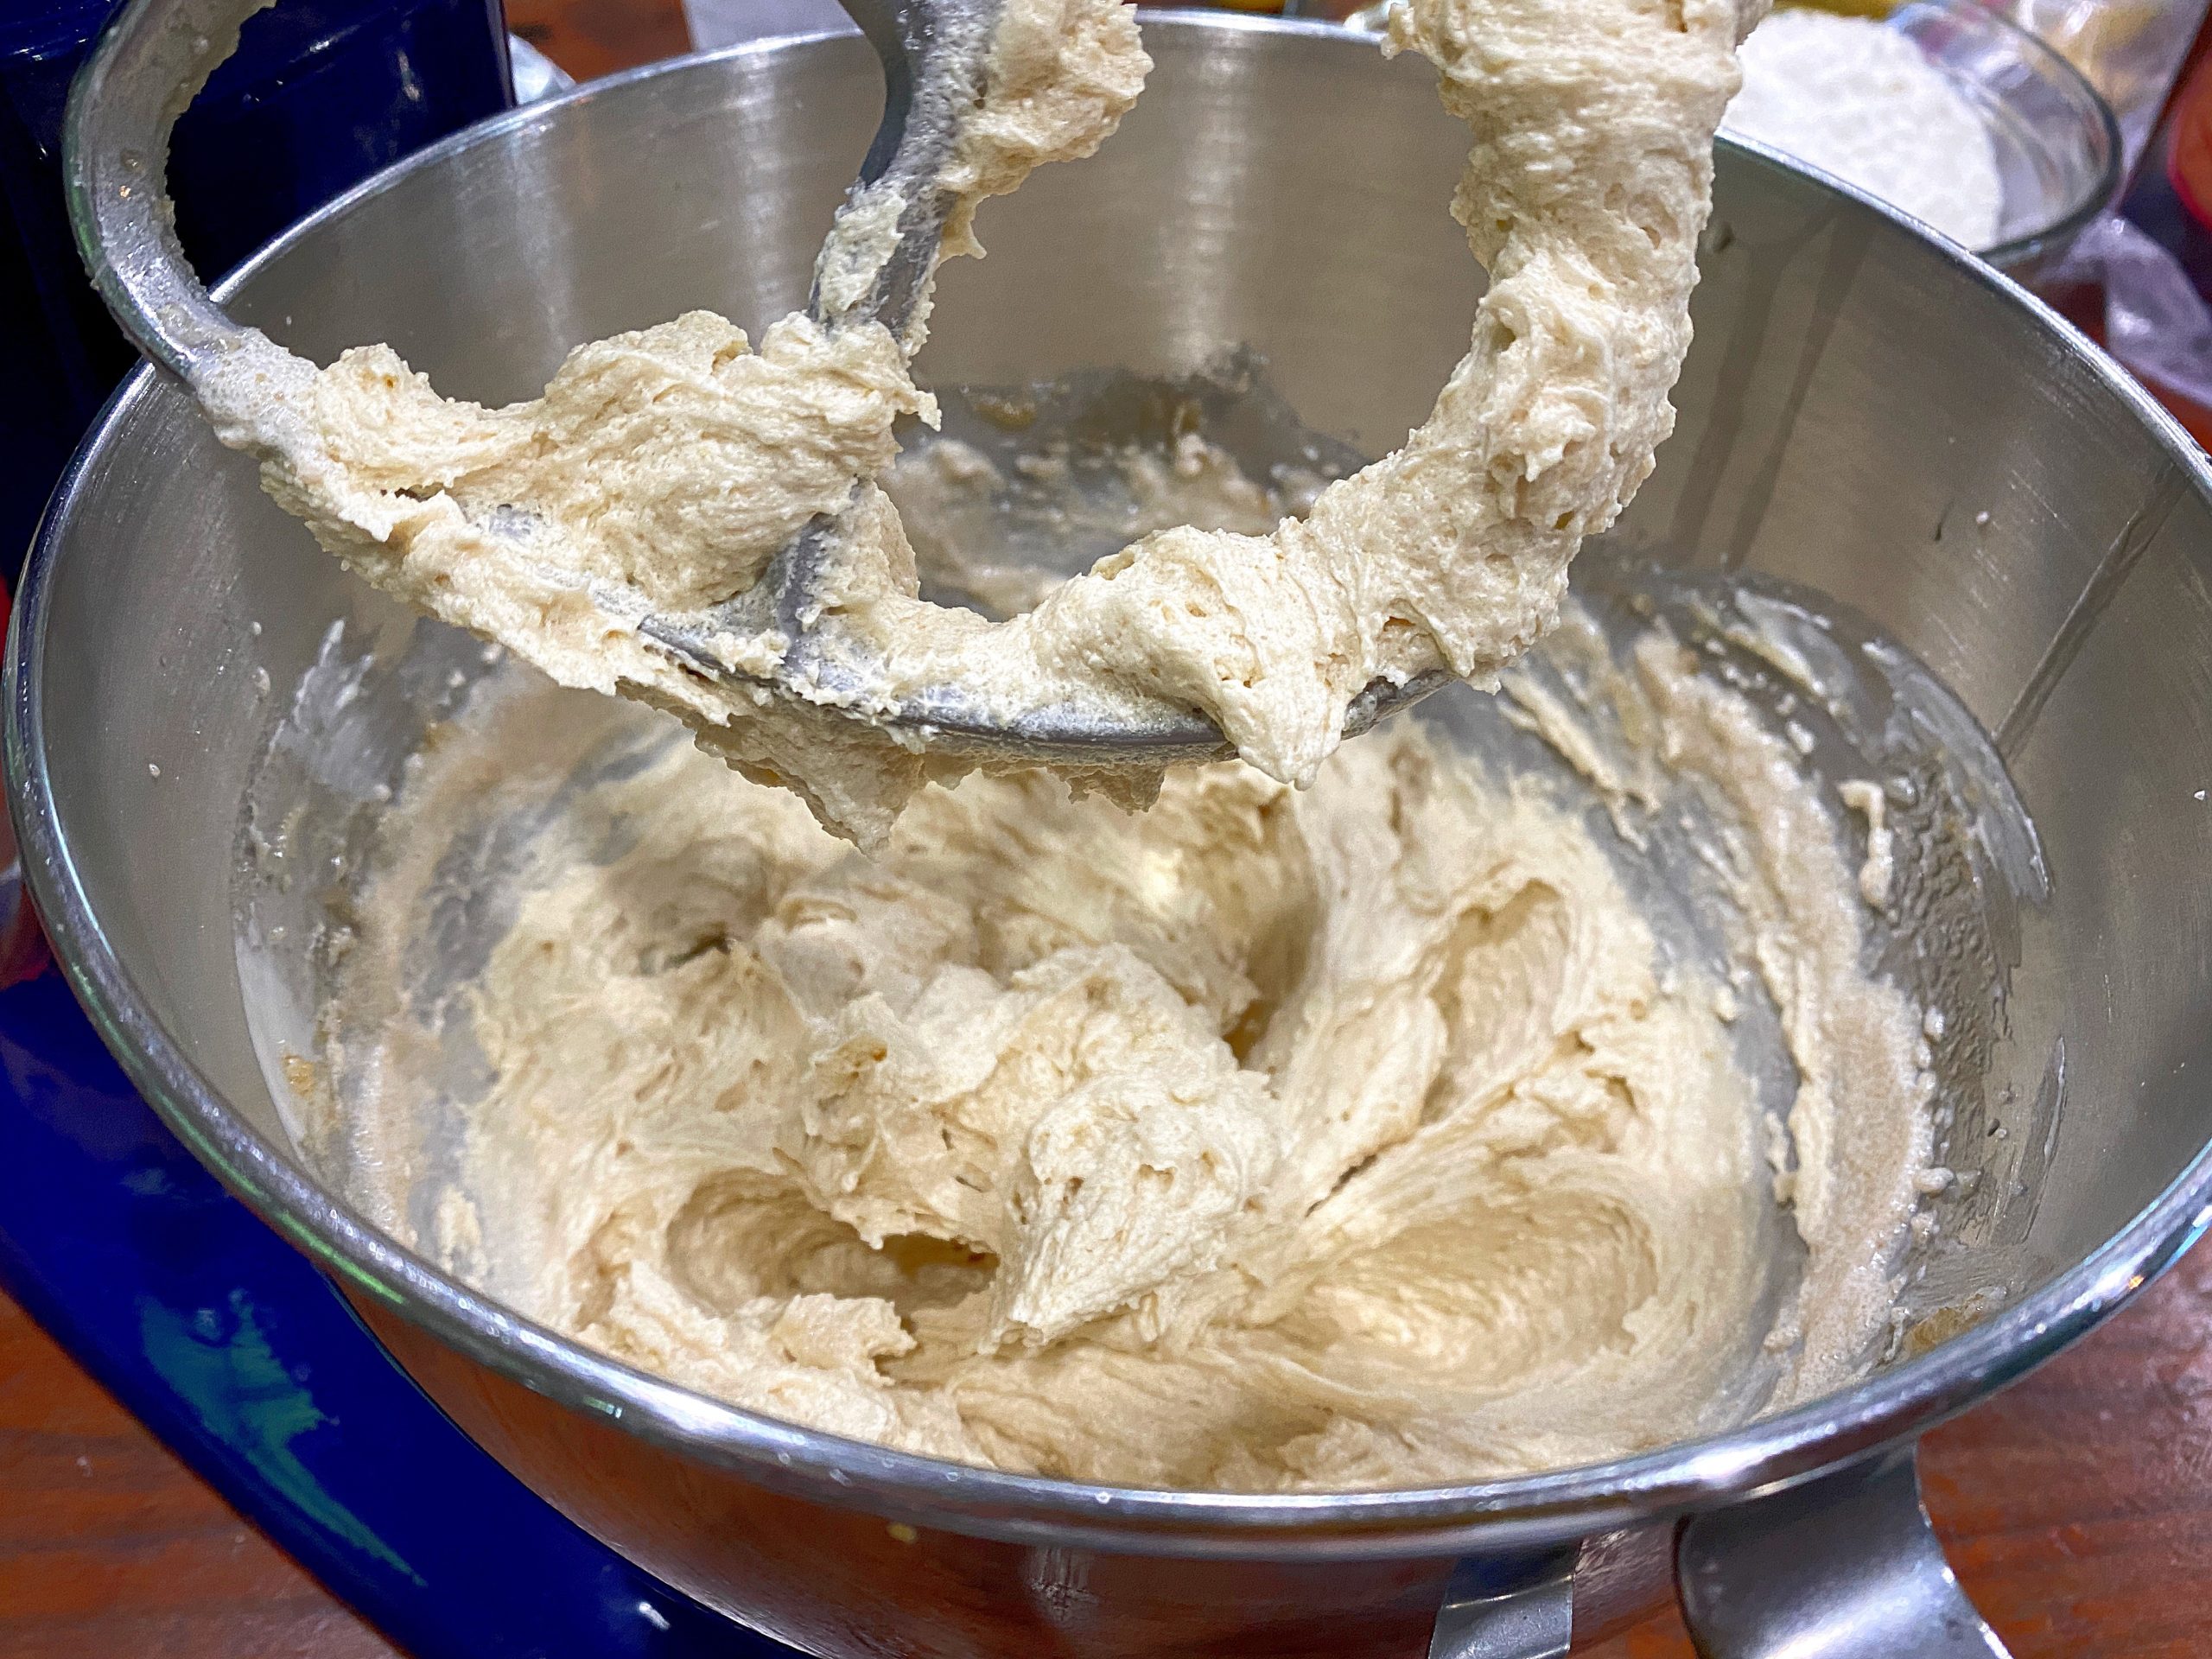
- start with room temperature butter and melted coconut oil (they cream into the sugars wonderfully)
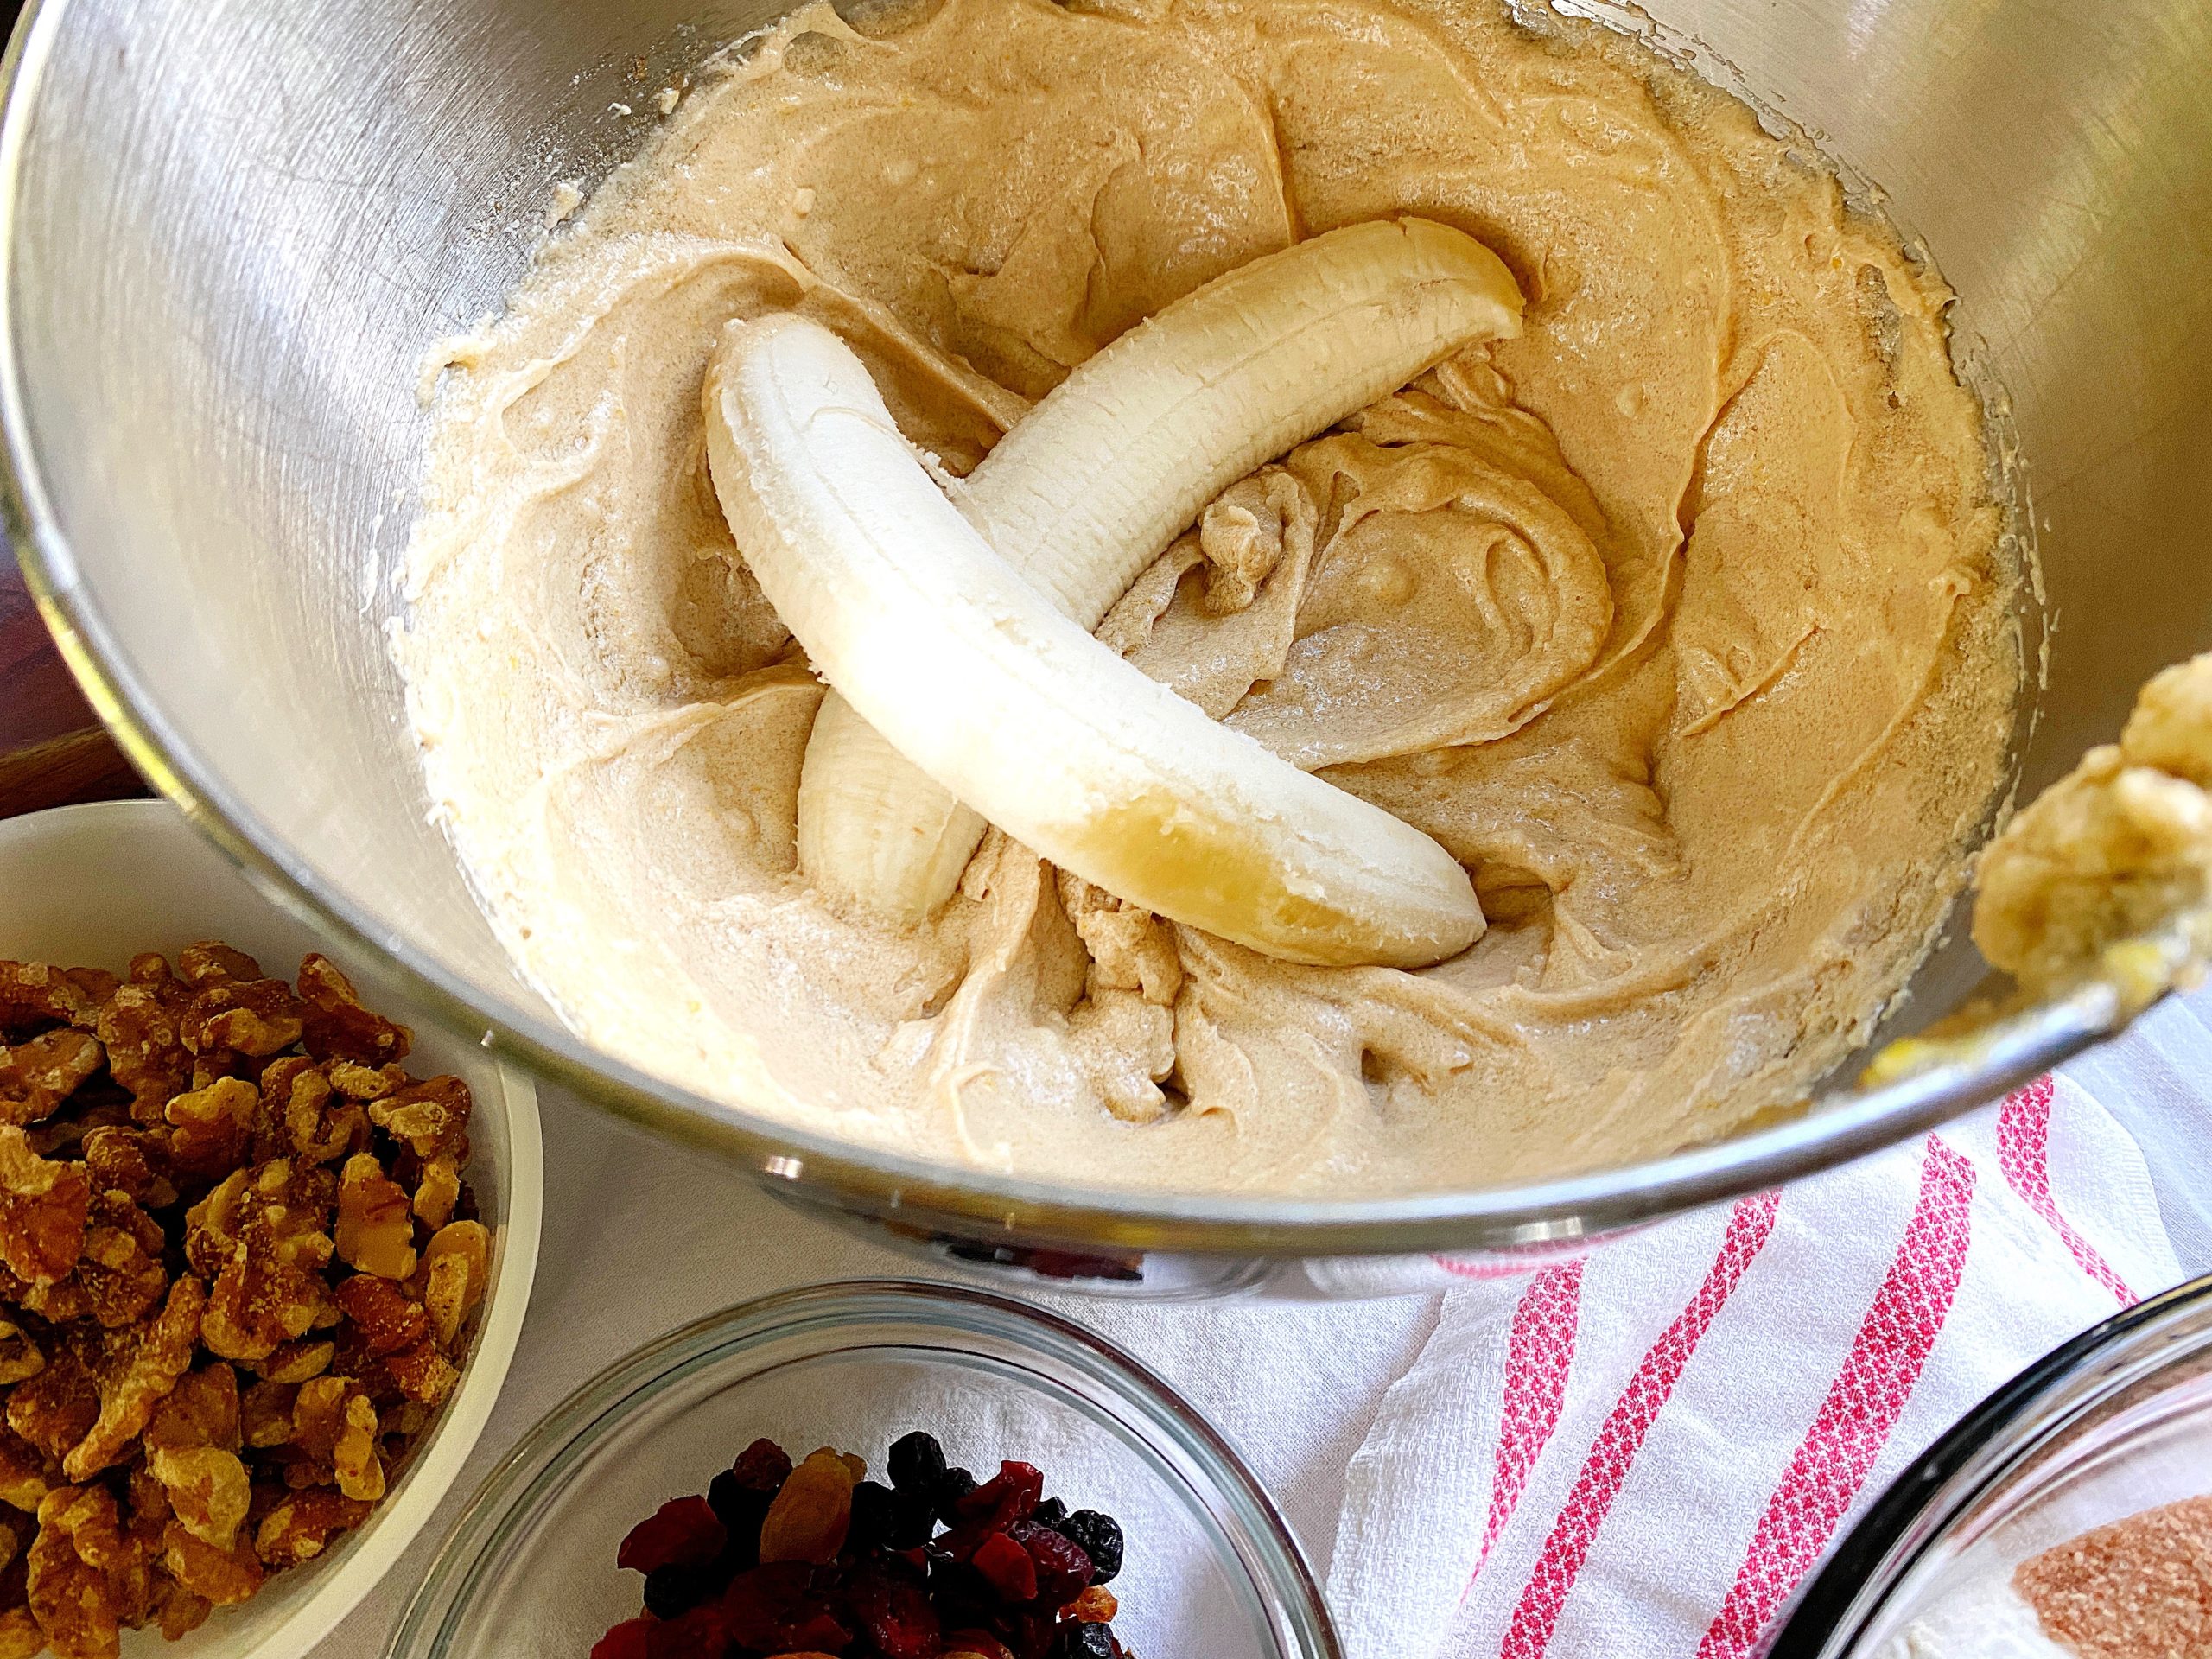
- lightly beat eggs and mashed bananas into the creamed fat + sugar (this keeps the fat from ‘breaking’)
- once the dry ingredients + nuts + dried fruit are added, be sure to scrape the bottom and sides of the mixing bowl (this ensures a consistent dough)
- refrigerate dough for at least 1 hour before baking (this allows the moisture to disperse into the oat flour for a more moist, tender cookie)
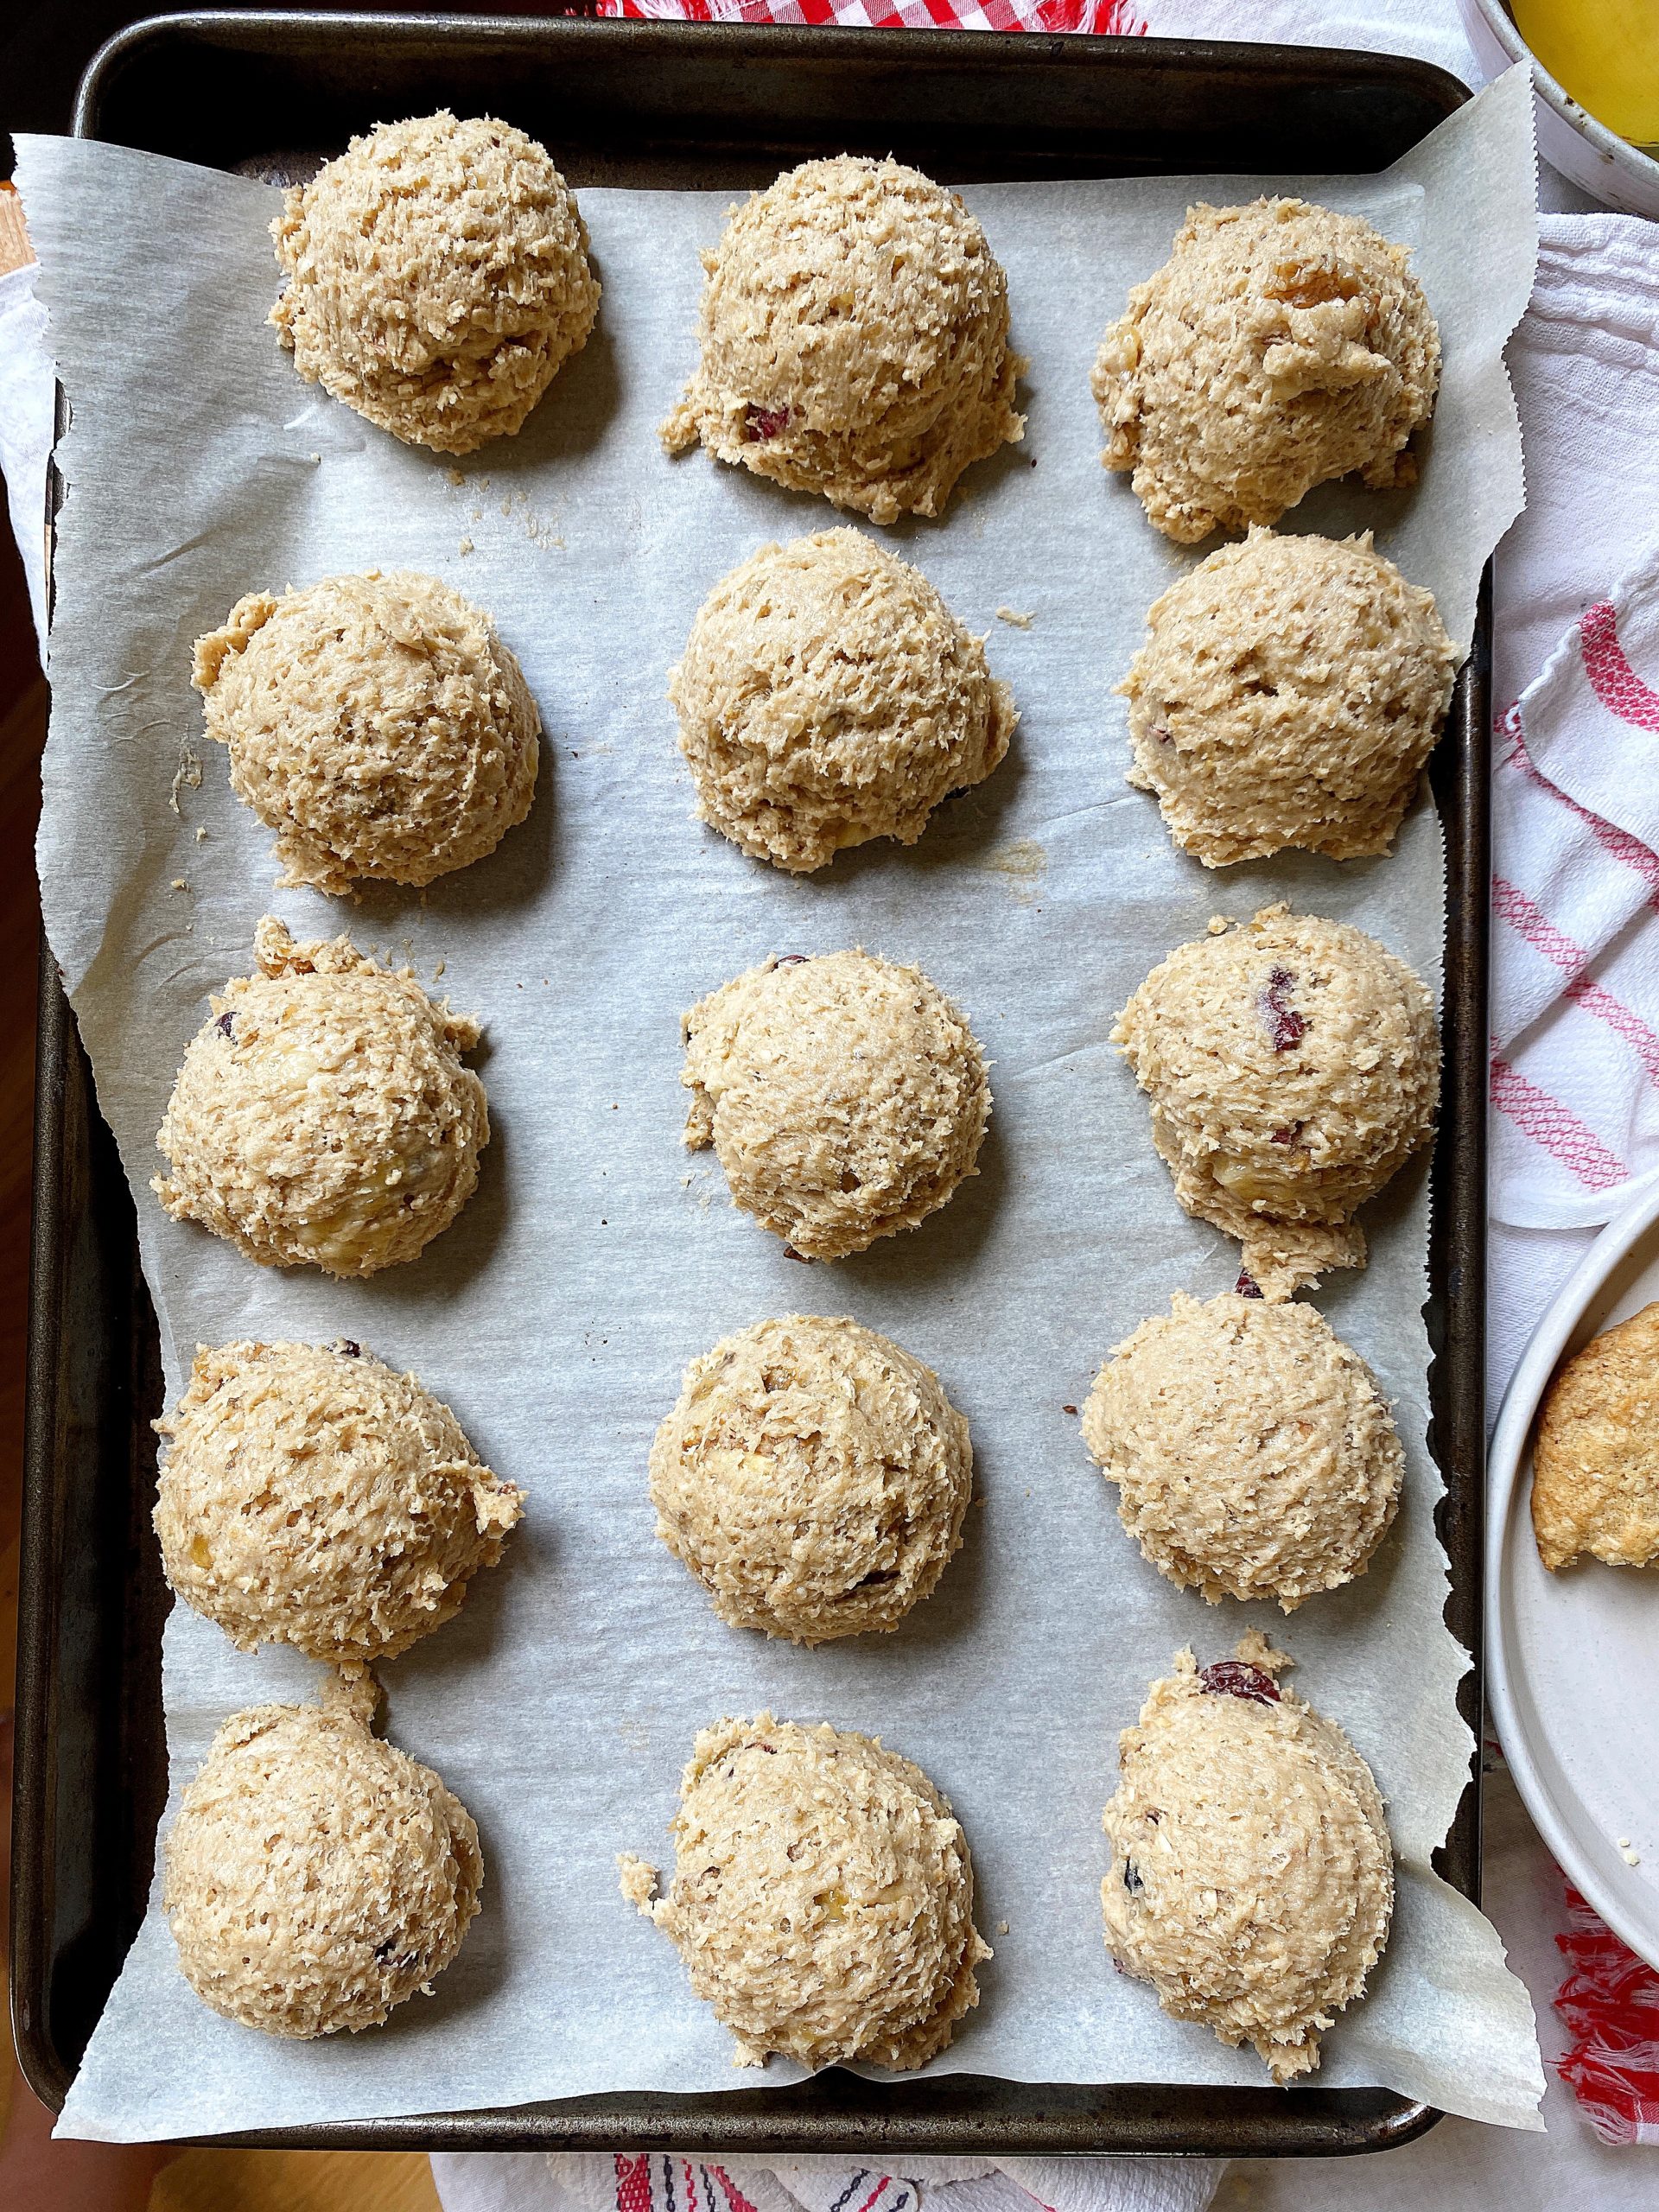
One more tip that simplifies school mornings is to pre-scoop all of the dough at once, refrigerate the dough balls and bake as needed.
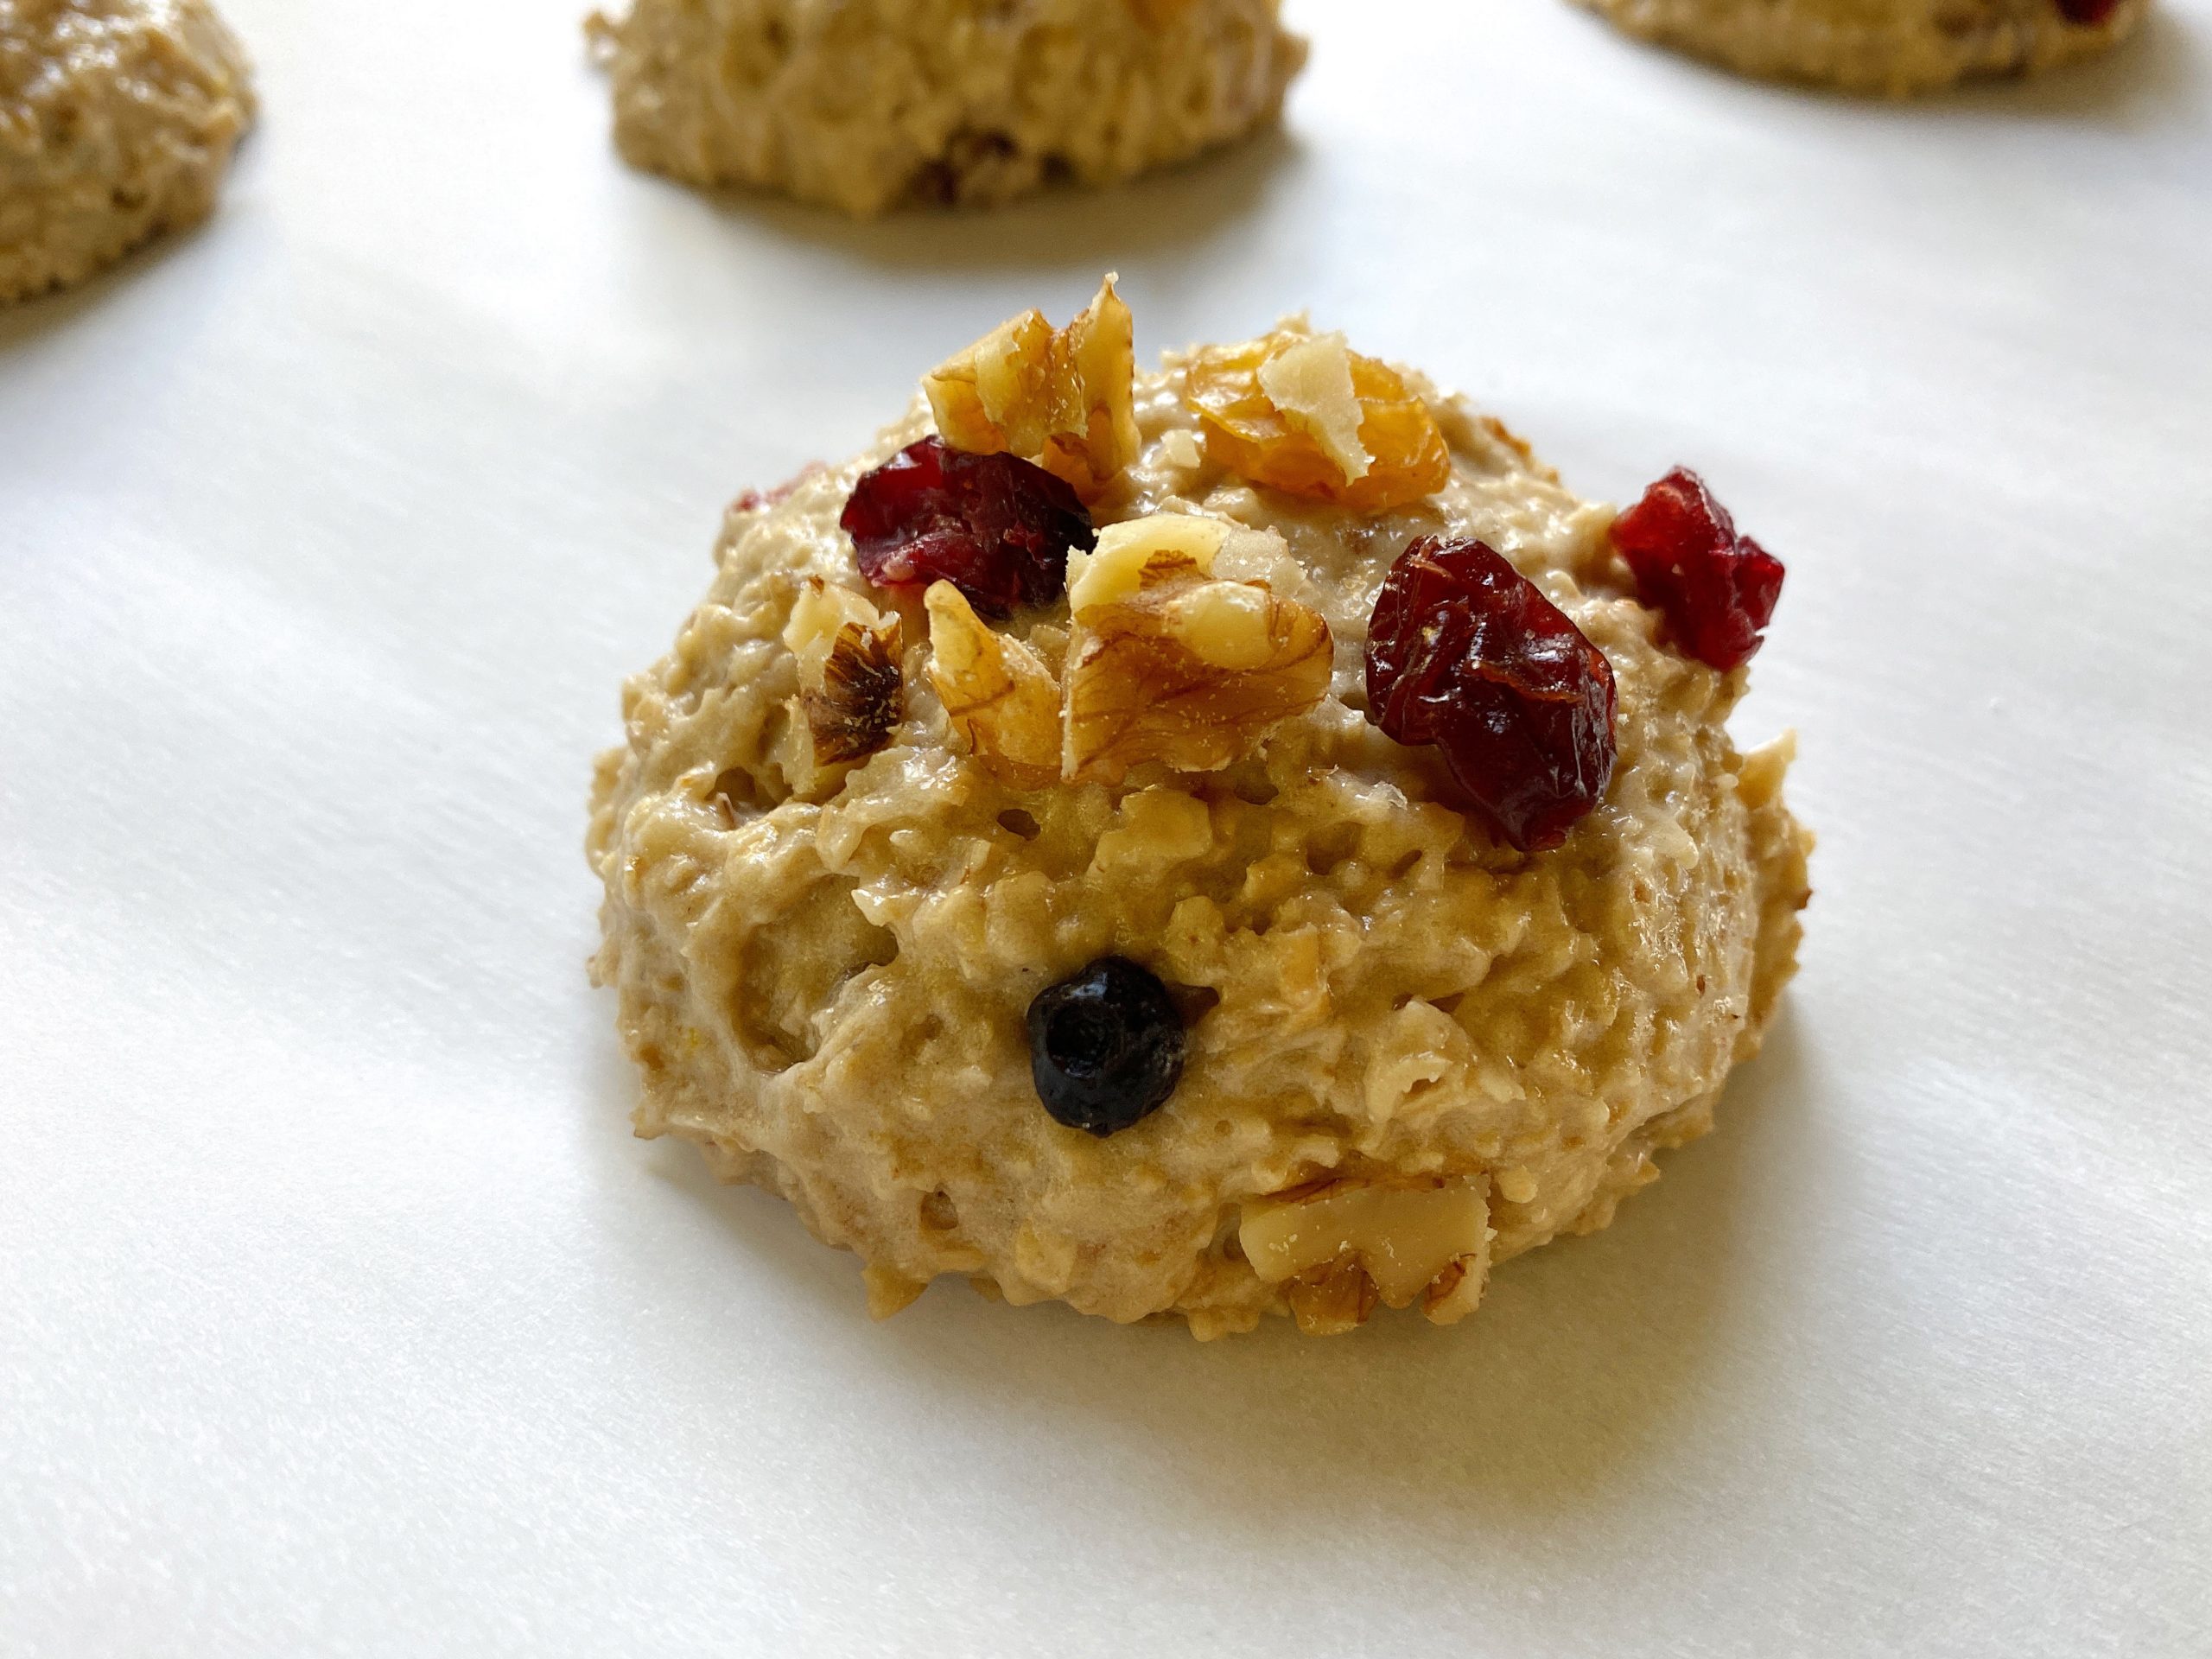
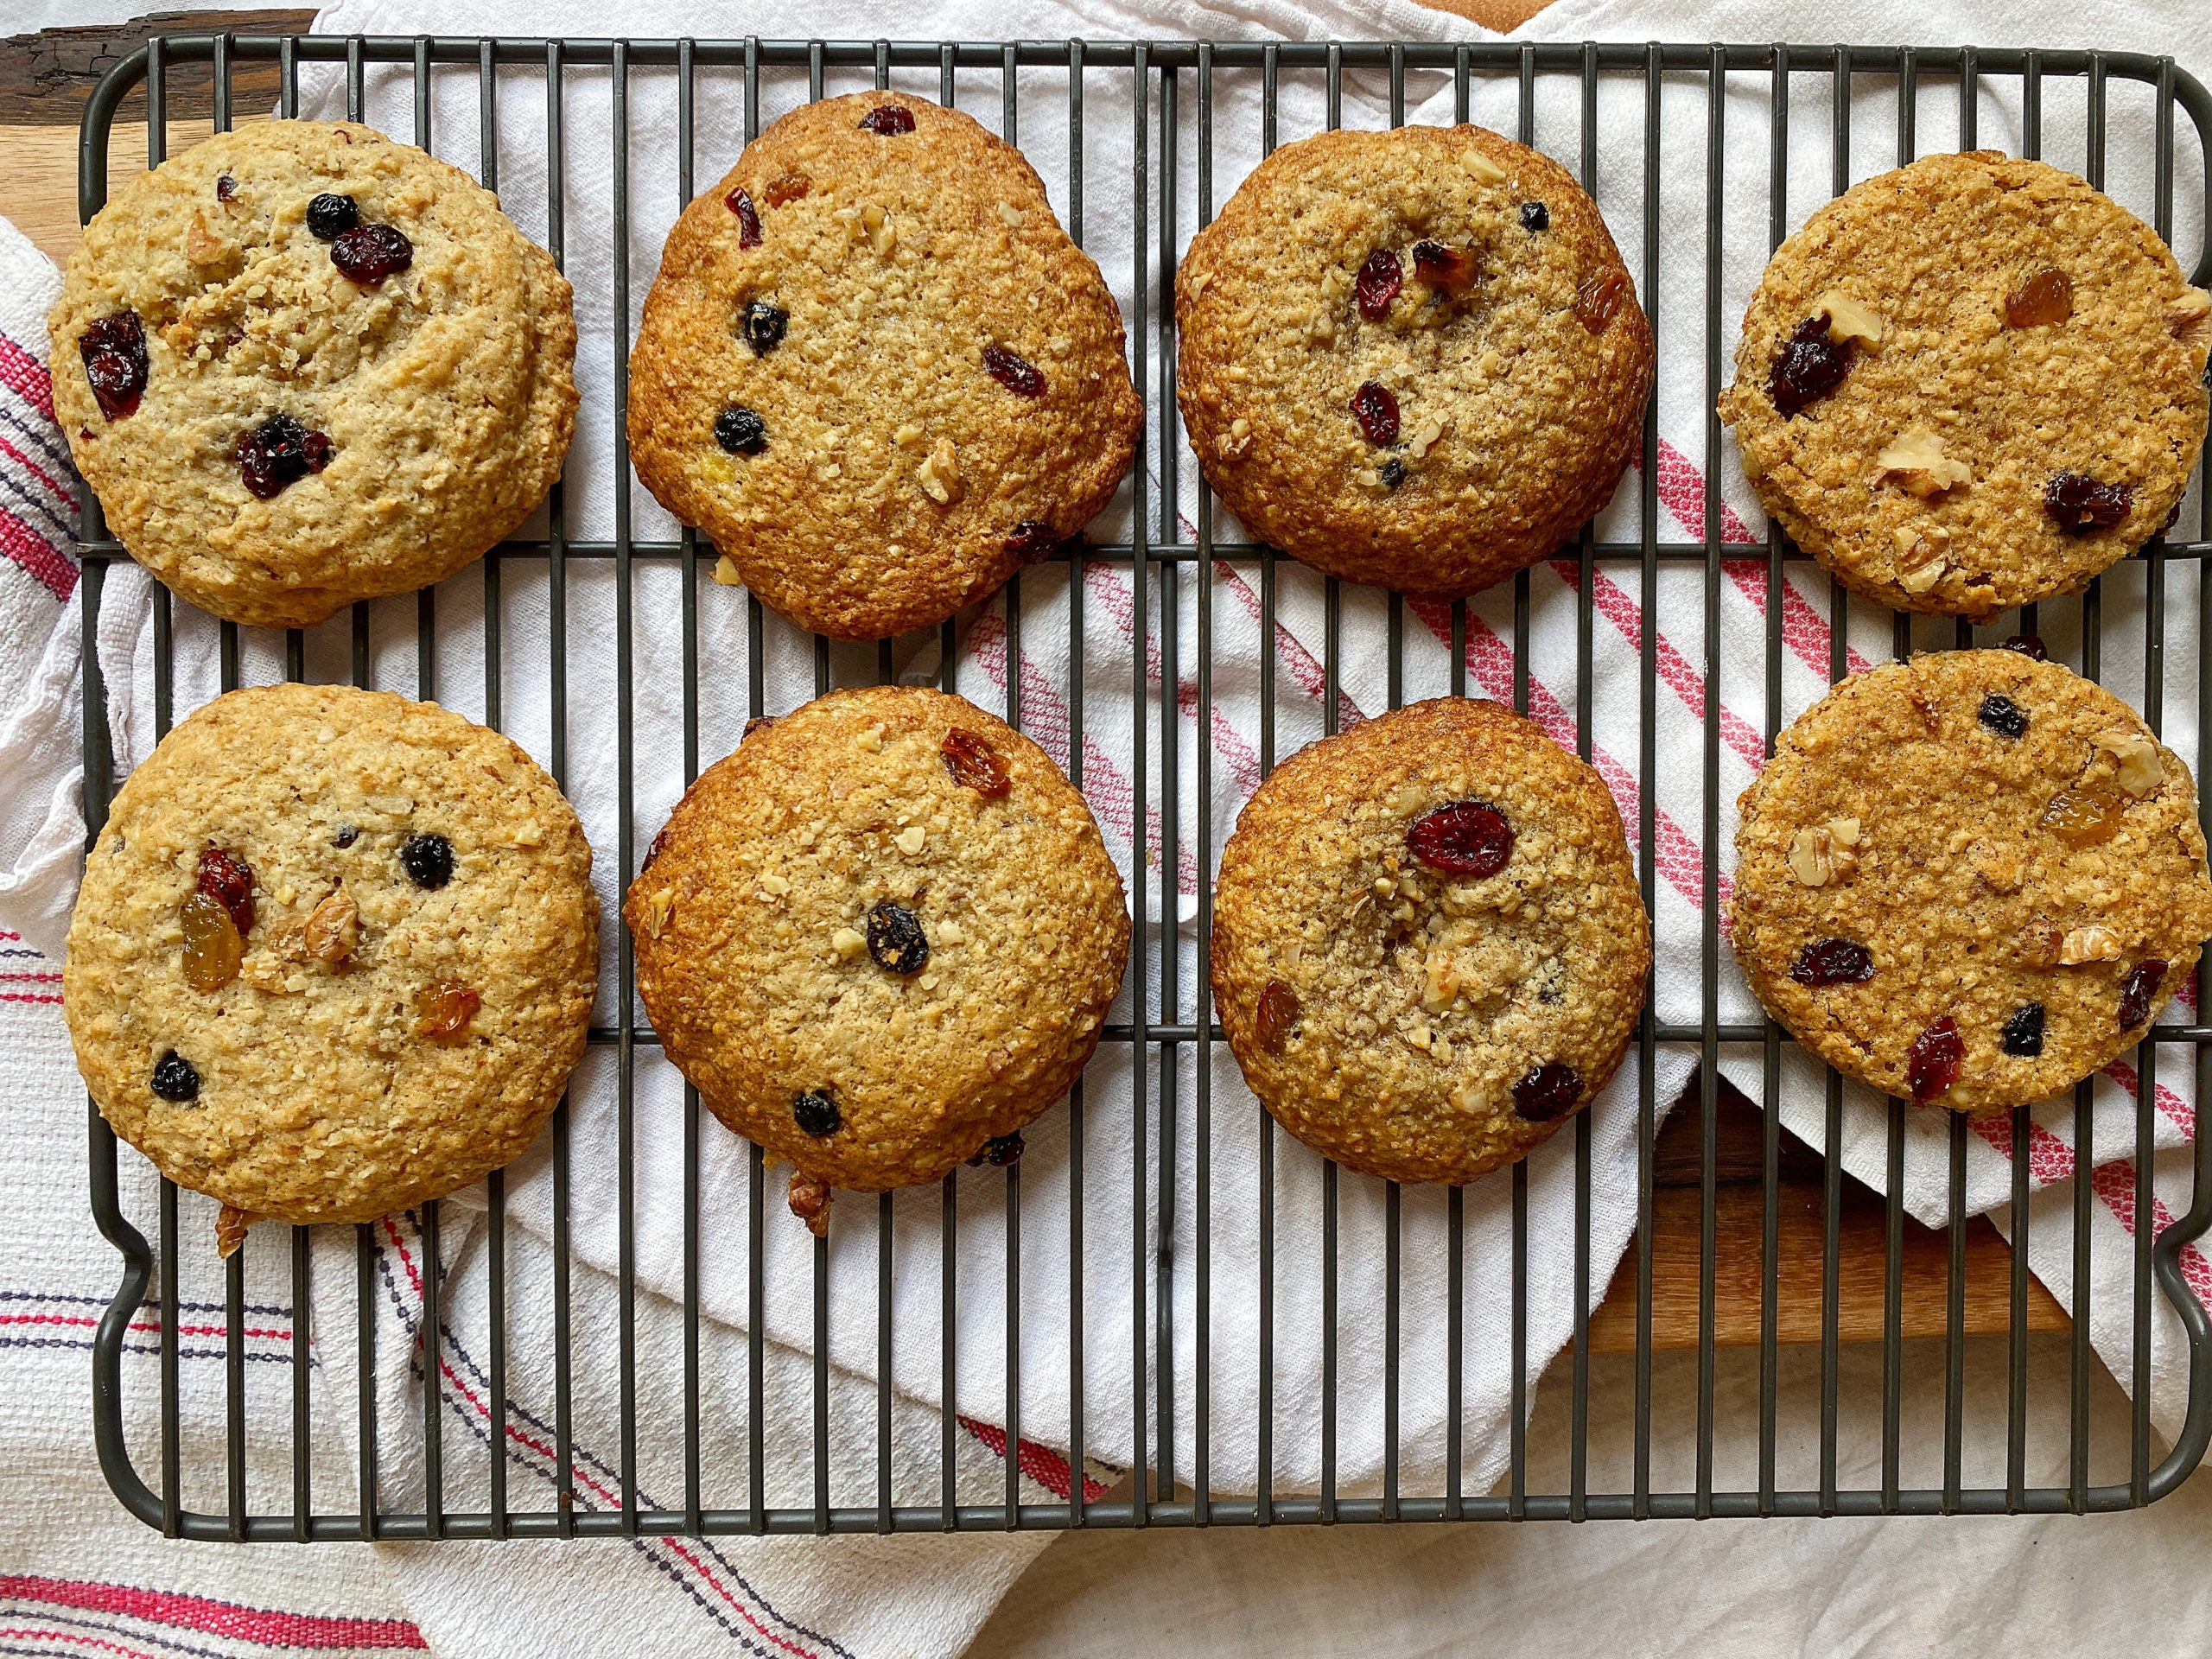
A little banana, a little nutty, a little sweet; delicious enough to please even the pickiest eaters. Whole grain, protein-packed, stuffed with nutrients; healthy enough to boost your students toward success. These cookies are a school-morning slam dunk!
Looking for another simple breakfast recipe? Try these Stone Fruit + Cream Cheese Puff Pastries.
Banana Nut Breakfast Cookies
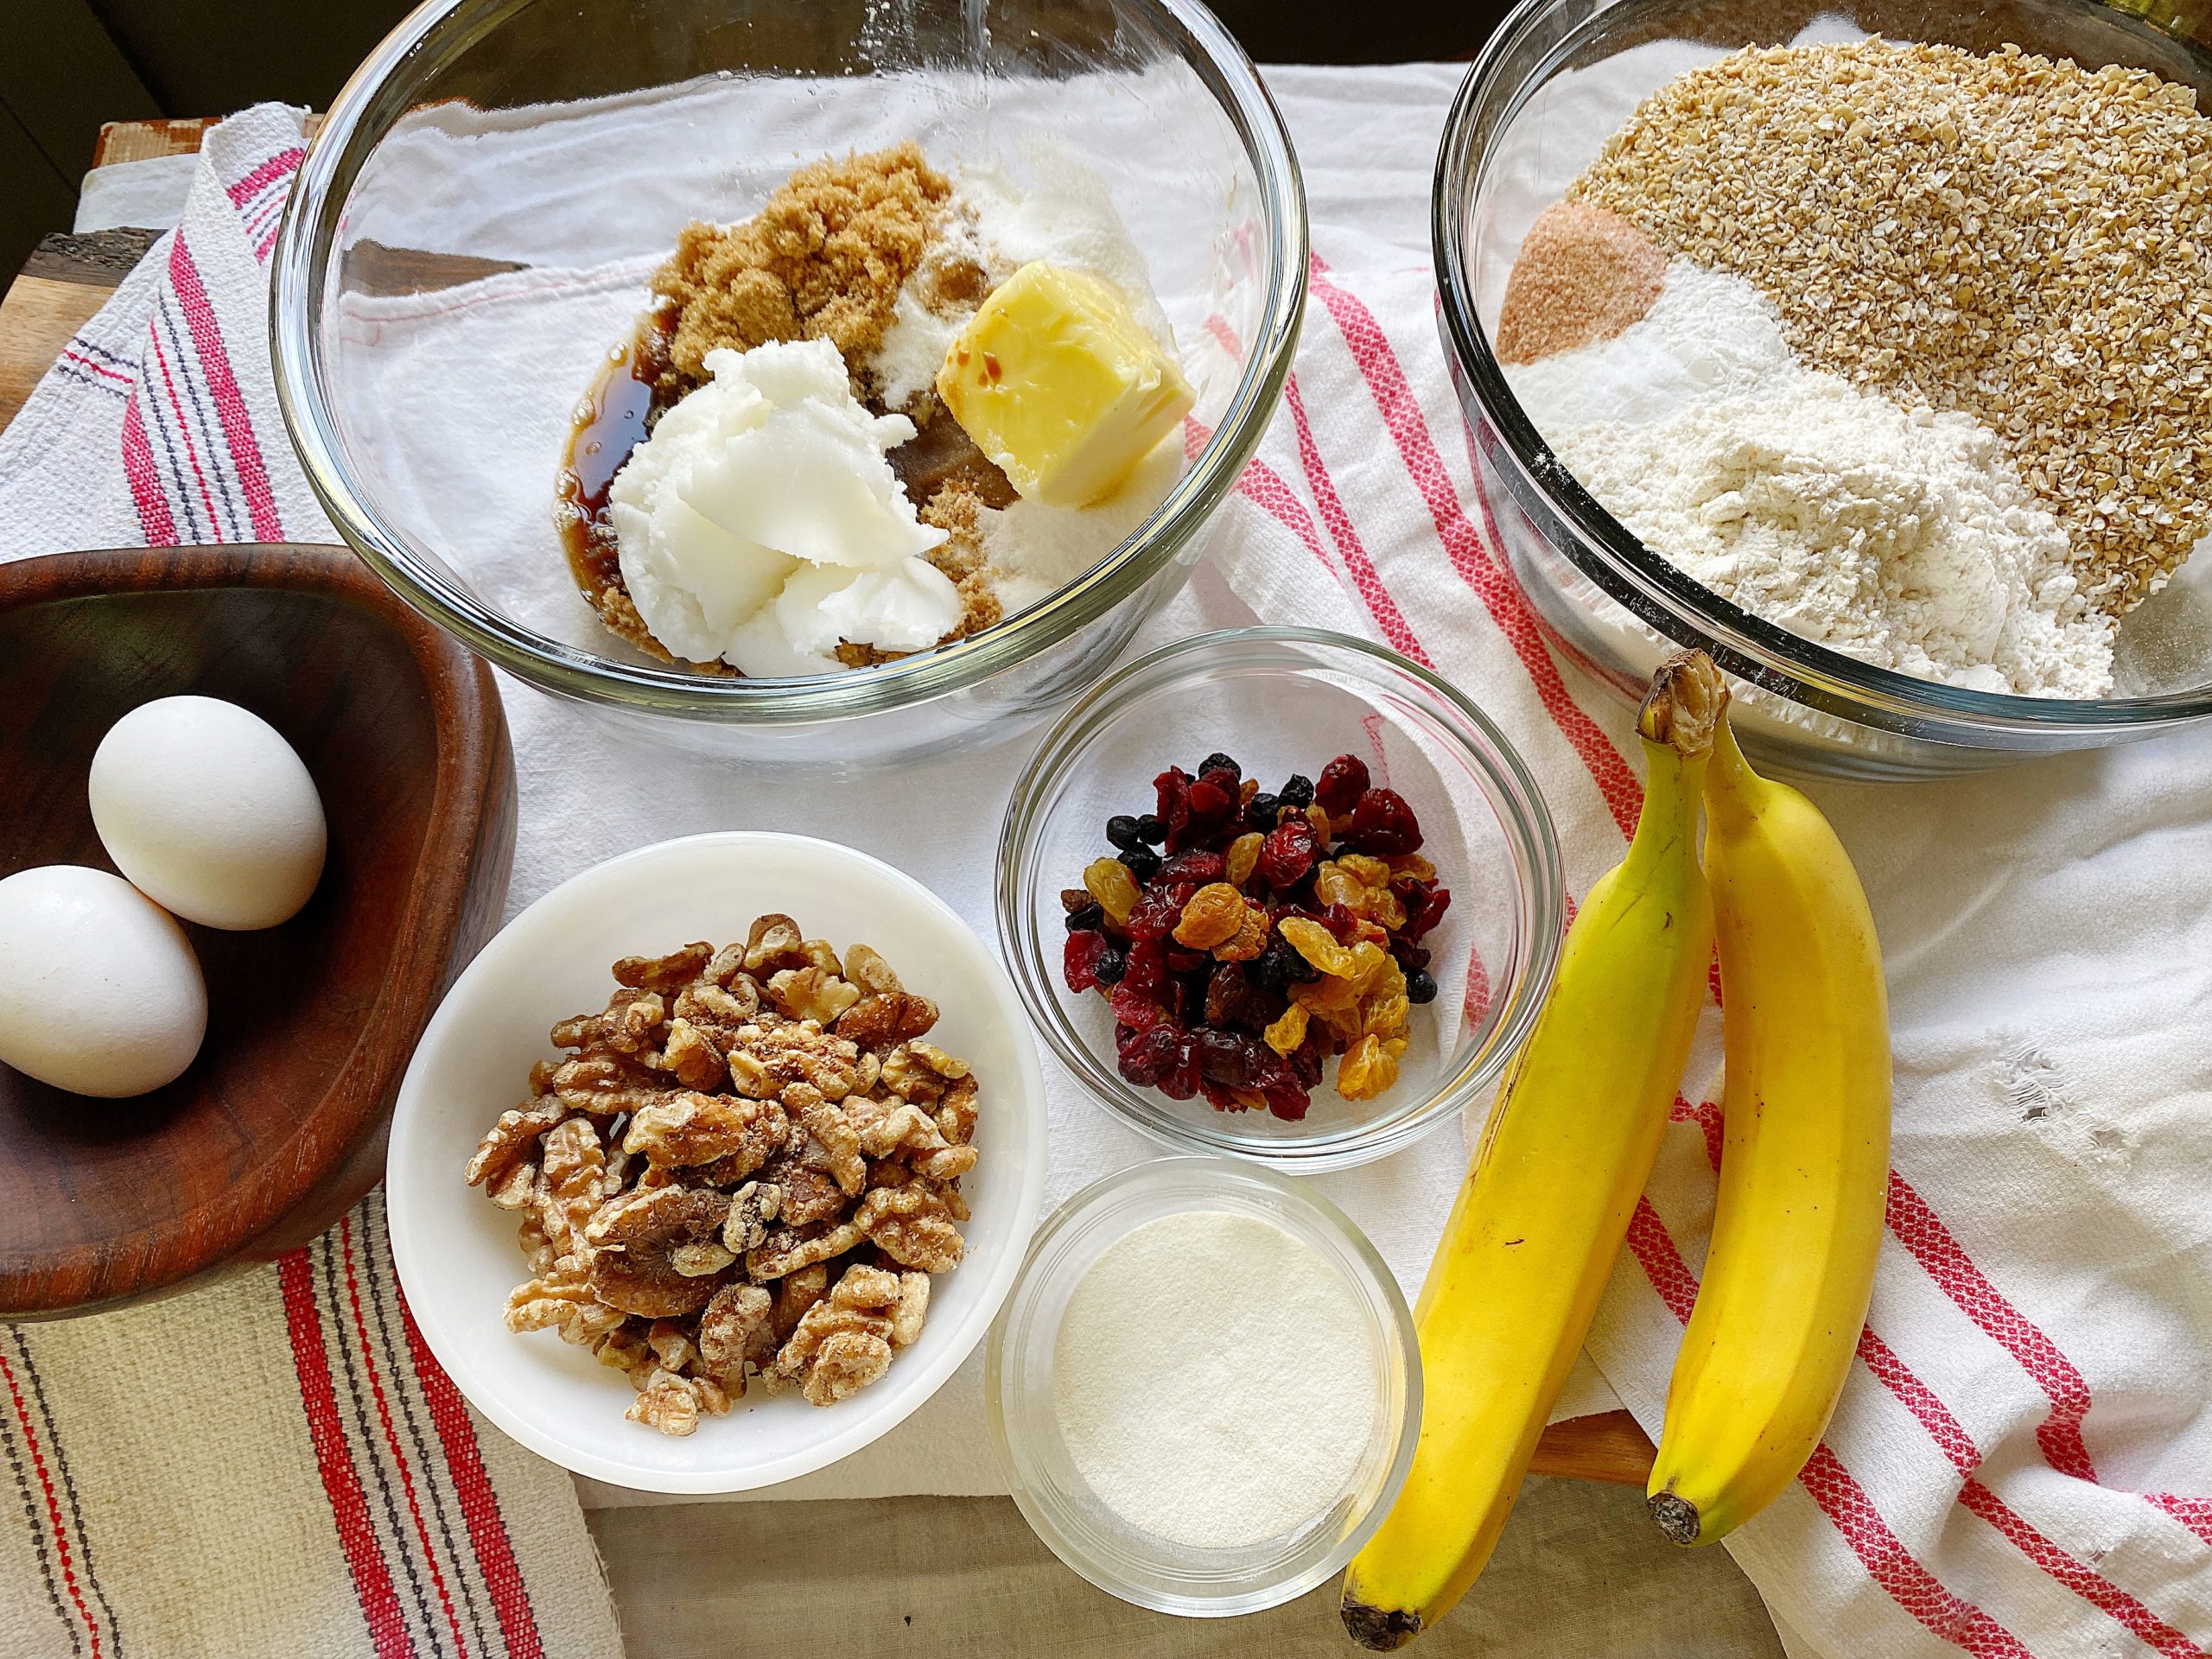
Ingredients:
- 3/4 c sugar
- 3/4 c brown sugar
- 1 stick butter, room temperature
- 4 oz coconut oil, melted
- 2 medium ripe bananas, mashed
- 2 eggs, room temperature
- 2-3 t vanilla
- 2-1/2 c ground oat flour
- 2 c flour
- 4 scoops collagen peptides (8 T) (optional)
- 1 t sea salt
- 2 t baking powder
- 1 t baking soda
- 1/2 c dried berries or raisins
- 1 c walnuts
Directions:
- If preparing within the hour, preheat oven to 350°. Combine sugars and fats in the bowl of a stand mixer. After whipping these ingredients together, add mashed bananas, eggs & vanilla.
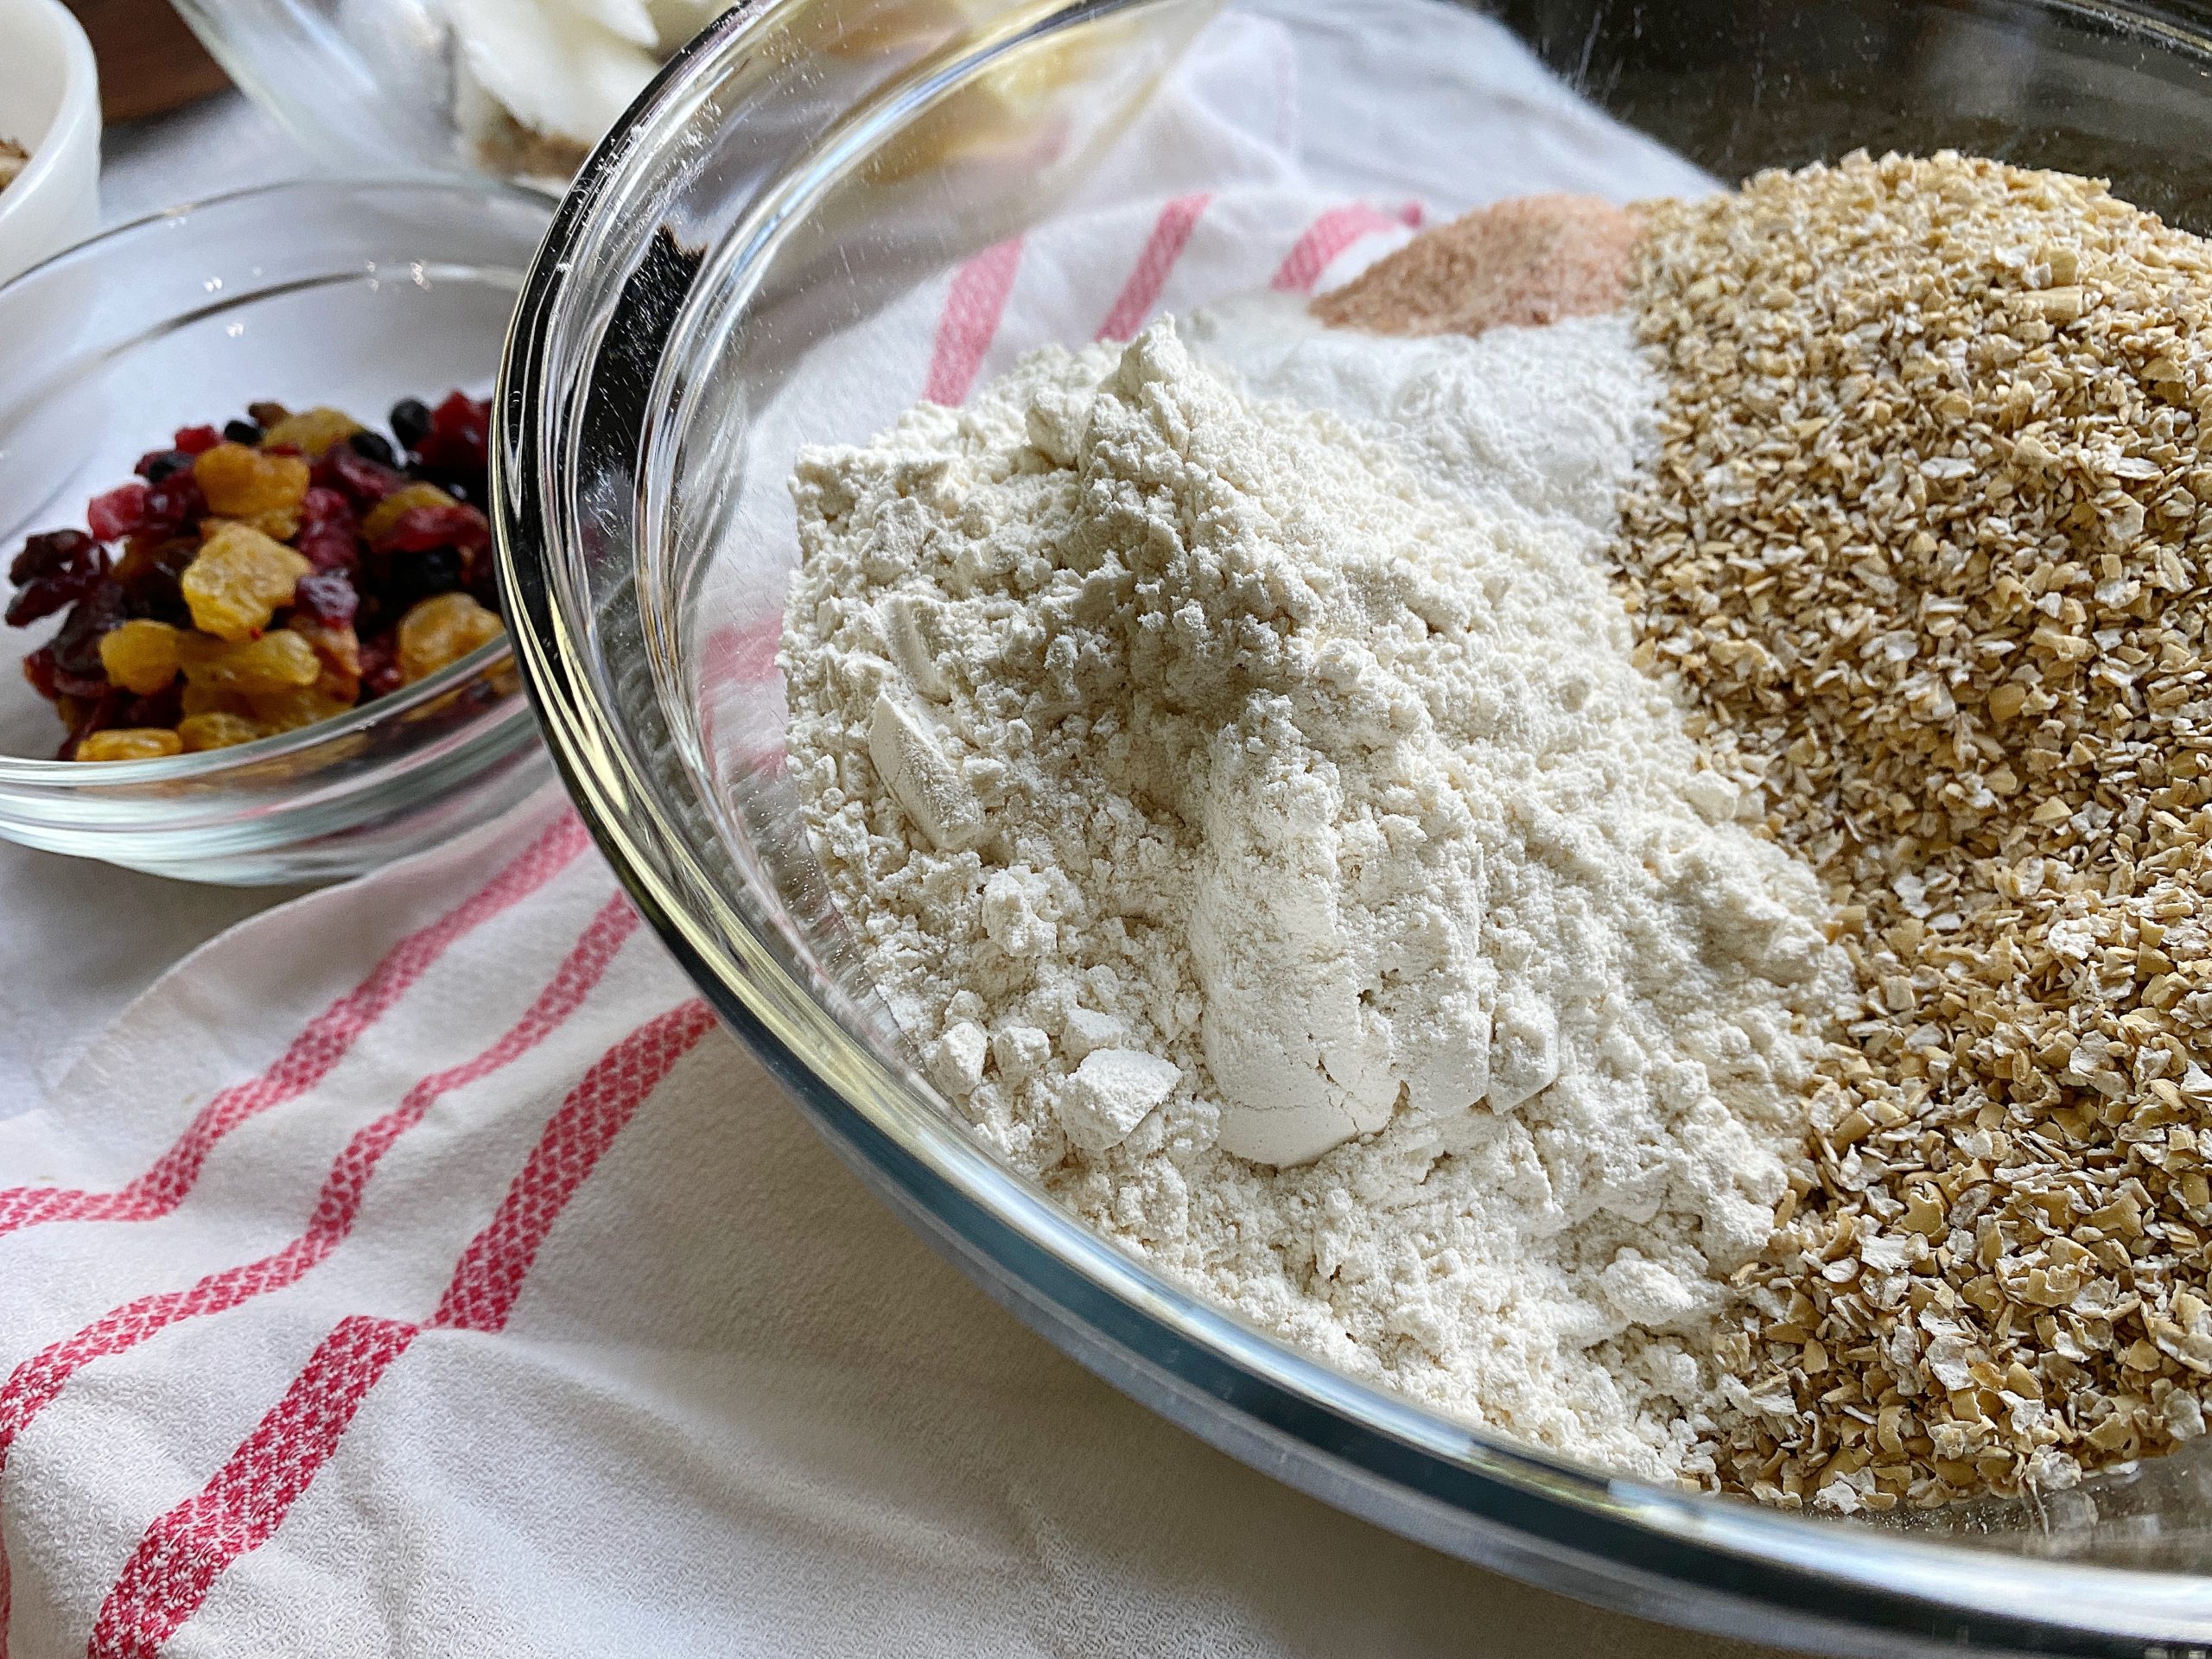
- In a separate bowl, combine oat flour, flour, salt, baking soda, baking powder & collagen. Add dry ingredients to the stand mixer slowly to combine. Be sure to scrape the sides and continuing to mix until evenly incorporated.
- Stir in the dried fruit and nuts.
- Using a 2 ounce scoop, drop dough onto a parchment-lined baking sheet and refrigerate 1 hour to overnight. At this point you can either store in freezer bags and freeze up to 3 months or bake.
- To bake, place 5-7 cookie dough balls onto a parchment-lined baking sheet 2″ apart.
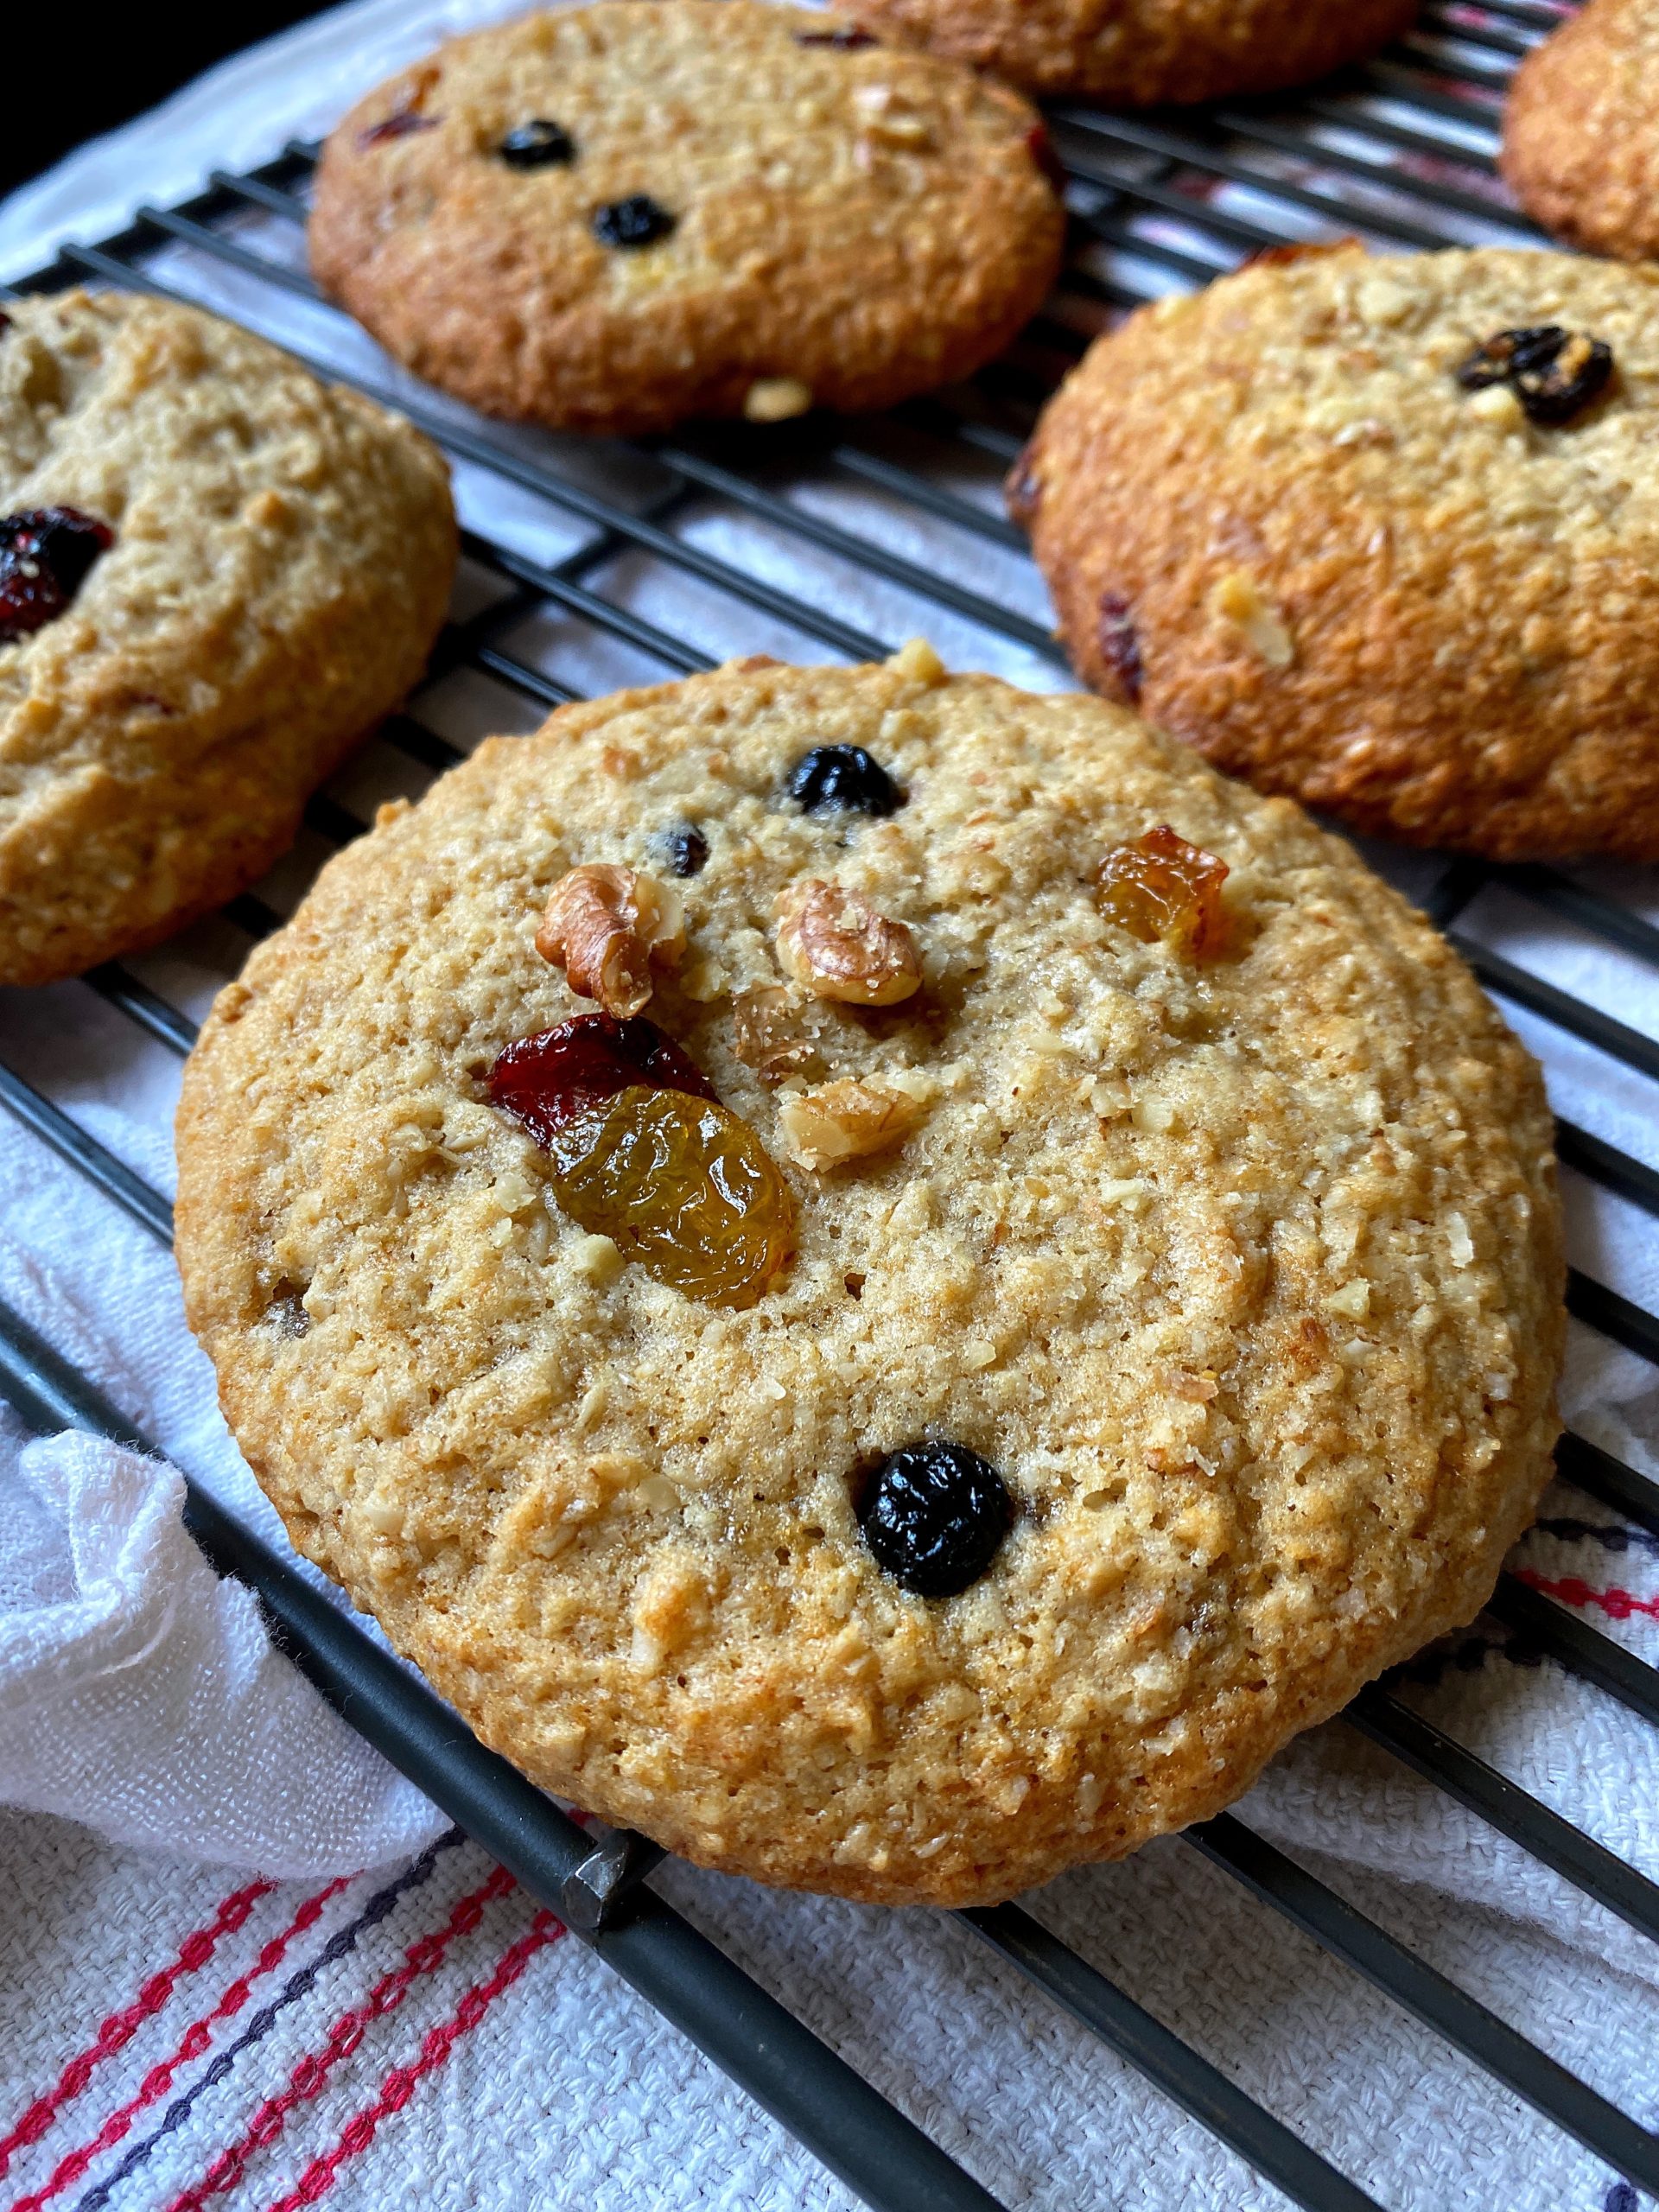
- Bake cookies for 10-12 minutes or until lightly golden around the edges.
- Allow cookies to cool for 5 minutes before serving.
- Makes 20 – 2 ounce cookies.
* if dough balls are frozen, bake 16-18 minutes @ 350°.

The post Big Banana Nut Breakfast Cookies appeared first on Sinkology.
source https://www.sinkology.com/blog/big-banana-nut-breakfast-cookies/