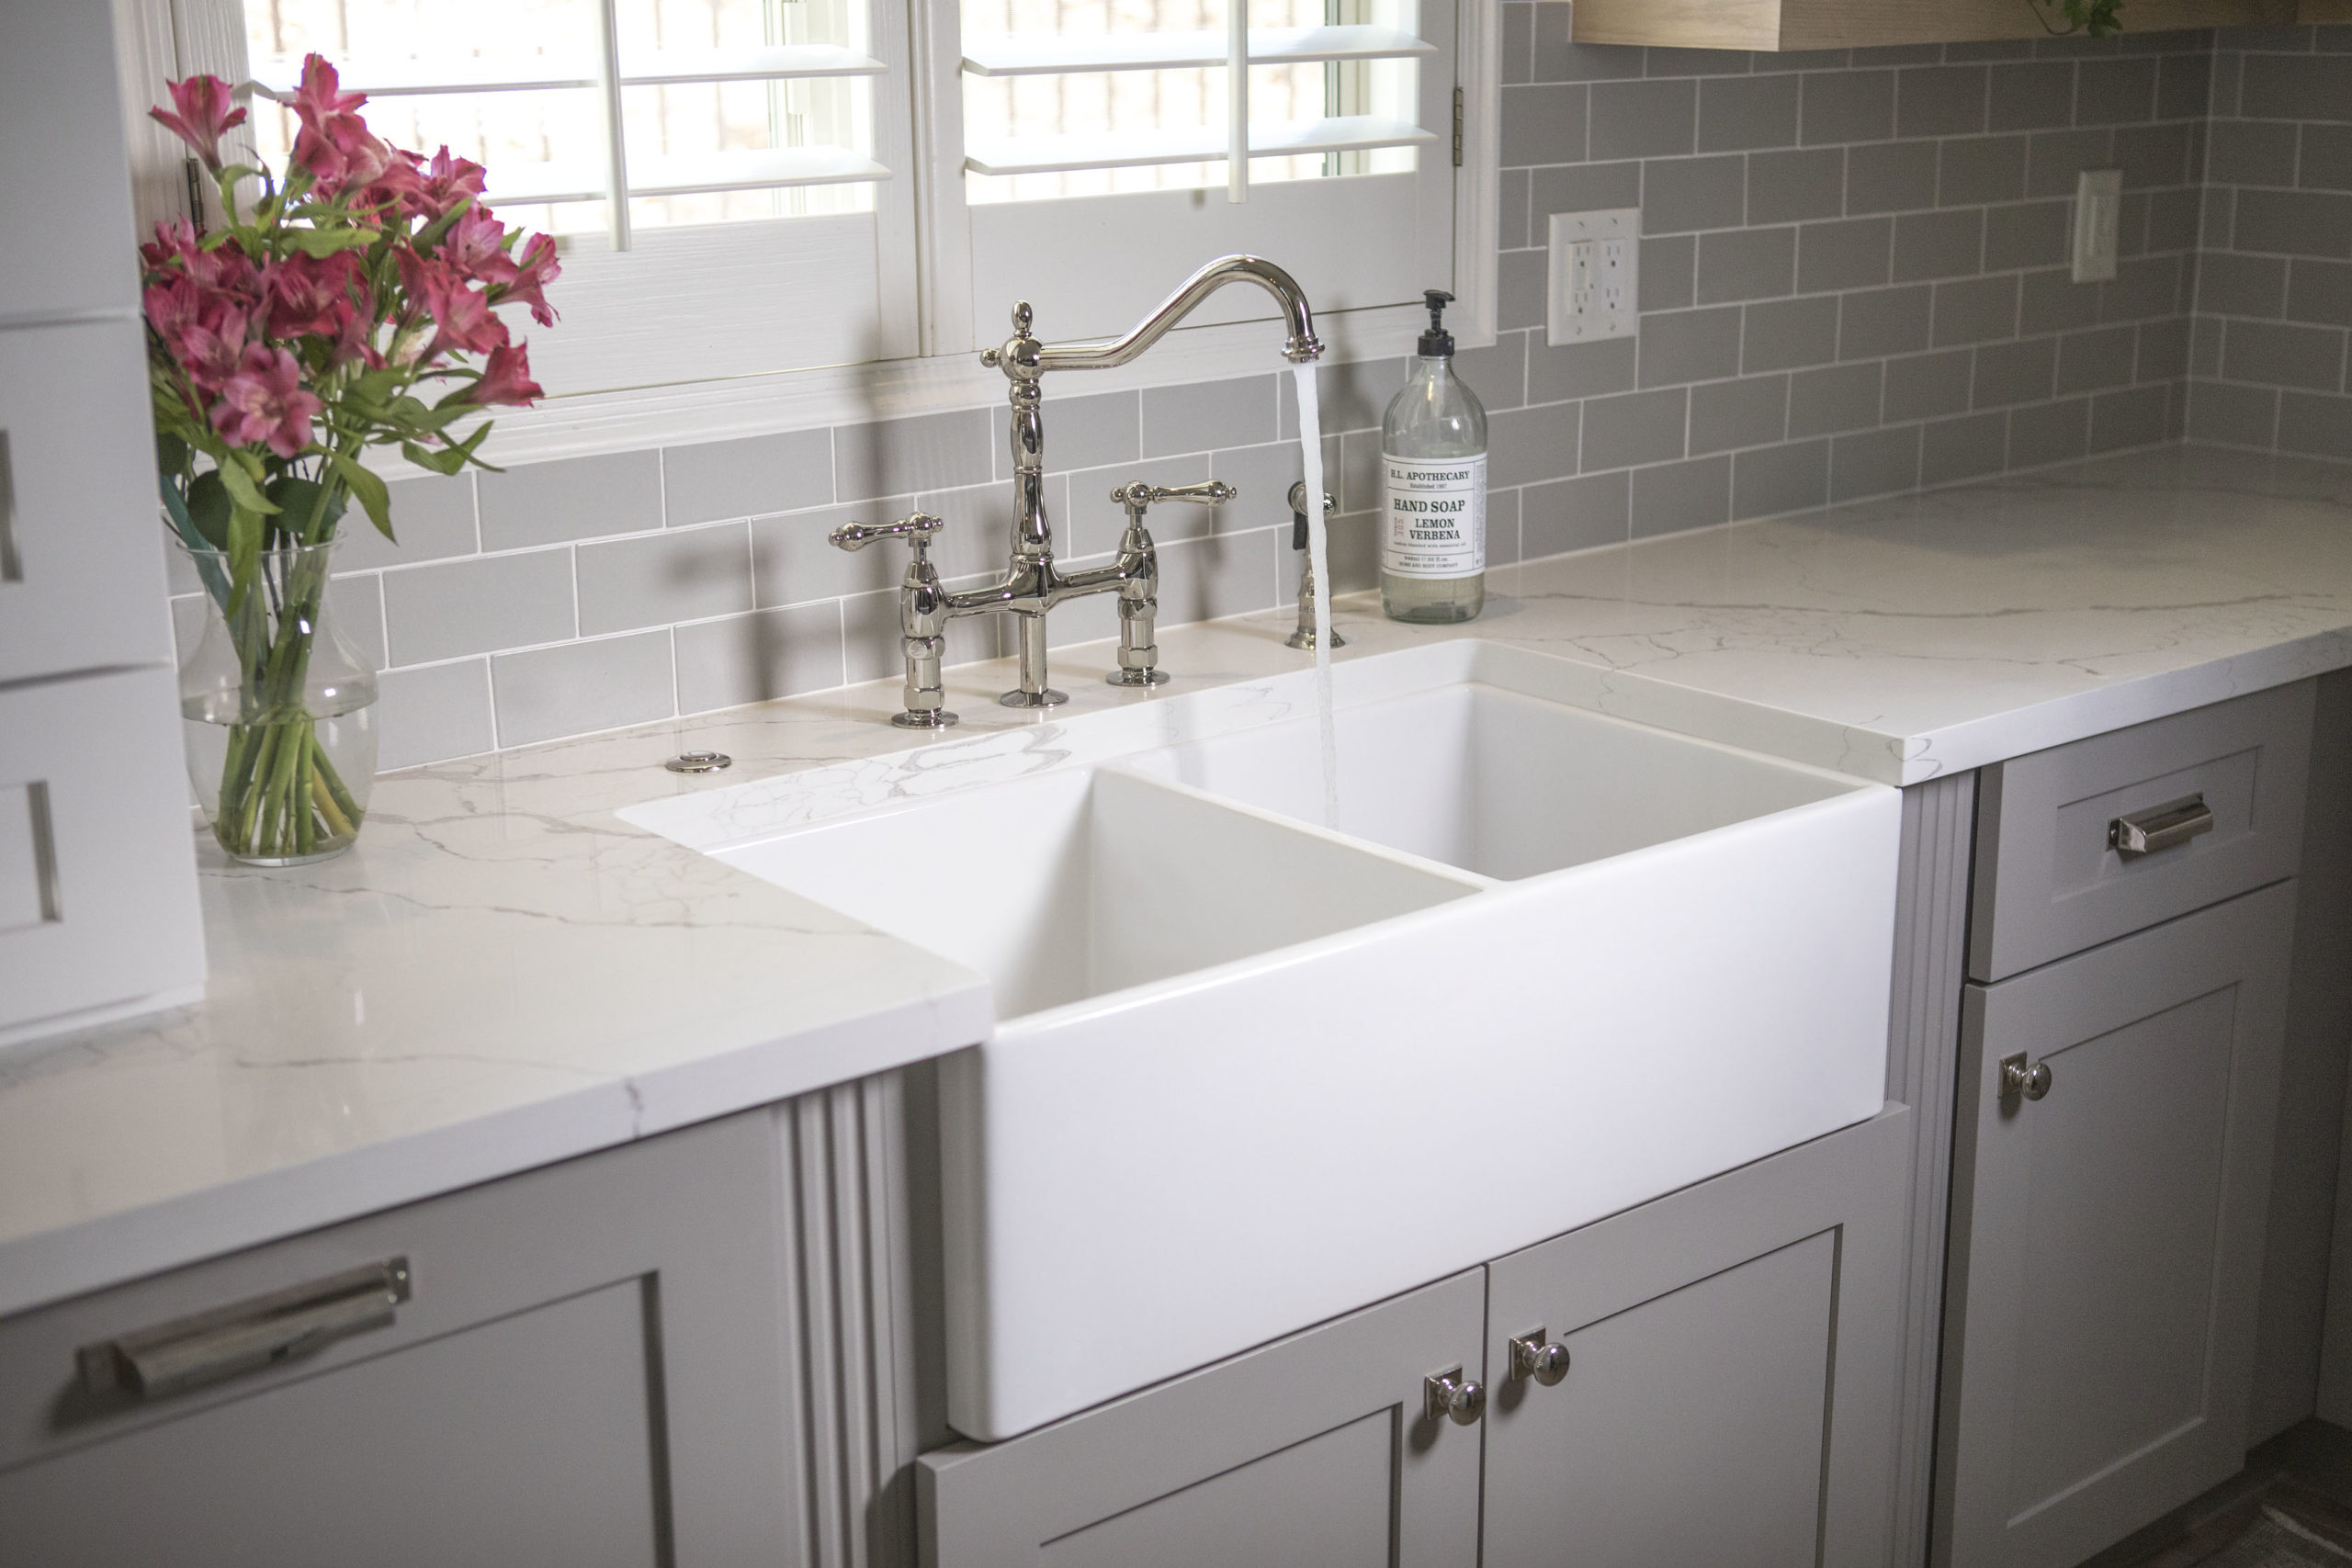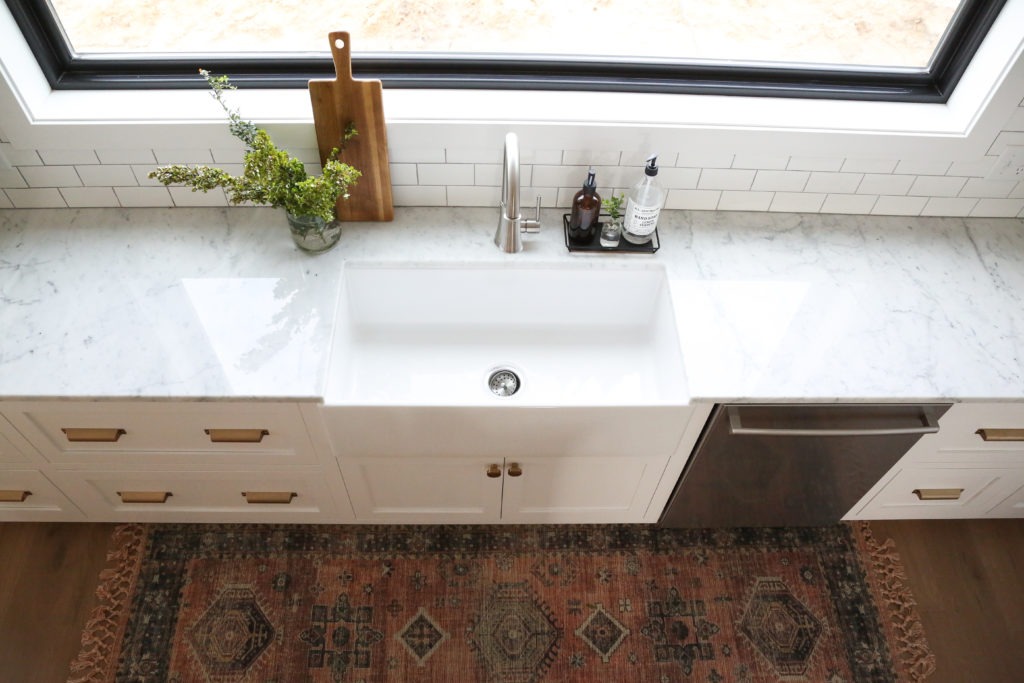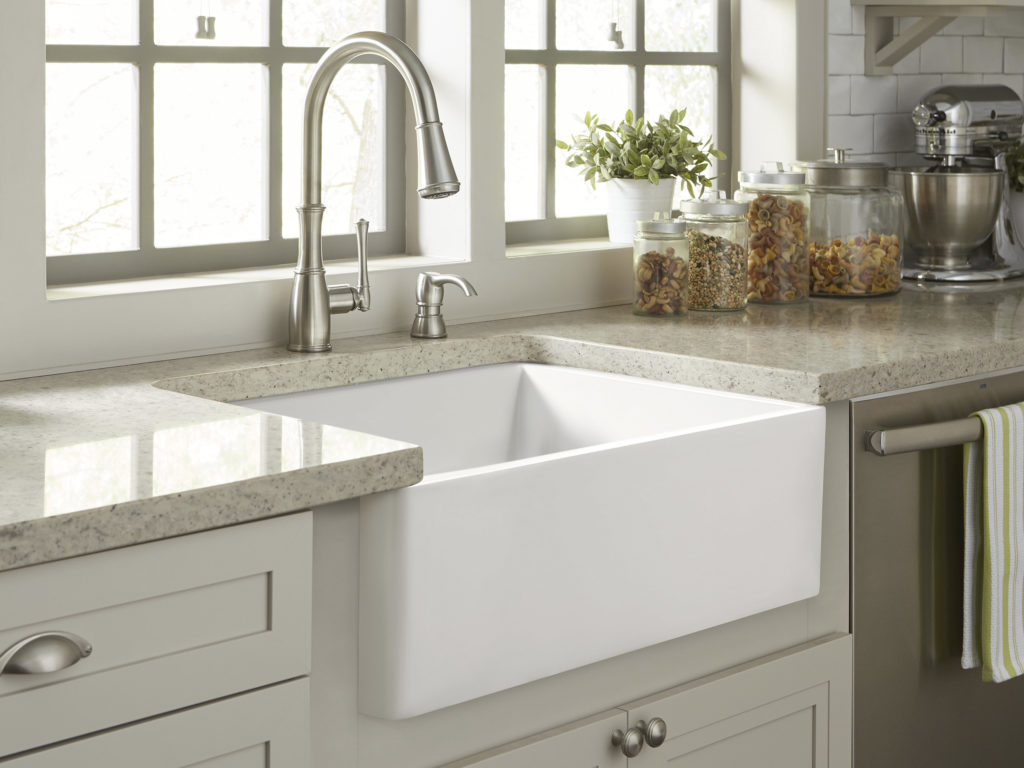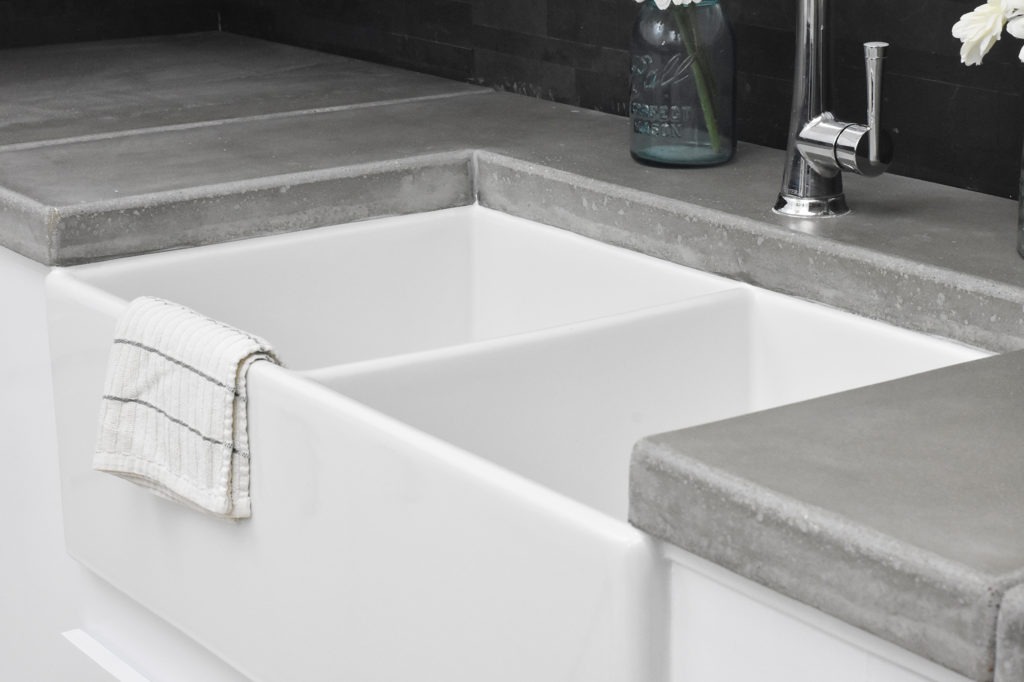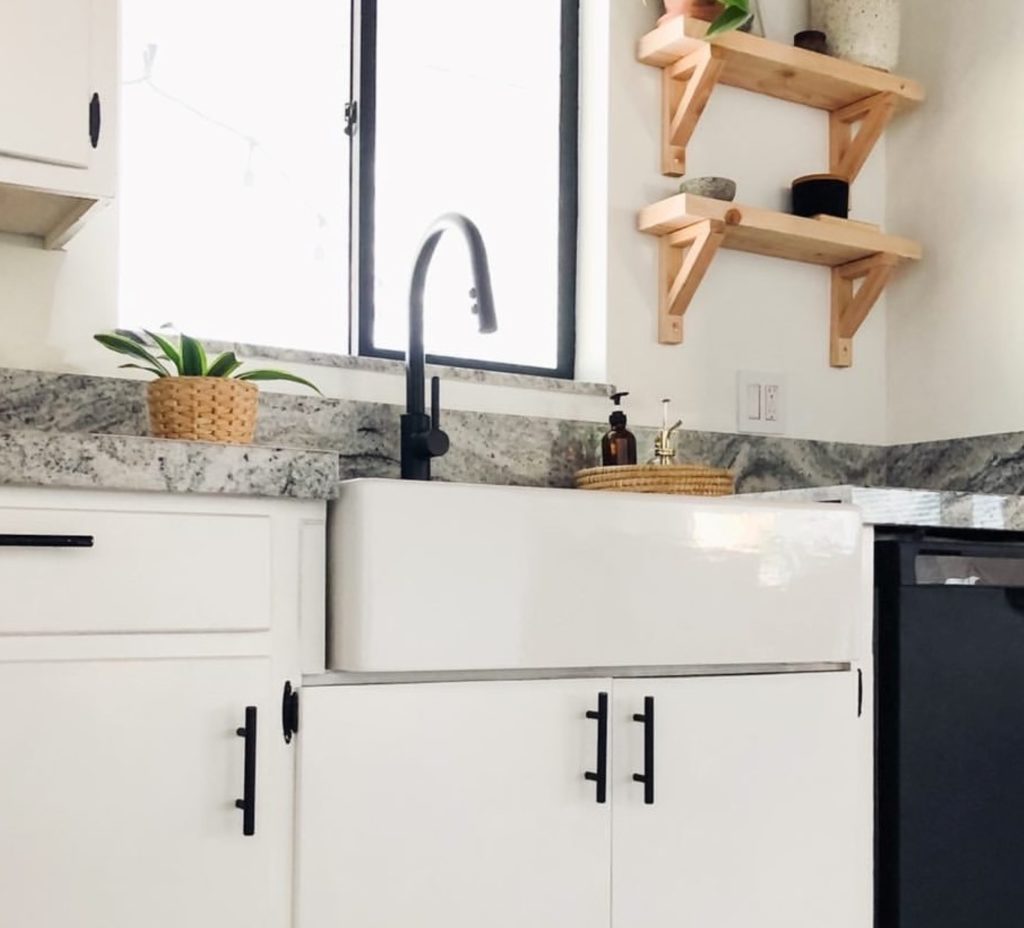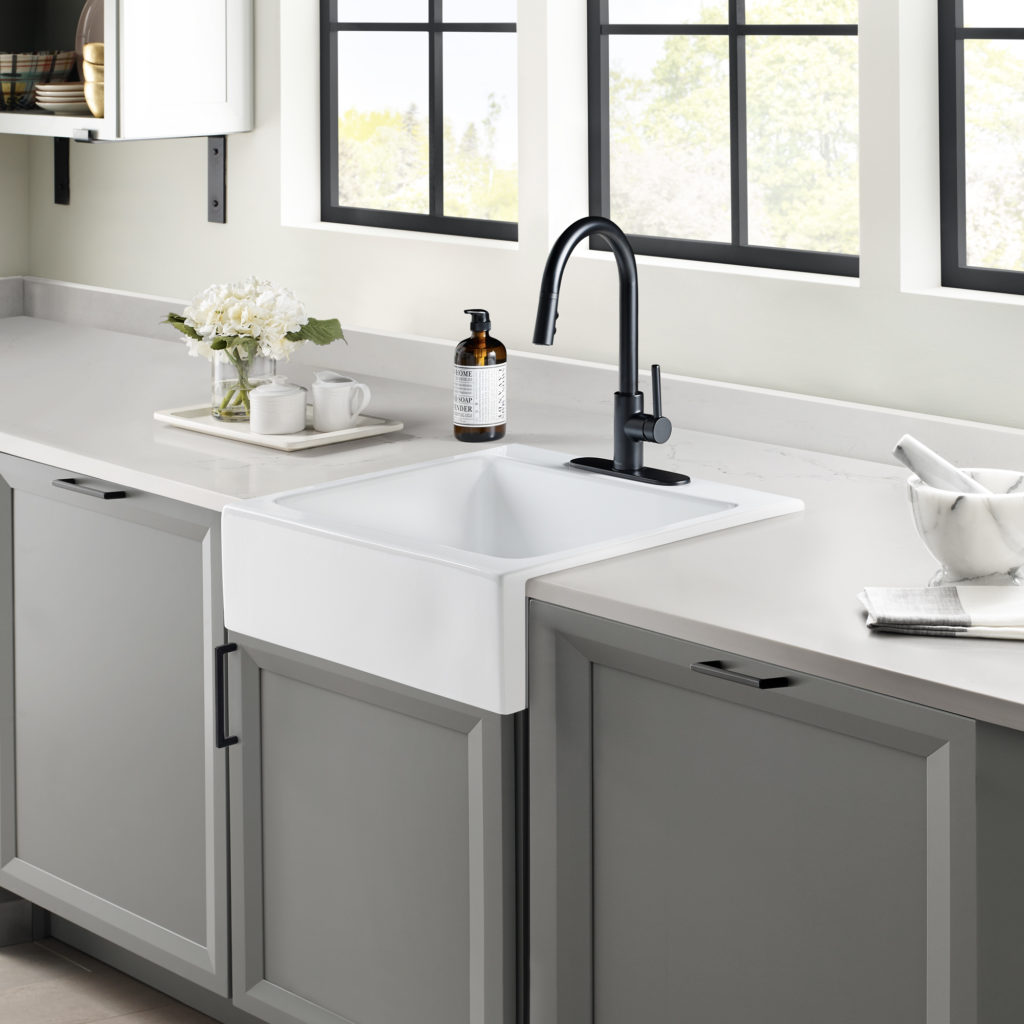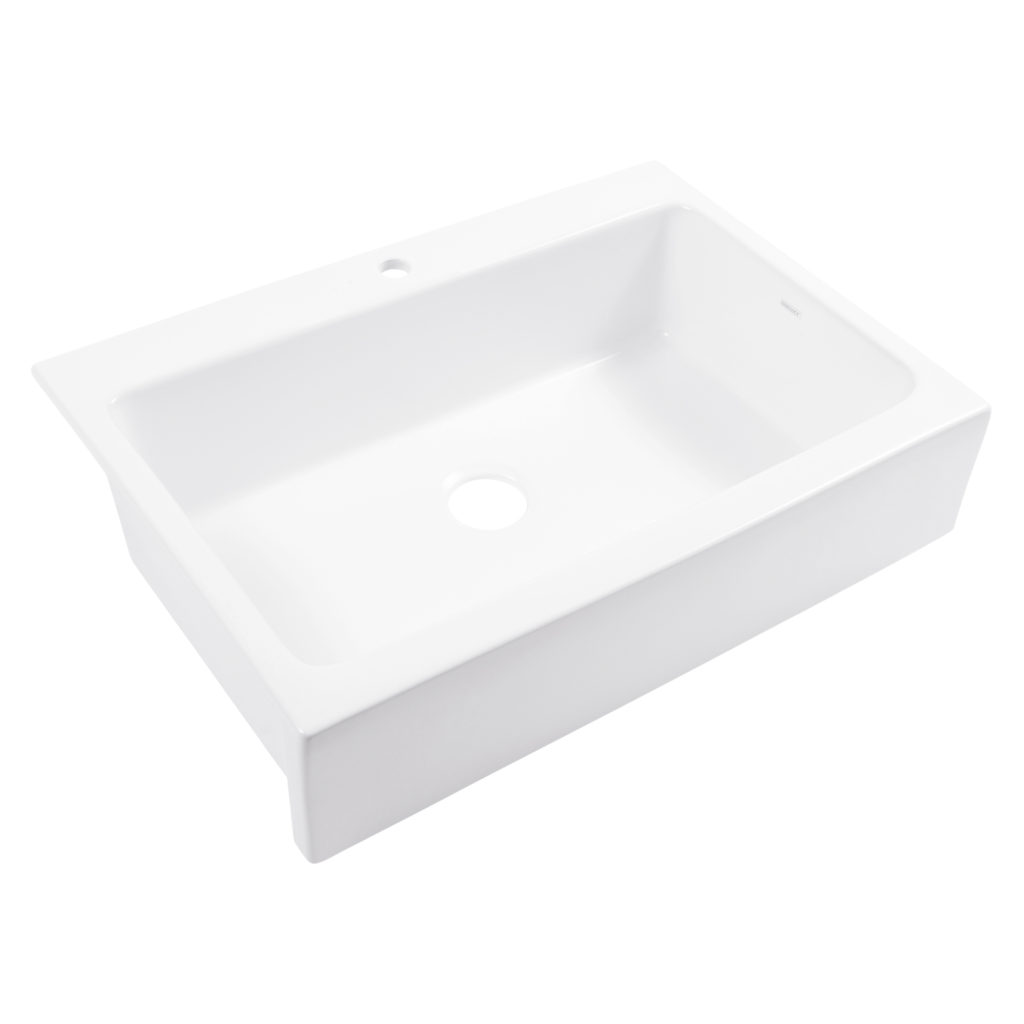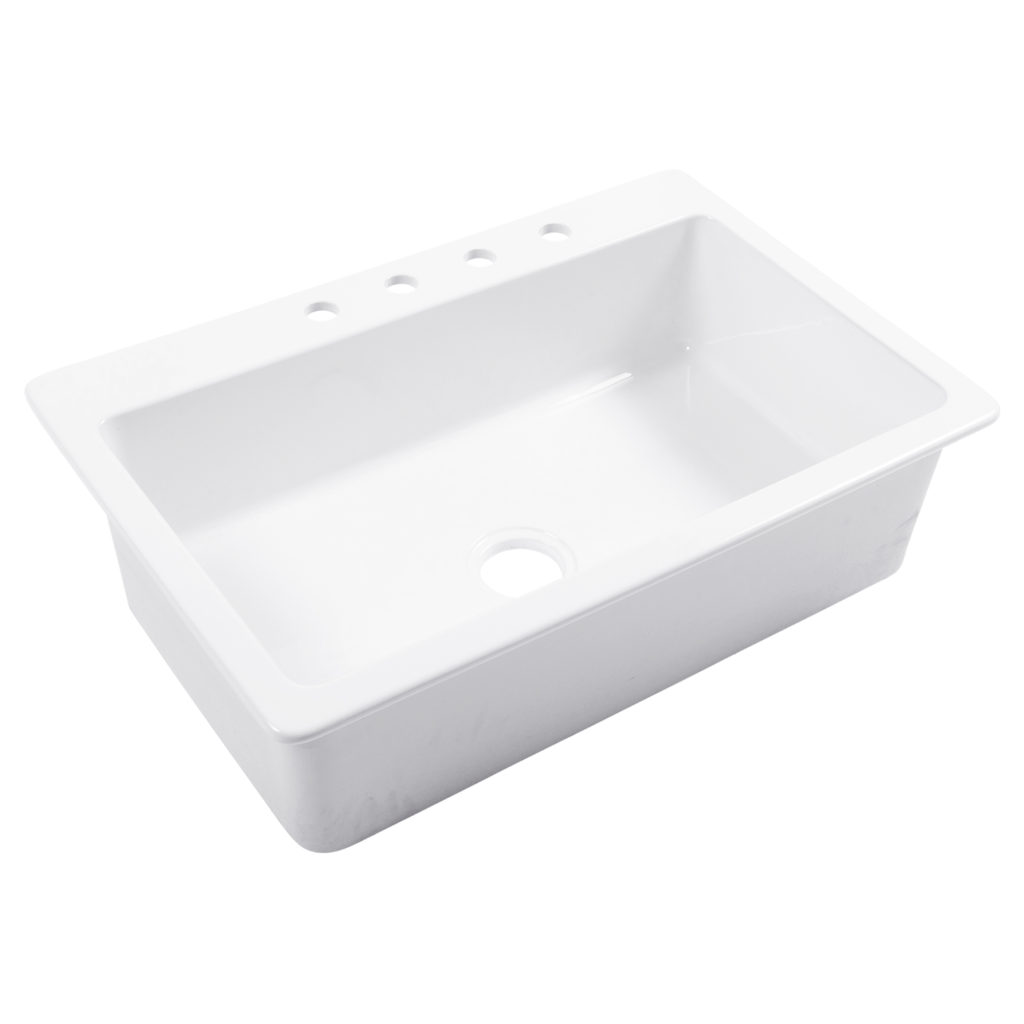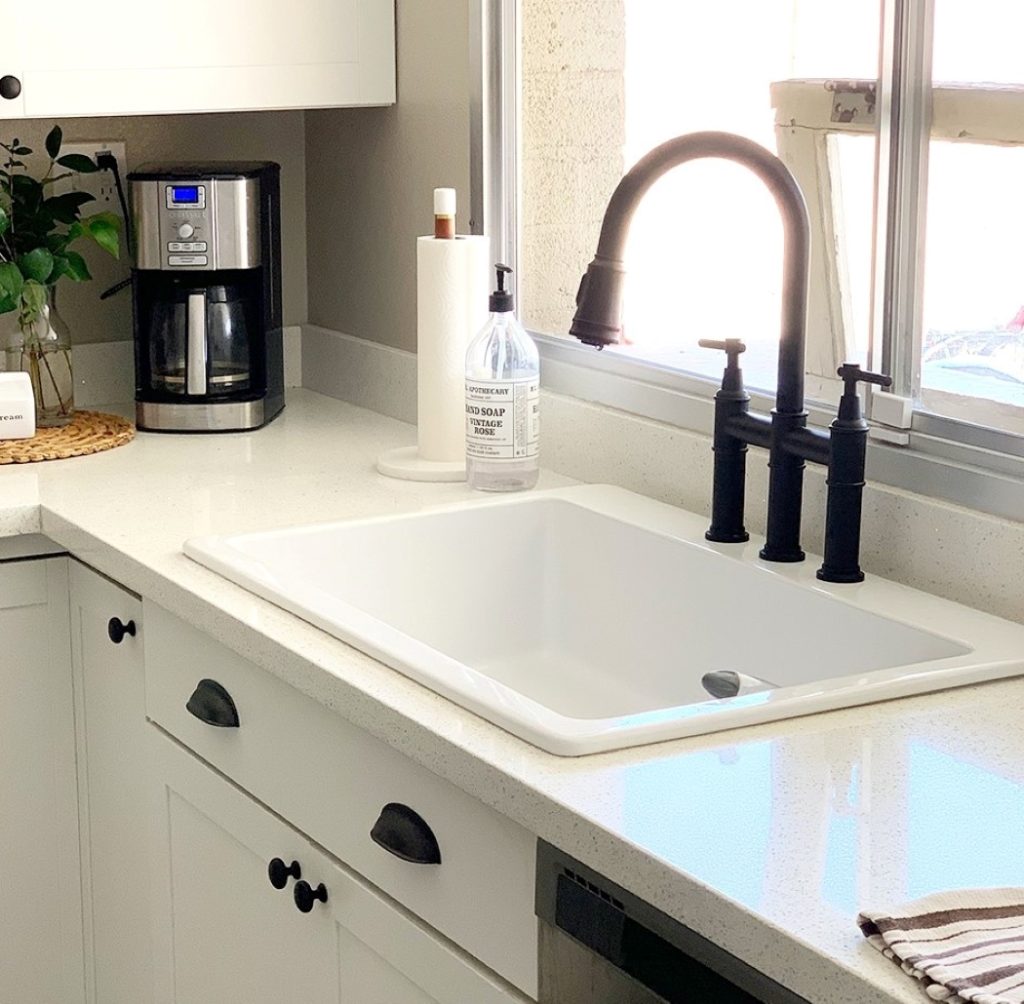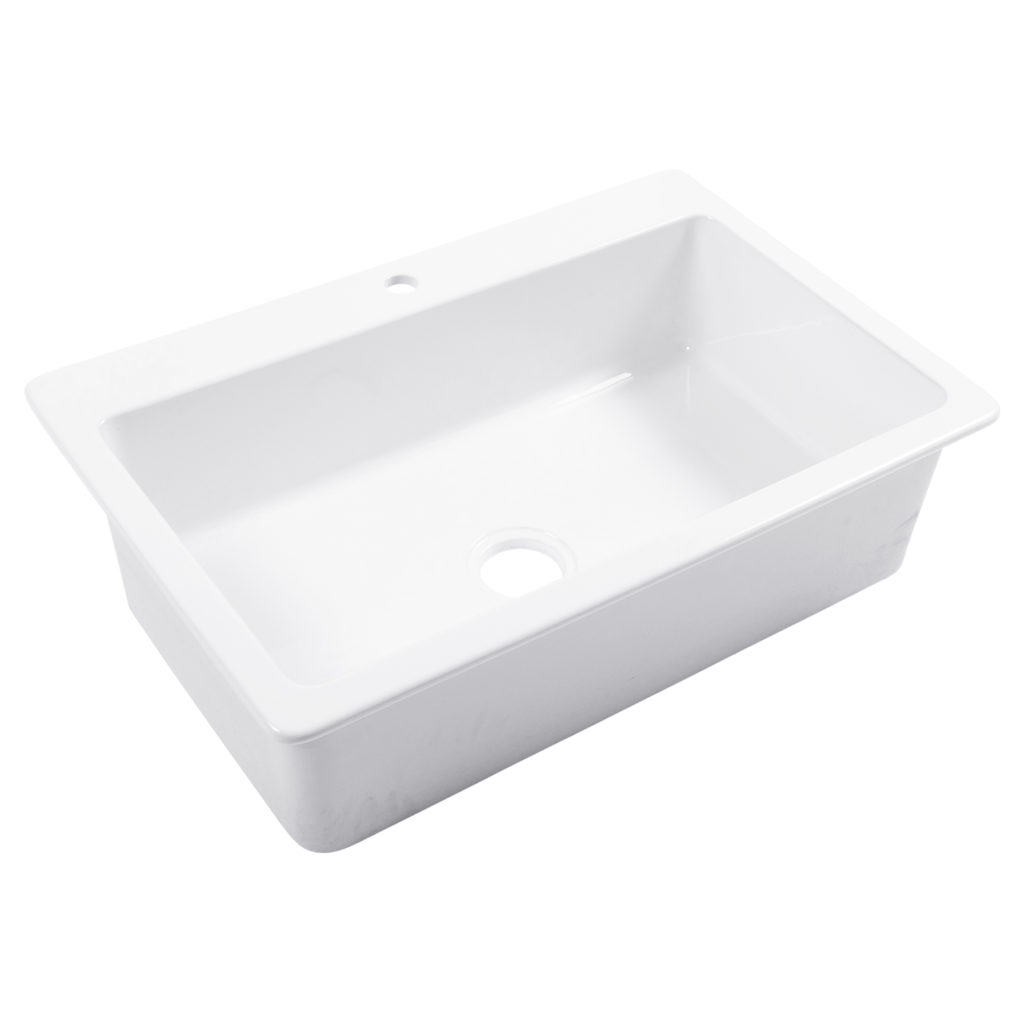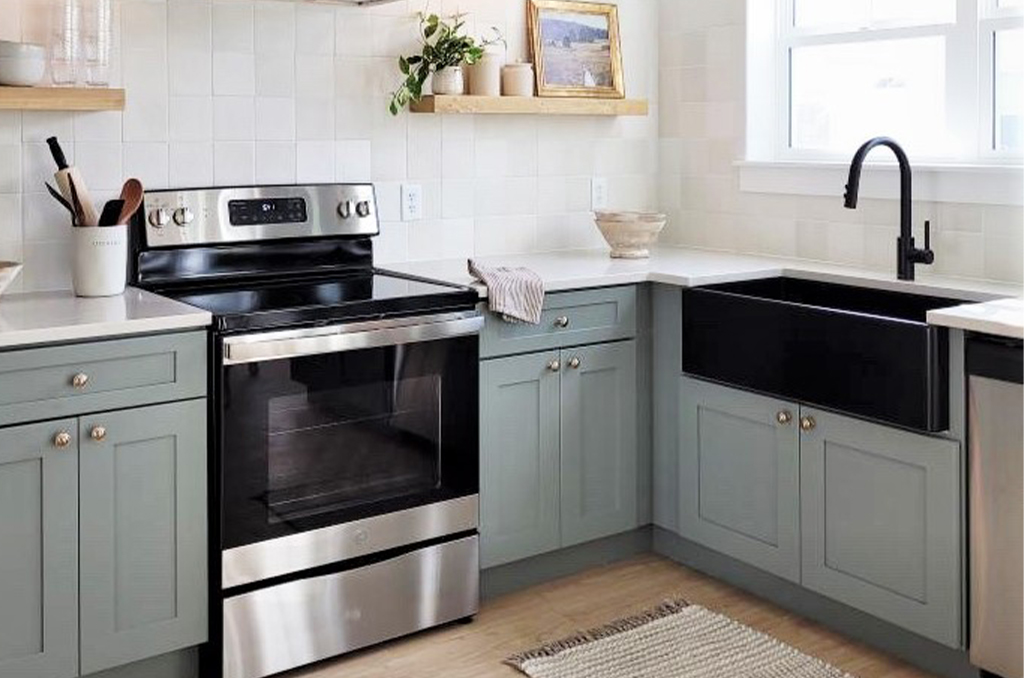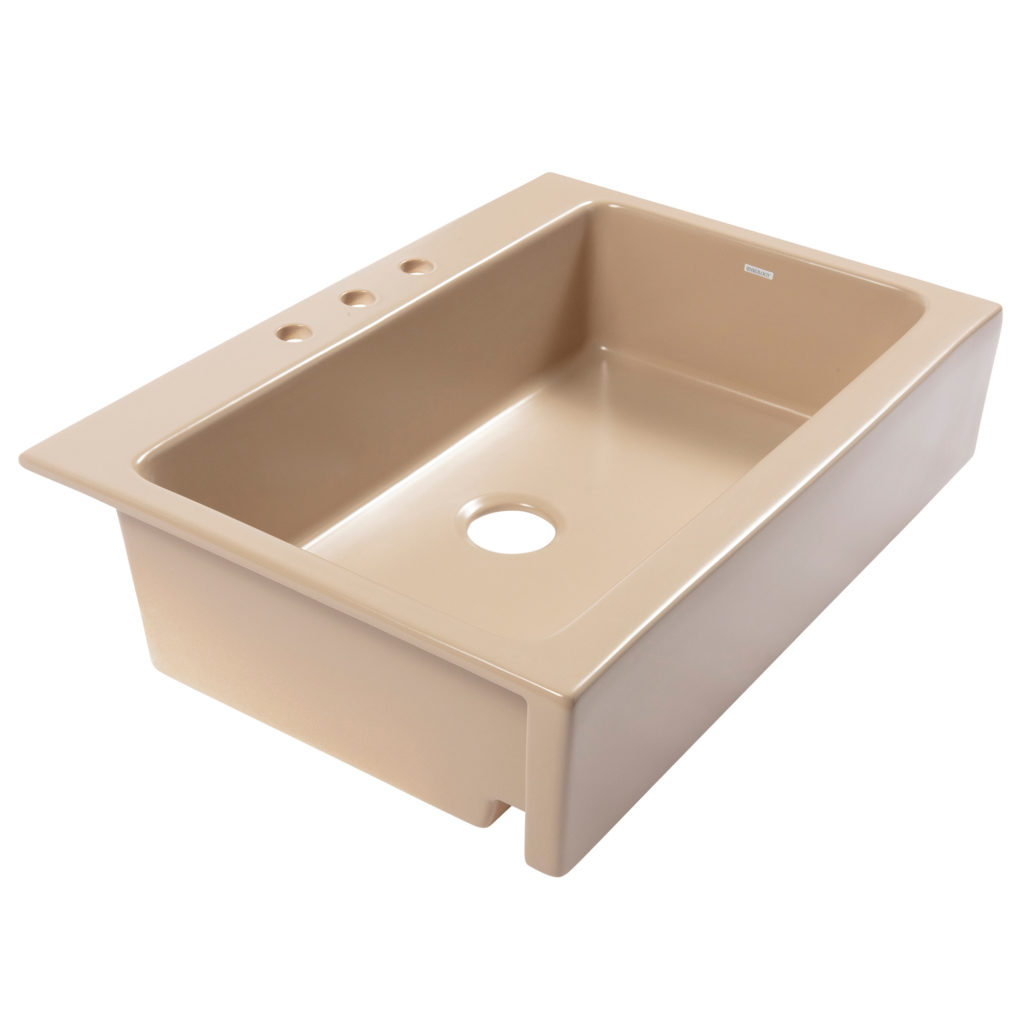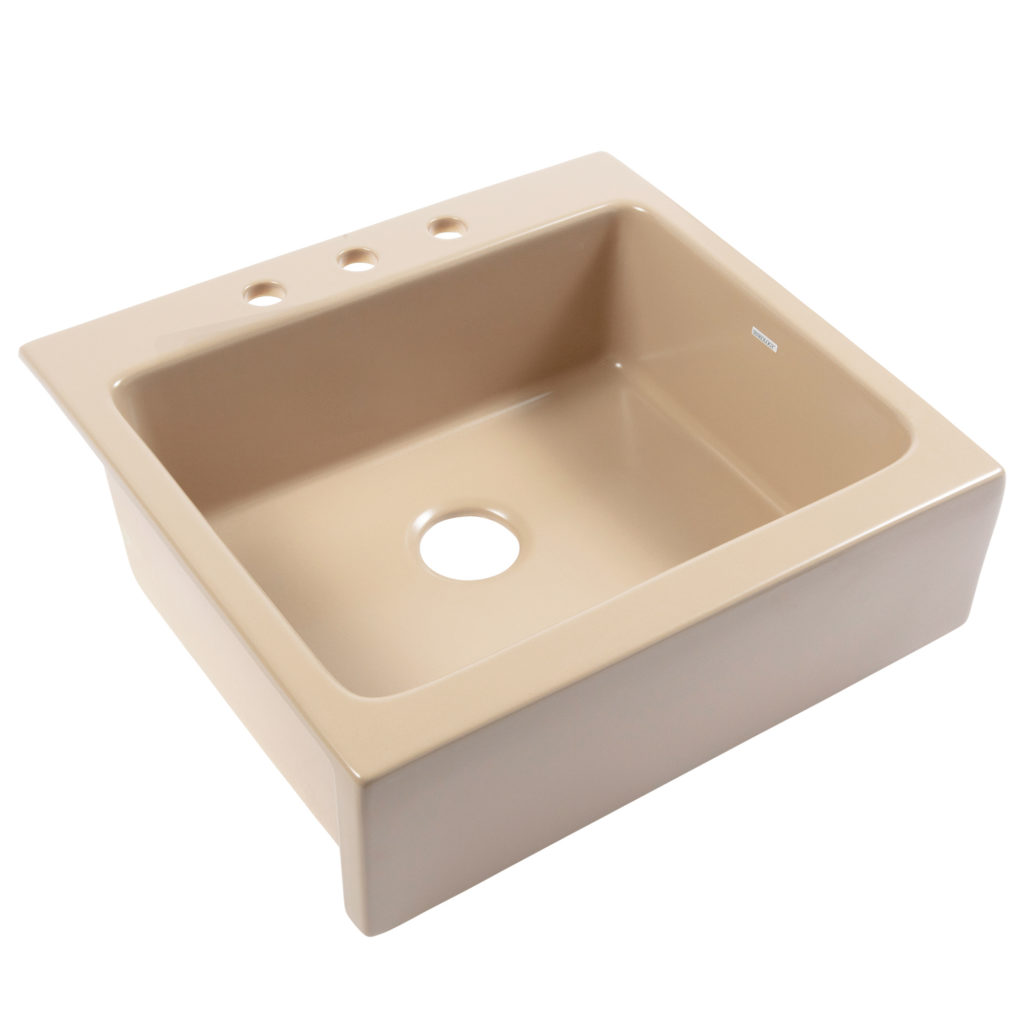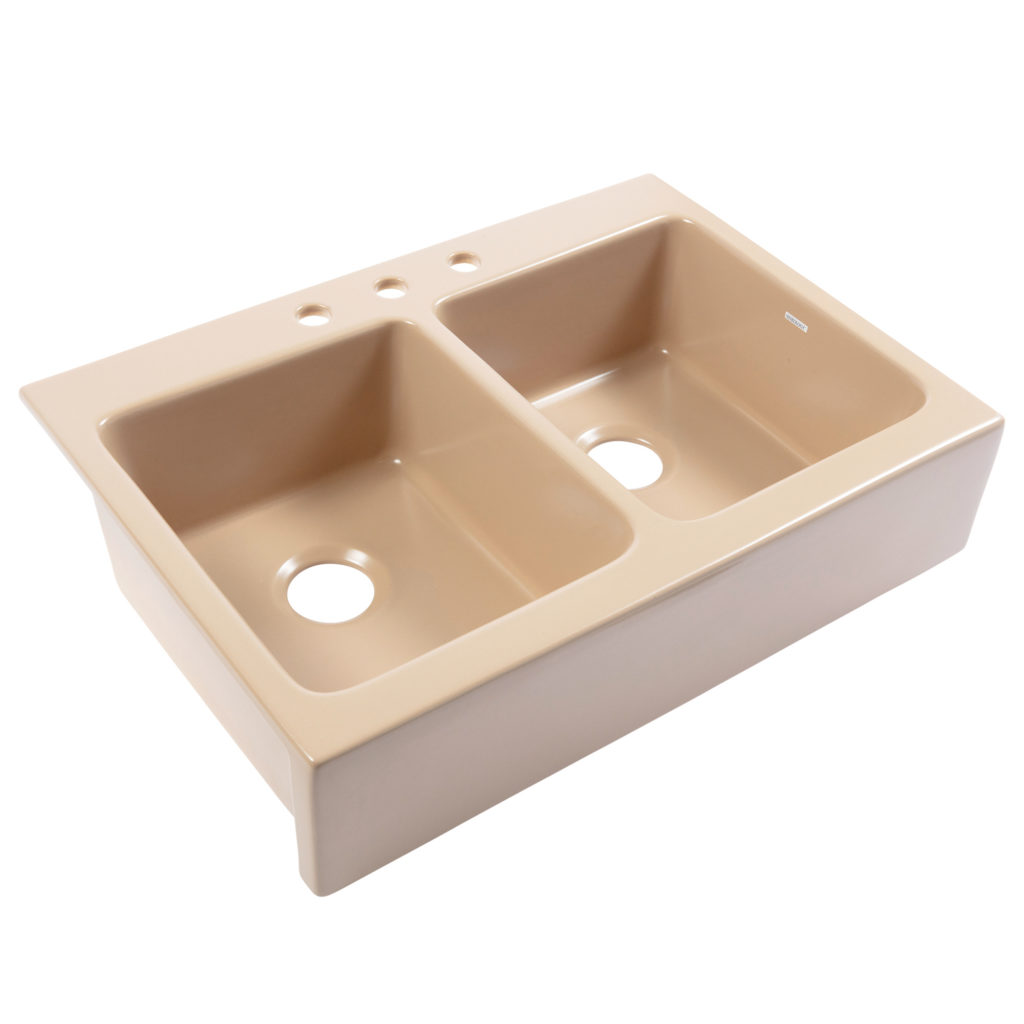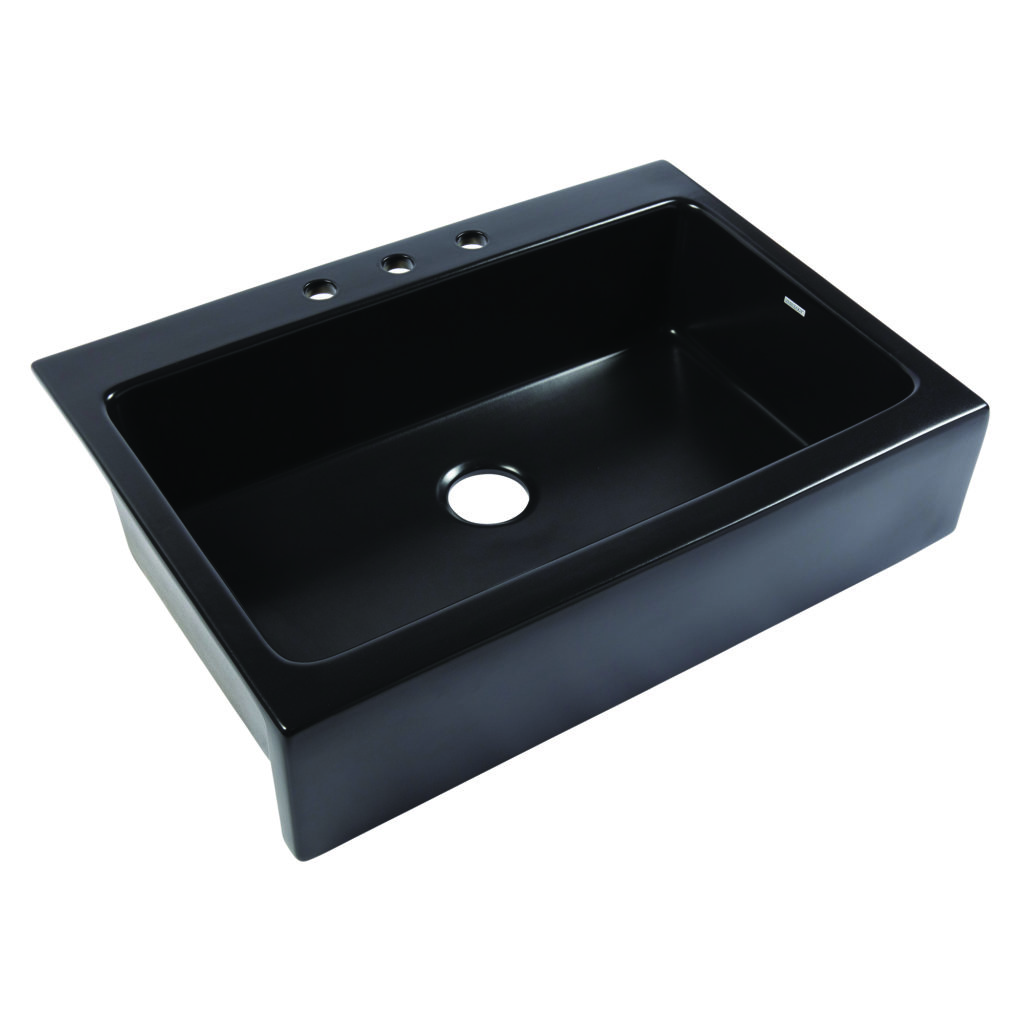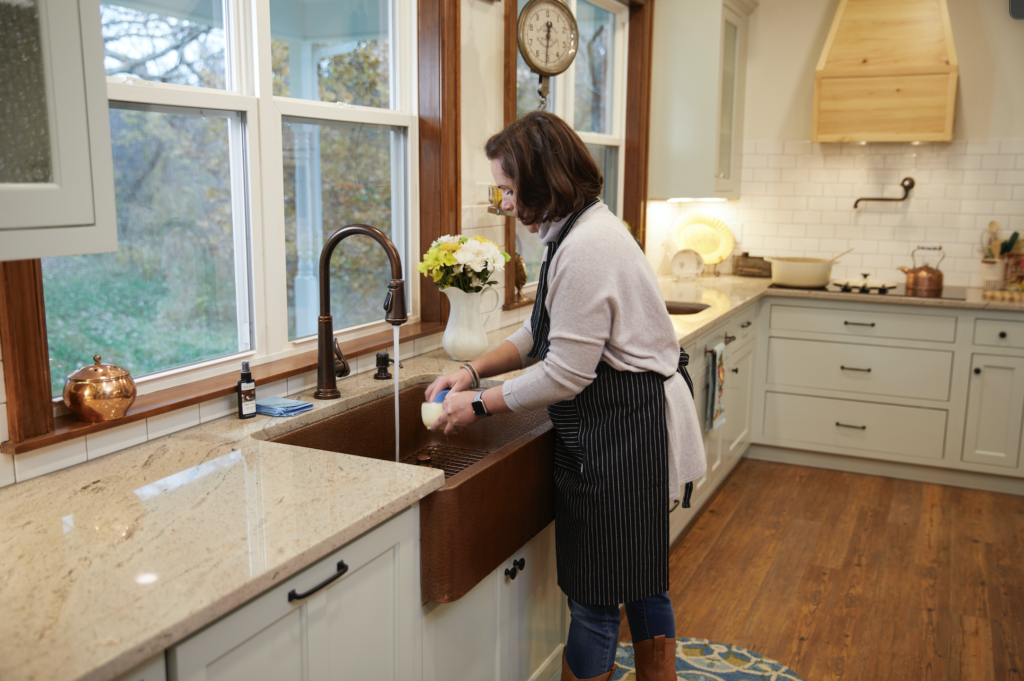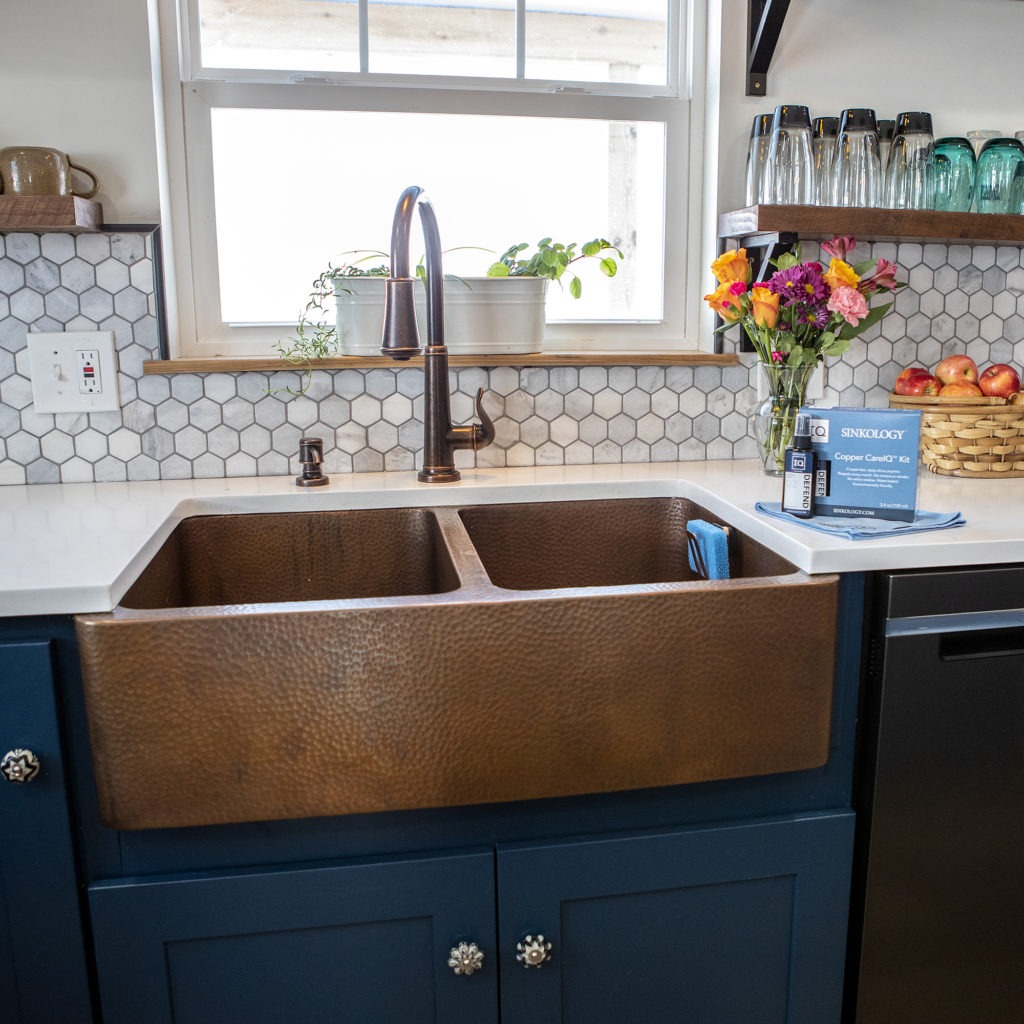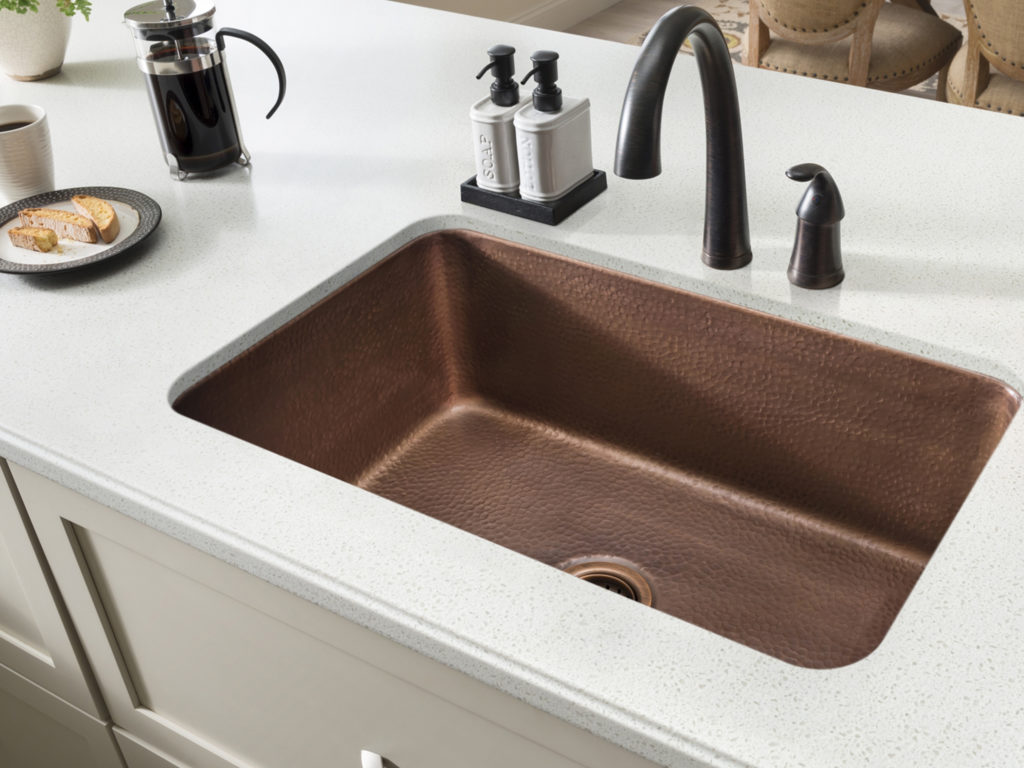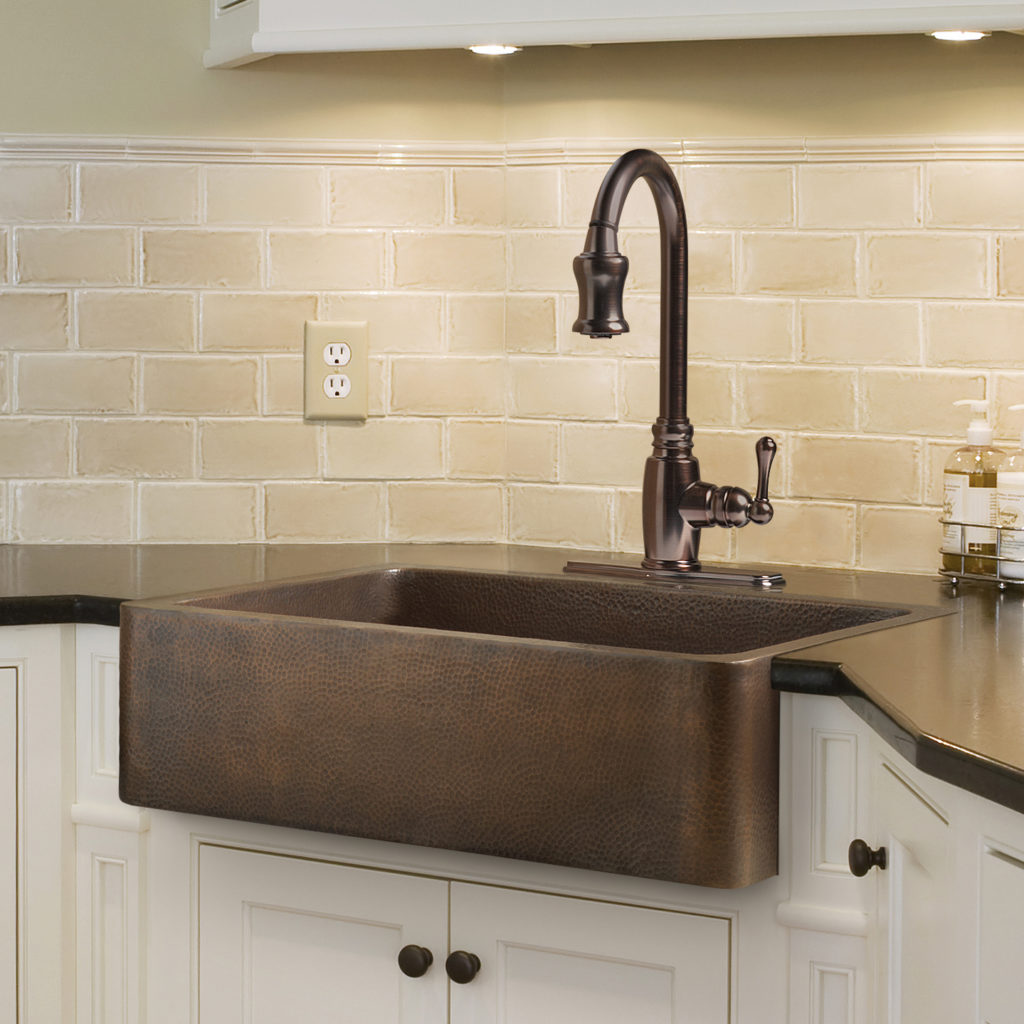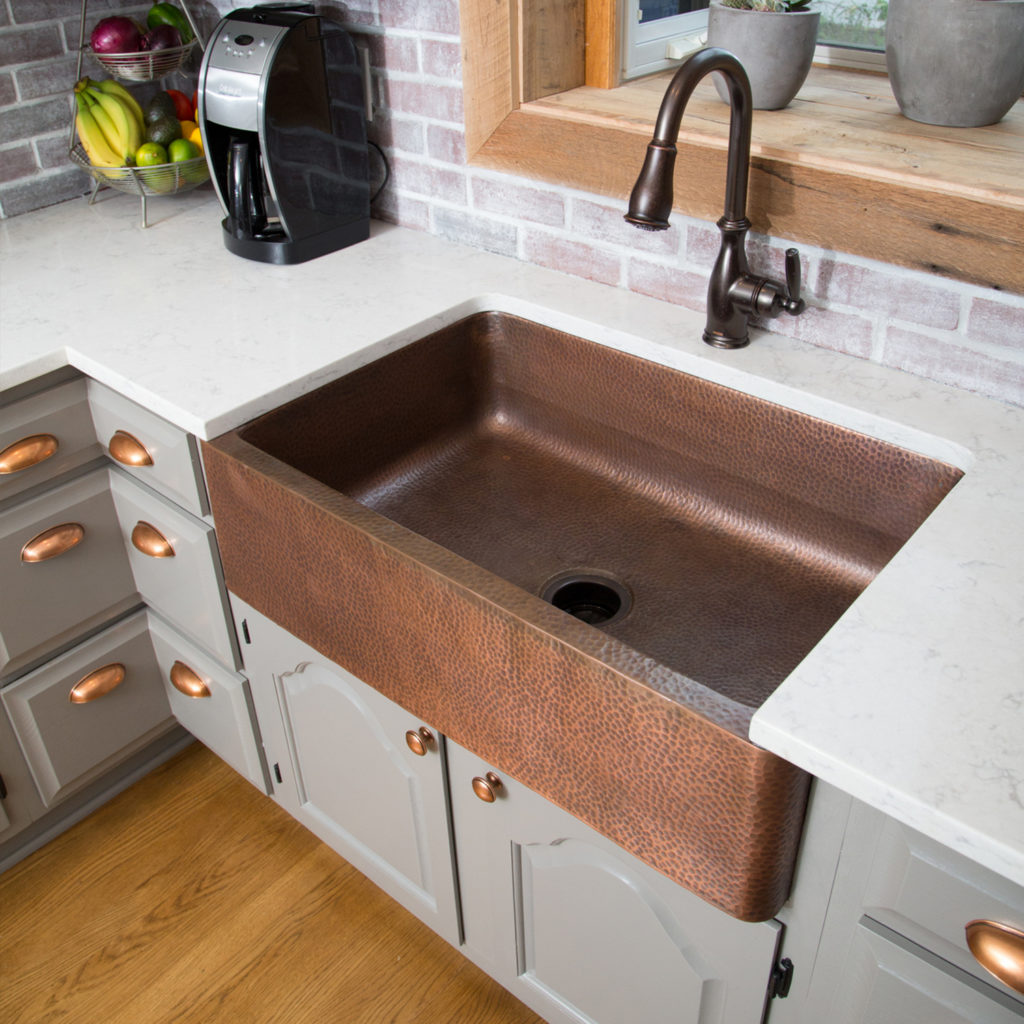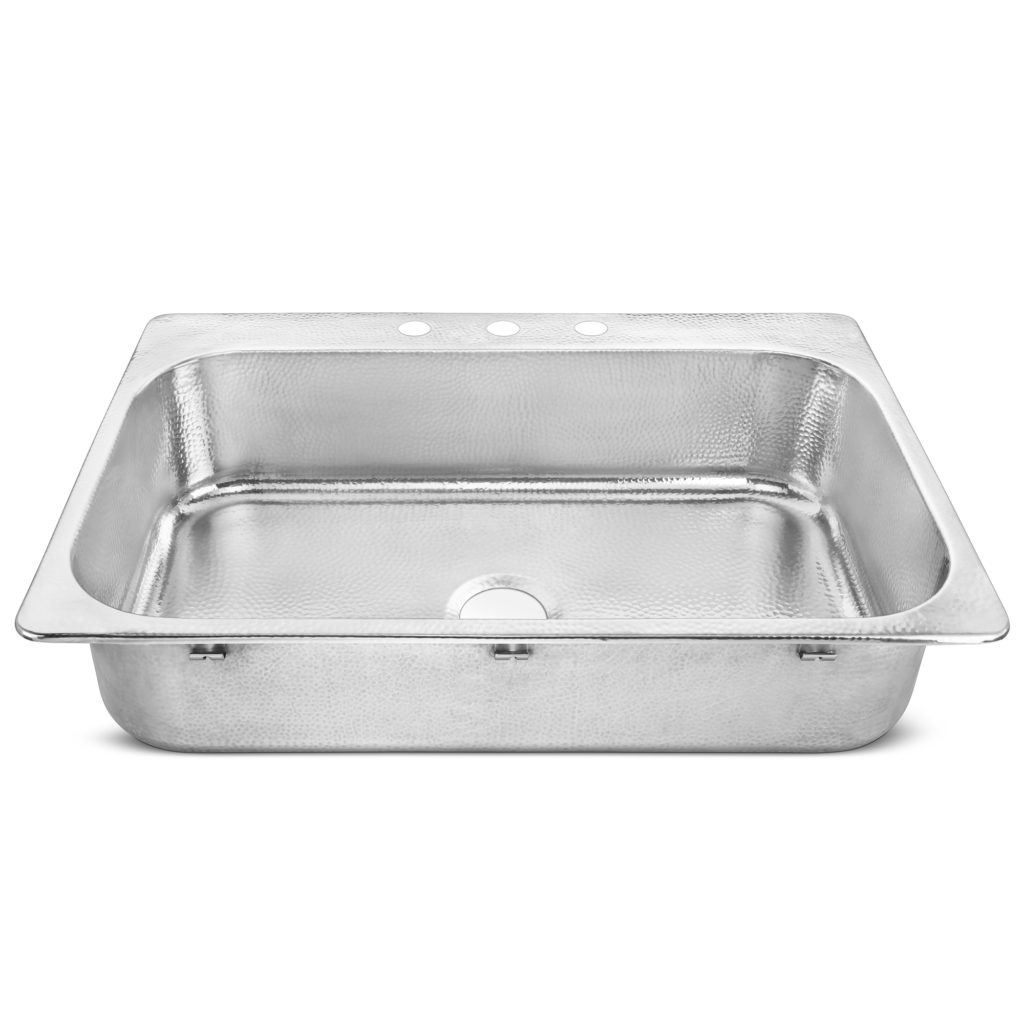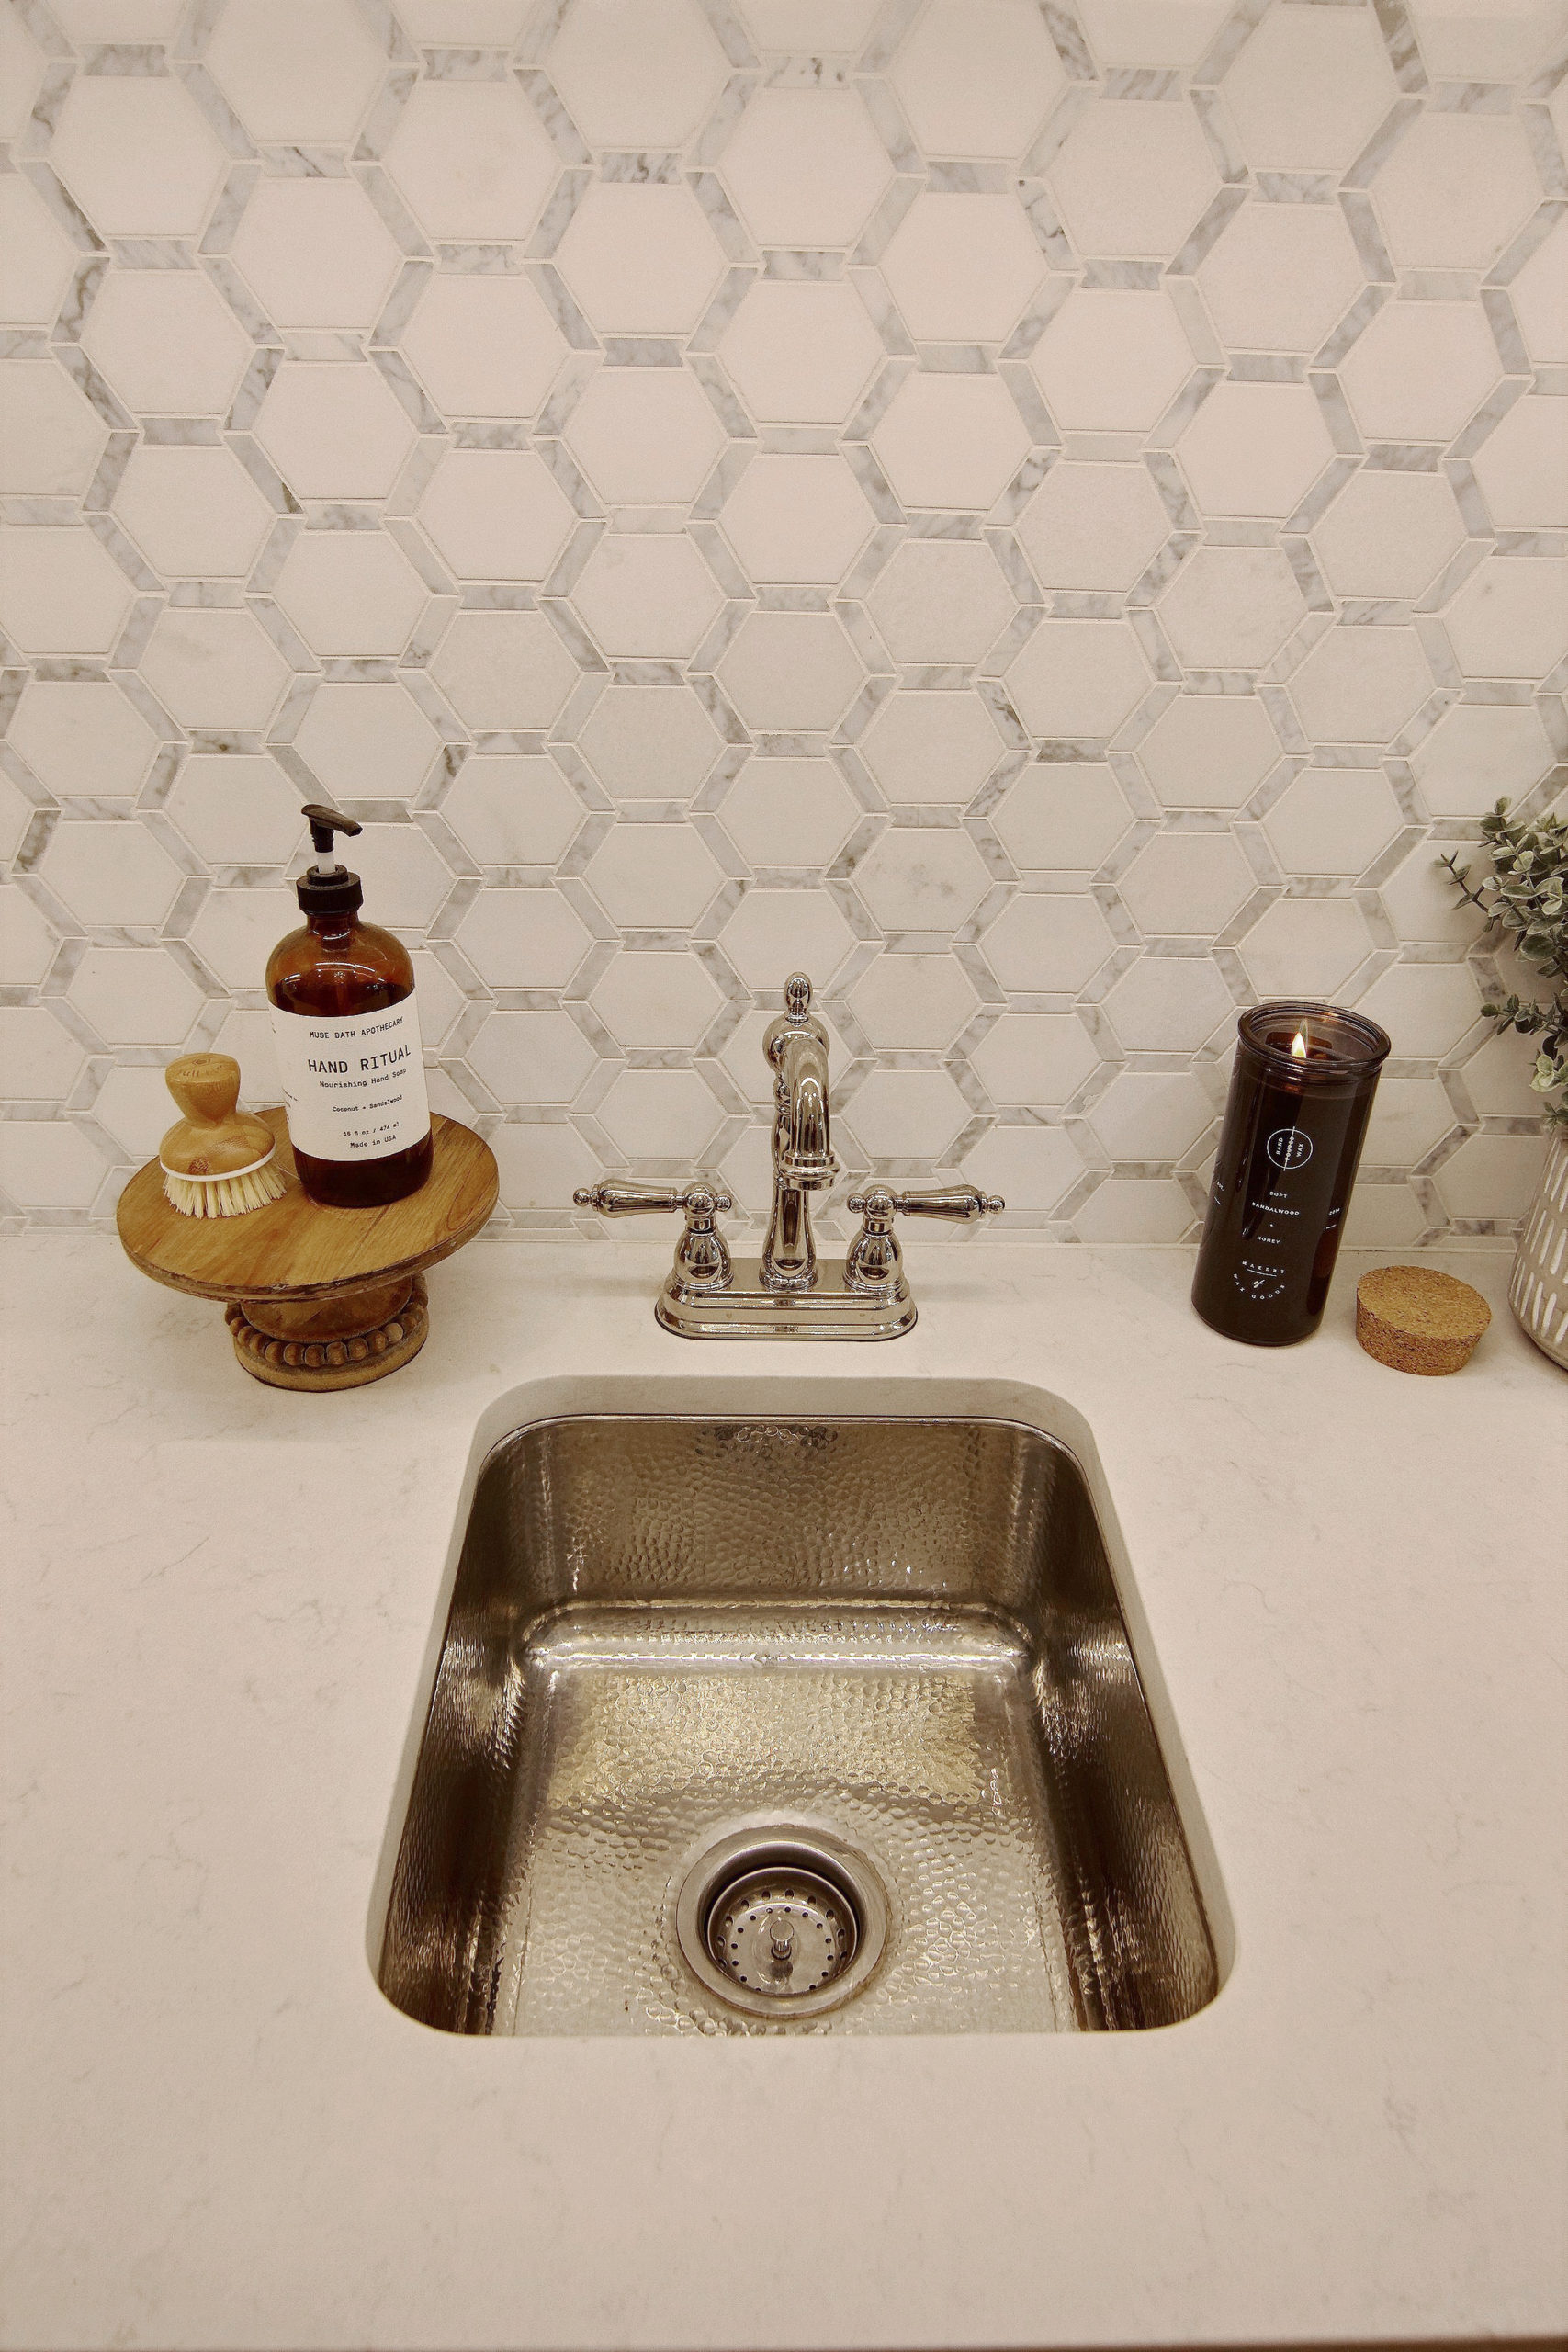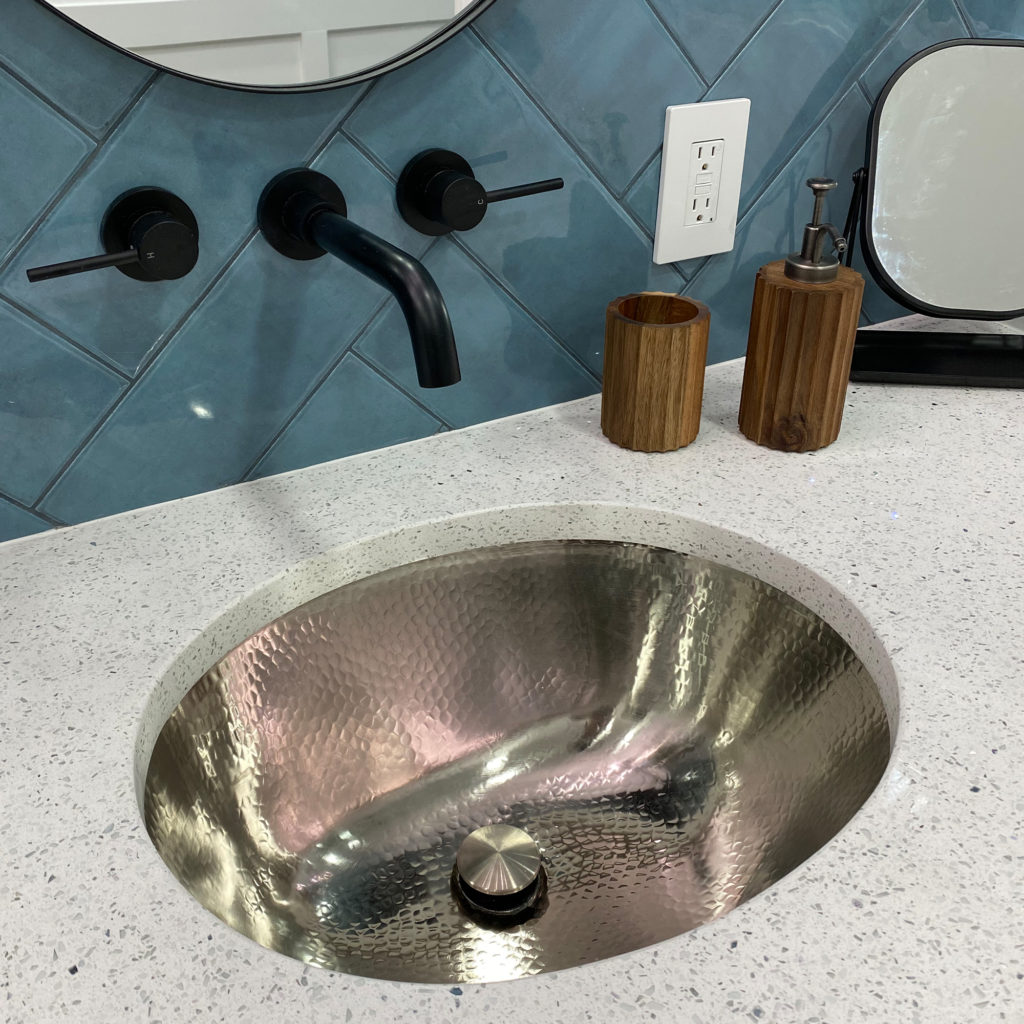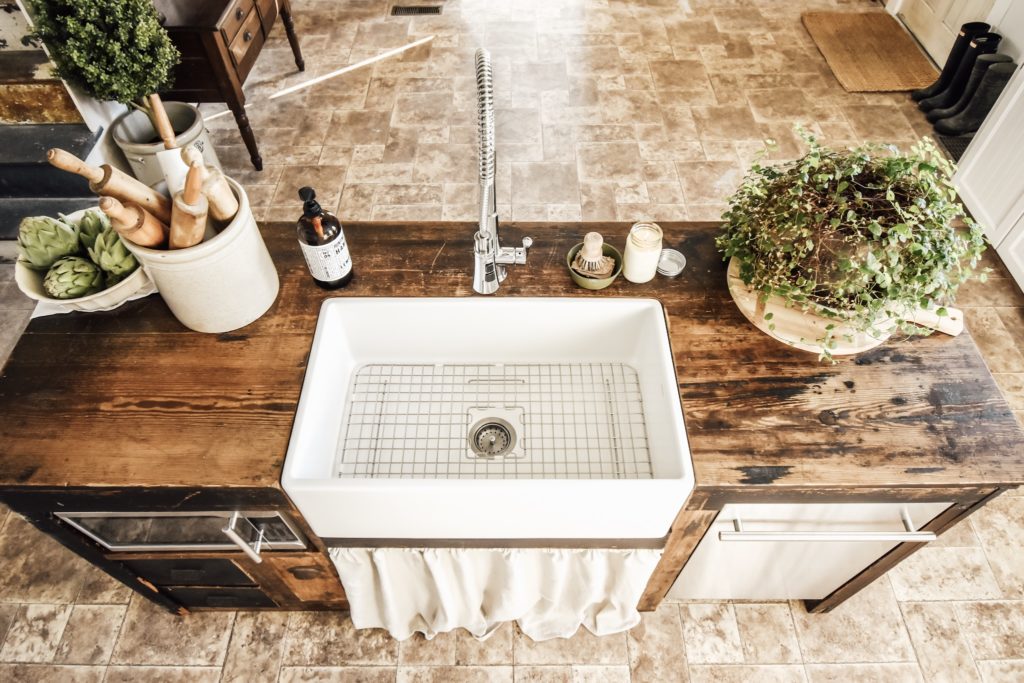
It’s no secret that the Sinkology Fireclay Farmhouse Kitchen Sink is a customer favorite. A beautiful addition to any kitchen, this sink style exudes sweet simplicity. But if we’re being honest, the installation is anything but effortless.
A fireclay farmhouse kitchen sink takes a bit more expertise and elbow grease to install, especially when compared to DIY-friendly drop-in sinks. But we promise it’s worth the effort. Everyone can appreciate the statement-making apron-front design and impressive durability that withstands the test of time. But before you can enjoy all the perks of a fireclay farmhouse kitchen sink, we recommend you familiarize yourself with the installation process.
There are two things you will want to keep in mind before taking on this project:
1. You will need extra support.
And by support we mean both in the form of a helping hand as well as quality, professional tools.
If you’re new to this whole home renovation thing, we highly encourage you to hire professionals to install your new sink safely and securely. These individuals are trained to complete even the most complicated sink installation projects and are experienced in making modifications to the existing kitchen when necessary (more on that soon).
At the very least, you’ll want a project partner to help with the heavy lifting. Fireclay sinks are known for their durable strength. So, it shouldn’t be a surprise that this dense material is very heavy. An extra set of hands will go a long way when positioning the sink in place.
No matter if you’re a pro or a newbie, you’ll love the extra guidance that comes with the BILT Intelligent Instructions® app. In it, you can find step-by-step support, specific to Sinkology Fireclay Farmhouse Sinks, that will help you understand the process, even if you’re just monitoring.
Before committing to the installation project, make sure you at least have the following tools on hand (and are comfortable using them):
-Carpenter’s square
-Tape measure
-Saw fitted with a carbide or diamond blade
-Screwdriver
-Plumbers’ putty
-Silicone
-Painters’ tape
-Water soluble marker
-Safety glasses
2.Modifications are a must.
Given the unique shape and style of a farmhouse kitchen sink, you’ll need to make some adjustments to accommodate it. For example, if you’re replacing your existing sink, you’ll need to remove the false panel over the sink cabinets to make space for the eye-catching apron front. Even if you’re starting from scratch and redoing your entire kitchen, you will need to get comfortable with some heavy-duty countertop cutting for a perfect farmhouse sink fit.
As for the project itself, here’s a preview of what you should expect:
1.First, you’ll create templates by tracing the sink onto a piece of cardboard, both the inside edge of the lip and the apron front.
2.Next, you’ll create the sink support in the cabinet base, modifying if necessary.
3.Then, you’ll place the sink in the support structure and seal.
4.After that, you’ll hook up the drain.
5.Last, you’ll cut the countertop to size and install.
Now, the question is: did the above inspire you to tackle your fireclay farmhouse kitchen sink installation on your own or are you ready to call in the professionals? However your Sinkology Farmhouse Kitchen Sink is installed, once it’s complete, share a photo with us on social @Sinkology with #MyFarmhouseSink.
For more helpful how to’s, follow us on Facebook, Houzz, Pinterest or Instagram. If you are looking for personalized questions about your sink installation progress, contact us here.
_____________________________________________________________________
If you have any additional questions during your search for the perfect copper, fireclay farmhouse sink or crafted stainless steel sink, our Sinkologists are here to help. Contact us or follow us on Facebook, Houzz, Pinterest, Instagram, or TikTok for more helpful tips and design ideas.
The post Farmhouse Kitchen Sink Installation 101 appeared first on Sinkology.
source https://www.sinkology.com/blog/farmhouse-kitchen-sink-installation-101/


