Thursday, April 15, 2021

Get to Know the SureFire Sink Material We Know You’ll Love

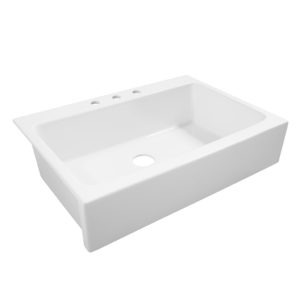
Austen Snow Day Fireclay Farmhouse Sink in Matte White

It’s safe to say that we can all agree that a kitchen sink needs to be equal parts dependable and beautiful. However, more often than not, when homeowners are shopping around for a new kitchen sink, they find they have to choose one or the other. In some cases, homeowners find a sink that fits their personal style perfectly but is easily dented or damaged by everyday use. Or, when they finally find a sink that is resilient enough to withstand whatever their family may throw at it, they see that it stands out like a sore thumb once installed. But with the Sinkology SureFire material, every homeowner can have the best of both worlds. If you’re new to Sinkology and our high-quality sinks, keep reading. We answer some of the top questions we receive from our customers who are curious about our exclusive SureFire sinks.

cleaning fireclay kitchen sink

What makes a sink made with SureFire special?

Sinkology’s exclusive SureFire material is made with extra care at an extra-high heat. Our natural fireclay sinks are fired at 2100° to transform the naturally strong clay into a dense and more durable material. These extreme temperatures seal in strength, resiliency, and beauty unlike any other material on the market.

What does a SureFire sink look like?

As our SureFire material is created, our designers and creators form each sink to perfection. Our skilled craftspeople smooth the surfaces by hand, expertly shape every corner, and carefully inspect to ensure consistency. This handcrafted difference is what sets our designs apart. Each design is made with our customer in mind to fit every home’s design style, from traditional to modern, classic to contemporary. Three of our favorite sinks made with SureFire material include:
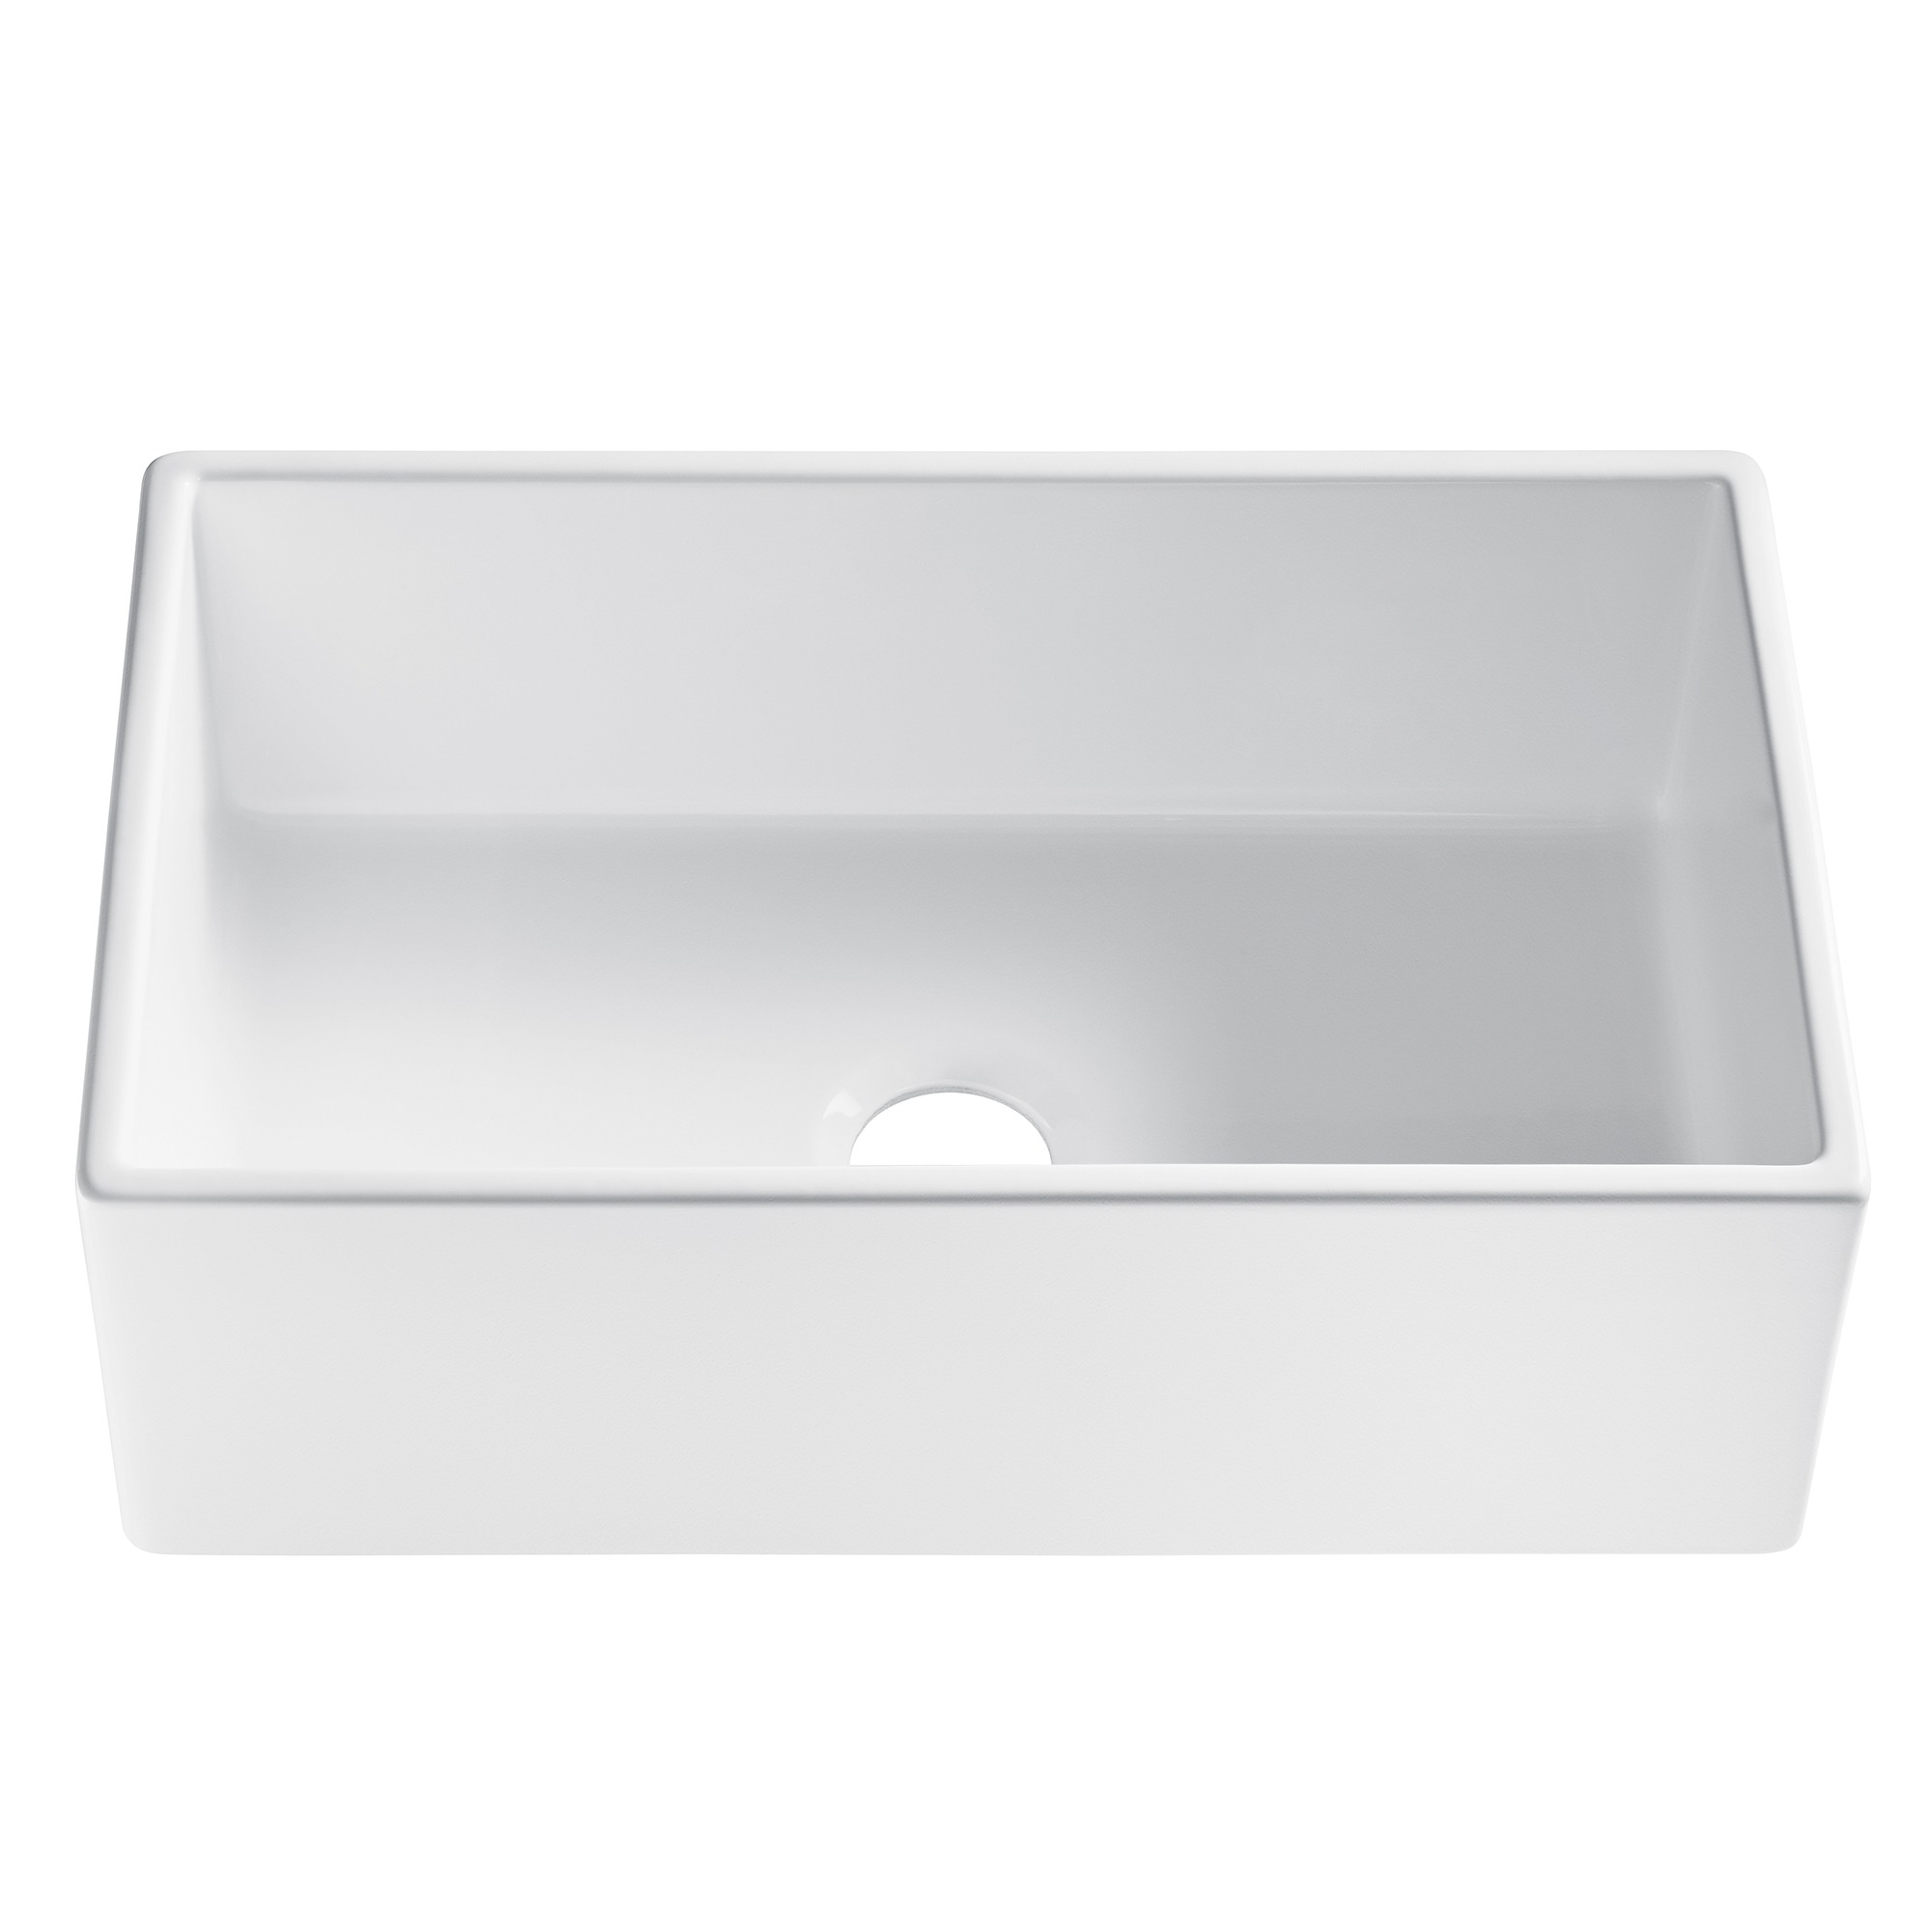
matte white farmhouse fireclay sink

  • Bradstreet II
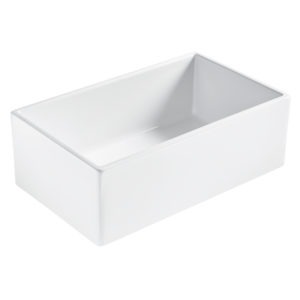
    • This sink provides generous space for all of your pots and pans, dishes, and more. With an impressive 30-inch single bowl and an elegant apron-front, clean-up will be a beautiful breeze. Click here to see our current Bradstreet II selection.

The Brooks II double bowl fireclay farmhouse kitchen sink front view

  • Brooks II
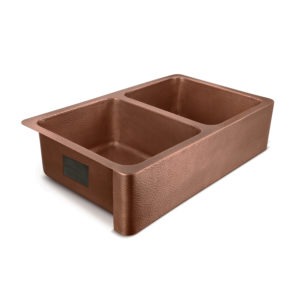
    • We know that sometimes one bowl isn’t enough. That’s why we created this sink with even more functionality to the classic farmhouse style sink. Featuring an impressive 33-inch double bowl, the Brooks II helps you separate soaking from stacking and drying dishes from hand washing. And, with our exclusive All-In-One Kits, you’ll have everything you need for an easy install. Click here to see our current Brooks II selection.
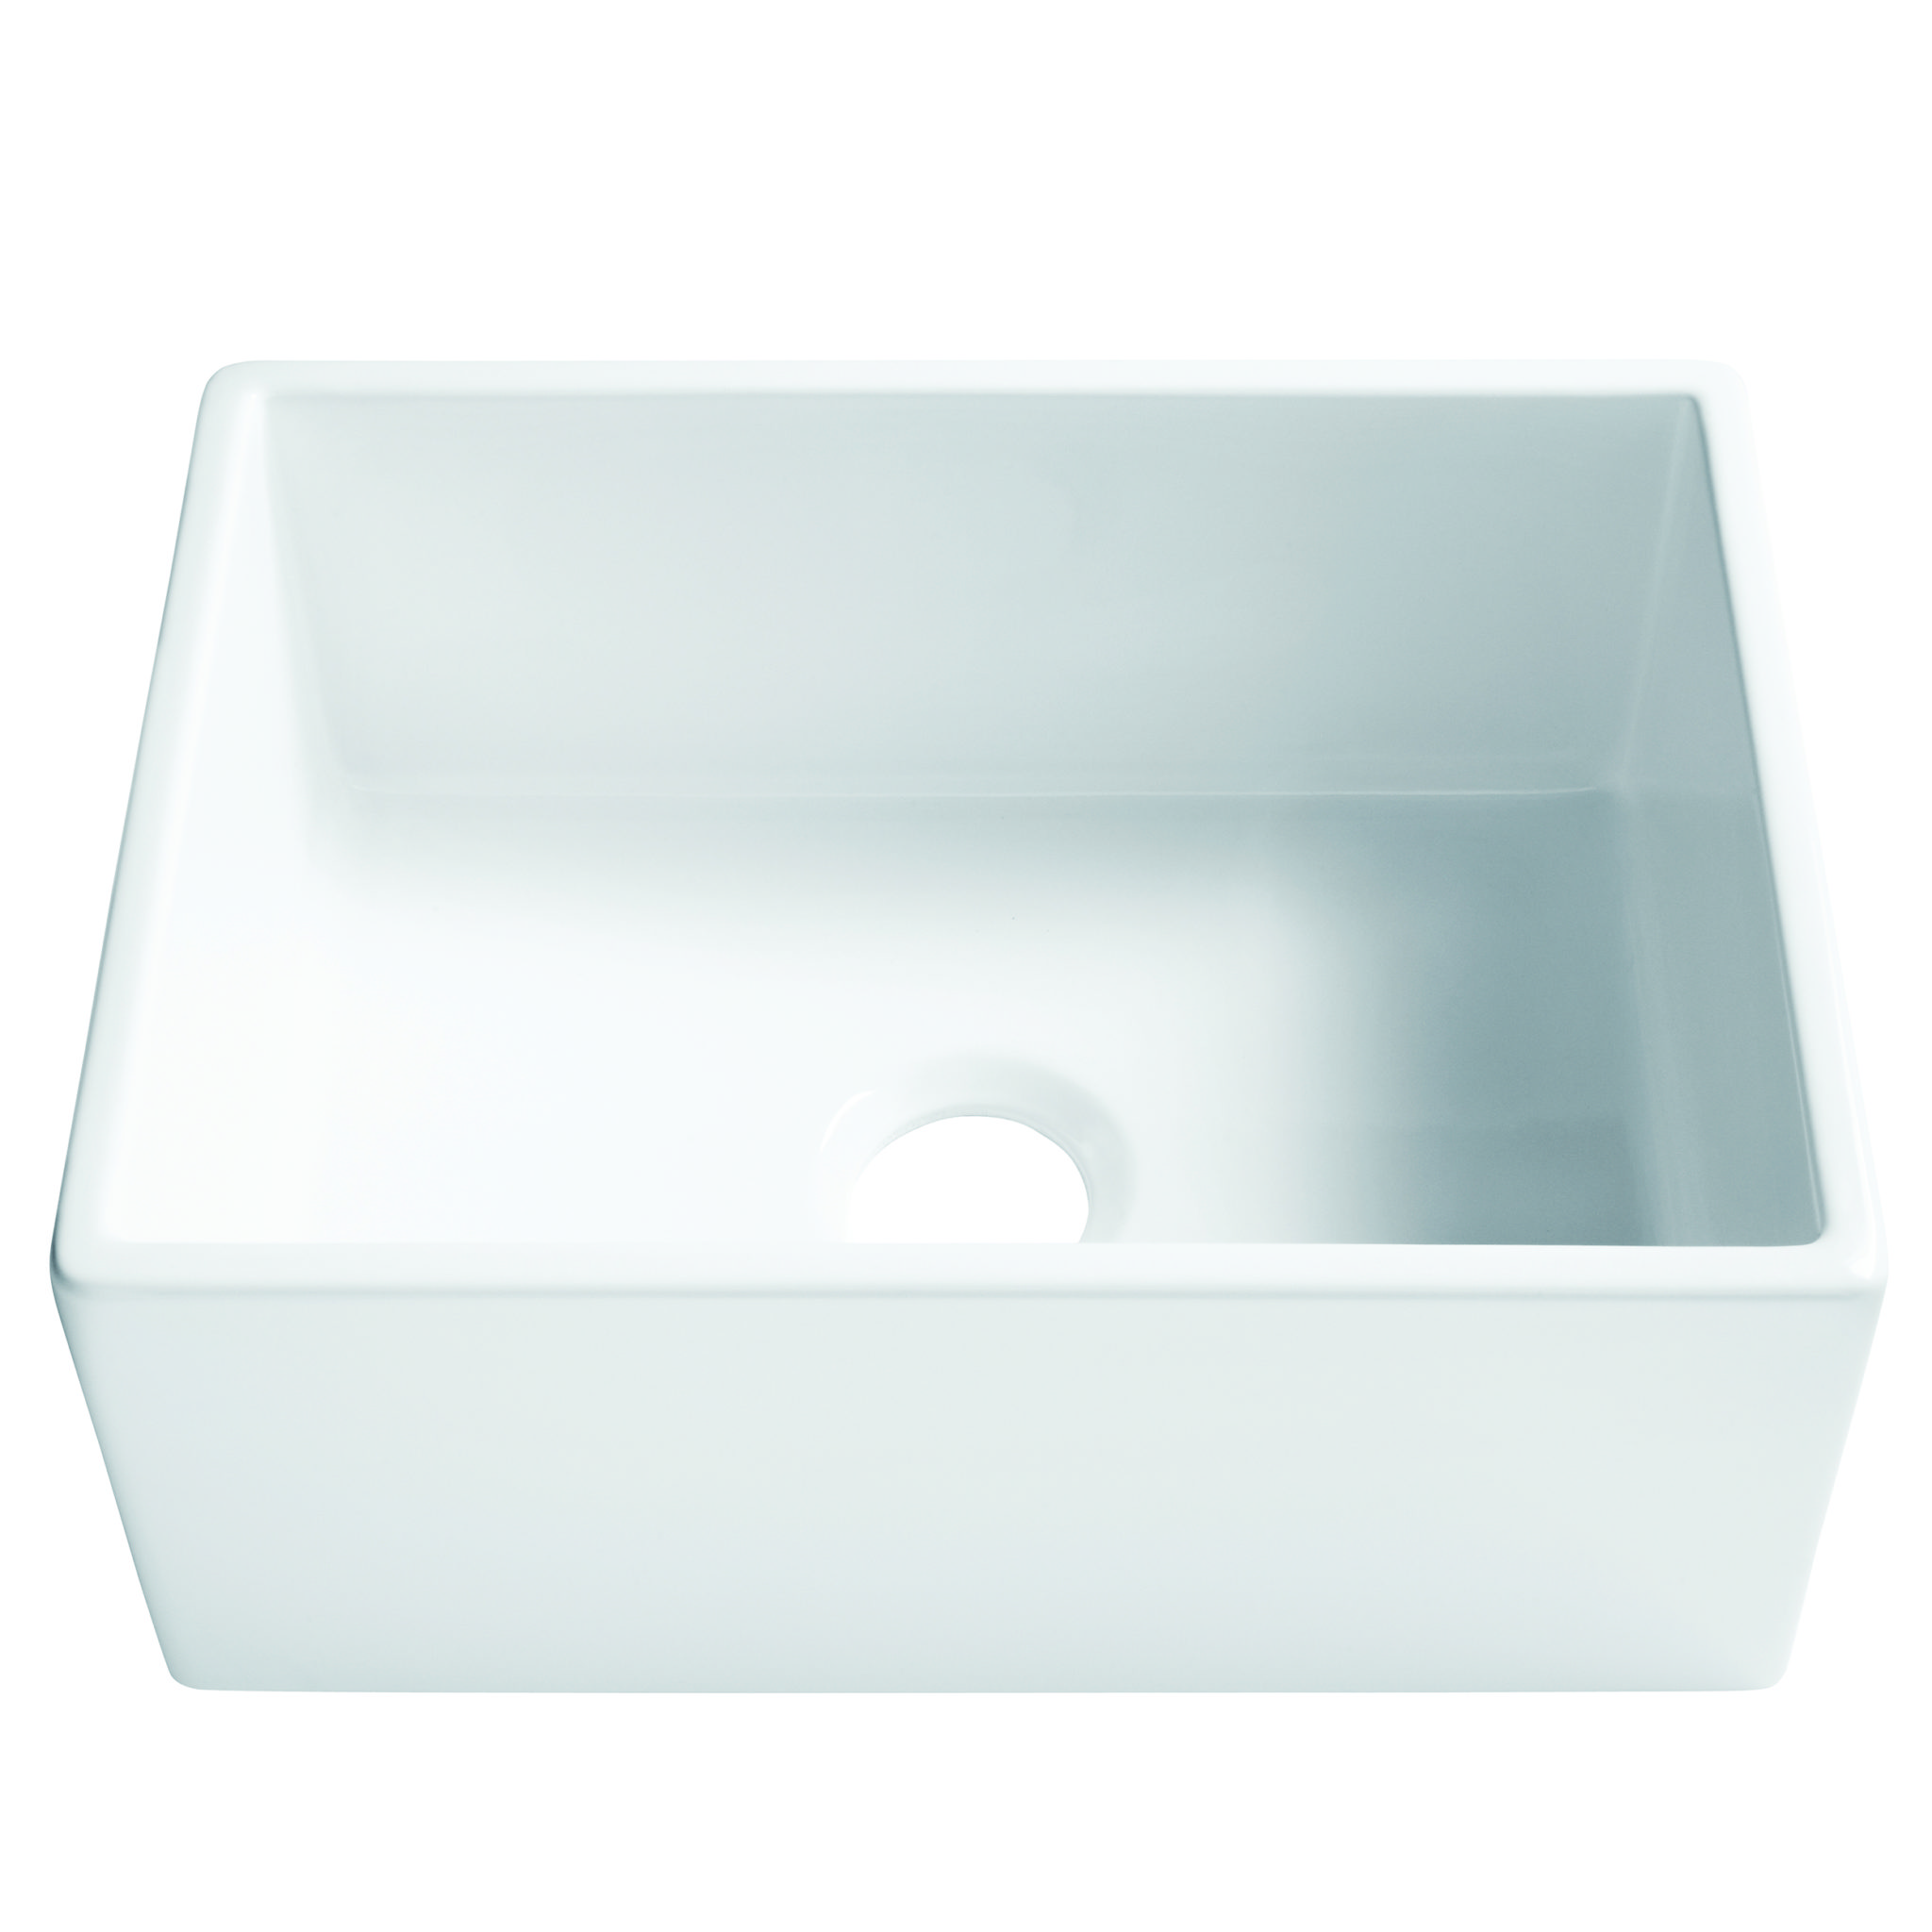
Wilcox fireclay sink head on

  • Wilcox II
    • While we love the extra space the two aforementioned sinks provide, we know that not every kitchen is able to hold an expansive sink. The Wilcox II has a compact, 24-inch single bowl design that is a perfect fit for tiny homes or separate prep areas alike. Click here to see our current Wilcox II selection.


The best part is that this beautiful material that will stay that way for years to come. Thanks to the innate durability that comes with the Sinkology SureFire material, you don’t have to worry about it wearing down with every use. You can trust that your sink will look as beautiful as it is strong. We guarantee it. The extra layer of protection we build into every one of our fireclay sinks is backed by our exclusive Sinkology Lifetime Warranty. We promise your sink will not chip, crack, stain, or rust.
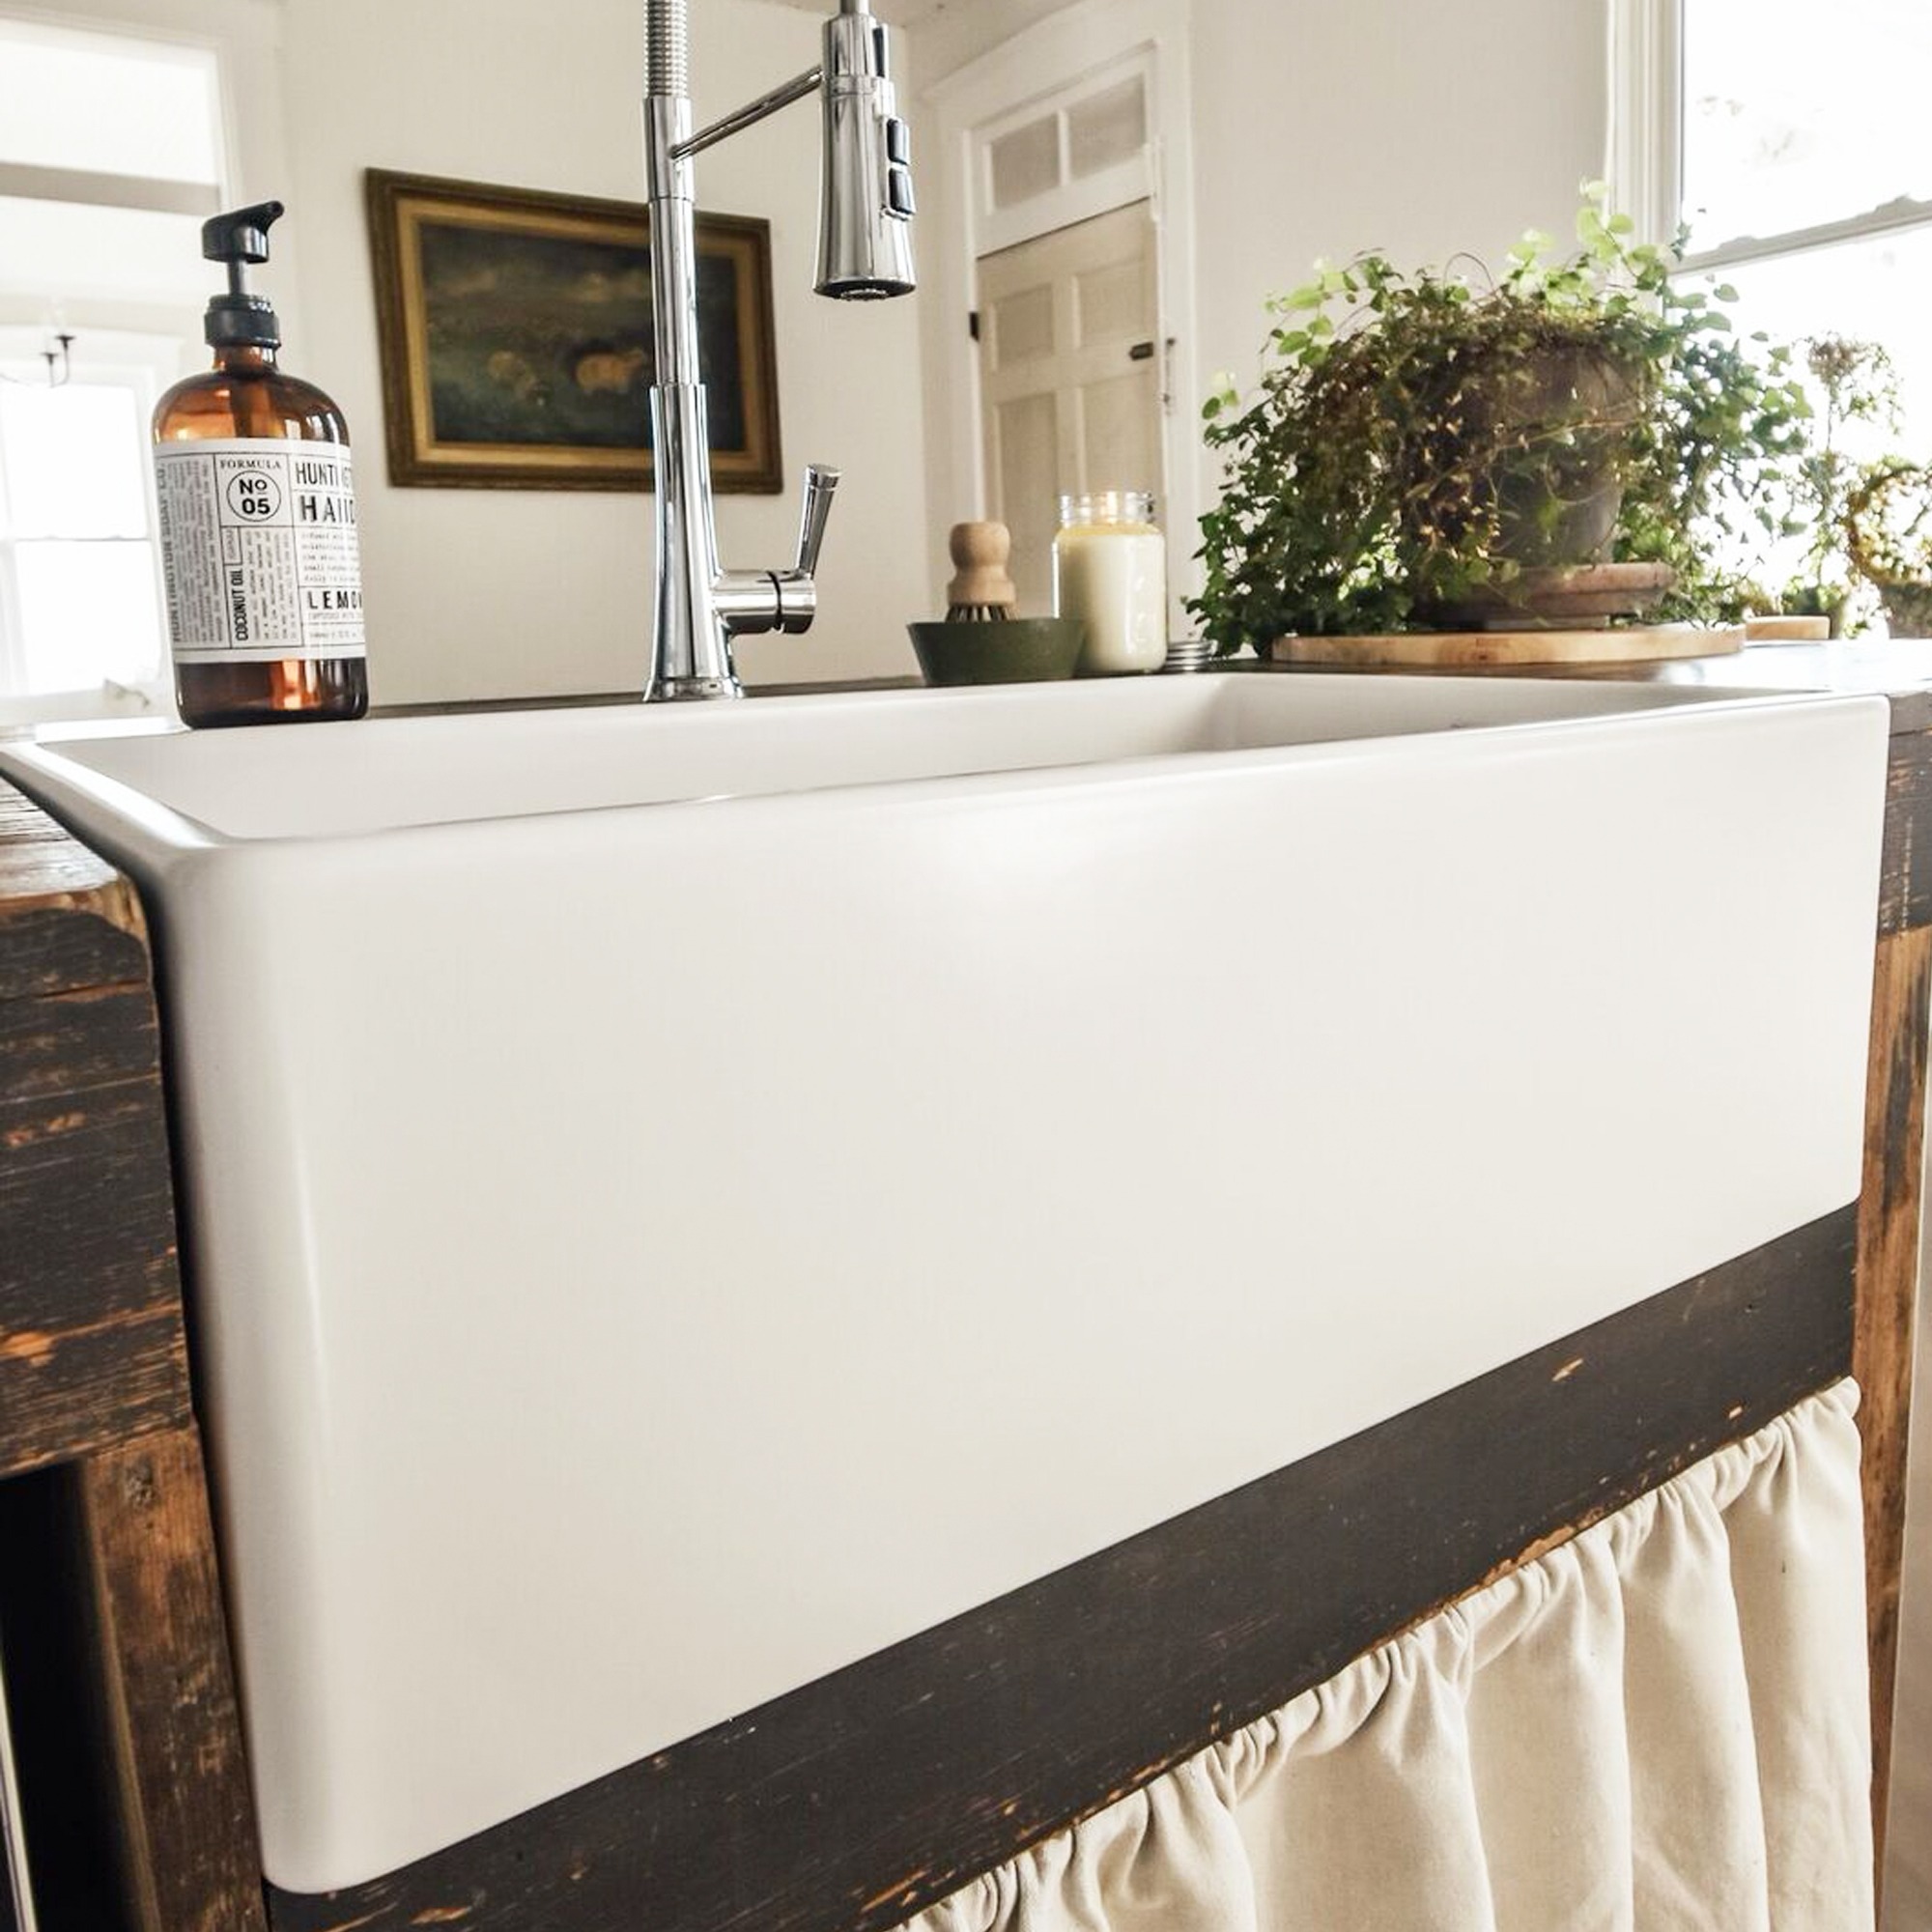
matte white farmhouse fireclay sink

How can I get a SureFire sink in my kitchen?

You can browse our complete collection of sinks made with our exclusive SureFire material on our website. Click here to find the sink with the strength and style your kitchen deserves.

_____________________________________________________________________

If you have any additional questions during your search for the perfect copper, fireclay farmhouse sink or granite sink, our Sinkologists are here to help. Contact us or follow us on FacebookHouzzPinterest, or Instagram for more helpful tips and design ideas.


The post Get to Know the SureFire Sink Material We Know You’ll Love appeared first on Sinkology.


source https://www.sinkology.com/blog/surefire-sink-material/

Thursday, April 8, 2021

Why Laundry Room Sinks Just Make Sense

The days of washing every item of clothing by hand are, thankfully, long gone. But that doesn’t mean that a sink in the laundry room is unnecessary or outdated. In fact, a utility sink is a helpful addition in all laundry rooms and for households of every size. Today, we share our top three reasons why a sink in the laundry room simply makes sense.

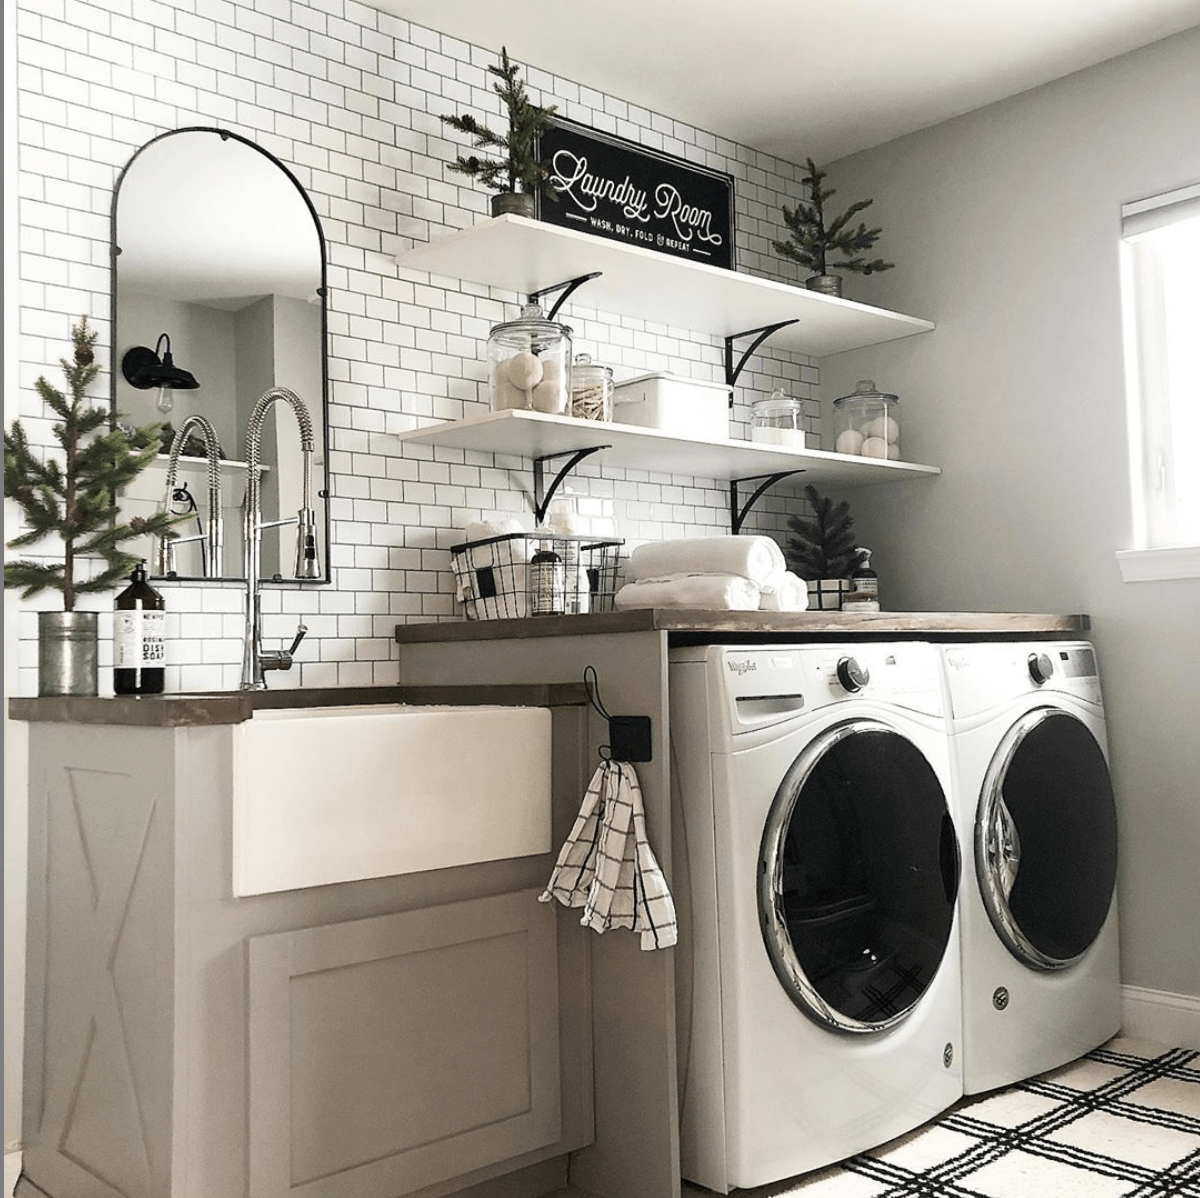
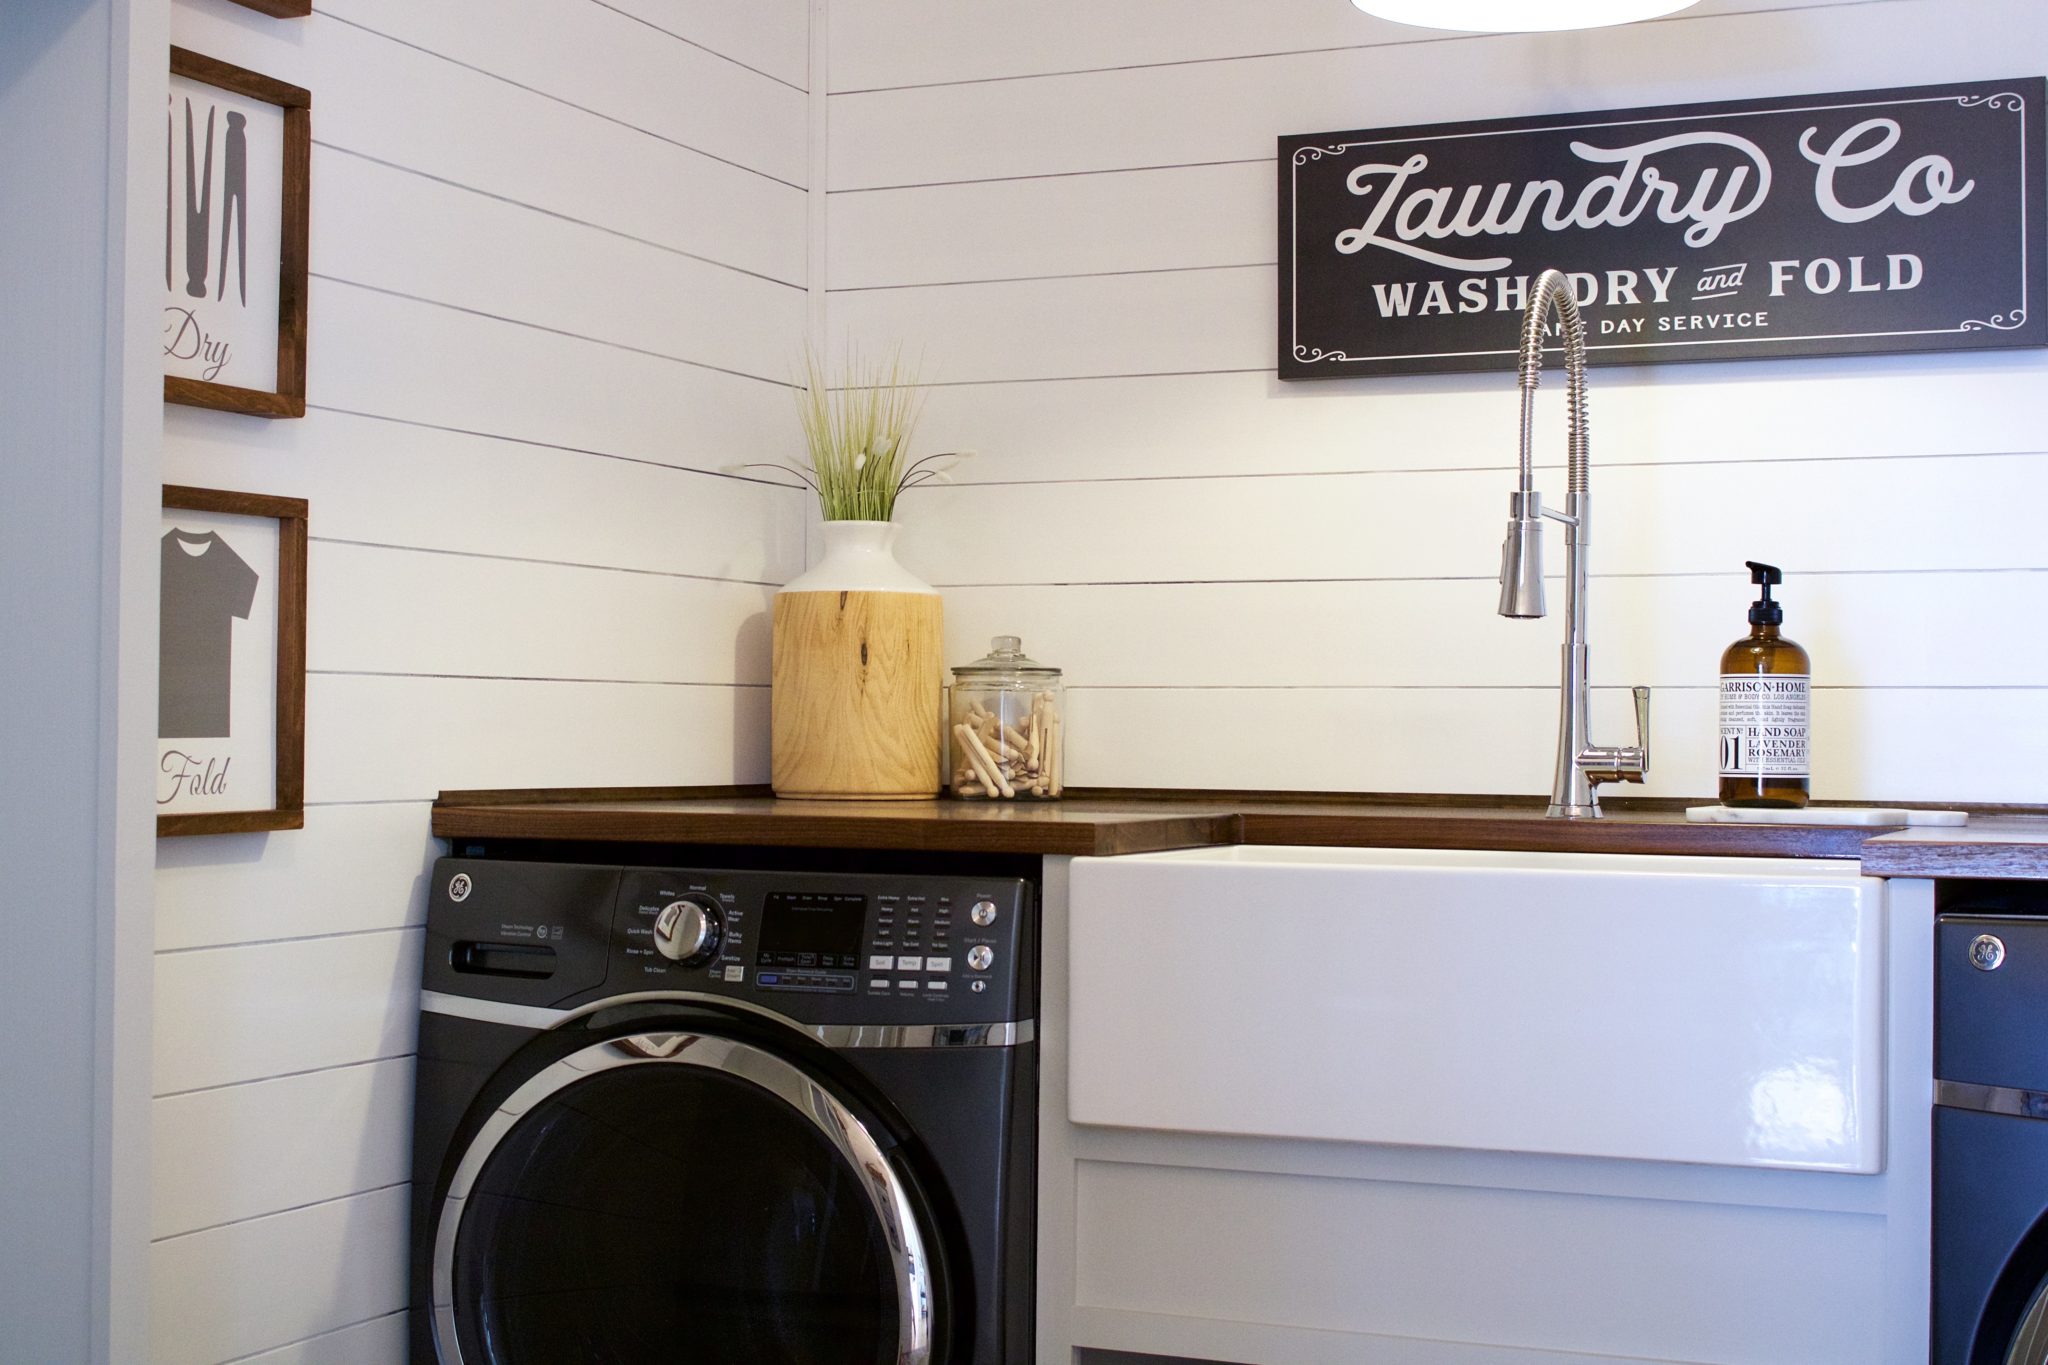
laundry room sink

A laundry room sink allows you to conveniently take care of your most needy clothes.

Stain treatment can be quite a chore, especially when the crucial first step of soaking requires a trip up the stairs to get to your kitchen sink. Having a sink in the laundry room allows you to take care of those stuck-on stains right by your washing machine, as well as take care of things like rinsing swimsuits to rid them of excess chlorine or salt water or hand washing delicate items. Initially, installation can seem like a chore. But, in the long run, installing a sink in the laundry room will save you time and energy.


You can easily keep up with regular washing machine maintenance.

It seems counterintuitive, but experienced homeowners know the required cleanup that comes with washing machine maintenance. It might be your appliance that cleans your clothes, but, over time, pieces like detergent and fabric softener dispensers can get dingy. A sink in the laundry room encourages routine clean-up without the hassle of traveling to another room in the house. A laundry room sink helps you easily rinse attachments and wipe down surfaces, which will make a world of a difference in improving the longevity of your washing machine and the overall cleanliness of your laundry room.


Prevent excess mess in your washing machine and in your kitchen.

When you install a sink in your laundry room, you can prevent excess buildup in your washing machine before it becomes a problem. With a faucet and large basin at hand, you can rinse off mud, pet hair, and other everyday messes before placing dirty clothing items into the machine. Of course, this isn’t to say you should send just anything down your drain. Your laundry room sink shouldn’t be seen as a dumping ground for things like toxic chemicals to paint. Always adhere to proper disposal protocols of hazardous materials and install a quality strainer to keep clogs out of pipes.

laundry room sink

Now that it’s clear that you can’t possibly do without a sink in your laundry room, it’s time to consider what sink style you should install in your laundry room.

Let’s start with the best material for a sturdy utility sink.

Our favorite material for a utility sink is industrial-grade stainless steel. Stainless steel is a fantastic, functional option for utility sinks. But we at Sinkology believe that beauty should come along with function. Our Graham Drop-In Crafted Stainless Steel Sink, available in both Brushed and Polished stainless steel, features an impressive 18-gauge stainless steel and artistic hand-hammered finish. This Sinkology-exclusive design brings the best benefits of stainless steel with unparalleled allure. It will withstand everything you throw into the basin with its natural resistance against stains, corrosion, and bacteria to continue looking beautiful day after day. After all, your laundry room deserves to be a soothing space, not an afterthought. We at Sinkology believe that just because this sink is in the laundry room doesn’t mean it shouldn’t be beautiful.

Not only should your laundry room sink look good every day, it should be functional for everyday use. The Sinkology Graham Drop-In Crafted Stainless Steel Sink comes with sound-dampening pads, which are installed out of sight on the outside of the sink to minimize excess noise that is common with stainless steel. 

Now, let’s shift gears to the best shape for a laundry room sink.

Our most-recommended sink shape for a laundry room is the farmhouse sink. Now, there’s a reason this sink style is also referred to as an “apron front” style. It will literally act like an apron to repel against splashes and debris. This is a necessary benefit when it comes to modern laundry care with a charming vintage look.

We love how the Bradstreet II brings the elegant charm of farmhouse style with the durable, easy-cleaning qualities of fireclay. Plus, its 30-inch bowl is wide enough for whatever you want to throw at it.  This farmhouse favorite is available in classic white for the most authentic country look as well as Tea Kettle Gloss Black, which will mask stains in a modern finish.

Lastly, when it comes to a laundry room sink, a large basin is a must-have. Some prefer a single basin for deep soaking, while others prefer a dual-sink alternative for separate functions. No matter the style you prefer, our Sinkology sinks have a functional depth for the simplest laundry room care.

Do you have a sink in your laundry room? We would love to hear your top three reasons why a sink in the laundry room simply makes sense. Share with us on Instagram @Sinkology.

_____________________________________________________________________

If you have any additional questions during your search for the perfect copper, fireclay farmhouse sink or granite sink, our Sinkologists are here to help. Contact us or follow us on FacebookHouzzPinterest, or Instagram for more helpful tips and design ideas.


The post Why Laundry Room Sinks Just Make Sense appeared first on Sinkology.


source https://www.sinkology.com/blog/laundry-room-sinks/

Thursday, April 1, 2021

Chocolate Covered Cherry Dump Cake

Sinkology is proud to present Emily Schuermann, our food-loving guest blogger who runs Food for a Year. Emily is here to share some recipes she has created exclusively for the Sinkology blog that reflect her view of a copper sink: simple, timeless, affordable, and beautifully rustic. 


Chocolate Covered Cherry Dump Cake! This recipe is dangerous. A boxed cake mix and canned pie filling make this dump cake dessert so easy to whip up – and the result?! The most moist, gooey, chocolatey dessert :: all the homemade flavors of chocolate covered cherries with minimal effort!

Before I get into the recipe details, I have to say that I’ve noticed an emerging food trend and I bet as soon as I explain what I’m noticing, you’ll agree!  Simple, small-portioned comfort desserts – right?! We don’t really have a need for large desserts that serve lots of people and that changes how we cook and bake.

But we’re also gravitating to simple comfort foods. And cake mixes are an excellent tool to bring comfort into the home EASILY.

So, those new trends are the inspiration for this Chocolate Covered Cherry Dump Cake.

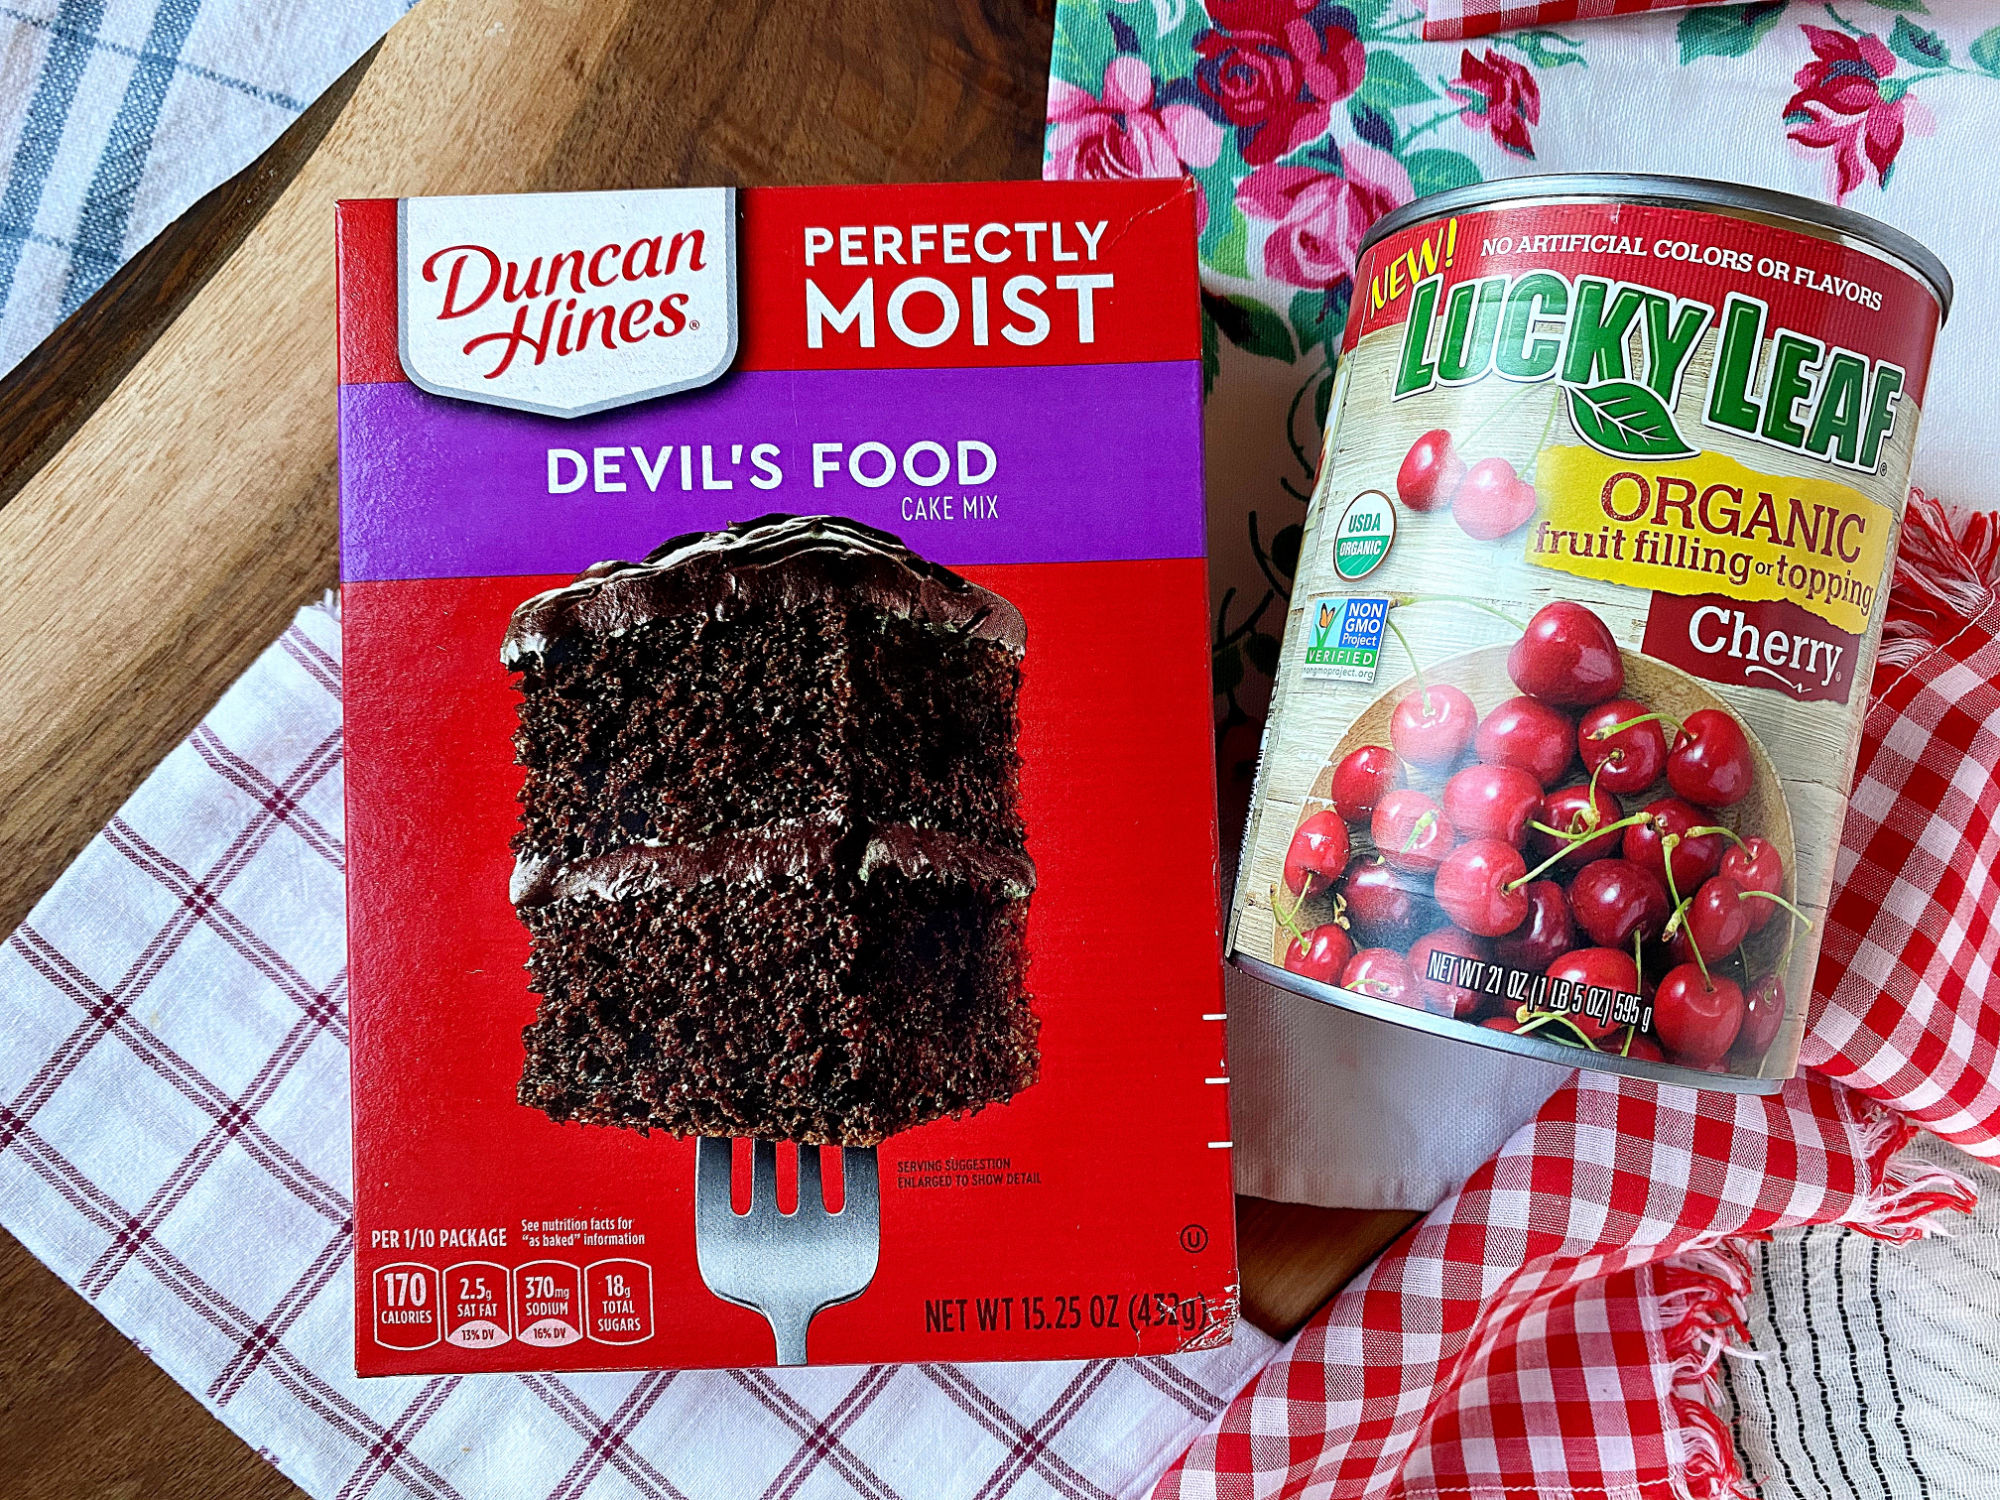
cake mix and pie filling

Start off with 2 staple store bought ingredients ::

  • Devil’s Food cake mix
  • cherry pie filling

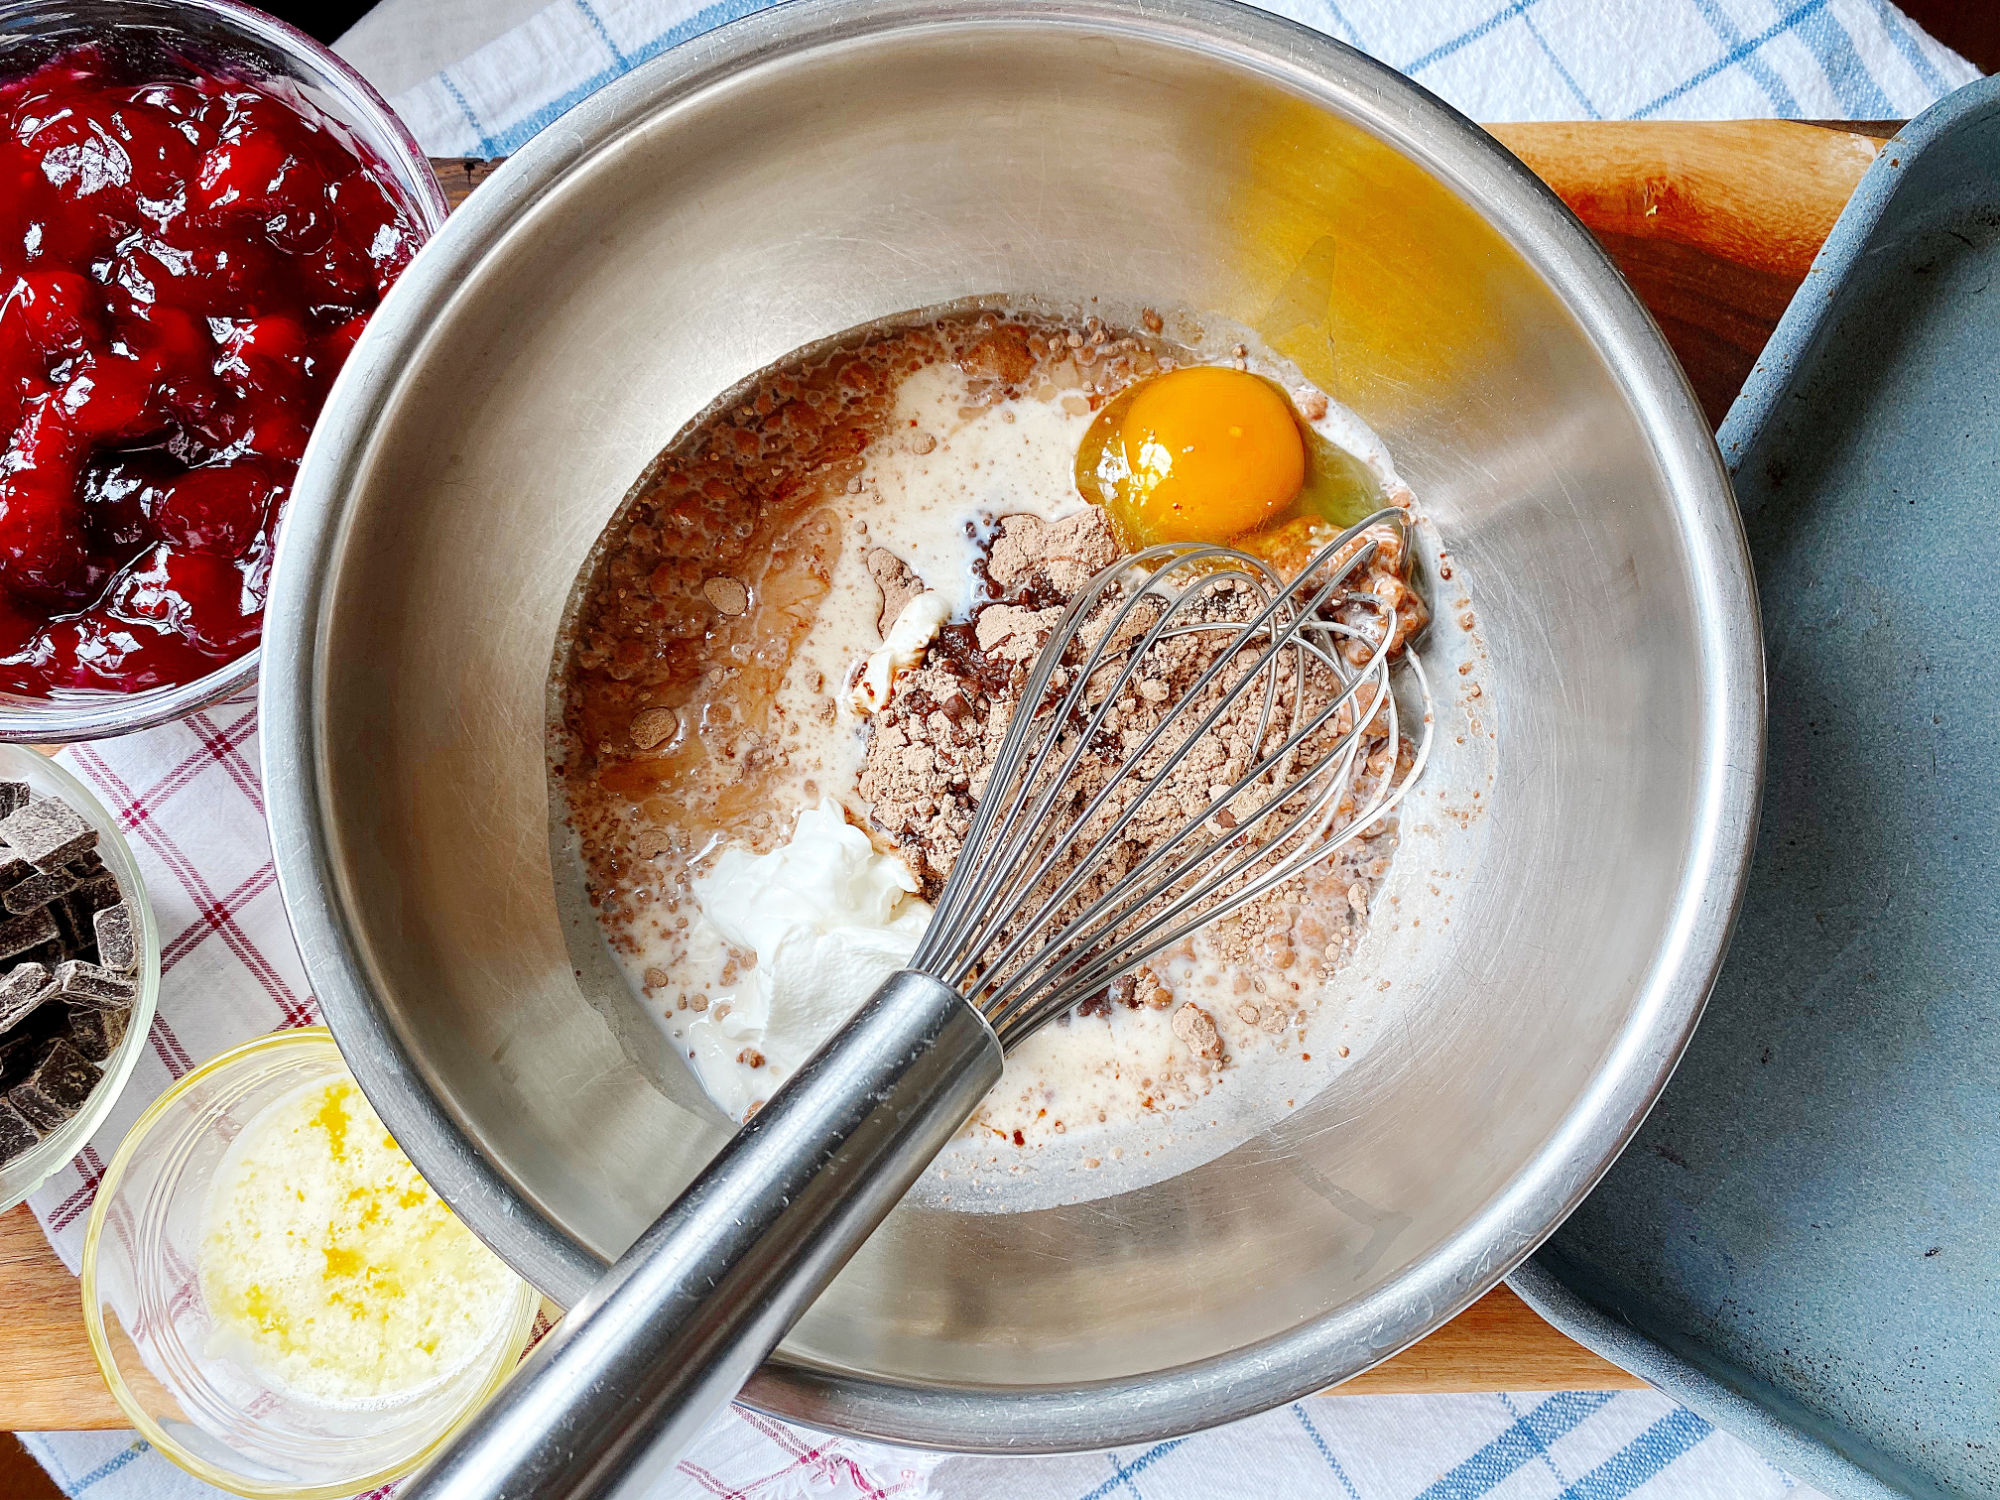
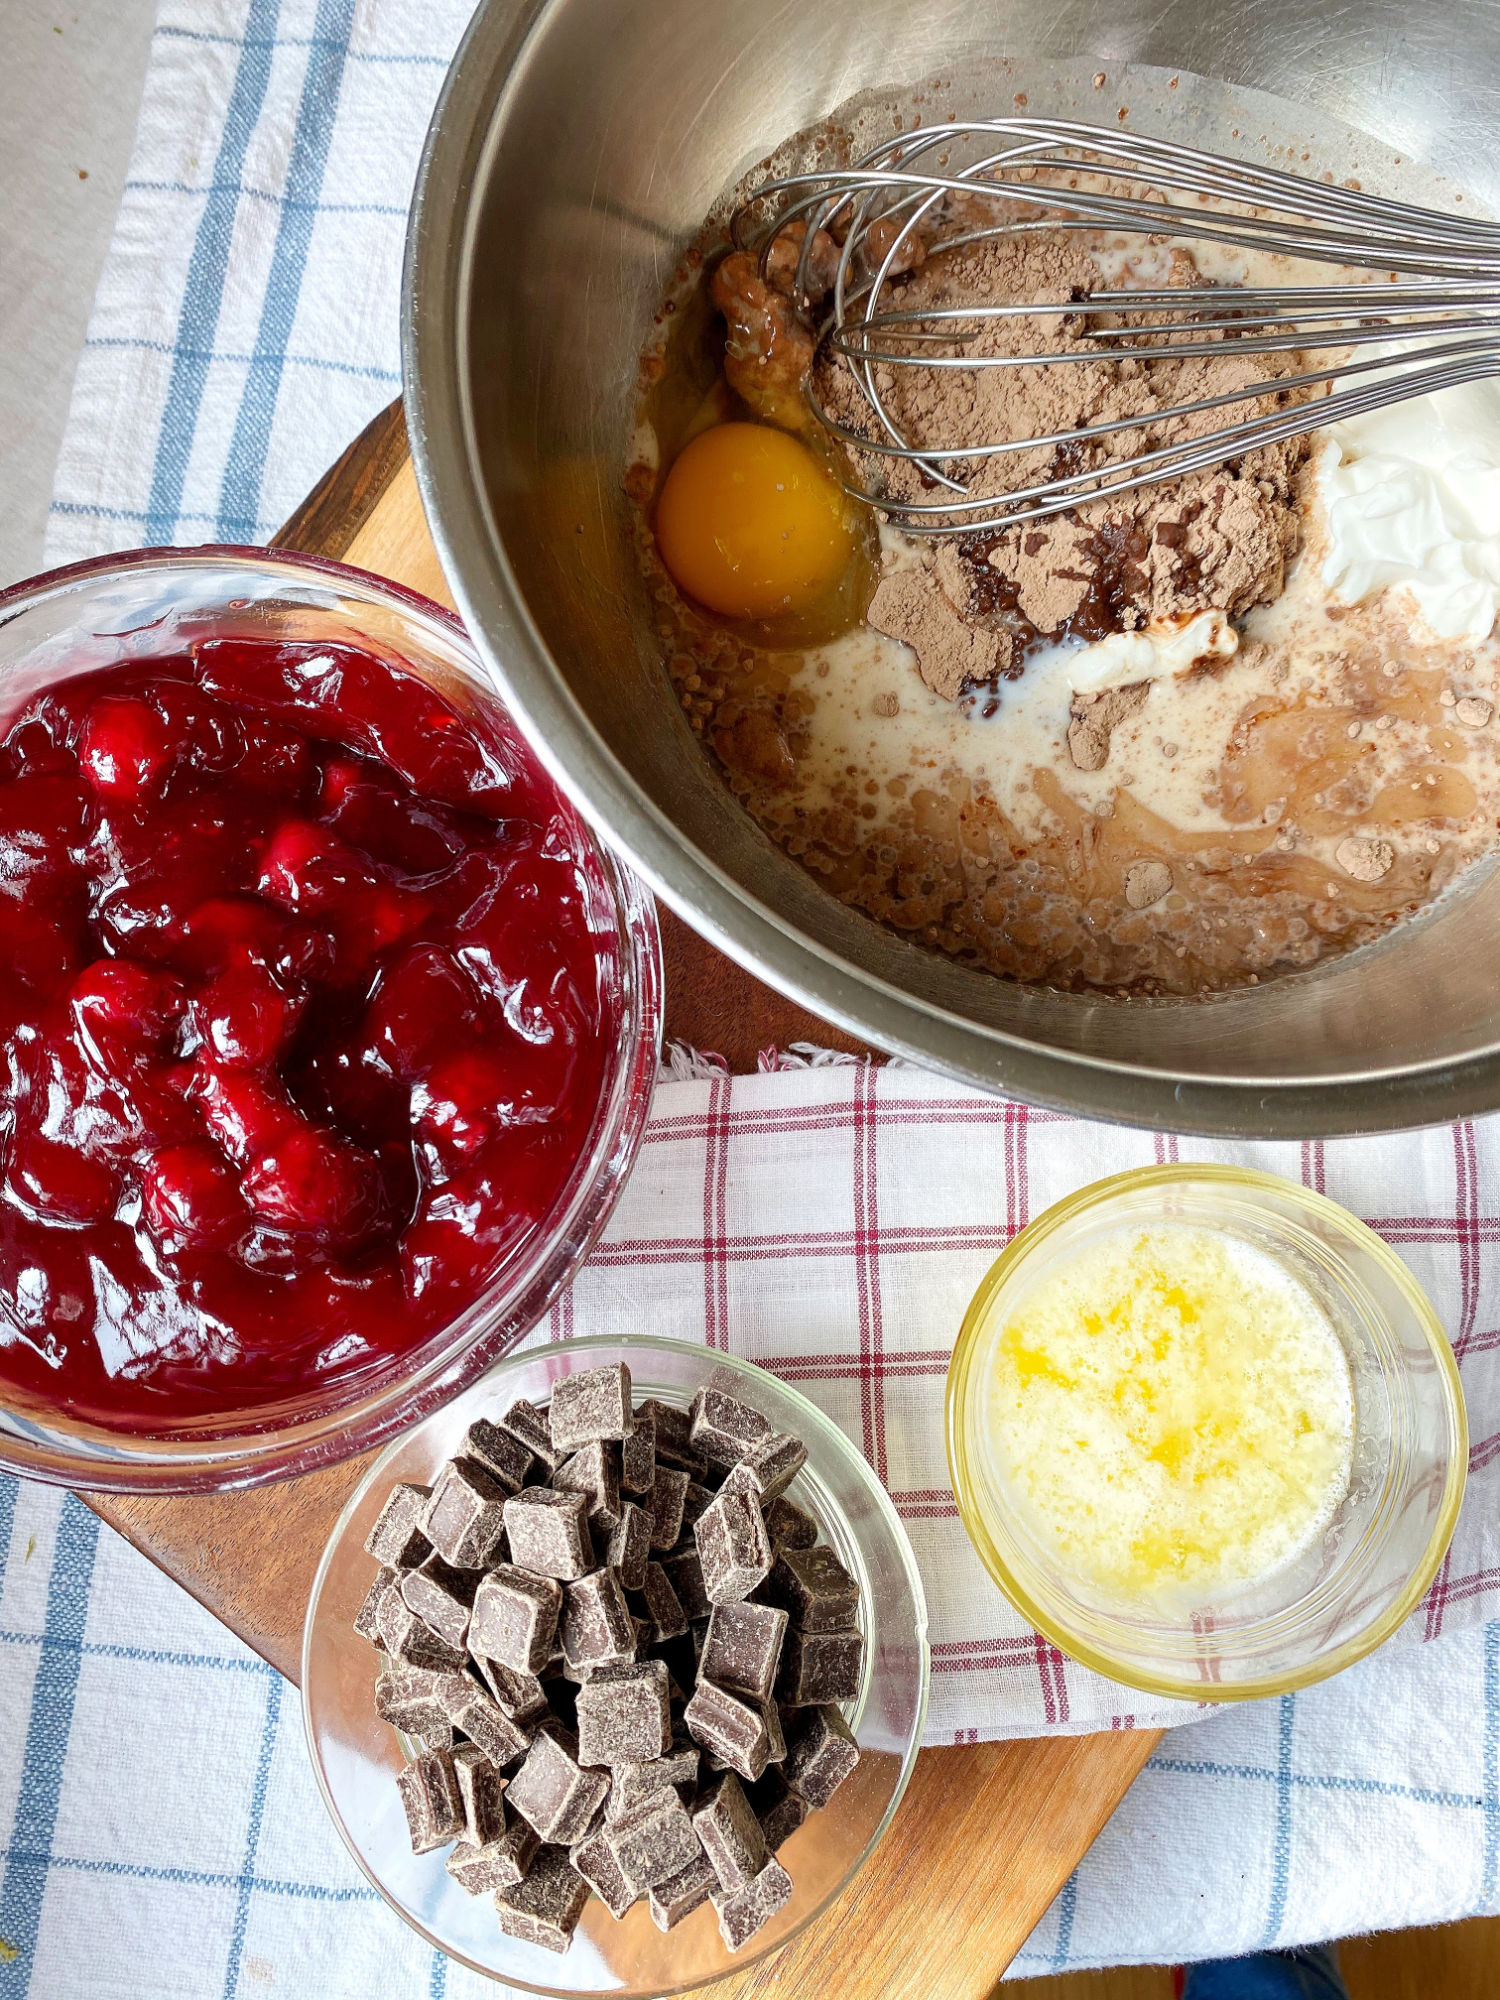
mixing bowl ingredients


A store-bought cake mix is an excellent baking hack! 

Inside that little cake mix box are all the things that lay the foundation for yummy, simple dessert-making. It’s got the perfect proportions of flour, sugar, leavening agent and flavorings. To bring a little homemade goodness into this recipe, we’ll add a few basic pantry staples:

  • milk
  • oil
  • sour cream
  • eggs
  • salt 
  • vanilla

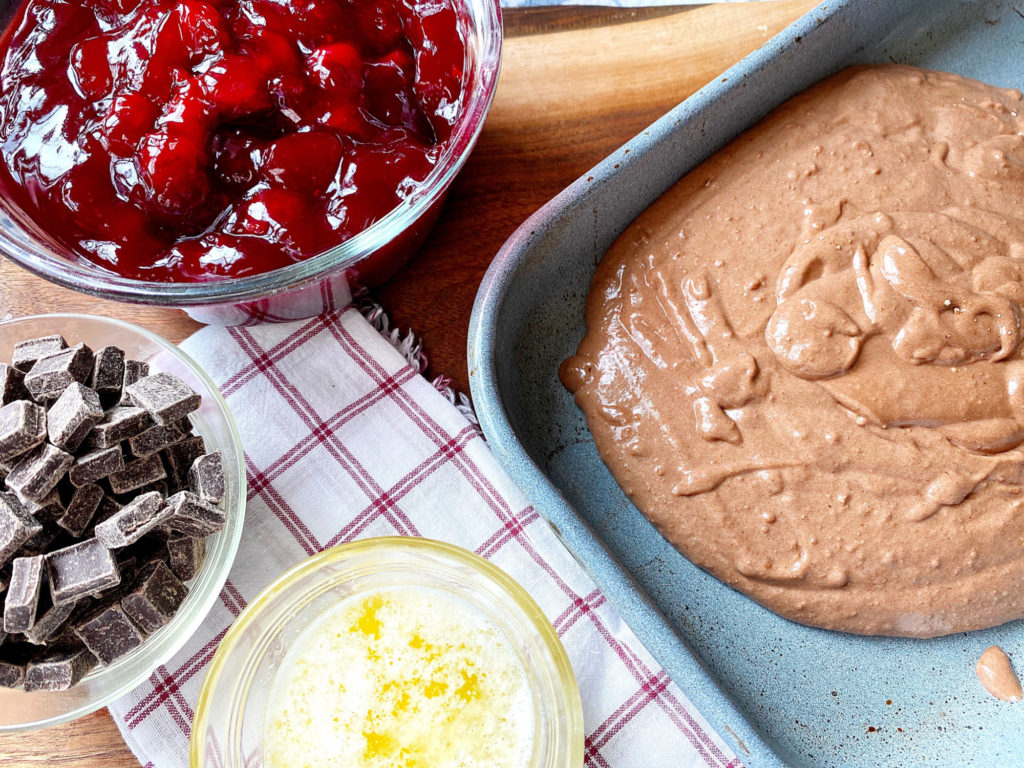
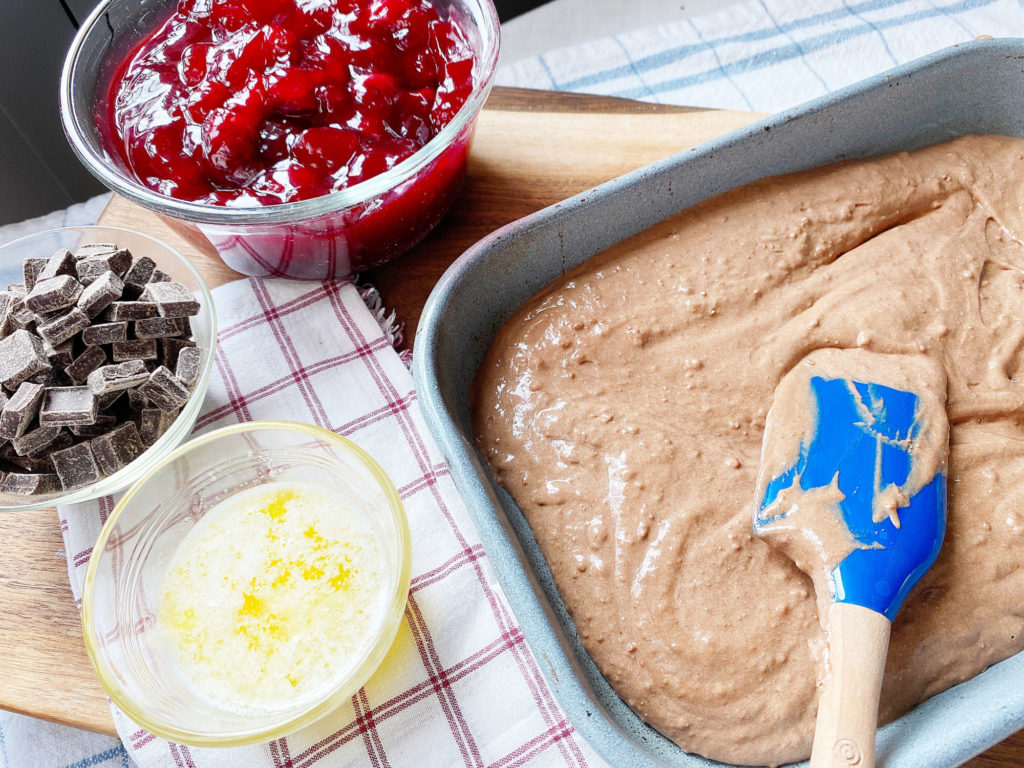
all ingredients ready to assemble

4 Easy Steps

Dump Cakes are a fantastic recipe because (like the name says), the steps are dump, mix, spread and bake. This particular recipe has been developed with a one-time serving in mind. Small portions are perfect for a one-time treat but if you need a larger portion, instructions to make a 9″ x 13″ dump cake are attached in the notes section of this recipe.

  1. Mix the batter

  2. Spread it in the baking dish

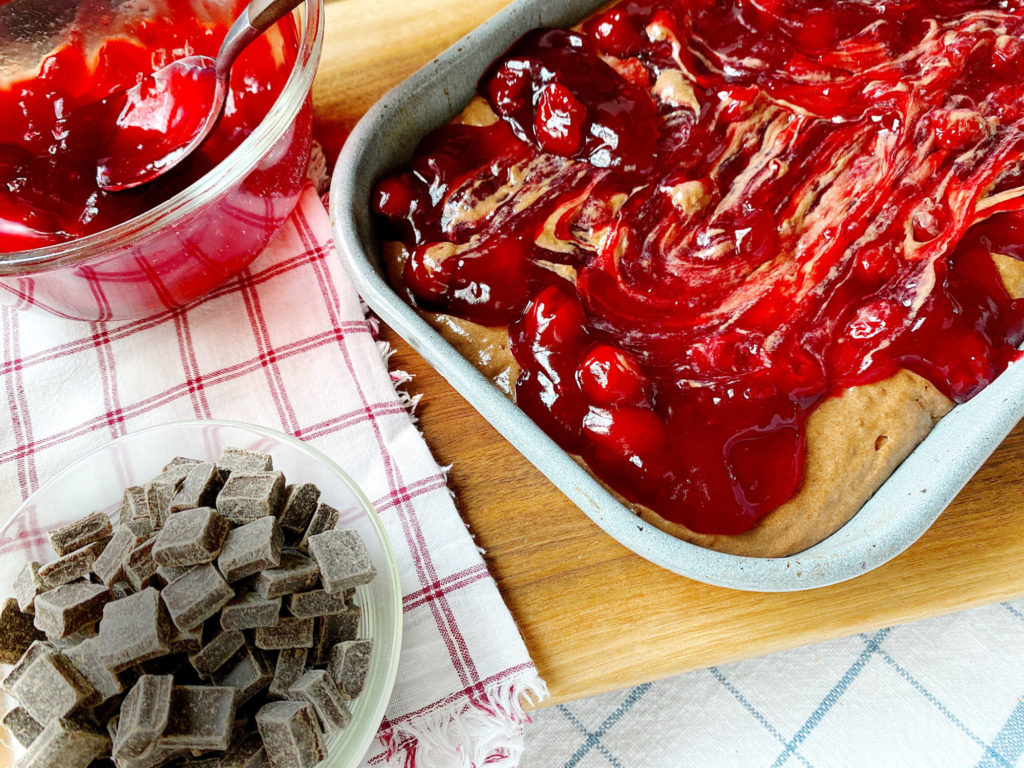
  3. Top with cherry pie filling

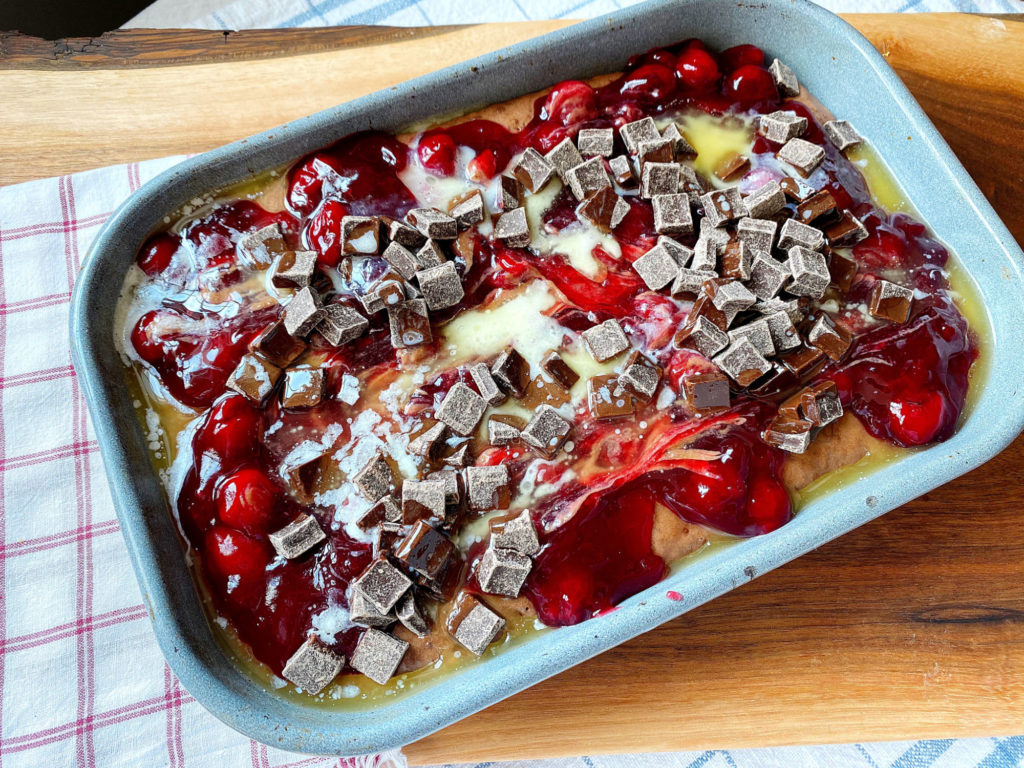
  4. Sprinkle with chocolate chunks and drizzle with butter

all ingredients pin cherry dump cake assembled and unbaked

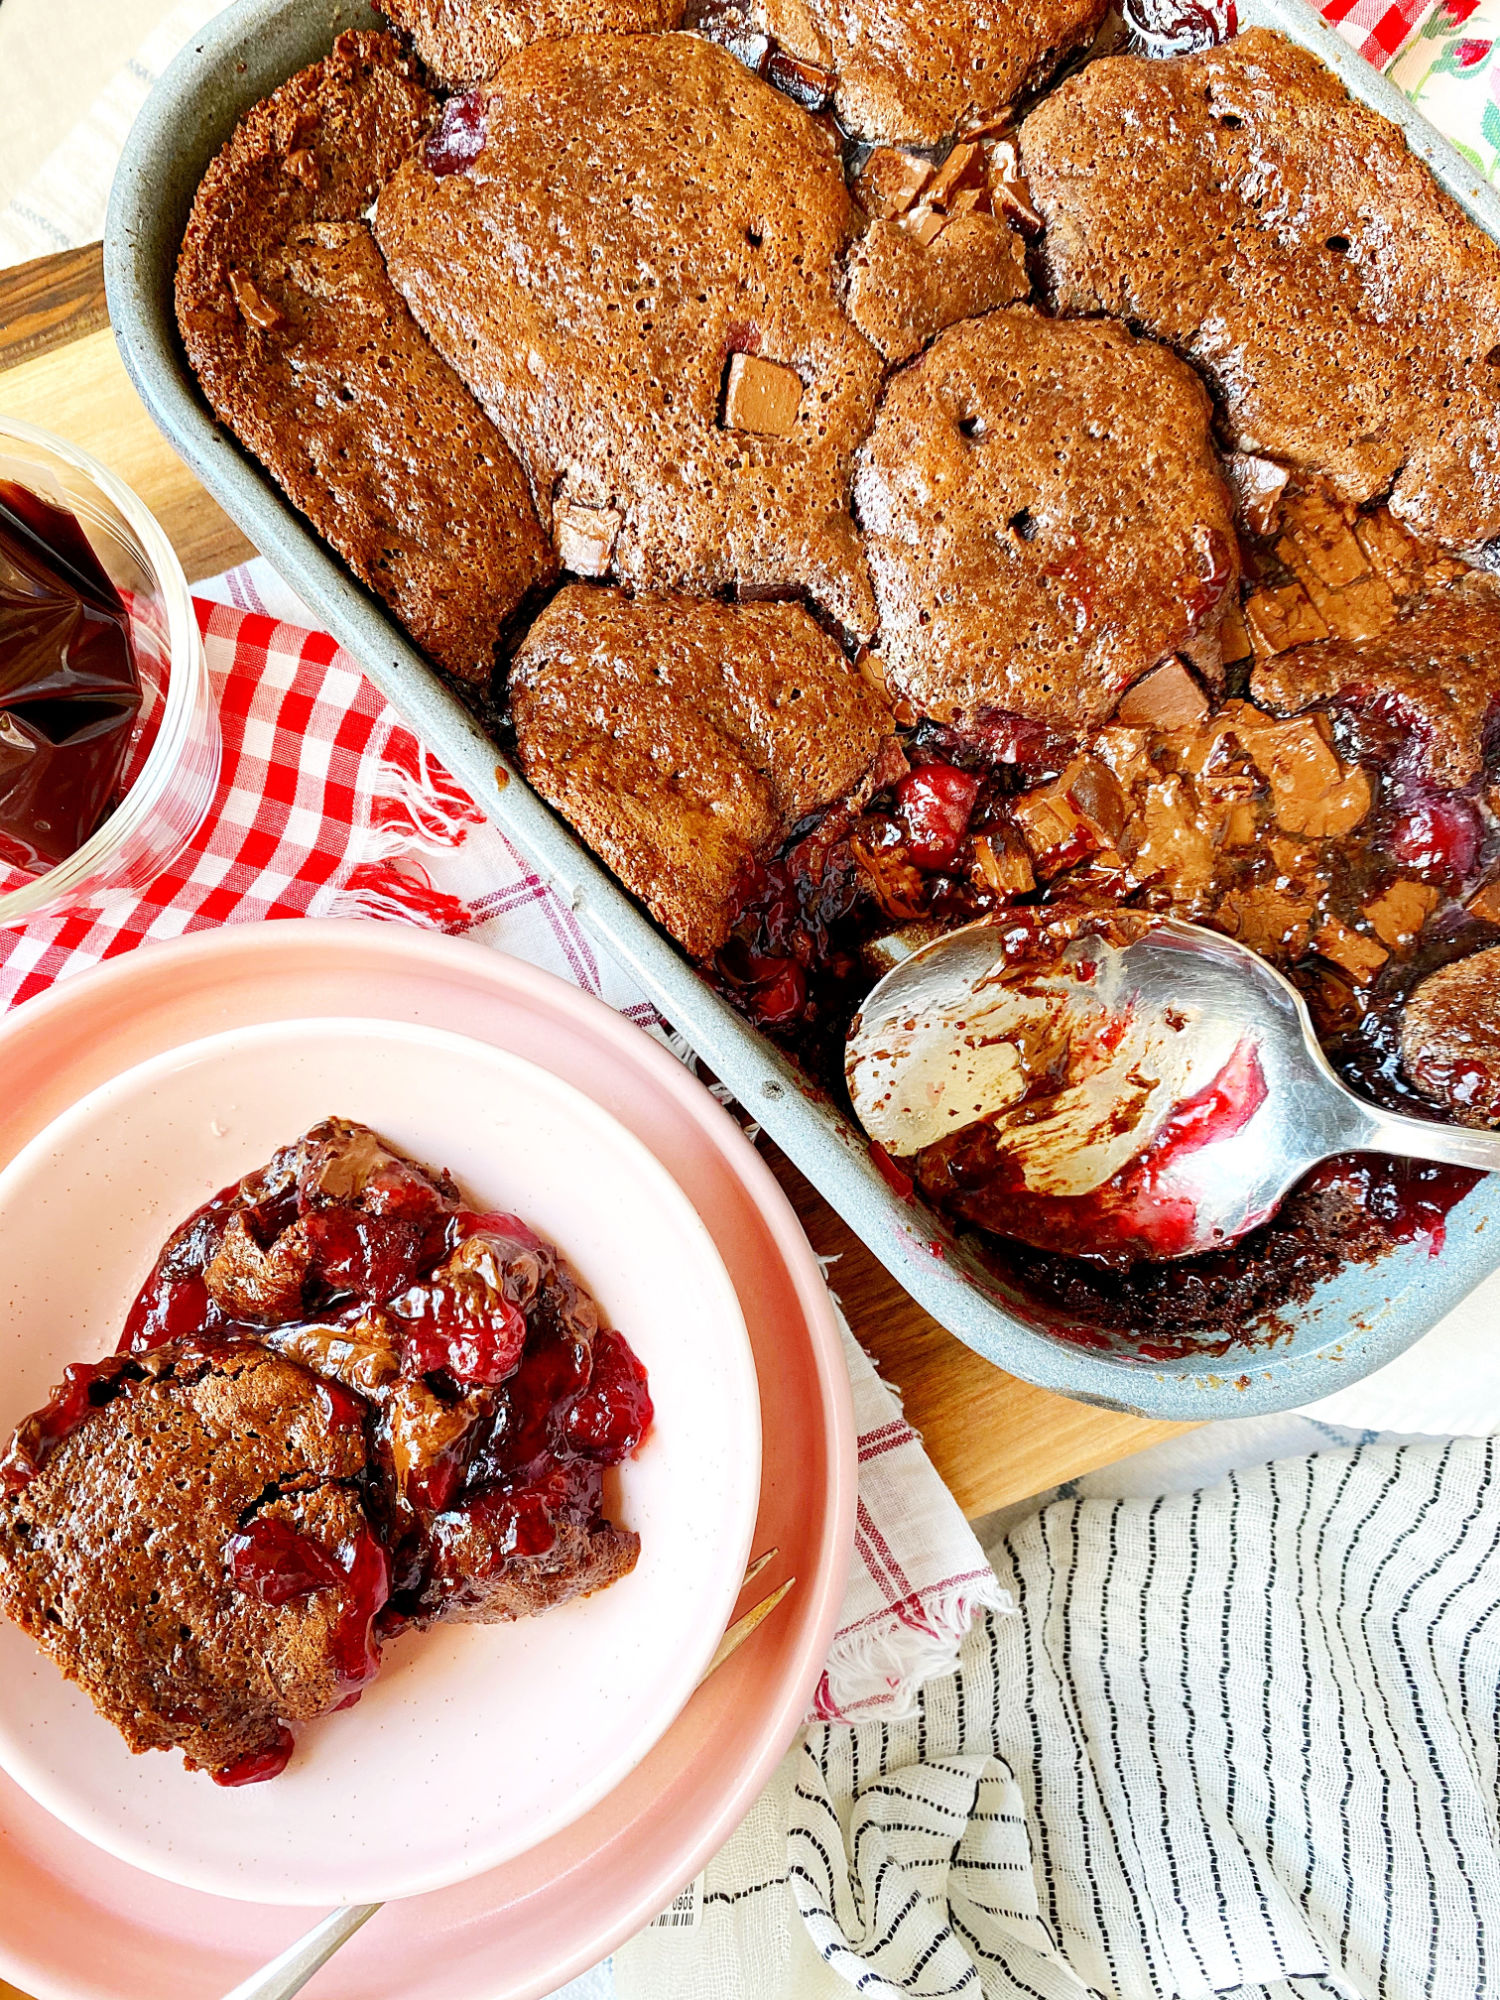
Once the dessert is assembled, simply bake until the center is just set, approximately 35 minutes, and then allow to cool slightly before serving.

baked cake served

The cake batter rises above the cherry pie filling and the chocolate chunks settle into the middle — and the result? A gooey, chocolatey cherry-filled dessert. It’s like a chocolate covered cherry explosion!

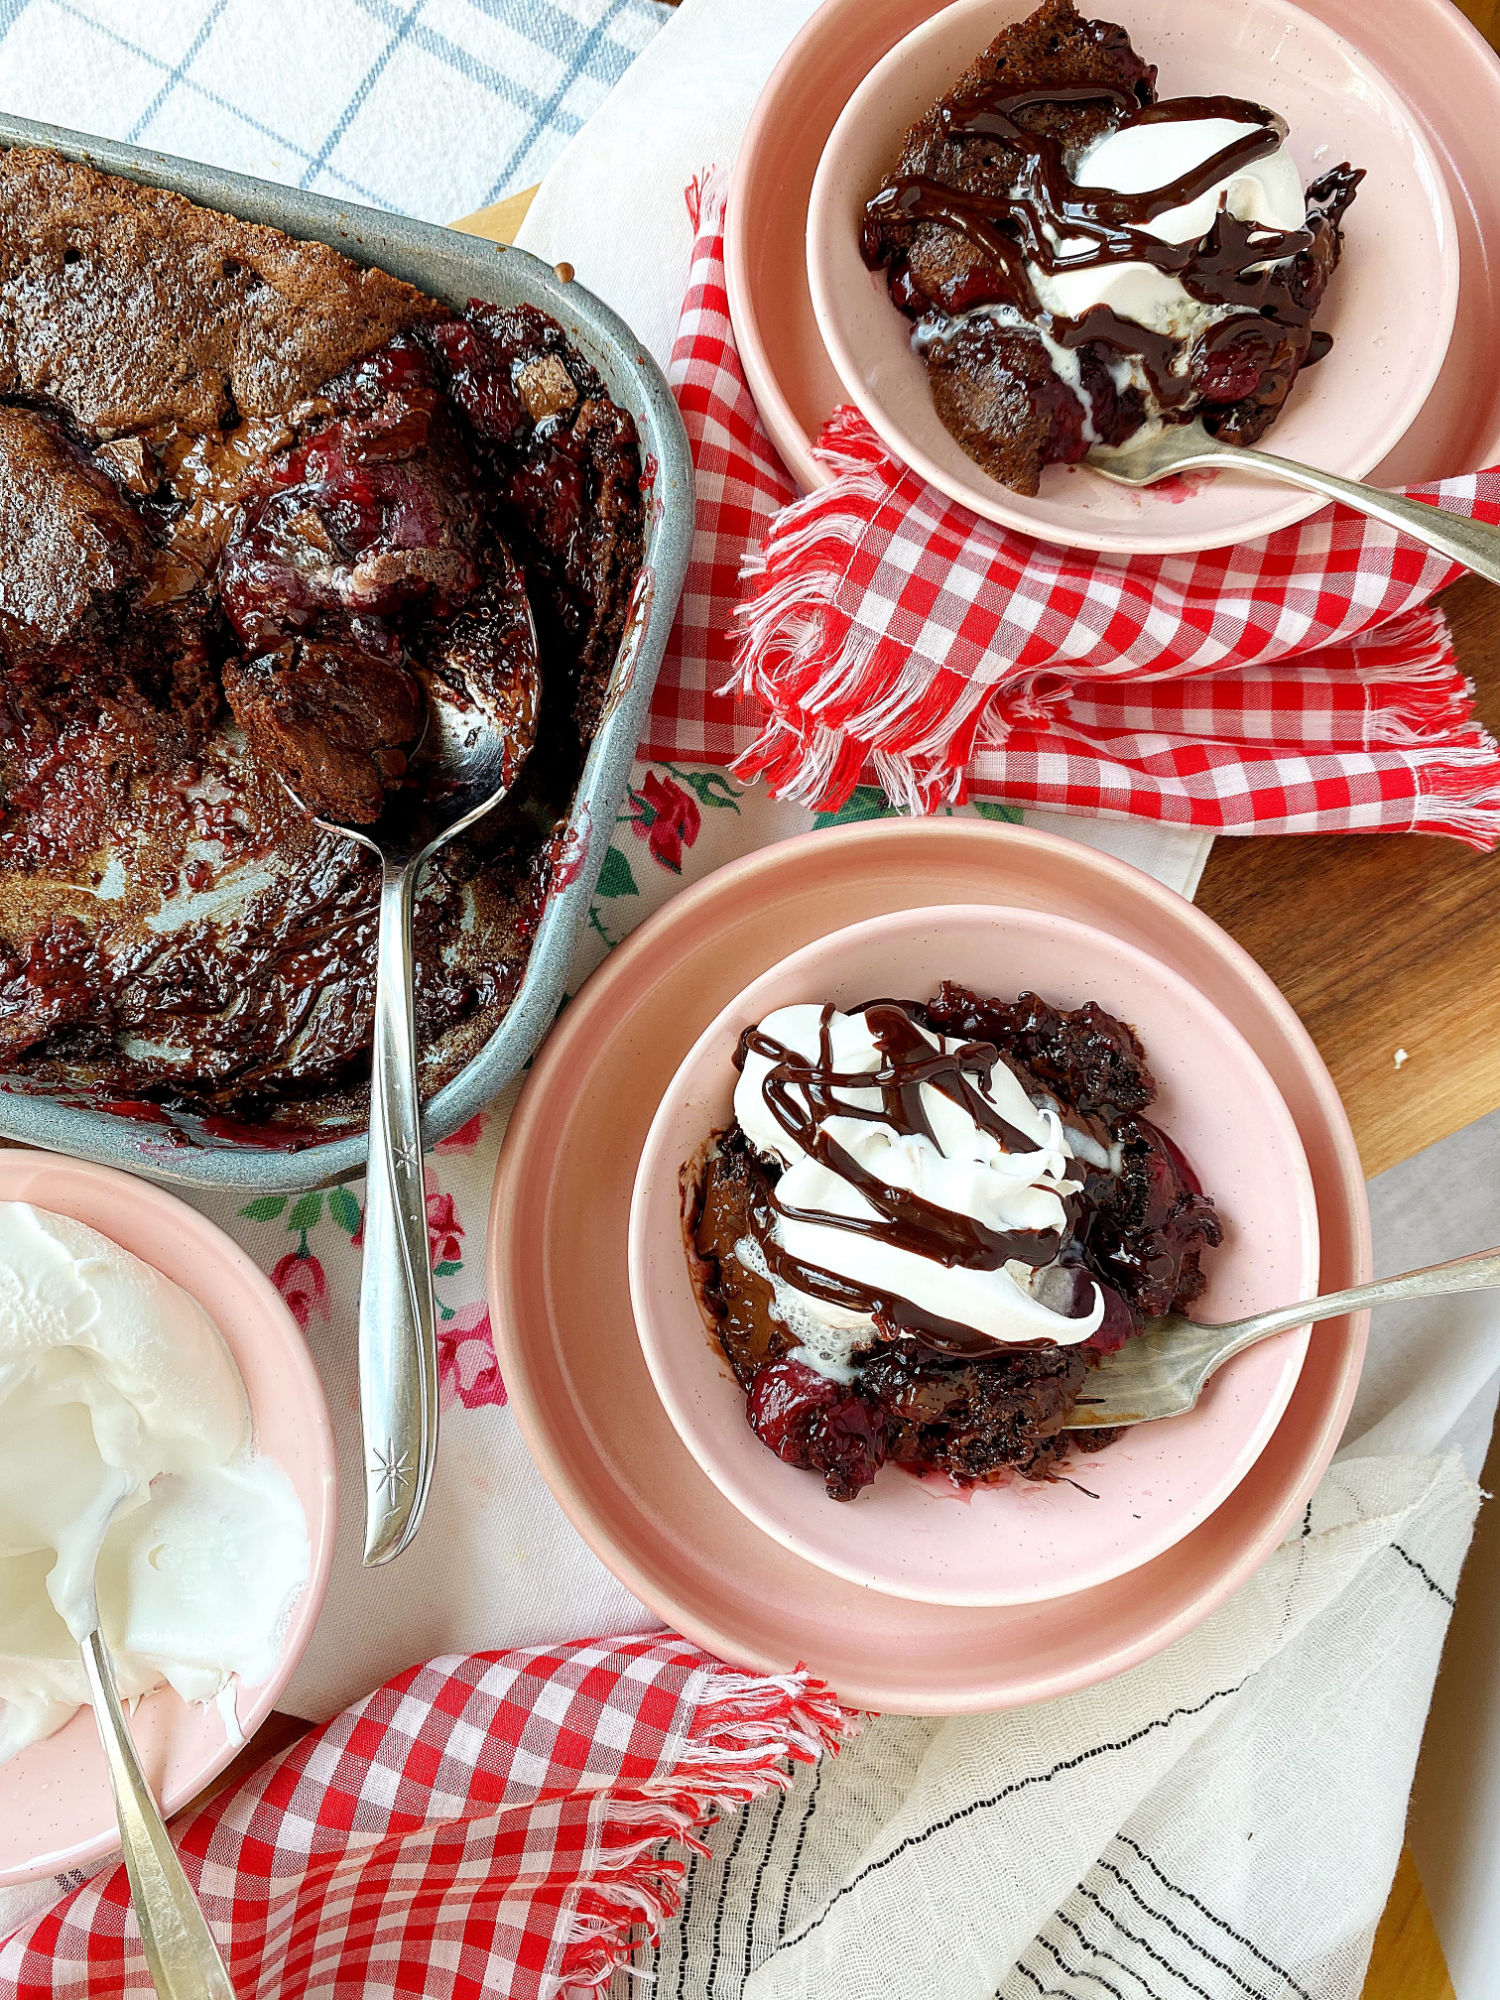
served with cream

serving of dump cake

Chocolate Covered Cherry Dump Cake

  • 1 1/2 c devil’s food cake mix
  • 1/2 c milk (I used whole milk)
  • 2 T canola oil
  • 1/4 c sour cream
  • 1 egg
  • 1/8 t salt
  • 1/2 t vanilla
  • 1 – 21 oz can cherry pie filling
  • 1 c chocolate chunks
  • 3 T melted salted butter
  • sweetened whipped cream and chocolate syrup (for topping)


Preheat oven to 350°. Butter an 11″ x 7″ baking dish.

In a medium mixing bowl, combine first 7 ingredients. Mix completely and then spread into the bottom of the prepared baking dish.

Top with cherry pie filling, spreading evenly.

Sprinkle with chocolate chunks and drizzle with melted butter.

Place baking dish on a rimmed baking sheet to catch any drips.

Bake 35 minutes or until center is almost set (only a slight jiggle when tapped).

Cool for 15 minutes before serving.

Serve with sweetened whipped cream and chocolate syrup.

NOTE – this recipe can be doubled. Use the entire cake mix and double remaining ingredients. Place in a 9″ x 13″ dish. Bake time will need to be increased (approximately 45-50 minutes.).


pin dump cake cherry chocolatedump cake pin

The post Chocolate Covered Cherry Dump Cake appeared first on Sinkology.


source https://www.sinkology.com/blog/chocolate-covered-cherry-dump-cake/

Friday, March 26, 2021

Get It Done, All-In-One!

copper-careIQ-kit

Every day, we’re faced with decisions both in and out of the home. But when it comes to home-improvement projects, it seems like the decision-making never ends. It can seem like a daunting task to find all the right pieces that work well together and fit your personal style and budget. If you’ve been delaying your kitchen remodel due to analysis paralysis, we understand. We created our All-In-One Kits to help make the decision-making process easier.


Our All-In-One Kits include a Sinkology handcrafted sink, coordinating Pfister faucet, and everything you need to install and maintain your sink. These all-encompassing kits have everything you need so you can stop browsing and start making progress. To get it all done in one, all you need to do is follow these 5 steps:


Step 1: It Starts with the Sink

Your kitchen sink will become a focal point in your kitchen, so it’s important to dedicate the most time to selecting the right sink for you and your kitchen. This will be the biggest decision you will make to create your All-In-One Kit, as it is the foundation for steps 2-5. But don’t worry, there’s something for every home. We have curated a beautiful selection of sinks for you to choose from. On the one hand, you’ll love having so many options. On the other hand, we understand if it becomes challenging to choose just one. We recommend you first find your favorite collection: the INSPIRE collection of SureFire fireclay sinks, our FORTIFY collection of Crafted Stainless Steel, or our selection of handcrafted copper sinks. Once you have the ideal material in mind, you can find the right size with the bowl style for your family.

brushed crafted stainless steel single bowl farmhouse sink The Josephine quick-fit, drop-in fireclay farmhouse kitchen sink front angle view copper kitchen sink matte white farmhouse fireclay sink

Step 2: Find the Right Faucet For Your Kitchen

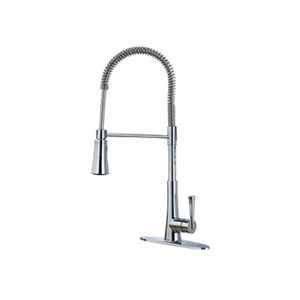
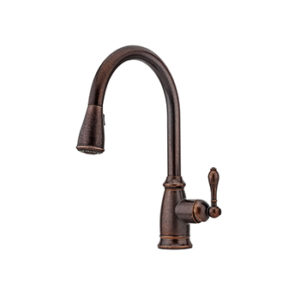
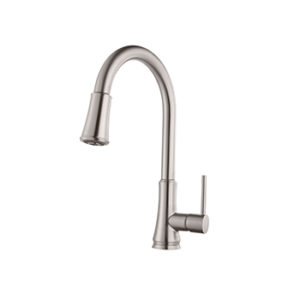
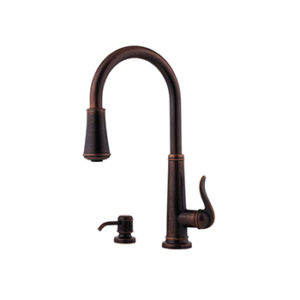
Once you have the sink style in mind, the next step will be to look for the kit with your favorite faucet. No matter what the faucet looks like, we promise it will bring high-quality performance in everyday use. When we first came up with our All-In-One Kit concept, we knew we needed to partner with a top faucet maker, which is why we include a Pfister faucet in every kit. Pfister is one of the top faucet manufacturers, recognized for their quality and value to customers around the world. We have nine unique styles for you to choose from, ranging in finishes, handle styles, and additional features.

zuri-pfister-faucet canton-pfister-faucet pfirst-pfister-faucet ashfield-bronze-pfister-faucet

Step 3: Get Down to the Drain Details

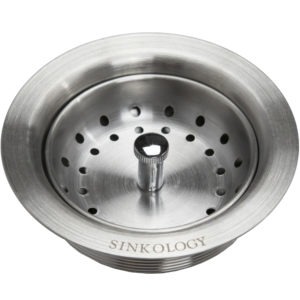
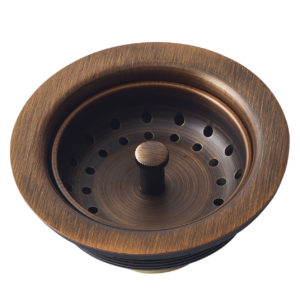
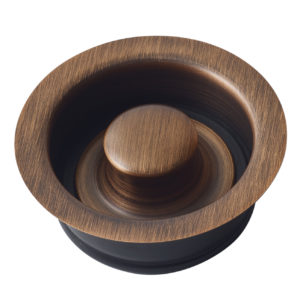
It may often be an oversight, but when done right, the sink drain can tie together the complete look of a kitchen sink. You’ll find that our All-In-One Kits are thoughtfully compiled with beauty and function in mind. Our drains span in styles from our rich Antique Bronze finish to classic Stainless Steel that pairs beautifully with the Pfister faucet and Sinkology sink. Not only can you personalize the look of your drain, but you can also choose between strainer drains and disposal flanges to fit your kitchen’s needs.

stainless steel basket strainer drain with logo TD35-01

Step 4: Pair with the Perfectly Protective Grid

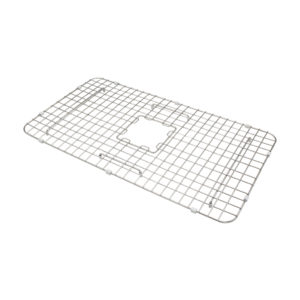
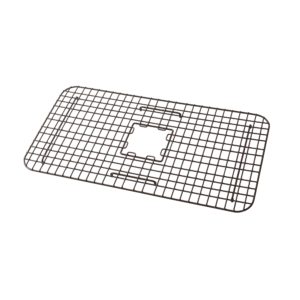
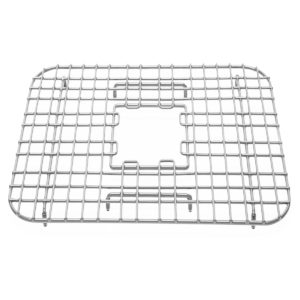
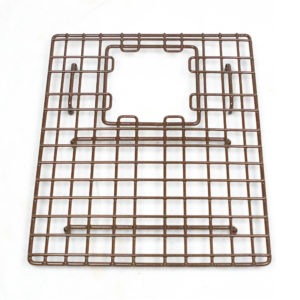
Our exclusive Sinkology bottom grids are designed to protect both the bottom of your sink and the fragile dishes you care for in its sturdy basin. The average grid on the market is purely functional, but with our beautifully designed, perfectly fitted bottom grids, you’ll actually add a beautiful touch to the bottom of your sink. Available in Antique Bronze and Stainless Steel so you can match your grid perfectly to your selected drain.

stainless steel bottom kitchen sink grid

Step 5: Complete Your Kit with the Best Care  

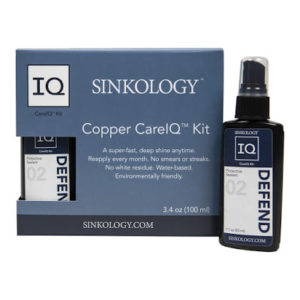
Once you’ve completed steps 1-4, you’ll receive recommended extras to care for your sink. For example, when you select an All-In-One Kit with a copper sink, you’ll get a Sinkology Copper Care IQ Kit. For fireclay sinks, you receive our Breeze Non-Scratch Scrubber. These final touches will keep your sink your favorite focal point for years to come.

Copper Care IQ Kit fireclay careiq kit, defend protective sealant, restore cleaning polish

We hope these five simple steps show how easy it can be to upgrade your kitchen sink with our All-In-One Kits. If you love the simplicity of our All-In-One Kits for kitchen sinks, you can upgrade your bathroom sink as easily and beautifully with our Bath All-In-One Kits. Like the kitchen sink kits, you’ll have everything you need to make a beautiful upgrade to your bathroom in one artfully curated, convenient kit. With just a few kits, you’ll make all your home remodeling dreams a reality.


_____________________________________________________________________

If you have any additional questions during your search for the perfect copper, fireclay farmhouse sink or granite sink, our Sinkologists are here to help. Contact us or follow us on FacebookHouzzPinterest, or Instagram for more helpful tips and design ideas.


The post Get It Done, All-In-One! appeared first on Sinkology.


source https://www.sinkology.com/blog/get-it-done-all-in-one/

Thursday, February 4, 2021

Apple + Plum Tart

Sinkology is proud to present Emily Schuermann, our food-loving guest blogger who runs Food for a Year. Emily is here to share some recipes she has created exclusively for the Sinkology blog that reflect her view of a copper sink: simple, timeless, affordable, and beautifully rustic. 


Especially with the crazy circumstances of 2020, we all need a few simple ‘pulling a rabbit out of the hat’ type recipes. And if ever there was a magic trick recipe, this Apple + Plum Tart is the one! This tart looks and tastes so deliciously fancy but with just 8 ingredients and 30 minutes, this Apple + Plum Tart recipe is certain to have a reoccurring spot on your menu!

Special + Simple

There are a few things that makes this recipe so spectacularly special + simple. It’s ::

  • easy to assemble
  • versatile
  • beautiful
  • impressively delicious
  • ingredients are easily accessible

sliced apples and plums on tray

A recipe made for your routine!

With all that, let’s break this recipe down so that we can make it part of your routine! First, any type of seasonal, ripe or even overripe fruit will work (berries, stone fruit, bananas, pears — even citrus).

pricked crust

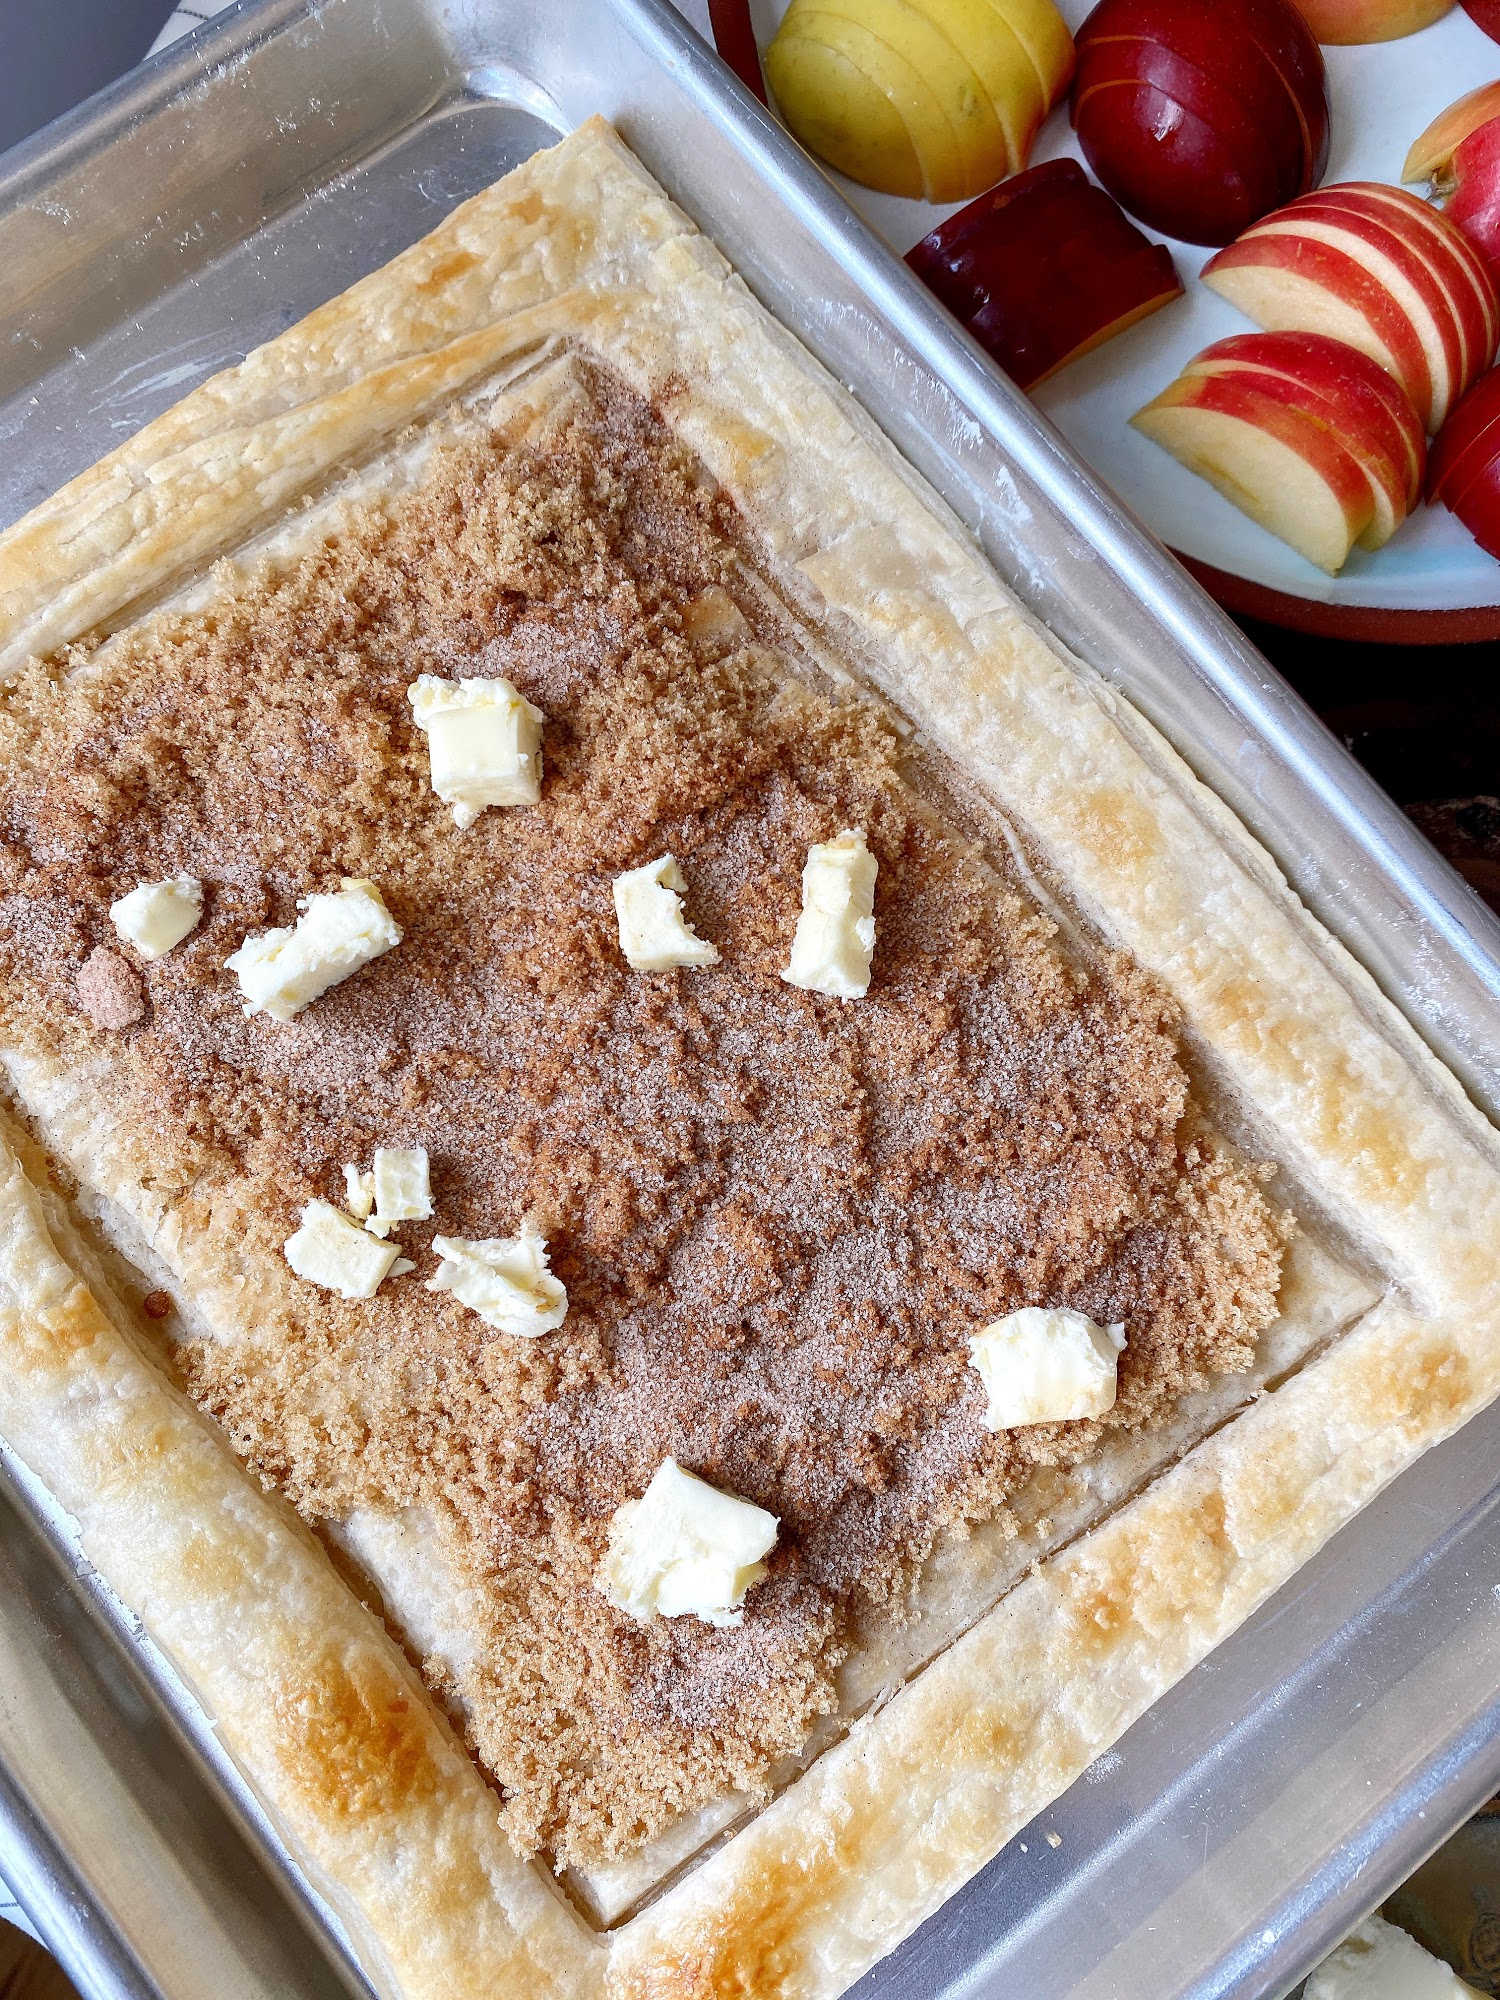
butter tart in waiting cinnamon sugar butter tart

A stocked pantry is key!

For starters, you’ll need ::

a sheet of thawed puff pastry

– ripe fruit, evenly sliced (1/4″-1/2″ thick)

– sugar + cinnamon (or another favorite warm spice)

– butter + cream

All of these ingredients are items that I consider to be “pantry essentials”. I love that having them on hand means I can whip out a fruit tart like a boss!”

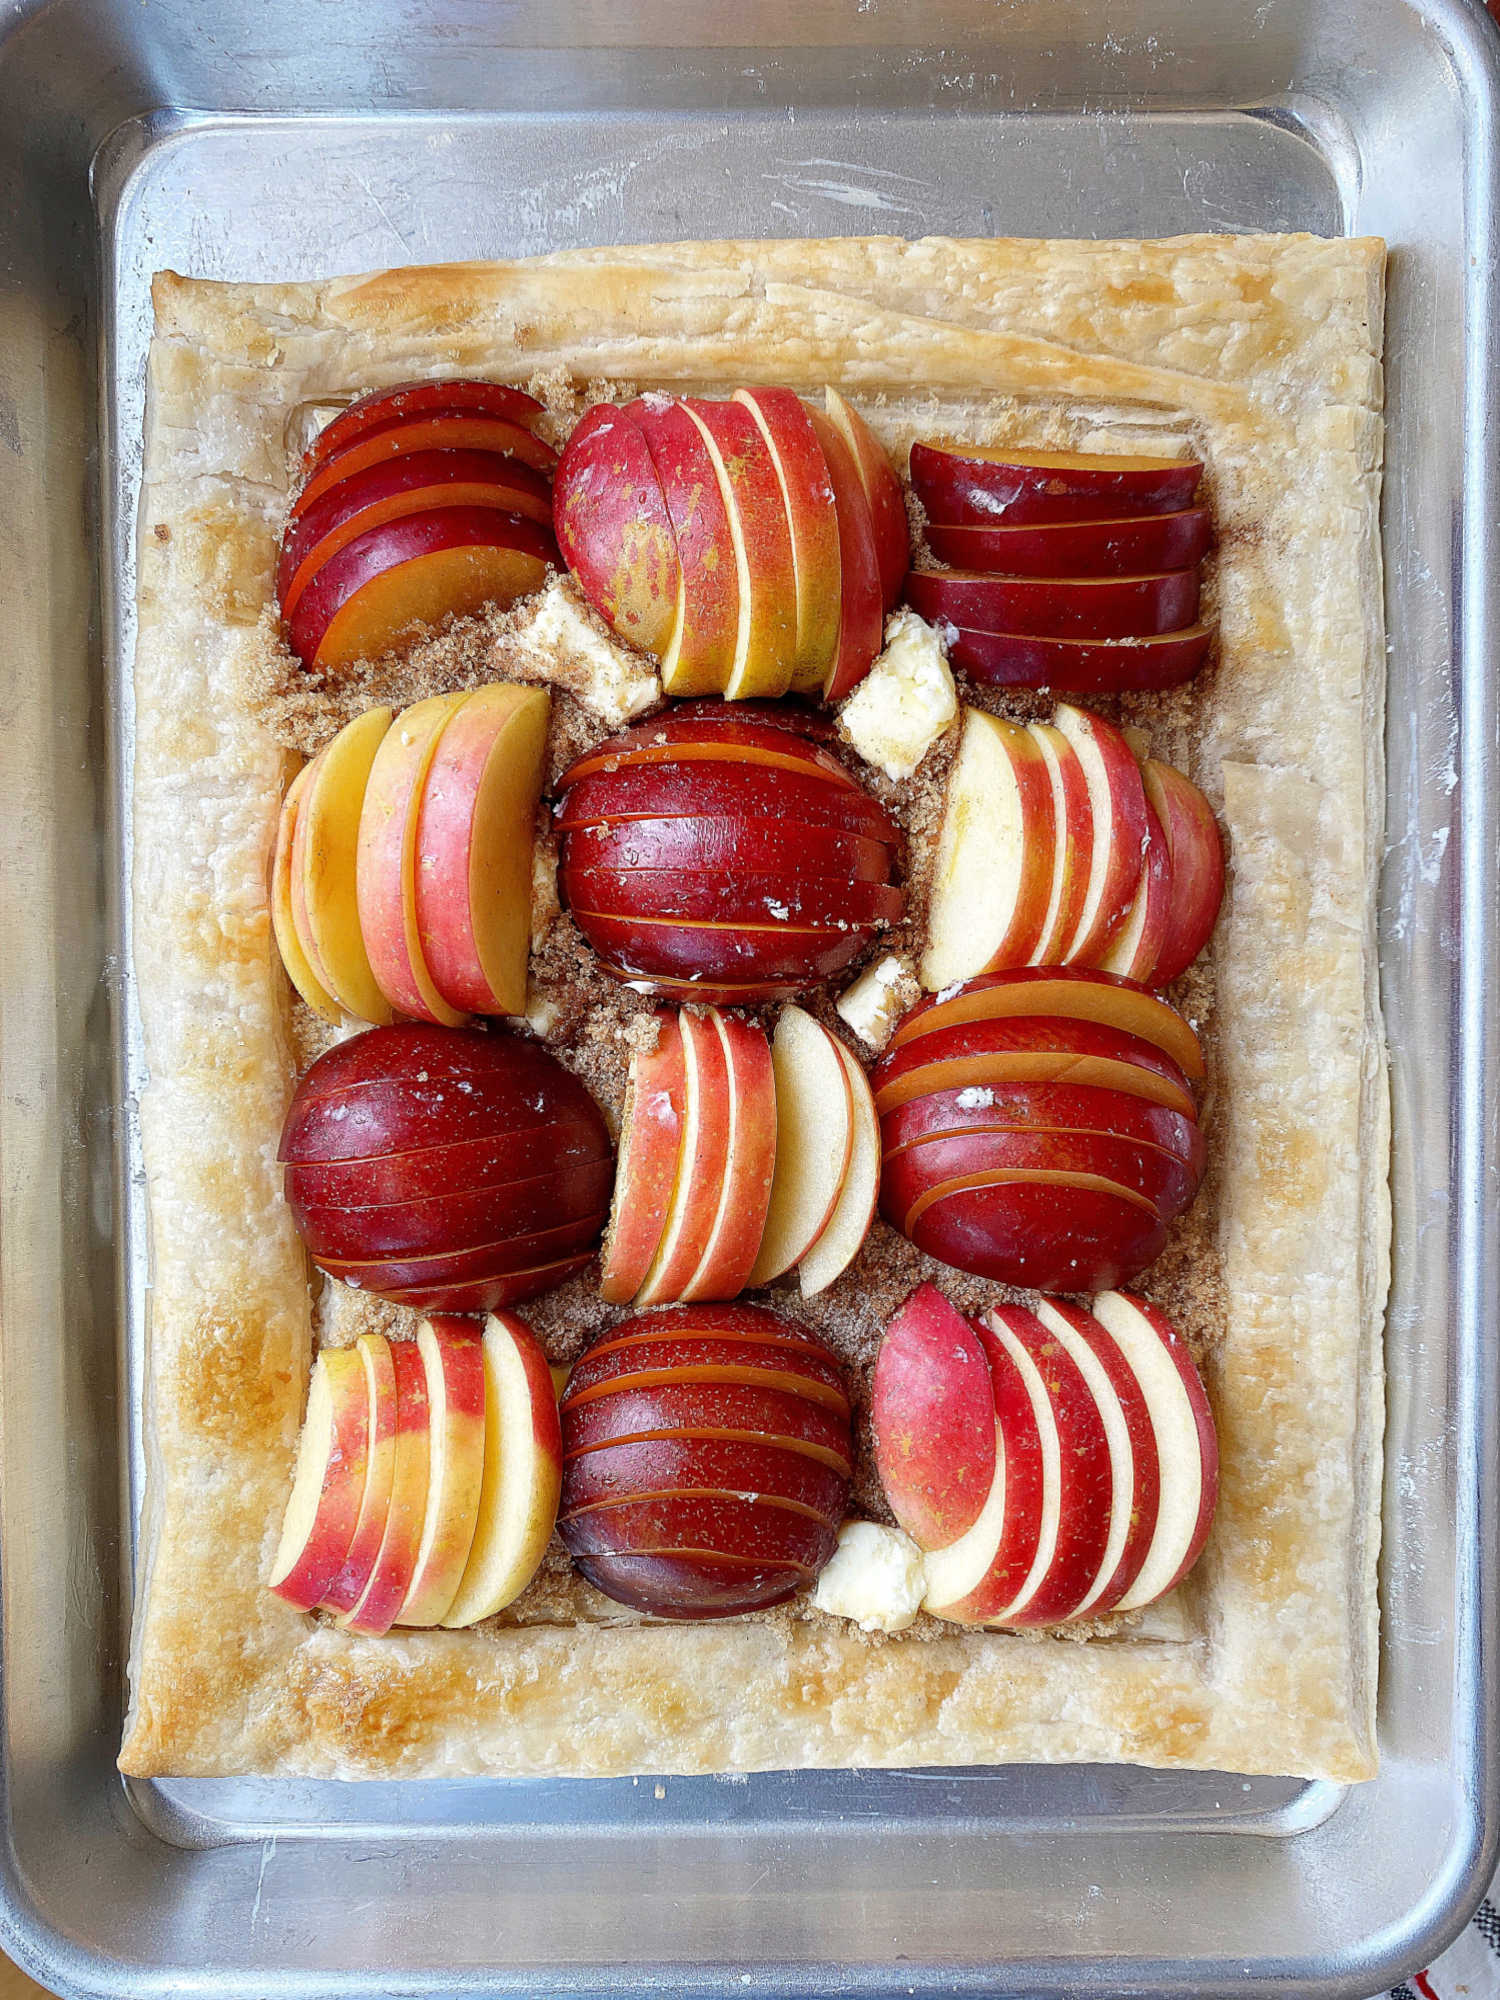
pre-baked tart baked tart

Ooooh how I love this Apple Plum Tart! The sugars and butter and cream get all warm and melty with the cooking fruit juices, creating a quick, crave-worthy caramel sauce. The buttery, crisp puff pastry in partnership with the cinnamon, fruit and caramel is pretty much the most perfect treat IMO! And how easy?! 

sliced tart close up

Apple + Plum Tart

  • a sheet of thawed puff pastry, rolled to 8 1/2″ x 11″
  • 2 small apples, evenly sliced (1/4″-1/2″ thick)
  • 3 ripe plums, evenly sliced (1/4″-1/2″ thick)
  • 3 T cinnamon sugar 
  • 4 T brown sugar
  • 2 T butter
  • 3 T cream
  • pinch of sea salt
  • sweetened whipped cream, garnish

Preheat oven to 425°.

Start by thawing a sheet of puff pastry according to package instructions. Score the edges to create a 1″ border and prick the center with a fork so that the center doesn’t puff. Brush the edges with cream.

Par-bake the pastry for 12 minutes (so that the tart will be cooked through after the sliced fruit is added).

Once par-baking is complete, remove the pastry from the oven and use a fork to prick and deflate the center, being sure to leave the edges puffed.

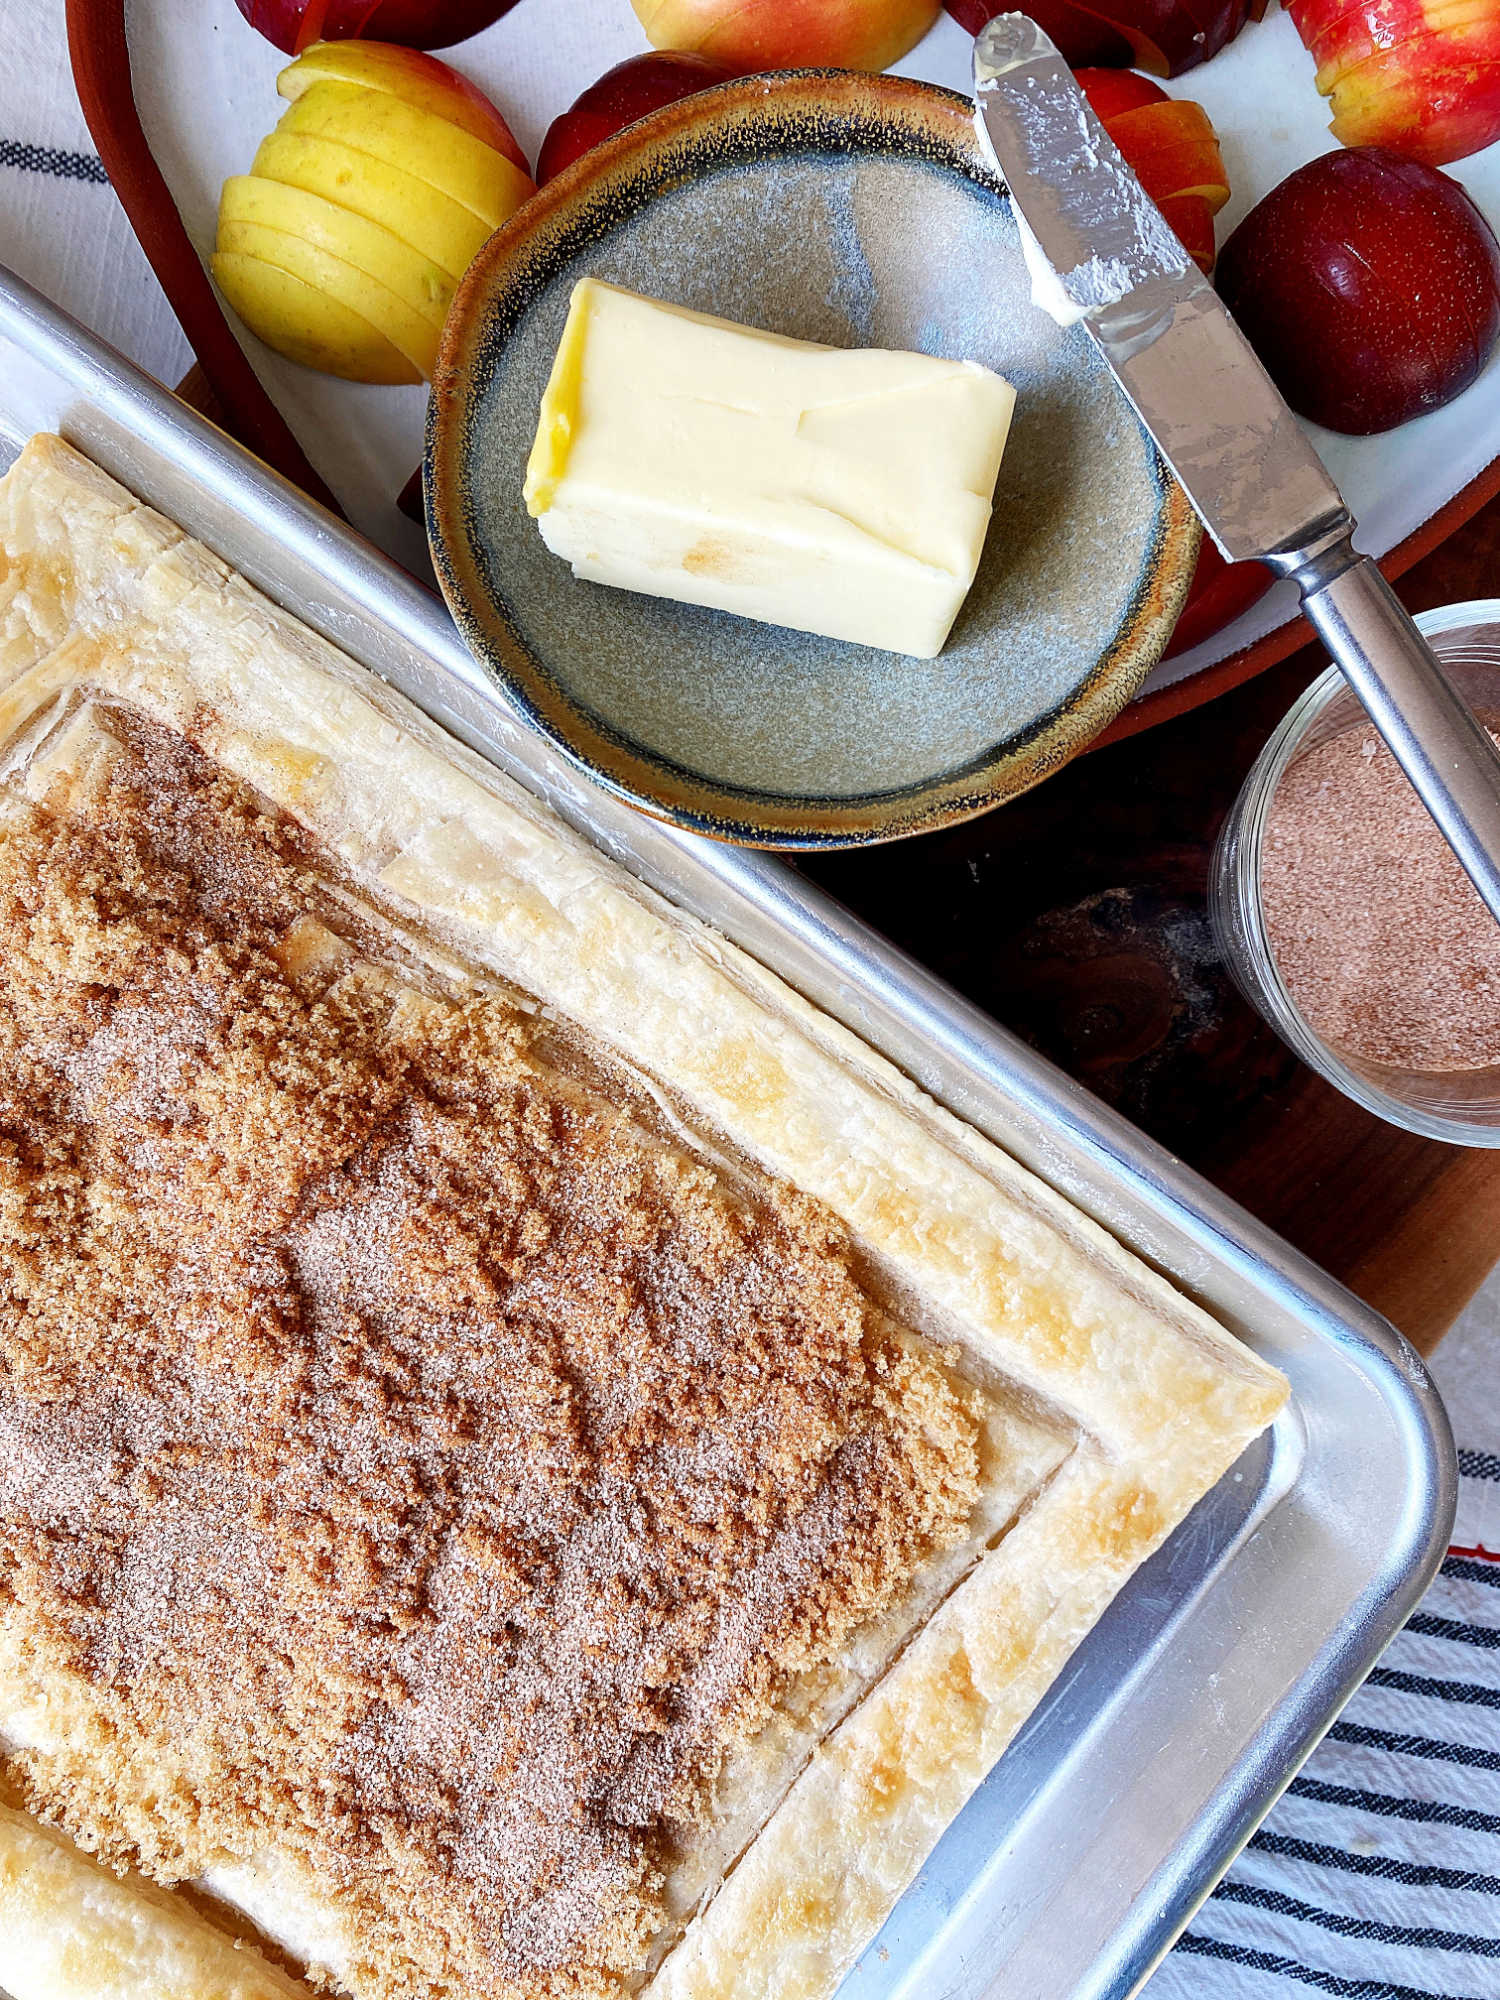
Sprinkle with half of the cinnamon sugar and brown sugar (be sure not to get the sugars on the edges).

Drop half of the butter in bits evenly over the sugars.

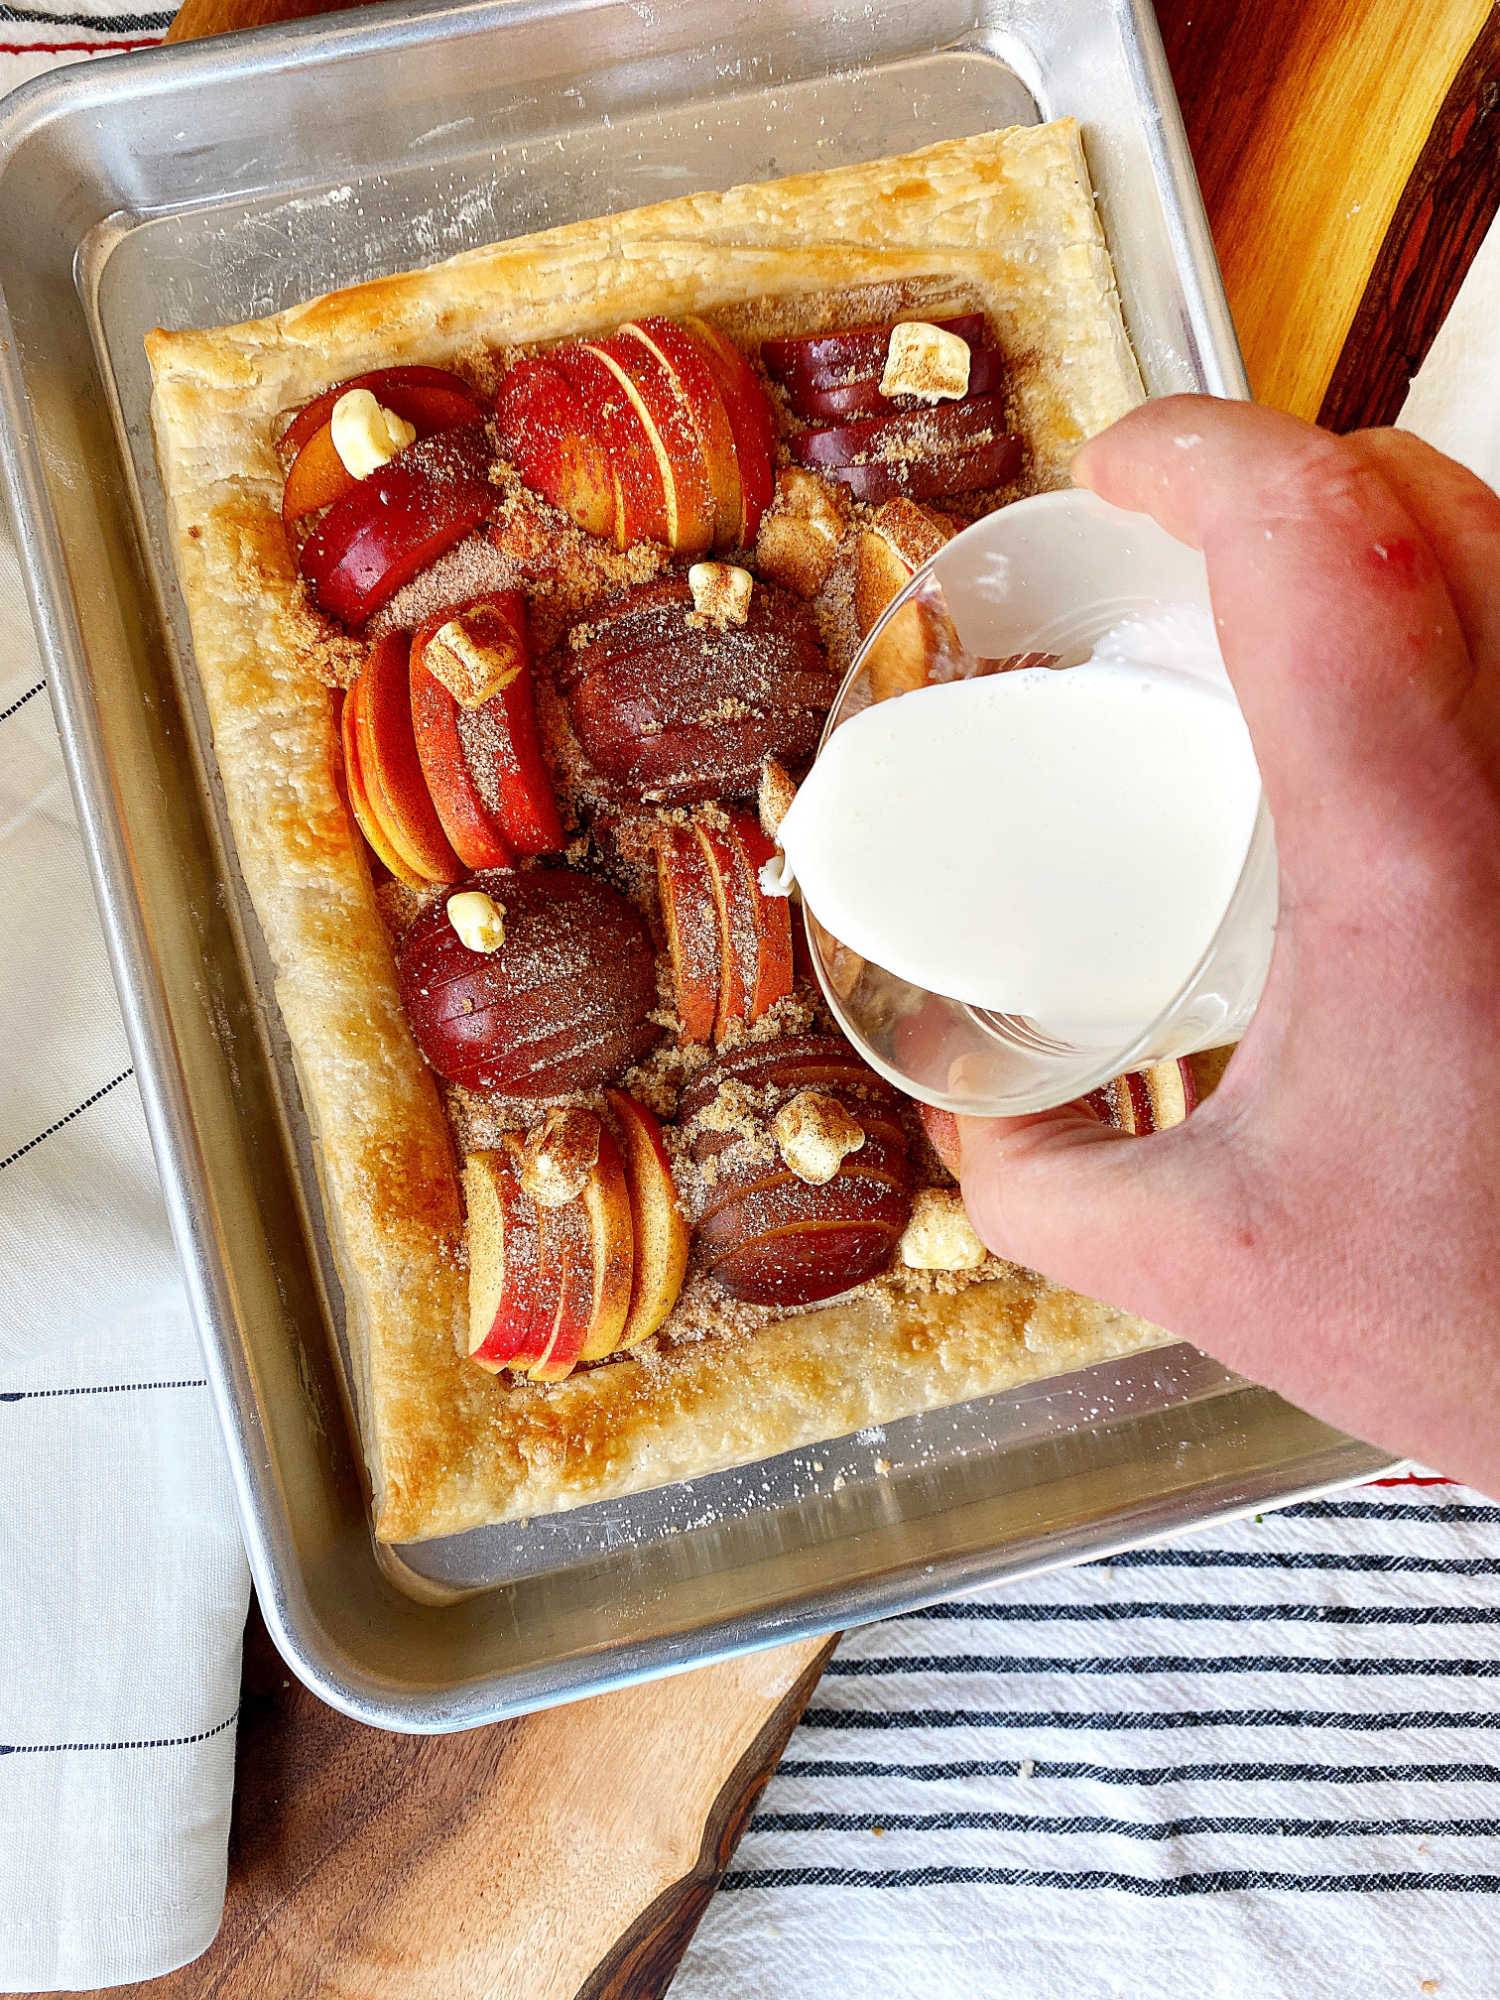
Arrange the sliced fruit in a single layer.

Sprinkle with remaining sugars and cream and a pinch of salt.

Bake at 425° for 20-25 minutes* on the middle rack (until fruits are cooked through and sugars have melted).

When done, remove, slice and serve. Garnish with sweetened whipped cream, optional.

Serves 6

*If the edges start to to darken too much before the fruit is cooked through, cover the edges with strips of foil.


_____________________________________________________________________

If you have any additional questions during your search for the perfect copper, fireclay farmhouse sink or granite sink, our Sinkologists are here to help. Contact us or follow us on FacebookHouzzPinterest, or Instagram for more helpful tips and design ideas.

The post Apple + Plum Tart appeared first on Sinkology.


source https://www.sinkology.com/blog/apple-plum-tart/