Thursday, January 27, 2022

How To Replace A Drop-In Kitchen Sink

Installing a new sink in your kitchen could seem like an intimidating task, but it can be quite simple. If you have the right tools and the right instructions, anyone can install a new drop-in sink.

We recently had one of our Sinkology professional plumbers replace an old stainless steel sink with a copper drop-in sink. We documented the installation through video along the way to help demonstrate the proper steps and provide tips that make installation a snap.


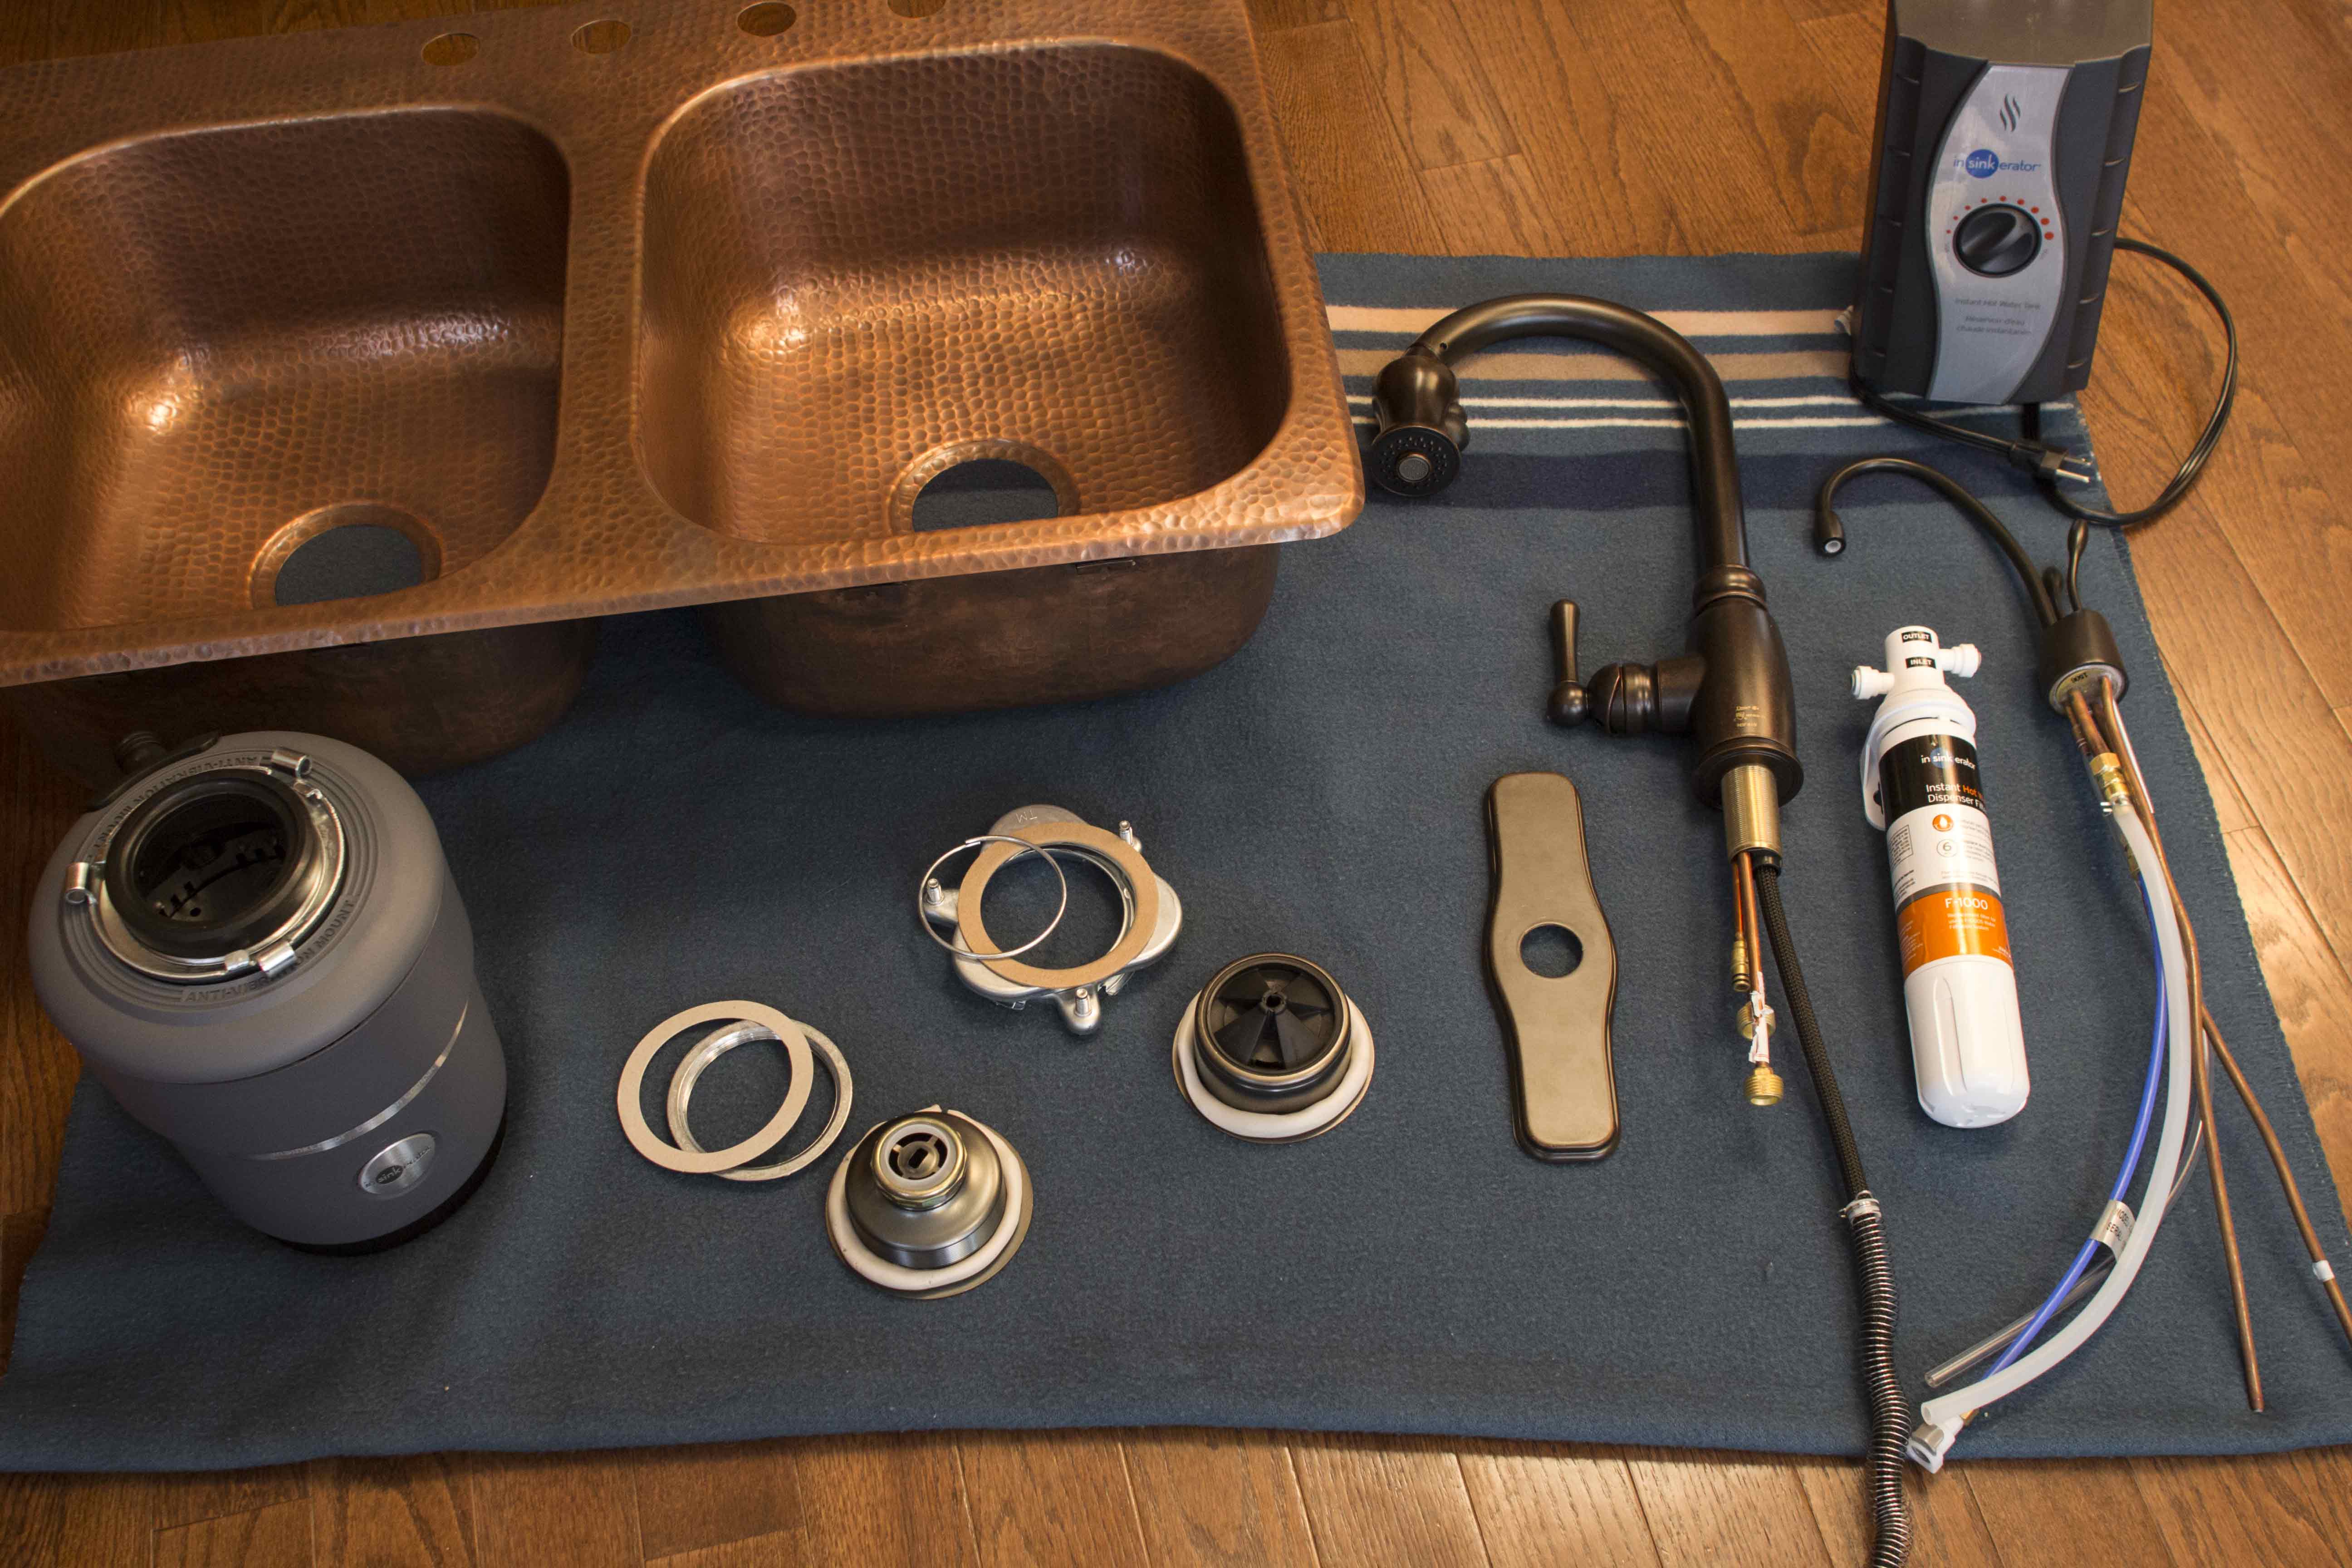
In this video, we installed:

install-stuff

The tools you will need include:

  • Painter’s tape
  • Plumber’s putty
  • Plumber’s tape
  • A drill
  • An InSinkErator hex tool (comes with the hot water dispenser)
  • A marker
  • Needle-nose pliers
  • Plumber’s wrench
  • Screwdrivers (flat, Phillips)
  • Adjustable wrench
  • Clear silicone
  • Caulk gun

tools

Before getting started, turn off the power, shut off the water, and unplug any nearby appliances (especially any old disposals or items you will be removing).

Pro tip: Because your new copper sink is metal, it can have fine edges. If you plan on placing the sink on the floor during the transition, make sure to protect your flooring with an old blanket or towel.

Step 1: Detach and remove the old sink.
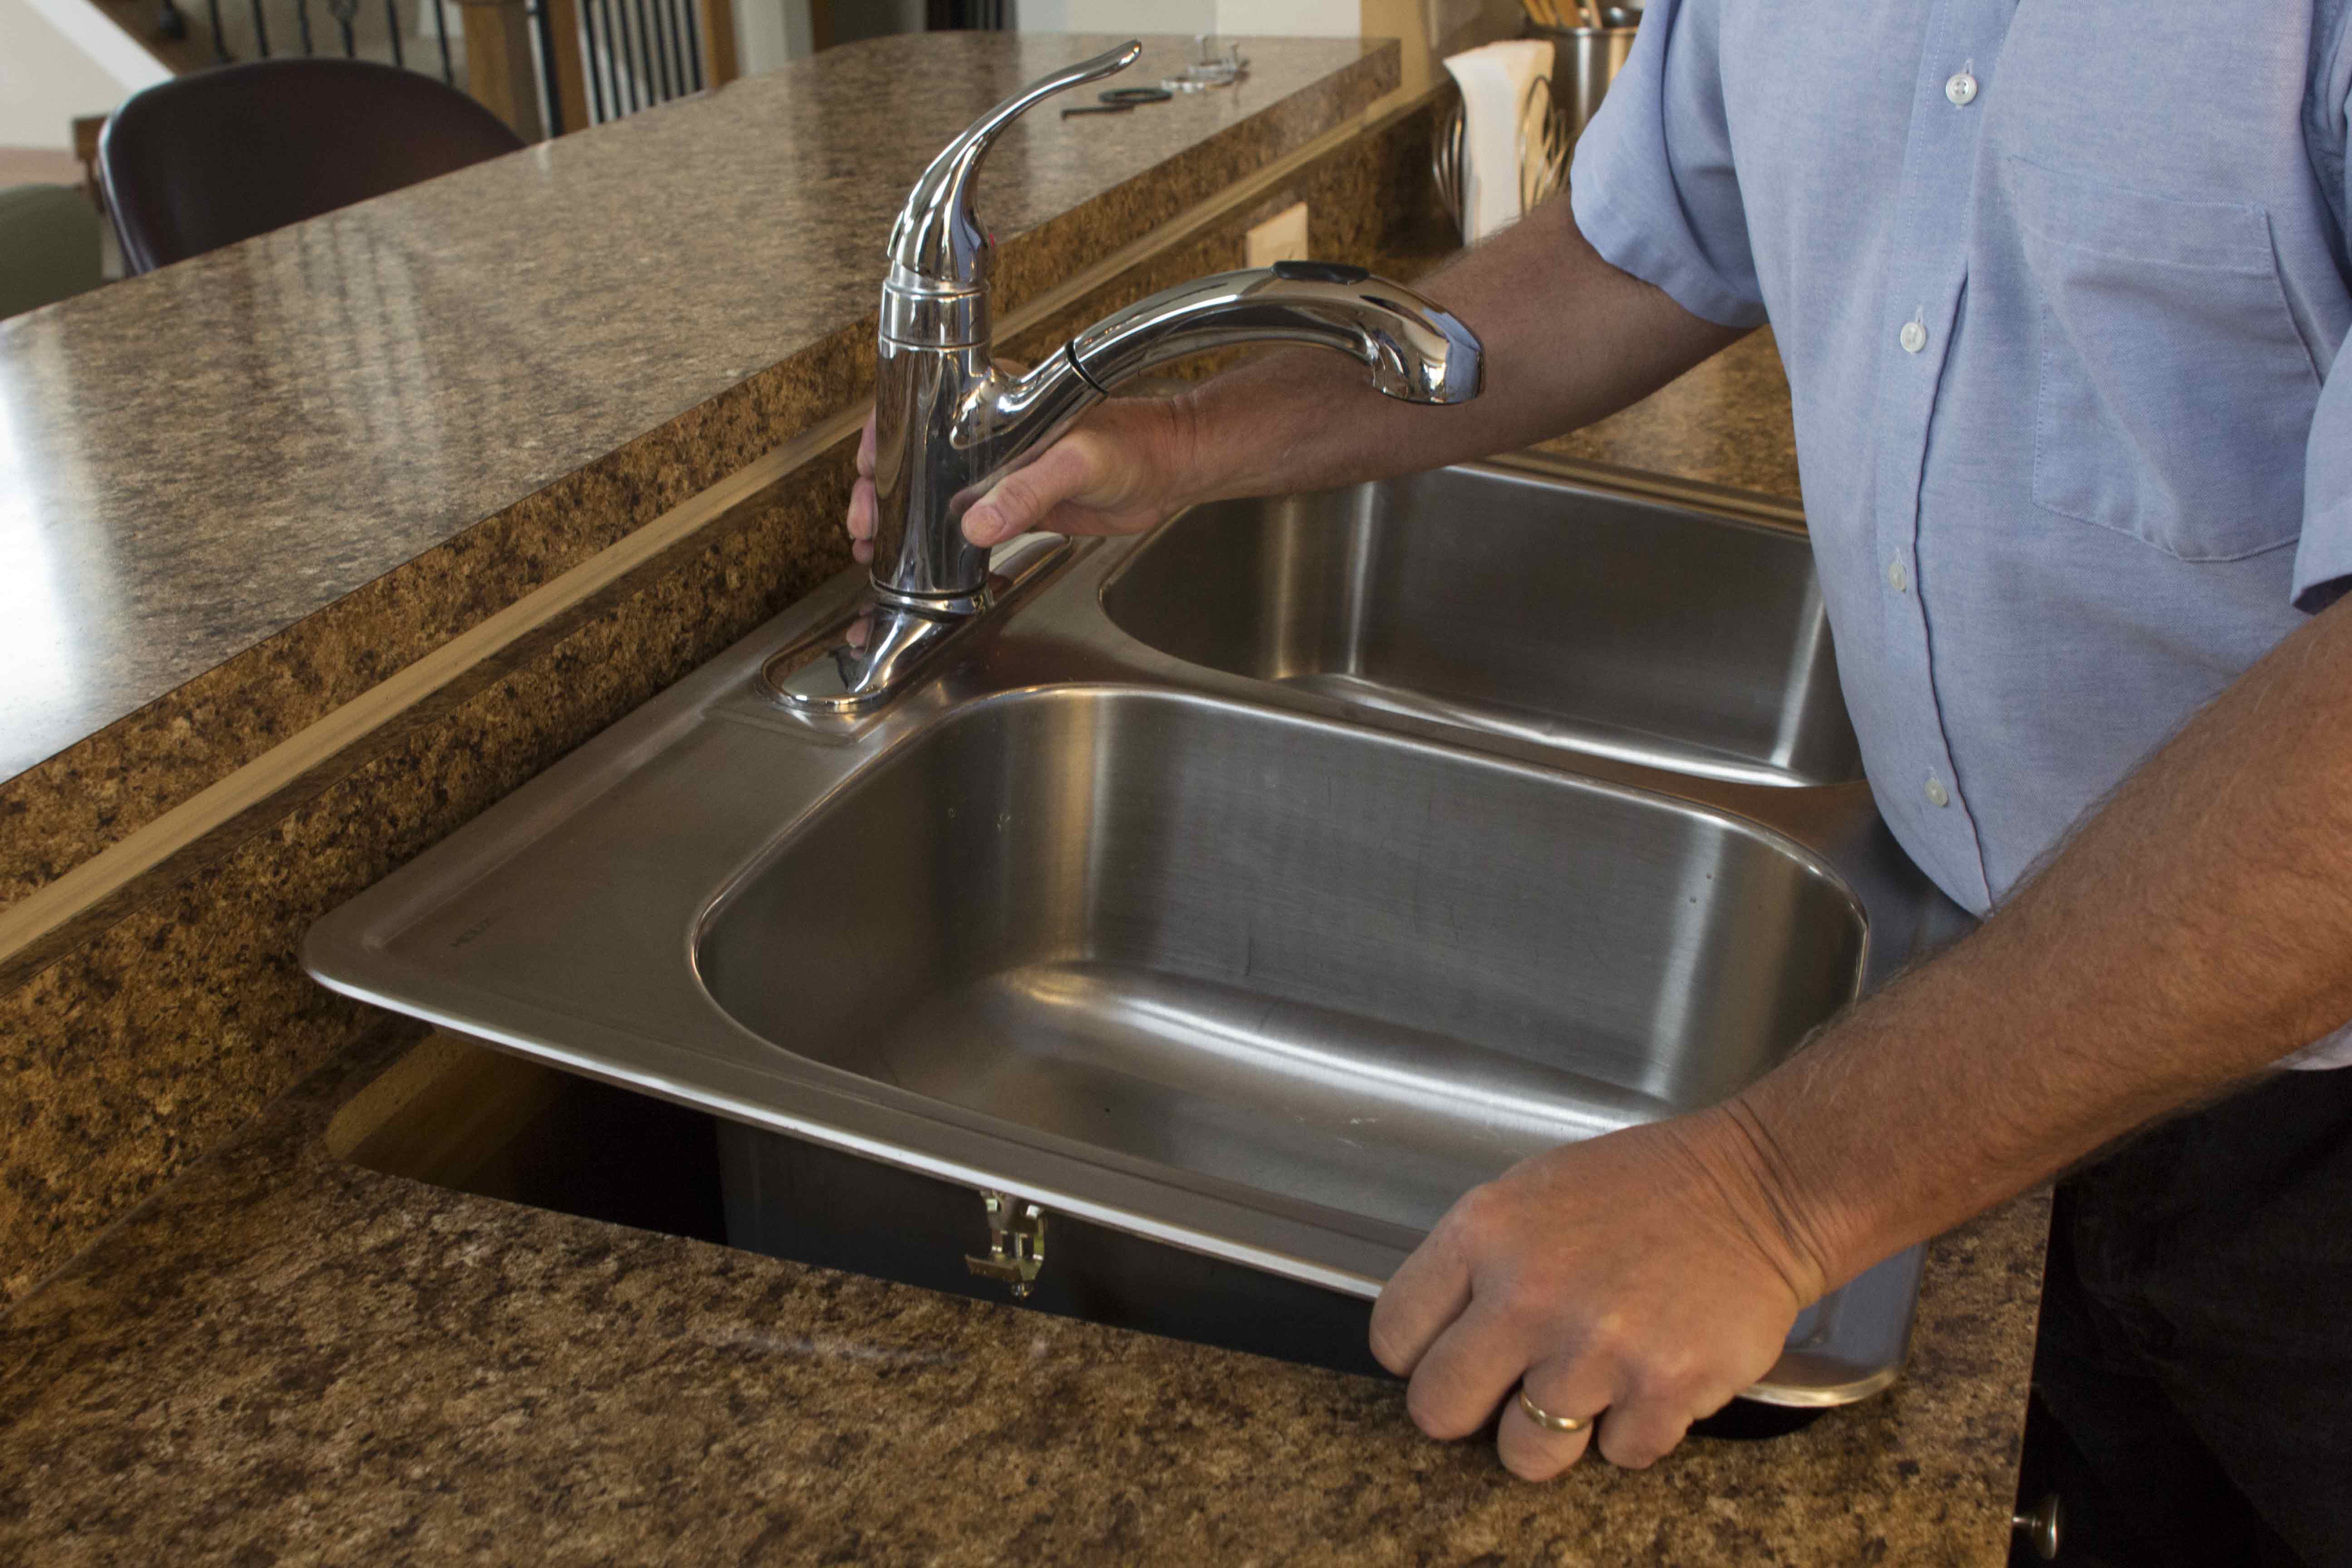
remove

First, unhook the water lines from the faucet and detach the garbage disposal. Next, remove the drainpipes from the drains and loosen any clips from beneath the sink with a screwdriver. Lift the old sink from the countertop and set it aside. Ensure that you clean any excess silicone from the countertop.

Pro tip: Make sure you have a bucket handy to catch any water that may run out of the drain pipes.

Step 2: Attach drains and faucets to the new sink.
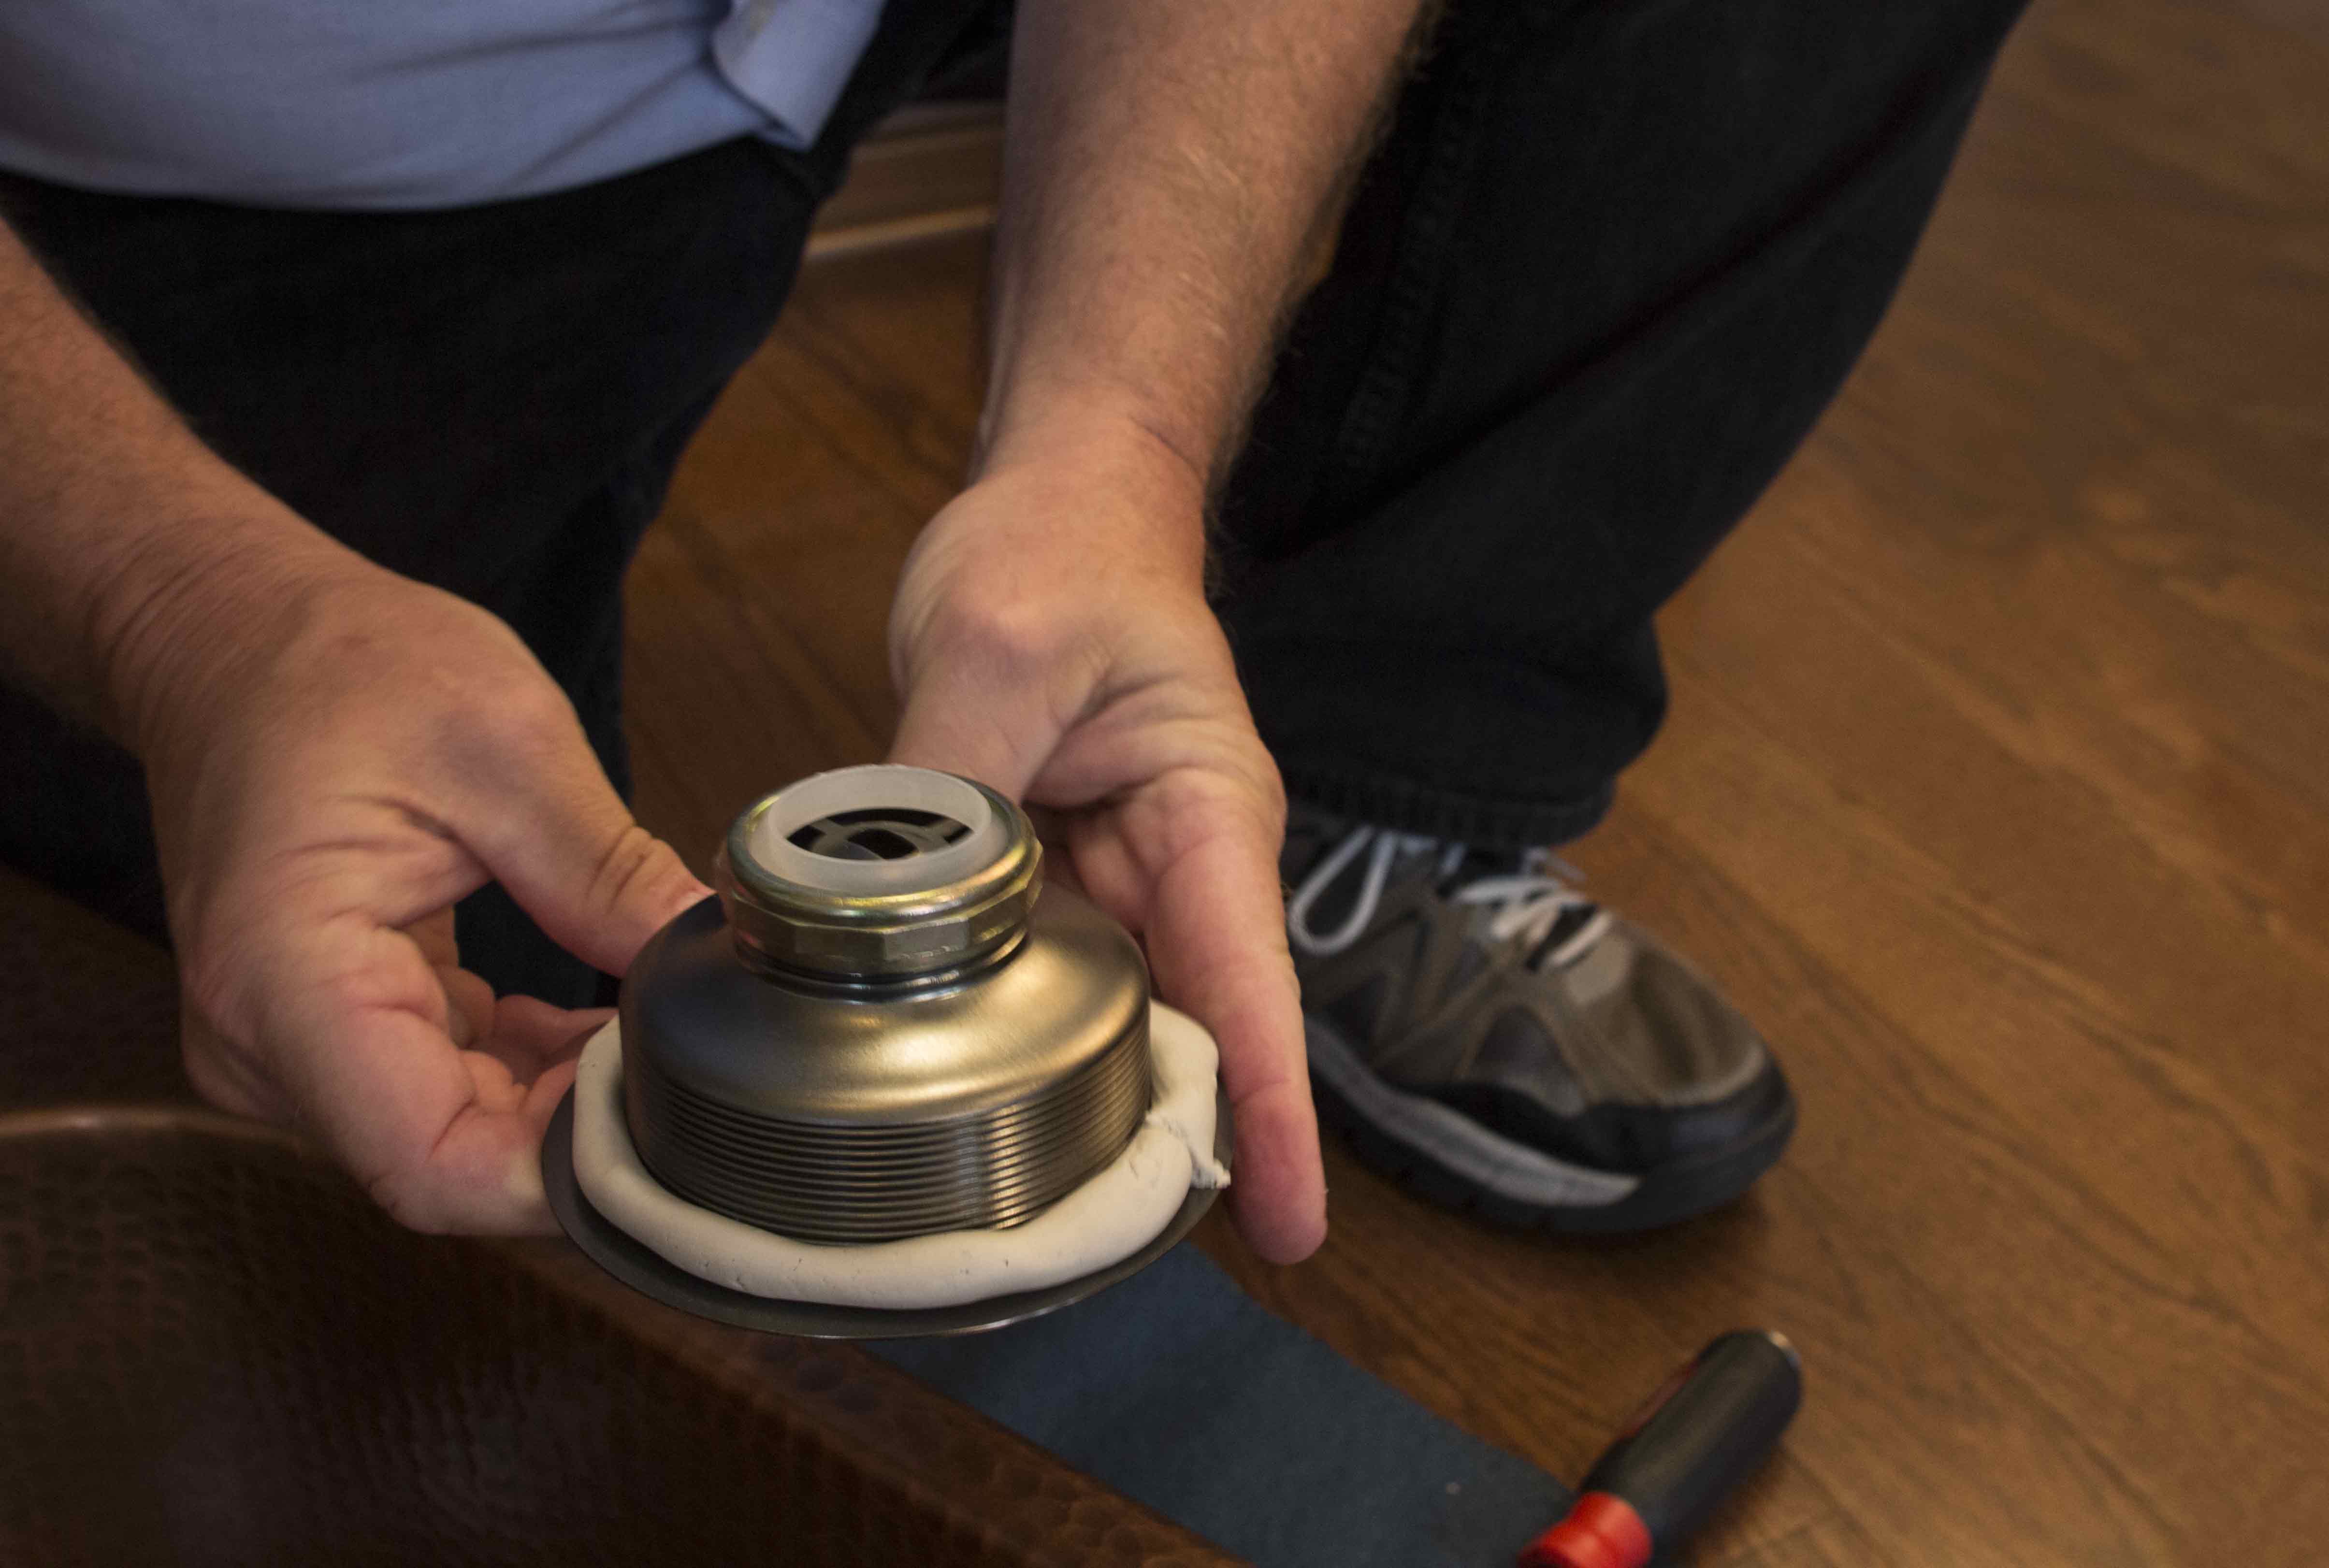
putty

Before you drop your new copper sink into the countertop, try attaching as much as you can to the sink while it’s in an open, accessible, and well-lit space. It’s difficult to attach everything when you are cramped in the cabinet under the sink.

For the drains, ensure you use liberal amounts plumber’s putty around the two drains. Attach drains by hand and then tighten with a plumber’s wrench. Use needle-nose pliers to hold the basket strainer in place as you tighten with the plumber’s wrench. The disposal will come with the support bracket and a metal ring that attaches to the disposal flange. Remove excess plumber’s putty. Attach the faucet per the manufacturer’s instructions.
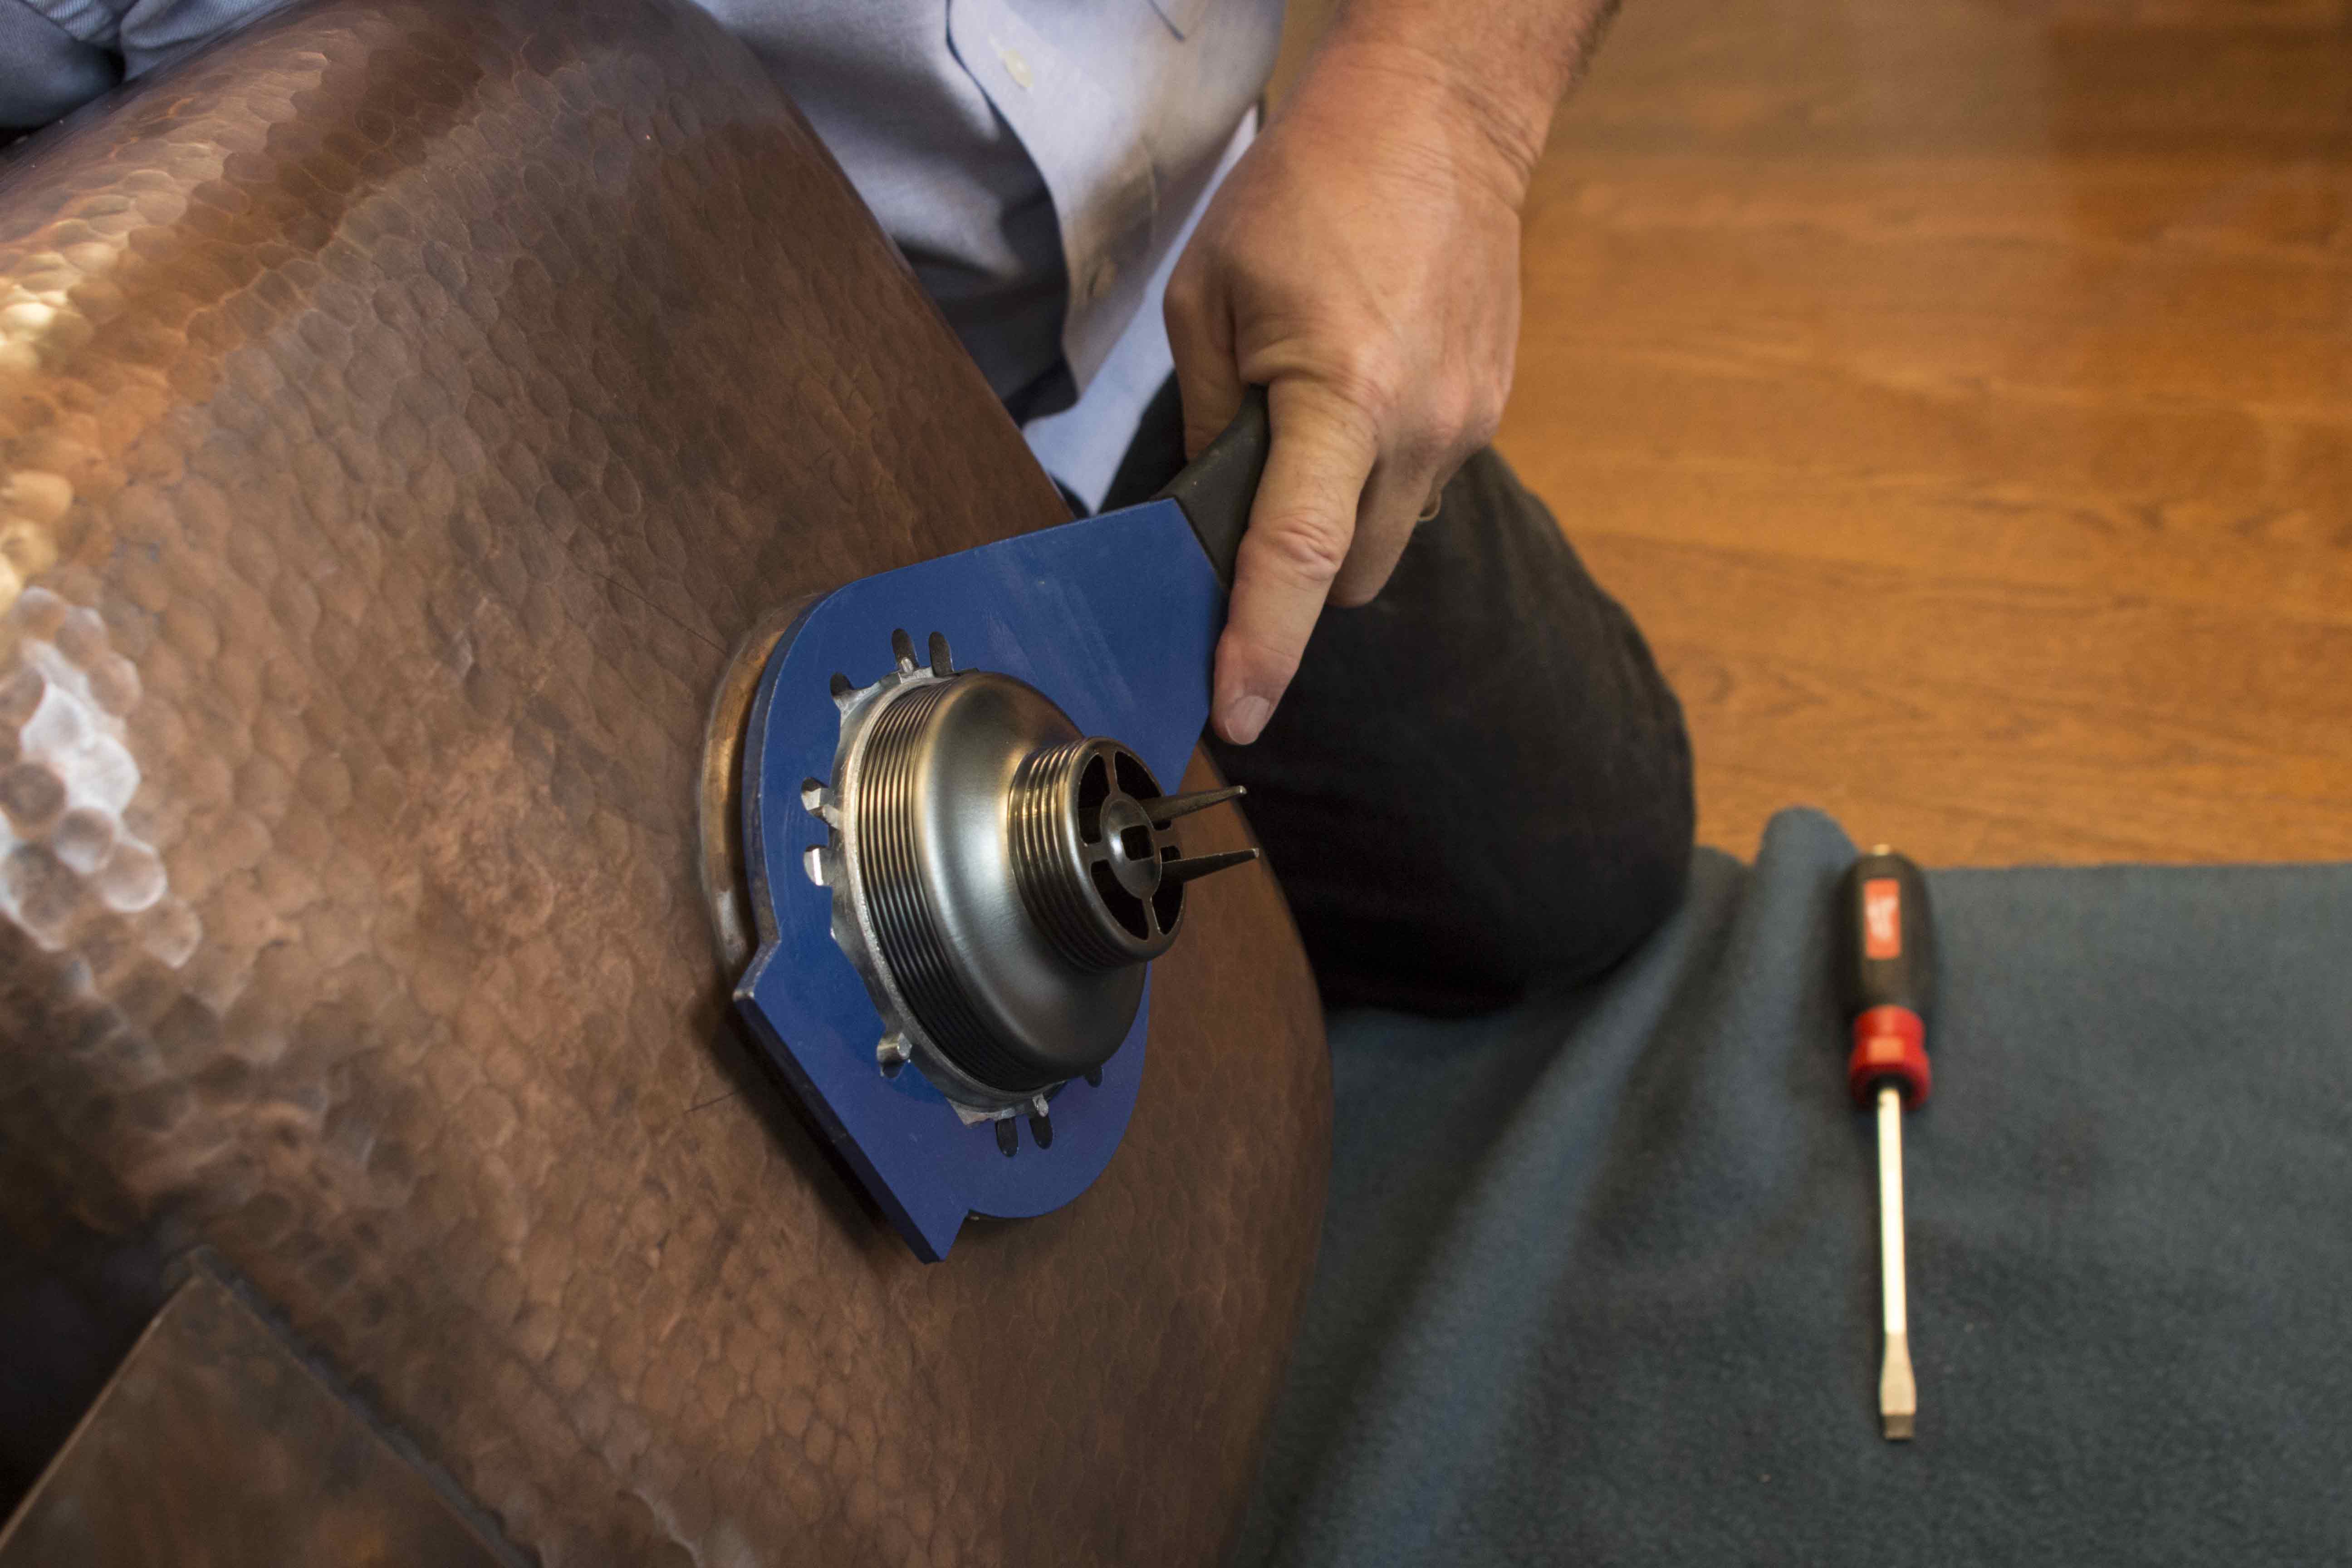
tighten

disposalflange

If you are installing a water filtration system, attach that faucet per the manufacturer’s instructions as well.

For more information on the InSinkErator Hot Water Tank and Filtration System, visit their website and search for Installation Guides.

bottom-of-sink

Pro tip: Ensure you install the disposal flange on the side where you are going to place the garbage disposal. Nothing is worse than dropping your sink in to discover you need to reinstall the drains.

Step 3: Measure the pipes and attach the water filtration system to the cabinet. Don’t attach any hoses yet.
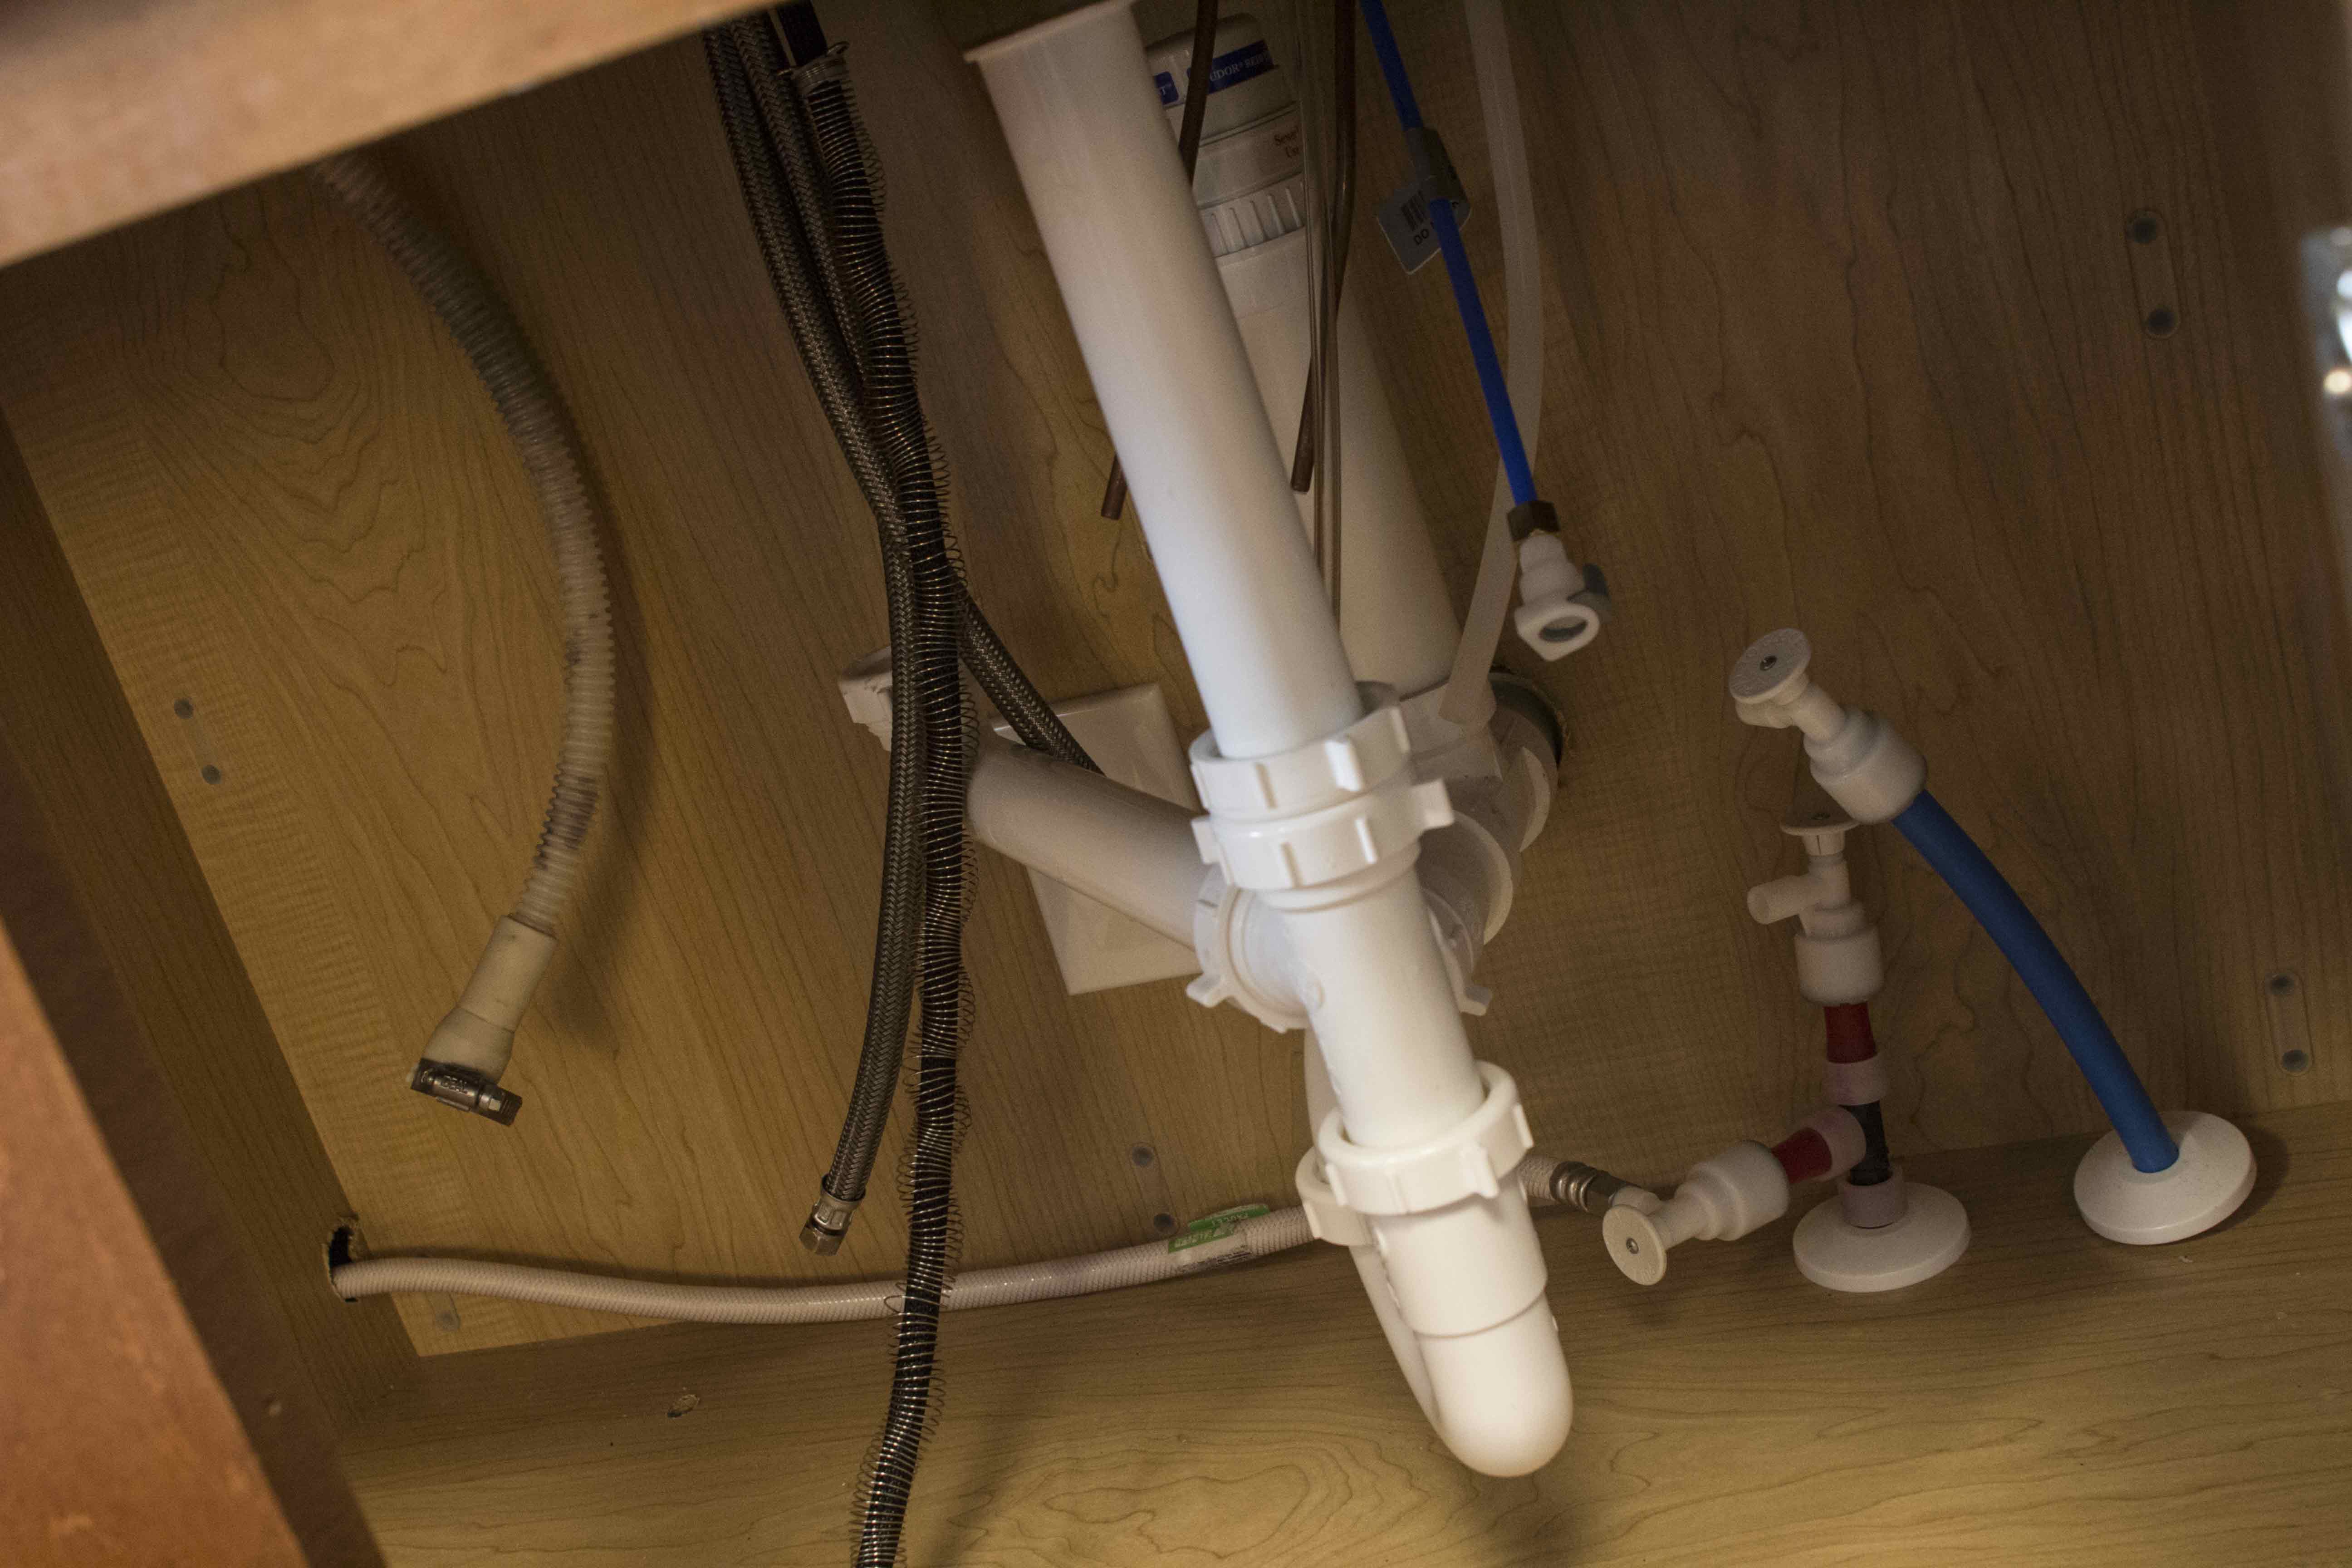
undersink

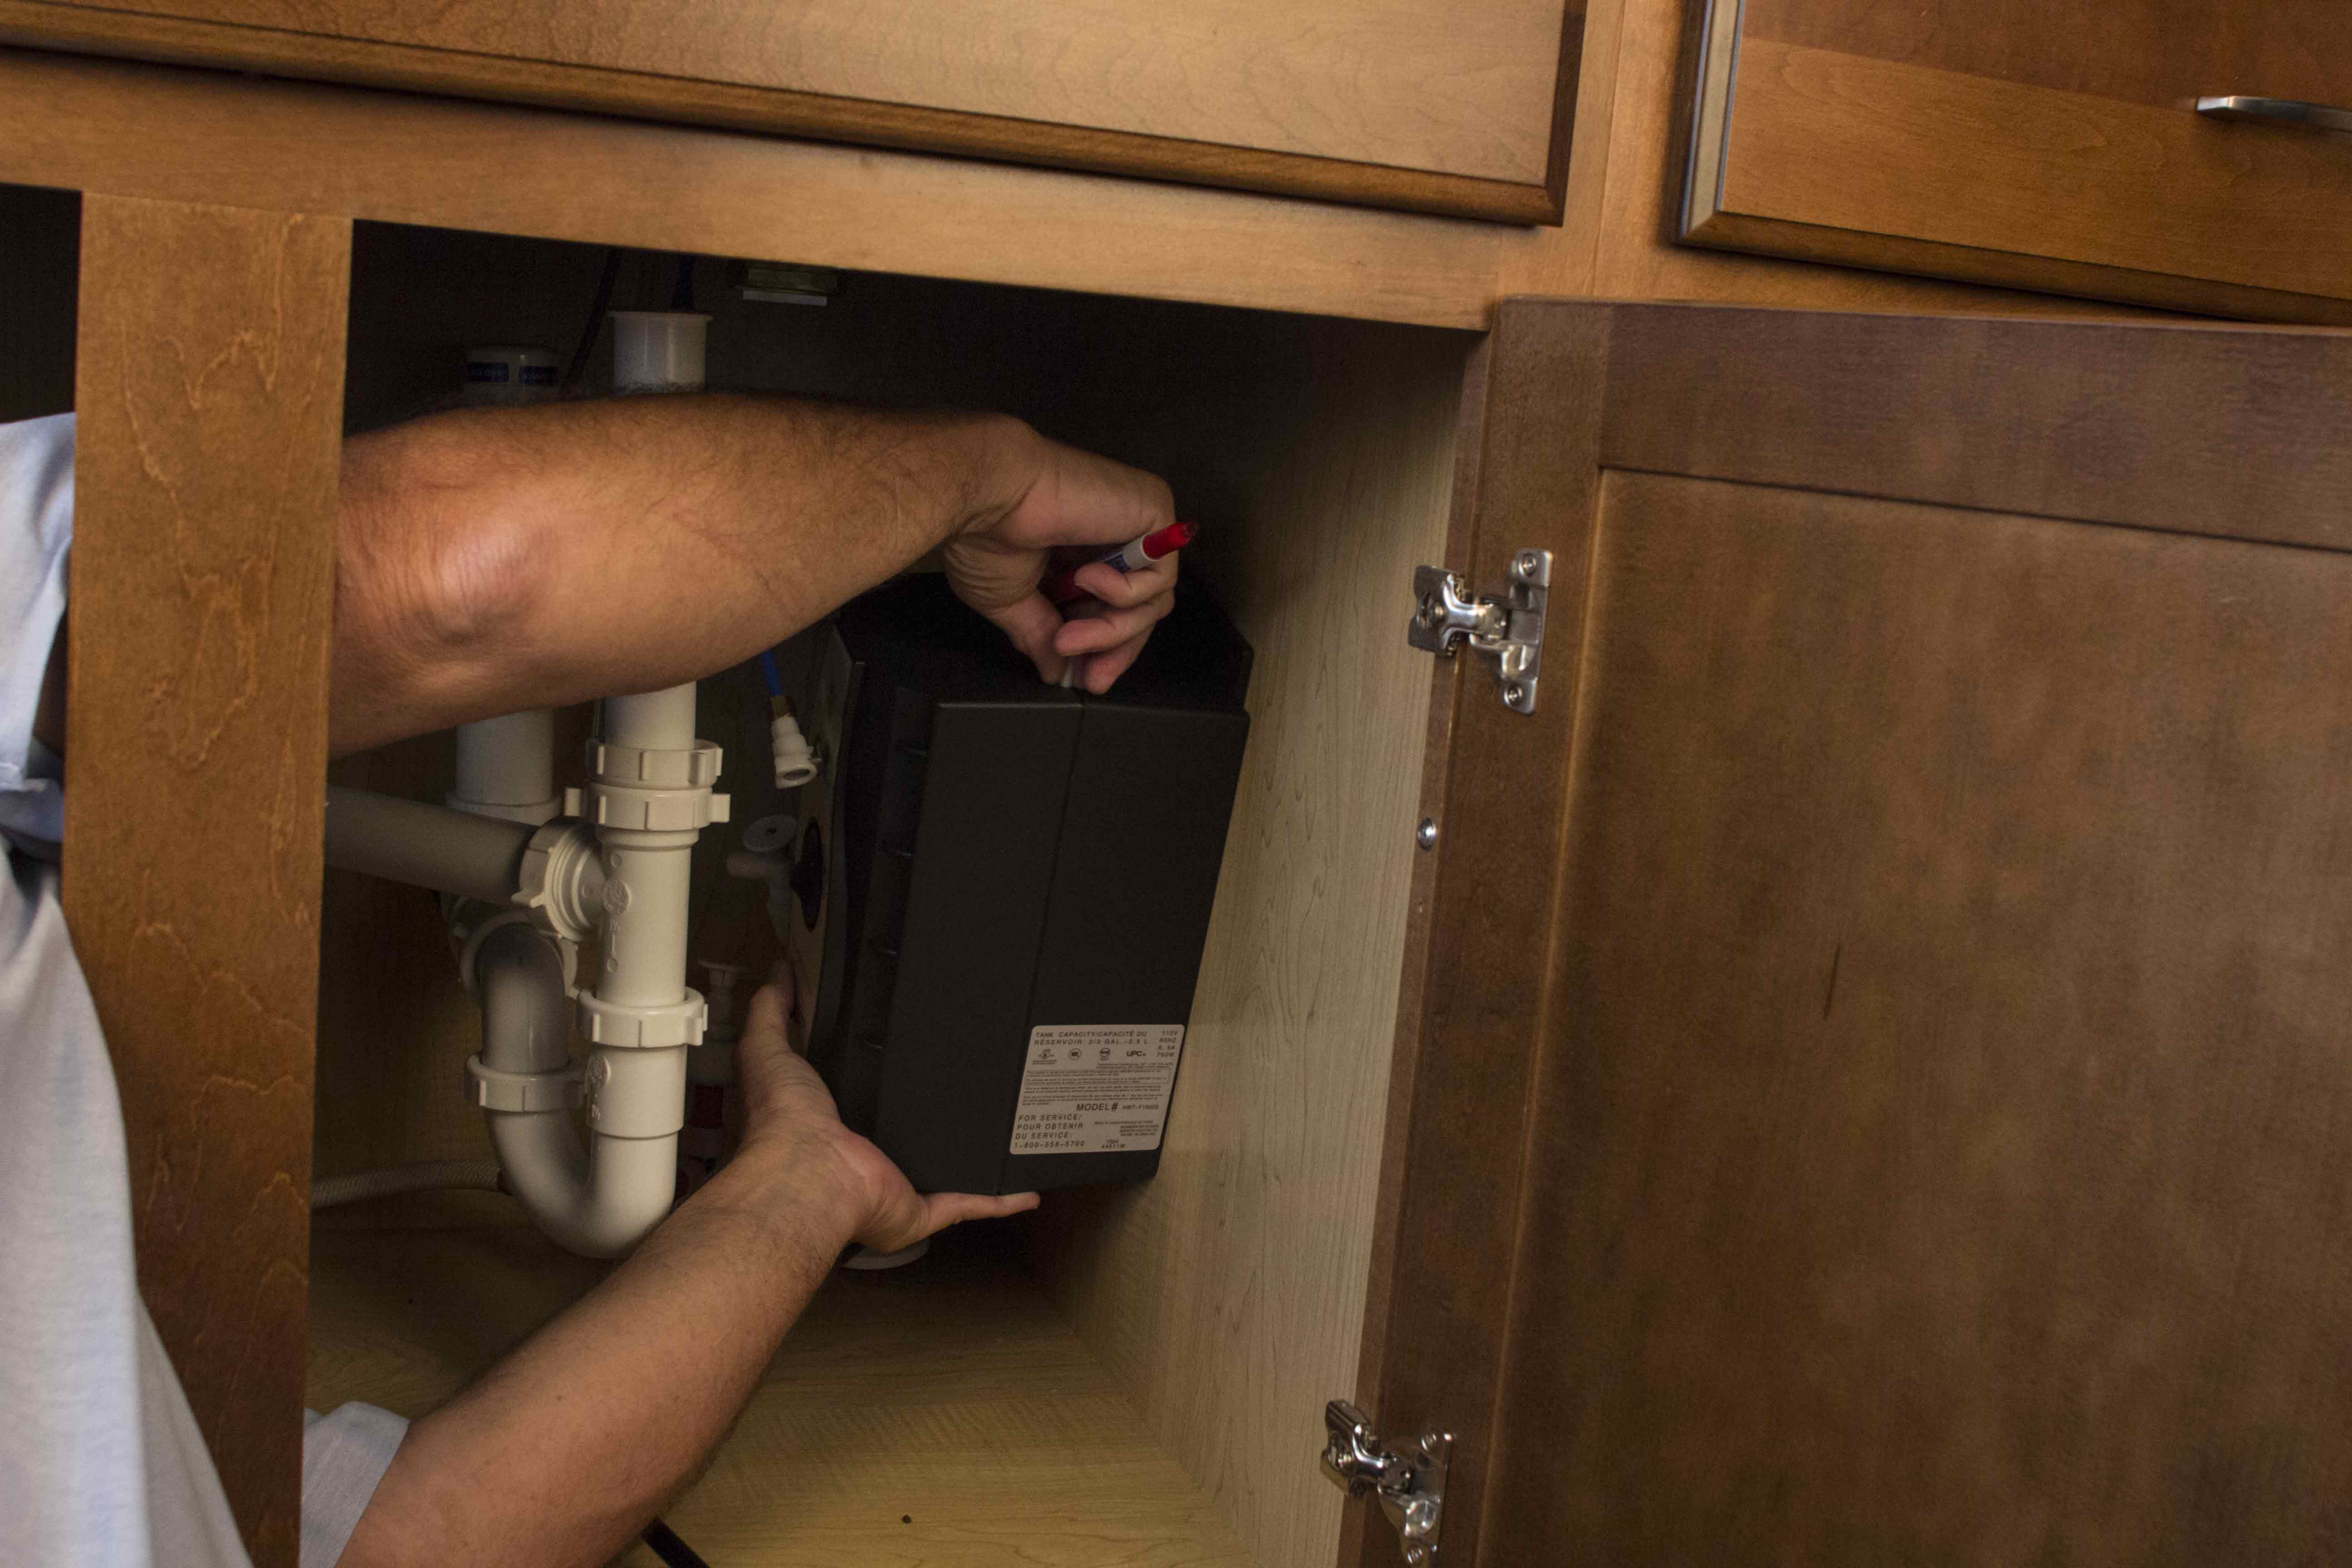
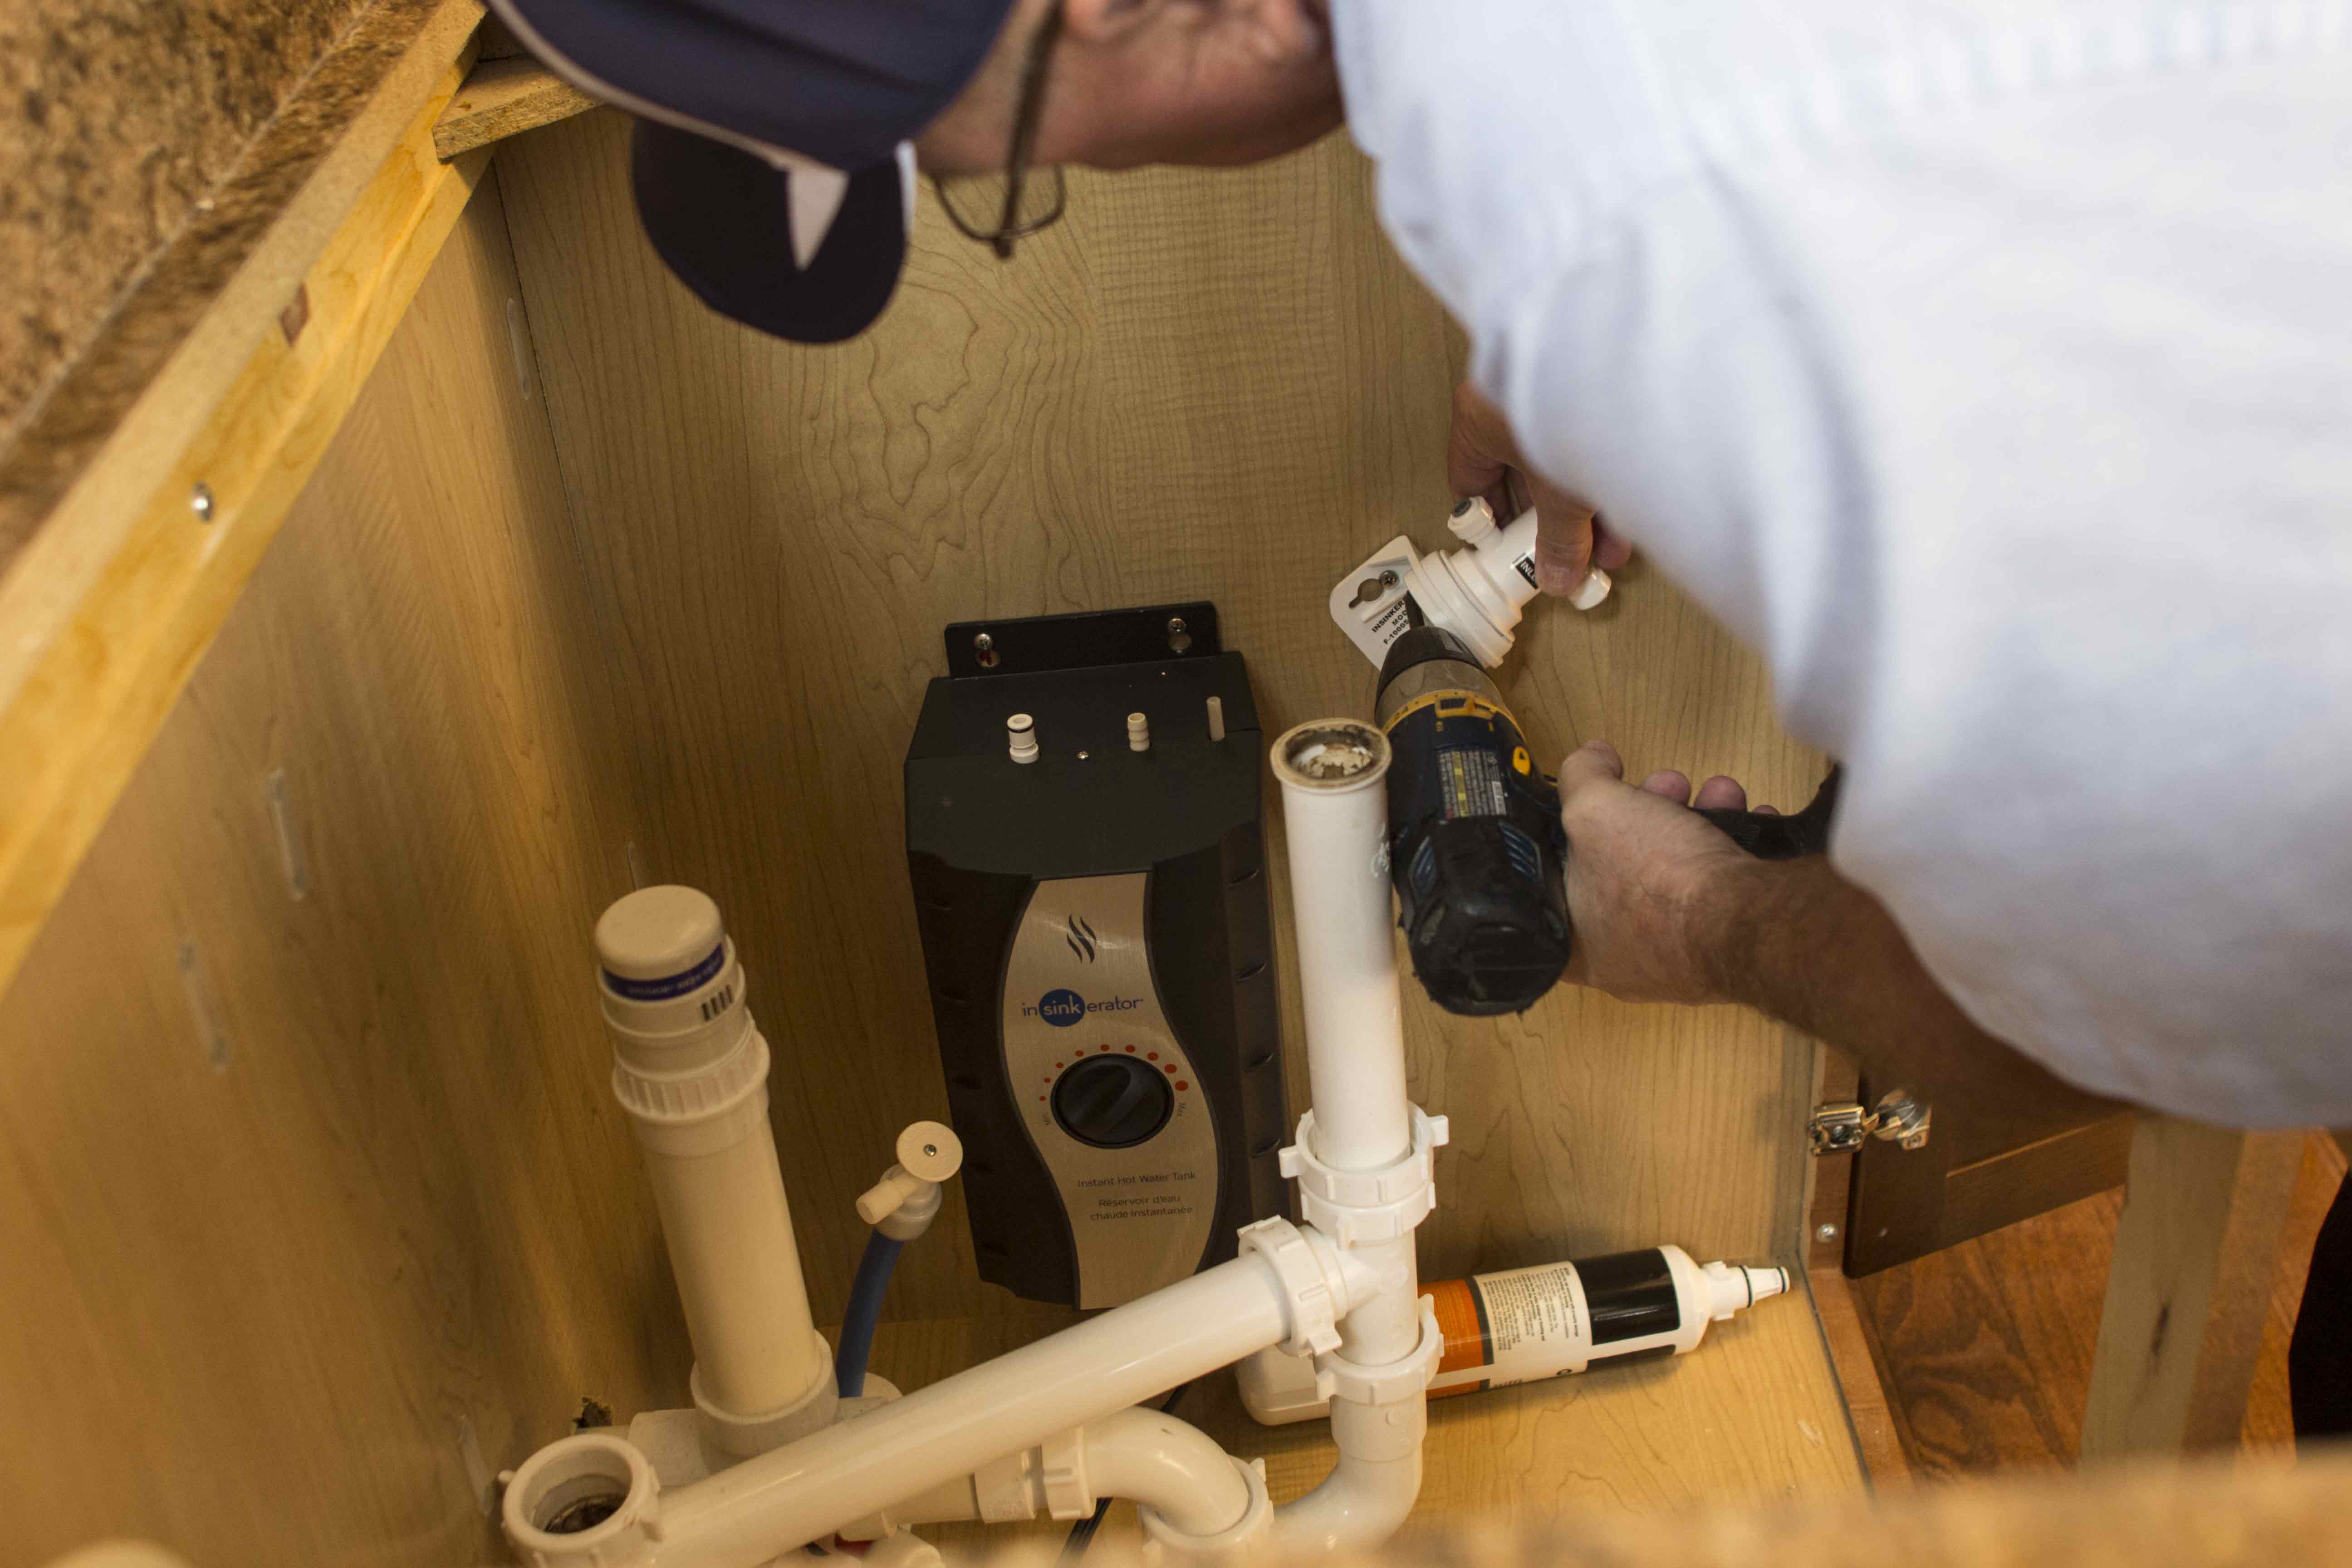
Determine the proper placement of your water filtration system by marking it on the interior wall of the cabinet with a market. Attach the water filtration system to the cabinet with a drill.
measure-water

install-water

Pro tip: To ensure that you have the proper lengths of hoses and drains, drop the sink into the countertop. Make sure everything measures up, but don’t attach the hoses or drains yet.

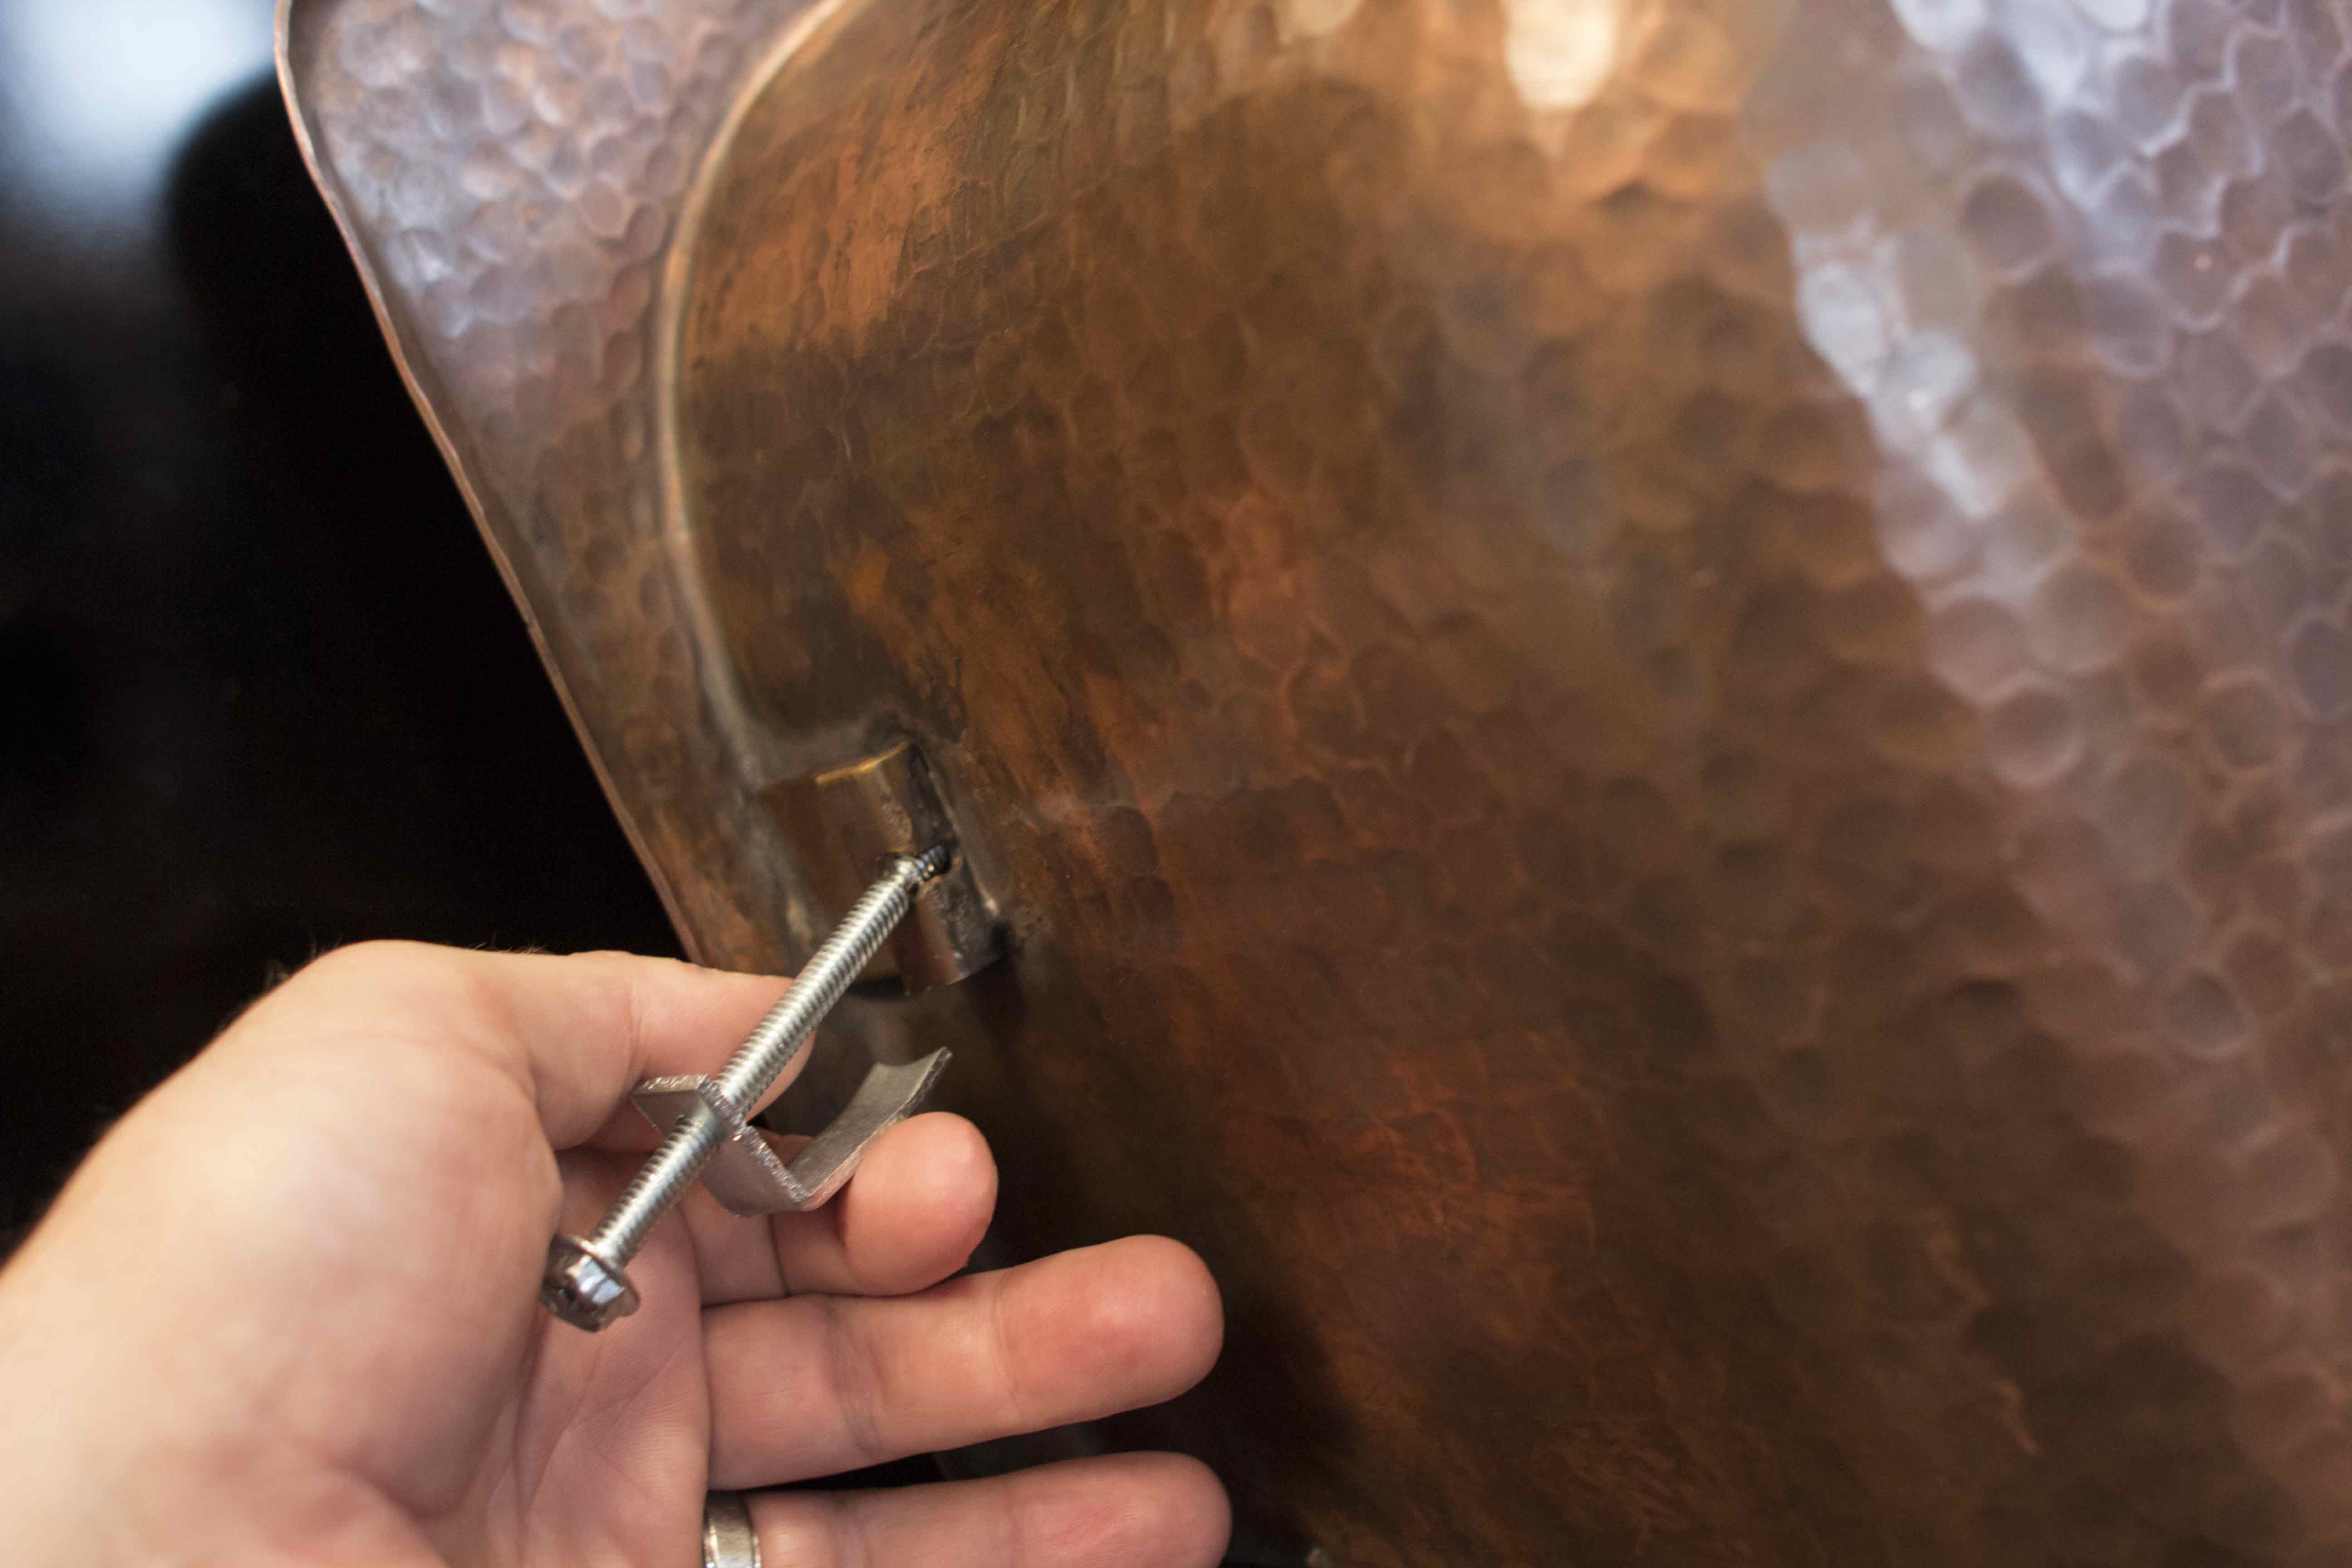
Step 4: Attach clips to the brackets on the copper sink.
clips

Sinkology drop-in copper sinks come with clips that easily slide into brackets on the sides of the sink. These clips tightly draw the sink to the countertop and hold the sink in place.

Step 5: Apply silicone to the countertop.

silicone

Using a caulk gun, apply silicone liberally around the edge of the countertop hole.

tape

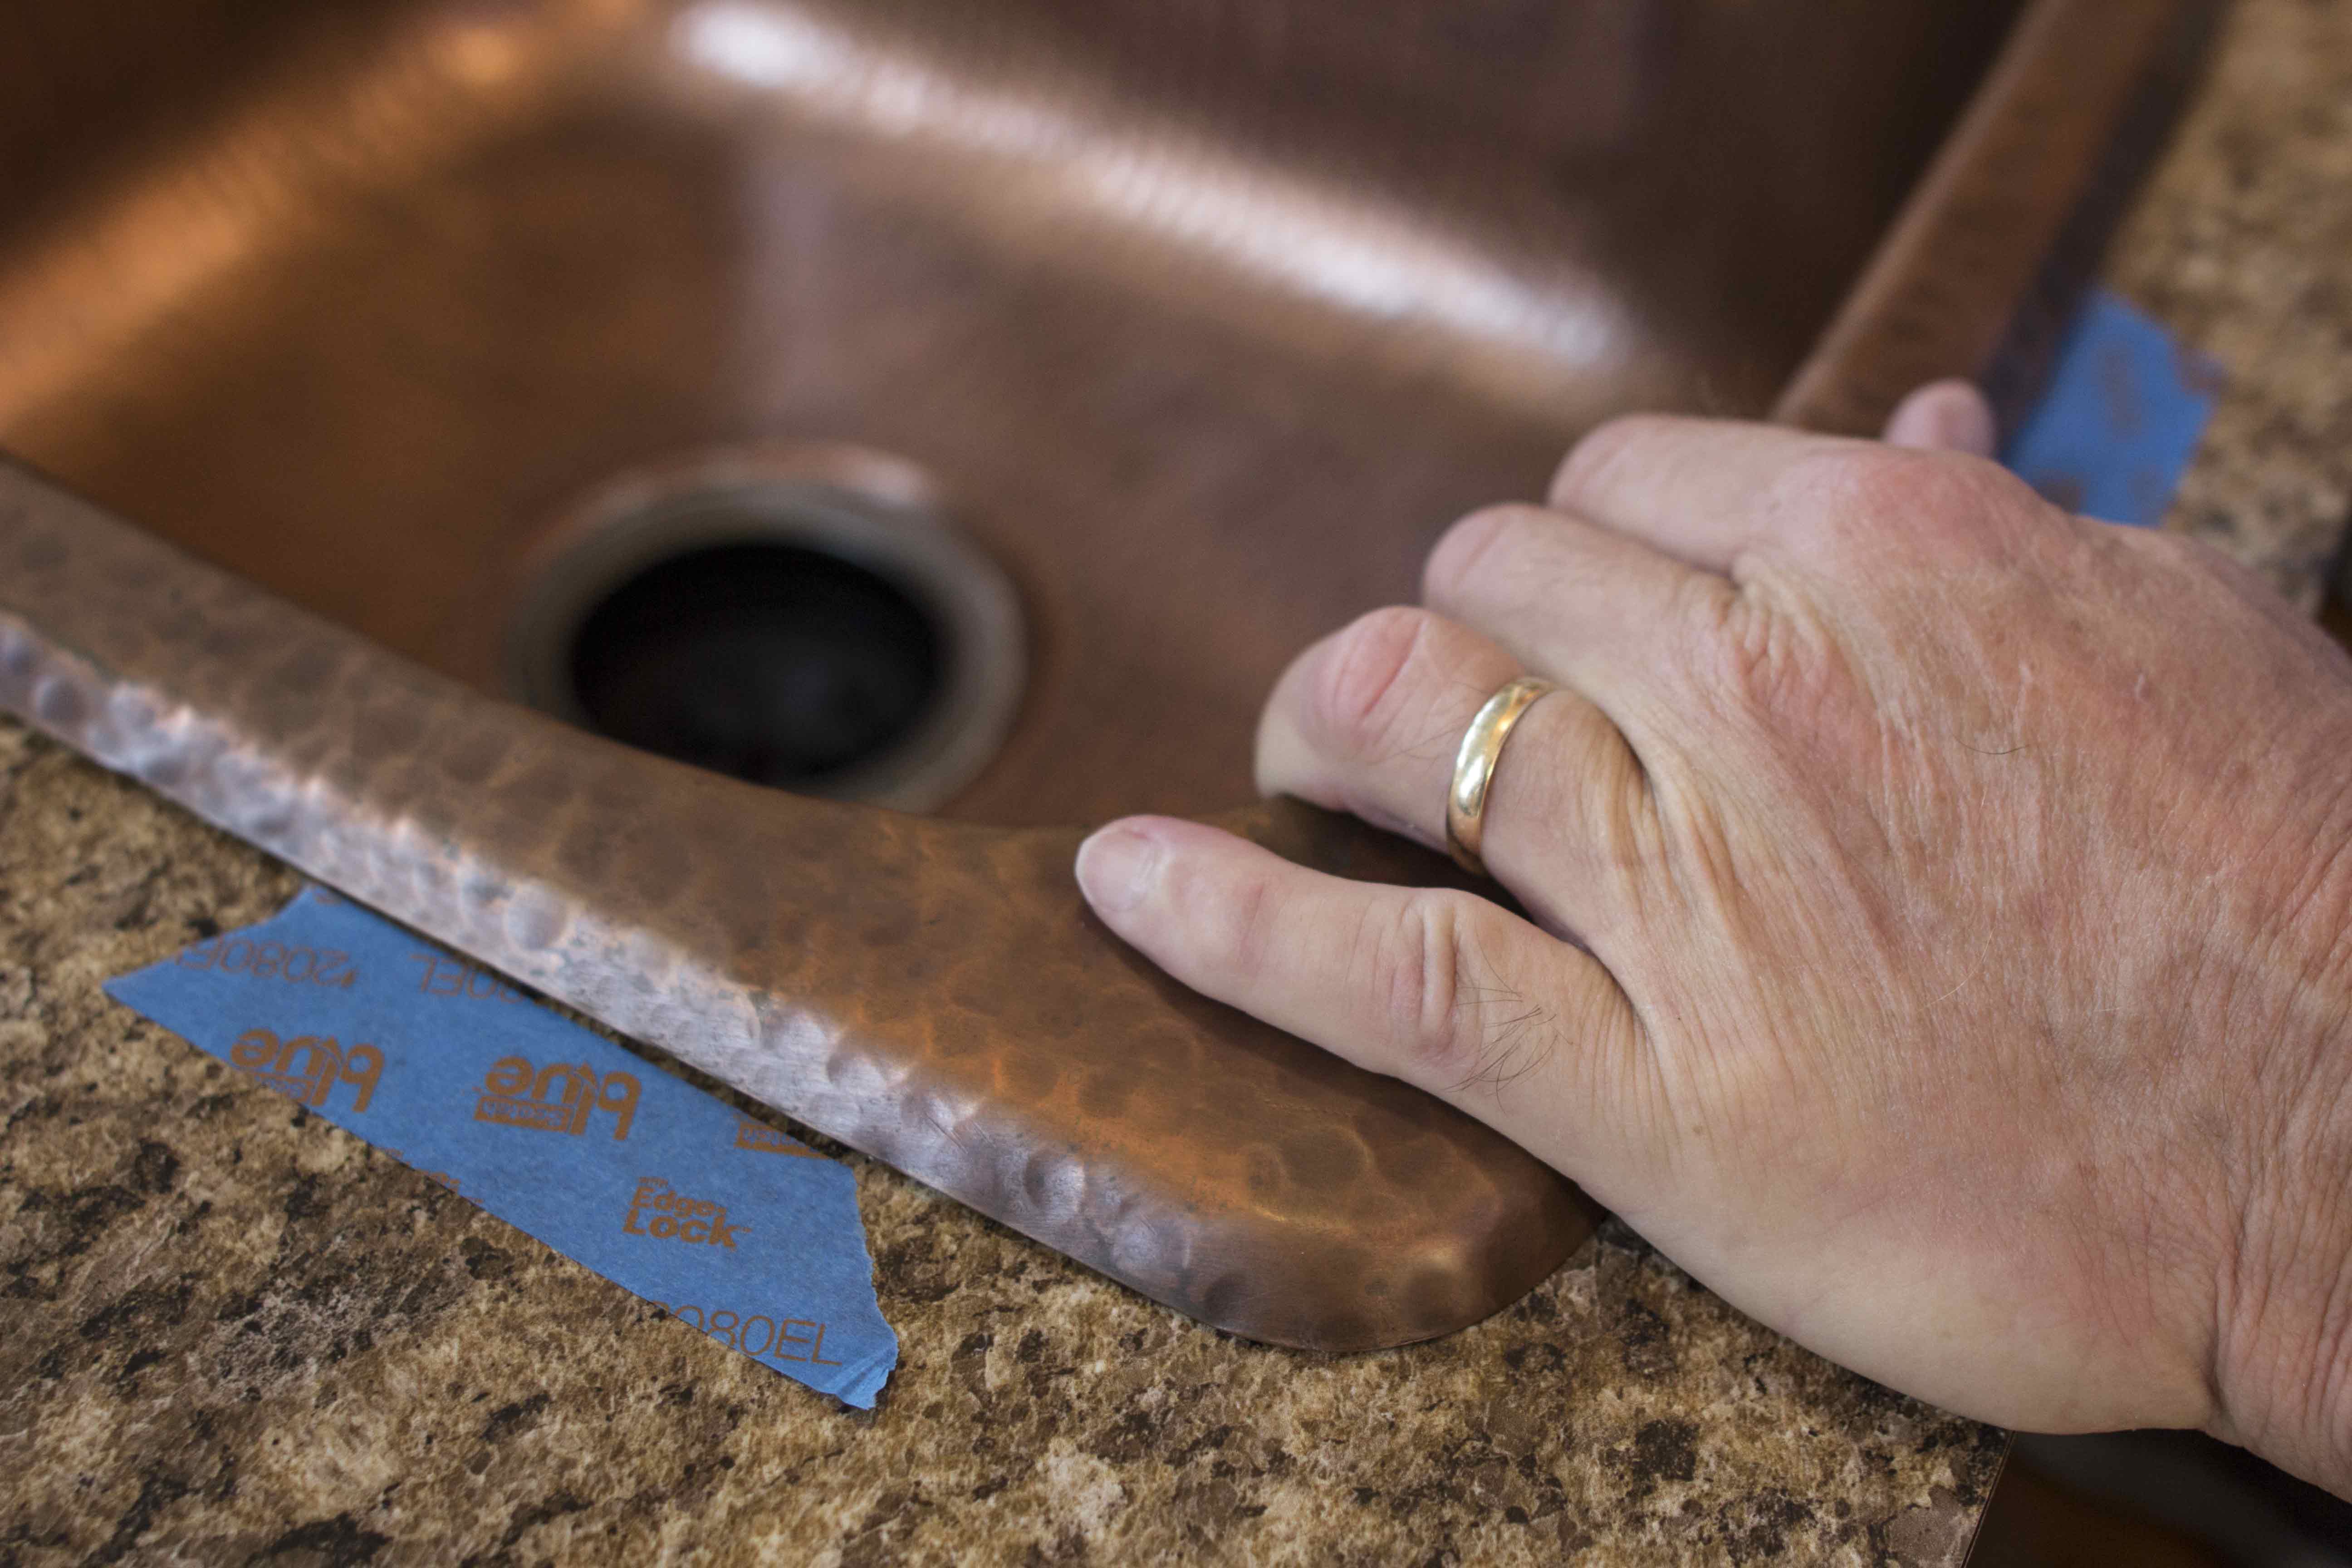
Pro tip: Before applying silicone to the countertop, drop the sink into the counter and mark where the edge of the sink sits with painter’s tape. This will help you more easily determine where to put the silicone line.

Step 6: Drop in the copper sink and wipe away any excess silicone.
dropin

Step 7: Align clips and attach them with a screwdriver.
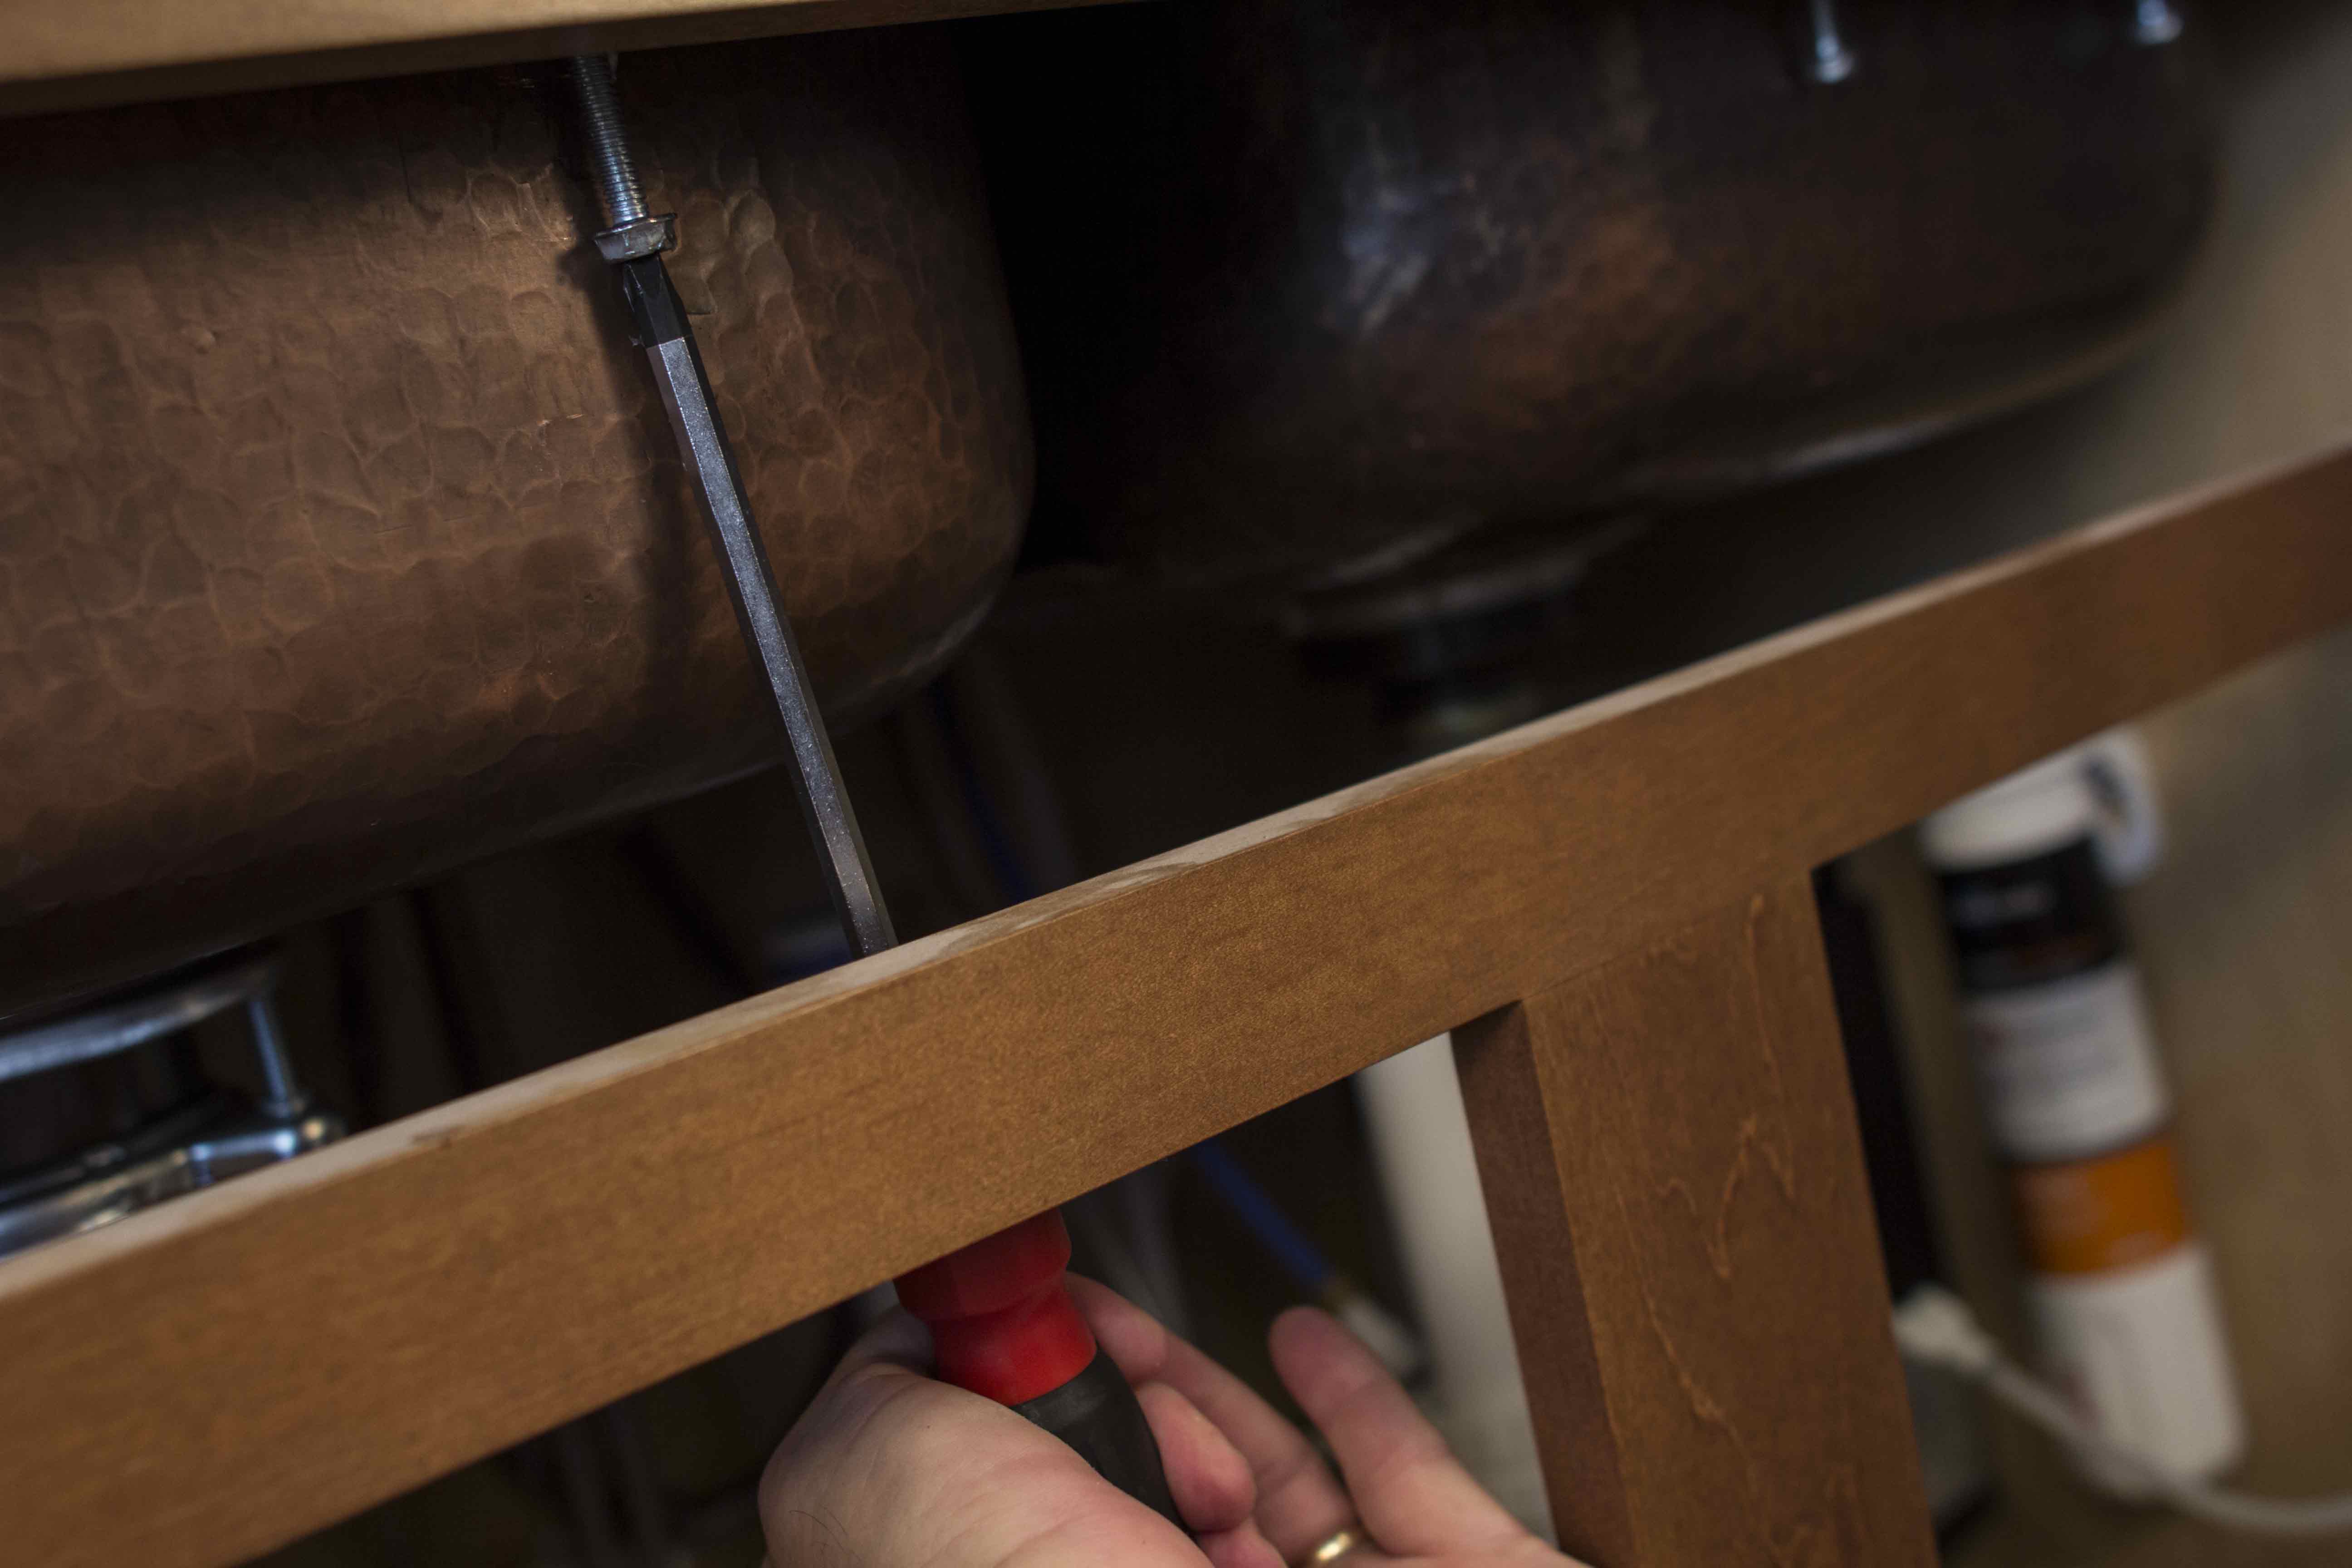
screw

Ensure that the clips are securely placed within the brackets and attached to the countertop as you tighten them.
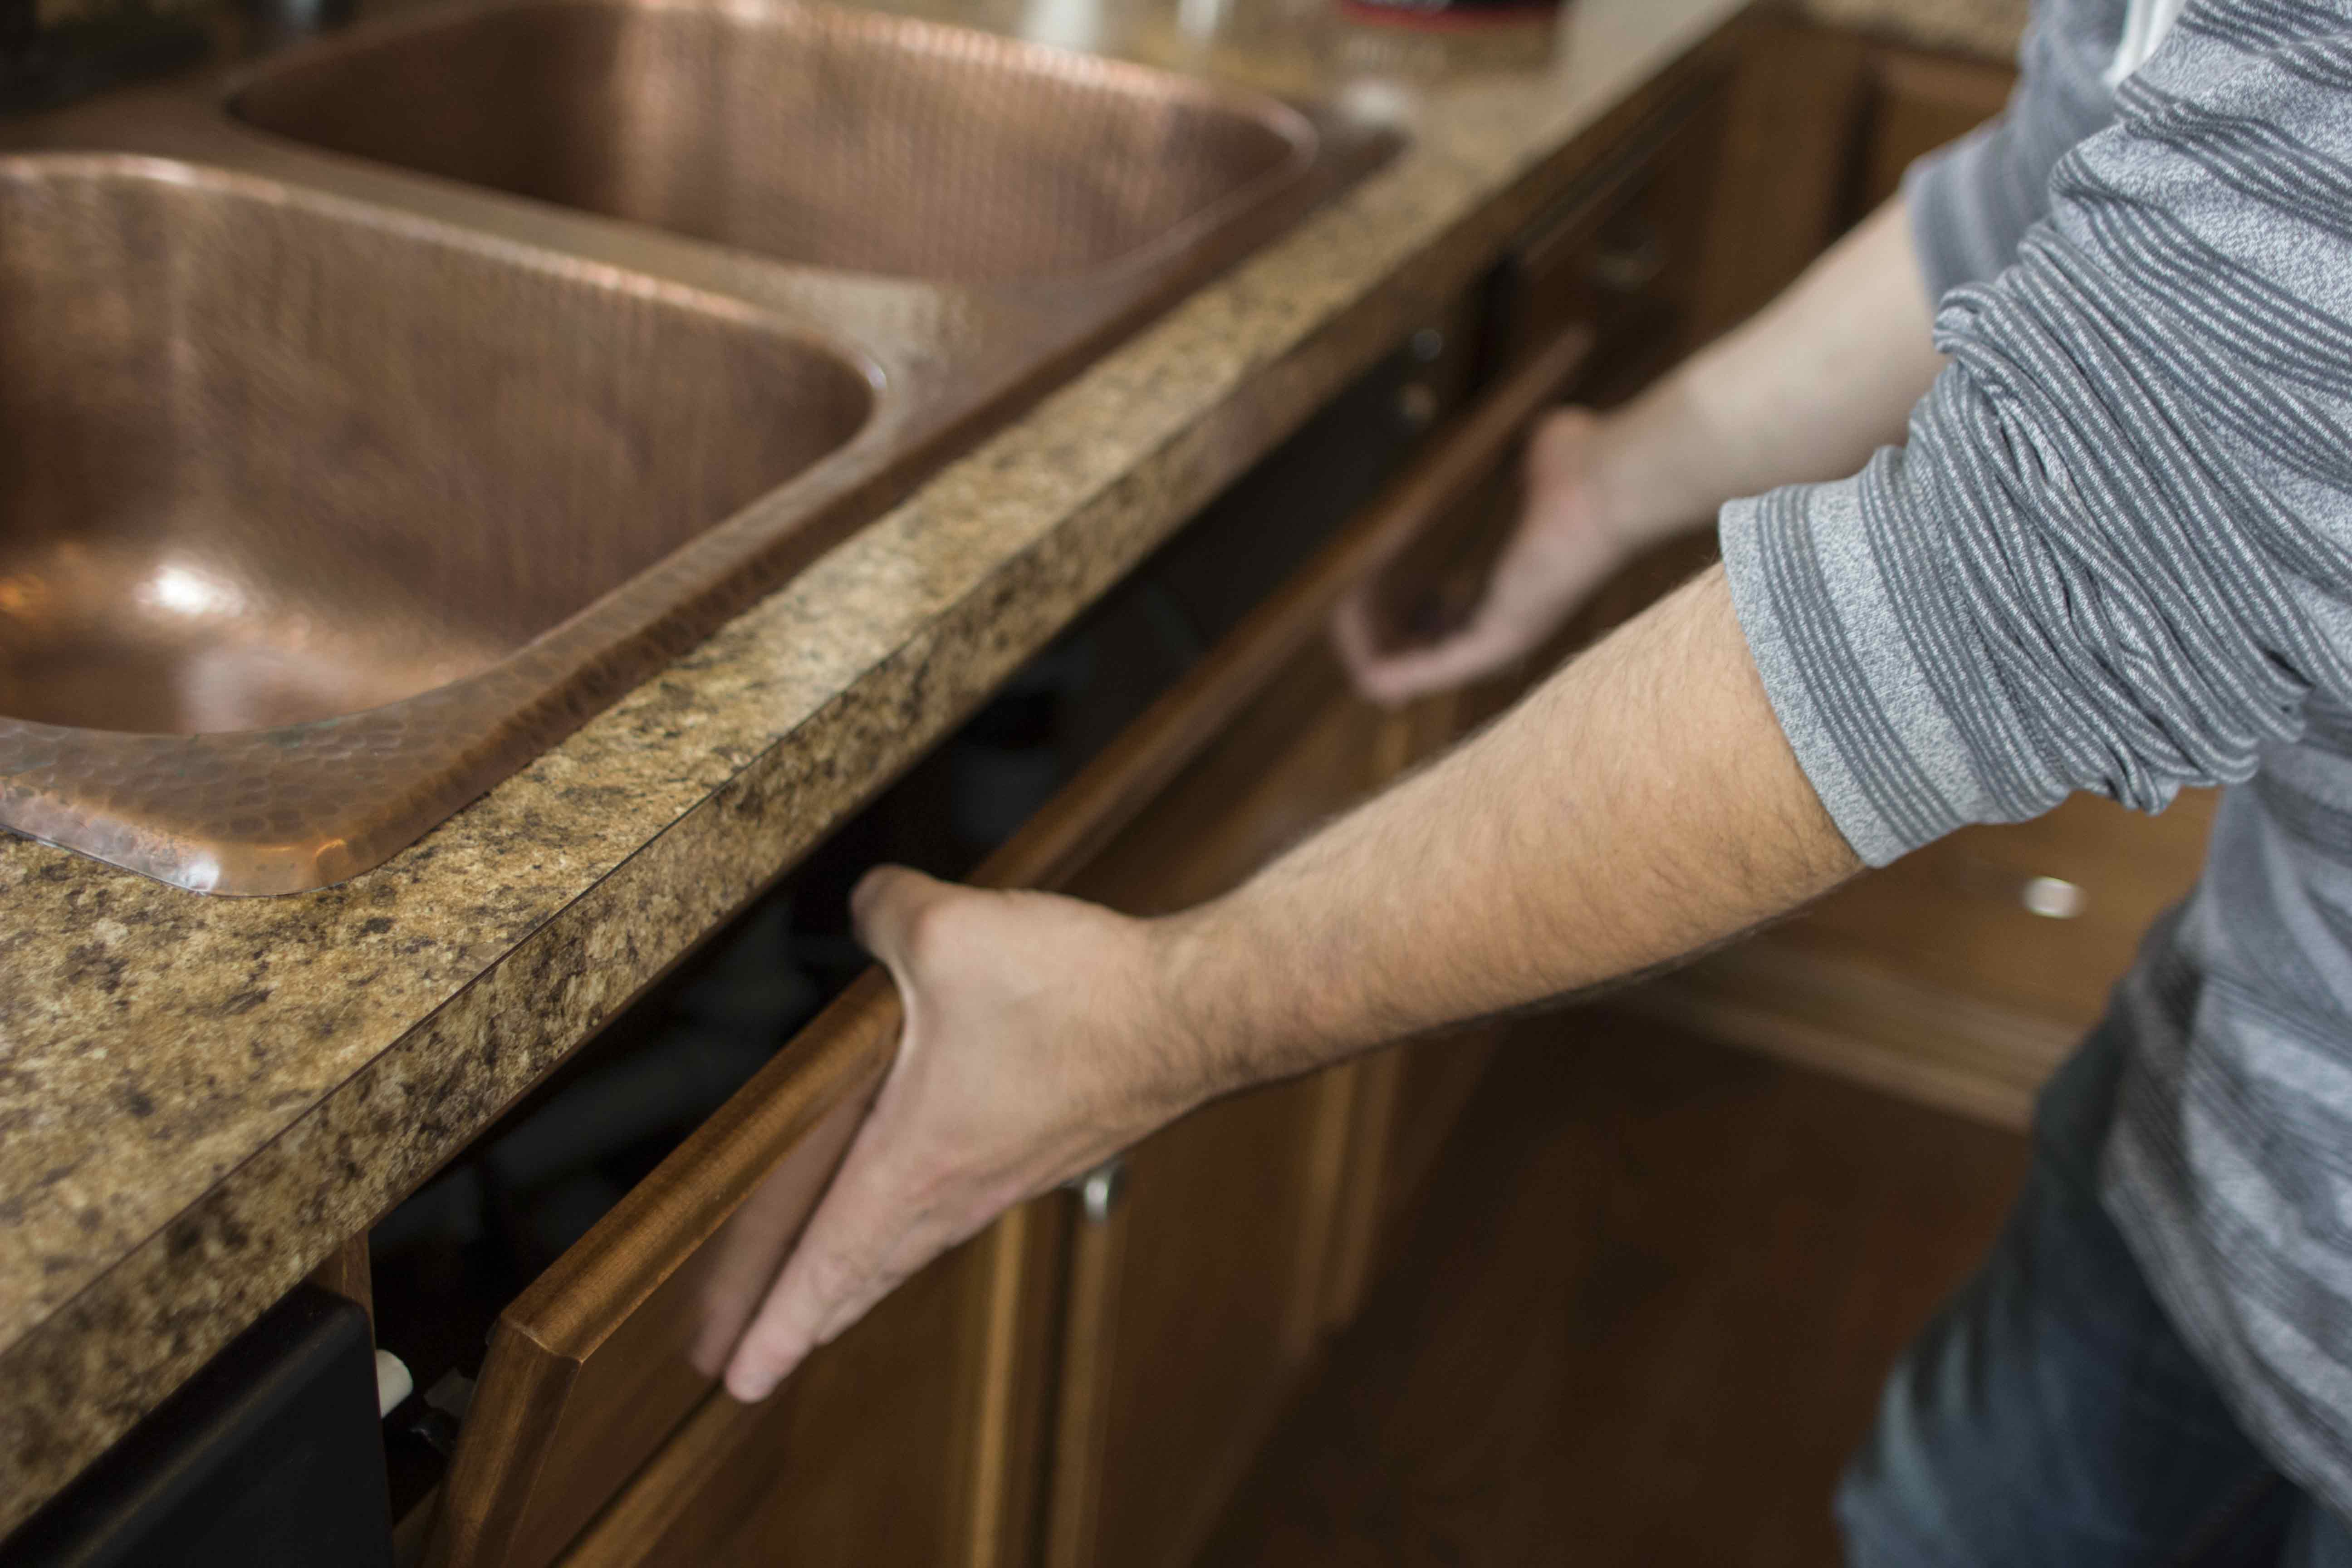
frontremove

Pro tip: Some cabinets have a removable piece in front of the sink that will allow easier access and better visibility to the clips during installation.

Step 8: Attach hoses and pipes to the water filtration system and drains.
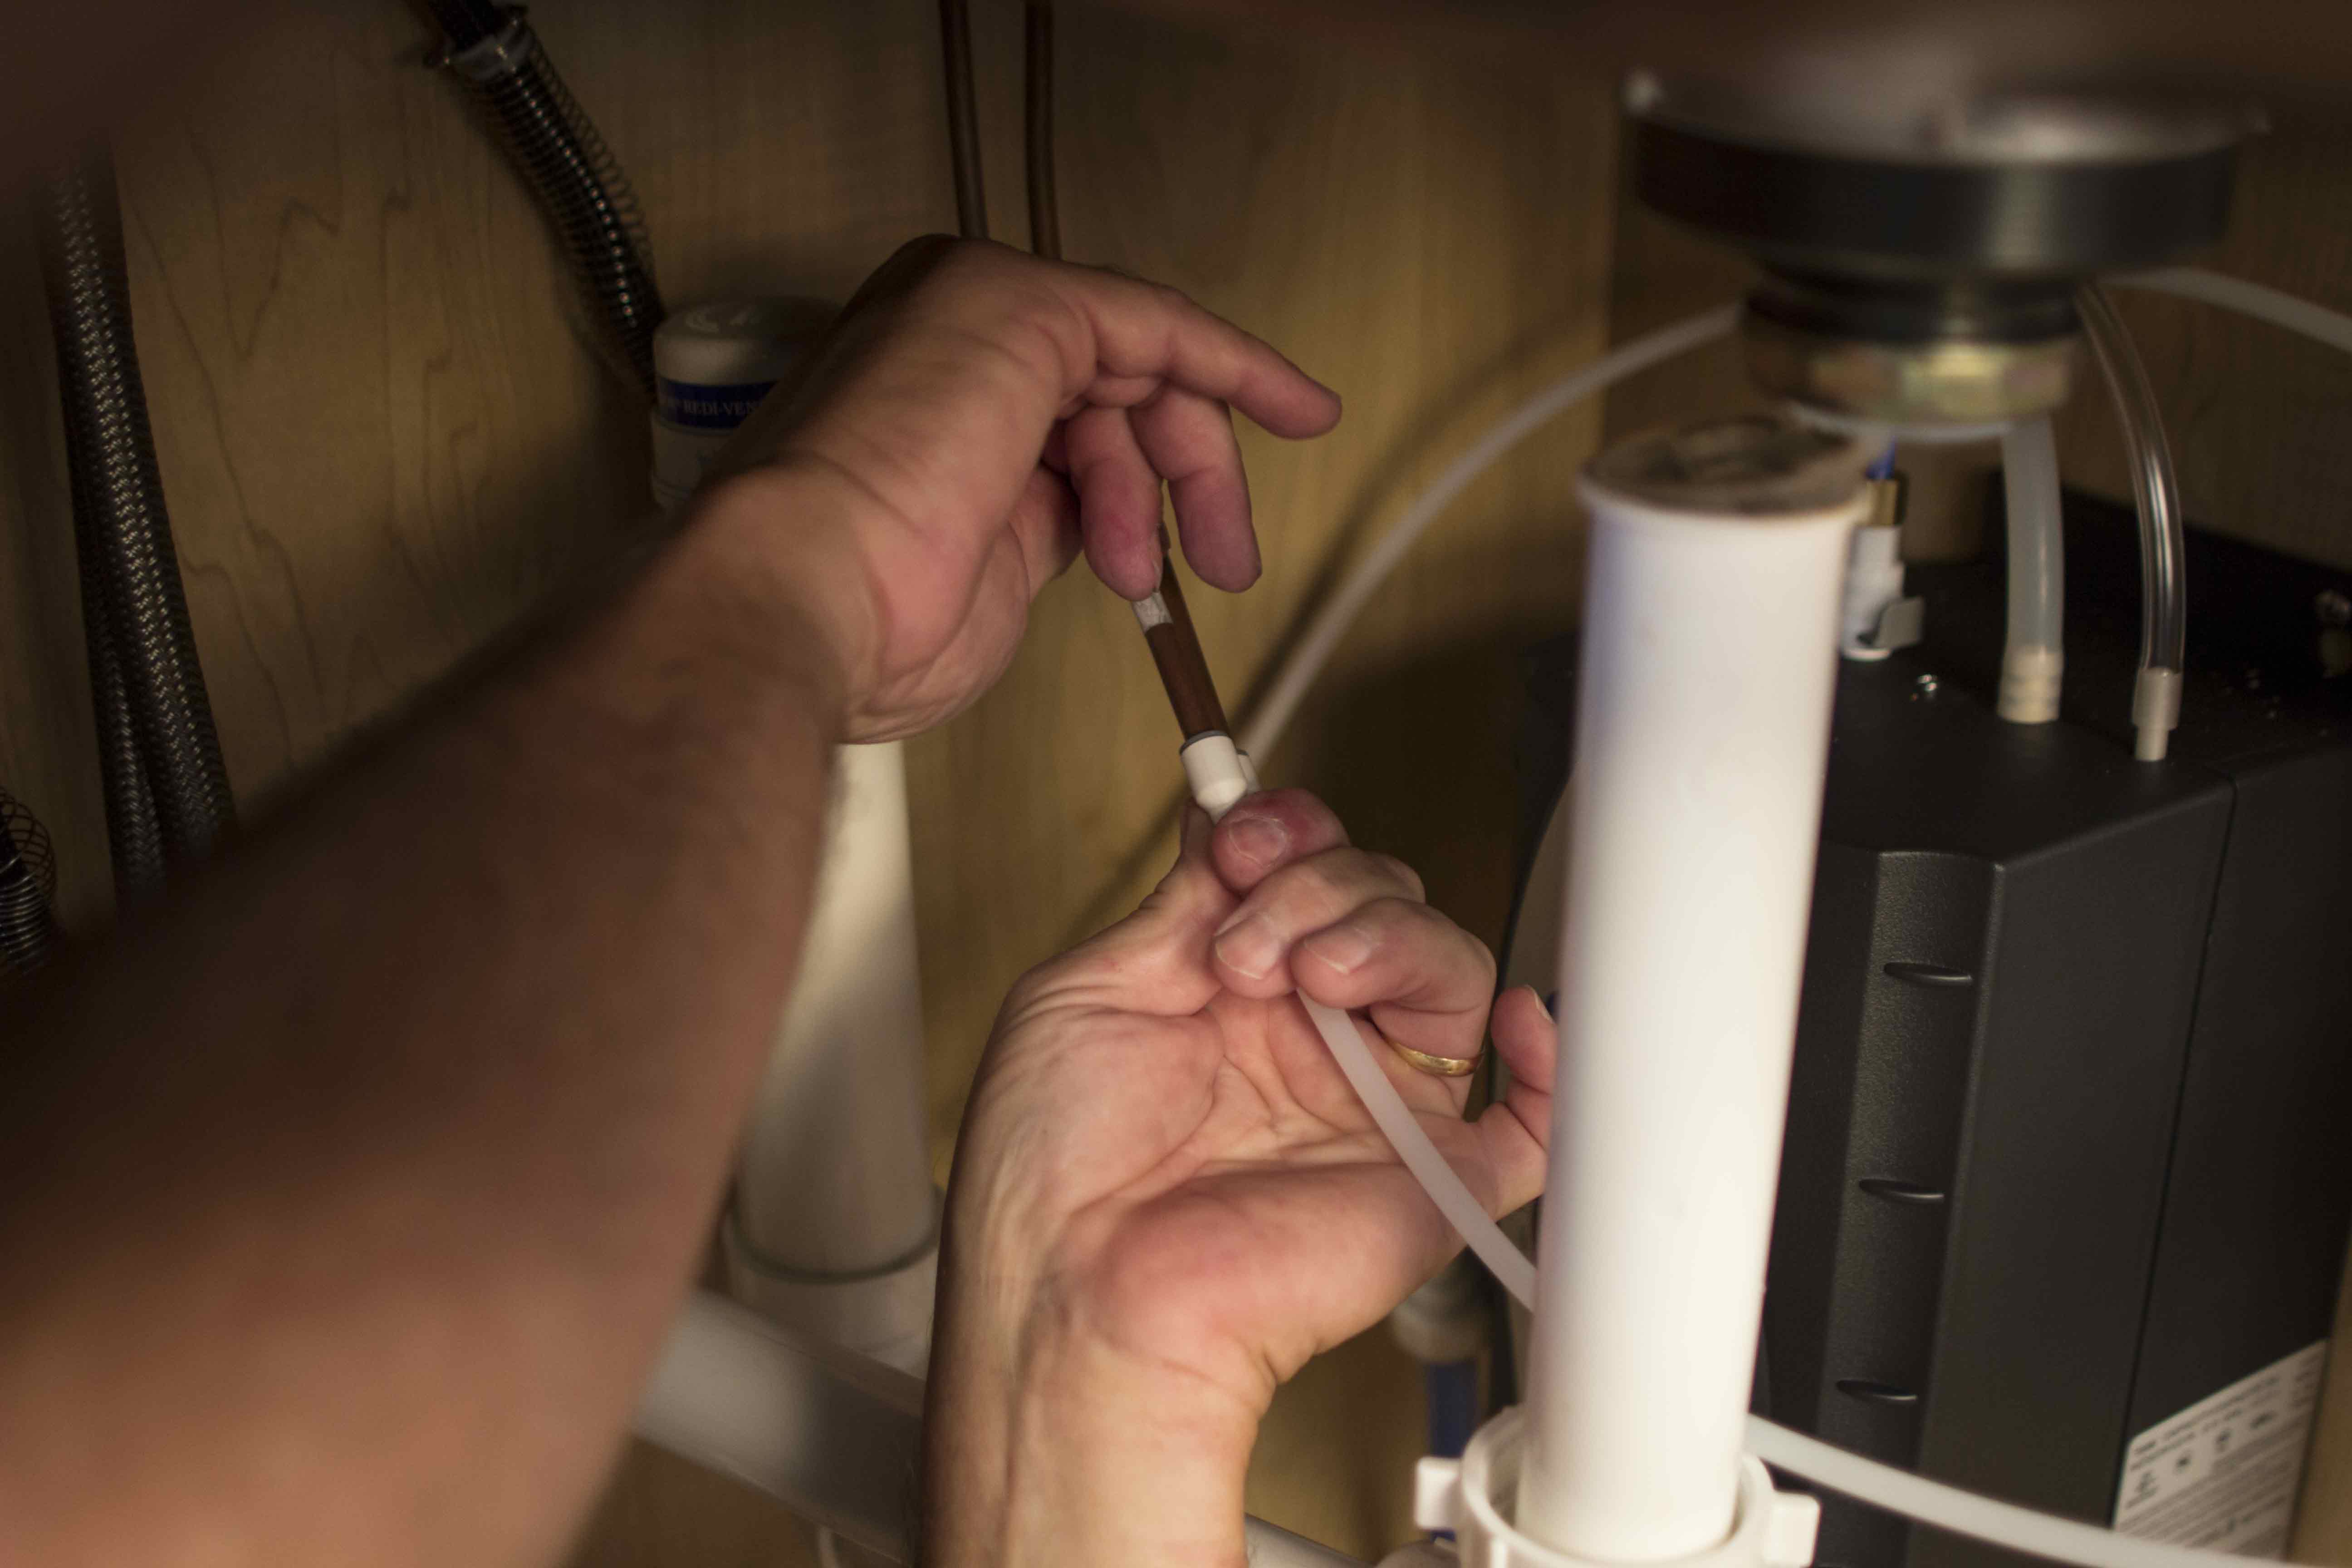
attach-hoses

Be sure to follow the manufacturer’s instructions on installation of the specific water filtration system you have chosen. Attach and tighten all water lines and firmly tighten the drainpipes to the basket strainer drain. Do not attach the drain pipe to the disposal drain yet.
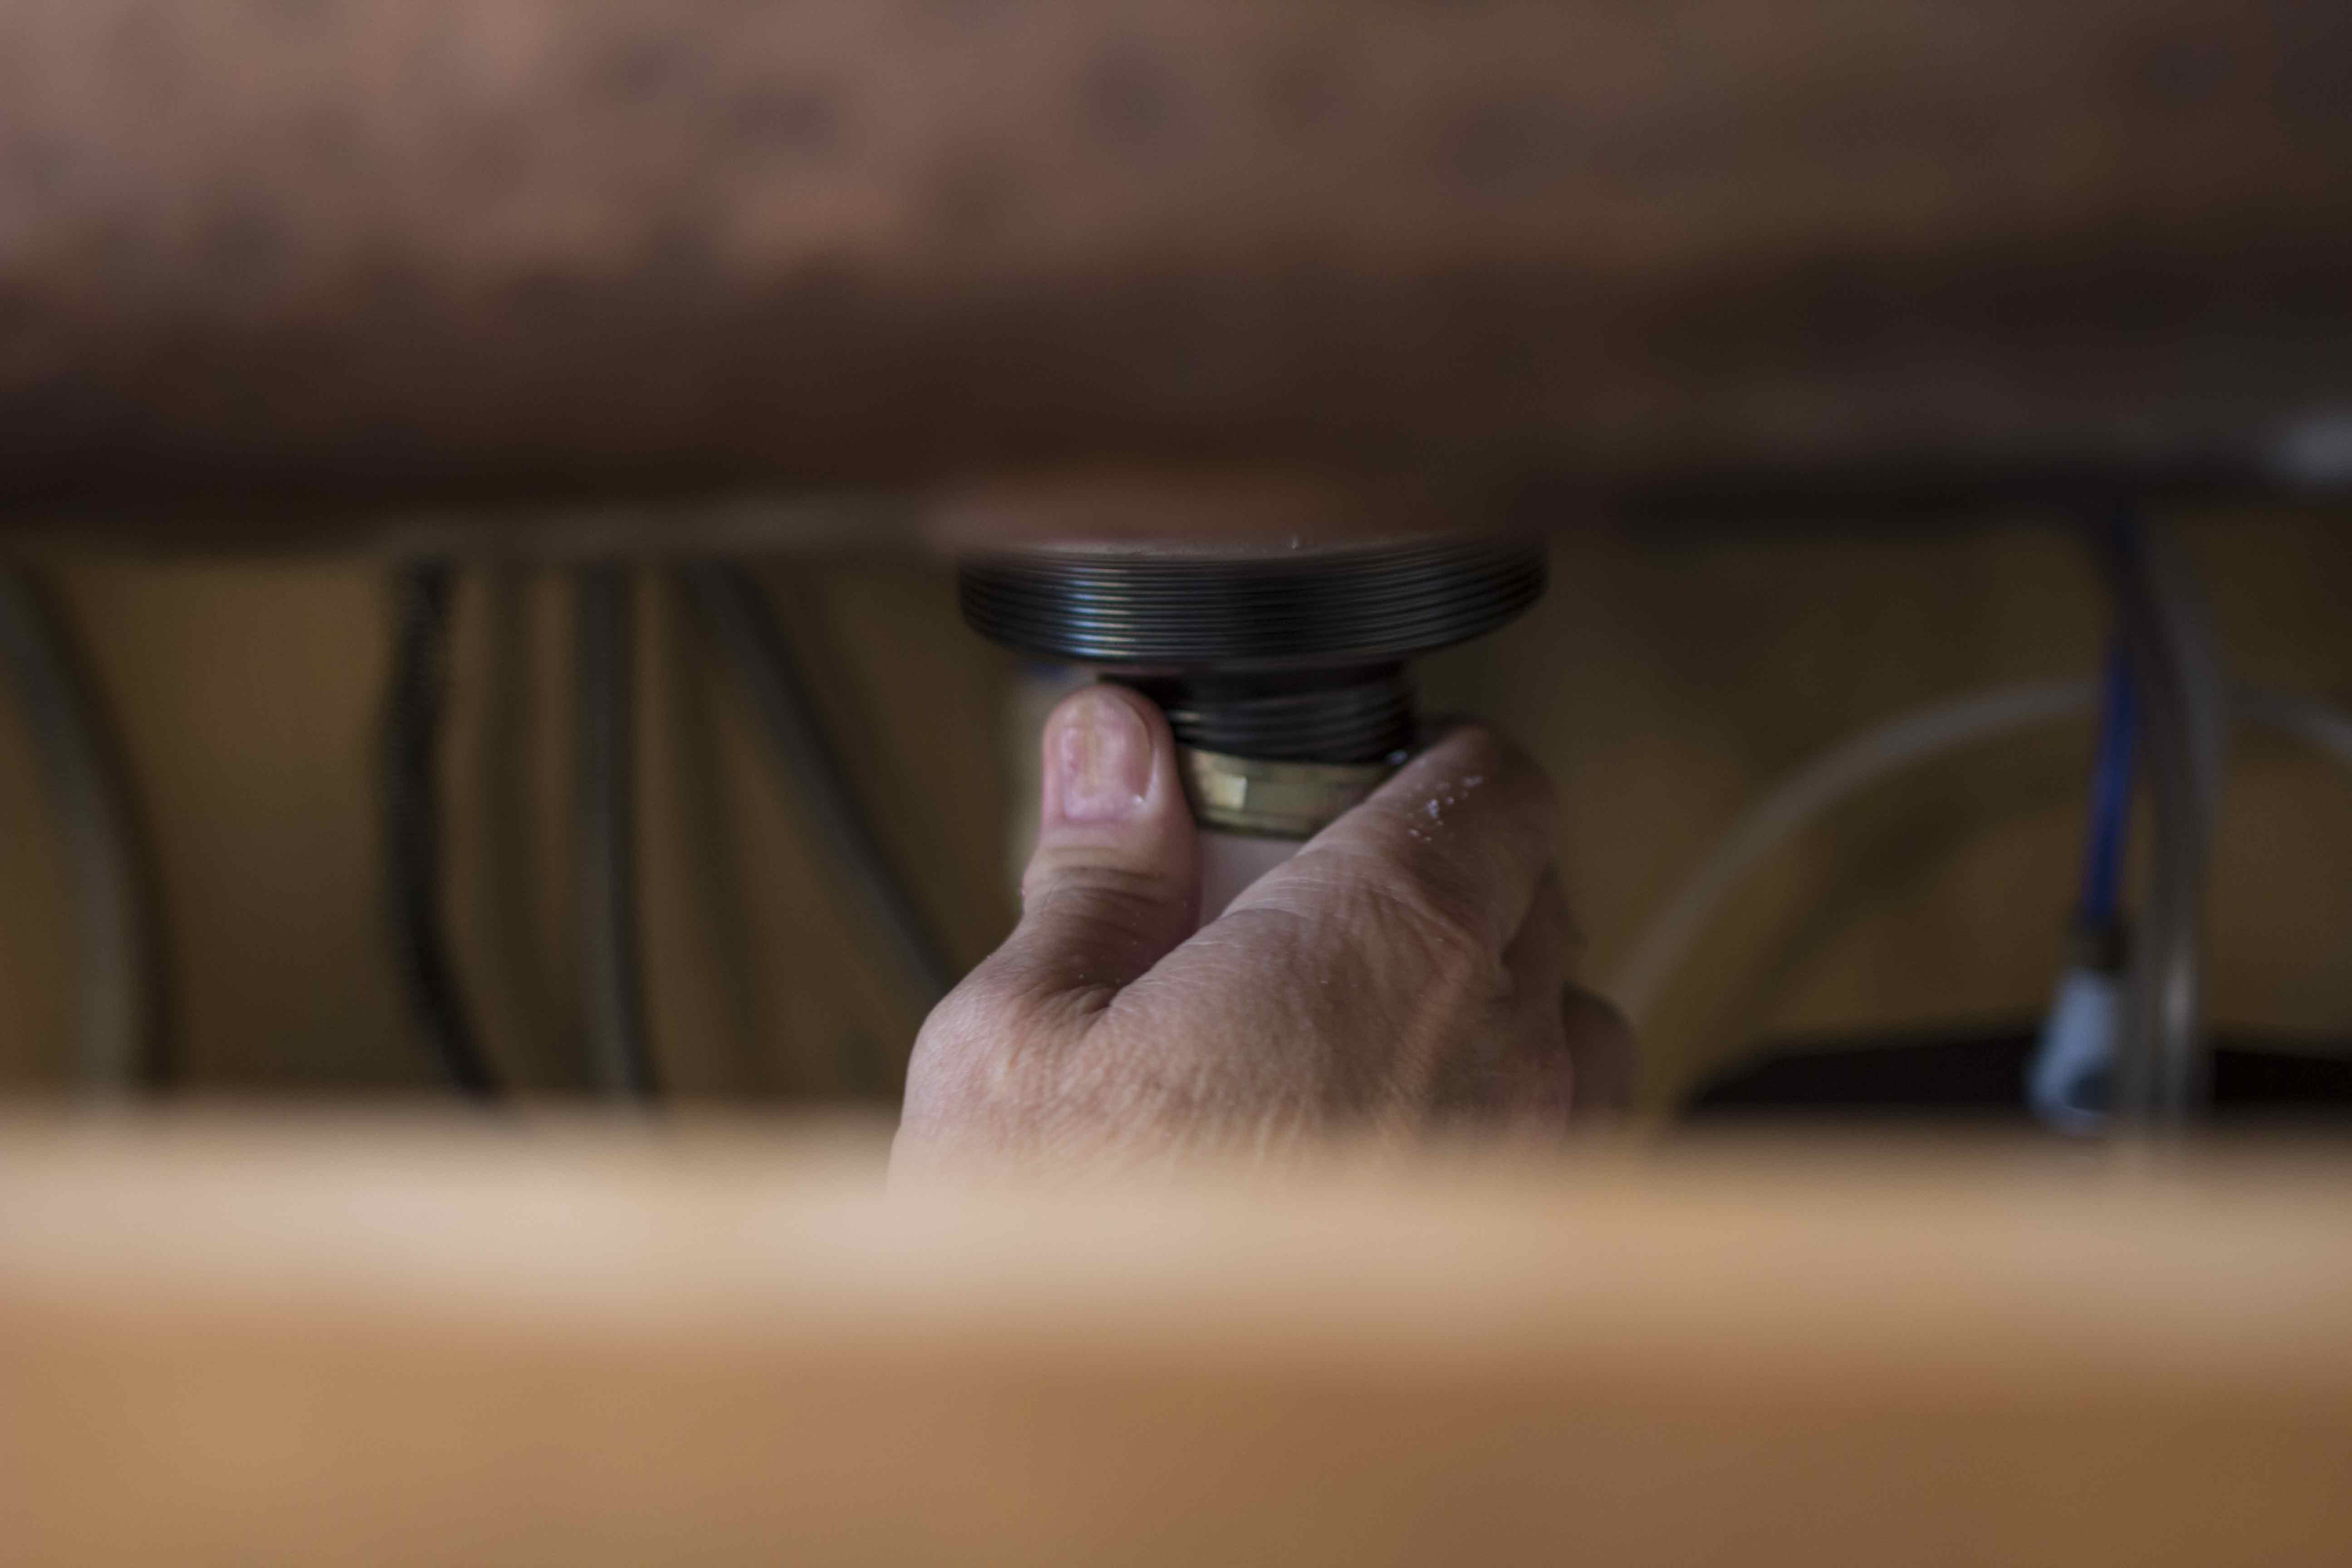
attach-drains

Pro tip: Try placing a pad on the edge of the lower cabinet to protect your back and neck from the sharp edge. A knee-pad from a garden store works great.

Step 9: Attach the garbage disposal to the disposal flange.
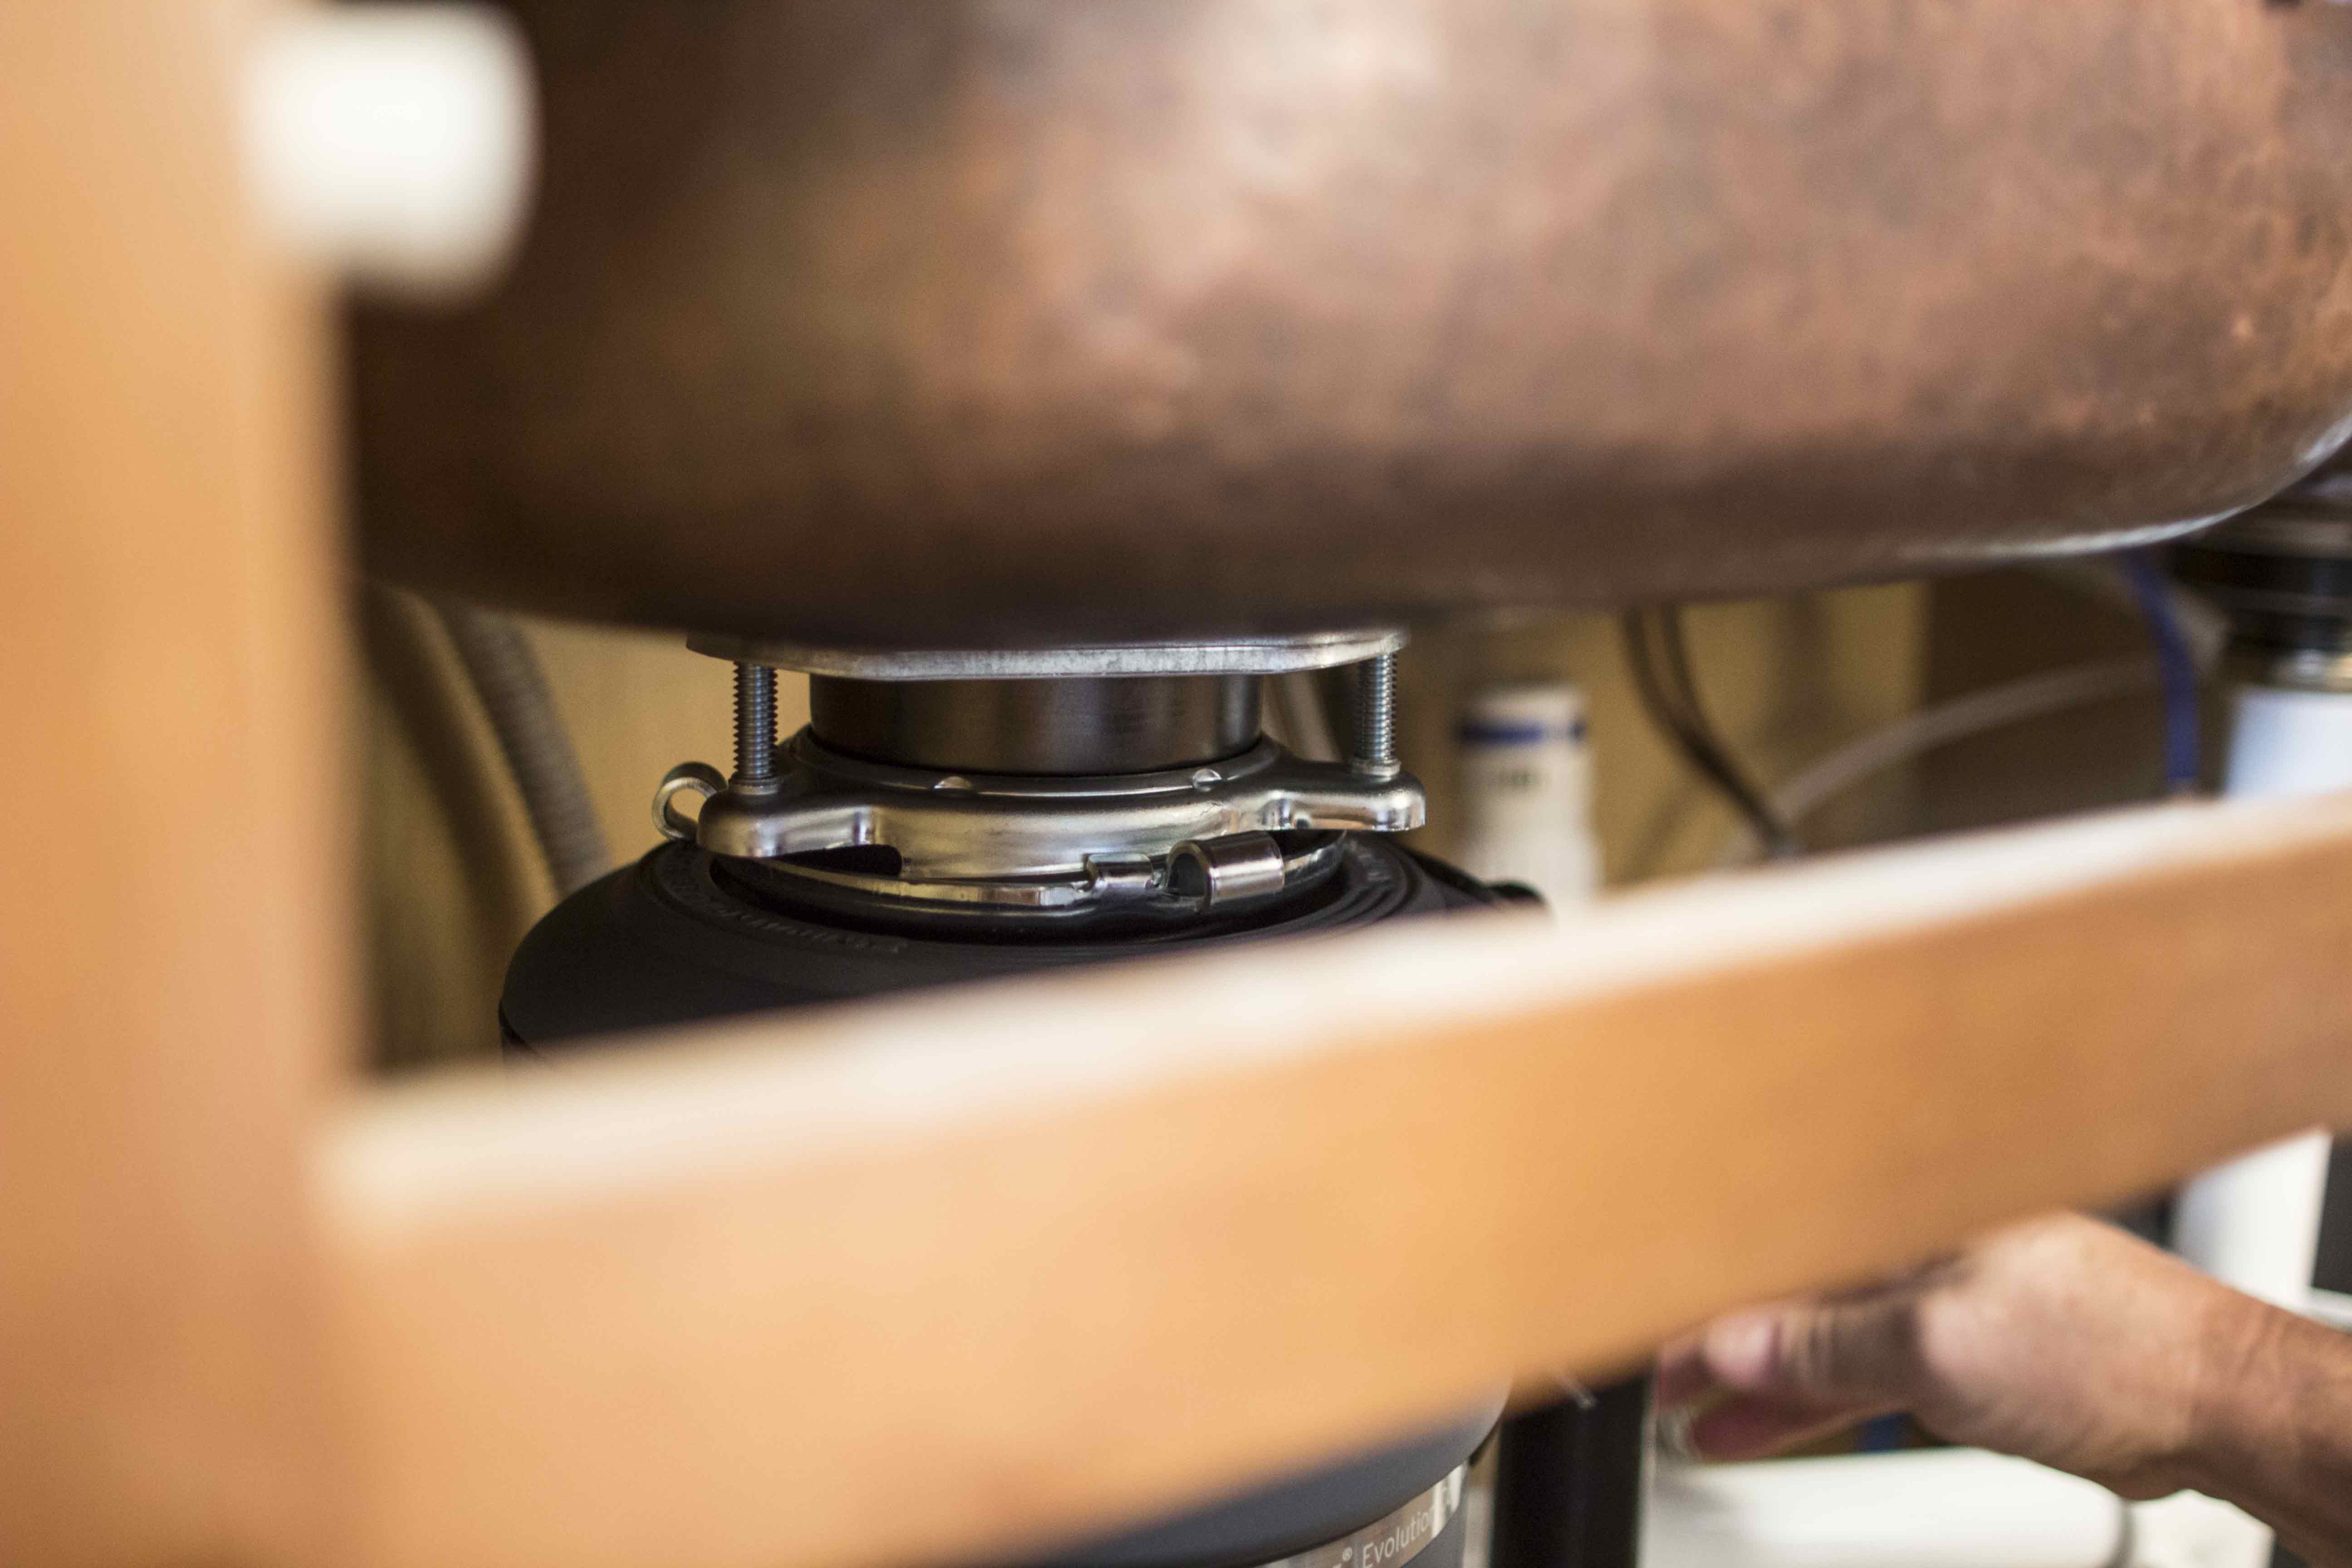
disposal-flange

Reference the manufacturer’s installation instructions for proper installation of your garbage disposal. For the InSinkErator Evolution Compact on the InSinkErator website.

disposal-bottom

Pro tip: Many disposals will require you to attach the plug to the disposal. Be sure to follow the manufacturer’s instructions carefully or ask someone experienced with electric work to assist.

Step 10: Attach pipes to disposal, plug in to the wall, and turn on the water.
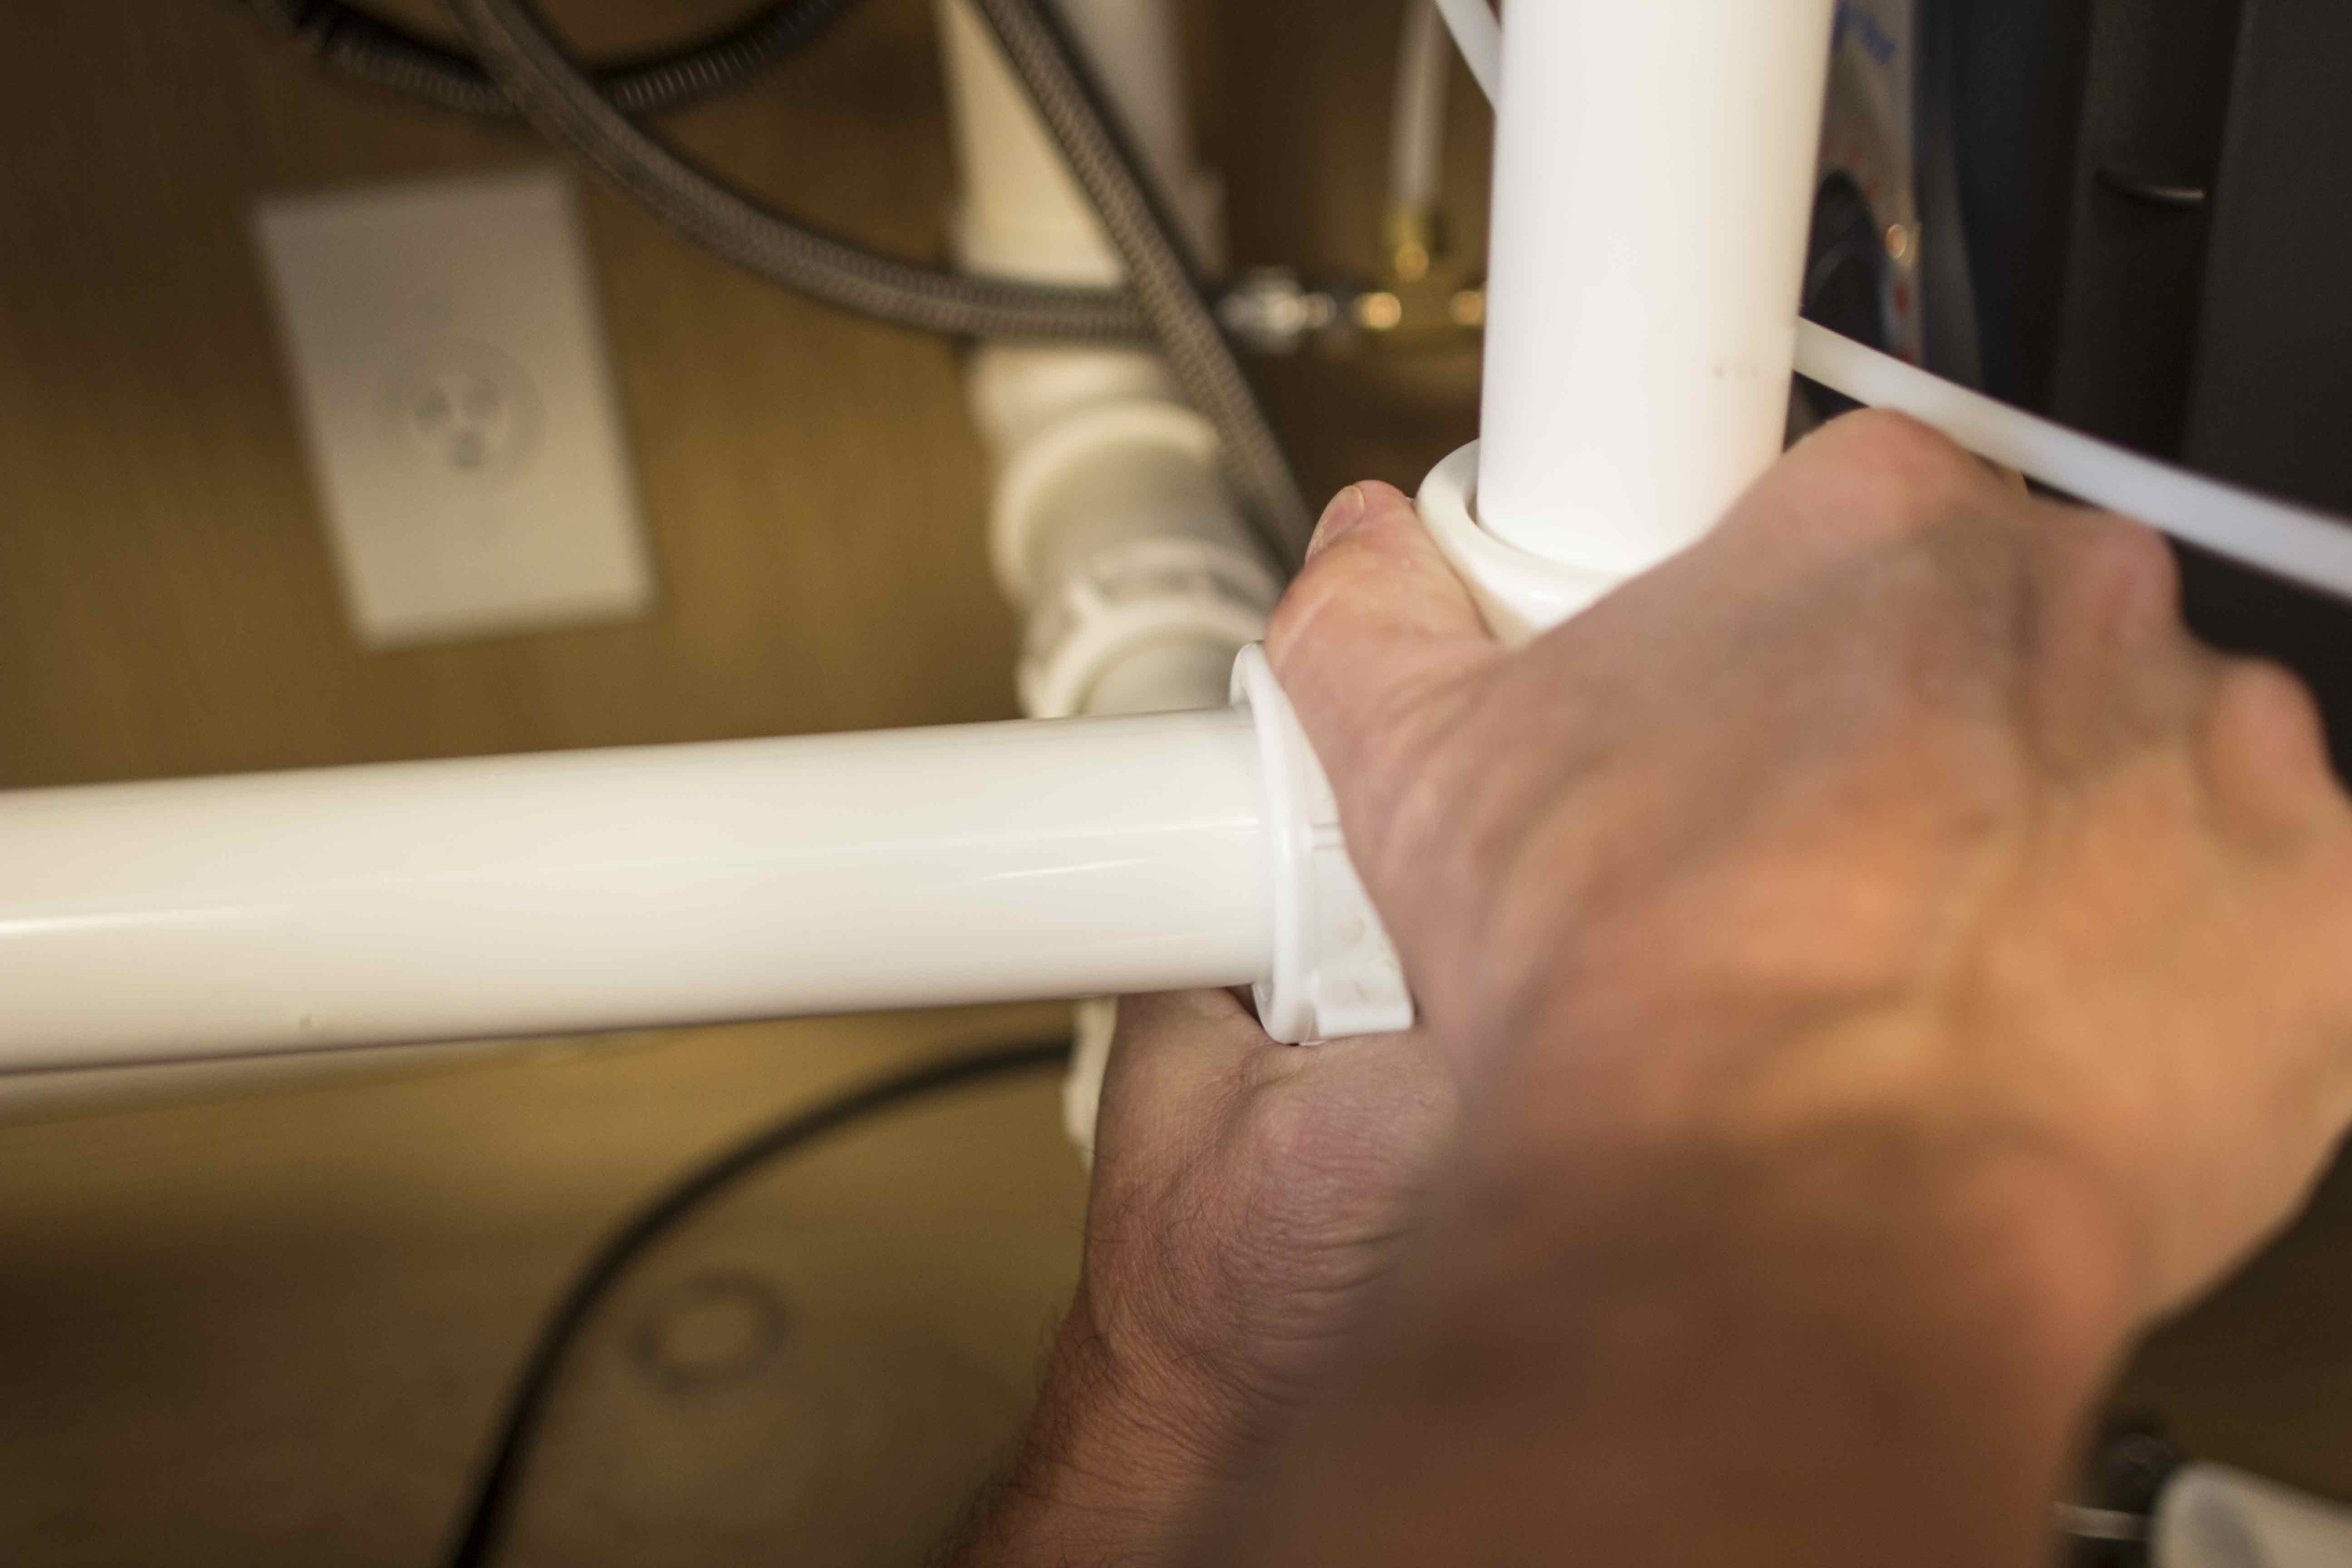
pipes

Ensure that there are no leaks after running the water for a few seconds. If you are leak-free, turn on the electric and test your disposal.
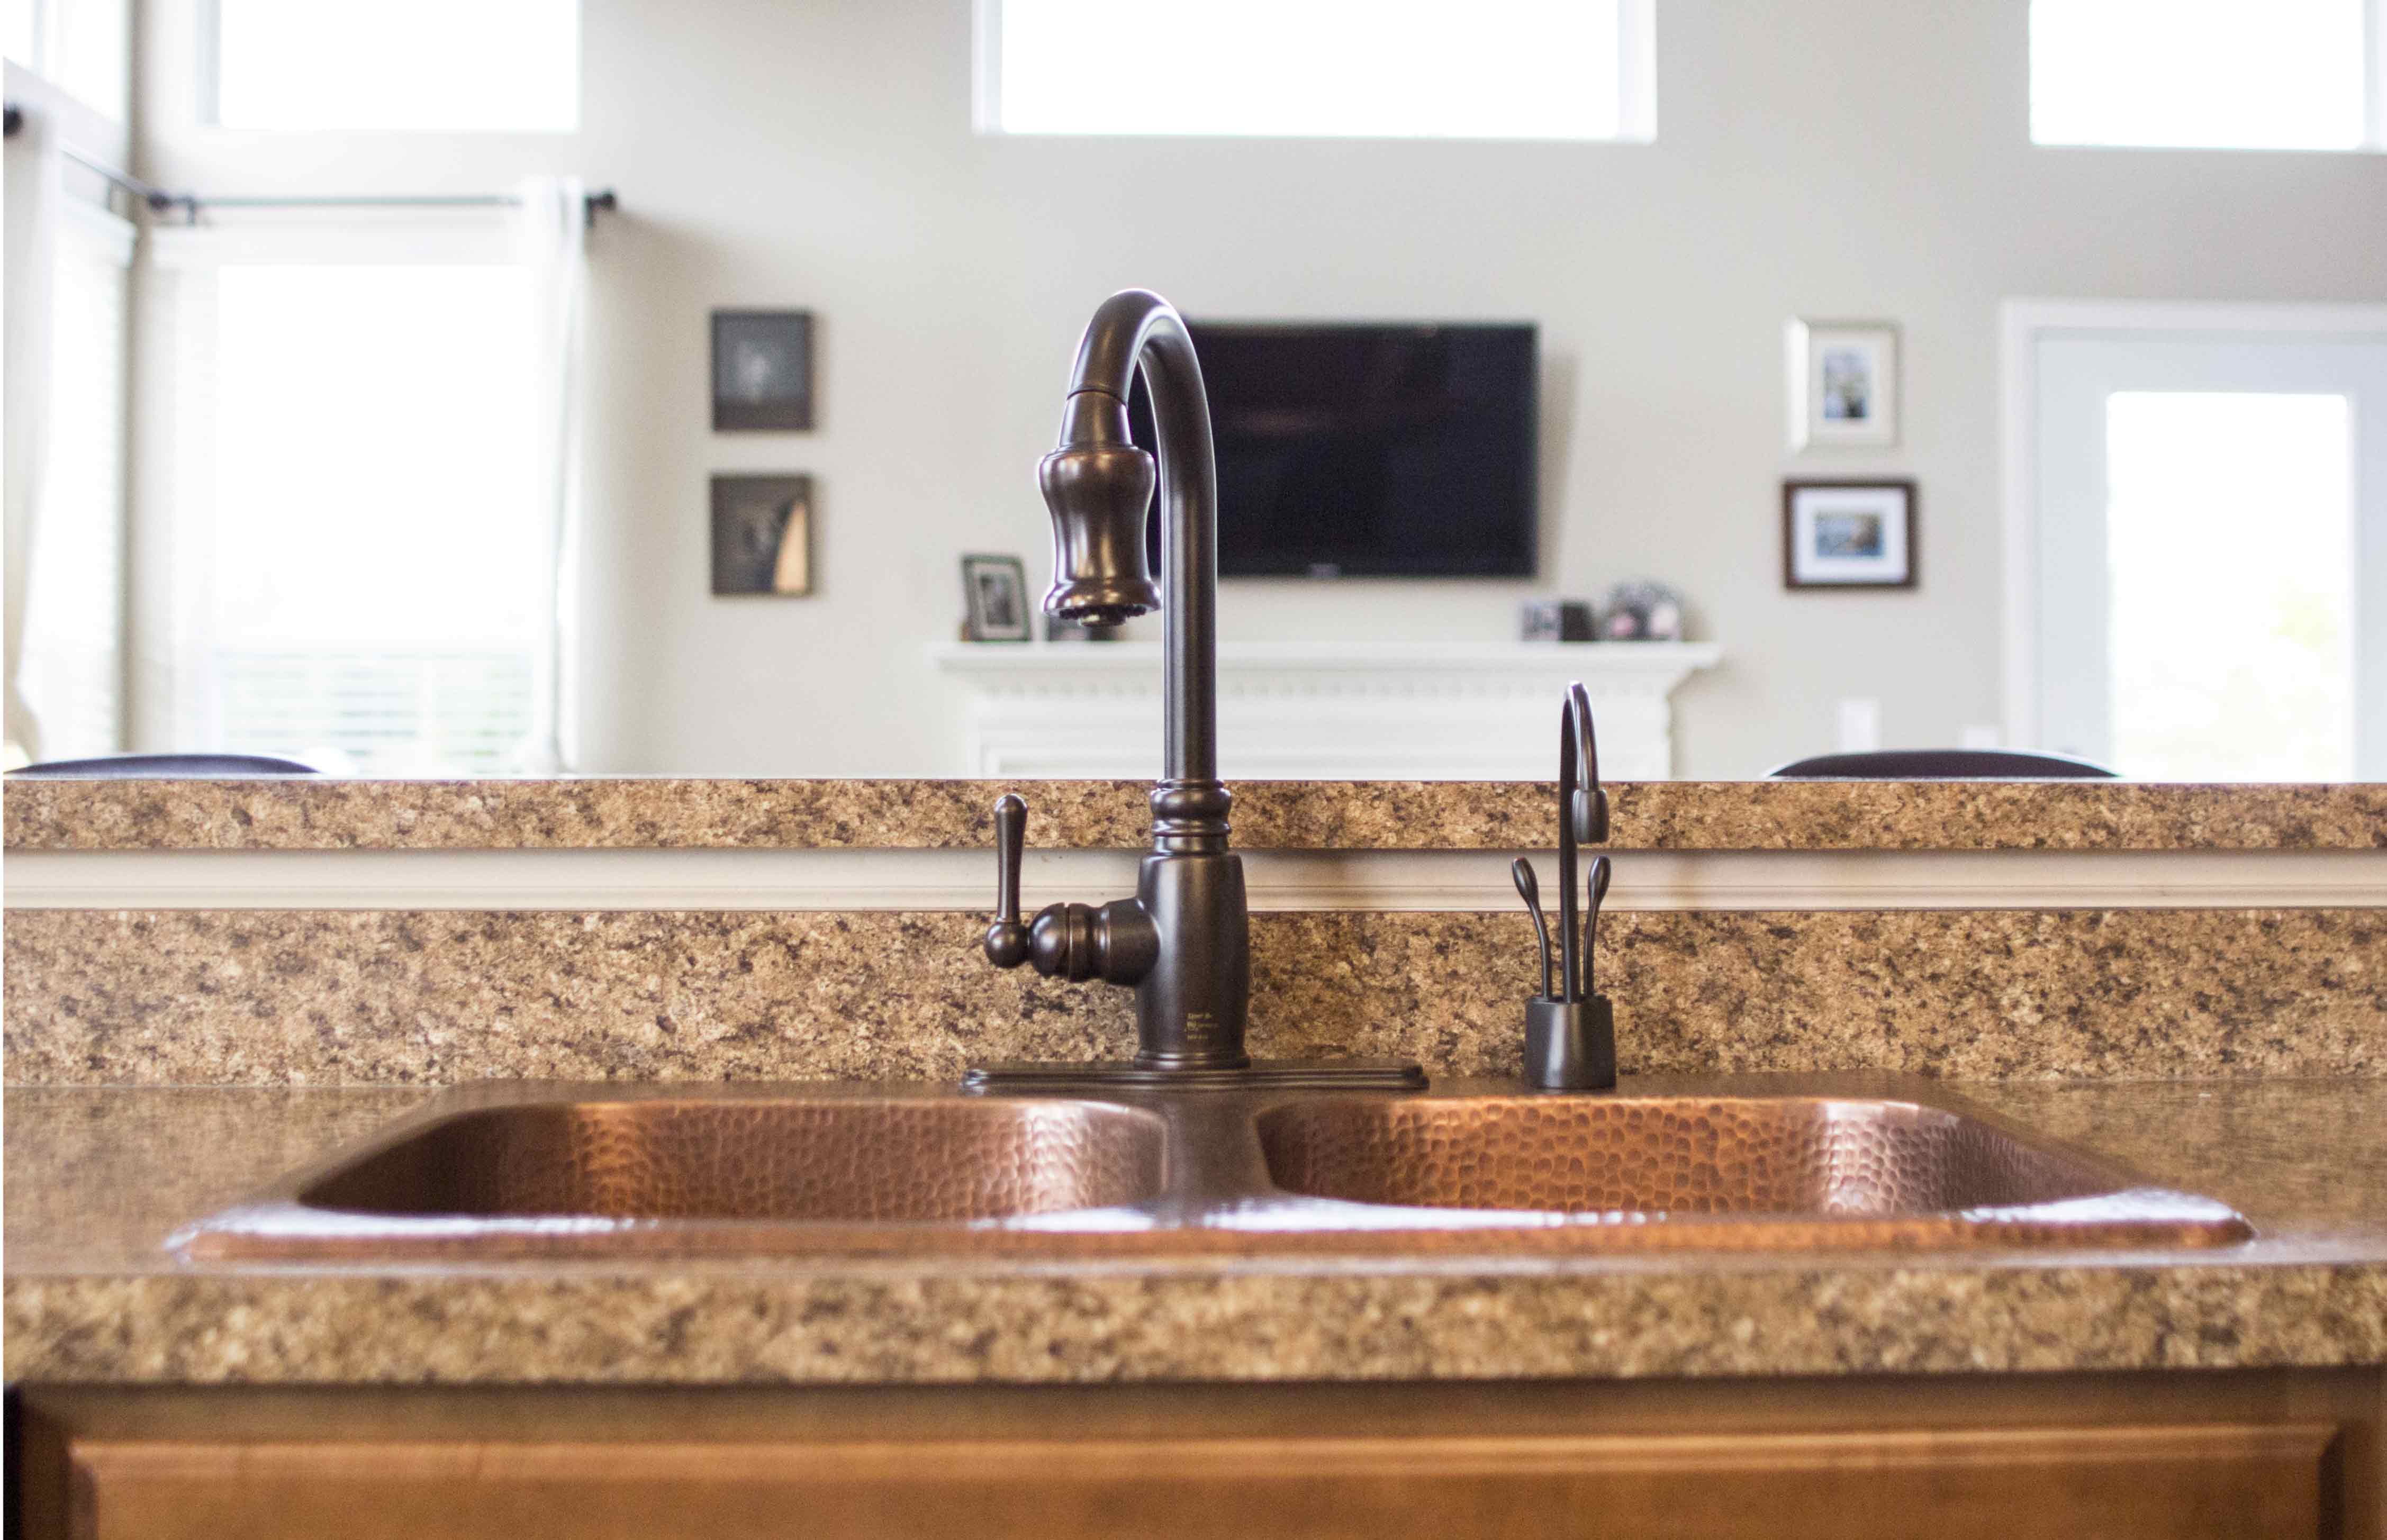
final-sink

Finally, enjoy your new copper sink!

120715


If you have any additional questions, our Sinkologists are here to help. Contact us or follow us on Facebook, Pinterest, or Instagram for helpful tips and design ideas.

The post How To Replace A Drop-In Kitchen Sink appeared first on Sinkology.


source https://www.sinkology.com/blog/how-to-replace-a-drop-in-kitchen-sink/

Find Your Perfect Match: The Sinkology Guide to Kitchen Sink Grids

Creating the perfect look for your kitchen doesn’t have to be complicated. At Sinkology, we aim to make it as easy as possible to find all of the accessories and finishing touches you need to complete your sink. Our All-in-One Kits pair your favorite Sinkology sink with a hand-selected Pfister faucet, drain options, and bottom grid.

If you bought your kitchen sink as a stand-alone product outside of our All-in-One Kits, have no fear: we have you covered with this handy grid-finder! You deserve to have a grid that was created specifically for your kitchen sink, and we want to make it as easy as possible for you to find exactly what you’re looking for. So, look no further. Use the information below to find your ideal grid.

How to use this grid:

  • The grid-finder below is organized by sink name, size and design
  • Browse the names of the sinks to locate the sink you purchased
  • Select the bottom grid that is corresponding to your sink to ensure the best fit and proper dimensions
  • Snap a pic of your new grid and submit it to us using the hashtag #showusyoursink and tag us on Instagram!

Sinkology Kitchen Sink Bottom Grid Finder:

Sink Name

Antique Brown

Stainless

Matte Black

Adams 33″ Single

Wright

Lange 25″ Single

Fuller

Adams 33″ Double

Sullivan

Angelico 33″ Double

Gehry

Lange 32″ Single

Wright

Lange 32″ Double

Sullivan

Angelico 33″ Single

Rohe

Angelico 25″ Single

Fuller

Santi 33″ Double

Morgon

Orwell 23″ Single

Fuller

Orwell 30″ Single

Johnson

Rivera 31″ Single

Johnson

Rivera 32″ Double

Morgon

Orwell 32″ Double

Morgon

Lange 30″ Single

Foster

Ganku 33″ Single

Wright

Adams 36″ Double

Maybeck

Ganku 36″ Double

Maybeck

Turner 30″ Single

Johnson

Wren

Turner 33″ Double

Spencer

Griffin

Jackson 33″ Single

Johnson

Wren

Ellis

Josephine 34″ Single

Alder

Rinaldi

Grace 34″ Single

Alder

Rinaldi

Parker 26″ Single

Gwynn

Parker 34″ Double

Ashbee

Austen 33″ Single

Johnson

Wren

Ellis

Austen 24″ Single

Fuller

Venturi

Austen 36″ Single

Wagner

Austen 33″ Double

Spencer

Griffin

Austen 36″ Double

Spencer

Griffin

Bradstreet II 30″ Single

Johnson

Wren

Ellis

Percy 32″ Single

Wren

Ellis

Taylor 31″ Single

Wren

Ellis

For questions about your Sinkology sink or bottom grid, feel free to reach out to our amazing team of Sinkologists for help! We offer online support and respond as quickly as possible to make sure you have everything you need to love your sink for life.

_____________________________________________________________________

If you have any additional questions during your search for the perfect copper, fireclay farmhouse sink or granite sink, our Sinkologists are here to help. Contact us or follow us on FacebookHouzzPinterest, or Instagram for more helpful tips and design ideas.

The post Find Your Perfect Match: The Sinkology Guide to Kitchen Sink Grids appeared first on Sinkology.


source https://www.sinkology.com/blog/sink-grid-guide/
Sunday, January 16, 2022

Cranberry Chutney

Sinkology is proud to present Emily Schuermann, our food-loving guest blogger who runs Food for a Year. Emily is here to share some recipes she has created exclusively for the Sinkology blog that reflect her view of a copper sink: simple, timeless, affordable, and beautifully rustic. 


There are a couple of recipes that are a MUST during the winter and ((for me)) cranberry chutney is a snow day essential. It’s the perfect companion to everything at the dinner table AND is delicious as a snack with cheese and crackers.

served chutney

Cranberry Chutney – a simple ‘one-pot’ recipe

This recipe is a surprisingly simple, one-pot recipe that fills your kitchen and home with the most amazing aroma while it simmers. Not only is it simple, it’s also very adaptable to your taste preferences and the ingredients you happen to have on hand. If you’re looking to make this recipe your own, feel free to add some fresh berries (like raspberries or blackberries) and substitute red wine or orange juice in place of the apple cider.

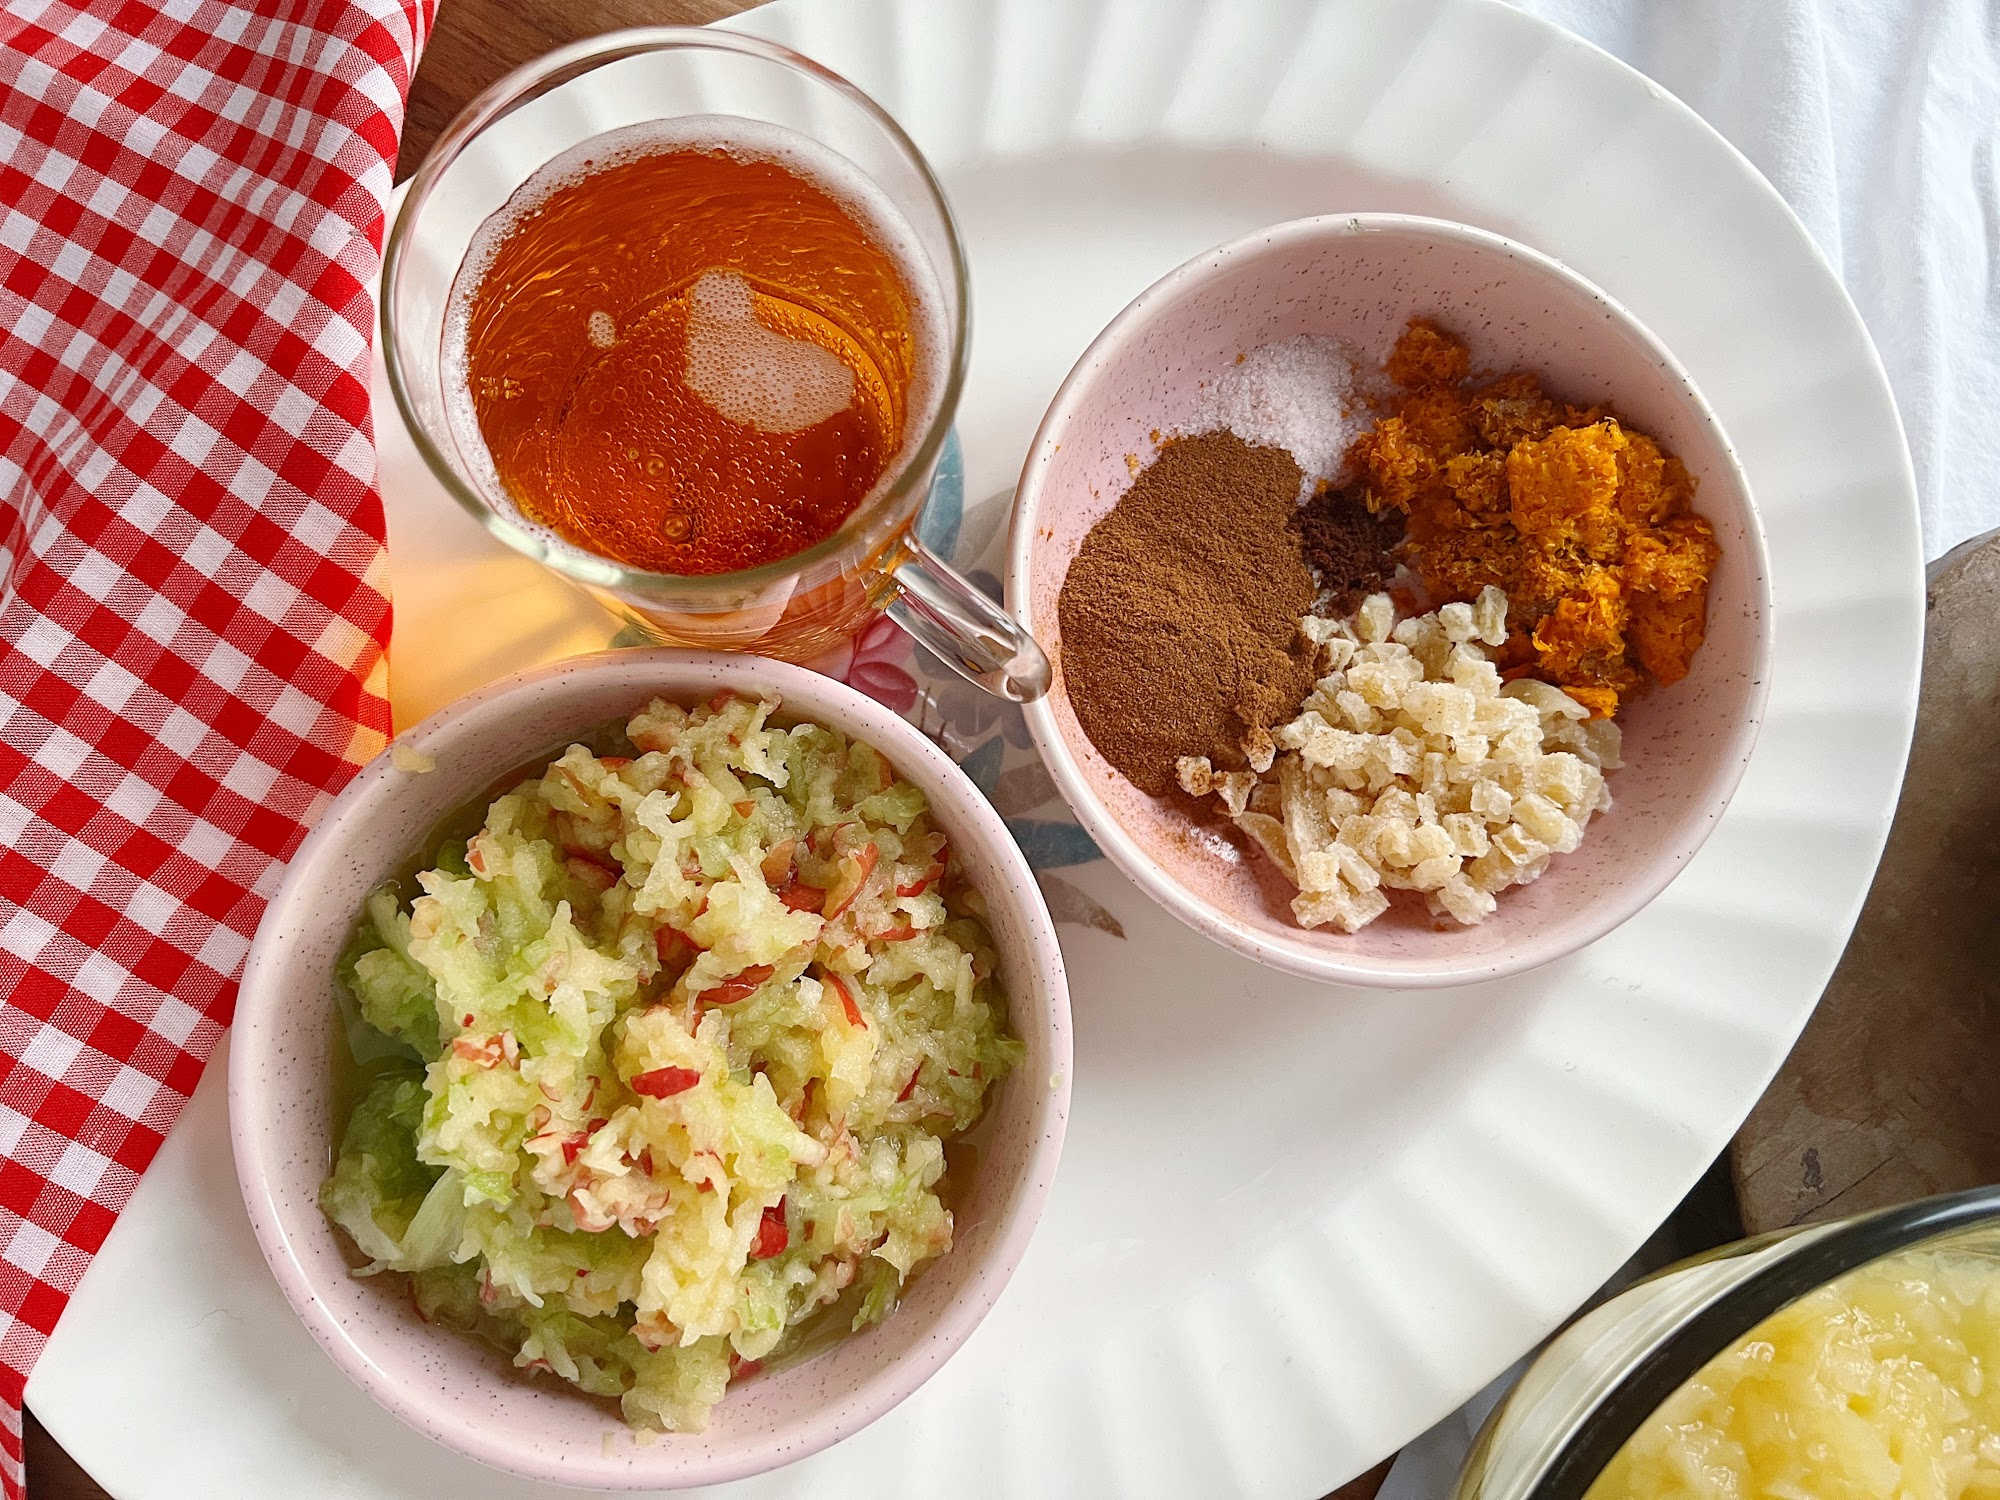
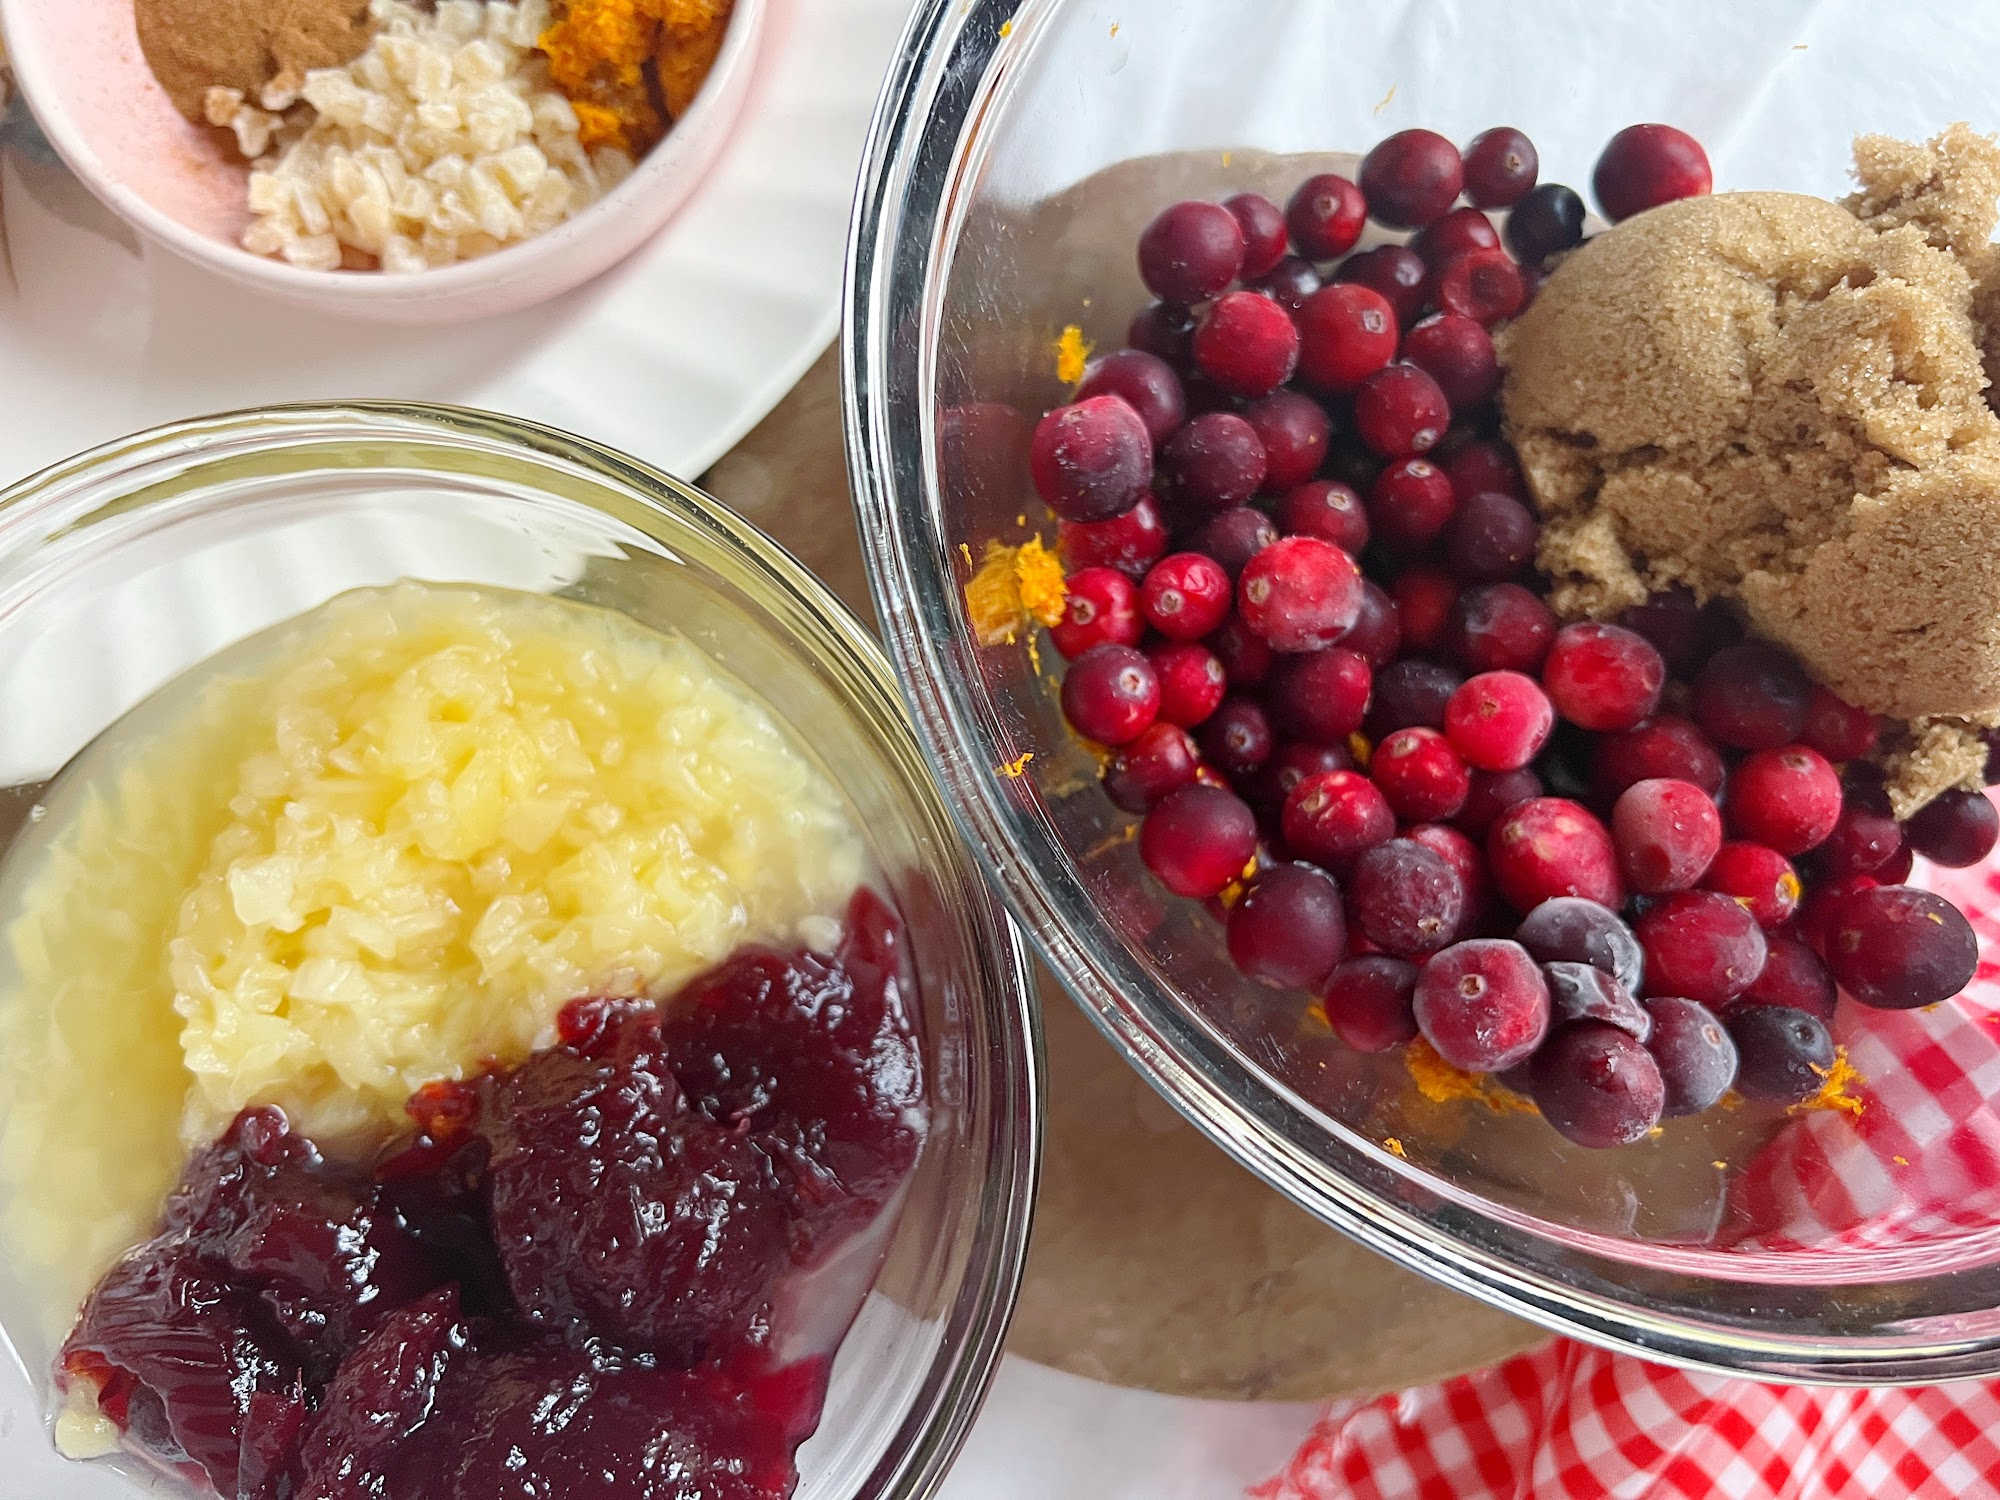
chutney ingredients cranberry chutney ingredients
Cranberry Chutney : the perfect blend of winter spices and orange zest and tart cranberries.

This chutney recipe makes use of several holiday pantry staples – so be sure and grab fresh cranberries and jellied cranberry sauce while they are at the grocery store. The blend of cinnamon, ginger and orange zest is not only delicious, it fills the air with the most delicious aroma – better than any candle!

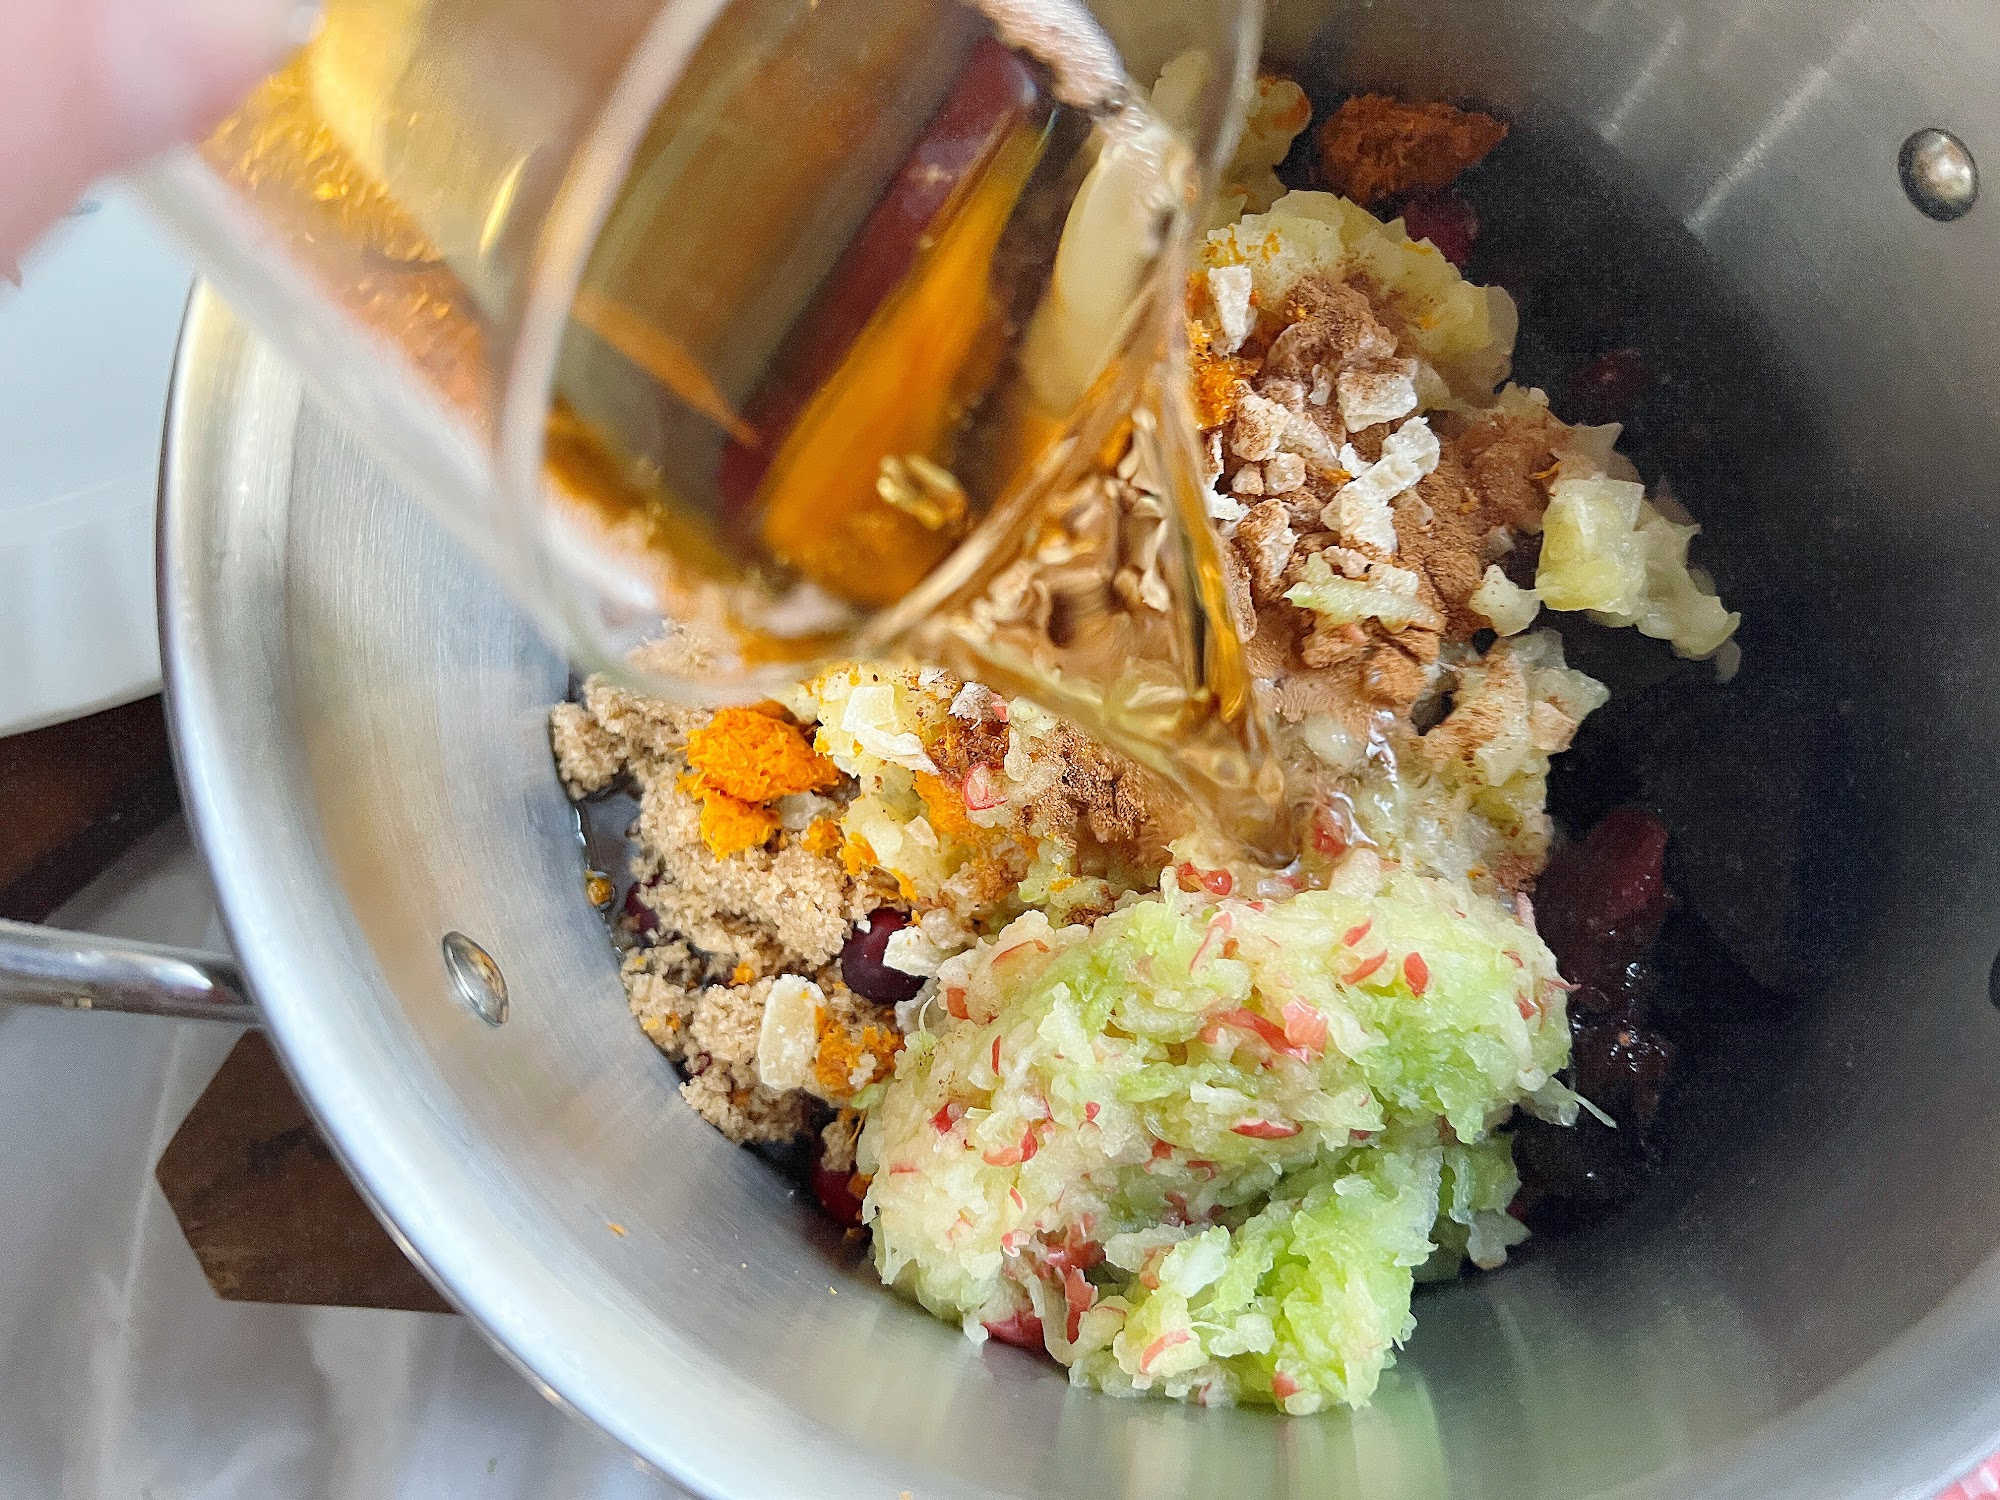
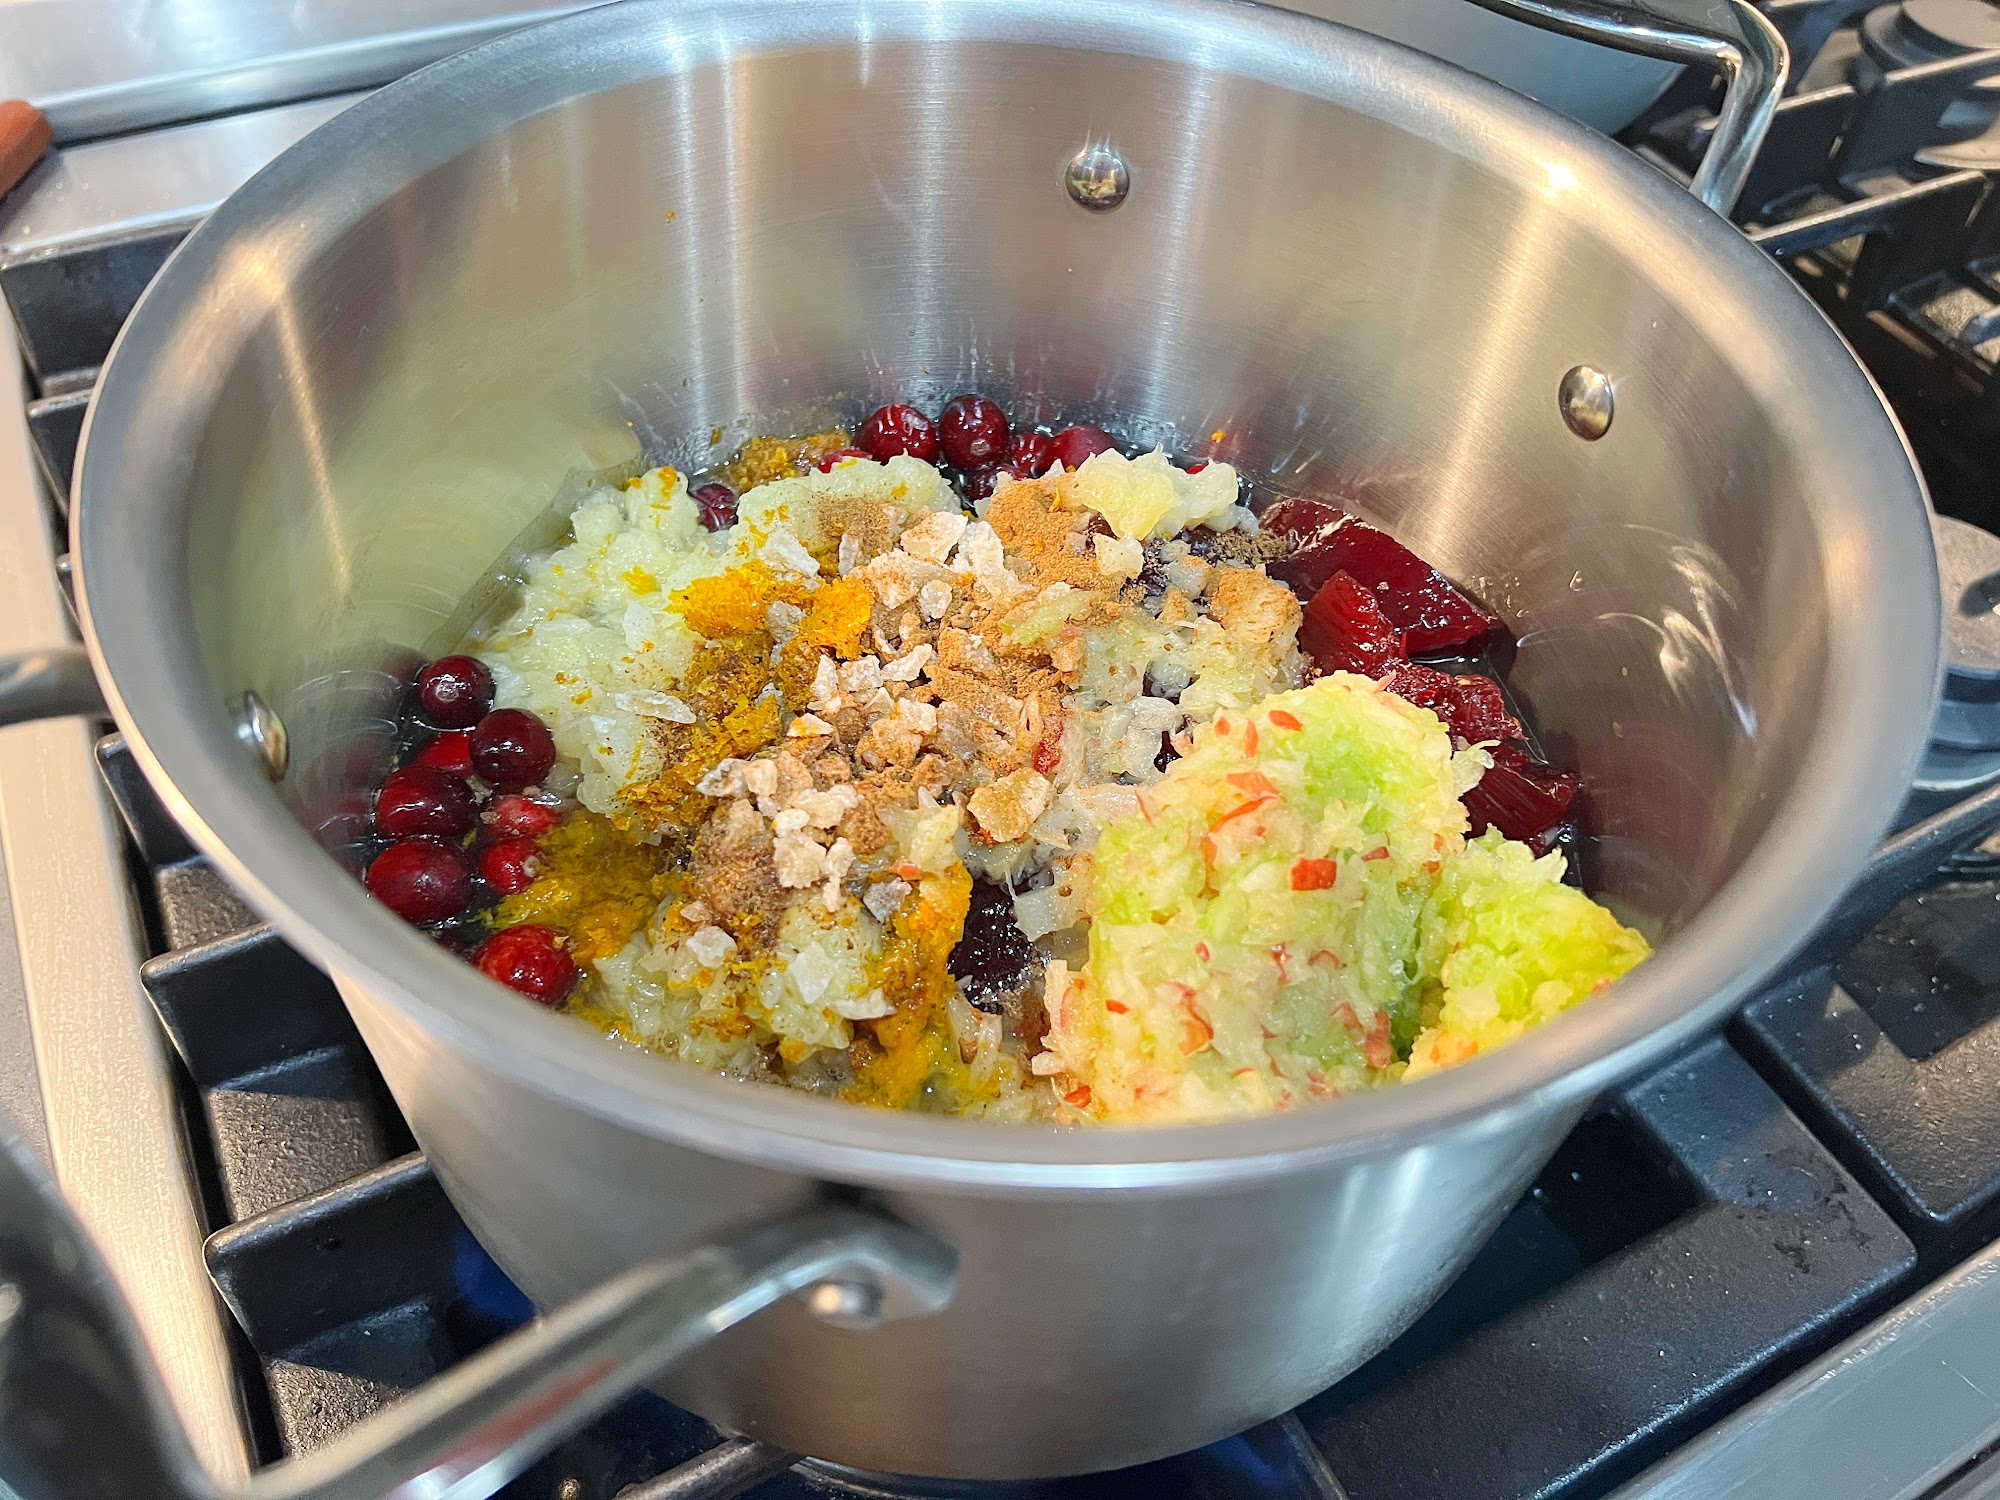
adding cider to chutney ingredients all the cranberry chutney ingredients in one pot

A few Cranberry Chutney recipe how-to’s :

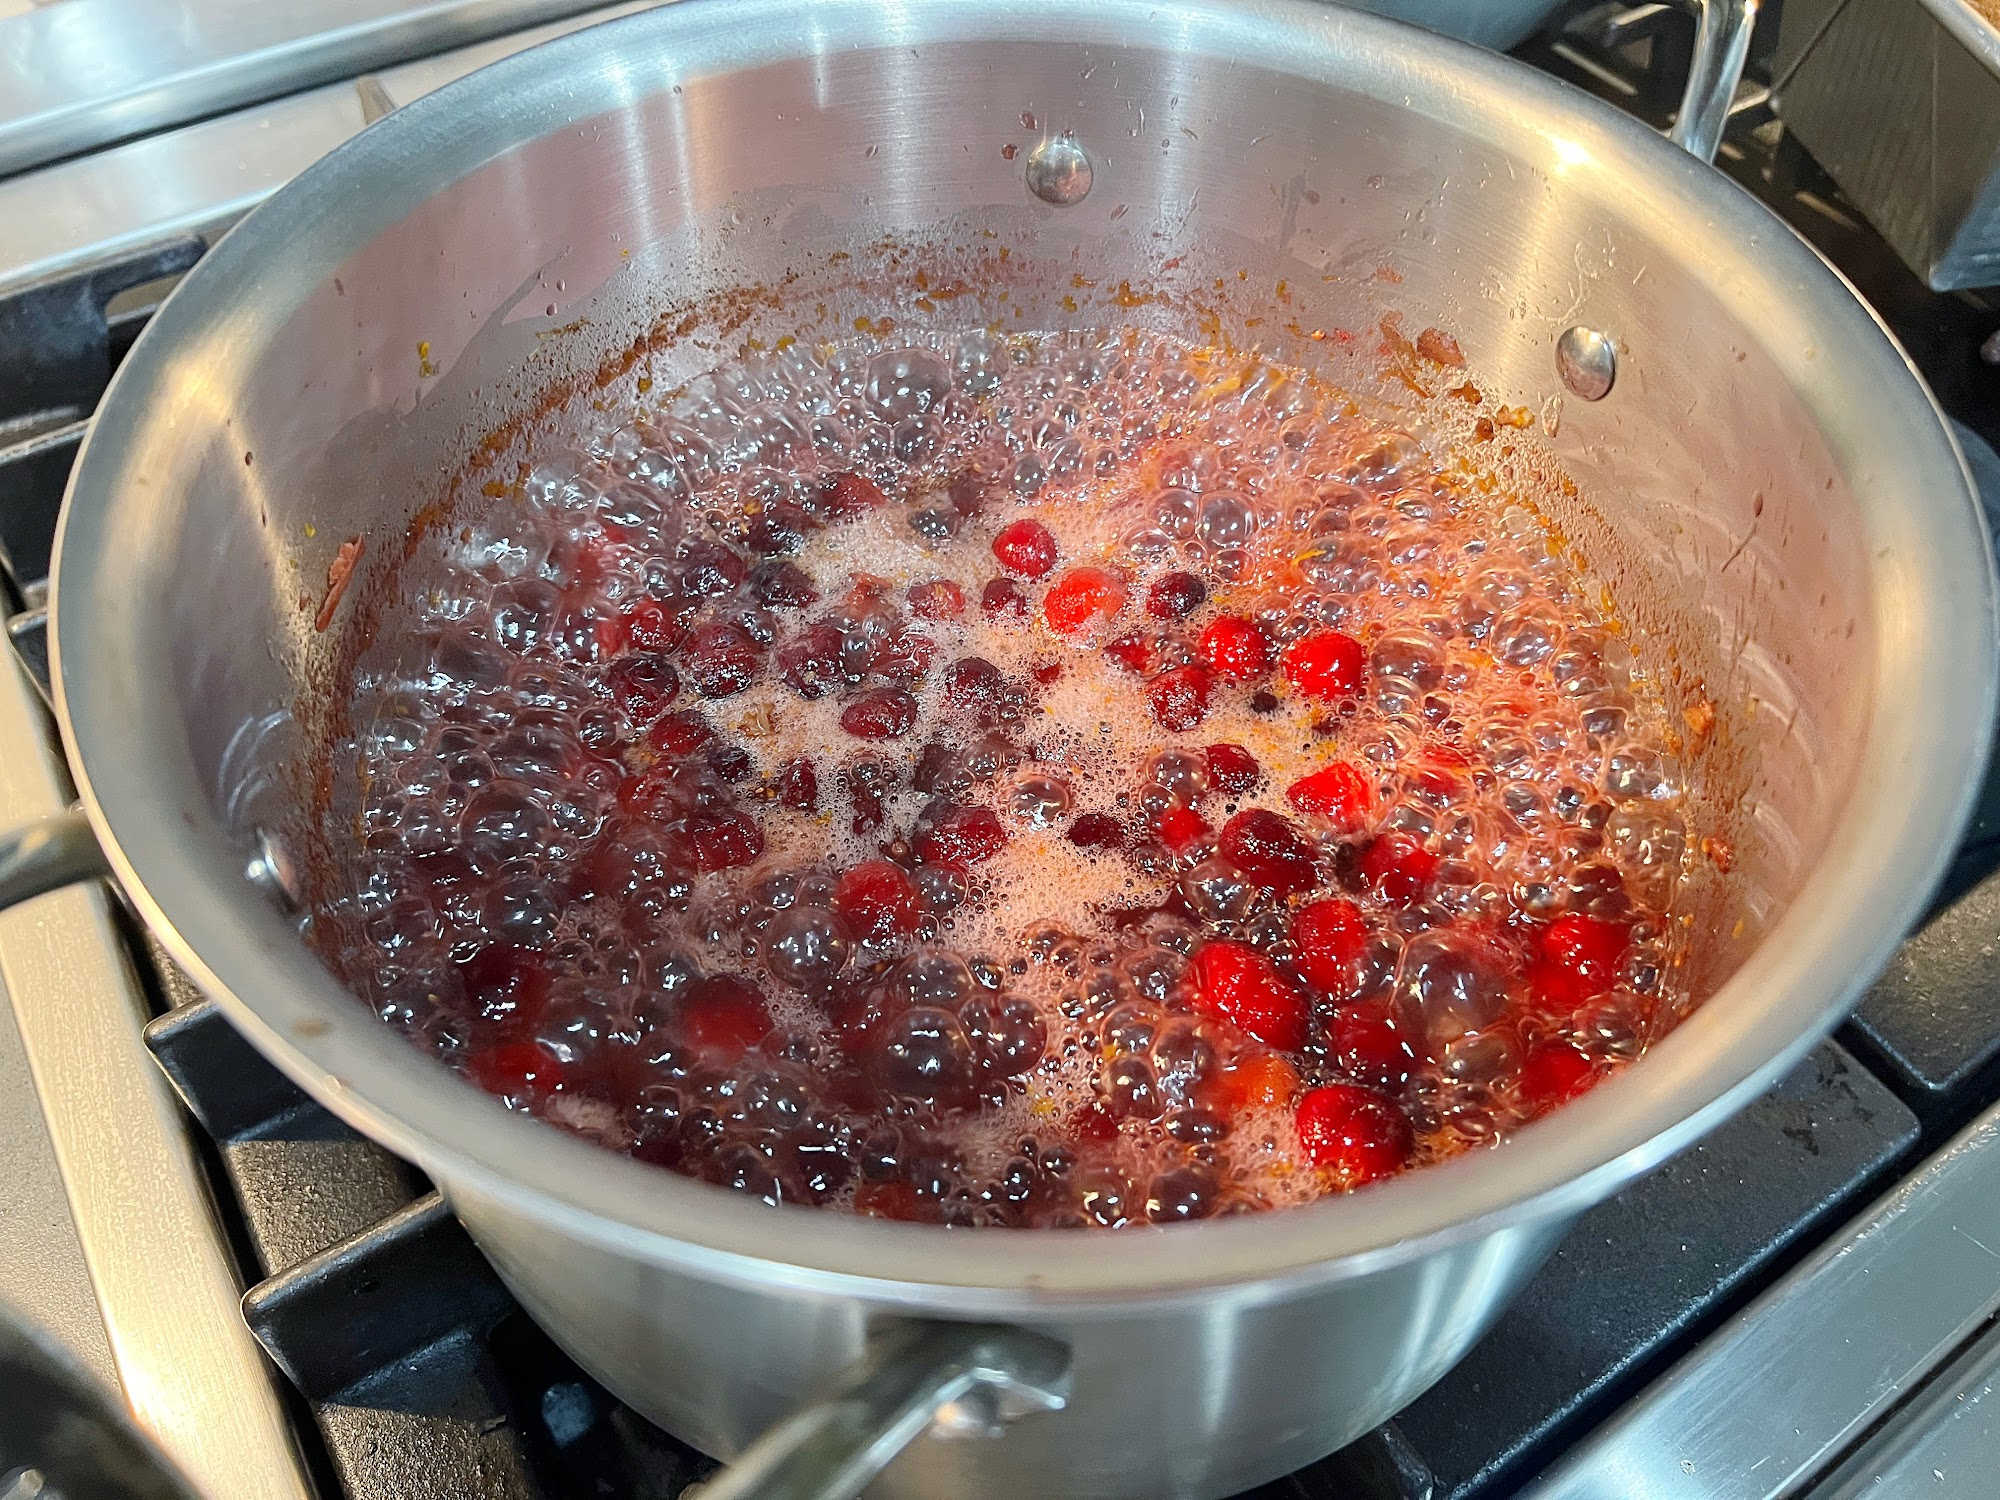
Simply place all the ingredients into a medium pot over medium flame and simmer until the fresh cranberries burst and thicken. Even though grated apple and celery may sound a little unusual, don’t skip on these ingredients – they add a great texture and flavor balance to this otherwise very sweet and tart chutney.

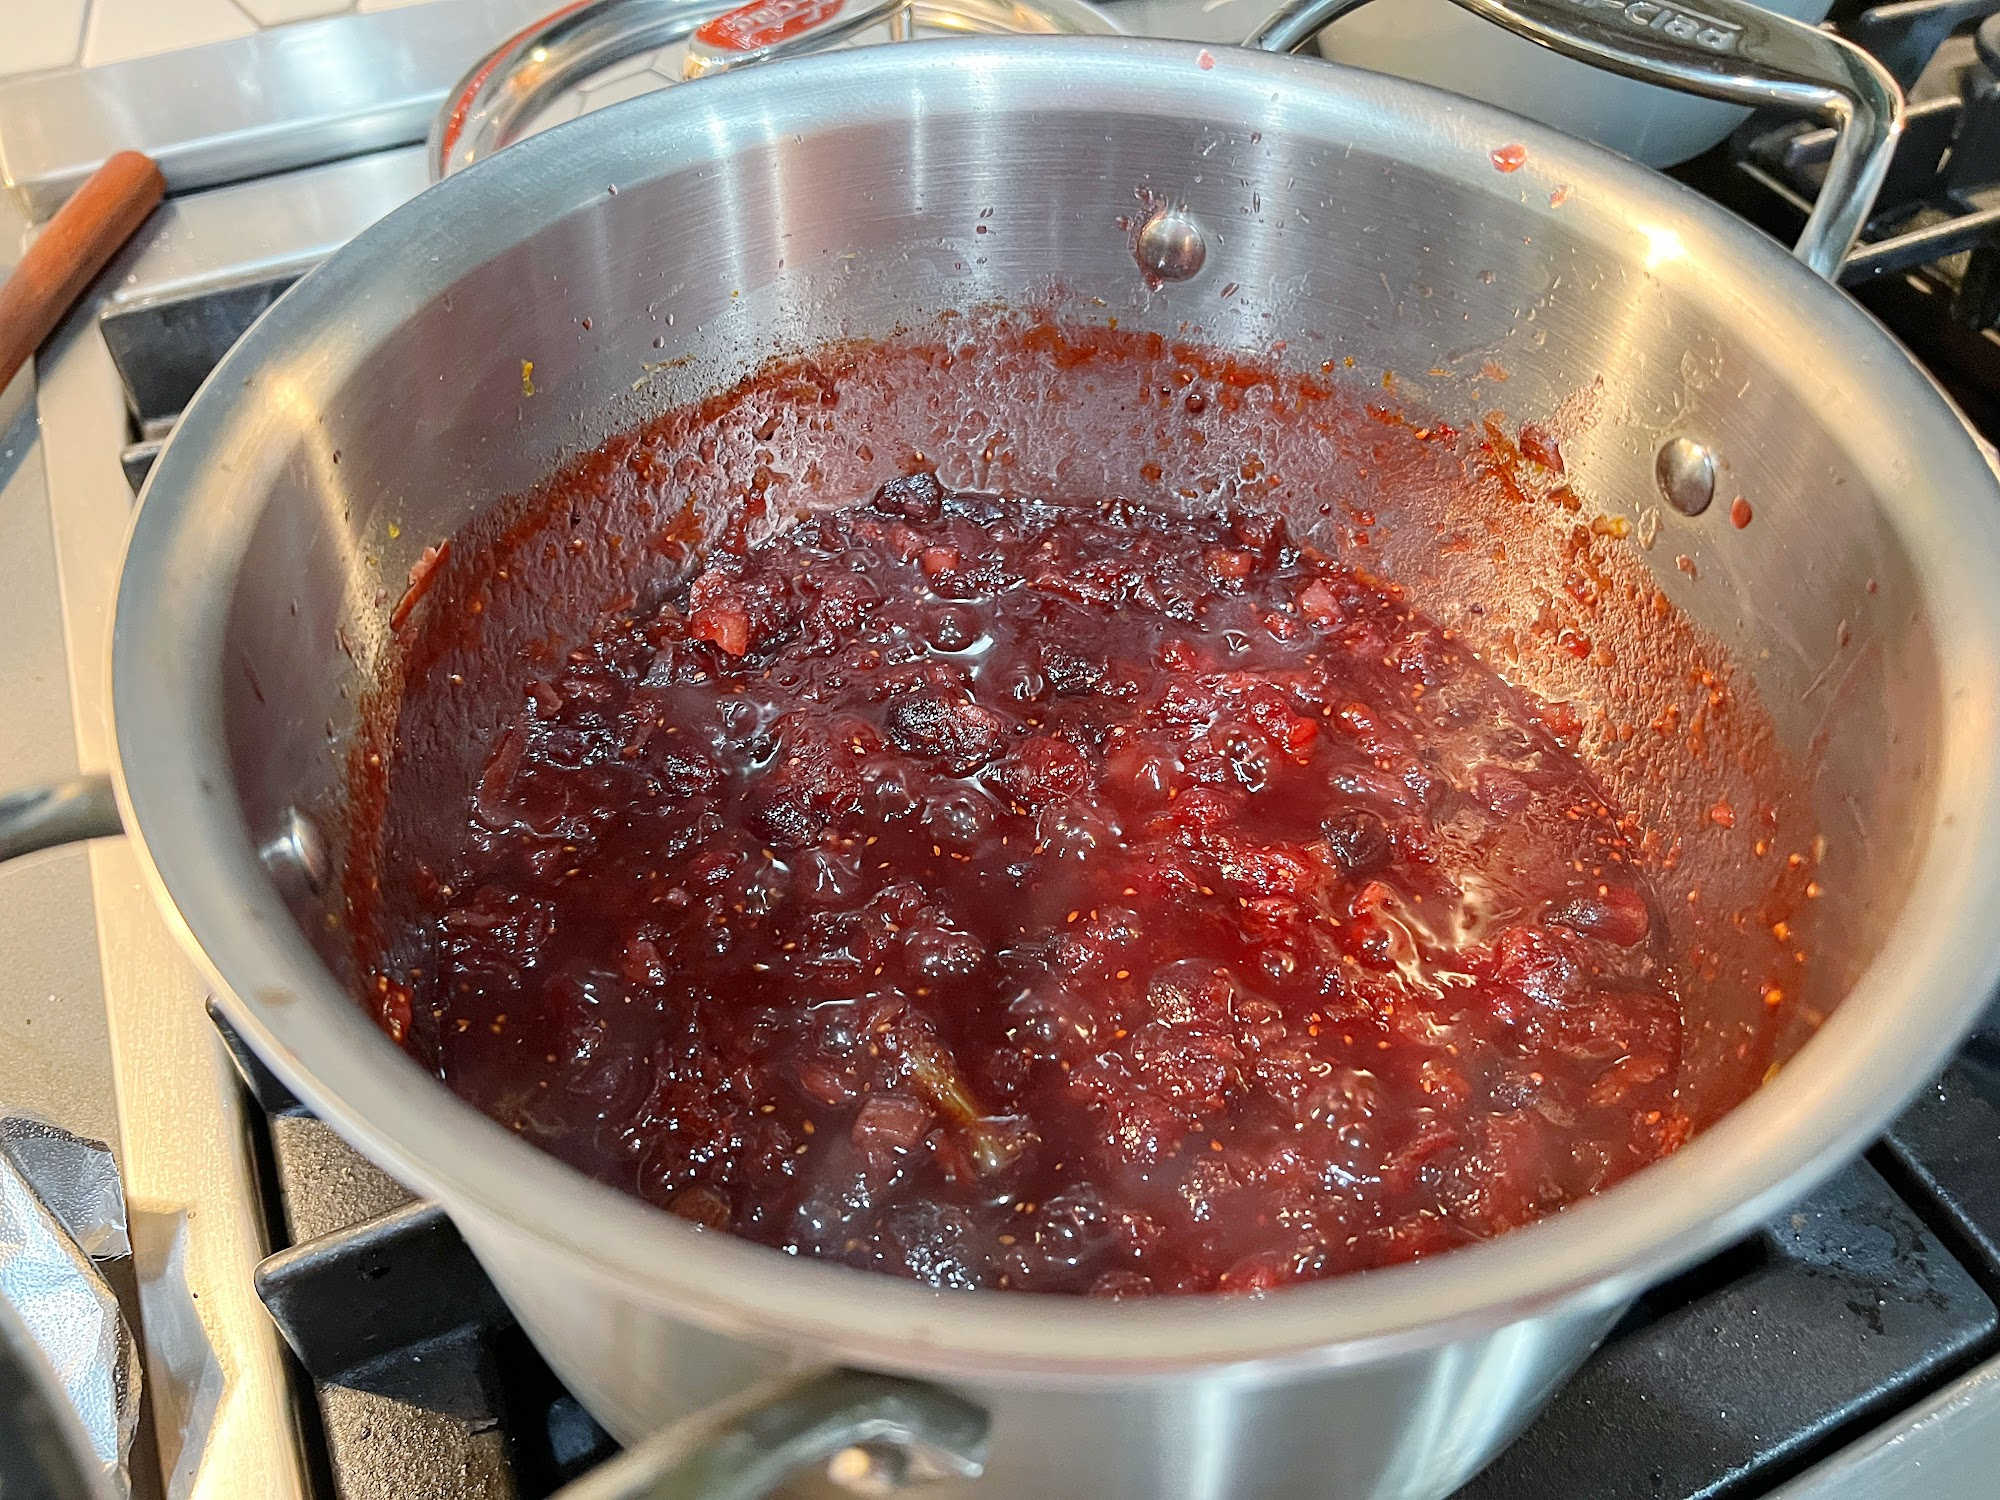
simmering chutney beginning thickened cranberry chutney

After the chutney reduces to your desired thickness (by about 1/3 to 1/2), allow the chutney to cool to room temperature and then store in a lidded jar and refrigerate overnight to set.

served with cream cheese

A Simple Winter Recipe

Whether as an accompaniment to turkey and dressing or brie or a simple block of cream cheese, this recipe is a great one for all occasions. And YES – I definitely love how simple this recipe is but I also love :

  • that it can be made ahead of the hectic holiday gatherings and
  • lasts for weeks refrigerated in a sealed jar.

All of the flavors of winter  in every bite. This will be your go-to recipe for sure!

Cranberry Chutney

  • 2 c fresh cranberries
  • 1 c whole cranberry sauce
  • 1 c crushed pineapple
  • 3/4 c packed brown sugar
  • 2 T granulated sugar
  • 1-2 T orange zest
  • 1/8 t ground cloves
  • 2 t ground cinnamon
  • 2 T candied ginger, finely chopped
  • 1/2 c grated apple
  • 1/4 c grated celery 
  • 1/2 t salt
  • 6 oz apple cider, red wine or orange juice

Combine all ingredients in a medium saucepan over medium flame.

Bring to a simmer for 15 minutes to thicken, stirring regularly.

Once thickened (reduced by 1/3 to 1/2), remove from flame, allow the chutney to cool to room temperature.

Place in a 32 ounce lidded glass jar and refrigerate overnight to set.

Serve with cream cheese and crackers or as an accompaniment to holiday meals.

Makes approximately 32 ounces.

_____________________________________________________________________

If you have any additional questions during your search for the perfect copper, fireclay farmhouse sink or stainless steel sink, our Sinkologists are here to help. Contact us or follow us on FacebookPinterest, or Instagram for more helpful tips and design ideas.

The post Cranberry Chutney appeared first on Sinkology.


source https://www.sinkology.com/blog/cranberry-chutney/

Wednesday, December 22, 2021

The Sinkology Everyday Promise

Austen Snow Day Fireclay Farmhouse Sink in Matte White

We all have those types of friends who we can count on to be there for us through thick and thin. They’re the type of people who will support us when we want to try something new, who stand by our sides and put up with the trials of everyday life, and whose loyalty withstands the test of time.

We believe you deserve that same level of care when you purchase any product from Sinkology. That’s why we created our Sinkology Everyday Promise. With this lifetime product guarantee, we hope you see us as your most trusted friend in your kitchen and bathroom. You can count on us and our products, no matter what happens today, tomorrow, and for the rest of your life.


Josephine quick-fit, drop-in fireclay farmhouse kitchen sink front environmental image

When you purchase a sink, bathtub, or accessory from Sinkology, you will receive more than just short-lived peace of mind. You’re getting a lifetime of comfortable, functional, and beautiful use. We are so proud of our products, which is why we can confidently stand behind their quality. We carefully handcraft our products to weather everyday wear and tear, so that no matter what your family throws at it, it will stay looking beautiful and working well. We take the extra time to create products that can handle all the bumps, drops, and messes that come with daily life in the kitchen and bathroom, so you can get back to enjoying your daily life.

Not only do we believe in the products our artisans’ handcraft, we want nothing more than to make our customers happy. There’s nothing quite like the satisfaction of knowing you’re making an impact people’s lives, especially in their homes. We promise we have your back every day, every year, for life.

pink flowers in a stainless steel sink

But what exactly does the Sinkology Everyday Promise guarantee? In short, if you are not fully satisfied with your Sinkology product, you don’t have to put up with it. It’s unlikely that you’ll ever need this product insurance, but if you do ever find yourself in one of the following situations, you can trust that we will take care of you:

  • Maybe the product you purchased doesn’t look quite right in your home once you take it out of its box. Simply return it directly to the store you purchased it from.
  • You might like the product you received, but it was damaged during the shipping process. If so, you can contact us directly for a perfect replacement.
  • Or, you may have completely changed your mind, which is fine, too. All you need to do is reach out to us to get a full refund.

But here’s the thing, this guarantee isn’t just for when you first receive your Sinkology product. We back all of our products with the Sinkology Everyday Promise, every single day. If your item has abnormal wear and tear, we’ll look into it and make sure you’re happy. We promise to review any and all requests on a claim-by-claim basis, so don’t hesitate to contact us if you aren’t satisfied in any way.

In essence, we at Sinkology promise you’ll be happy with your purchase every day. So, the next time you’re tackling a pile of pots and pans in your kitchen sink or are saying your morning mantra in front of your bathroom sink, remember that we’re there for you, every day.

 _____________________________________________________________________

If you have any additional questions during your search for the perfect copper, fireclay farmhouse sink or crafted stainless steel sink, our Sinkologists are here to help. Contact us or follow us on FacebookHouzzPinterest, or Instagram for more helpful tips and design ideas.


The post The Sinkology Everyday Promise appeared first on Sinkology.


source https://www.sinkology.com/blog/the-sinkology-everyday-promise/

Wednesday, December 15, 2021

Taco Salad Bake

Sinkology is proud to present Emily Schuermann, our food-loving guest blogger who runs Food for a Year. Emily is here to share some recipes she has created exclusively for the Sinkology blog that reflect her view of a copper sink: simple, timeless, affordable, and beautifully rustic. 


As a kid, Taco Salad was my very favorite meal! Maybe because it was almost like having nachos for dinner by the time I finished assembling my salad. No, but really – I think some of the best dinnertime solutions are those that involve a ‘build your own’ component. It makes for an easy meal solution and leaves room for even the pickiest eater to find satisfaction at the table.

I’m excited to share a simple twist on my flashback favorite 1980’s meal by adding many of the classic taco salad ingredients into the taco meat then topping it with shredded cheese before baking it in a casserole pan until gooey and bubbling. 

One of the best parts of this Taco Salad Bake is the flexibility to add-in and subtract any ingredients as you please. Depending on the season or refrigerator, each time you make this it may look a little different.

3 Quick Steps

There are 3 steps to this recipe:

  • making the taco meat
  • baking the meat + cheese until bubbly
  • serving with all the “salad extras”

Taco Salad Bake – the taco meat part

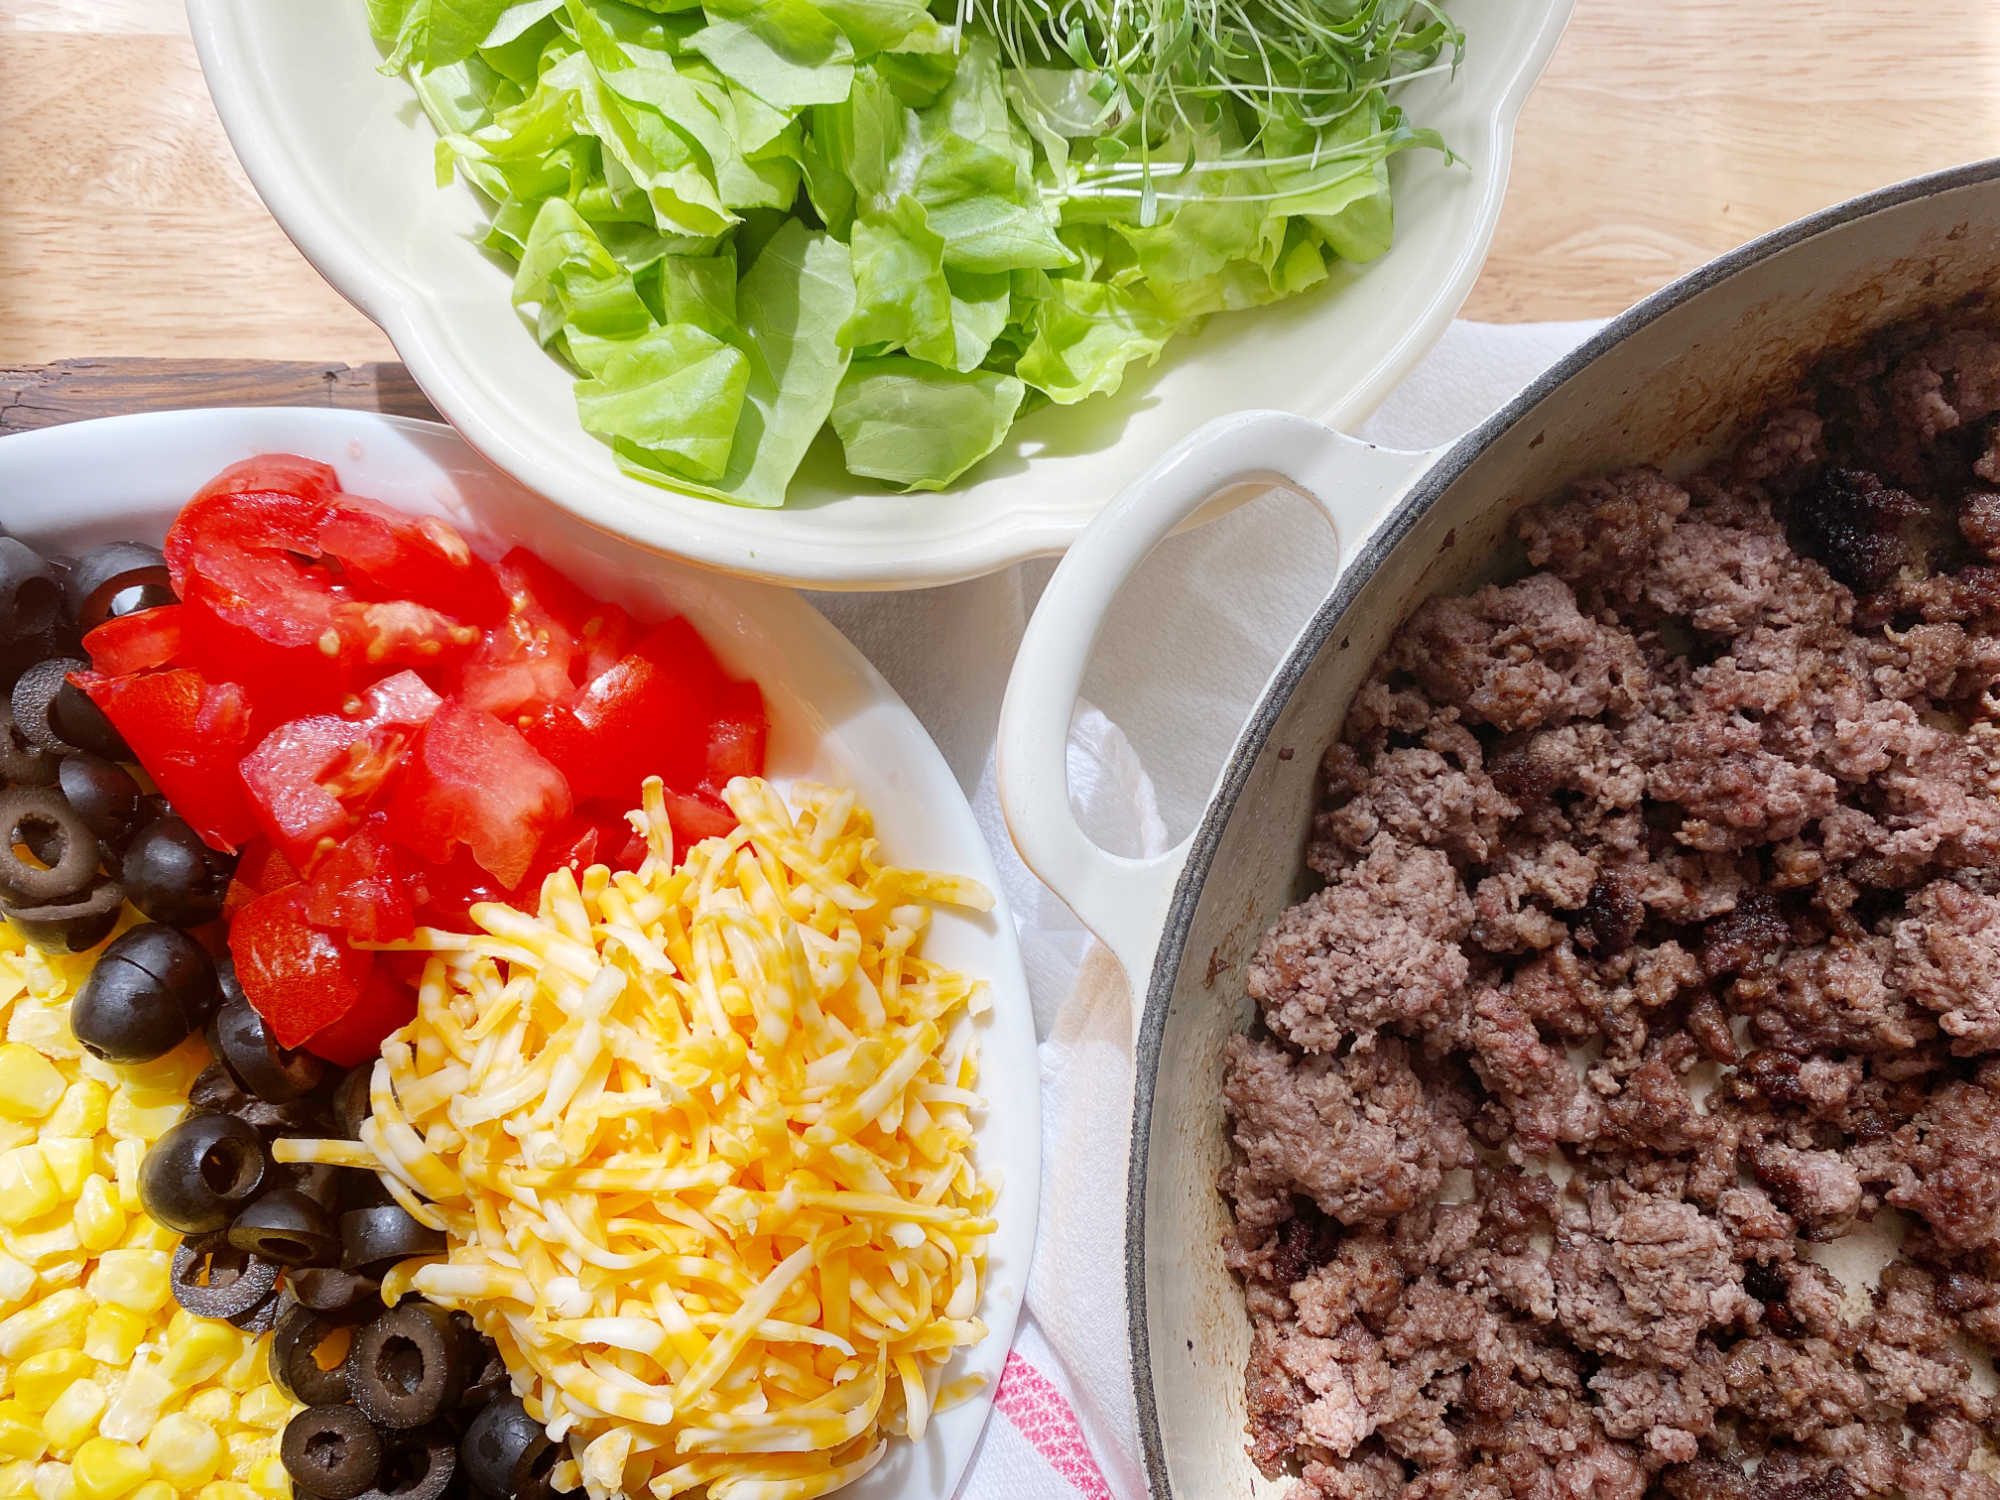
  • ground beef, browned
  • green salsa
  • red salsa
  • crushed tomatoes
  • sliced onion
  • taco seasoning 
  • s + p if needed

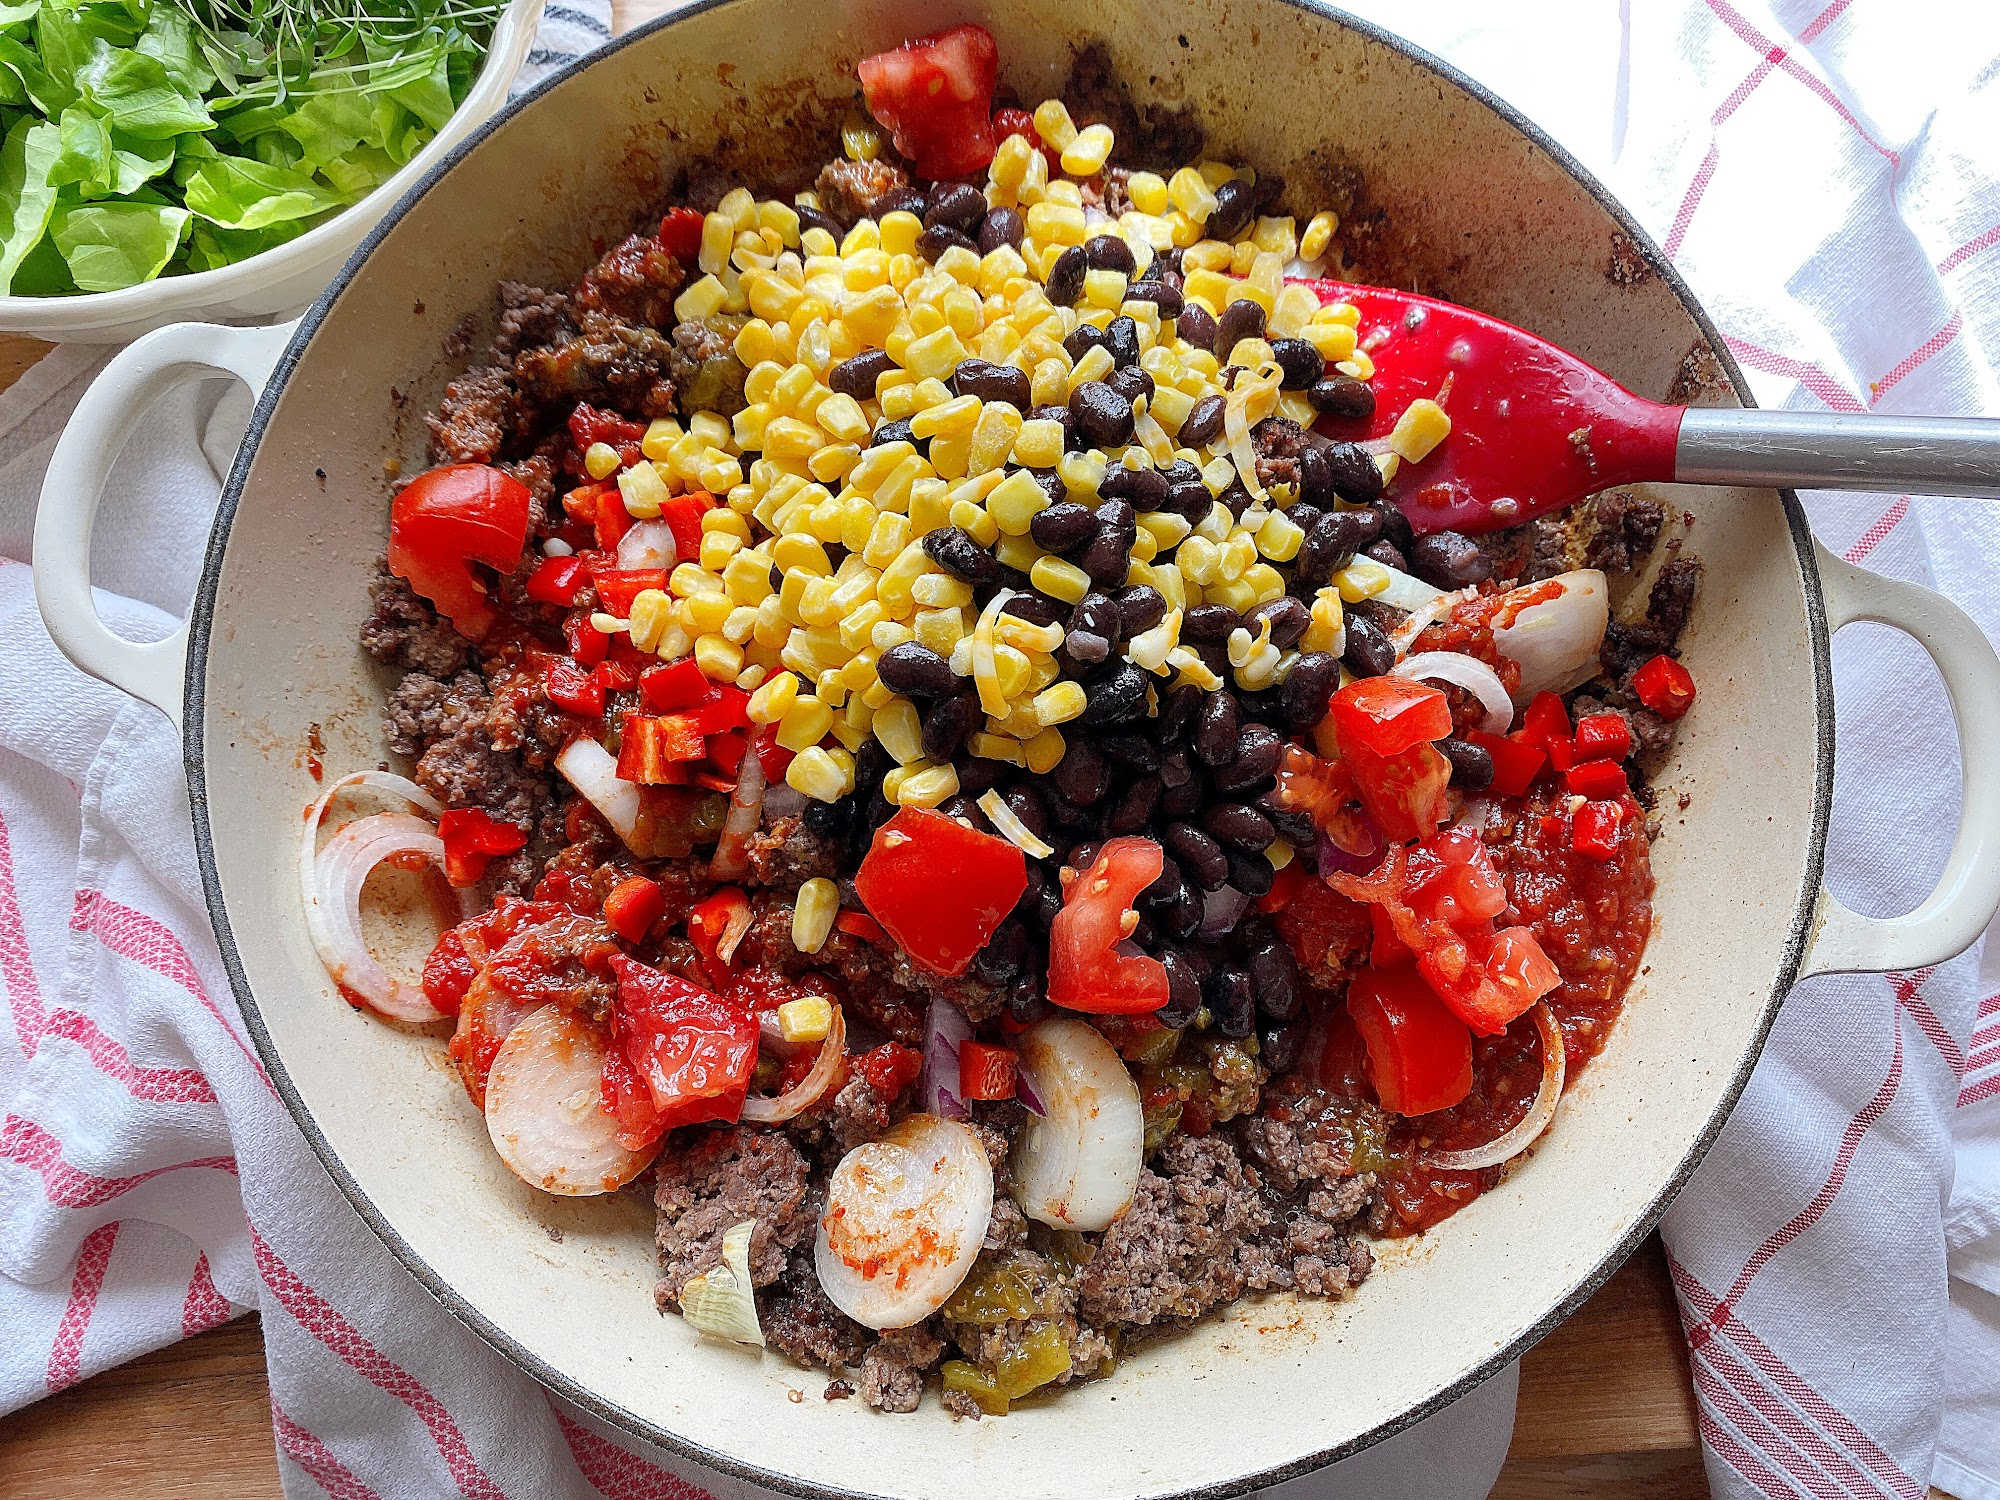
Combine the taco meat ingredients and seasonings, bringing the ingredients to a simmer.

mixed taco ingredients horz

Taco Salad Bake – the ‘baked’ part

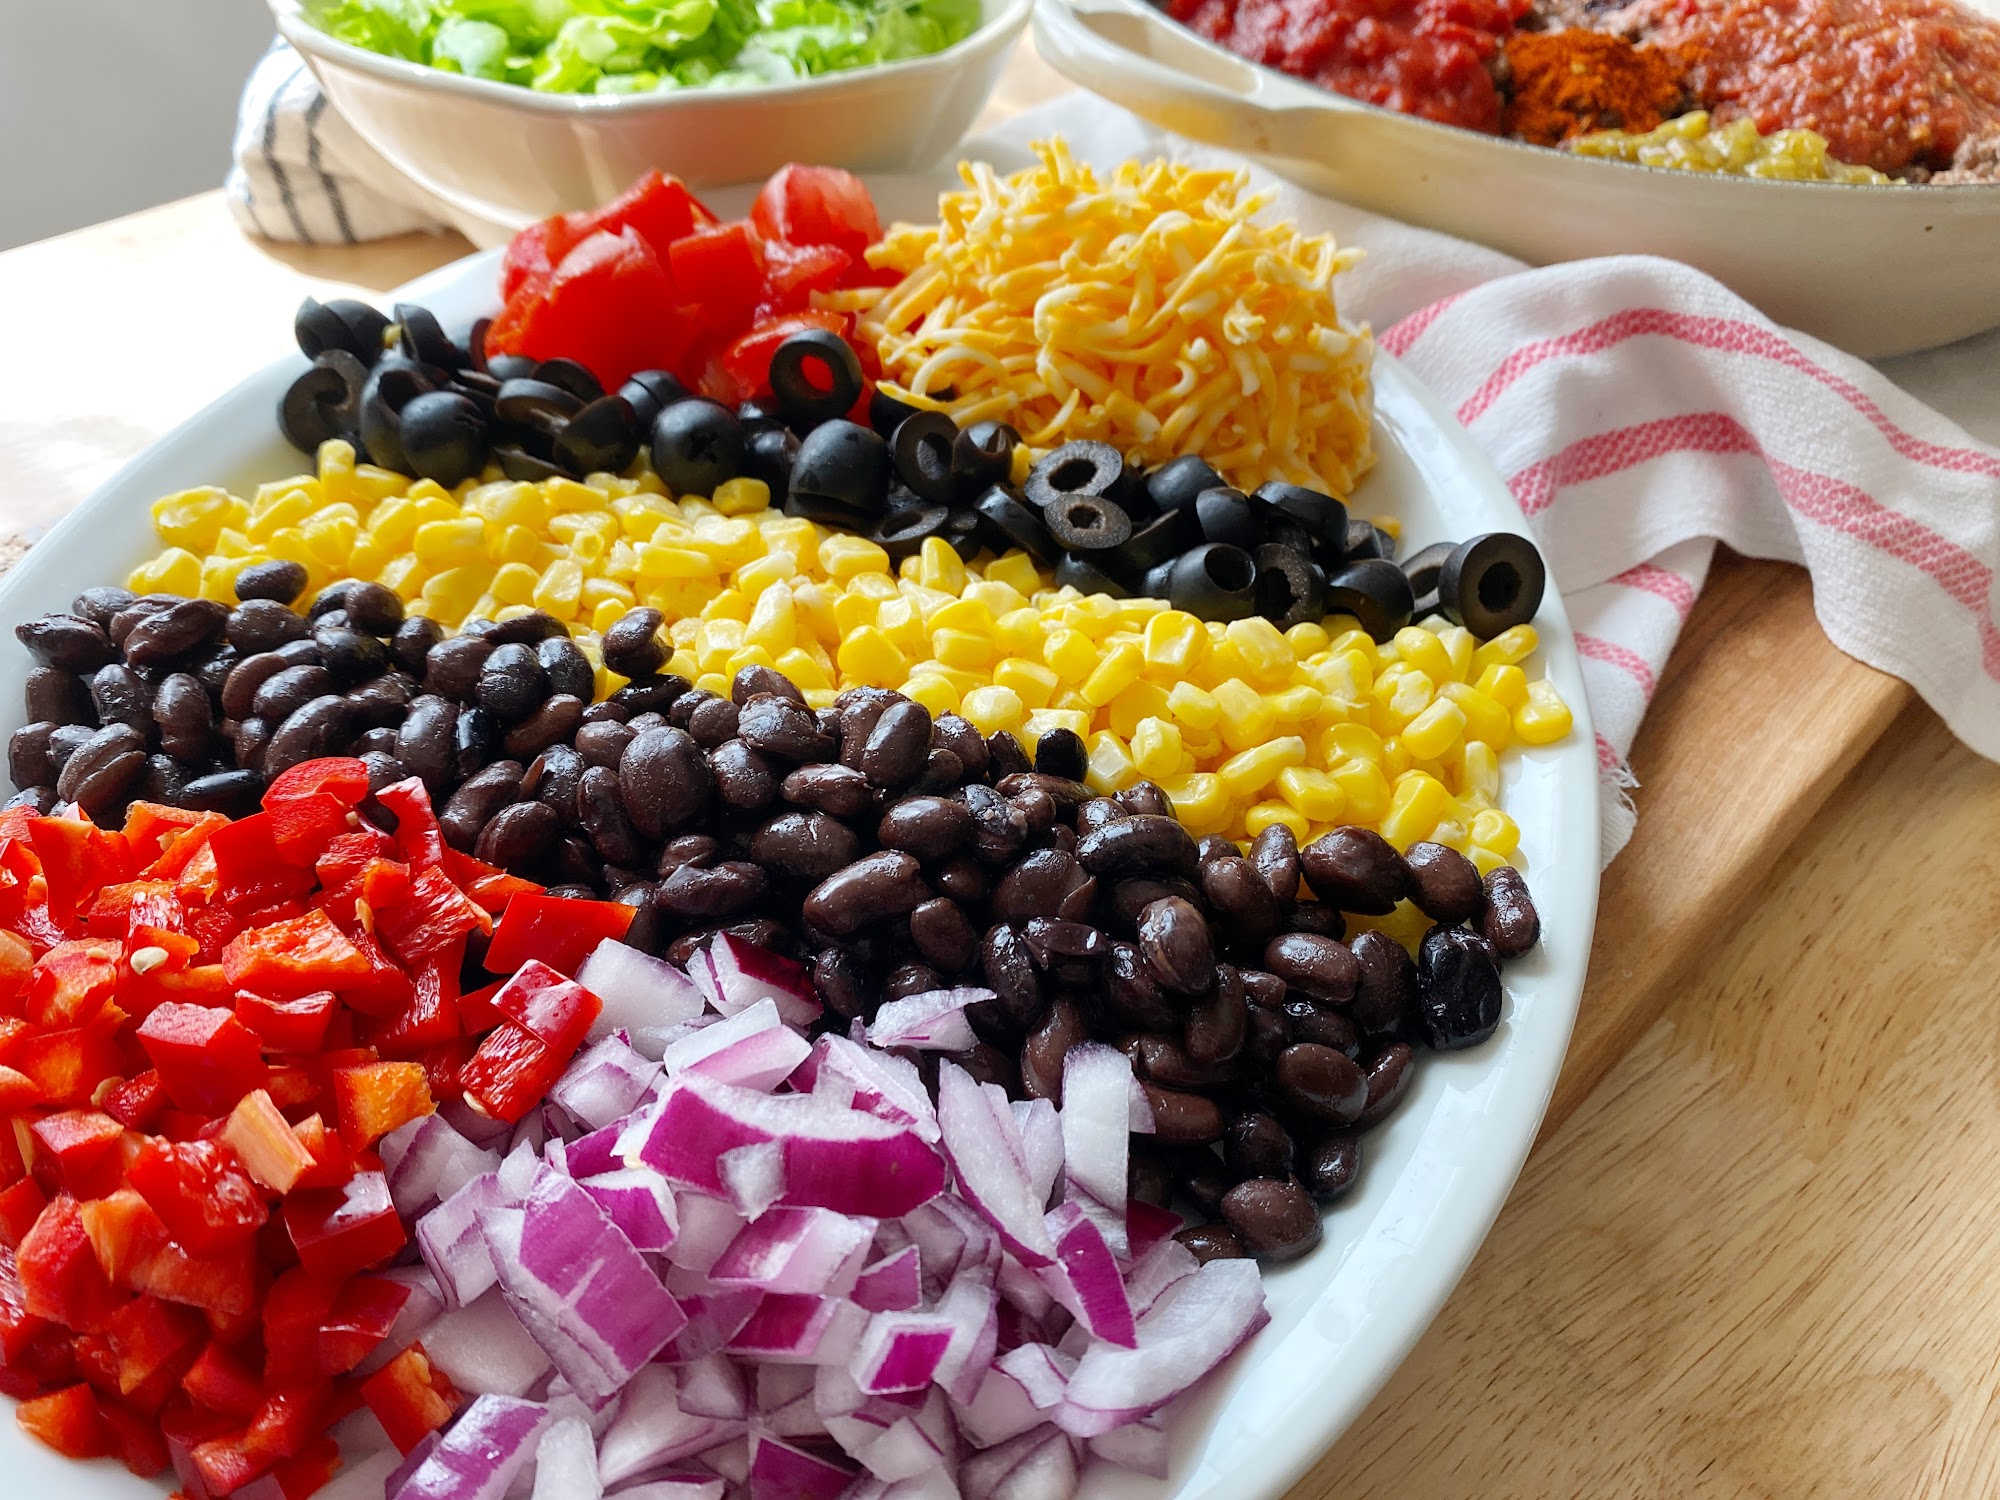
  • diced tomato
  • frozen corn
  • black beans
  • sliced black olives
  • diced red + white onion
  • shredded Colby Jack cheese

Once these ingredients are combined with the Taco Meat, place in a preheated oven and bake for 30-35 minutes or until the cheese is melted and the ‘bake’ is bubbly.

mixed taco bake topped with cheese and garnish horz
taco bake horz

Taco Salad Bake – the salad part

  • Doritos, nacho cheese flavor (that’s mom’s way!)
  • lettuce
  • additional diced tomatoes, onions, olives and cheese
  • toasted shredded coconut flakes
  • sour cream 
  • Catalina salad dressing

After the Taco Bake has finished cooking in the oven, it’s time to layer the salad toppings and serve. Of course – there are no rules here so feel free to add and omit according to your preferences — you’re the BOSS!

After this Taco Bake Salad was served, I practically kicked myself with a combination of excitement and frustration — Why don’t I make this more often?! It is SO EASY and SO GOOD and SO PRETTY!! And no kidding – that first bite {with the spicy taco meat and layers of cheese and toppings and the crunch of the nacho cheese Doritos and the all important drizzle of Catalina salad dressing – oh what a glorious and GIANT bite it was} – flashed me right back to the ‘hopper seat’ in the dining room of my childhood home in 1982.

You don’t know about a hopper seat? Well – I’ll save that for a post another time, but trust me, the hopper seat is a good thing (at least for everyone not in the hopper seat).

Taco Salad Bake, I love everything about you.

taco bake salad is served 

Taco Salad Bake
  • Taco Meat Ingredients

    • 1.5 lbs ground beef, browned
    • 1 c ea ::
      • green salsa
      • red salsa
      • crushed tomatoes
    • 1/2-1 small sliced onion
    • 1 T taco seasoning, your favorite
    • s + p if needed
  • Taco Bake Ingredients*

    • 2 medium diced tomatoes
    • 1.5 c frozen corn
    • 15 oz can black beans, drained and rinsed
    • 1/2 c sliced black olives
    • 1/2 medium diced of each
      • red onion
      • white onion
    • 8 oz shredded Colby Jack cheese
  • Salad Ingredients

    • 1 medium bag of Doritos, nacho cheese flavor
    • 2-3 c chopped green lettuce
    • 1/2 c sour cream
    • Catalina salad dressing
    • shredded coconut flakes, toasted (optional)
    • sprouts for garnish (optional)

Preheat oven to 350°. In a medium, 10″ skillet, brown ground beef and add “taco meat” ingredients. Stir to combine and bring to a simmer over medium flame for 5 minutes.

Add “taco bake” ingredients (reserving the cheese for the top) and stir to incorporate. Top with cheese and bake for 30-35 minutes until the top is golden and the cheese is melted and bubbly.

Remove the taco bake from the oven and top with “taco salad bake” ingredients as desired. Serve immediately.

Serves 6


*more for garnish

_____________________________________________________________________

If you have any additional questions during your search for the perfect copper, fireclay farmhouse sink or stainless steel sink, our Sinkologists are here to help. Contact us or follow us on FacebookHouzzPinterest, or Instagram for more helpful tips and design ideas.

The post Taco Salad Bake appeared first on Sinkology.


source https://www.sinkology.com/blog/taco-salad-bake/

Wednesday, December 1, 2021

Triple Cheese Mushroom Fundido

Sinkology is proud to present Emily Schuermann, our food-loving guest blogger who runs Food for a Year. Emily is here to share some recipes she has created exclusively for the Sinkology blog that reflect her view of a copper sink: simple, timeless, affordable, and beautifully rustic. 

_____________________________________________________________________________________________________________________

Fundido — it’s the first thing I look for on any appetizer menu and it’s the first thing that disappears from the table. Ever heard of fundido? It’s a baked cheesy, queso-type dip with a blend of cheeses and some meats or veggies. It’s delicious and crave-able and surprisingly easy to recreate in your own kitchen and because of that, a Fundido is the perfect food for GAME DAY!

Football season is in full swing and that means it’s time to gather up some easy and delicious Fall Game Day recipes!

horz fundido

Fundido Cheese Trio

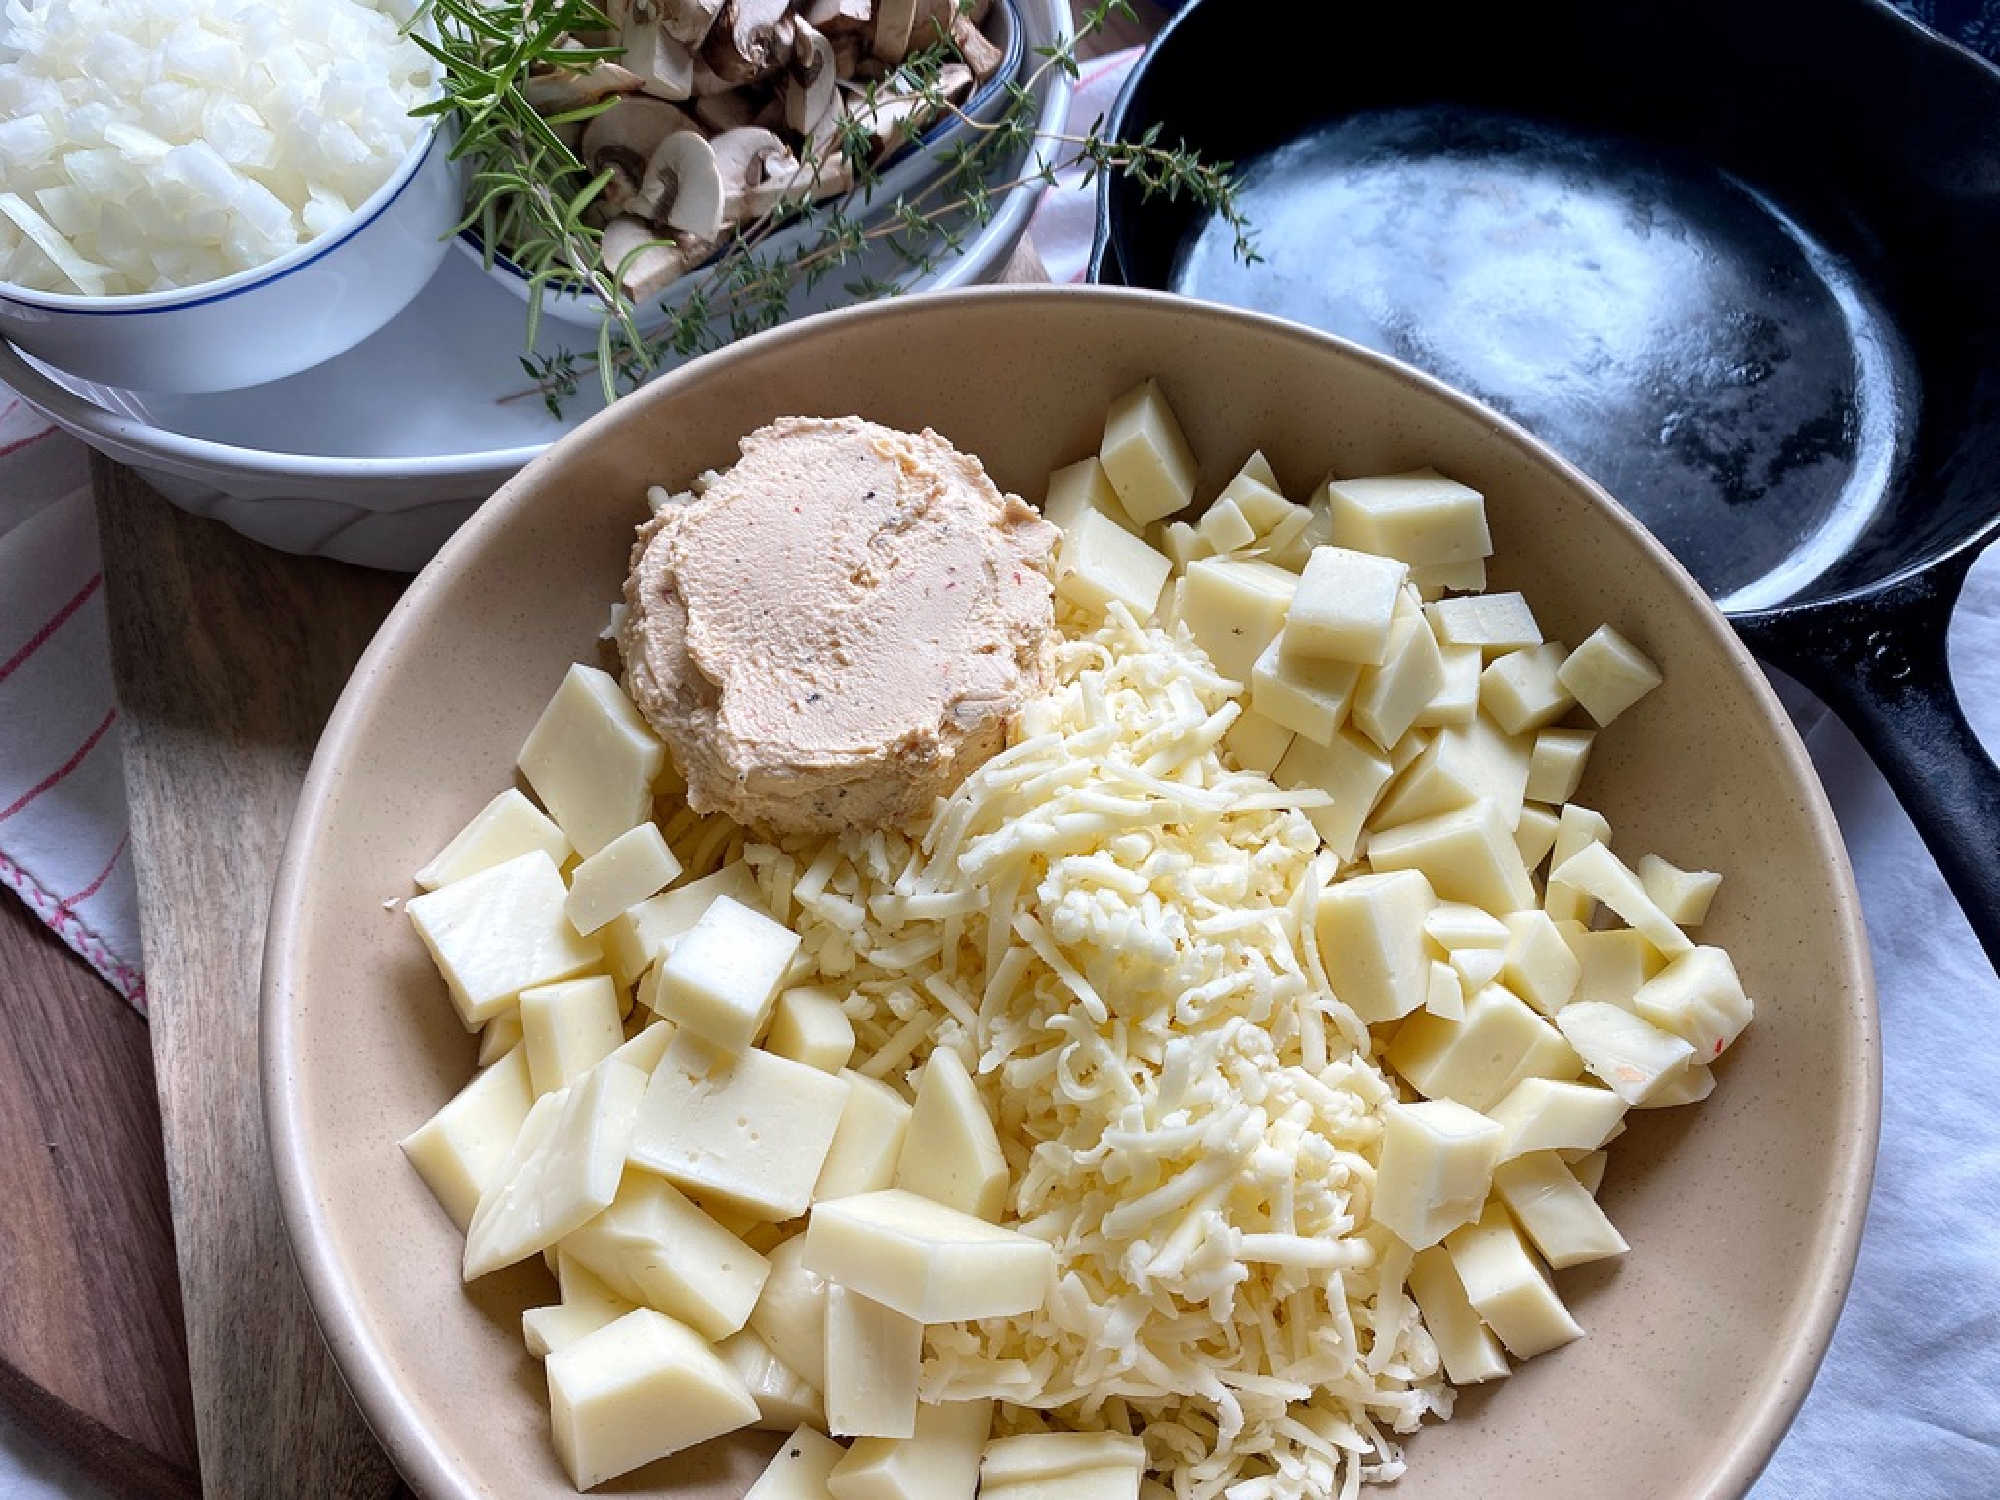
For this Fundido recipe, I chose a blend of my favorite cheeses ::

triple cheese fundido

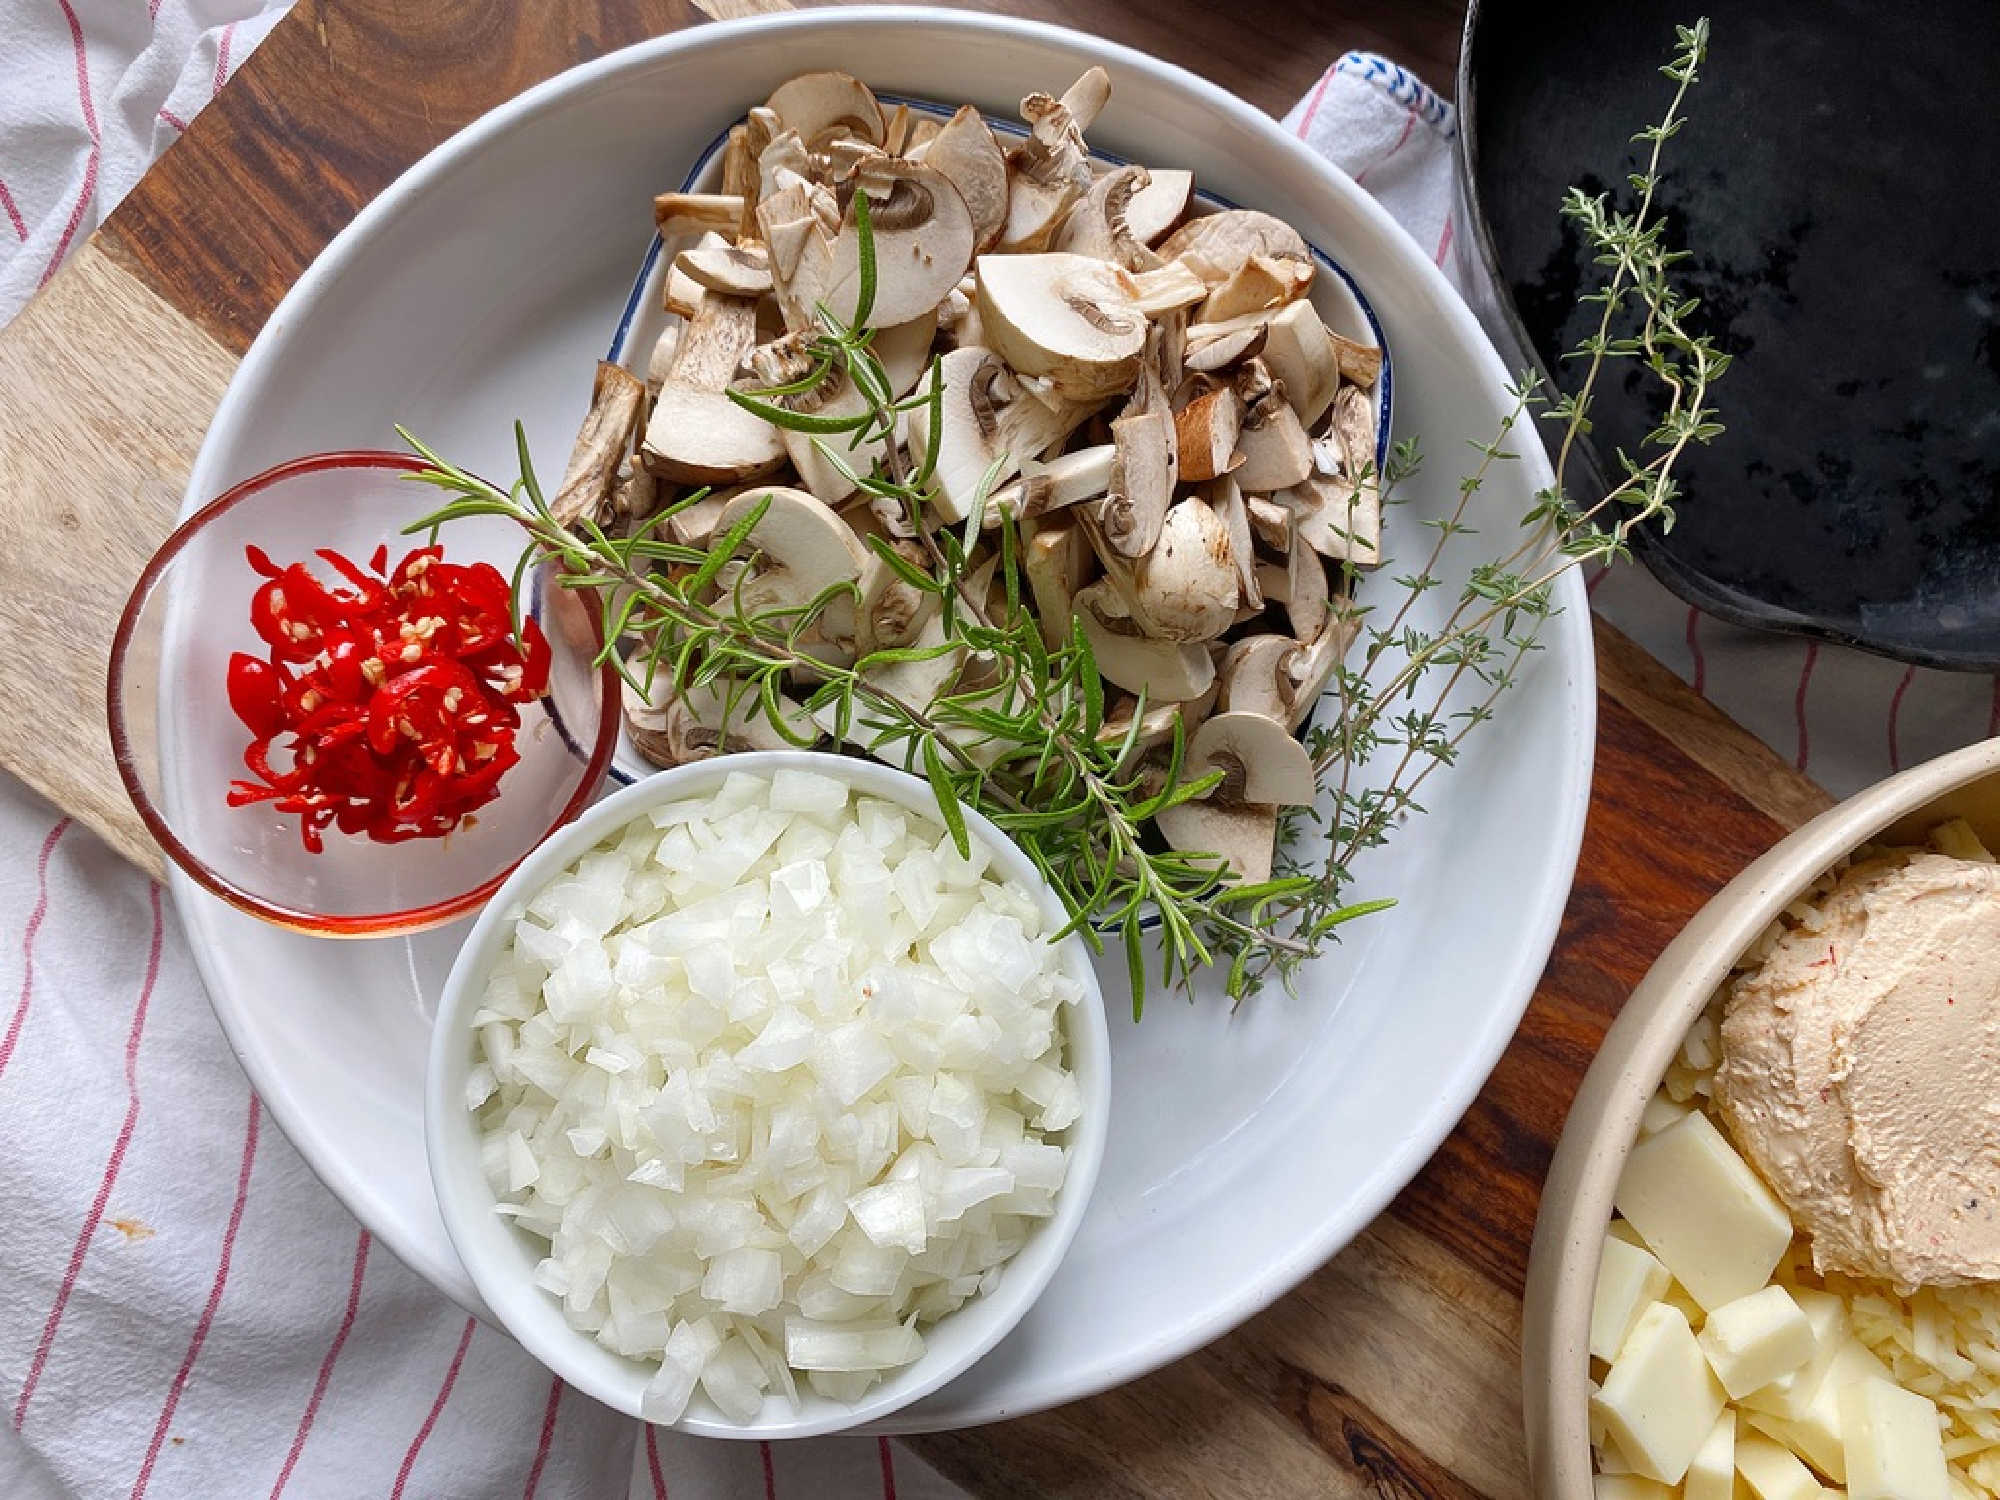
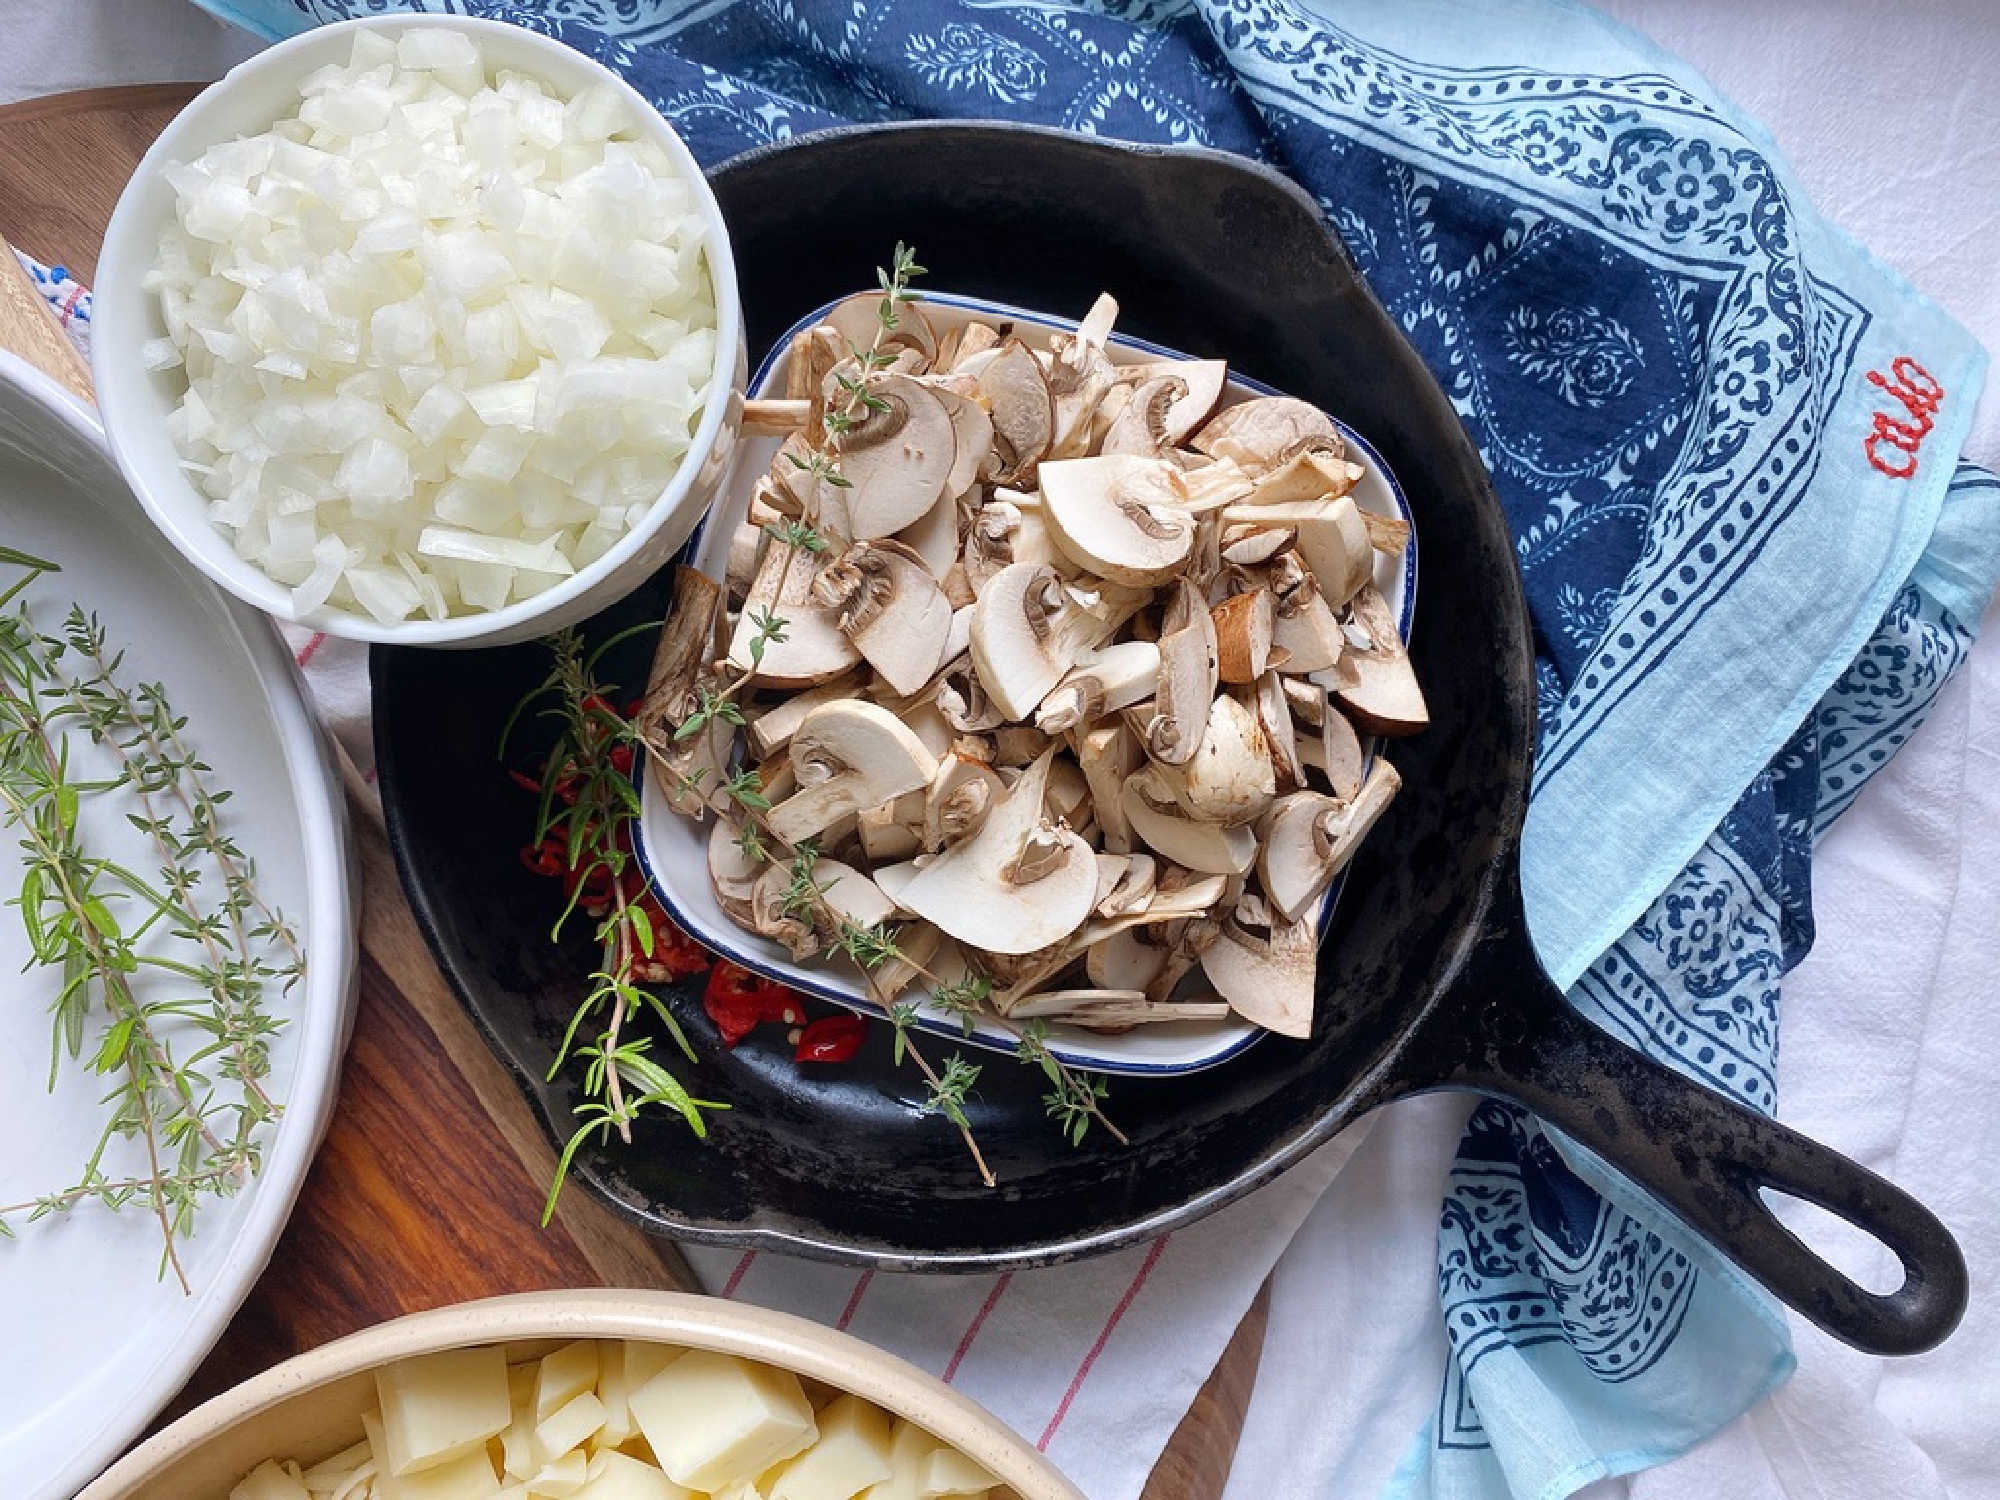
Fundido Veggie + Herbs

And a classic combination of herbs and veggies ::

  • mushrooms
  • onions
  • sweet red peppers
  • rosemary
  • thyme

fundido veg ingredients

Simple Assembly

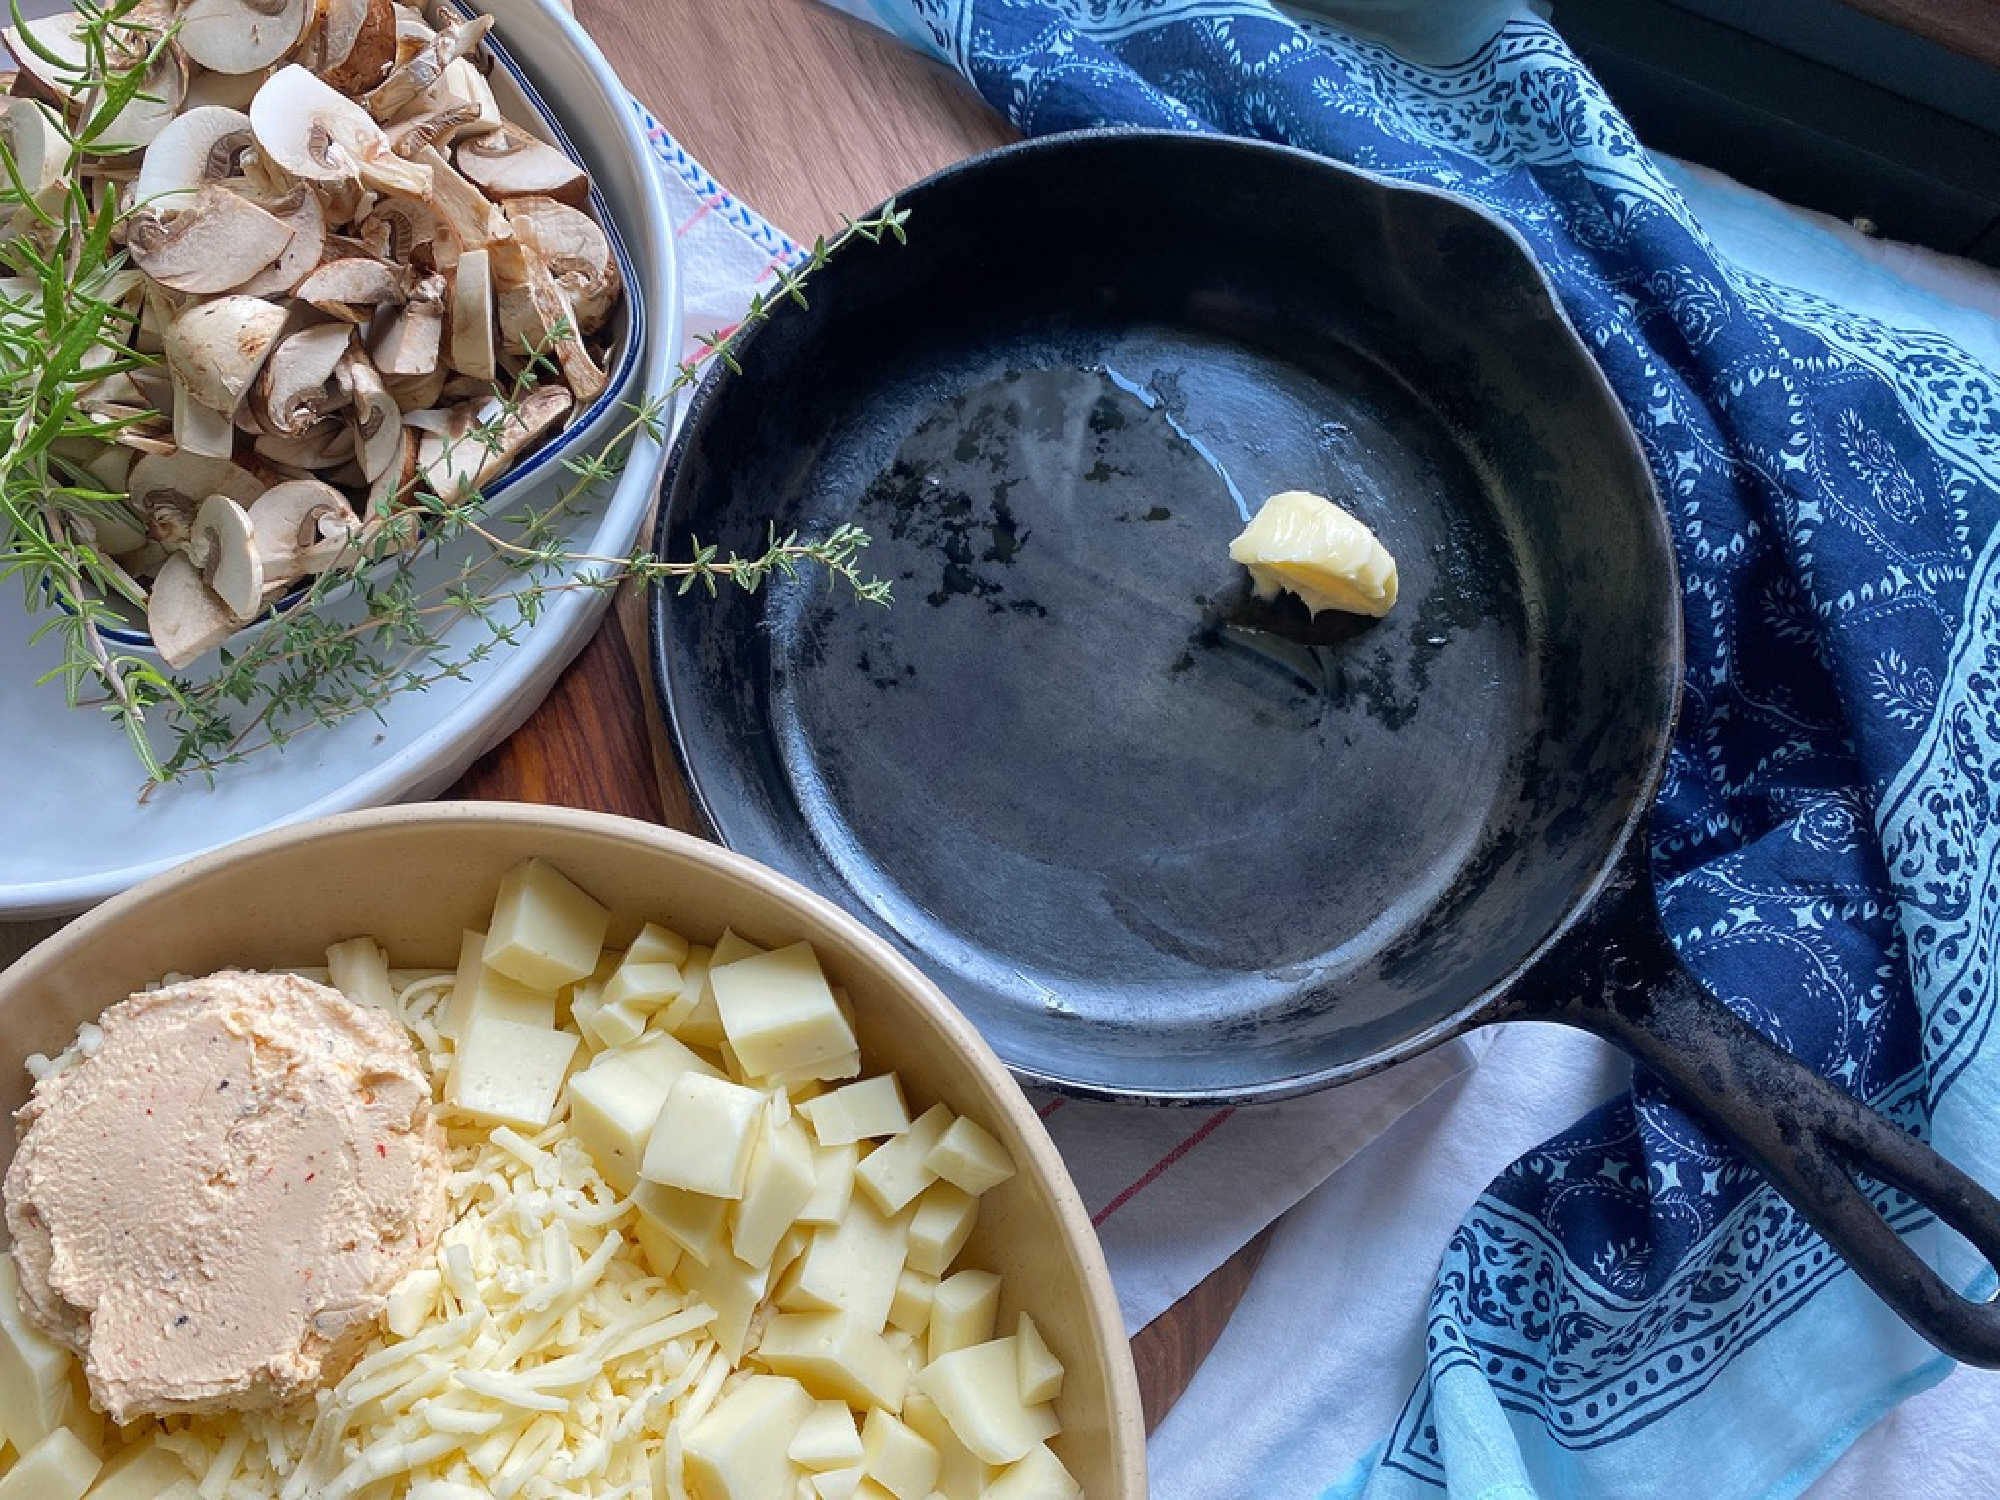
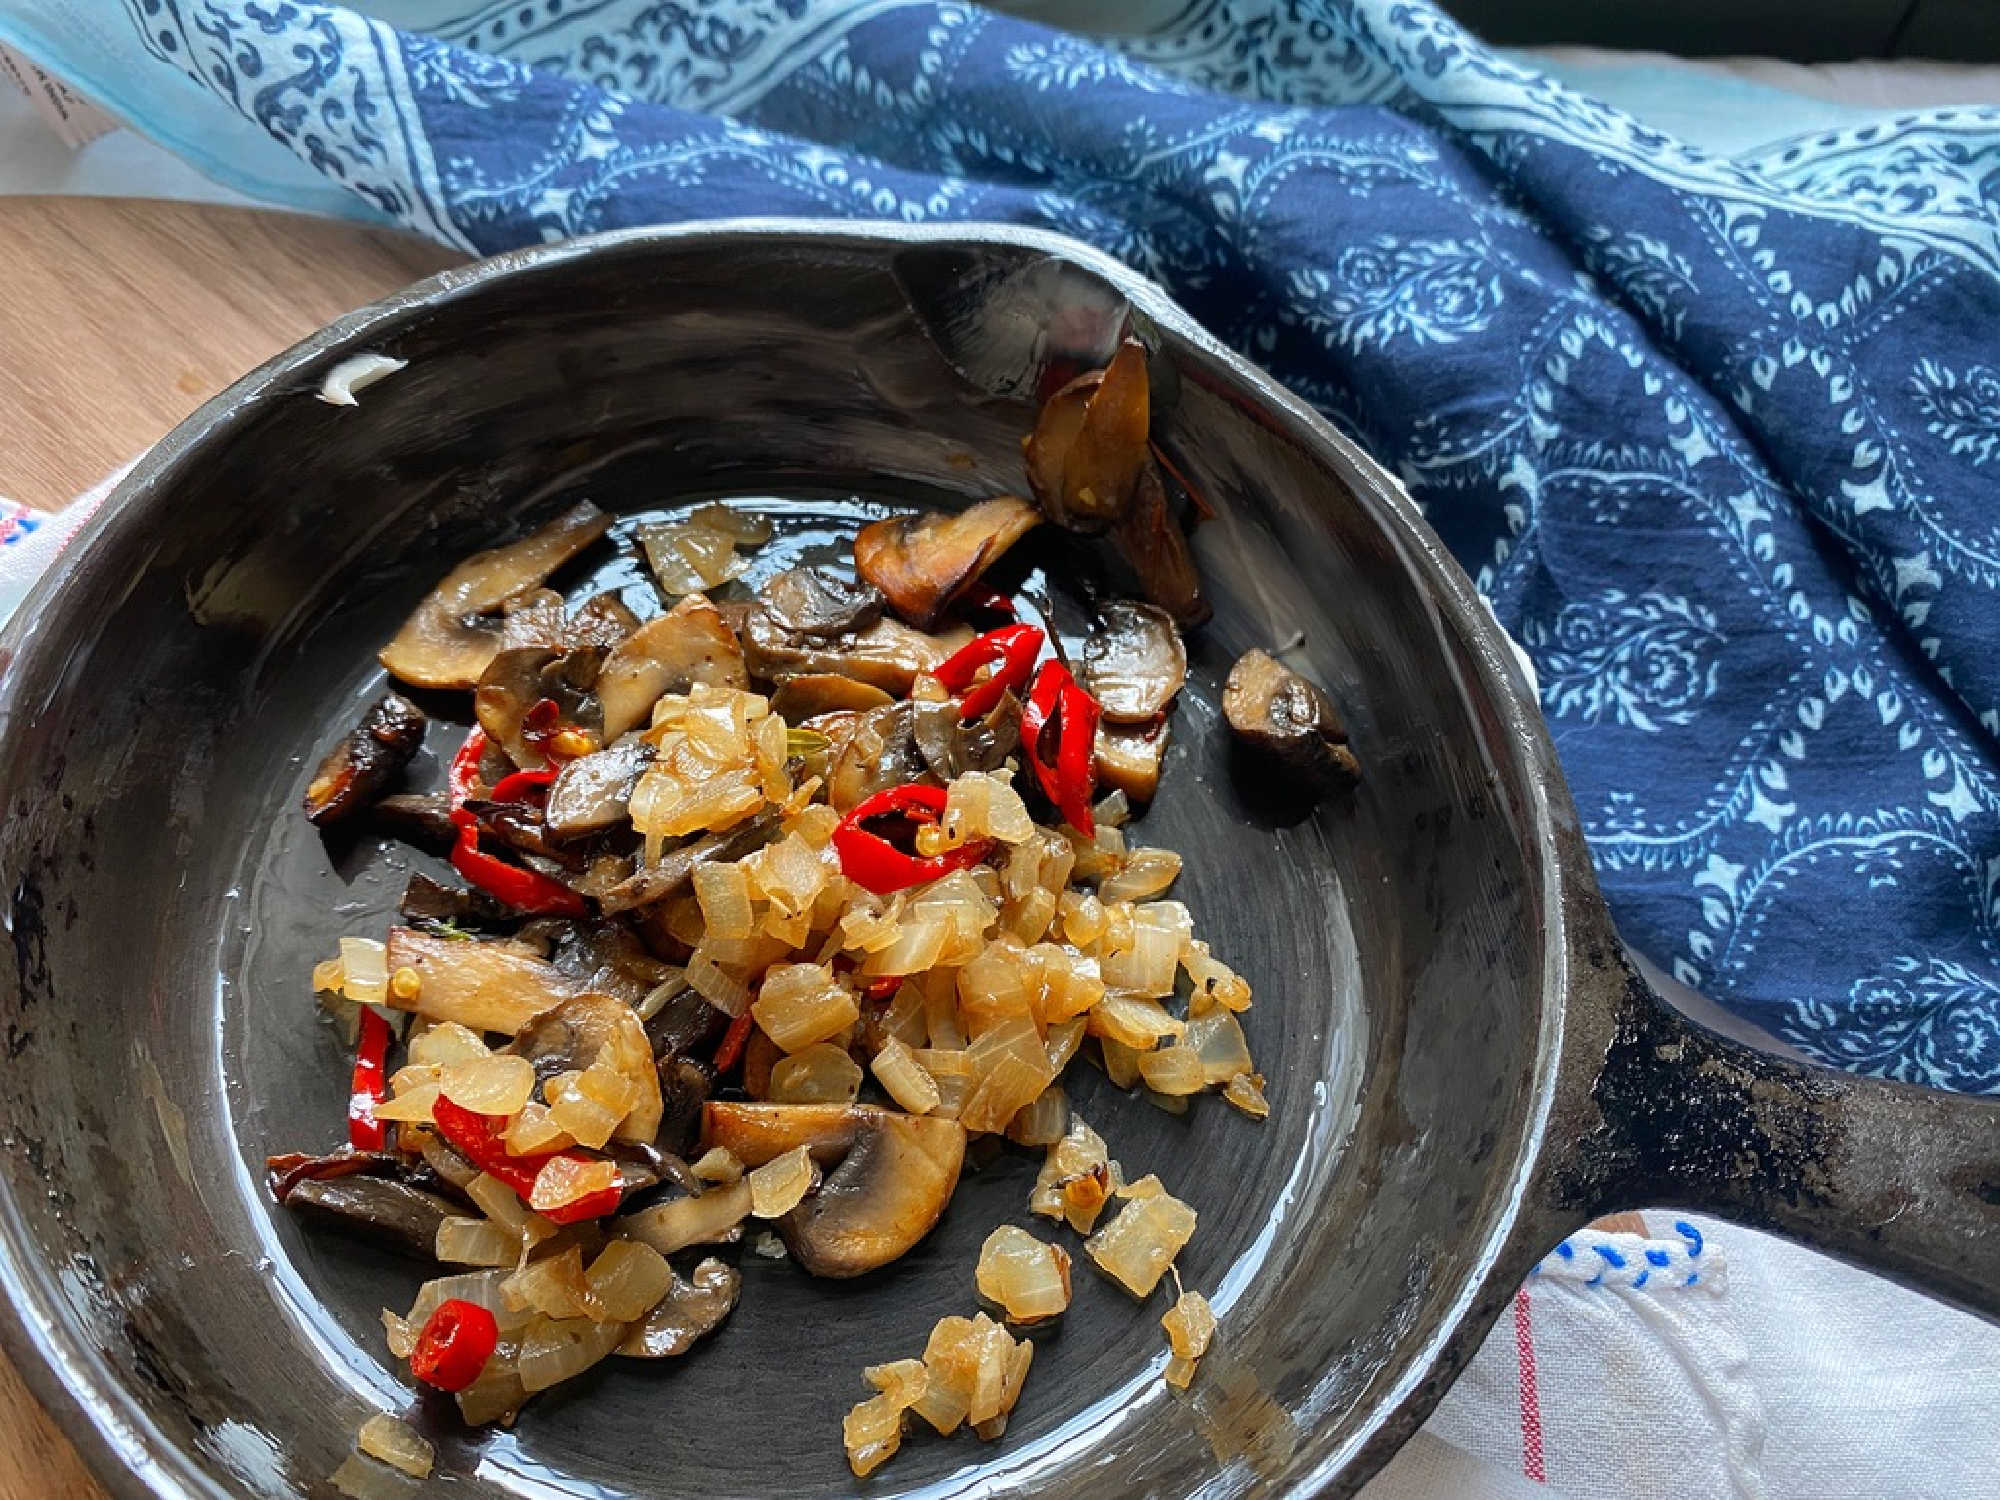
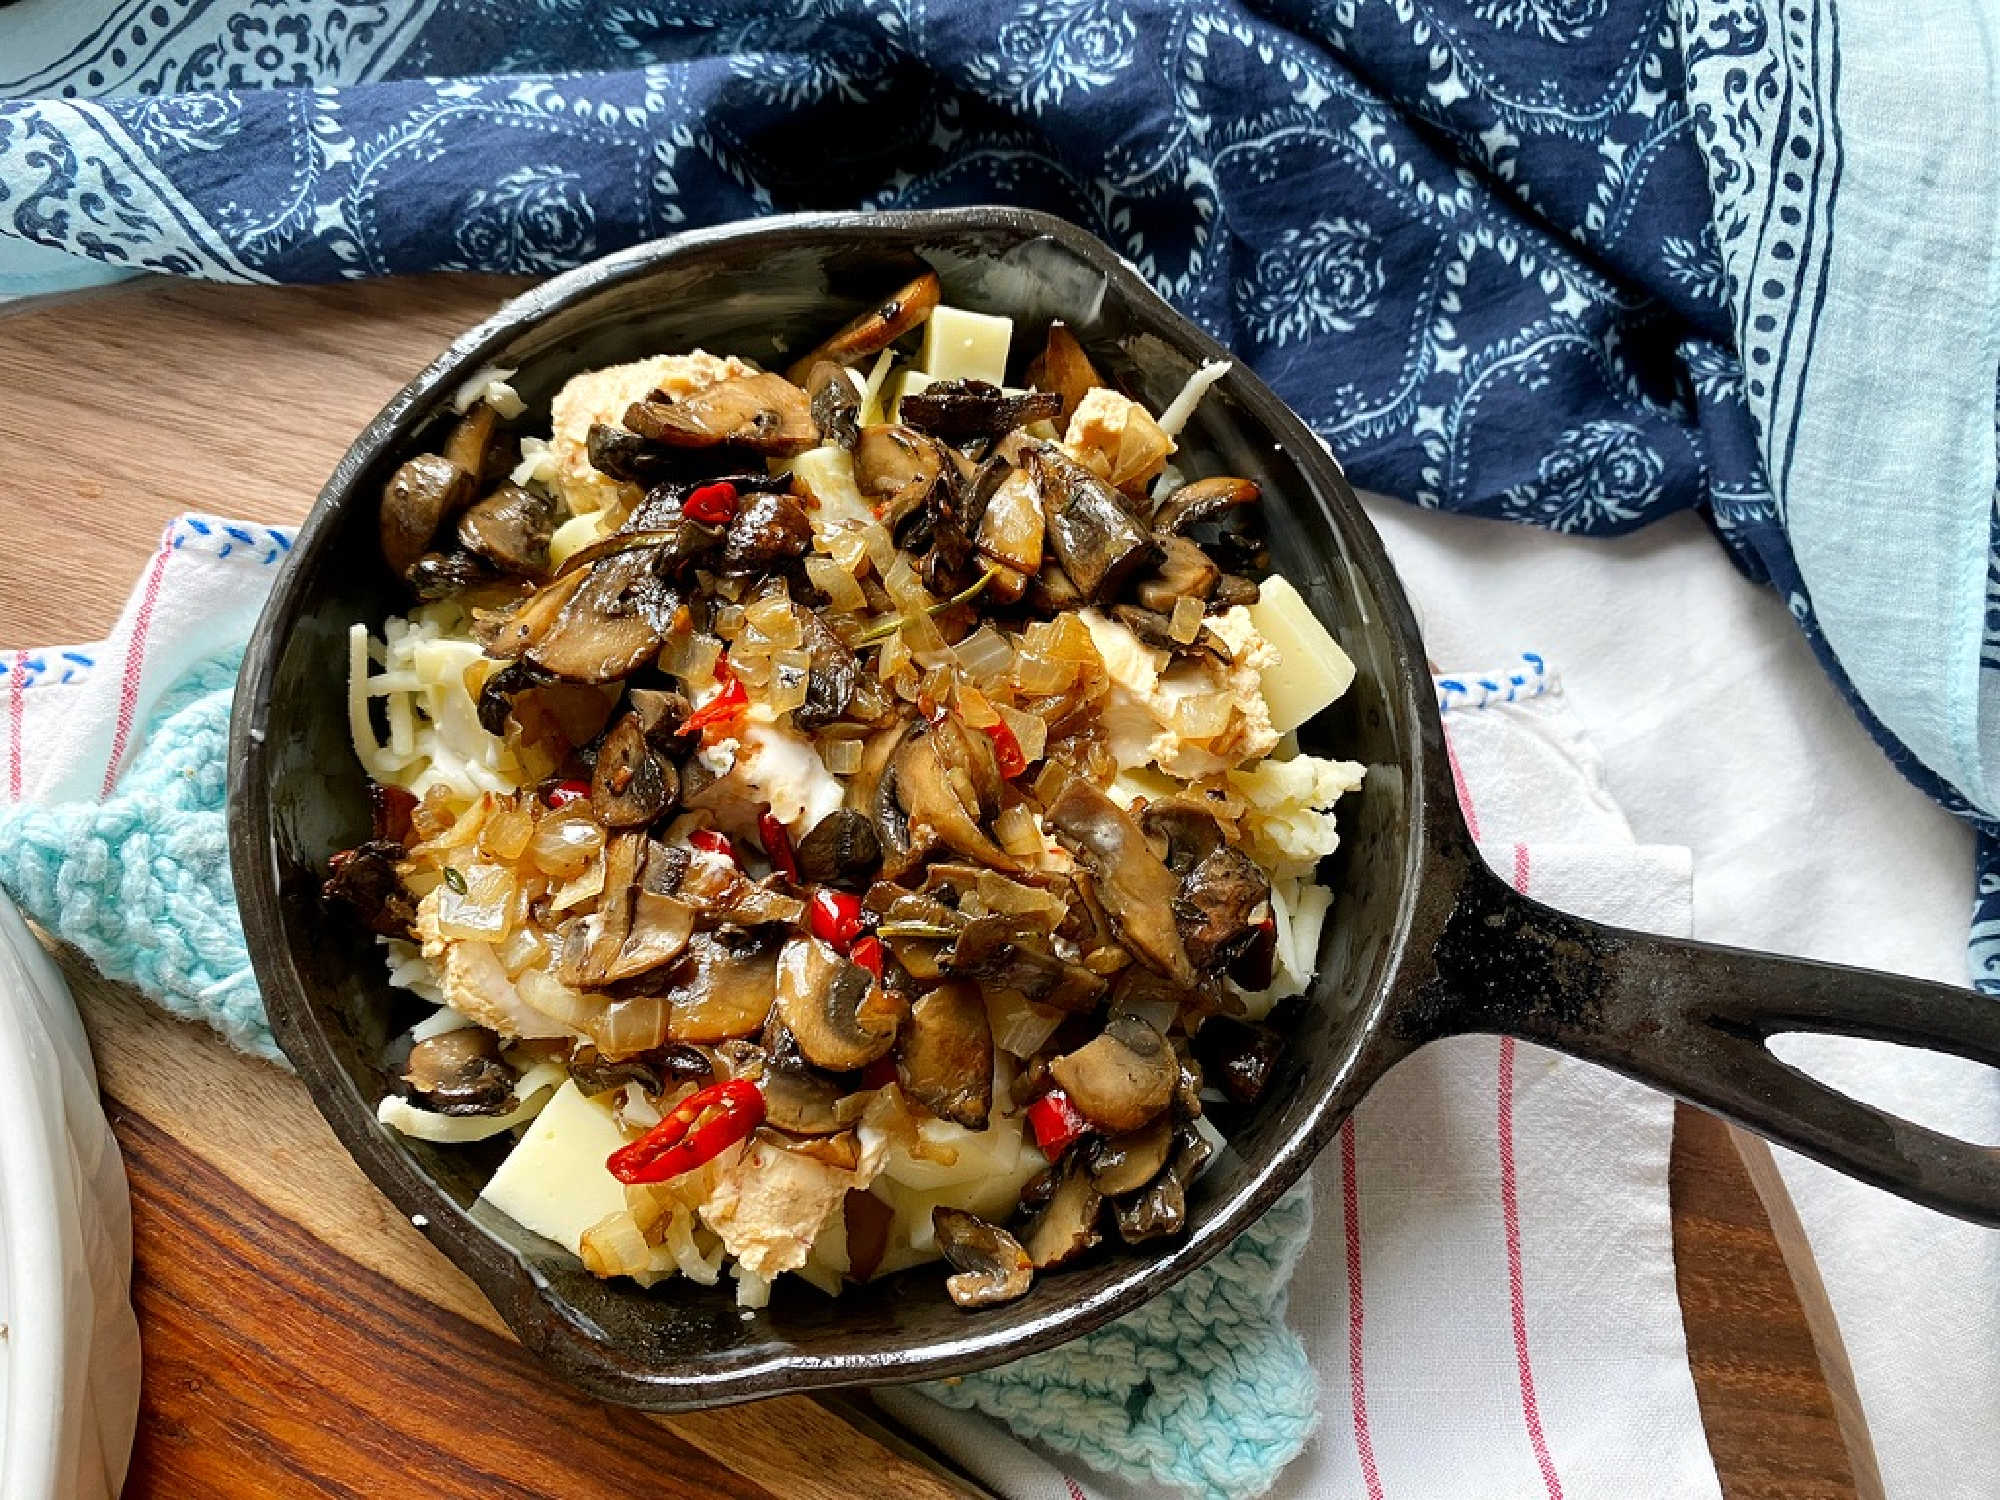
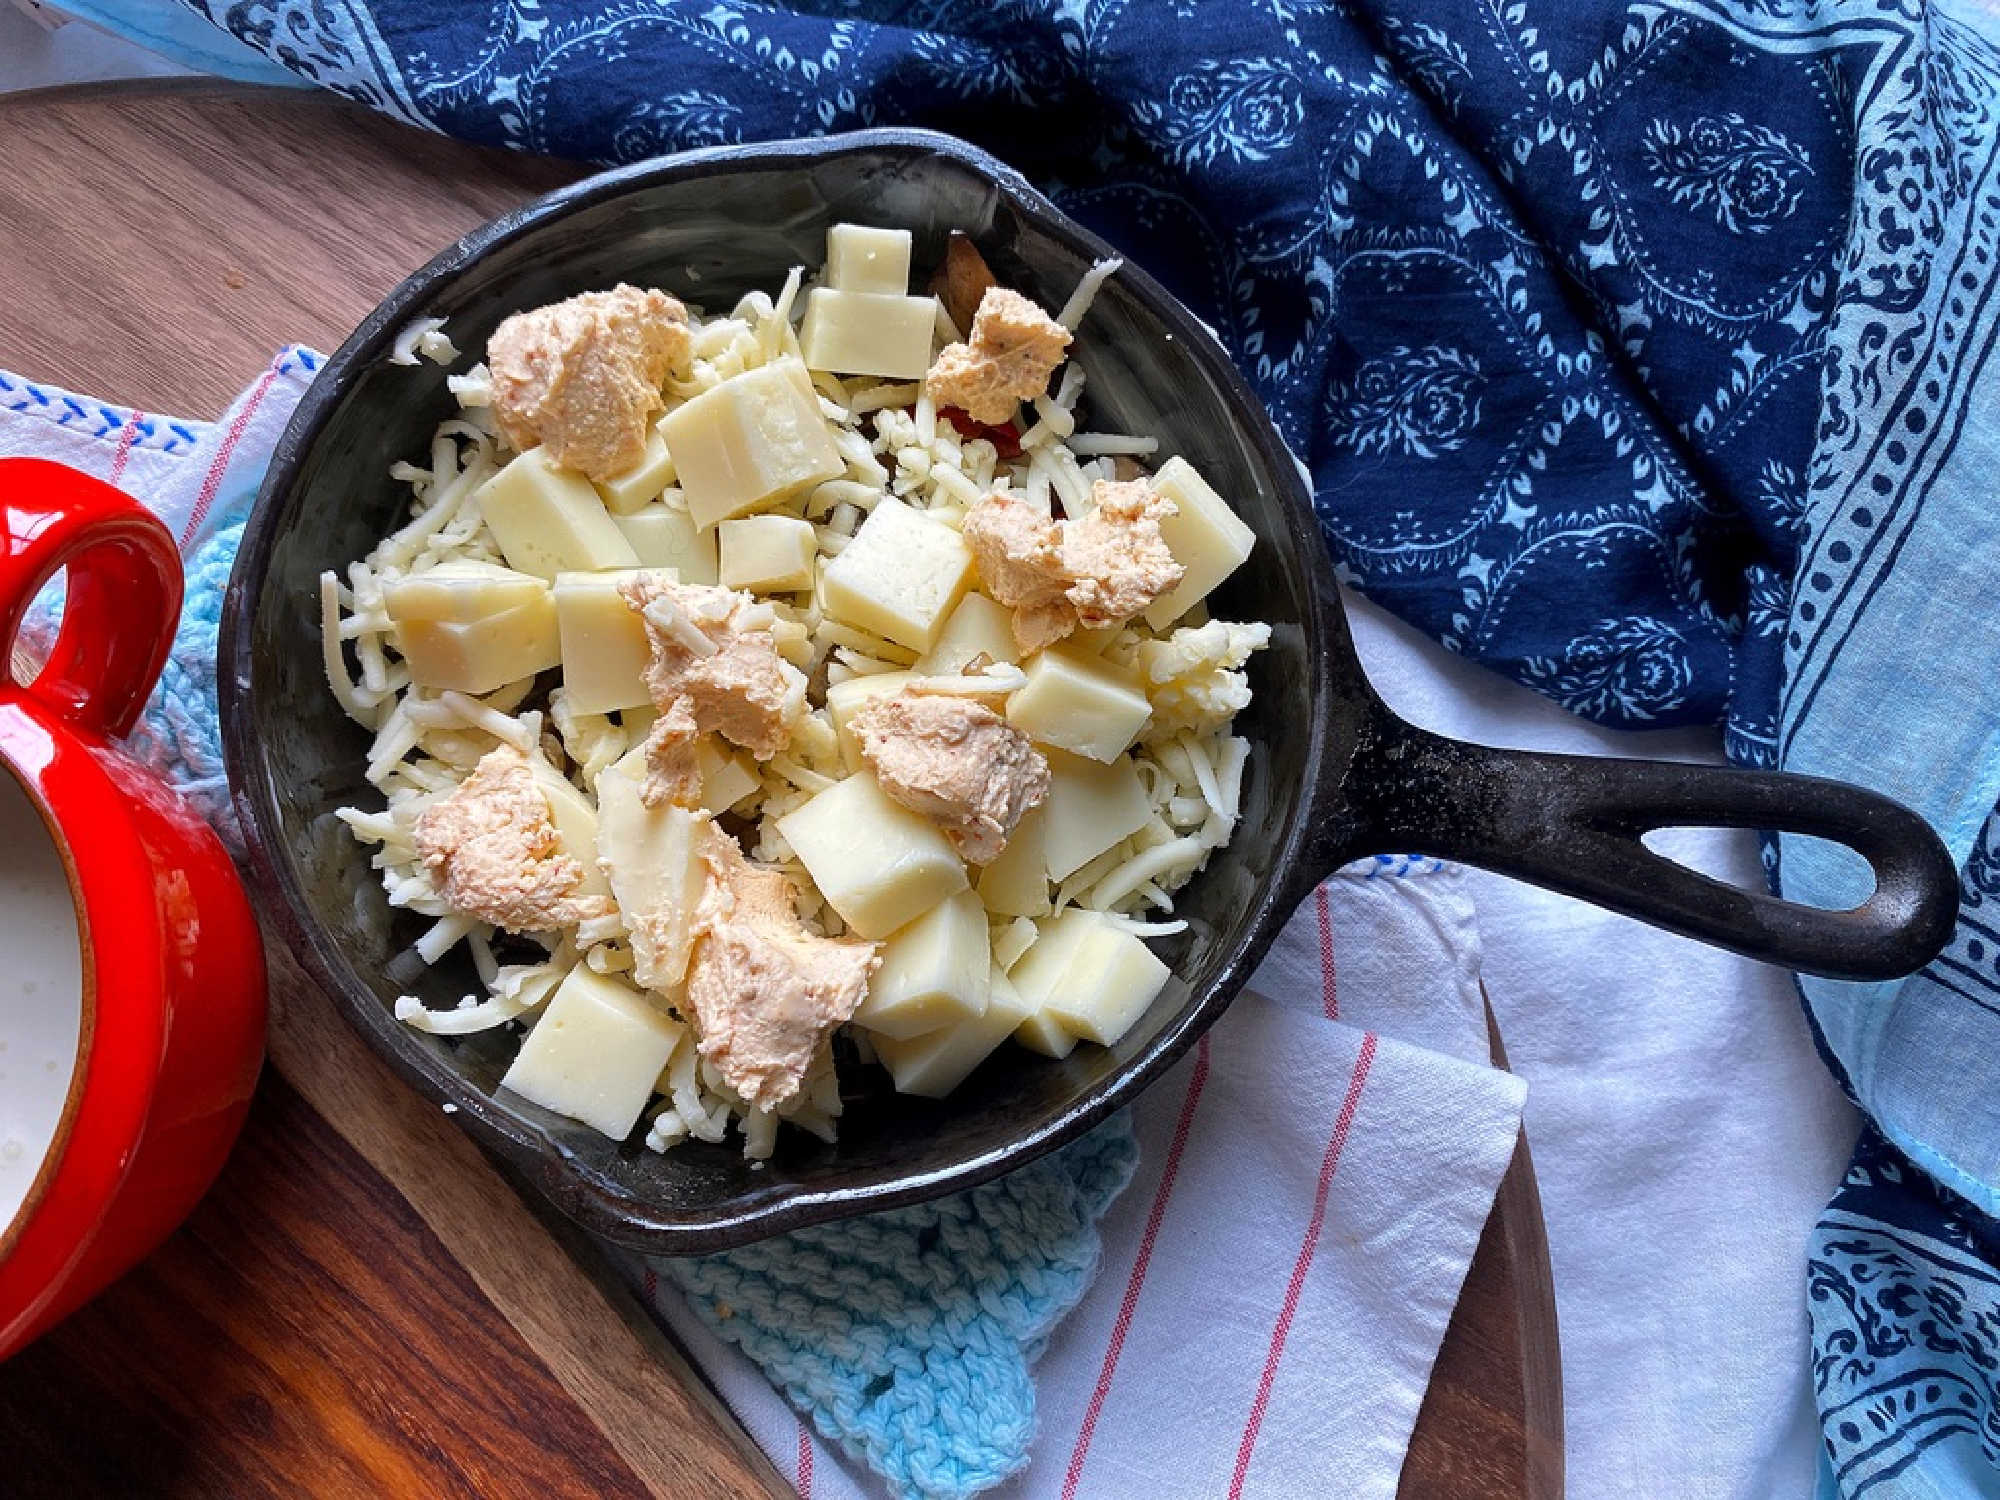
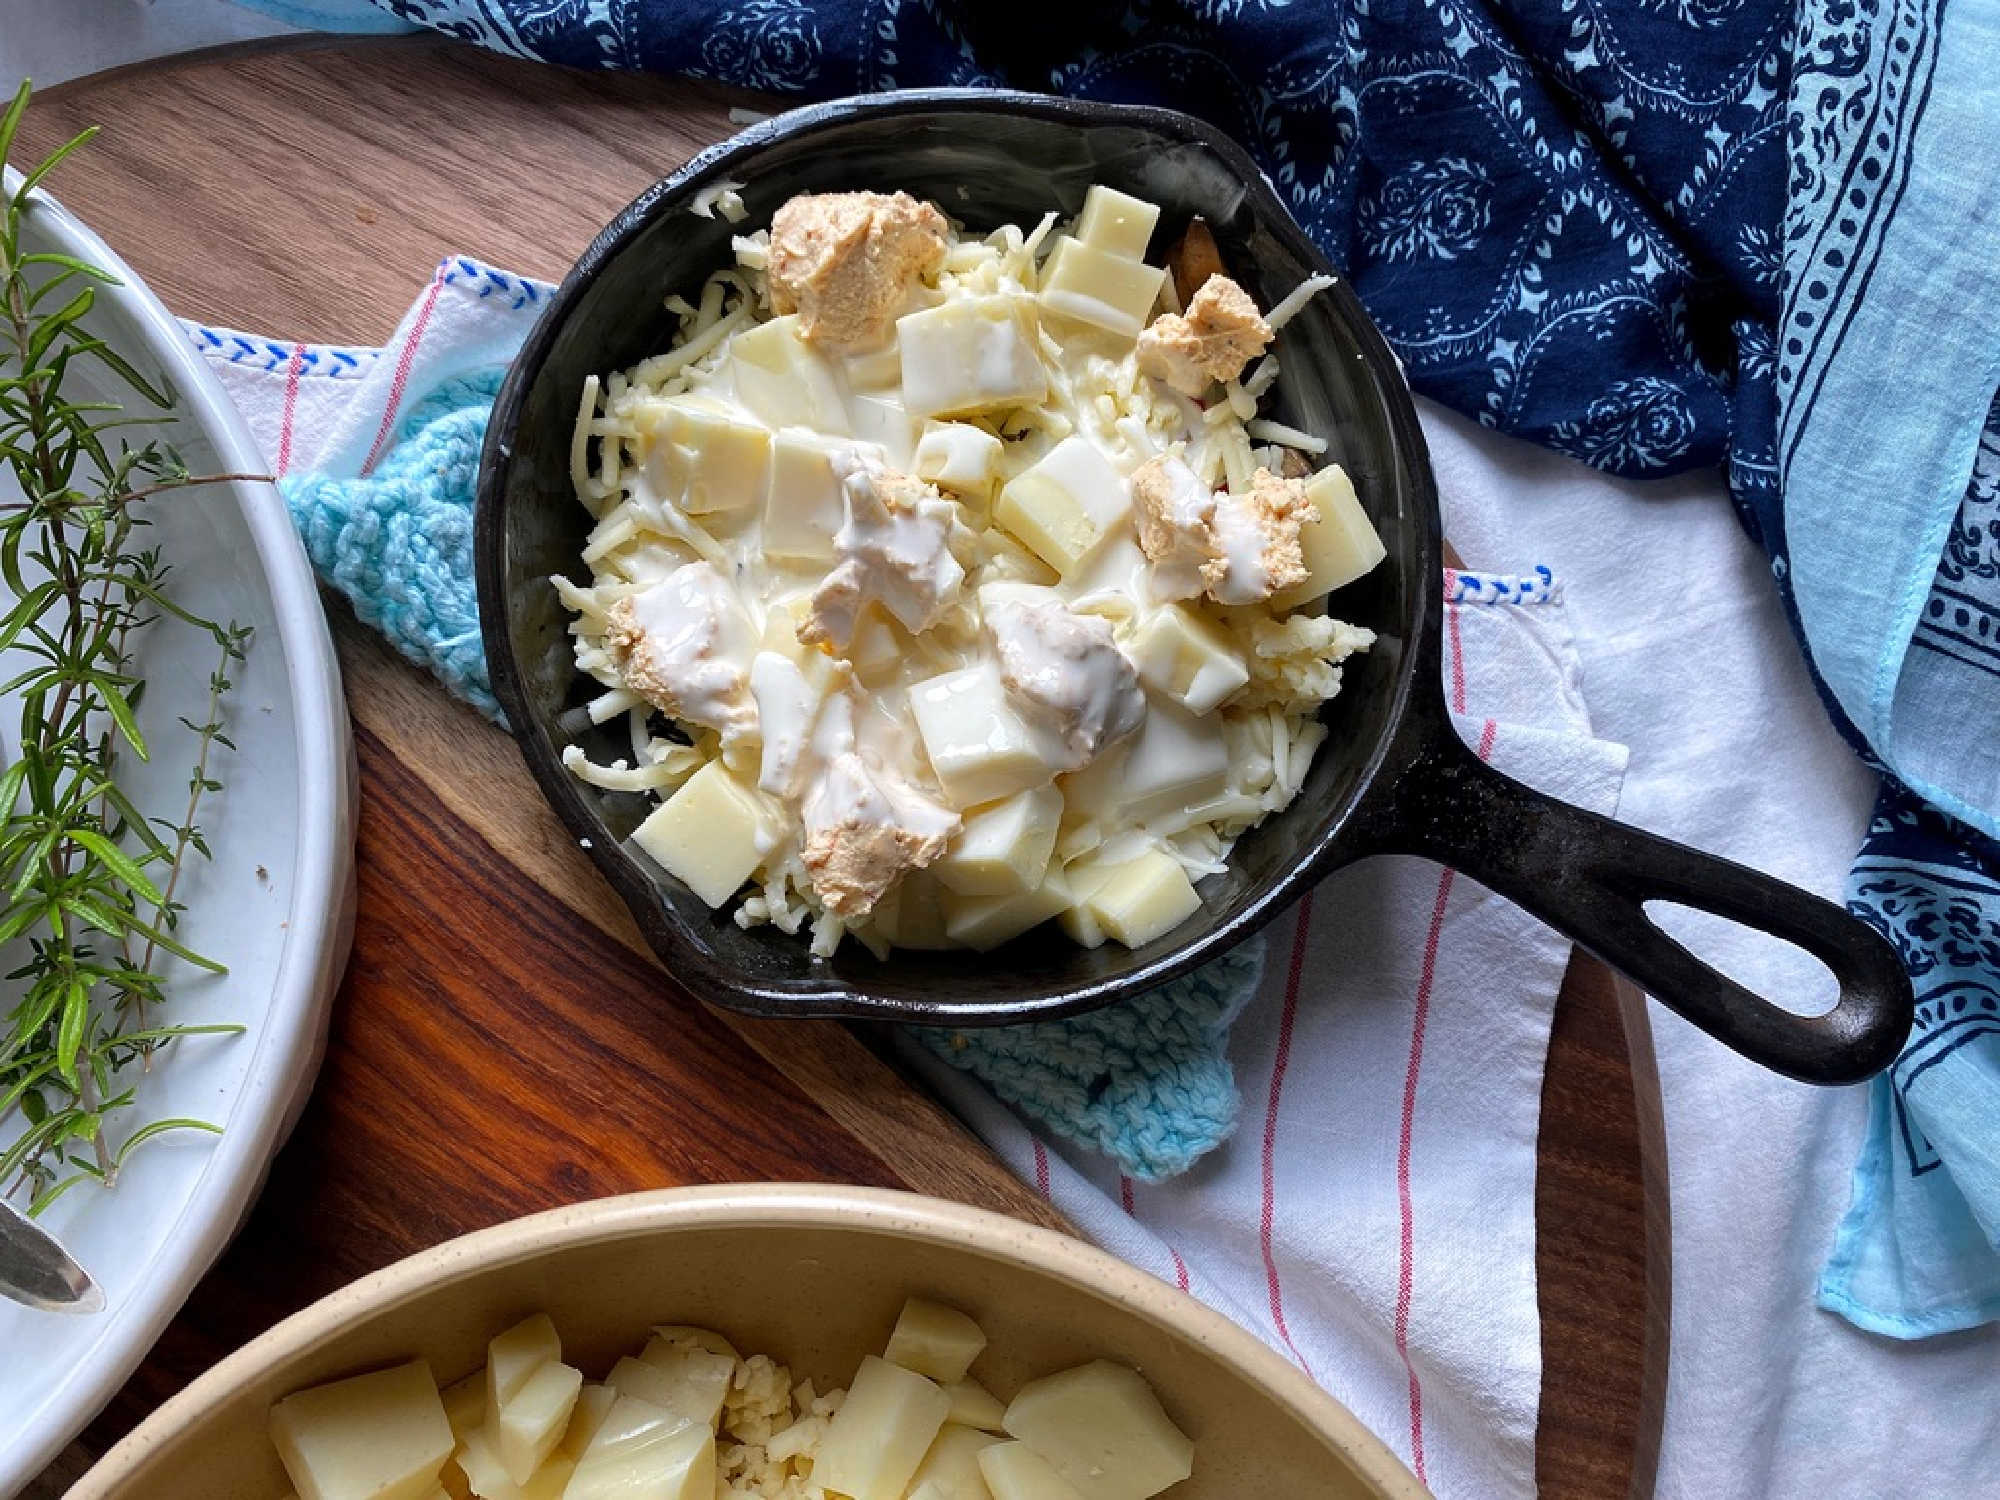
Once you’ve selected your Fundido add-ins, sauté and layer with cheese and cream.

add-ins displayed beginning to saute veggies mushroom skillet no cheese layer veggies layer cheeses add cream

Quick Bake Time

Bake until completely melted and golden bubbly.

fundido flat lay finished 2 dipped fundido

The Perfect Game Day Snack

I love this exact combination of cheeses with the veggies and aromatic herbs. The herby thyme and rosemary-infused mushrooms, peppers and onions are really as-good-as-it-gets. My favorite accompaniment are some sliced, toasted baguette rounds. The perfect treat to enjoy while rooting for your favorite team!

Triple Cheese Mushroom Fundido

  • 4 oz Crimini mushrooms, sliced
  • 1/2 medium onion, finely diced
  • 4 T sweet red pepper, diced
  • 1 T butter
  • 1 T canola oil
  • 2 sprigs fresh thyme
  • 1 sprig fresh rosemary
  • 2 oz heavy whipping cream
  • 6 oz Monterey Jack cheese, grated
  • 5 oz Asadero cheese, (or another melting cheese), diced
  • 2 oz flavored goat cheese (I used a roasted red pepper goat cheese)

Preheat oven to 400°.

In a medium skillet, over medium/high flame, melt together oil and butter.

Once the fats are melted and the skillet is hot, add mushrooms, onions, peppers and herb sprigs. Caramelize one side of the veggies before stirring. Continue cooking and searing until the veggies are tender. Remove from flame, discard herbs and place in a small bowl.

Grease a 6″-7″ cast iron skillet with butter.

Layer cheeses and vegetables finishing with a final layer of cheese.

Drizzle cream over the cheeses and vegetables and place on a rimmed baking sheet to catch any overspill.

Place into the preheated oven and bake 15 minutes until golden and bubbly.

Serve with toasted baguette rounds or crackers.

Serves 4-6

mushroom fundido pin

mushroom fundido pin

mushroom fundido pin

mushroom fundido pin

mushroom fundido pin

_____________________________________________________________________

If you have any additional questions during your search for the perfect copper, fireclay farmhouse sink or crafted stainless steel sink, our Sinkologists are here to help. Contact us or follow us on FacebookHouzzPinterest, or Instagram for more helpful tips and design ideas.


The post Triple Cheese Mushroom Fundido appeared first on Sinkology.


source https://www.sinkology.com/blog/triple-cheese-mushroom-fundido/