Thursday, March 31, 2022

The Sinkology Kitchen Accessories Buying Guide

2022 Sinkology Buyers Guide Banner

This week kicks off our new 2022 Buying Guide series. Over the next few weeks, we’ll break down the top products that help you get the most out of your kitchen and bathroom sinks.

Today, we’ll share the accessories your kitchen simply can’t do without.  

Though considered “extra” to some, we at Sinkology firmly believe that kitchen accessories are an absolute necessity. With the right tools, you can extend the life of your sink and enjoy every use.
Kitchen-Sink-Accessories

Deck it out

Your kitchen sink is surely perfect on its own. But add-ons can make it all the more amazing.

You know and love your kitchen sink as a functional staple in your kitchen, but with a few accessories, it can support even more everyday kitchen tasks.

  • Look for rinse baskets or colanders that fit your sink’s dimensions for easier produce rinsing and ingredient straining.
  • Shop around for custom-sized cutting boards that take prep – and its accompanying mess – off the countertop.
meyers-soap-kitchen

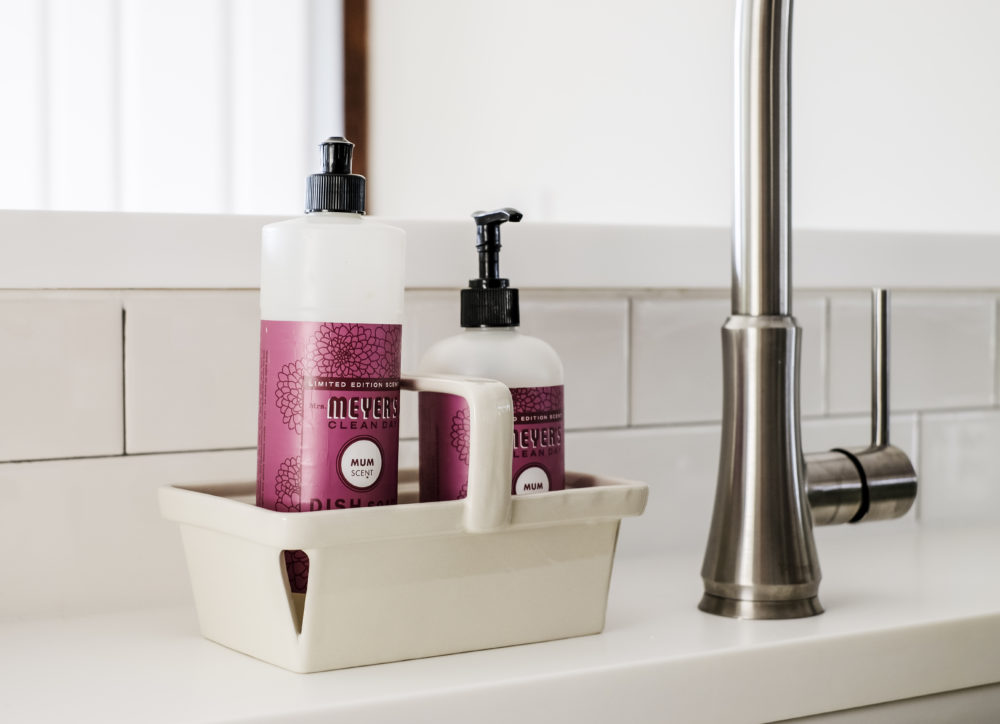
The kitchen faucet is a preferred way to personalize the style and usability of the kitchen sink. We’ll have a separate buying guide dedicated to faucets, but there are additional pieces along with the faucet that can be installed to make the sink experience all the sweeter.

  • A soap dispenser frees your countertop from soap bottle clutter and your back from aches and pains that comes with regular visits to your lower cabinet.
  • A sprayer helps you reach every corner of the sink for your regular rinse-down. More on that later.
kitchen cleaner organized

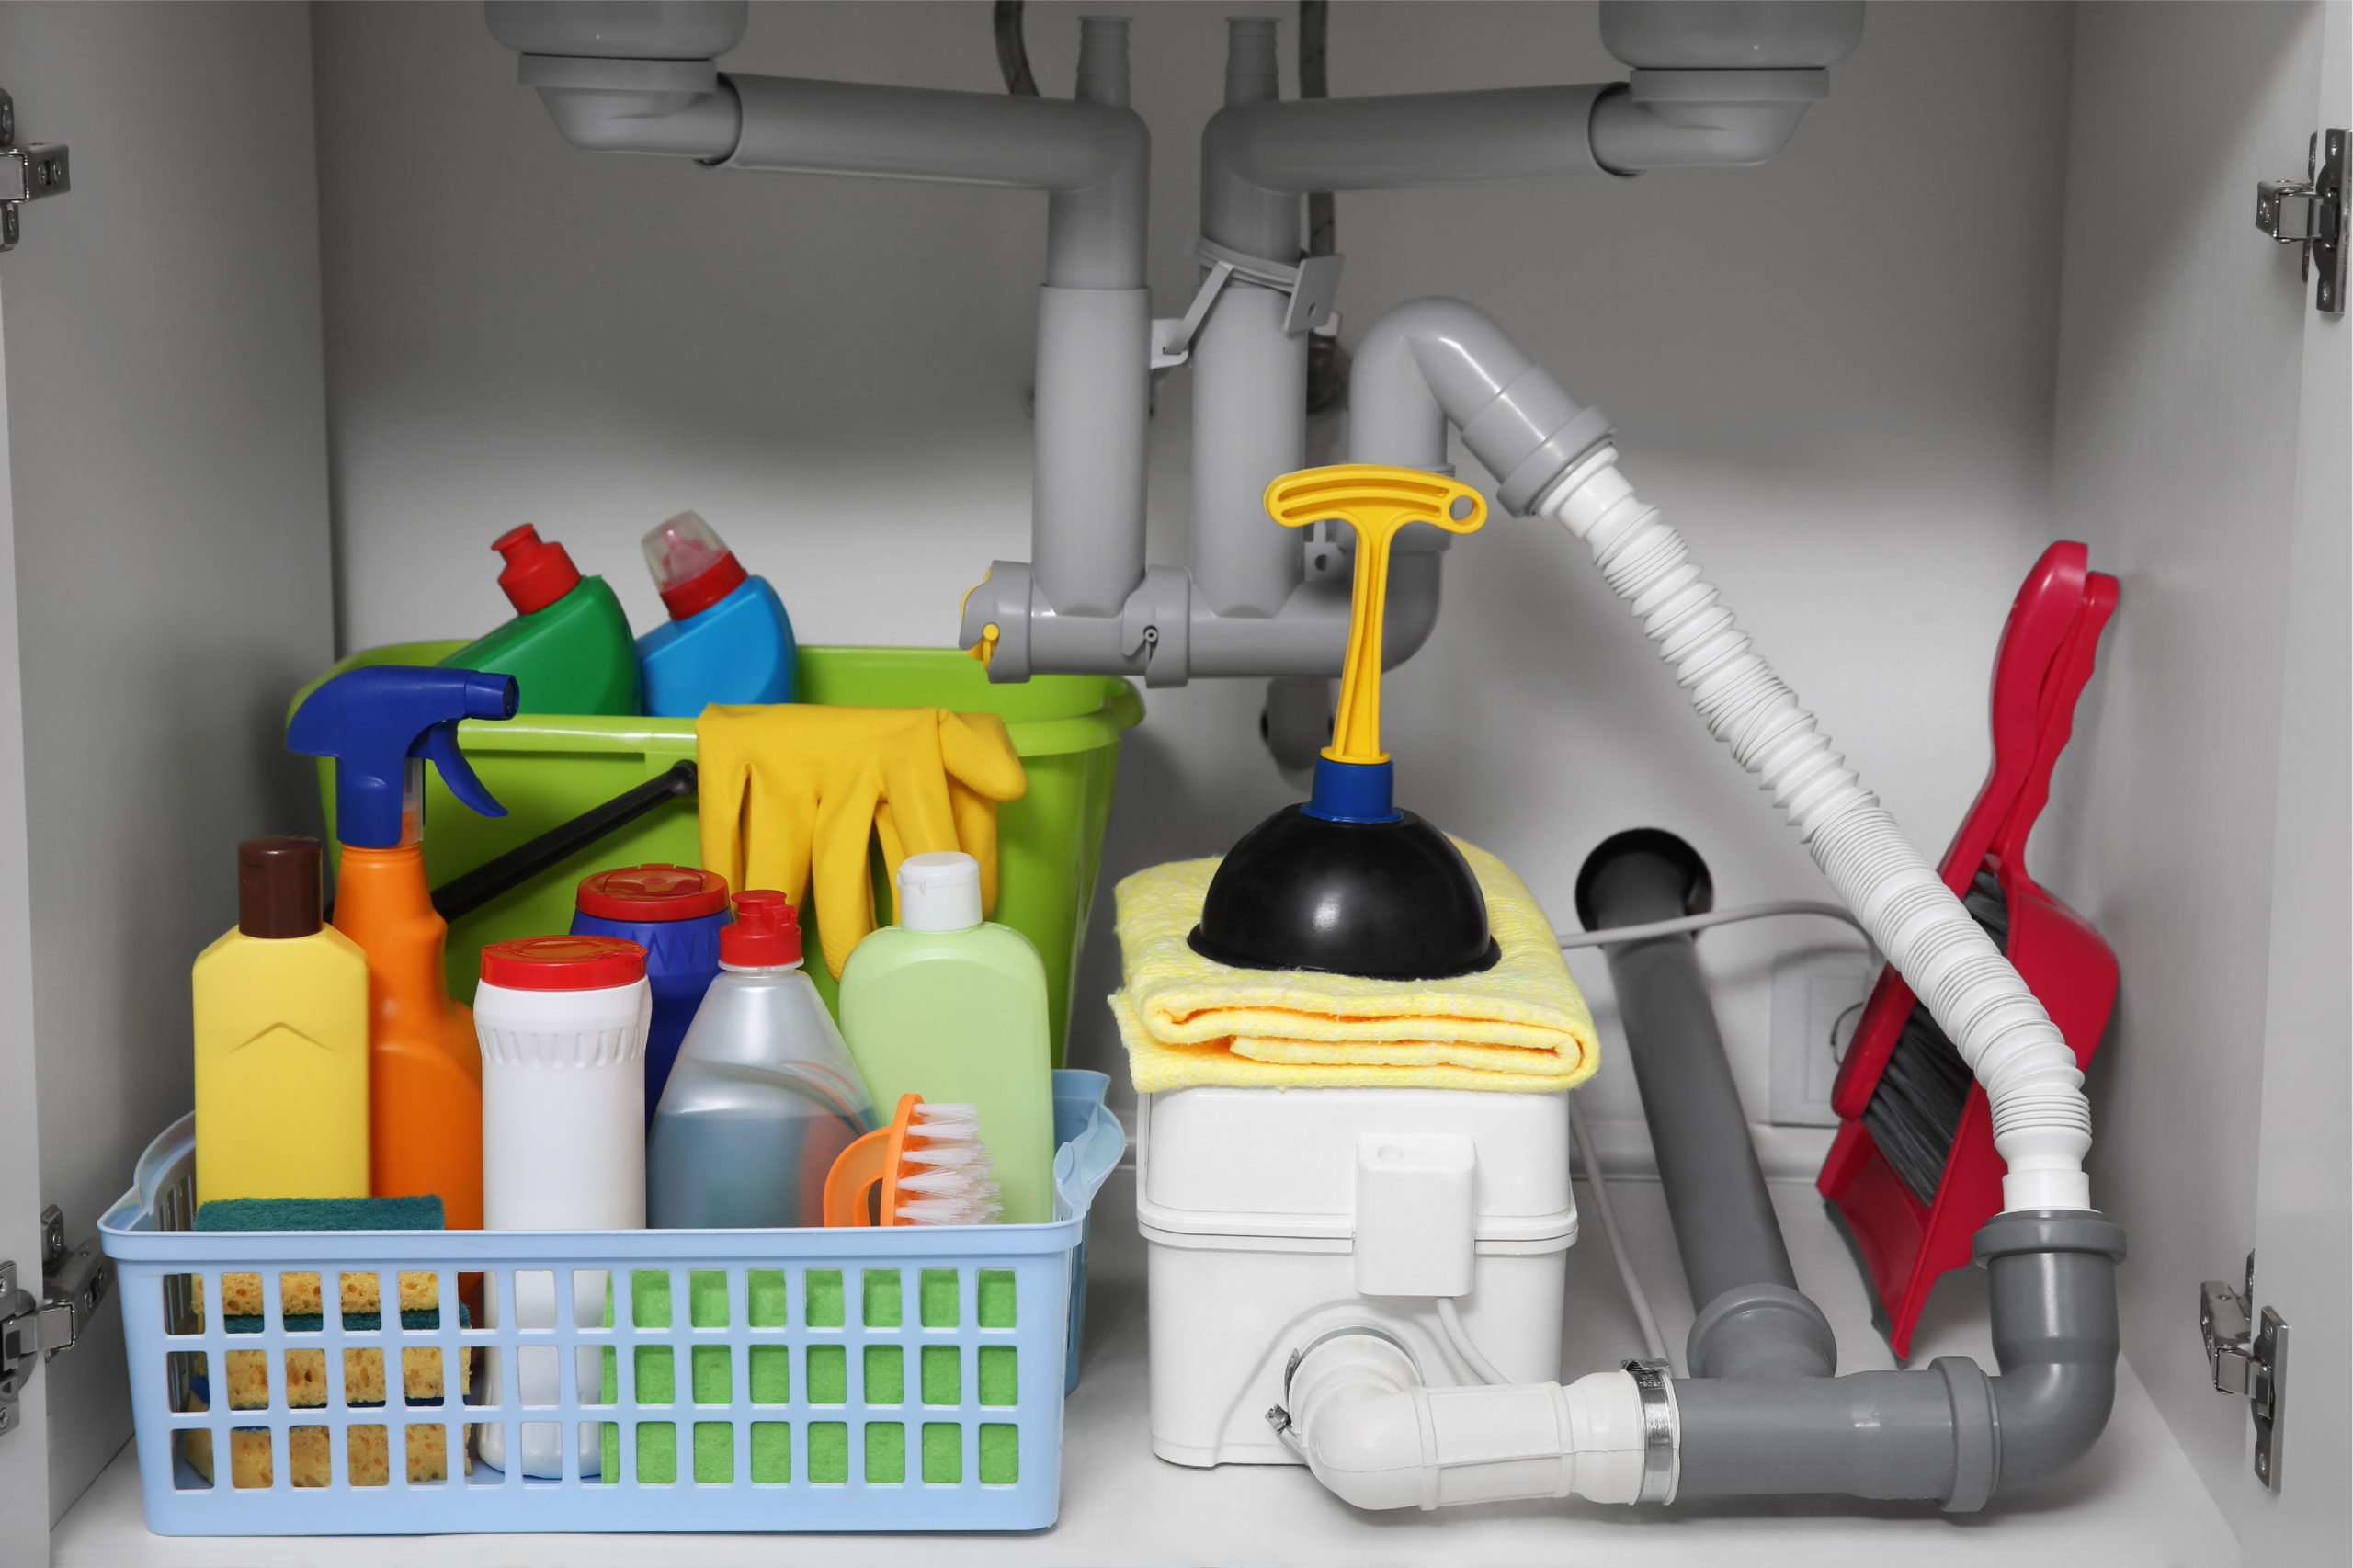
It’s clear how accessories like these bring so much to the kitchen sink, but sometimes the best extra’s aren’t even seen.

  • If you have a Type A personality, look for under-sink organizers that keep everything you need in order.
  • If you love peace and quiet, consider attaching sound-dampening pads to the bottom of your fireclay and stainless steel sinks to absorb excess noise.
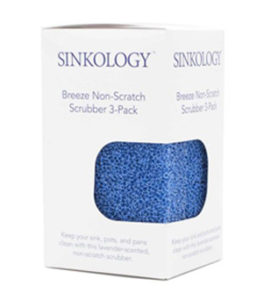
breeze-non-scratch-scrubber-3-pack

Care for it

Accessorizing doesn’t stop with attachments. If you love your sink as much as we do, you know a little TLC is not a splurge but an absolute necessity. Like you, your sink needs specialized care. No, it doesn’t make it high maintenance. You just need to know what it needs.

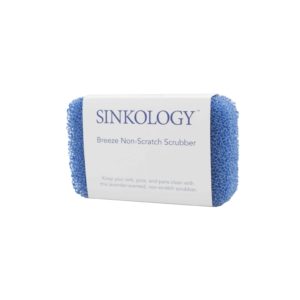
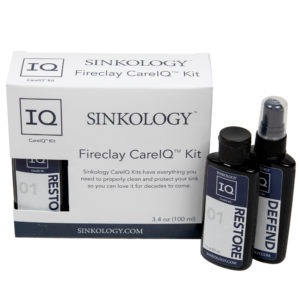
Fireclay sinks, for example, are made to handle life’s biggest messes and daily uses. To keep it looking its best, it just needs a bit of routine cleaning. When choosing cleaning products, avoid harsh, abrasive cleaners and stick with soap and water. Rather than intense steel wool or metal-based cleaning pads, opt for a gentler scrubber that thoroughly cleans stubborn, stuck-on leftovers without scratching your sink’s smooth finish.
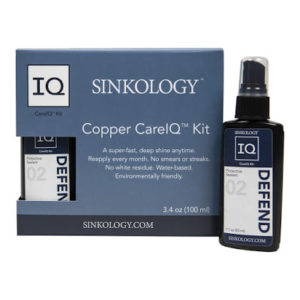
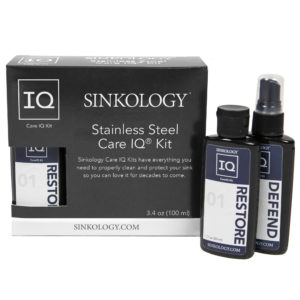
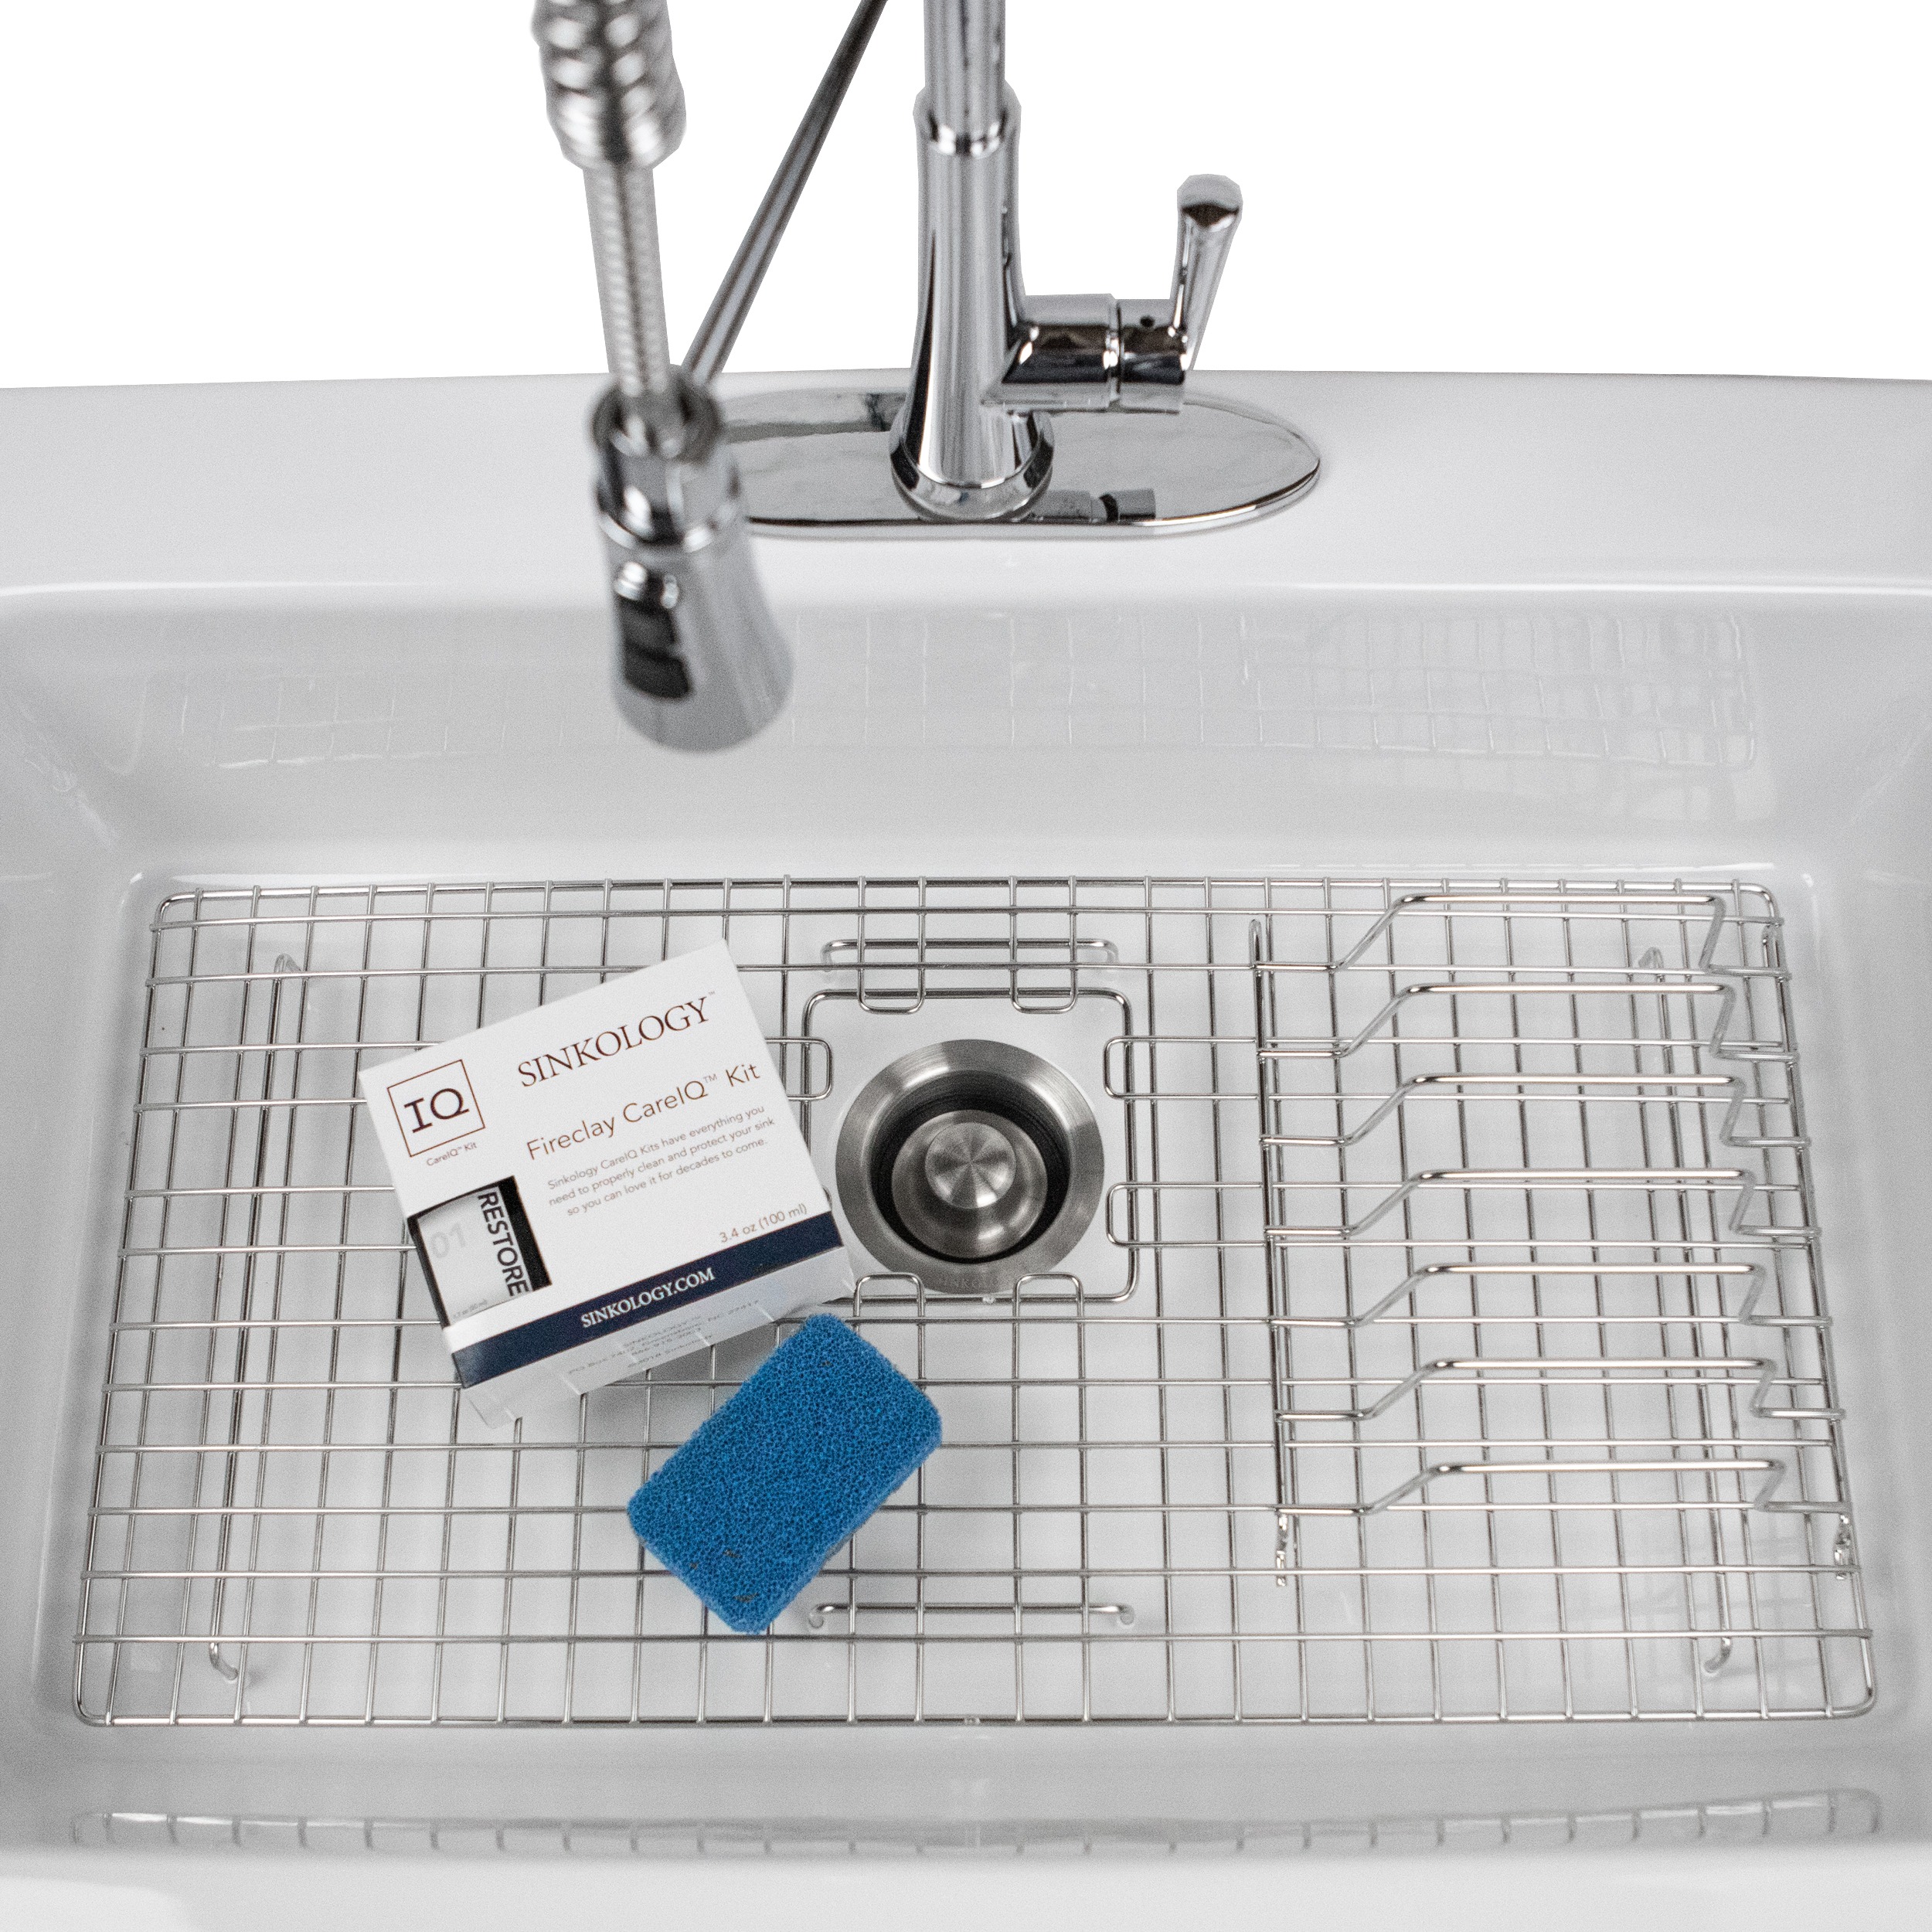
fireclay careiq kit, defend protective sealant, restore cleaning polish Copper Care IQ Kit stainless steel care iq kit

Copper sinks, on the other hand, get better with age, both in beauty and in strength, thanks to its naturally occurring patina. When caring for a copper sink, you’ll want to find a product that works with the patina, rather than against it. Look for products that add a layer of protection and boosts the shine of the copper sink’s finish instead of stripping it away.
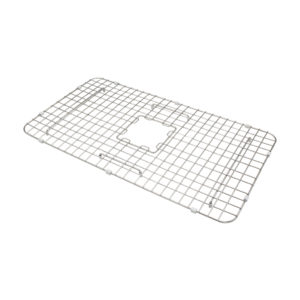
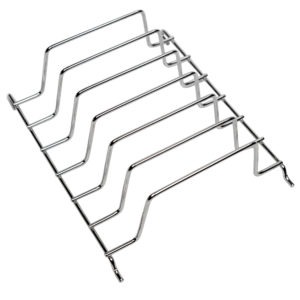
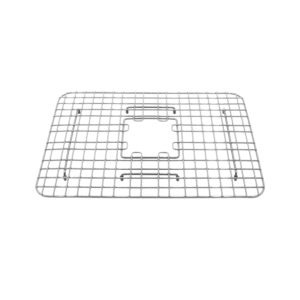
stainless steel bottom kitchen sink grid gridlogic plate rack stainless steel griffin stainless steel bottom grid

Stainless steel is a popular sink material, given its natural resistance against bacteria. Bottom sink grids make for a great addition to these high-shine, low-maintenance basins. Bottom grids provide a protective barrier between your dirty dishes and sink. Heat-resistant and incredibly durable, each can be personalized with extra accessories that make cleanups even easier.

No matter the material you have, look for accessories that make cleanup faster and easier. A convenient sponge holder that attaches directly to the bowl will keep everything in reach and prevent you from putting off this important step. 

Kitchen accessories make life in the kitchen easier and more enjoyable. Now, explore some of our favorite kitchen accessories on our website.  

_____________________________________________________________________

If you have any additional questions during your search for the perfect copper, fireclay farmhouse sink or crafted stainless steel sink, our Sinkologists are here to help. Contact us or follow us on FacebookHouzzPinterestInstagram, or TikTok for more helpful tips and design ideas.

The post The Sinkology Kitchen Accessories Buying Guide appeared first on Sinkology.


source https://www.sinkology.com/blog/kitchen-accessories-buying-guide/

Monday, March 28, 2022

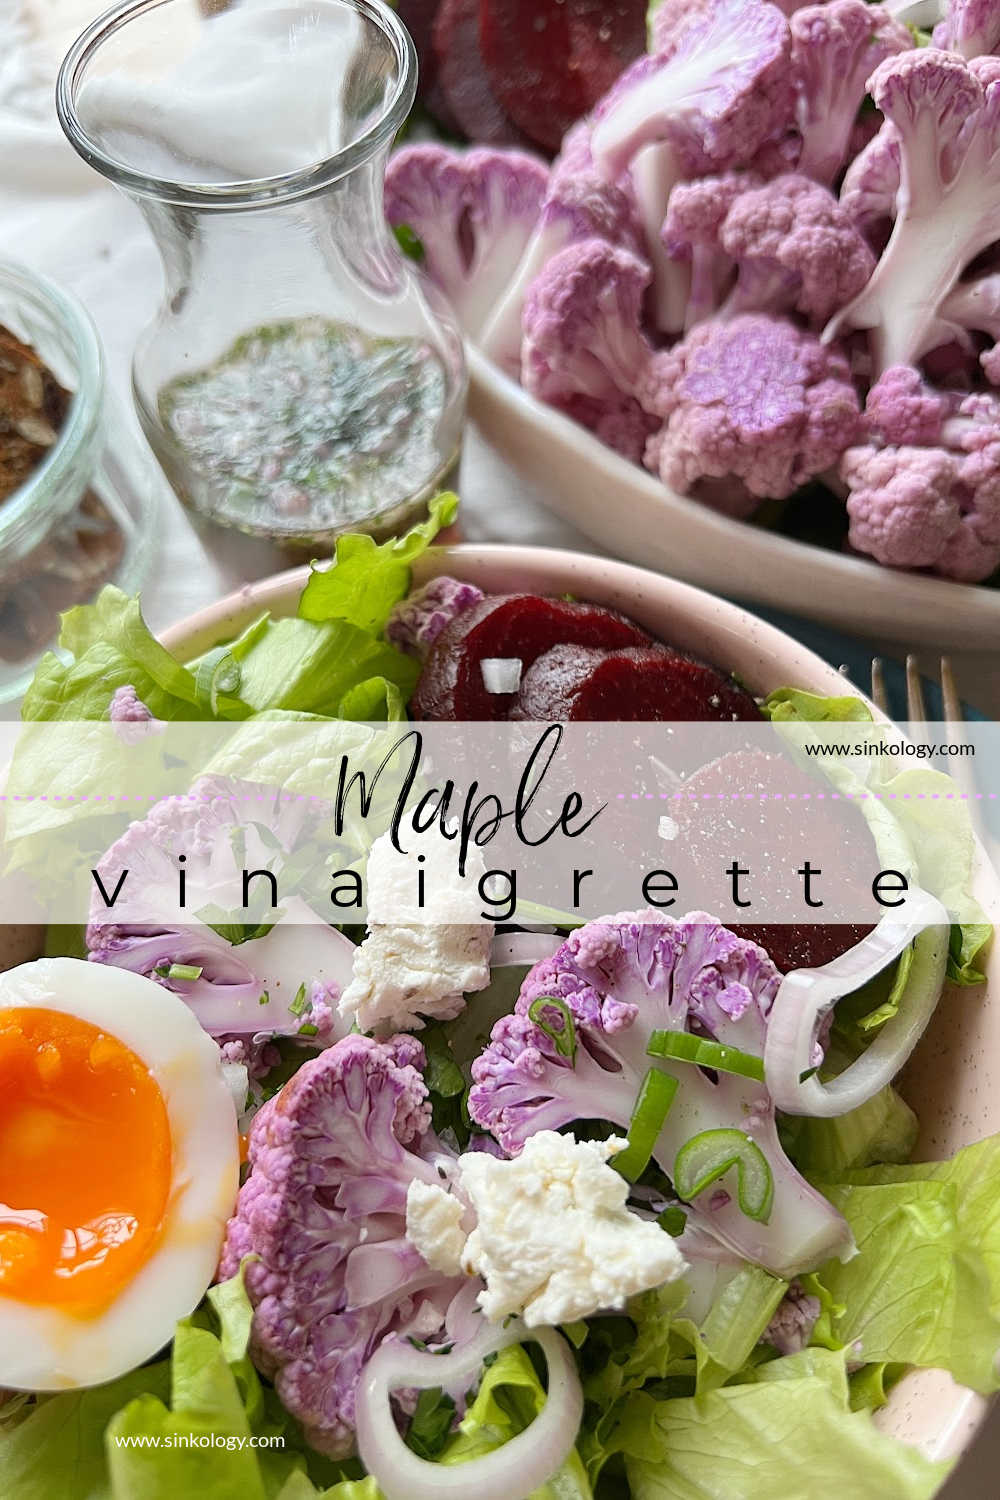
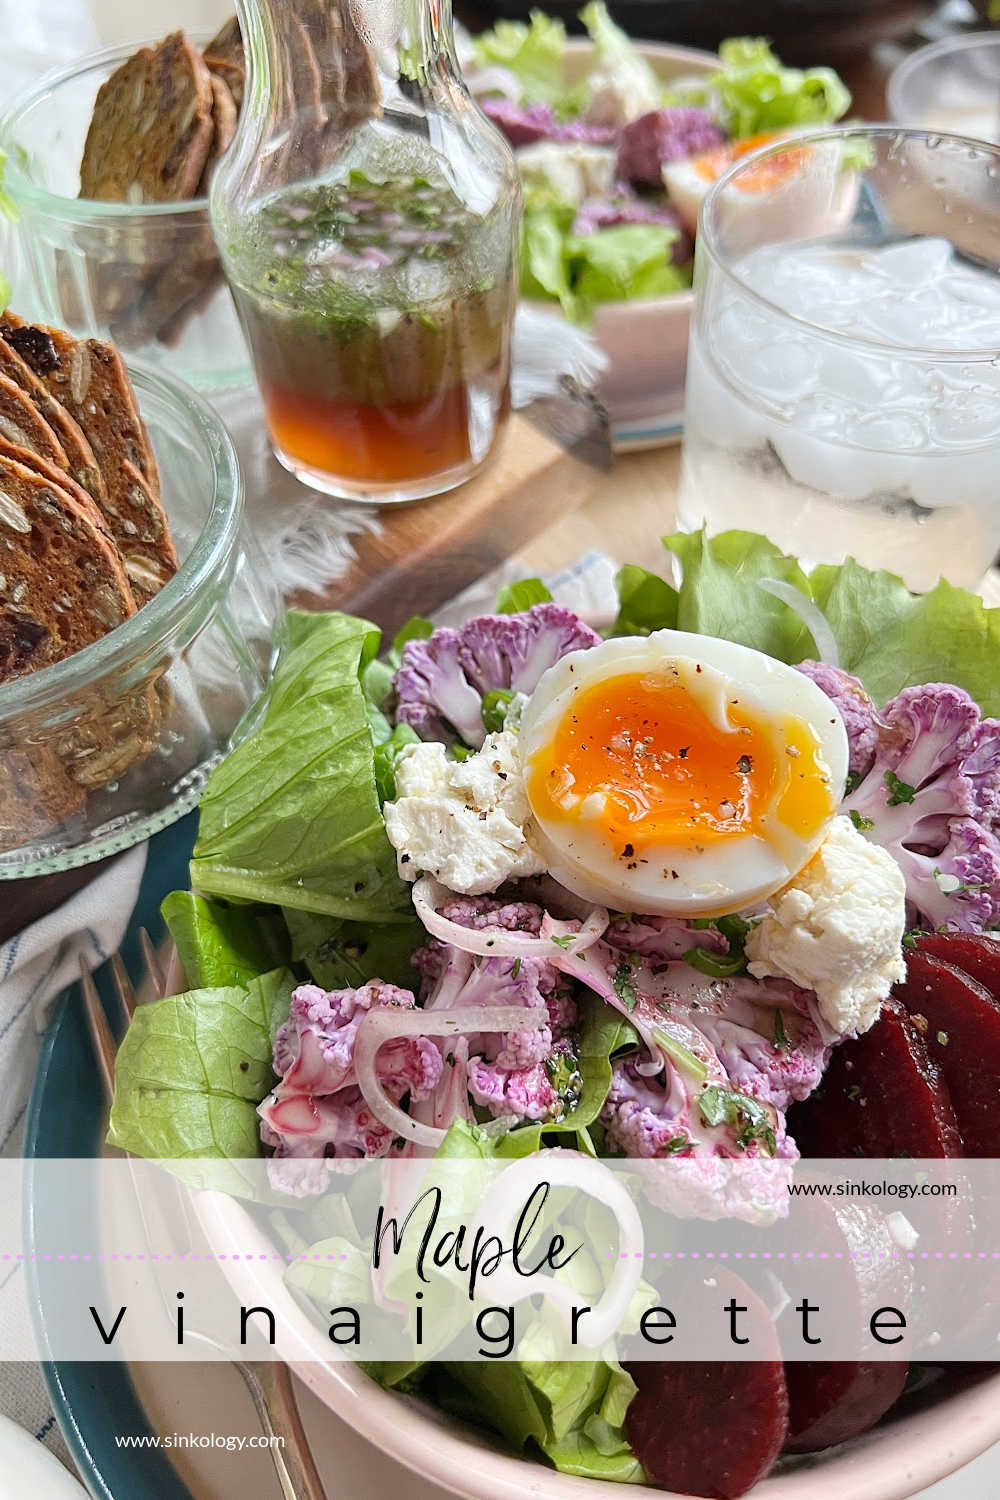
Maple Vinaigrette

Sinkology is proud to present Emily Schuermann, our food-loving guest blogger who runs Food for a Year. Emily is here to share some recipes she has created exclusively for the Sinkology blog that reflect her view of a copper sink: simple, timeless, affordable, and beautifully rustic. 


Some of my favorite recipes are the ones that replace a store-bought staple. This Maple Vinaigrette is one of those recipes. Salad dressing is always something I have on hand – it’s a grab and go necessity. But homemade is so easy and so much more delicious.

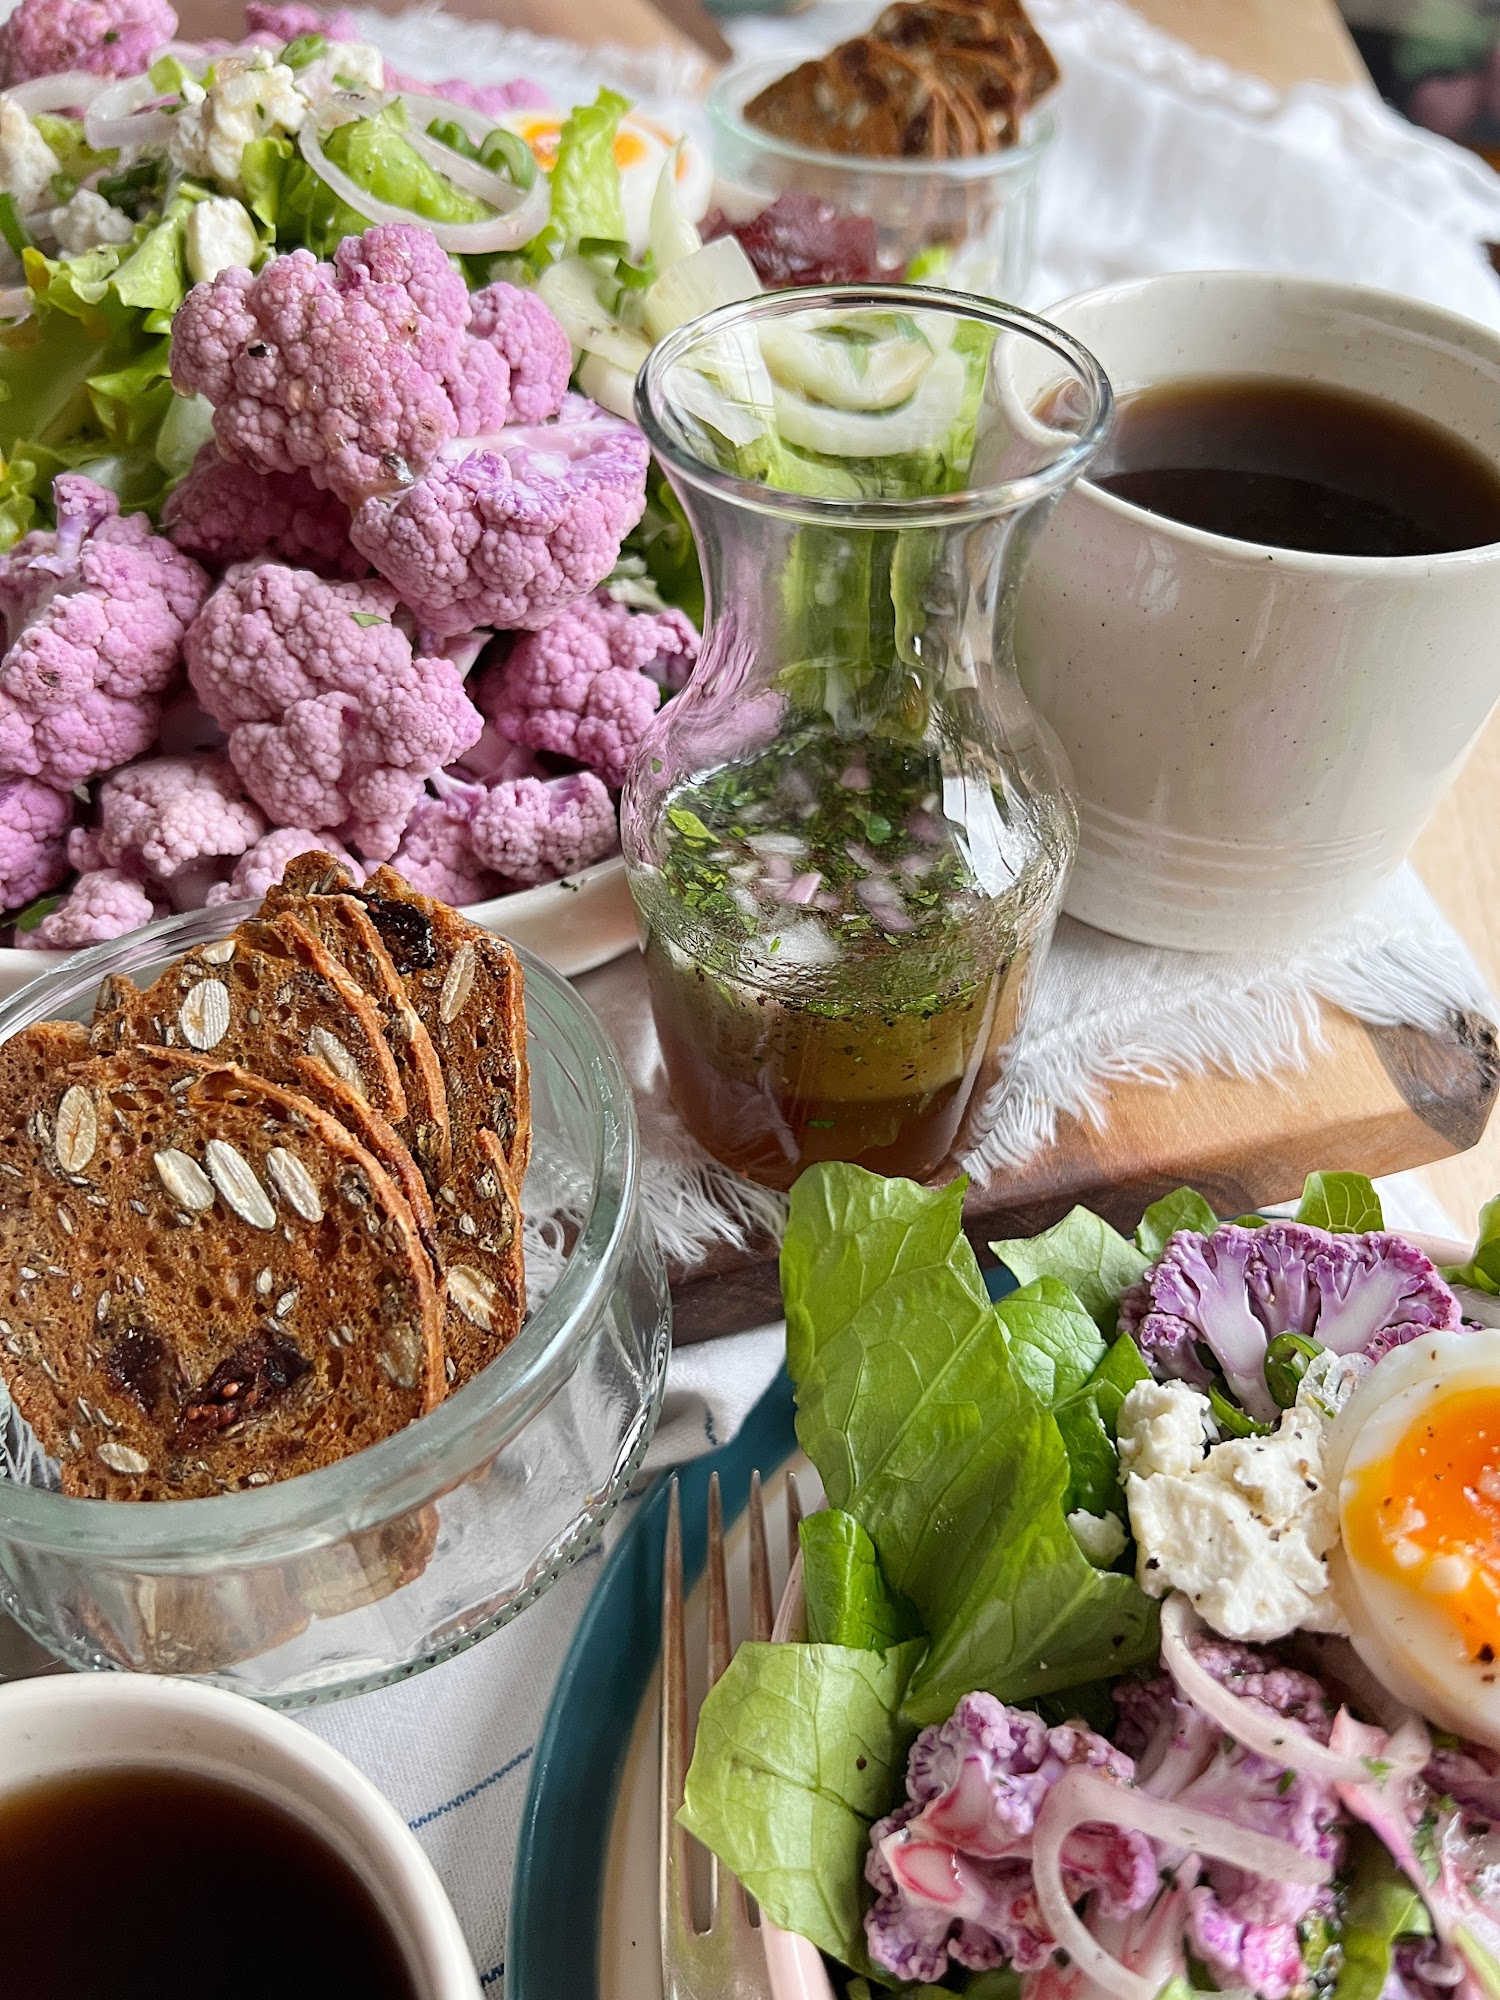
flat lay maple vinaigrette

Homemade Vinaigrette :: The Possibilities

Homemade dressing is adaptable to seasons and taste preferences and is so easy to make.

The basic vinaigrette is a balance of sweet, salt, acid and oil. Beyond those elements, you can add flavors through:

  • herbs and spices 
  • various oils and vinegars 
  • an array of sugars (honey, molasses, agave nectar etc)

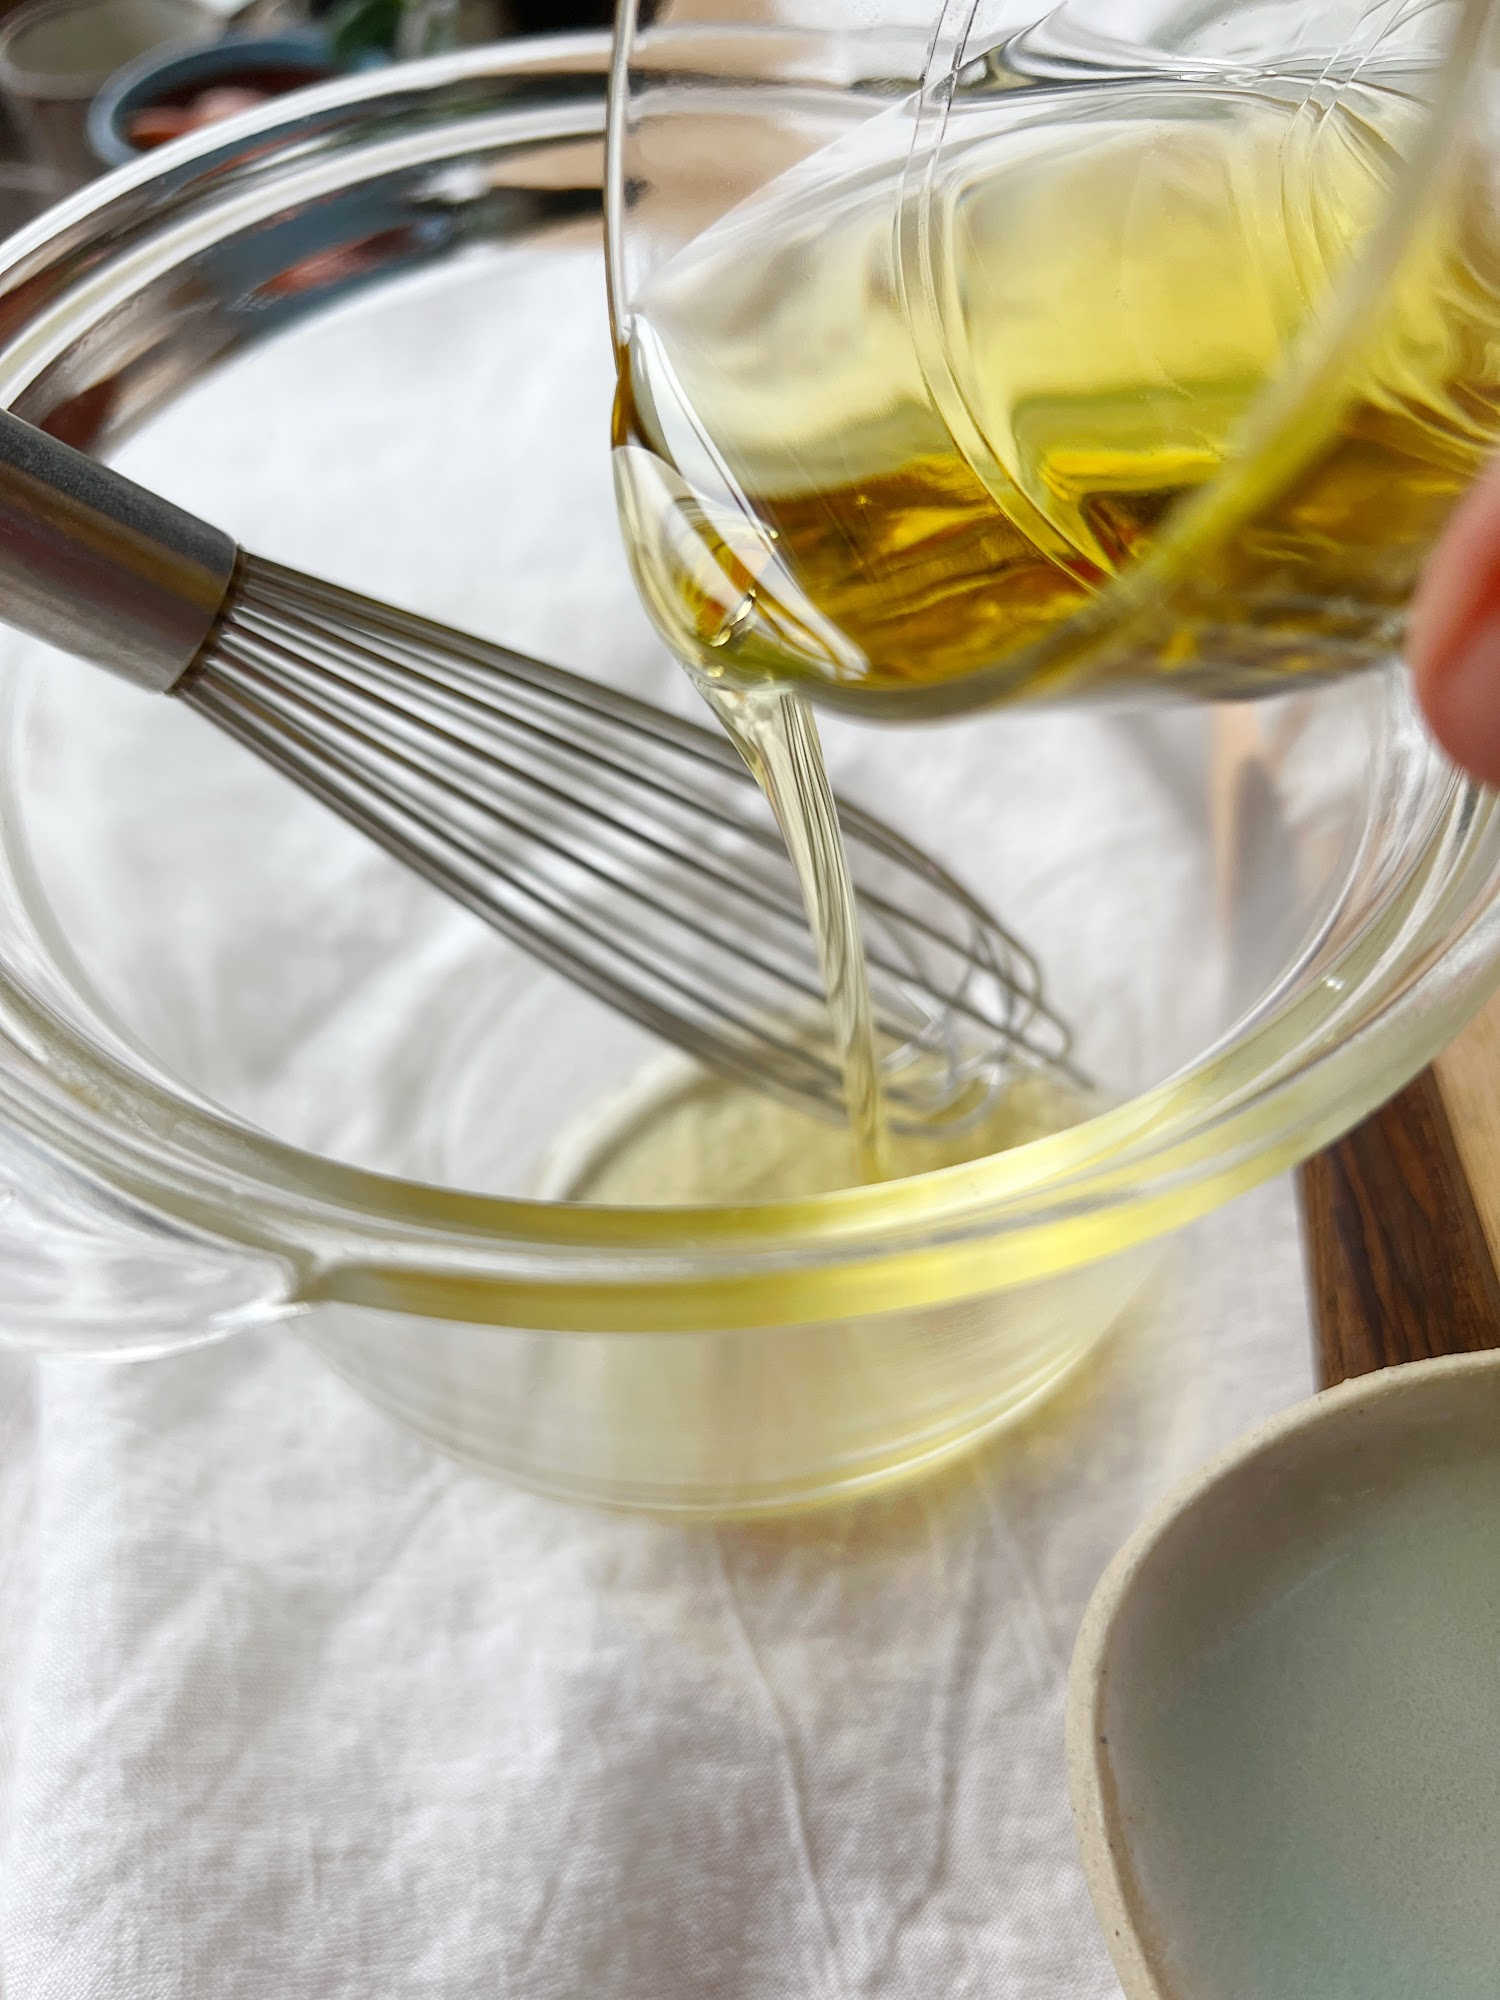
Not only is this Maple Vinaigrette superior in flavor – it comes together in under 5 minutes. Add all the ingredients to a small mixing bowl and vigorously whisk to combine, taste and add additional seasonings if needed. Use the vinaigrette immediately or store in the refrigerator up to 2 weeks.

Homemade Vinaigrette :: The Basics

With all the options and combinations, it’s important to understand the basic recipe for making a vinaigrette dressing (and I think you will be surprised at just how easy it is!)

¼ c of each :: oil, sugar + vinegar

½ t of each :: salt, pepper + herb/onion

It’s such a delight when a short list of ingredients is combined to make a delicious, simple, classic recipe.

I especially love this Maple Vinaigrette, and intentionally chose extra dark pure maple sirup for it’s deep, smoky notes. With the added herbs and shallots plus the mild oil and vinegar, this dressing is a wonderful compliment to any salad or as a drizzle for grilled chicken or tuna steak or even as a marinade for steak!

Print

Maple Vinaigrette

I especially love this Maple Vinaigrette, and intentionally chose extra dark pure maple sirup for it’s deep, smoky notes. With the added herbs and shallots plus the mild oil and vinegar, this dressing is a wonderful compliment to any salad or as a drizzle for grilled chicken or tuna steak or even as a marinade for steak!
Course Salad
Prep Time 5 minutes
Servings 8
Author Emily Schuermann

Ingredients

  • ¼ c olive oil extra virgin
  • ¼ c pure maple sirup
  • ¼ c unseasoned rice vinegar or Champagne vinegar
  • ½ tsp fine sea salt
  • ½ tsp  finely ground pepper
  • ½ tsp fresh parsley, finely chopped
  • ½ tsp shallot, finely chopped

Instructions

  • Combine all ingredients in a small mixing bowl, whisk vigorously to emulsify.
  • Drizzle over salad, serve as a glaze for fish or chicken or as a dipping sauce for fresh vegetables.
  • Lasts refrigerated up to 2 weeks.

_____________________________________________________________________

If you have any additional questions during your search for the perfect copper, fireclay farmhouse sink or crafted stainless steel sink, our Sinkologists are here to help. Contact us or follow us on FacebookHouzzPinterestInstagram, or TikTok for more helpful tips and design ideas.

The post Maple Vinaigrette appeared first on Sinkology.


source https://www.sinkology.com/blog/maple-vinaigrette/

Thursday, February 3, 2022

Budget-Friendly Bathroom Remodel


When it comes to upgrading a bathroom, cosmetic renovations can be quite costly. (Let’s not even think about making any structural improvements for the same of making an inexpensive upgrade.) Moving major plumbing or installing new cabinetry typically require an expert touch that costs a pretty penny.

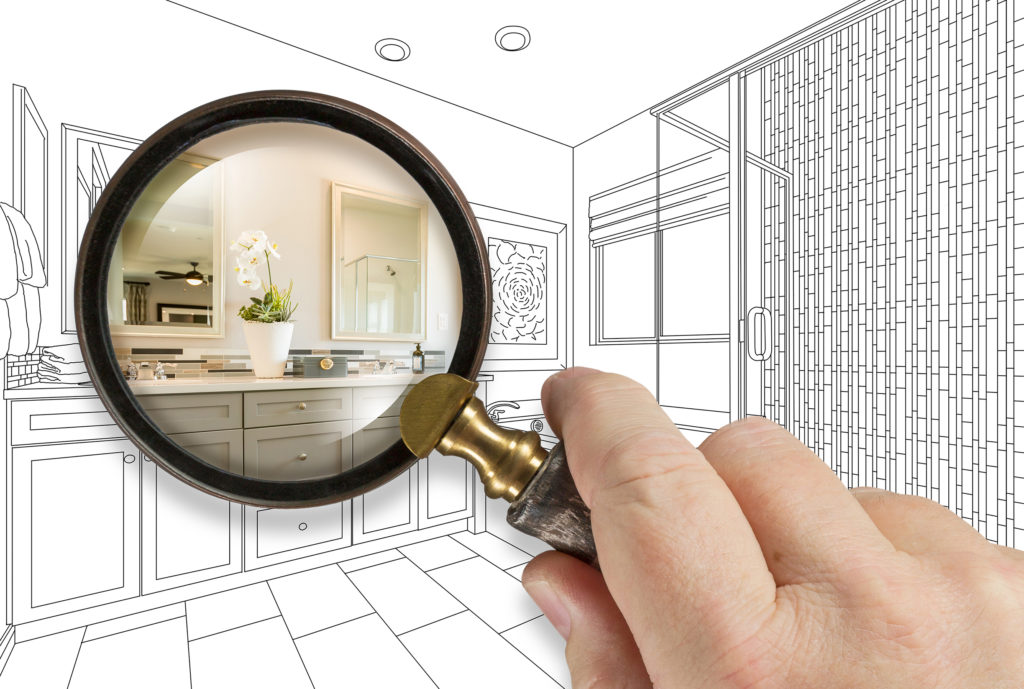
Plans of a bathroom remodel

The trick to any successful cost-effective bathroom remodel is taking on projects on your own that won’t break the bank. For example, you can expect to spend thousands on a new bathtub or shower alone, not including labor, but only hundreds for a new sink or faucet that you could install on your own. It’s true, you can get the same high impact look you love for a bargain when you make purposeful improvements.

Take a quick scan of your bathroom: What catches your eye the most? Does a portion of your bathroom stand out in a not-so-great way?

Looking at details of bathroom remodel plans

Is it at eye-level? How about your bathroom surfaces? Could your floors afford a refresh? Whatever you see, start there.


Our Top Efficient Eye-Level Improvements

Treat your walls like a blank slate, no matter what’s currently cluttering them.

  • Cover boring paint with textured wallpaper.
    • Look for neutral shades that will add subtle intrigue without overwhelming smaller spaces. On that note, hesitant homeowners can simply begin with one statement wall for an equally striking, low-cost improvement.
  • Add crisp white wainscoting.
    • If updating an entire wall is a bit ambitious, consider this simple upgrade that only extends as high as 48 inches on a wall. Our favorite feature of this upgrade? While you’re giving your bathroom a new look, you’ll be hiding those damaged areas you’ve put off patching for a while.
  • Add light-and-airy storage with floating shelves.
    • This weekend-approved upgrade will cost you far less time and money than a full cabinetry renovation while still getting the most out of unused wall space.


Our Favorite Surface Upgrades 

Forget a full countertop trade-out and stick with what’s on the surface instead.

  • Upgrade your bathroom sink.
    • If you want a budget-friendly upgrade with the most high-end effect, a new sink is the way to go. We promise it won’t come at a high cost, both for your time and money, especially with a Sinkology QuickFit All-In-One Kit.
  • Find a new favorite faucet.
    • Already love your sink? Accessorize it better with a fresh faucet.
  • Decorate intentionally with practical pieces.
    • Now we aren’t saying you should flood your countertops with every little nick-knack. Instead, pick one or two pieces that will make the overall space easier on your eyes and your morning routine easier to complete.


Our Most Recommended Floor Fixes

This improvement will feel as easy as walking on a cloud.

  • Replace worn-out rugs for luxurious linens.
    • Whether you make a statement with a brightly colored bathmat or focus on comfort with memory foam, this bathroom update can be easily checked off your list in one click.
  • Clean up your baseboards.
    • Chances are, your bathroom baseboards are filled with nicks and dents. A quick patch and a fresh coat of paint will frame your floor beautifully – and it will automatically look cleaner, too.
  • Hide outdated or damaged floors with luxury vinyl tiling (LVT)
    • Vinyl might have gotten a bad rap in the past, but this modern version can look as real as stone, tile or wood without the hefty price tag. Plus, you can avoid the added labor bill for this DIY-approved project.

Couple looking at their bathroom remodel plans

Bathroom remodels can be a bargain. Simply set your sights on what’s most important to you, what price is realistic for your budget and when you’d like to have it completed by. With those things in mind, your new-and-improved bathroom look will be ready before you know it.

_____________________________________________________________________

If you have any additional questions during your search for the perfect copper, fireclay farmhouse sink or crafted stainless steel sink, our Sinkologists are here to help. Contact us or follow us on FacebookHouzzPinterest, Instagram, or TikTok for more helpful tips and design ideas.


The post Budget-Friendly Bathroom Remodel appeared first on Sinkology.


source https://www.sinkology.com/blog/budget-friendly-bathroom-remodel/

Friday, January 28, 2022

Drain Dreams – Which Drain Is Right For You

When shopping for the right sink for your kitchen, the basin rightfully takes center stage. The reality is that although the actual sink itself might be the biggest focal point, accessories like drains are critical to creating the look and style that you love. Like every rainbow needs rain, every sink needs a drain, and there are some critical factors to consider when selecting the right drain for your sink.


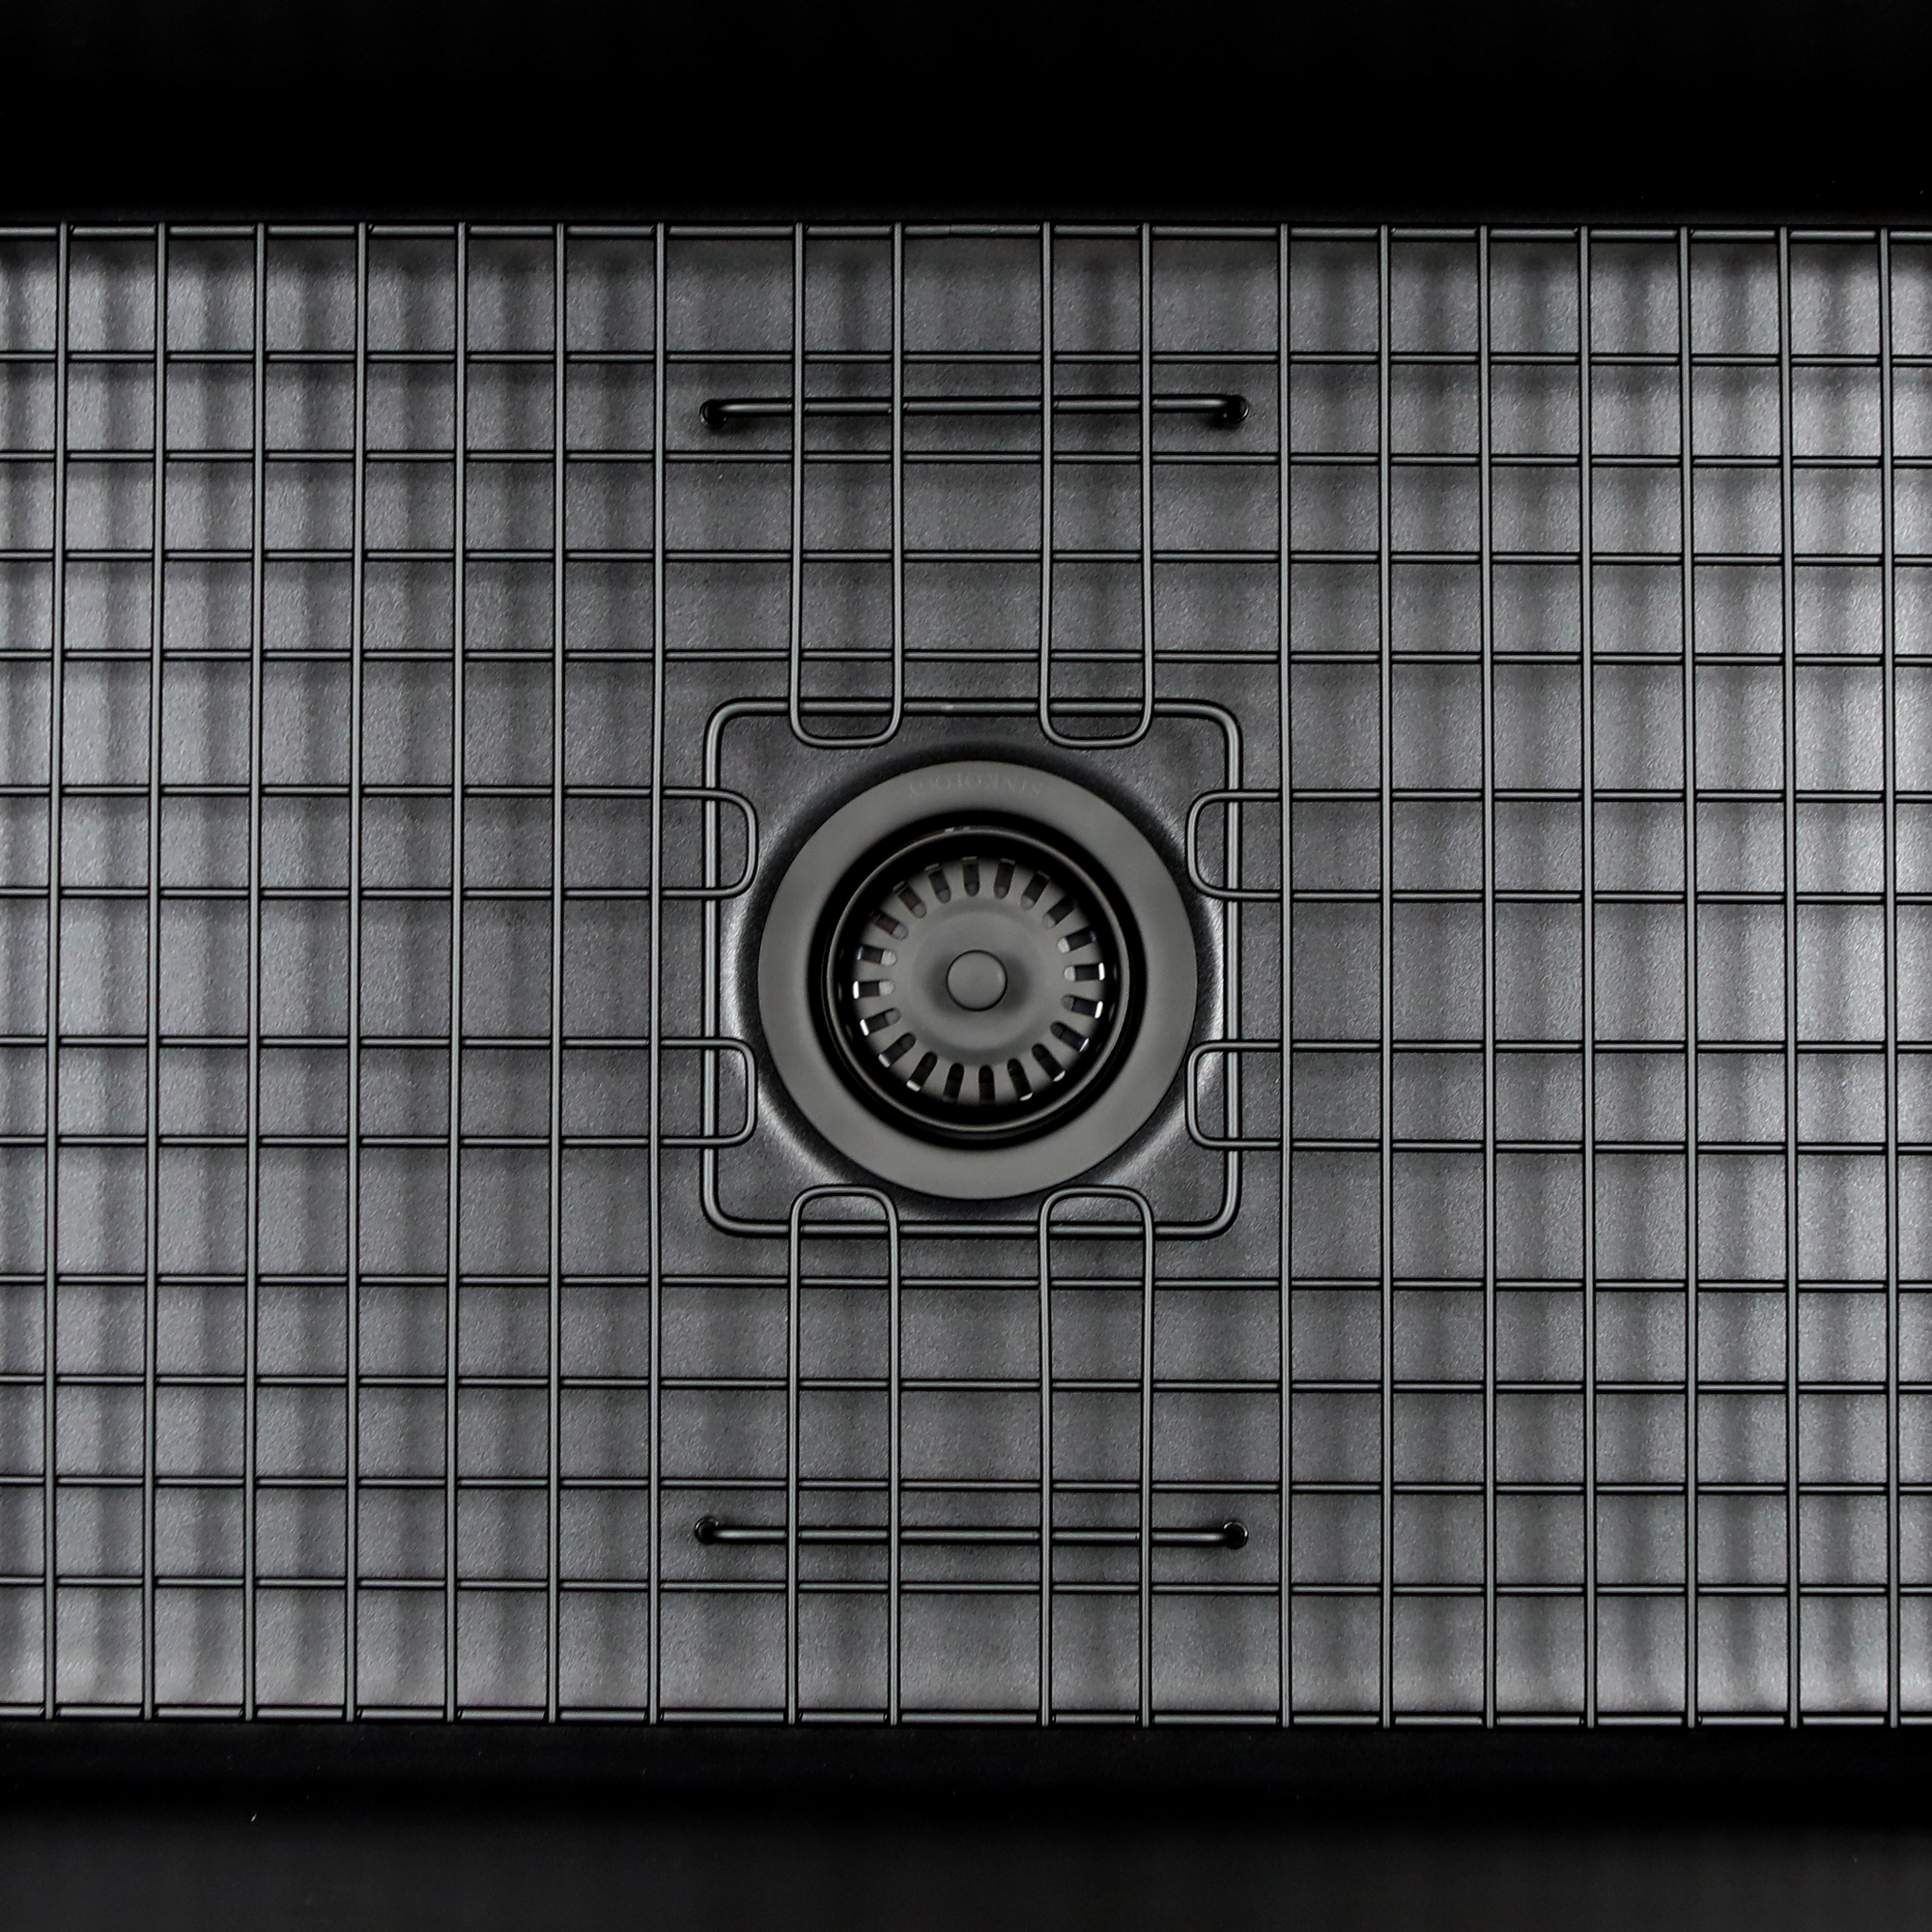
Black drain in black sink with grid

Which Type of Drain is Right for Me?

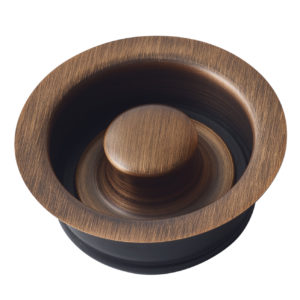
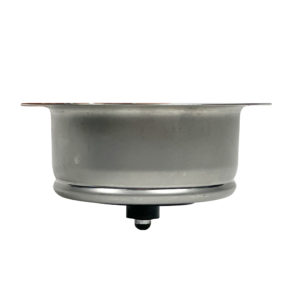
Stopper Drain This type of drain is perfect for multi-purpose double basin sinks. On the one hand, the stopper itself creates a perfect seal so you can fill the basin without the risk of leaking when soaking and handwashing your biggest pots and pans. When the stopper is not in use, the drain is left open to easily access a garbage disposal. 

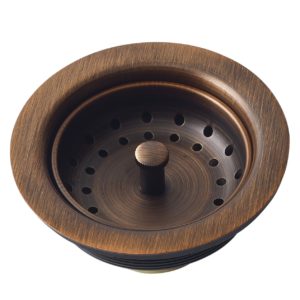
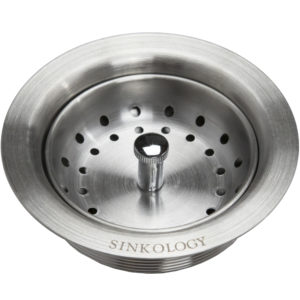
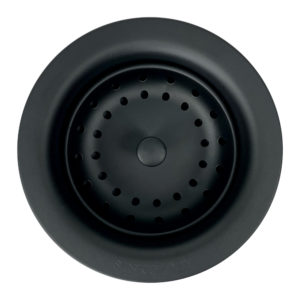
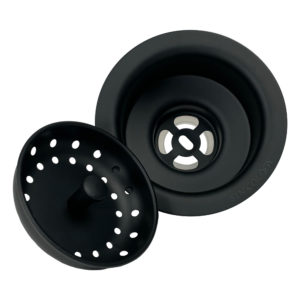
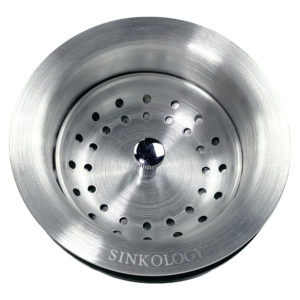
Strainer Drain: This type of kitchen sink is ideal for sinks without a disposal, whether in one side of a double bowl or in single bowl sinks. Strainer drains helps to prevent debris from going down the drain and into your plumbing with the help of a removable basket. But don’t let its strainability worry you about leaks. It holds water just as well as the stopper drain.

Basic Drain Designs

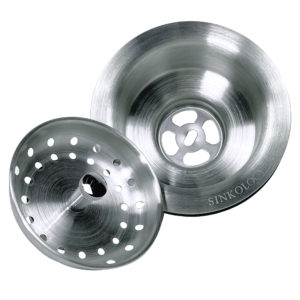
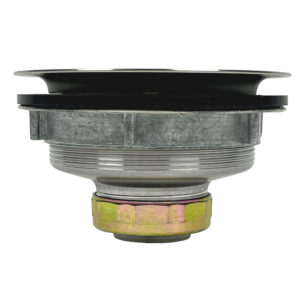
Sinkology carries two unique styles of drains in four finishes. Our classic basic-style drain is the OG in kitchen drains. It was our original design, comes at the most affordable price, and has done the job exceptionally well over the years.

Our original drains come in two finishes, Antique Copper and Stainless Steel.

Copper Strainer Drain

  • Antique Copper Strainer Drain: TB35-01

Copper Disposal Drain

  • Antique Copper Disposal Stopper: TD35-01

Stainless Drain

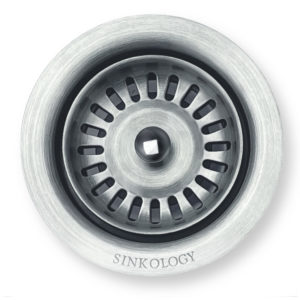
  • Stainless Steel Strainer Drain with Sinkology Logo: TB35-03

Stainless Disposal Drain

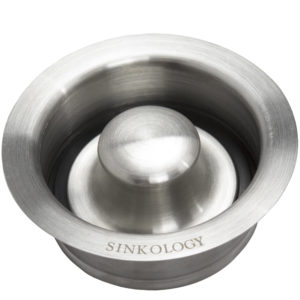
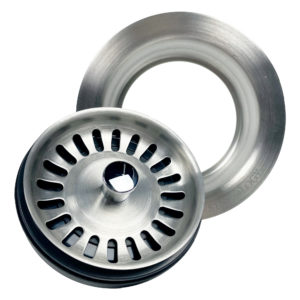
  • Stainless Steel Disposal Stopper with Sinkology Logo: TD35-03


Upgraded Strainer Drain and Disposal Stoppers

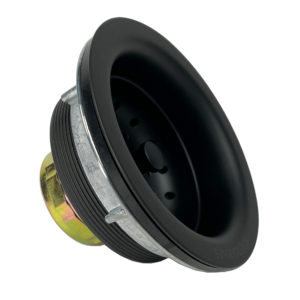
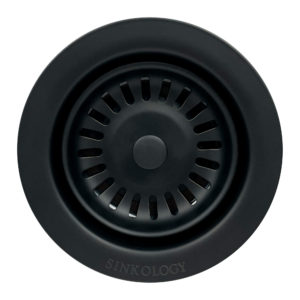
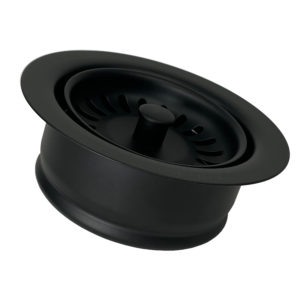
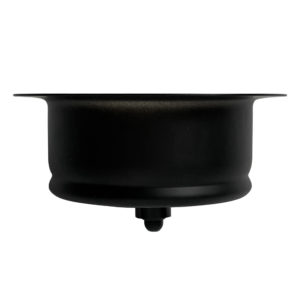
Sinkology’s upgraded versions of drains feature a heavier gauge for increased durability as well as a longer body threading to better fit thick sinks like fireclay and granite. This line of design also features an upgrade disposal stopper that allows for straining when the disposal is not in use or to easily prevent all water flow completely to fill the sink with water. This is a great added safety feature to help keep hands and other objects from getting into the disposal. This dual function replaces standard stoppers, which often go unused and simply take up space.

Our upgraded drains come in two finishes, Matte Black and Stainless Steel:


No matter which style you choose, all of our drains are designed for easy installation and lasting durability. You’ll love how they pair perfectly with our stainless steel, fireclay and copper sinks.  

stainless drain in a black sink

_____________________________________________________________________

If you have any additional questions during your search for the perfect copper, fireclay farmhouse sink or crafted stainless steel sink, our Sinkologists are here to help. Contact us or follow us on FacebookHouzzPinterest, Instagram, or TikTok for more helpful tips and design ideas.


The post Drain Dreams – Which Drain Is Right For You appeared first on Sinkology.


source https://www.sinkology.com/blog/drain-dreams/

Thursday, January 27, 2022

Butternut Squash Pasta Bake

Sinkology is proud to present Emily Schuermann, our food-loving guest blogger who runs Food for a Year. Emily is here to share some recipes she has created exclusively for the Sinkology blog that reflect her view of a copper sink: simple, timeless, affordable, and beautifully rustic. 


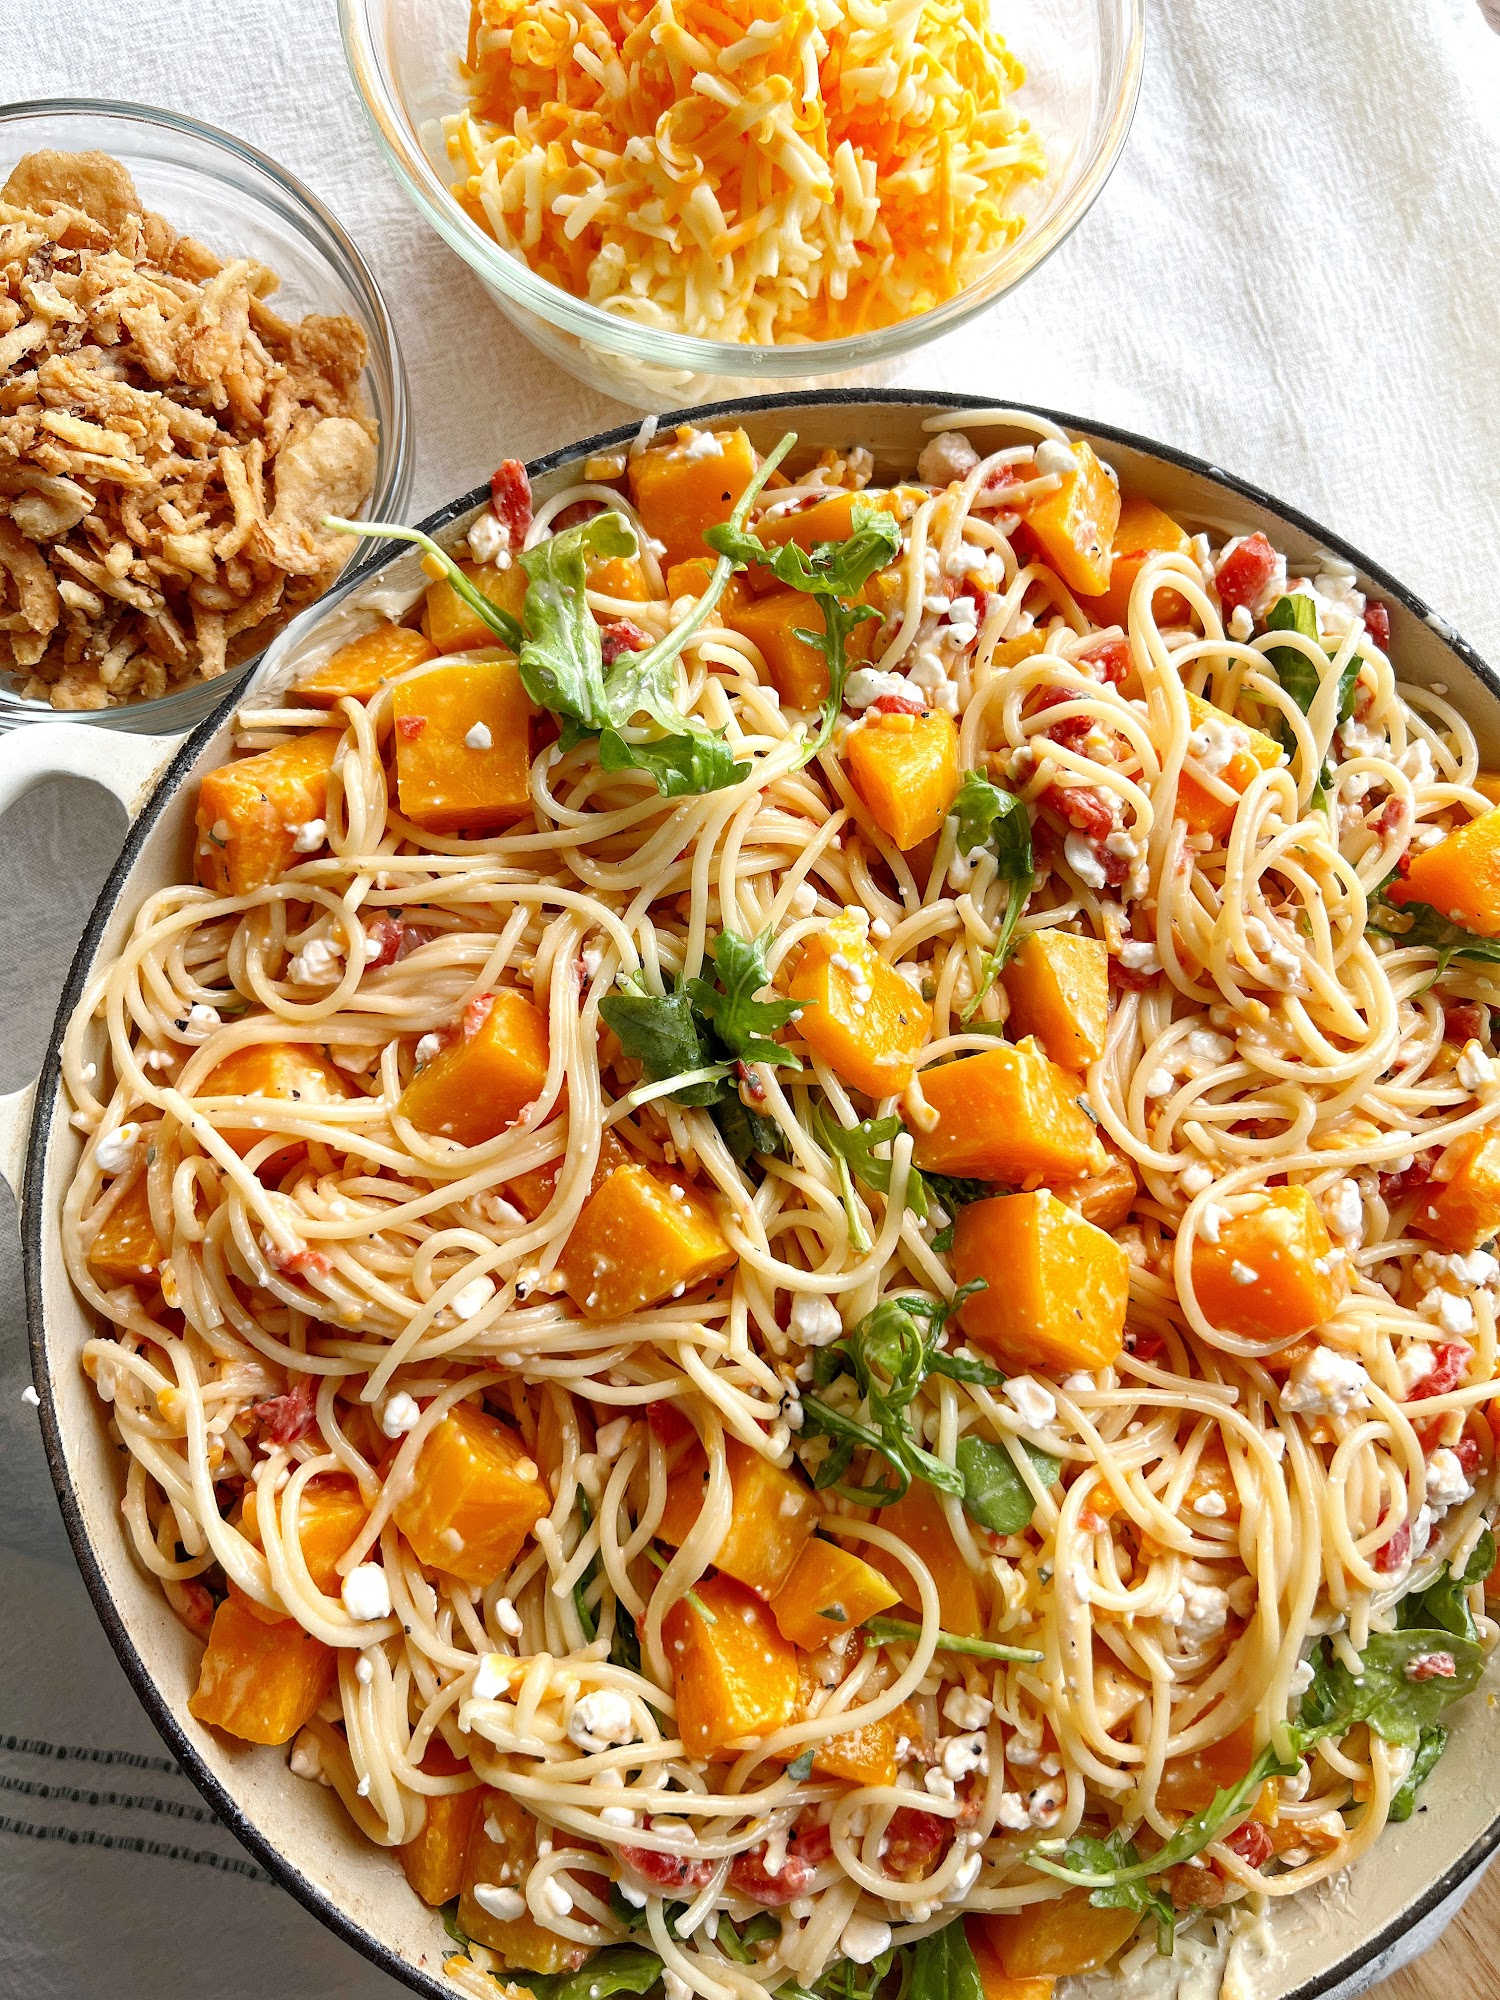
Butternut squash is such a beautiful ingredient – both the texture and the flavor add such delight to any recipe. That’s what makes me especially excited to share a twist on the classic spaghetti bake! By adding and exchanging several ingredients it’s as if butternut squash should’ve always been part of a pasta bake recipe!

dinner served butternut squash

There are a few things you can do to make this recipe very easy to prepare.

all butternut squash ingredients

Butternut Squash Pasta Bake : Let’s do this the easy way!

Start by purchasing pre-diced butternut squash in the produce section of your grocery store. If you can’t find pre-diced, then I have a hack for you! Just scroll down to the notes section of the recipe to read my tip.

Pre-grated cheese is a handy product if you are short on time. But, if you can spare a few extra minutes, cheese that’s been freshly grated melts so wonderfully that I think it’s definitely worth the effort.

Last hack, save some pasta water to loosen up the mixture before baking. This will help the pasta bake from drying out while baking.

Butternut Squash Pasta Bake :: Maximum flavors!

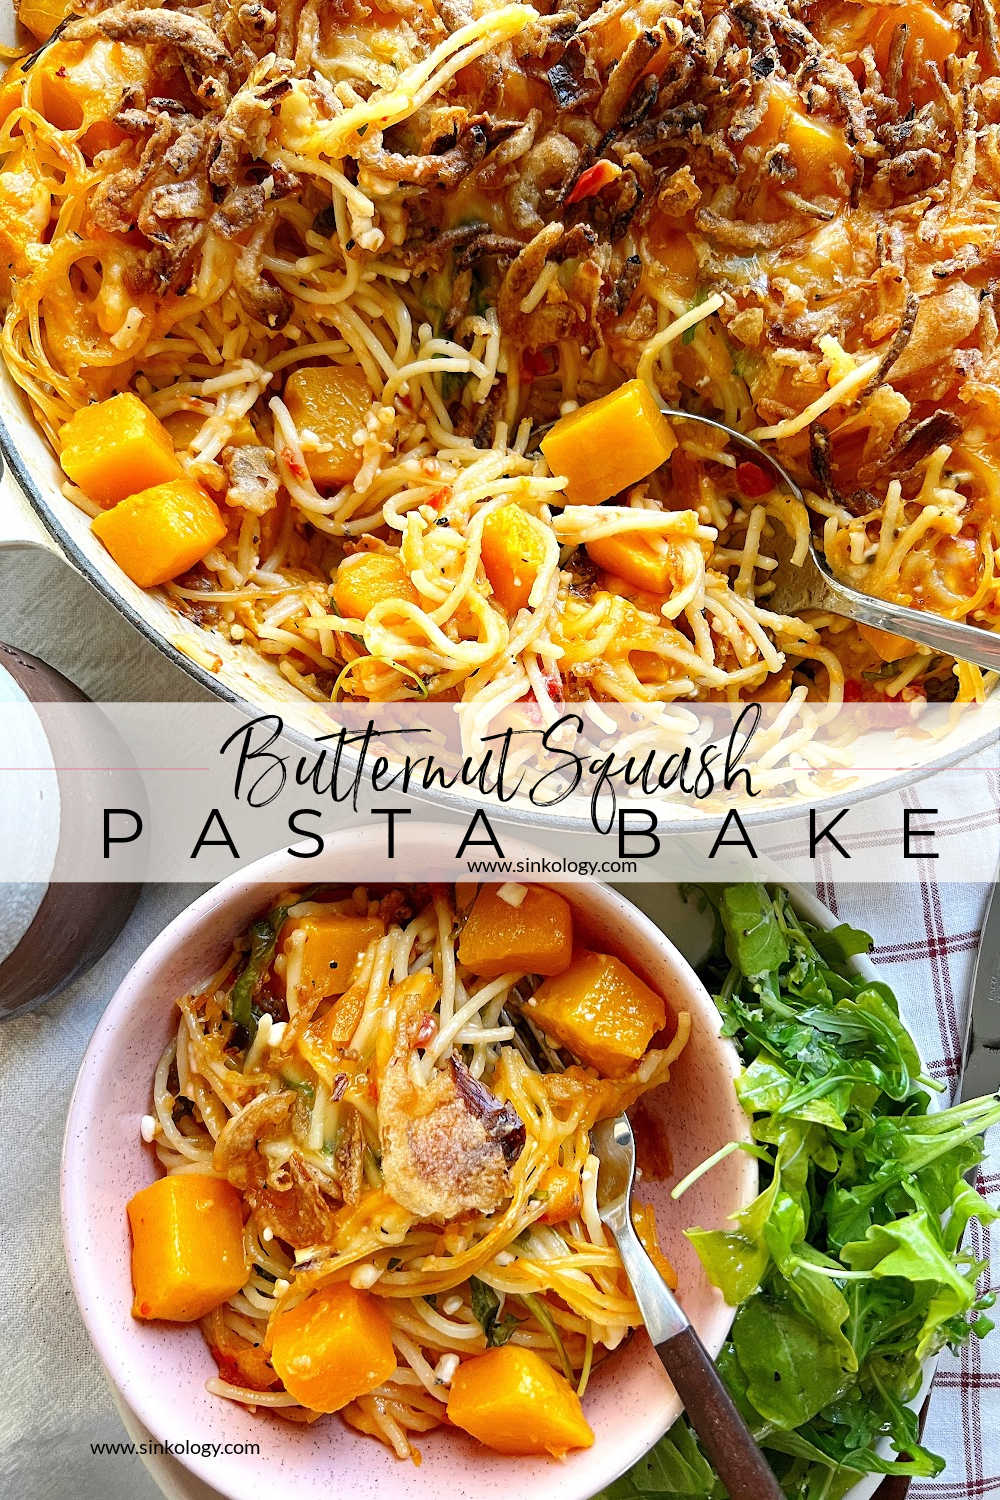
Between the butternut squash and the fresh sage, the pasta bake is the-perfect-meal! Cheesy, creamy squash and pasta with a crunchy, fried onion topping – my dream comfort food meal for sure! And the all-in one bowl preparation and all-in one pan baking makes this recipe a great weeknight meal solution too!

For a smaller family, divide this into two portions. Bake one pan and freeze another for later use!


Butternut Squash Pasta Bake

  • 3/4 lb spaghetti, cooked 2 minutes less than as instructed on the package
  • 1 c reserved pasta water or heavy whipping cream
  • 3 c diced butternut squash (1/2″ in size), steamed*
  • 1-2 c arugula
  • 1 garlic clove minced (optional)
  • 1 T fresh sage, finely chopped (or 1 t dried sage powder)
  • 1/2 t pepper
  • 1 t salt
  • 1 can petite diced tomatoes, drained
  • 2 c cottage cheese
  • 1 egg
  • 3 c shredded Colby Jack cheese, divided*
  • 1 c gruyere cheese, divided*
  • 1 1/2 c fried onions, for garnish

Instructions

Preheat oven to 375°. In a large mixing bowl, combine all ingredients (except* 2 c Colby Jack cheese + 1/2 c gruyere cheese + fried onions). Stir well so that all ingredients are evenly distributed.

Place the half of the butternut squash and spaghetti mixture into a prepared, buttered, baker (I used a 10″ x  3″ round cast iron baker). Sprinkle with 1 c Colby Jack cheese and then add remaining pasta mixture.

Top with remaining cheeses and fried onions.

Bake 40-45 minutes, or until bubbly and golden on top. If top begins to get too dark, place a piece of foil loosely atop the casserole and continue baking until the center is bubbly and the cheese is melted.

Serves 8

Note

If using a fresh whole butternut squash, use a fork to pierce the skin of the squash about every 3″ all over. Place the squash on it’s side in the microwave and microwave for 2-3 minutes. This will help make peeling easier. Once microwaved, chop the neck portion away from the bulb portion. Peel the neck portion then slice in 1/2″ slices. Cut in 1/2″ slices and the rotate 90° to make the final cut, forming a cube. Place 3 c diced squash in a microwaveable bowl, cover with plastic wrap and microwave on high until tender throughout. 

butternut squash pin

butternut squash bake pin 2

pin 3

pin 4

_____________________________________________________________________

If you have any additional questions during your search for the perfect copper, fireclay farmhouse sink or stainless steel sink, our Sinkologists are here to help. Contact us or follow us on FacebookPinterest, or Instagram for more helpful tips and design ideas.

The post Butternut Squash Pasta Bake appeared first on Sinkology.


source https://www.sinkology.com/blog/butternut-squash-pasta-bake/