Thursday, October 1, 2020

The Cleaning Power of Copper

washing at copper sink

It’s no secret that we love copper here at Sinkology. From an outsider’s perspective, it’s easy to understand our infatuation. Copper is simply stunning with finishes ranging from the brightest shine to the deepest shade. Its naturally unique variations make an impact in kitchens of all styles, from rustic to modern. We can’t decide which is our favorite, which is why we offer five durable finishes that will fit your home’s style and stay beautiful through everyday use.


But there’s more to our obsession than looks alone. Copper is the superior sink material that is more powerful than what you might realize. In a time where health and cleanliness is top of mind, an antibacterial material like copper can bring peace of mind.


The average sink is a sanctuary for germs and odors. But with self-cleaning copper, germs die on contact for a cleaner sink. Not only is copper antibacterial, it’s also antiviral and anti-fungal. This may be news to you, but copper has has been known for its cleaning properties for centuries:

  • Egyptians would use copper In their worlds to prevent infection.
  • Aztecs used a blend of copper oxide and copper carbonate with olive paste and honey to treat skin infections.
  • Copper workers in Paris survived cholera epidemics thanks to their daily job.


Today, you can feel confident while washing everything from your favorite dishes to your littlest baby in your copper sink. 


But how does copper act as a powerful healer? Science shows that copper ions are released when microbes land on the surface. These microbes can be from dirty dishes, a sneeze, or a single touch of a finger. Essentially, these copper ions destroy the microbes’ DNA and RNA to prevent cell respiration and the spread of disease. What’s even more incredible about this is that this process prevents mutation, meaning microbes can never become resistant to copper. Instead, copper is strong enough to kill superbugs that have mutated to be antibiotic resistant. Forget the sink, we want to install copper everywhere in this day and age.


Given its incredibly unique qualities, copper has its own kind of care. When it comes to caring for a copper sink, you can skip the harsh cleaning chemicals you need for stainless steel and stone sinks. Stick with a simple rinse with soapy water after use and regular use of our CareIQ Kit. Click here for our top tips on how to properly care for your copper sink.


Beyond the home, copper’s impact extends to our shared environment. This eco-friendly material has the highest recycling rate, which, in a time of single-use everything, is an important piece of sustainable living. And, according to the International Copper Association (Copper Alliance), of the 550 million tons mined since 1900, two-thirds are estimated to still be in use today. Copper Alliance says, “Copper is one of the few materials that can be recycled repeatedly without any loss of performance. As well as helping to satisfy the annual demand for copper, recycling conserves valuable natural resources, saves energy, and reduces CO2 emissions.”

Yes, copper may be pretty, but there’s nothing delicate or dainty about it. It’s some powerful stuff that can help you keep your household healthy for an entire lifetime. There’s a reason it stays looking as good as the day of installation for years to come. Copper is incredibly durable, especially when constructed properly.


Installing a Sinkology copper sink in your home will withstand the test of time, unlike trendier styles and weaker materials. Copper is essentially ageless yet immediately historic. Unlike standard stone sinks, it’s hard to tell old copper from new. Our sinks are high-quality and high-gauge for long-lasting use.


It’s clear that the true power of copper is more than surface-deep. If you’d like to learn more about copper and its nature, you can learn more on our website. Click here so you know what to expect before your first use.

_____________________________________________________________________

If you have any additional questions during your search for the perfect copper, fireclay farmhouse sink or granite sink, our Sinkologists are here to help. Contact us or follow us on Facebook, Houzz, Pinterest, or Instagram for more helpful tips and design ideas.

The post The Cleaning Power of Copper appeared first on Sinkology.


source https://www.sinkology.com/blog/cleaning-power-of-copper/

Thursday, September 24, 2020

Big Banana Nut Breakfast Cookies

Back to school days are just around the corner and whether your family is doing school in person or on-line or virtual or blended or home (or some other option that I’ve overlooked), I think we can all agree : school breakfasts are a struggle.


As a mom of 4 (with 3 in high school), my 2 biggest school morning breakfast obstacles are TIME and TASTEBUDS. I’ve tried smoothies and pre-made breakfast tacos, over-night oats and yogurt/granola parfaits – and it never fails, someone (or all) is unhappy. All of those complaints left me determined to develop something that met all of our criteria.

A couple of years ago, about this time of year, I thought “What about cookies for breakfast? I bet they’d love that!” Inspired and hopeful, I decided to play with the base of an oatmeal cookie and began sneaking in a few ingredients that would please their tastebuds AND feed their brains.

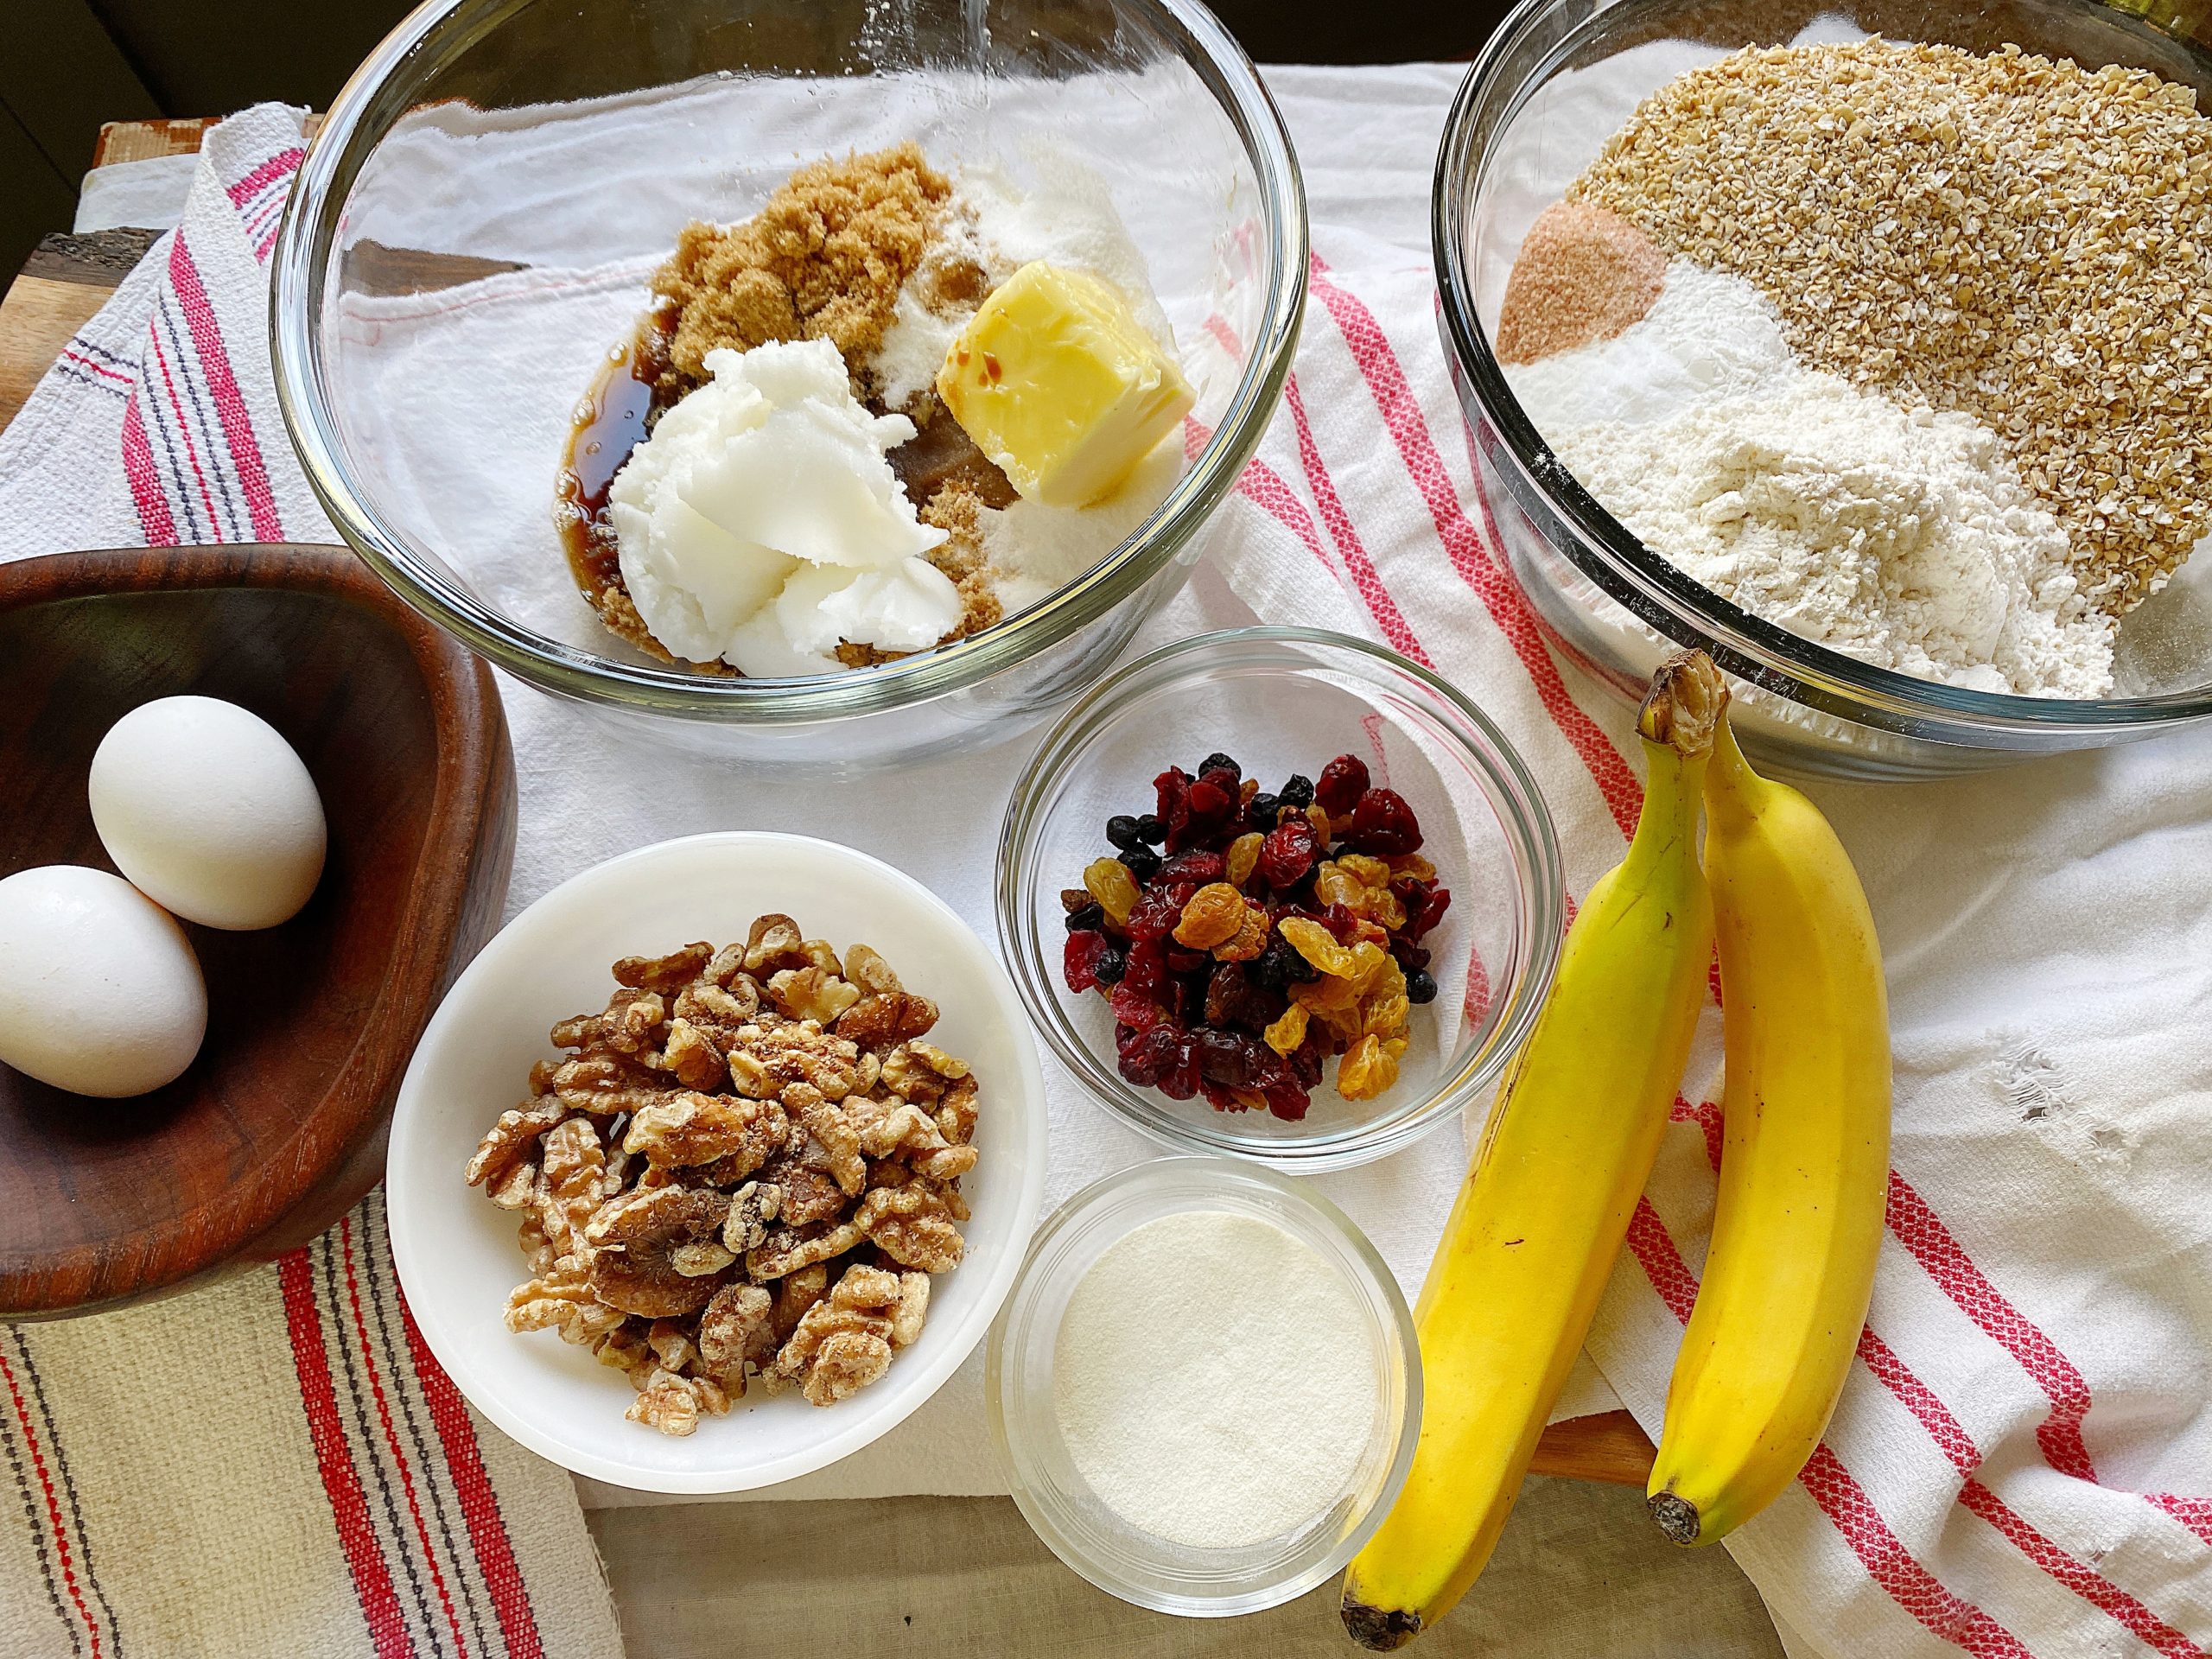
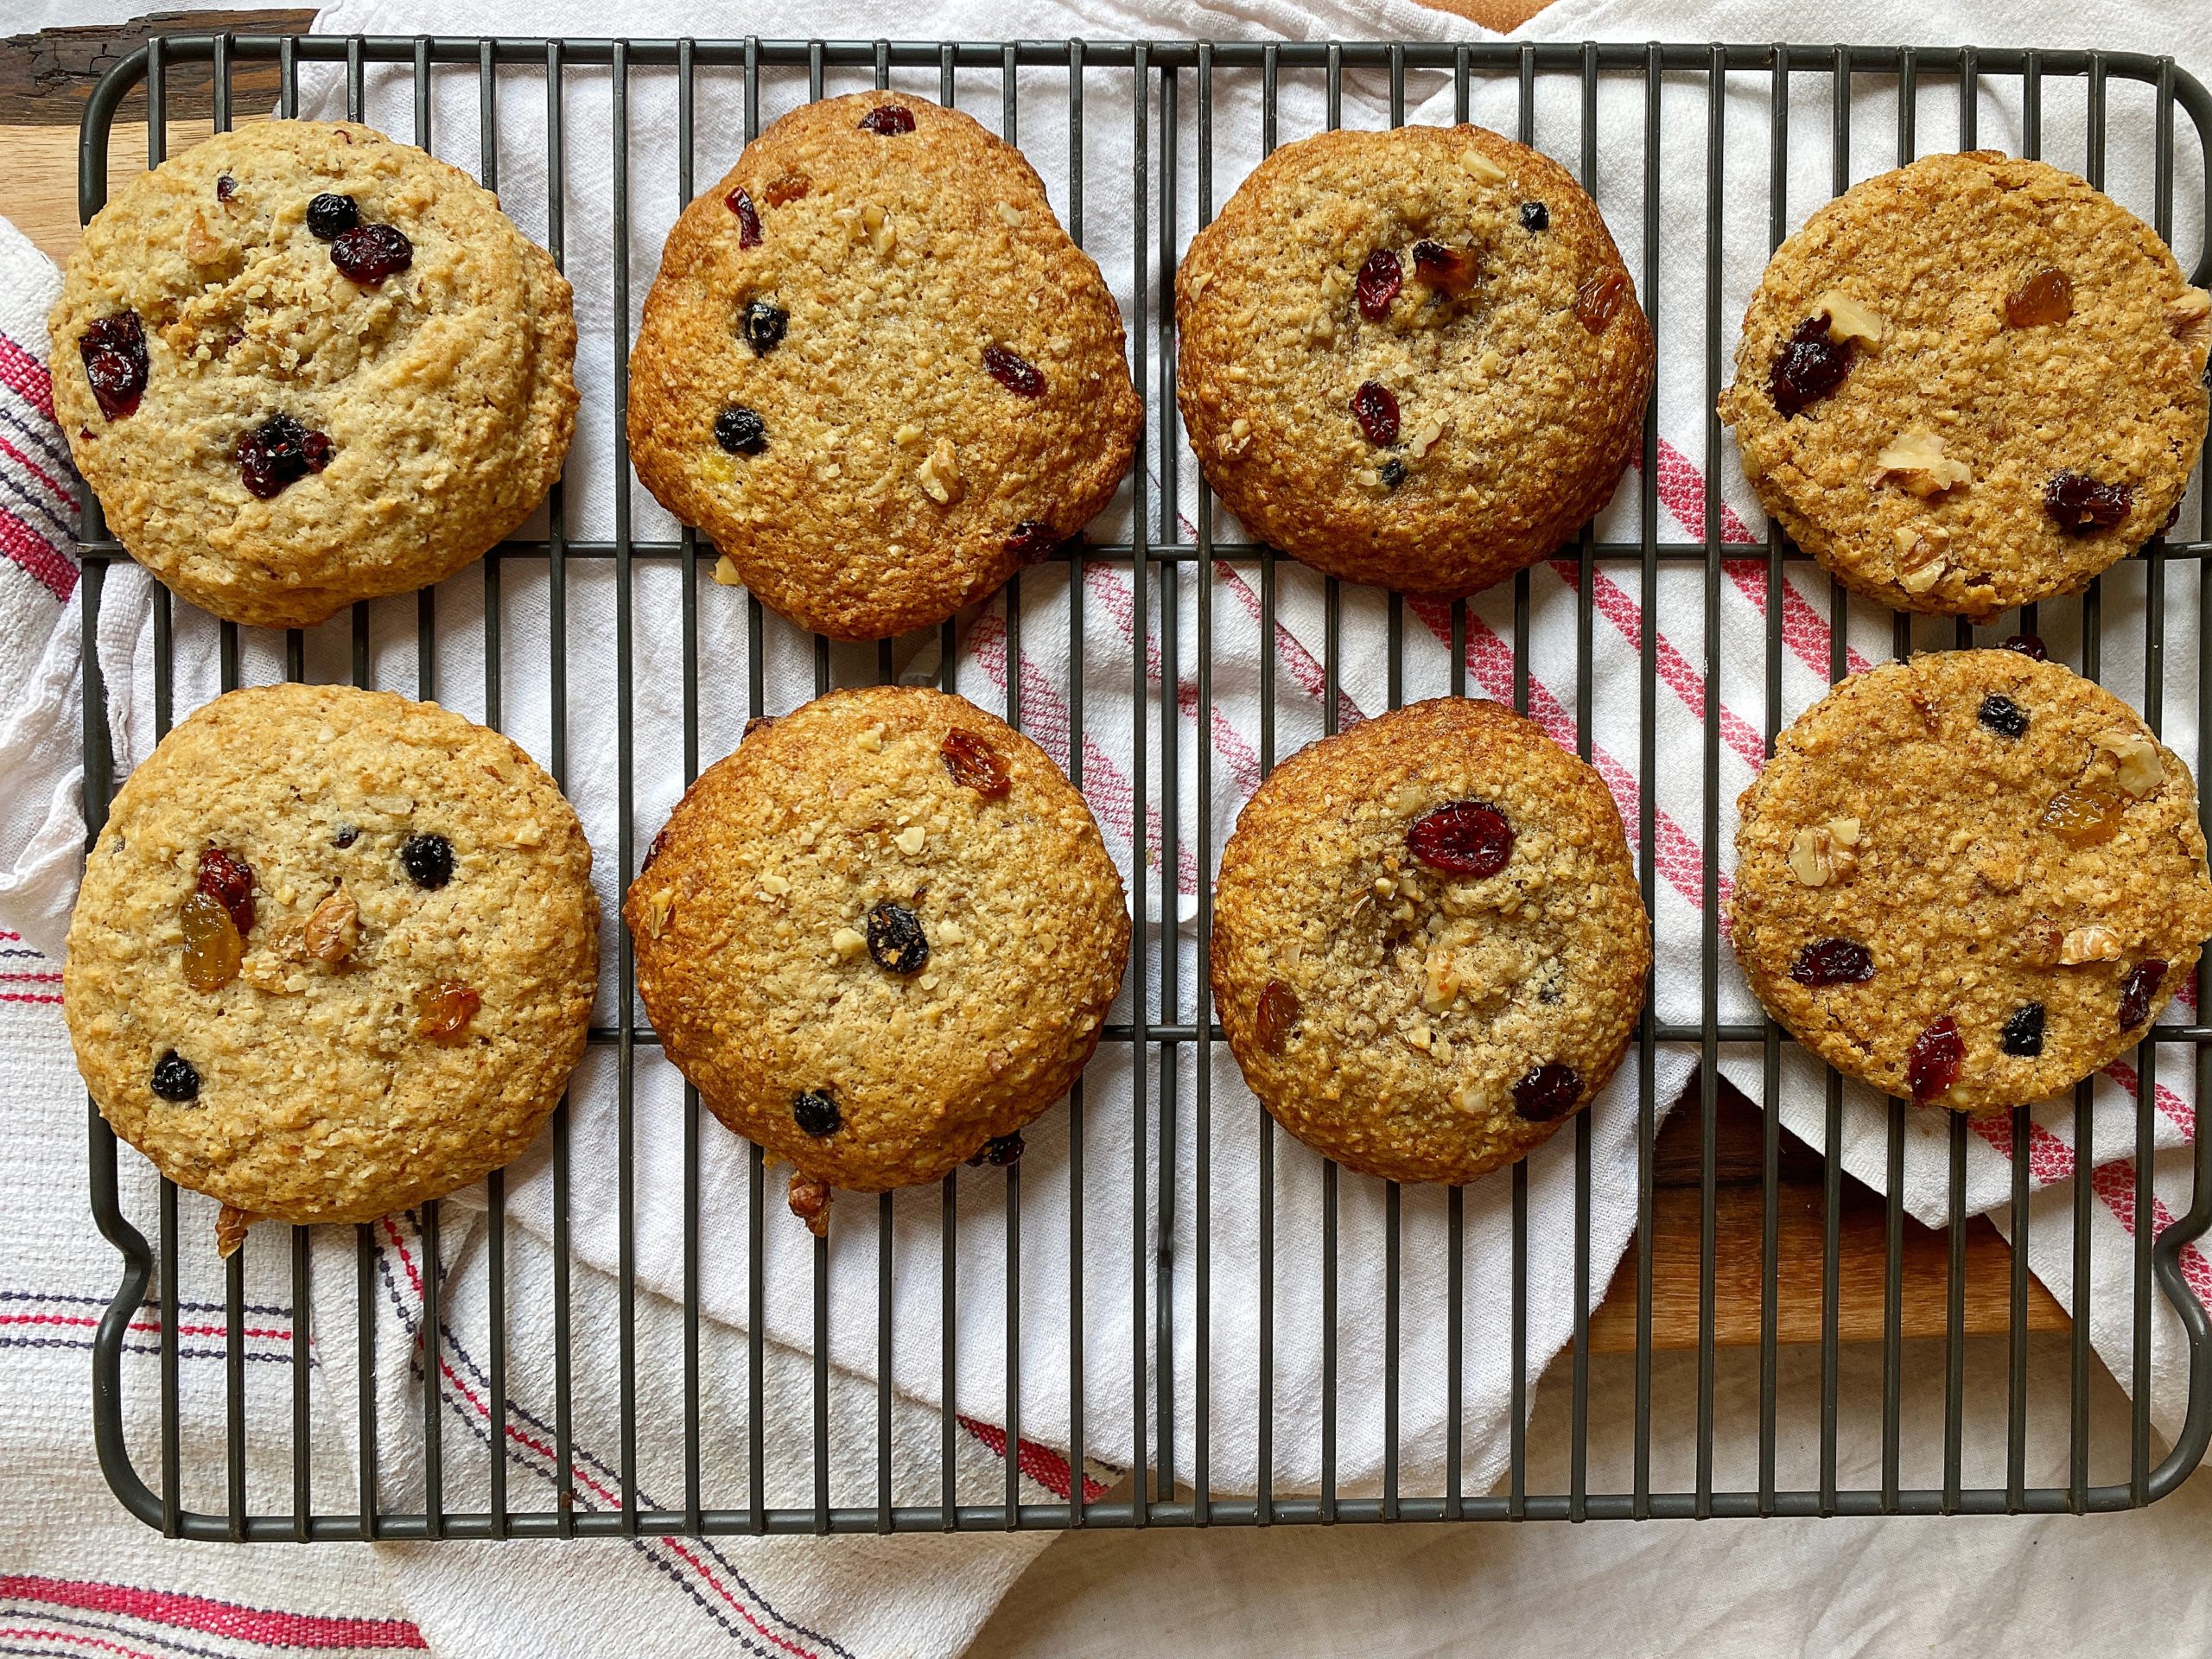
This recipe is packed full! Nuts and fruits, whole grain oats + a protein boost (thanks to collagen peptides). These Big Banana Nut Breakfast Cookies fuel the brain AND charm the taste buds. BONUS?? This recipe makes enough cookies to last the whole week!

BREAKFAST COOKIE TIPS FOR SUCCESS ::


After several recipe test runs, I’ve landed on a few perfect techniques that promise to produce the perfect breakfast cookie:

  • start with room temperature butter and melted coconut oil (they cream into the sugars wonderfully)
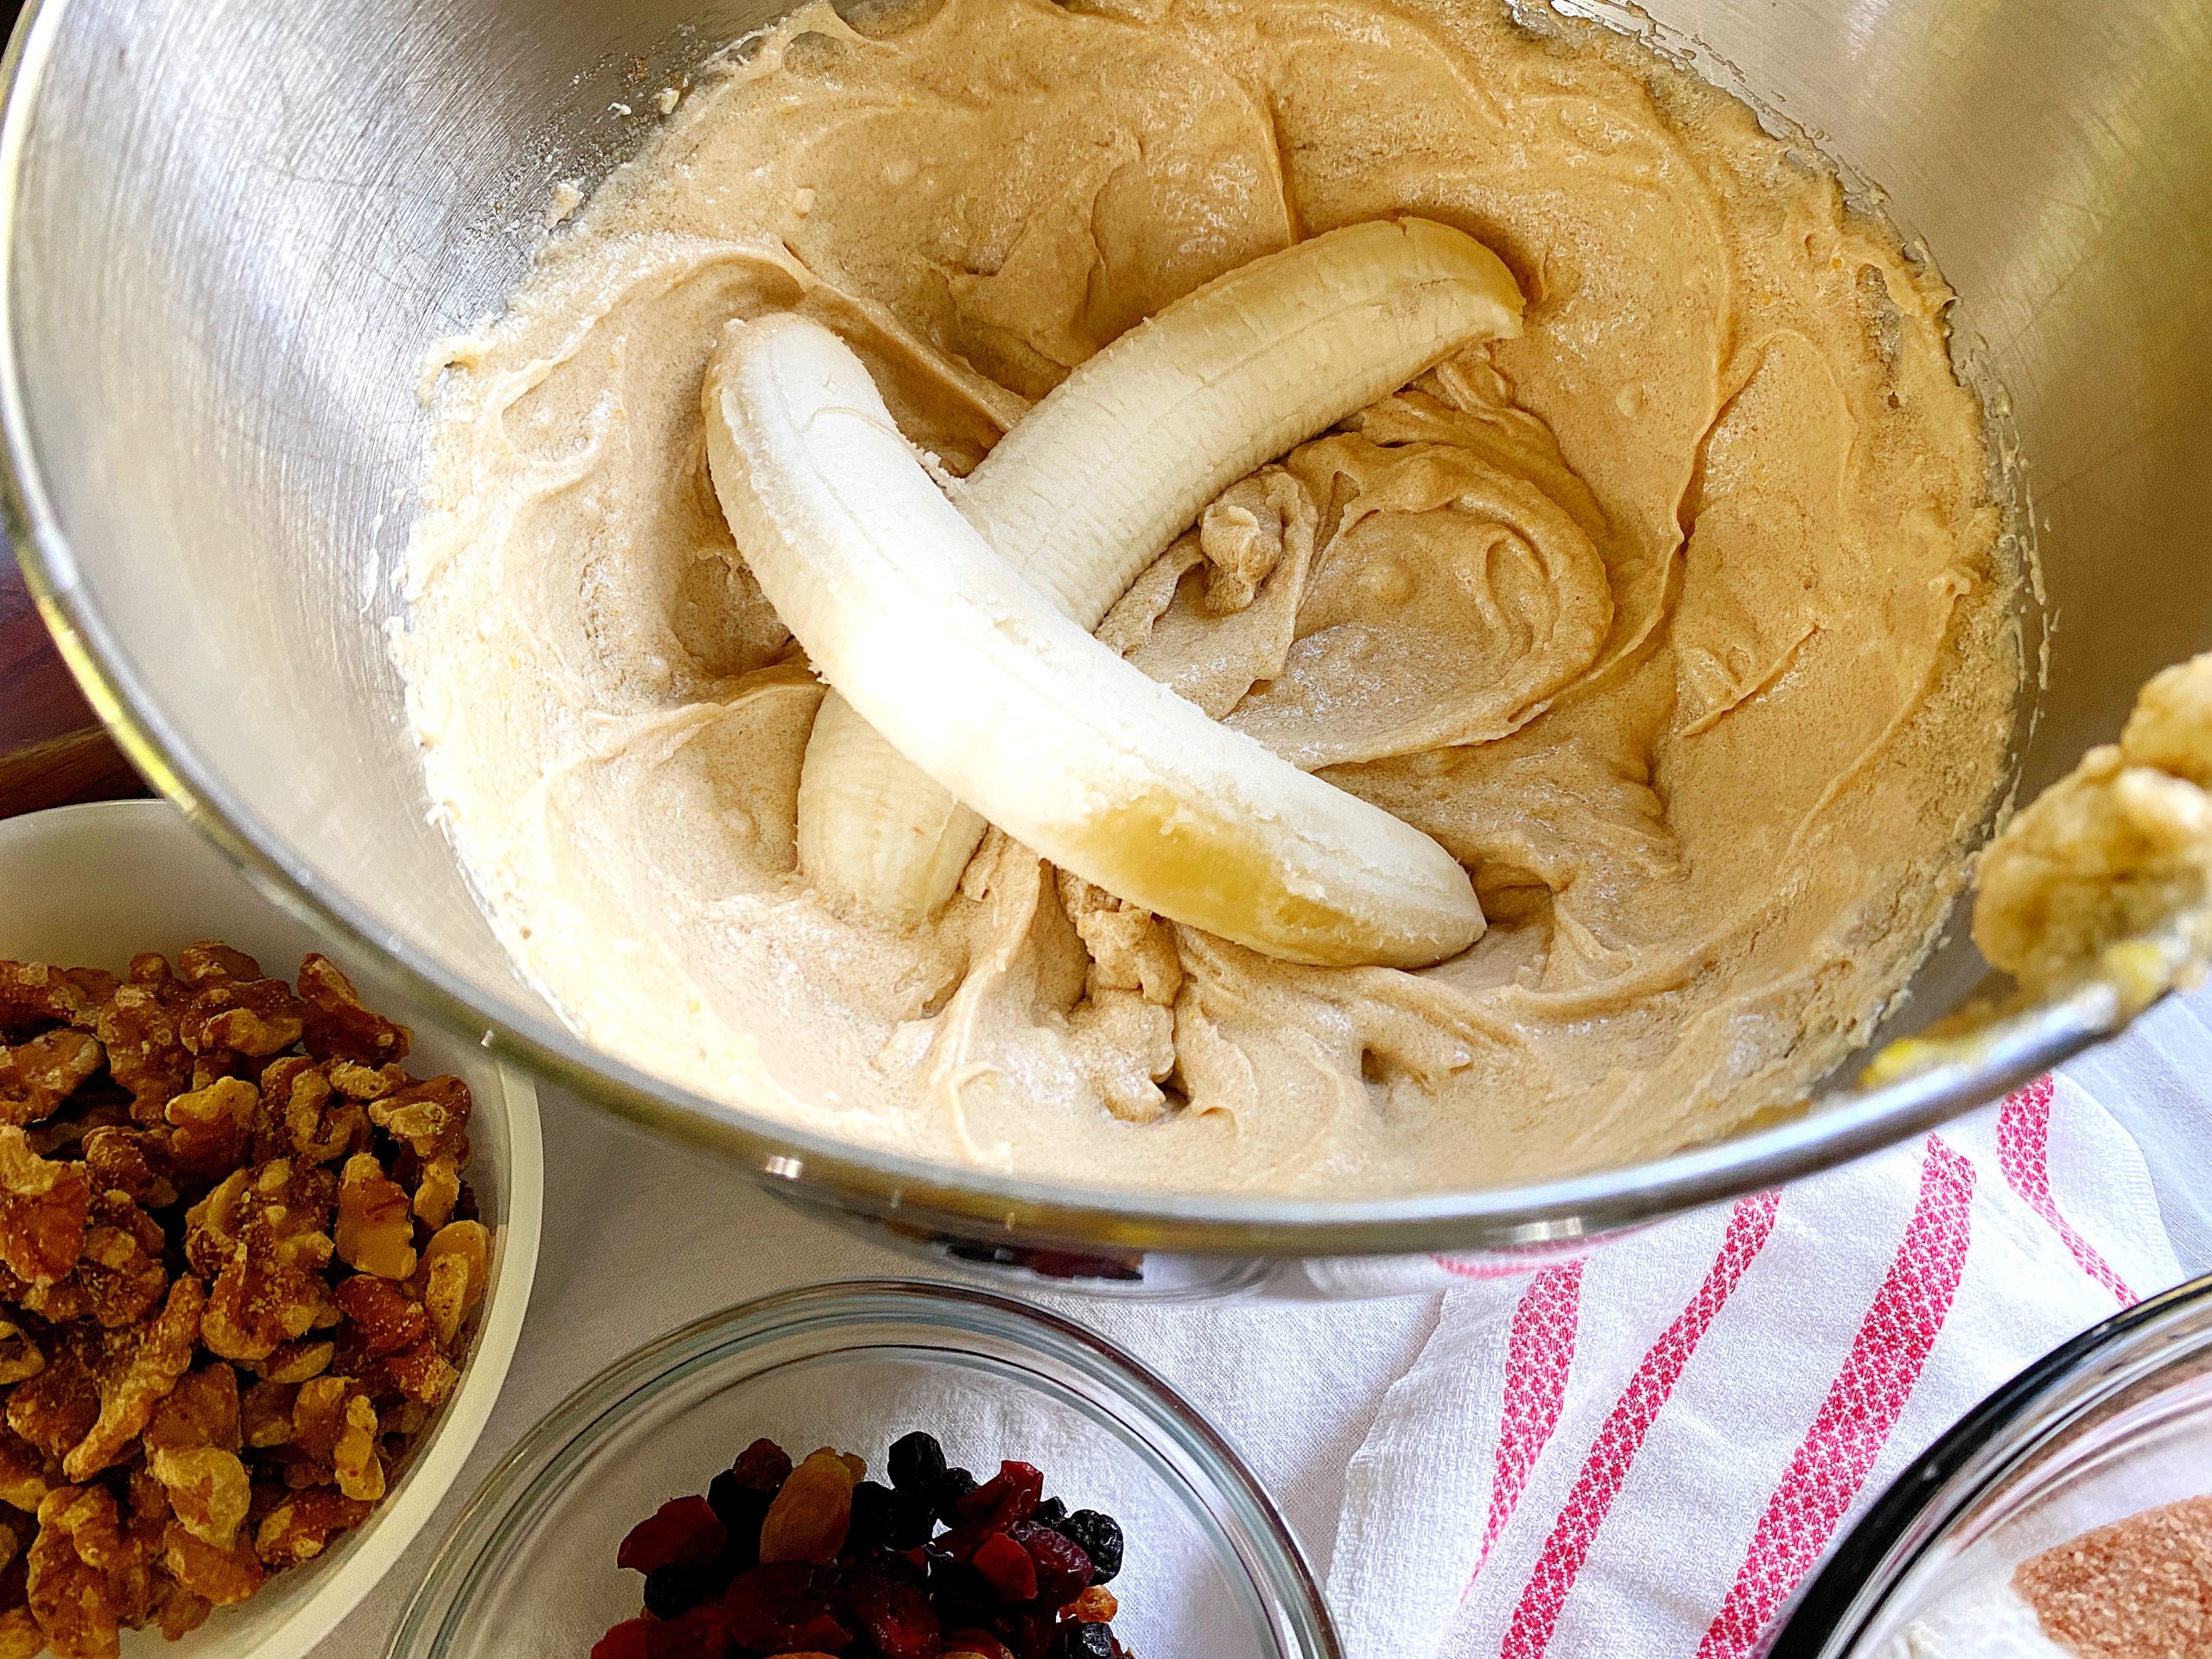
  • lightly beat eggs and mashed bananas into the creamed fat + sugar (this keeps the fat from ‘breaking’)
  • once the dry ingredients + nuts + dried fruit are added, be sure to scrape the bottom and sides of the mixing bowl (this ensures a consistent dough)
  • refrigerate dough for at least 1 hour before baking (this allows the moisture to disperse into the oat flour for a more moist, tender cookie)


Big Banana Breakfast Cookies same recipe 4 ways
One more tip that simplifies school mornings is to pre-scoop all of the dough at once, refrigerate the dough balls and bake as needed.

big banana nut breakfast cookie dough

baked big banana nut breakfast cookies

A little banana, a little nutty, a little sweet; delicious enough to please even the pickiest eaters. Whole grain, protein-packed, stuffed with nutrients; healthy enough to boost your students toward success. These cookies are a school-morning slam dunk! 

Looking for another simple breakfast recipe? Try these Stone Fruit + Cream Cheese Puff Pastries.

Banana Nut Breakfast Cookies

Ingredients:

  • 3/4 c sugar
  • 3/4 c brown sugar
  • 1 stick butter, room temperature
  • 4 oz coconut oil, melted
  • 2 medium ripe bananas, mashed
  • 2 eggs, room temperature
  • 2-3 t vanilla
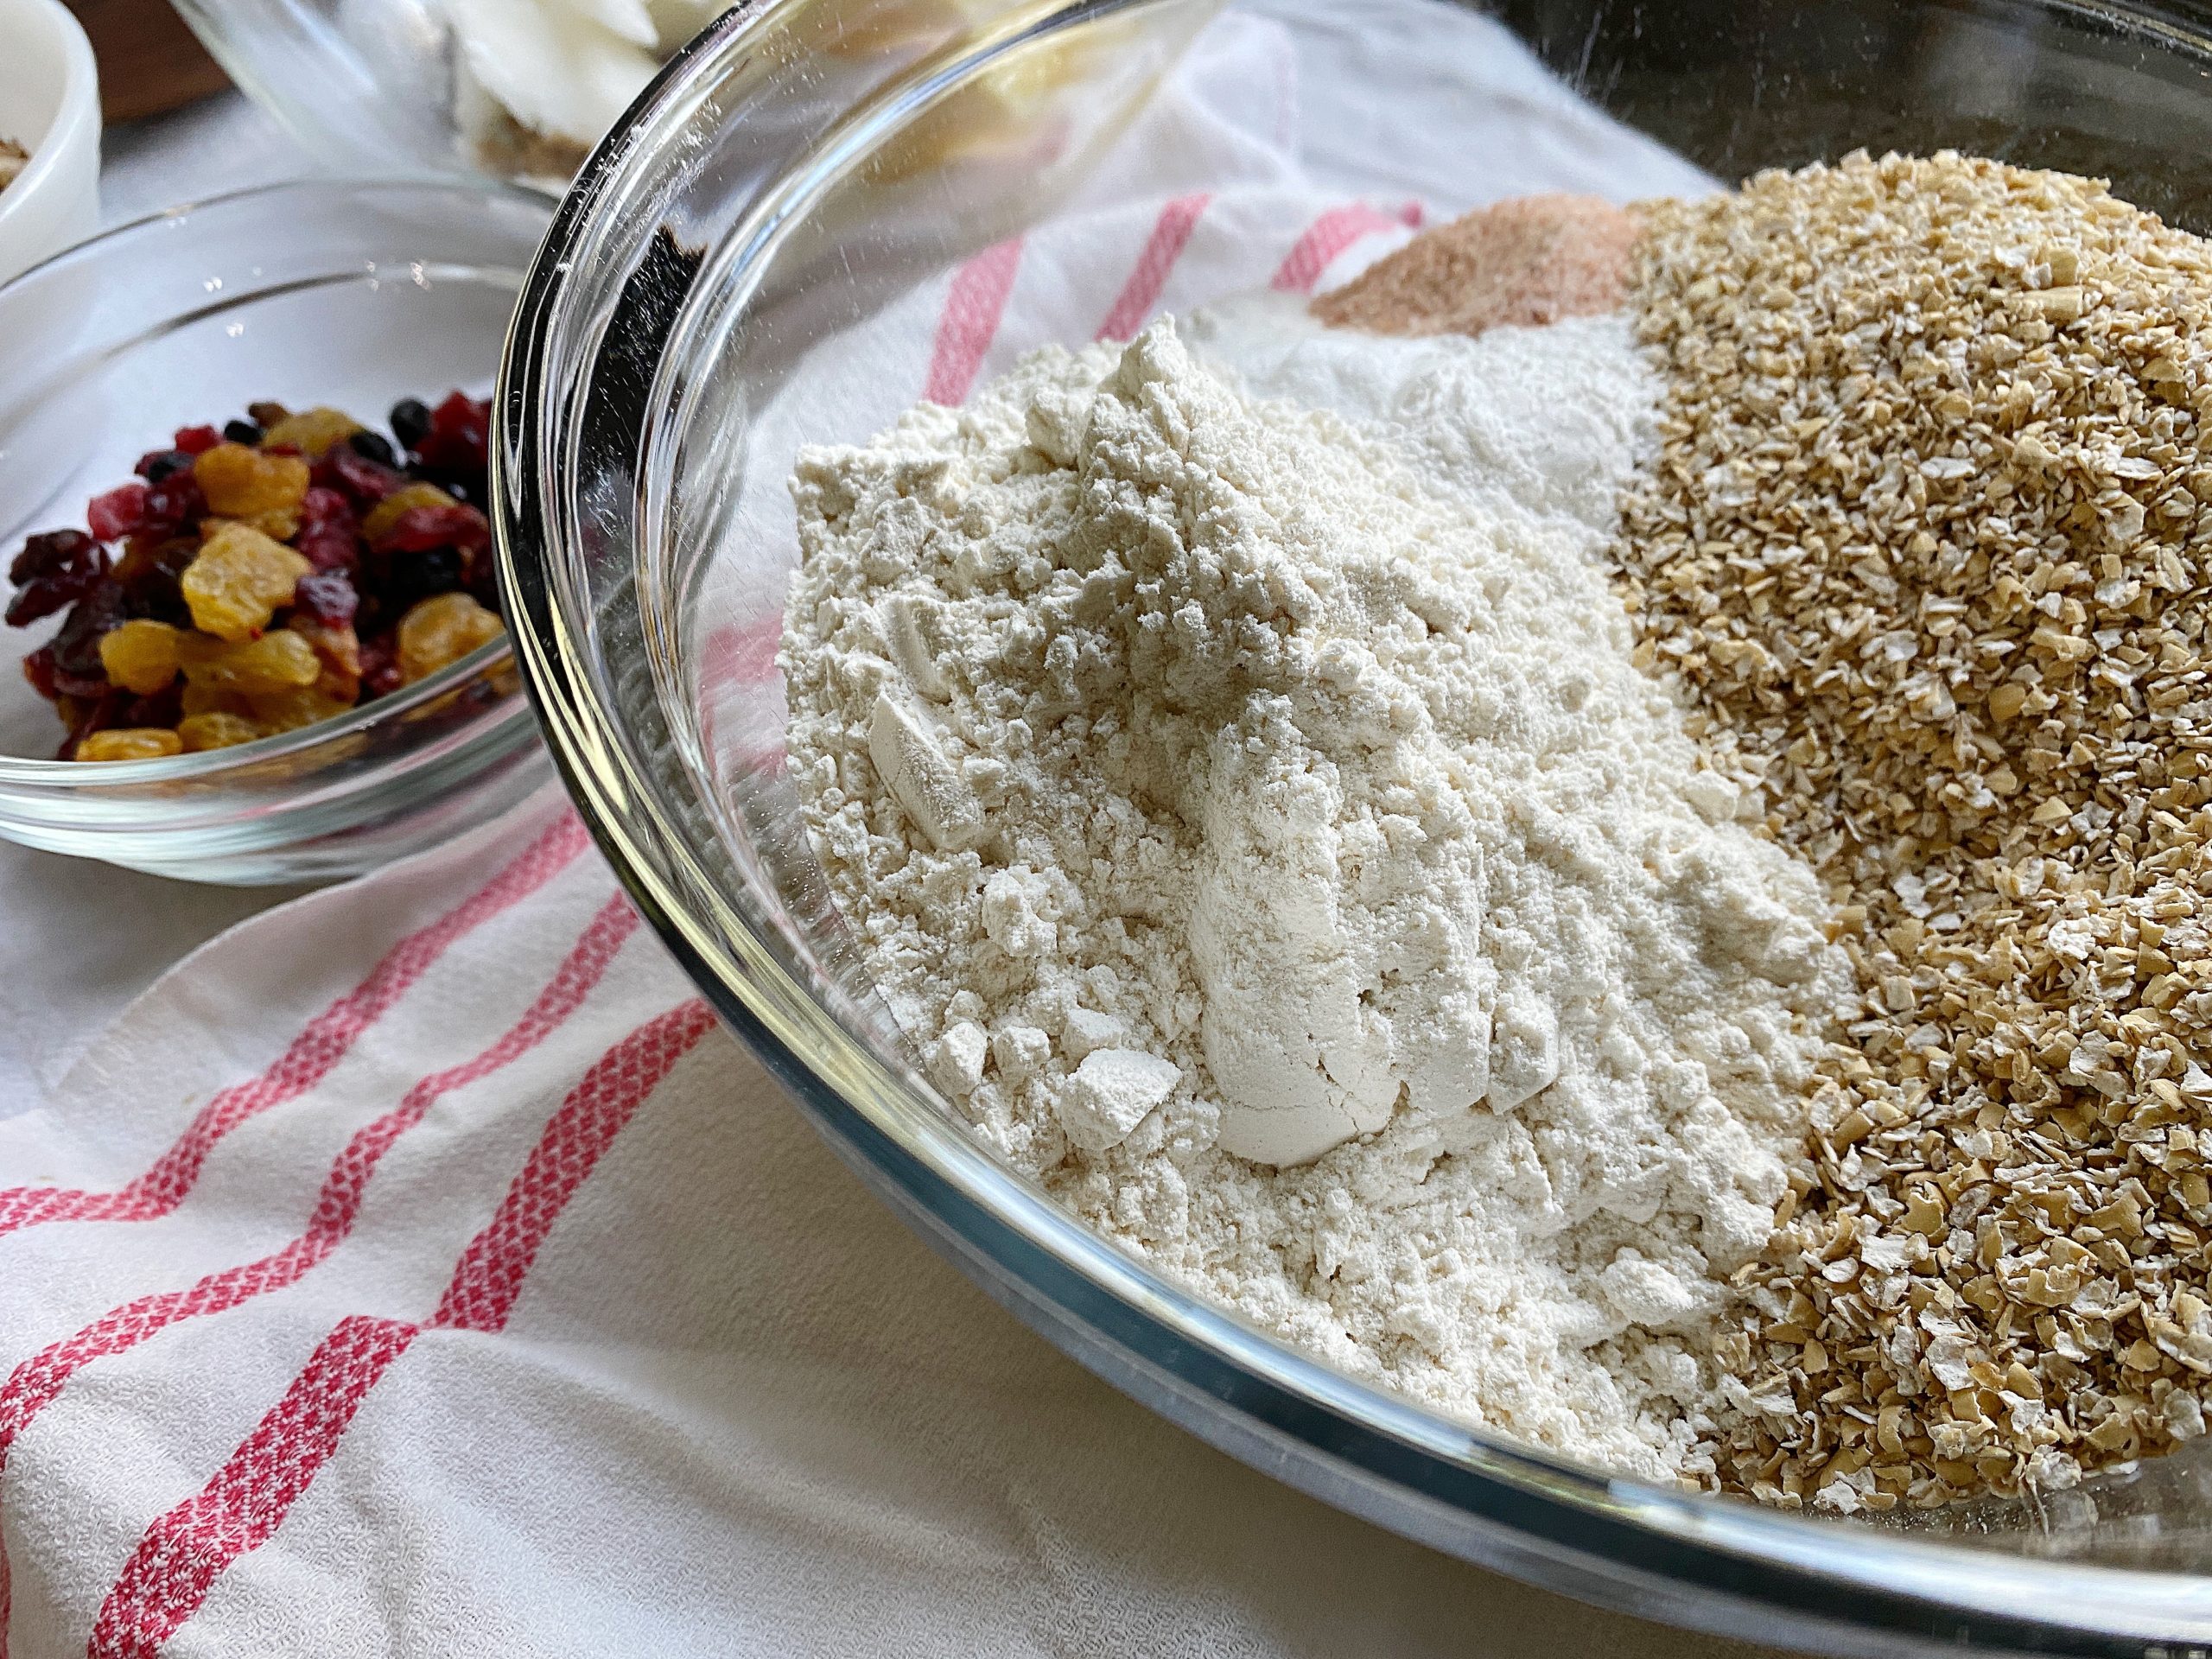
  • 2-1/2 c ground oat flour
  • 2 c flour
  • 4 scoops collagen peptides (8 T) (optional)
  • 1 t sea salt
  • 2 t baking powder
  • 1 t baking soda
  • 1/2 c dried berries or raisins
  • 1 c walnuts

Directions:

  • If preparing within the hour, preheat oven to 350°. Combine sugars and fats in the bowl of a stand mixer. After whipping these ingredients together, add mashed bananas, eggs & vanilla.
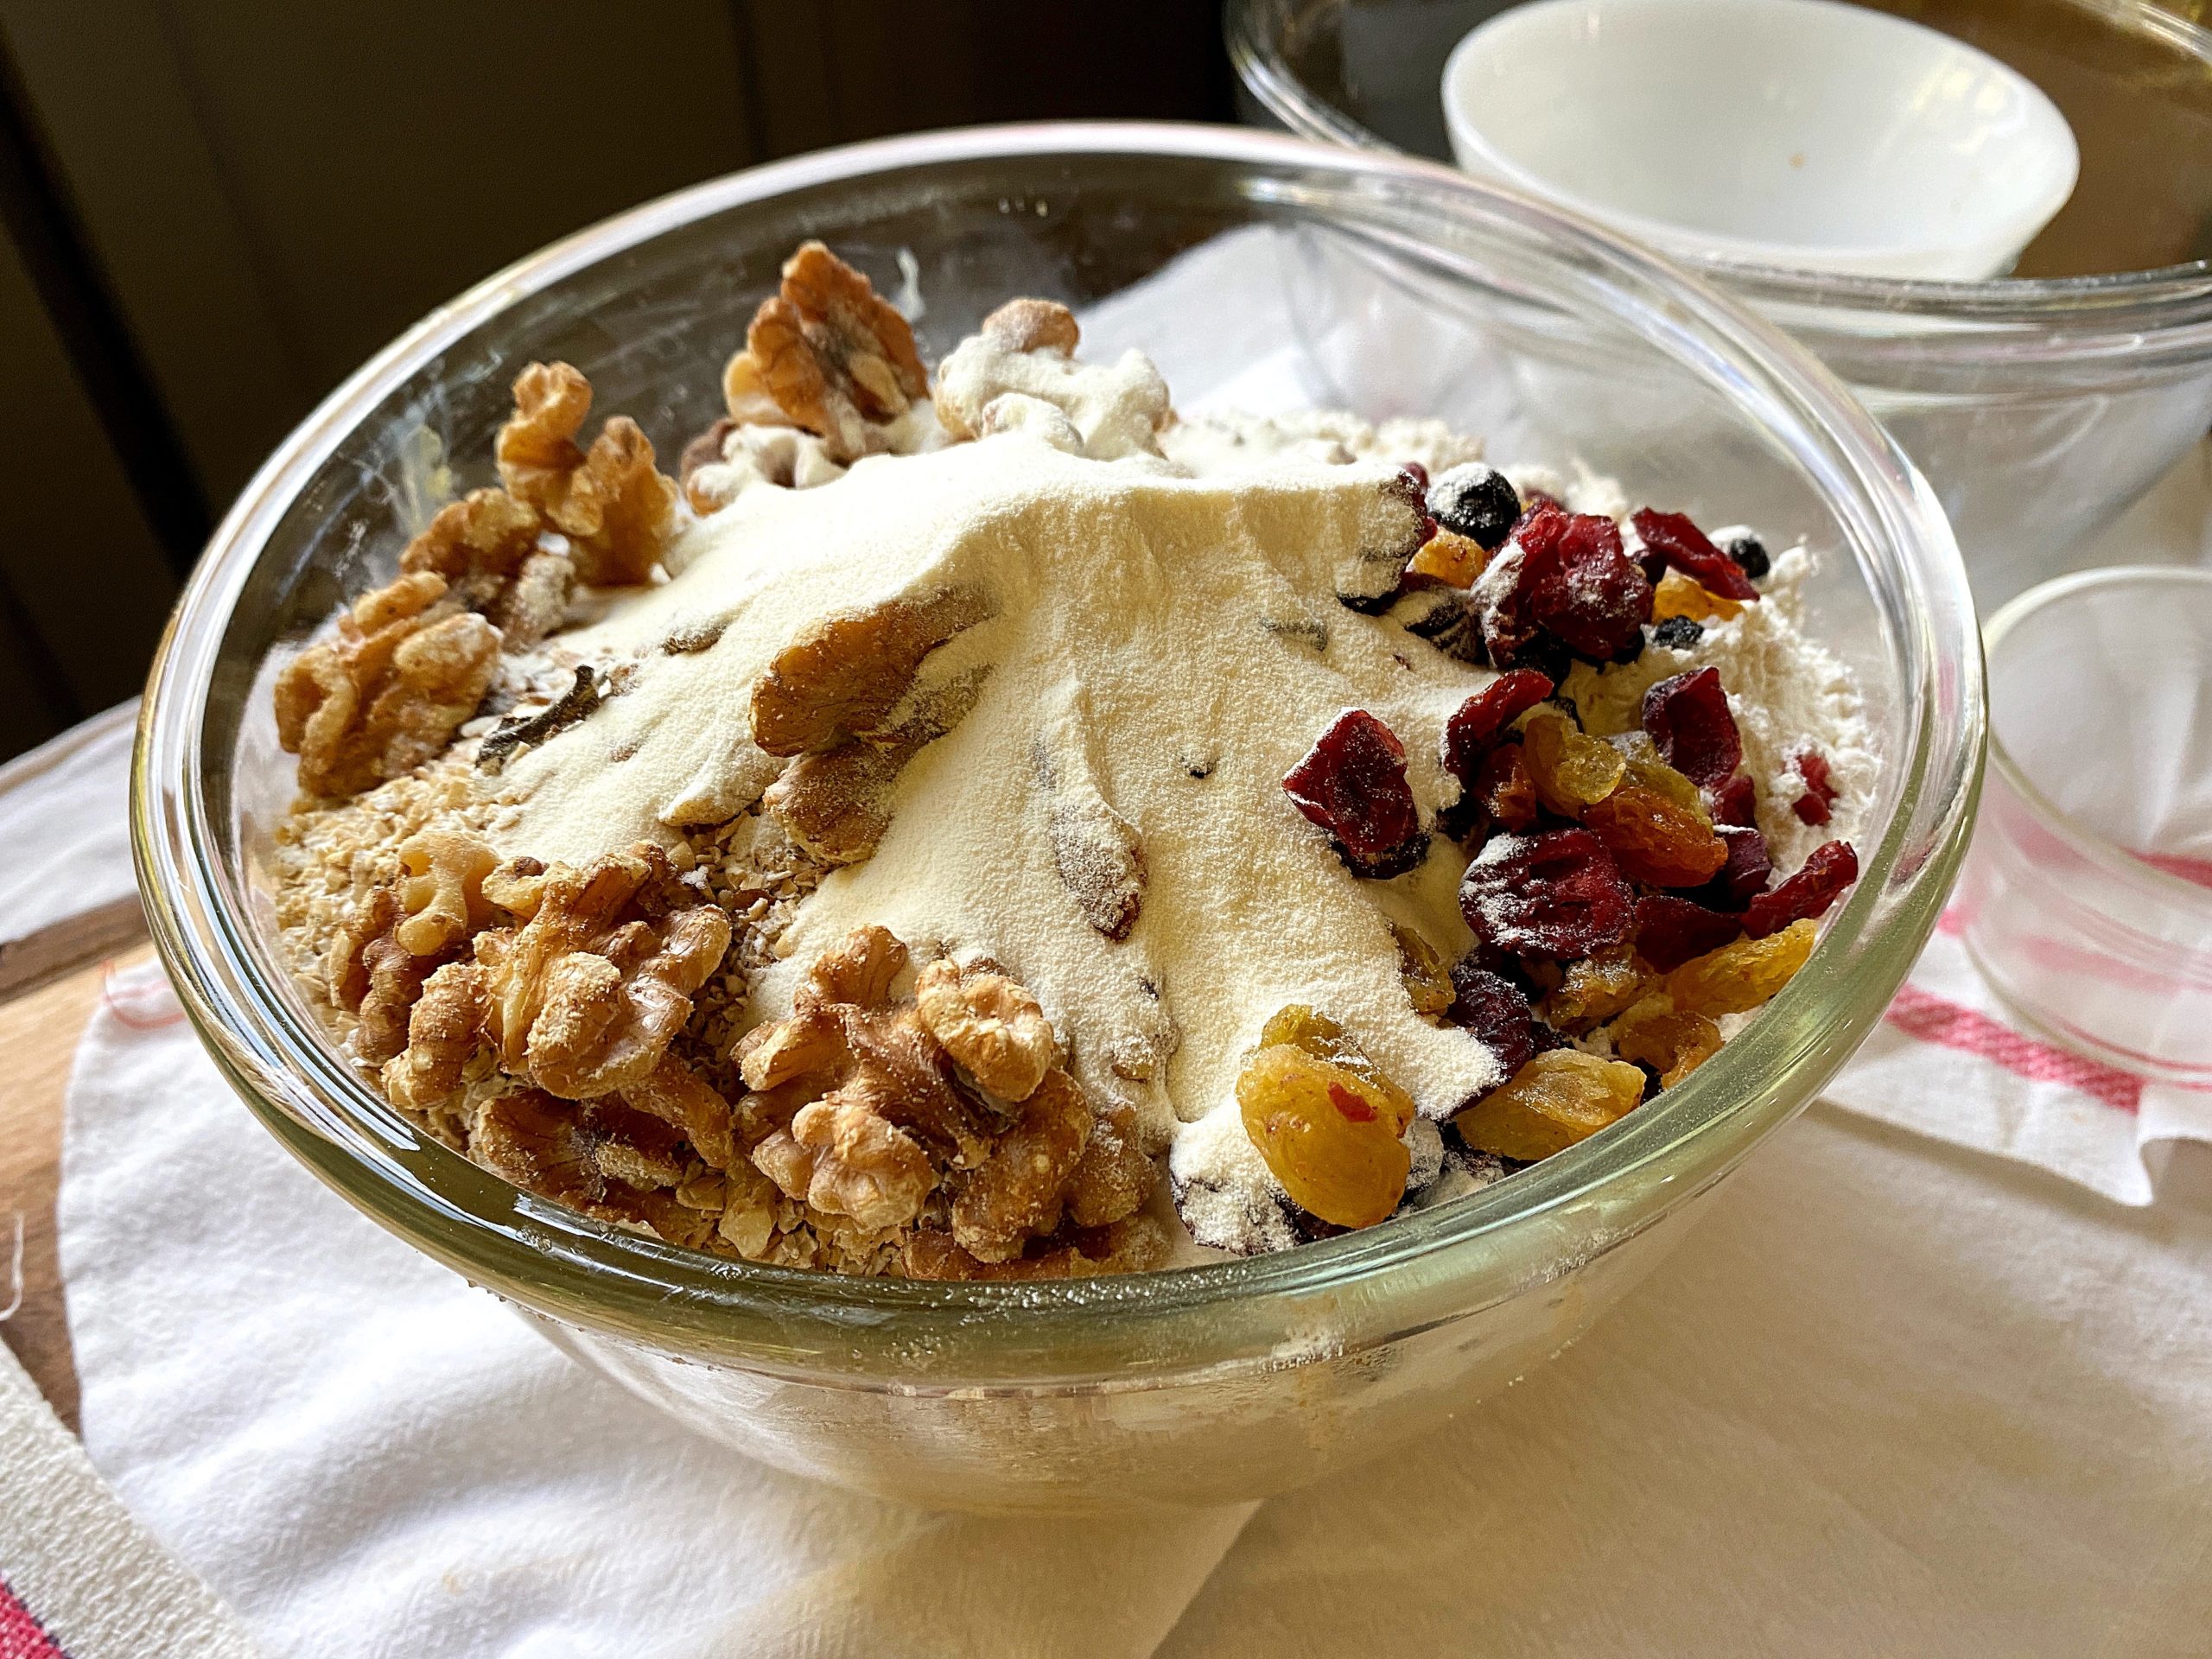
  • In a separate bowl, combine oat flour, flour, salt, baking soda, baking powder & collagen. Add dry ingredients to the stand mixer slowly to combine. Be sure to scrape the sides and continuing to mix until evenly incorporated.
  • Stir in the dried fruit and nuts.
  • Using a 2 ounce scoop, drop dough onto a parchment-lined baking sheet and refrigerate 1 hour to overnight. At this point you can either store in freezer bags and freeze up to 3 months or bake.
  • To bake, place 5-7 cookie dough balls onto a parchment-lined baking sheet 2″ apart.
  • Bake cookies for 10-12 minutes or until lightly golden around the edges.
  • Allow cookies to cool for 5 minutes before serving.
  • Makes 20 – 2 ounce cookies.

* if dough balls are frozen, bake 16-18 minutes @ 350°.


The post Big Banana Nut Breakfast Cookies appeared first on Sinkology.


source https://www.sinkology.com/blog/big-banana-nut-breakfast-cookies/
Wednesday, September 16, 2020

Get the Most Out of Your Outdoor Kitchen

If you’re like many of us, there are plenty of things left on that summer to do list. Somehow, time has sped by faster than usual. Even with less opportunities to travel and more time in our homes, one of our favorite spaces has still been left underused: the outdoor kitchen.

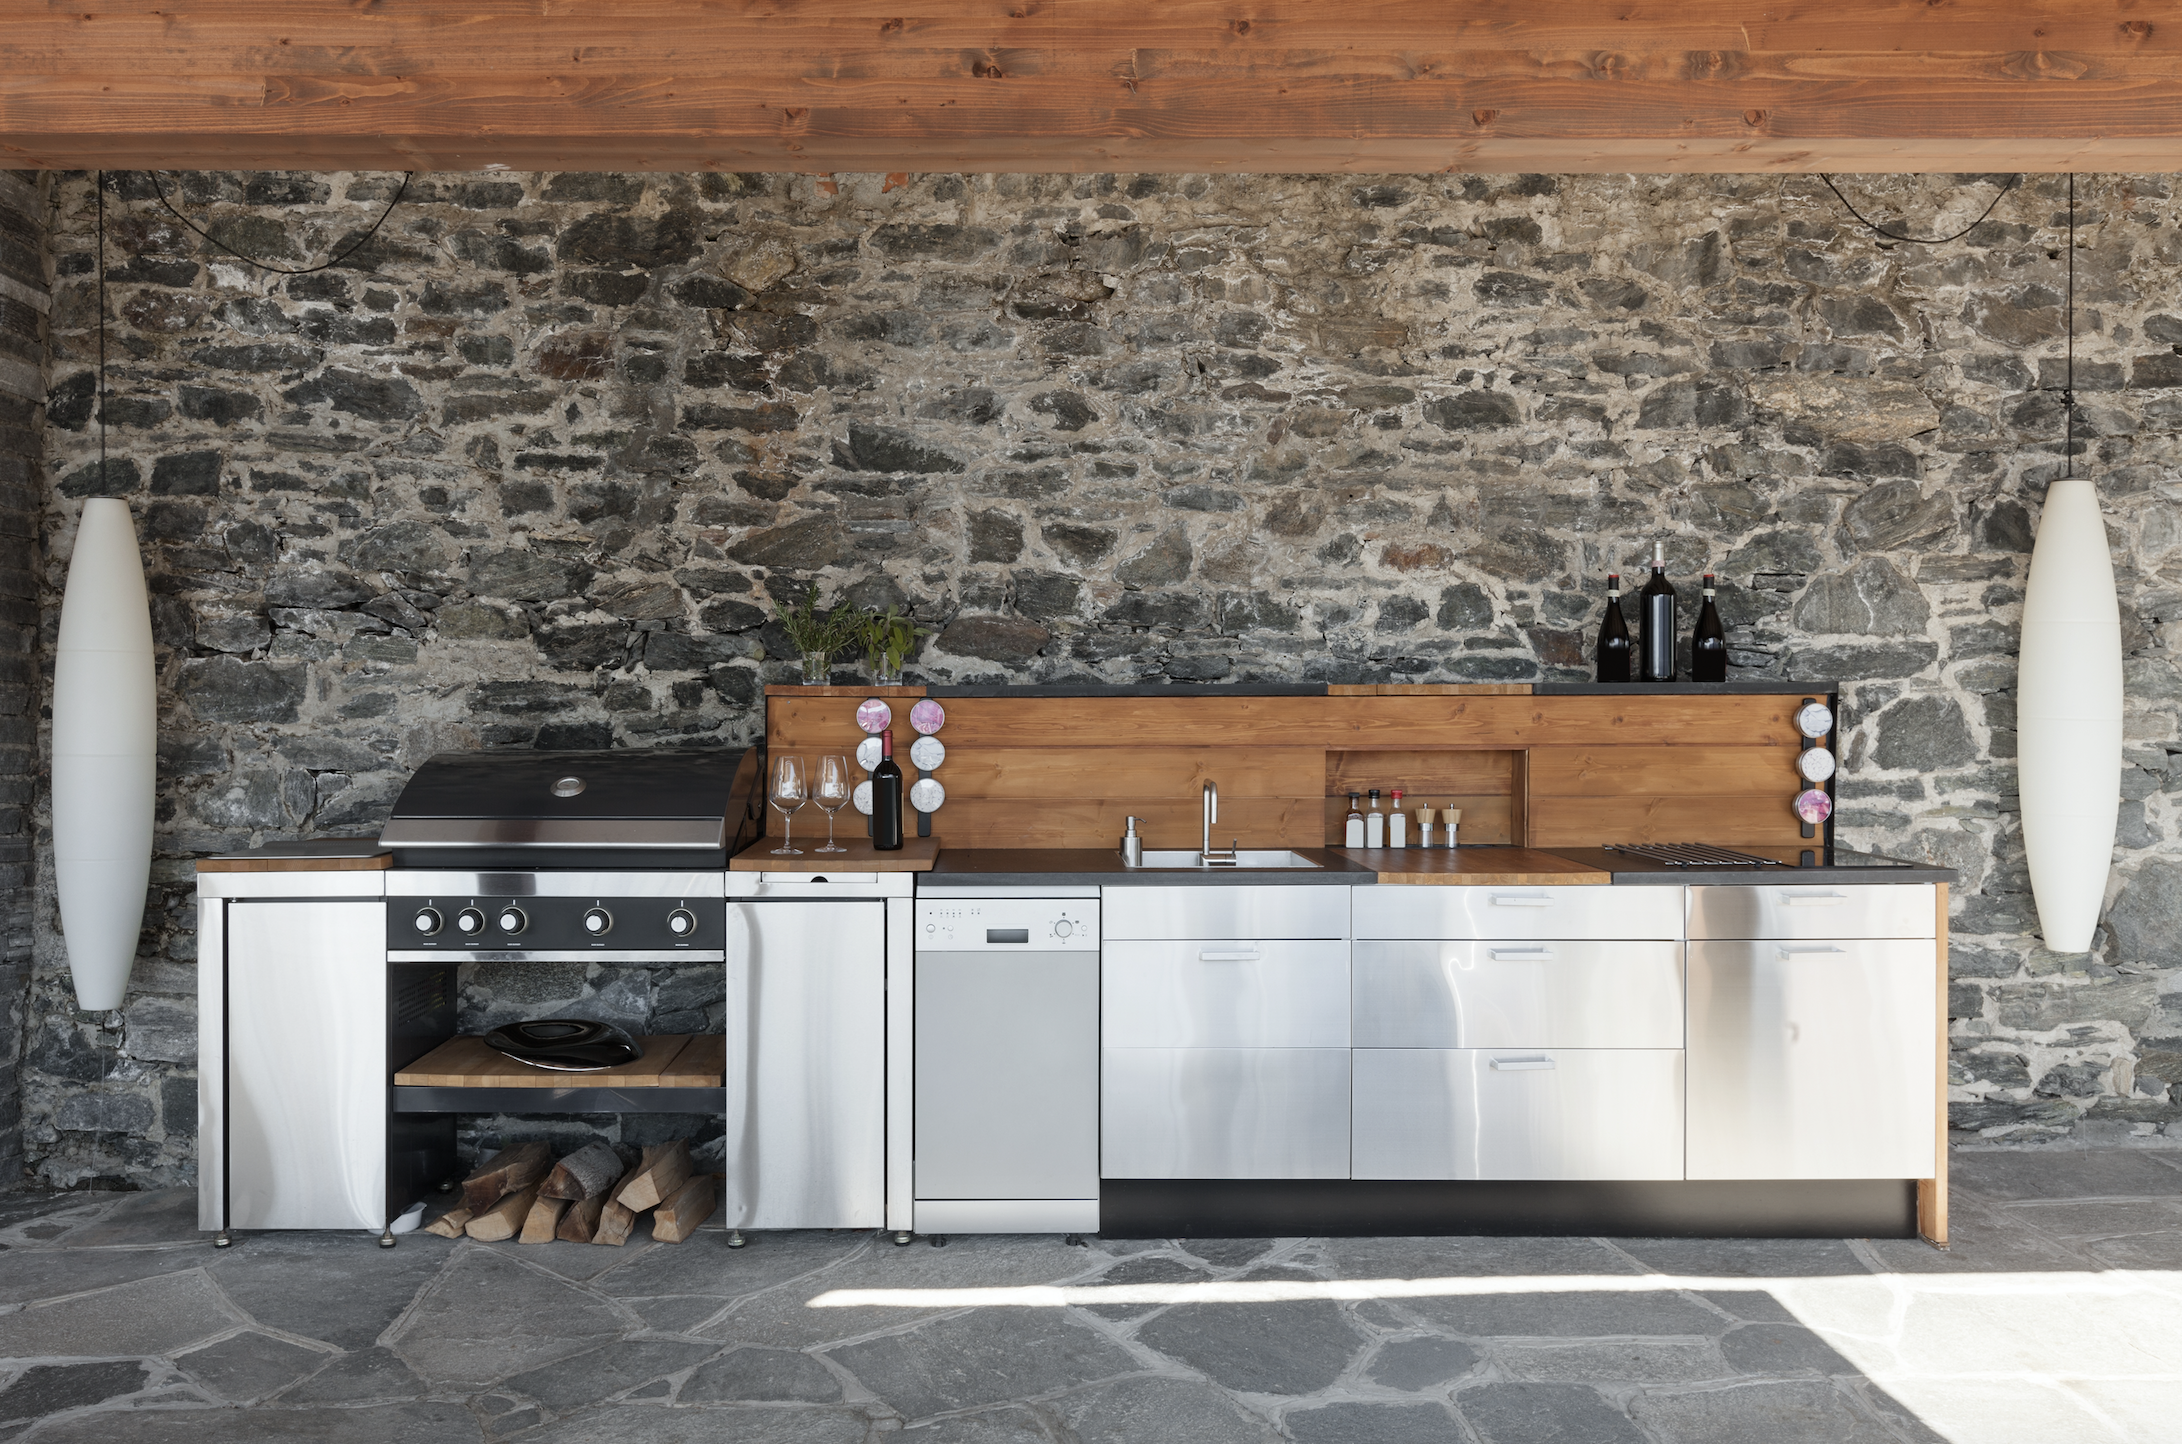
outdoor kitchen

An outdoor kitchen fully merges food preparation and mealtime in the most idyllic setting with plenty of space. Even indoor kitchens with an open concept layout simply can’t compare to the wide open feel an outdoor kitchen provides. As the chef, you feel a part of the party, rather than hidden away as you prepare each dish. Not only that, we love how an outdoor kitchen creates the most ideal restaurant patio vibe in the comfort of our homes. But in order to create that perfect dining out feel, follow these three steps:


First thing’s first: properly ventilate.

Yes, you read that right. If you have more than a freestanding grille in your backyard, you’ll need to take some extra steps to ensure cooking grease, excess smoke, and heat don’t damage your beautiful outdoor kitchen. Yes, you are out in the open air, but those damaging elements can – and will – wreak havoc without the proper care. We recommend placing a set of vents on two sides of your grille and prep area. The vent location itself will depend on the kitchen’s shape and size. In addition to these side vents, be sure to install a vent hood. Keep in mind, this outdoor hood will be a bit bigger than your indoor range. Aim for six extra inches on each side of the range or grille.

outdoor kitchen with pool

Then, focus on ongoing climate control.

While we can’t install air conditioning, an outdoor fan is the next best thing to keep you and all your guests happy from preparation to after-party. Not only will it provide a cool breeze on the hottest August afternoons, it will support your ventilation system and keep the bugs away. With plenty of options to choose from, ranging from fully installed ceiling fans and wall-mounted fans to smaller, more mobile pedestal fans, you can control your setting to suit the time of year and weather conditions. 


Lastly, protect your outdoor kitchen for years of kitchen entertaining.

Without walls to protect your gorgeous granite countertops and stainless-steel sink from the elements, you’ll want to invest in a reliable removable cover. While not necessary every single day of the year, it’s important to cover in the off-season and in any case of inclement weather. Luckily, there are many cover options to choose from. And, there are quite a few companies that specialize in custom covers, so don’t worry if your outdoor kitchen is anything but standard. 

If you’re lucky enough to have an outdoor kitchen, it’s about time you use it. Because, soon enough, we’ll be back to winter…really stuck indoors. Let’s commit these last months of the summer to creating a backyard dining paradise. With these three steps, you’ll be ready to create the outdoor kitchen of your dreams.

_____________________________________________________________________

If you have any additional questions during your search for the perfect copper, fireclay farmhouse sink or granite sink, our Sinkologists are here to help. Contact us or follow us on Facebook, Houzz, Pinterest, or Instagram for more helpful tips and design ideas.

The post Get the Most Out of Your Outdoor Kitchen appeared first on Sinkology.


source https://www.sinkology.com/blog/get-the-most-outdoor-kitchen/

Thursday, September 3, 2020

Our Apron Front Sink Install

Our friend Jen Fancher, @notinggrace on Instagram, recently updated her kitchen with the Josephine All-In-One Kit and shared the process with us.

_______________________________________________________________________________________________________________________

We Added an Apron Front Sink to Existing Granite Counters – Here’s how we did it!

I dreamed of having an apron front farmhouse sink for years and would spend hours drooling over the sinks that I thought I could never have. When I reached out to Sinkology to see if this was a possibility – they made my dreams come true!

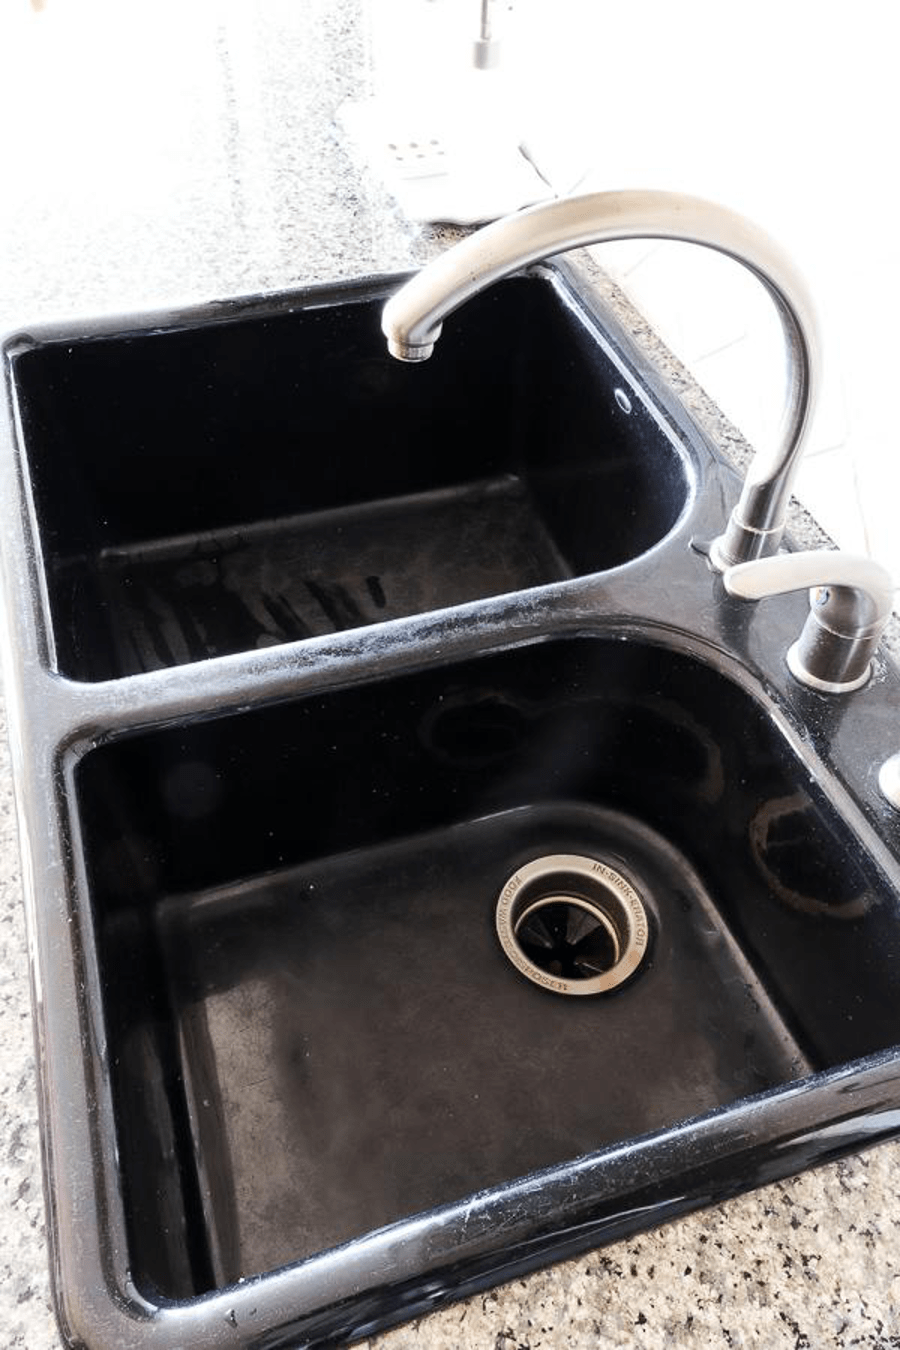
Before we remodeled our kitchen, the one thing I hated most was the sink. It was black enameled cast iron and had lost it’s glaze and was starting to rust.

Believe it or not, that sink is actually clean! It had seen better days and to be honest, it wasn’t the one I dreamed of.

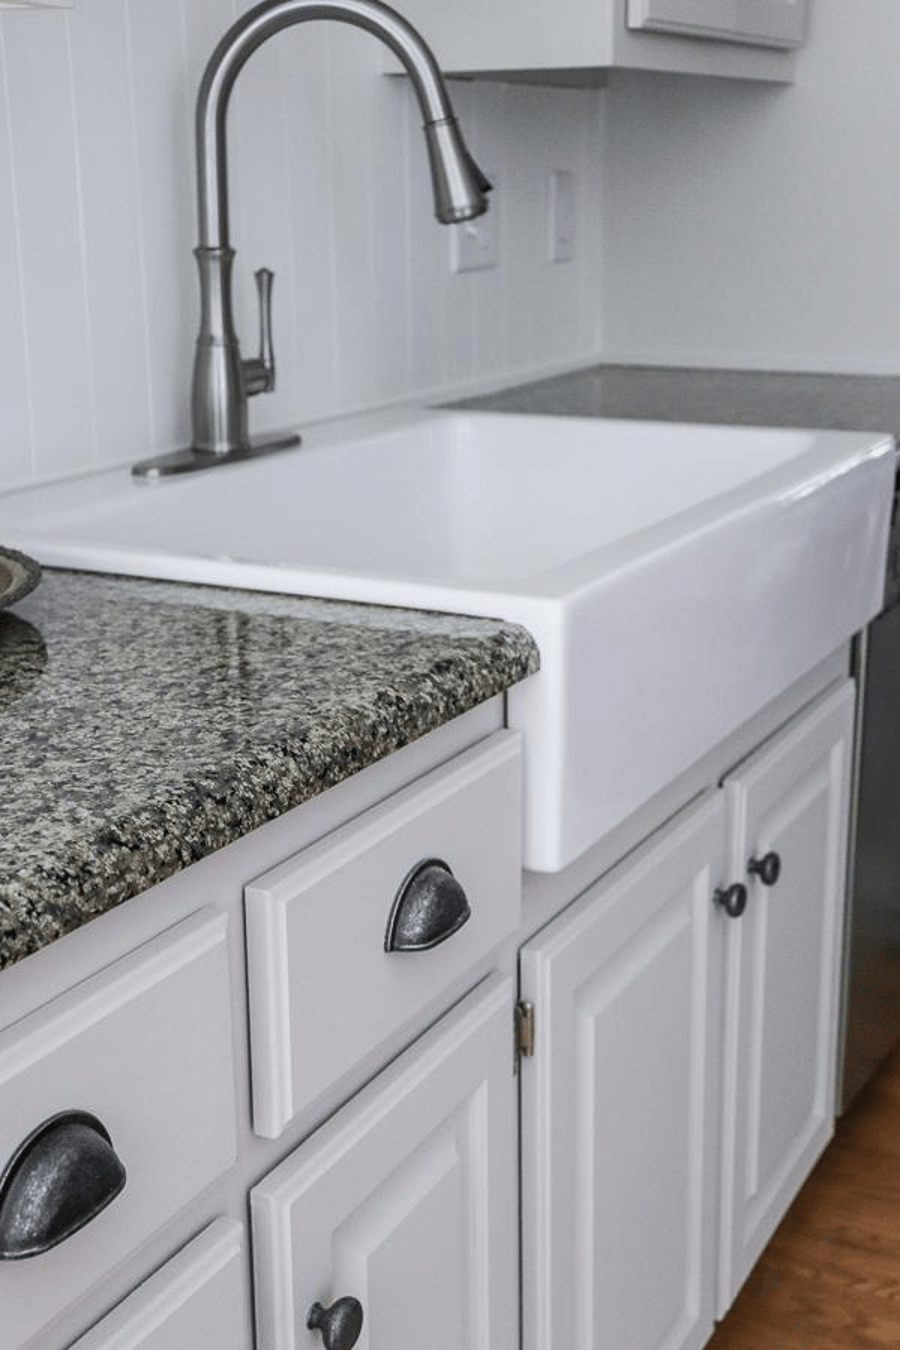
When I found the Josephine Drop In Fireclay Sink, my entire design for my kitchen renovation came to life. I loved that the fireclay material has strength and durability, while also creating the beautiful farmhouse aesthetic I was hoping for.

We had just one big issue. Our granite counters would either need to be replaced or cut to fit my dream sink in place. But new counters weren’t in the remodeling budget.

So how can you put in an apron front sink if you aren’t replacing your granite counters? Yup, you have to cut out the granite!  YIKES! But Yay – because we could do this – and so can you!

STEP ONE: Remove the old sink.

Using a razor blade, cut through the old silicone around the edge of the basin and unhook the plumbing. Don’t forget to turn off the water!

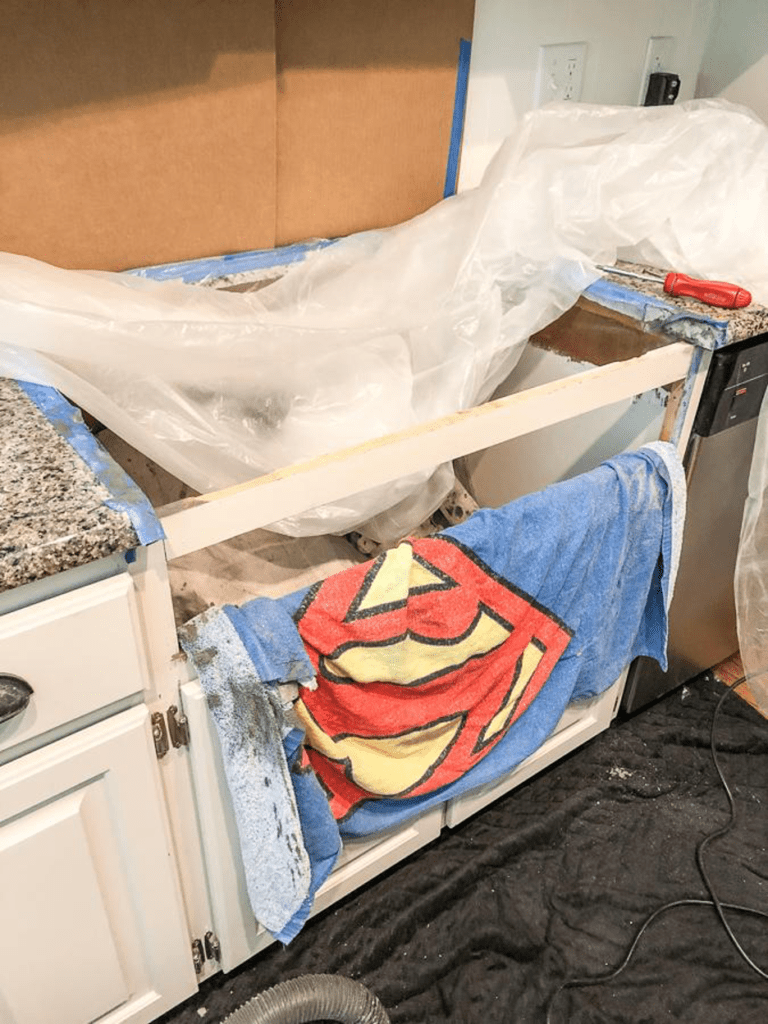
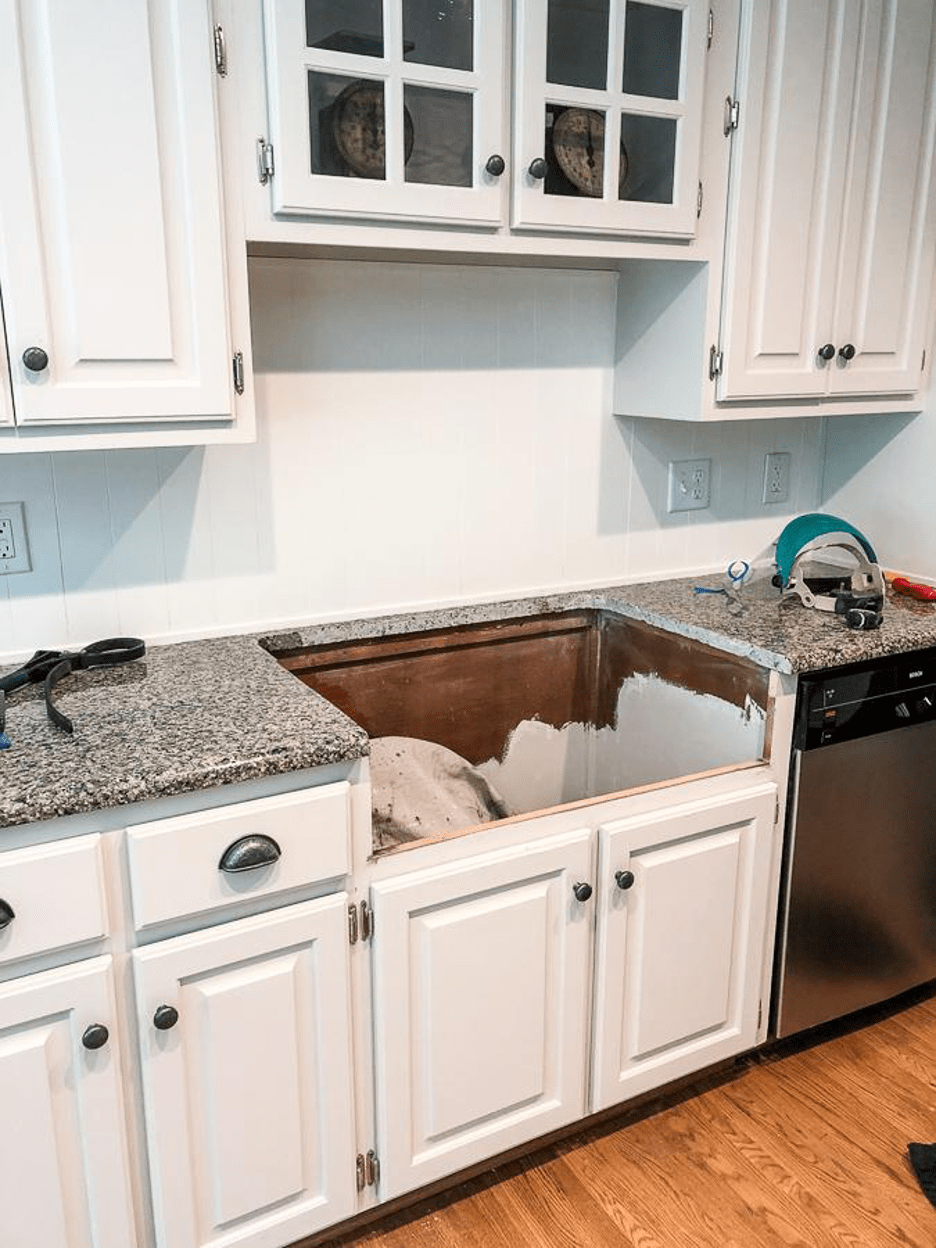
As you can see, after we removed the sink, we had one strip of granite across the front that needed to be trimmed.

STEP TWO: Cut the Granite.

The most important element of this step is the planning. Measure and measure again. We traced the outline of the sink on a piece of cardboard to ensure the right fit. For our counters, the cut out mostly fit – but we did need to trim some of the previous granite that was too short.

Now here’s how we did this – and let me start by saying that we did not take pics because this does create quite the mess.

So let me paint a detailed picture for you.

Suit up with protective gear: Ear protection, eye protection, and dust masks are essential. Since this is a messy job in a recently finished kitchen, we came up with a creative solution. We taped some plastic drop cloth to the counters and then tented ourselves. Yup, you read that right.

We put the plastic drop cloth over our heads, while wearing goggles, ear muffs, dust masks – my husband holding the tile saw and me manning the shop vac and squirt bottle to cut down on the amount of dust that went everywhere.

It was a sight, but you know what? It worked!

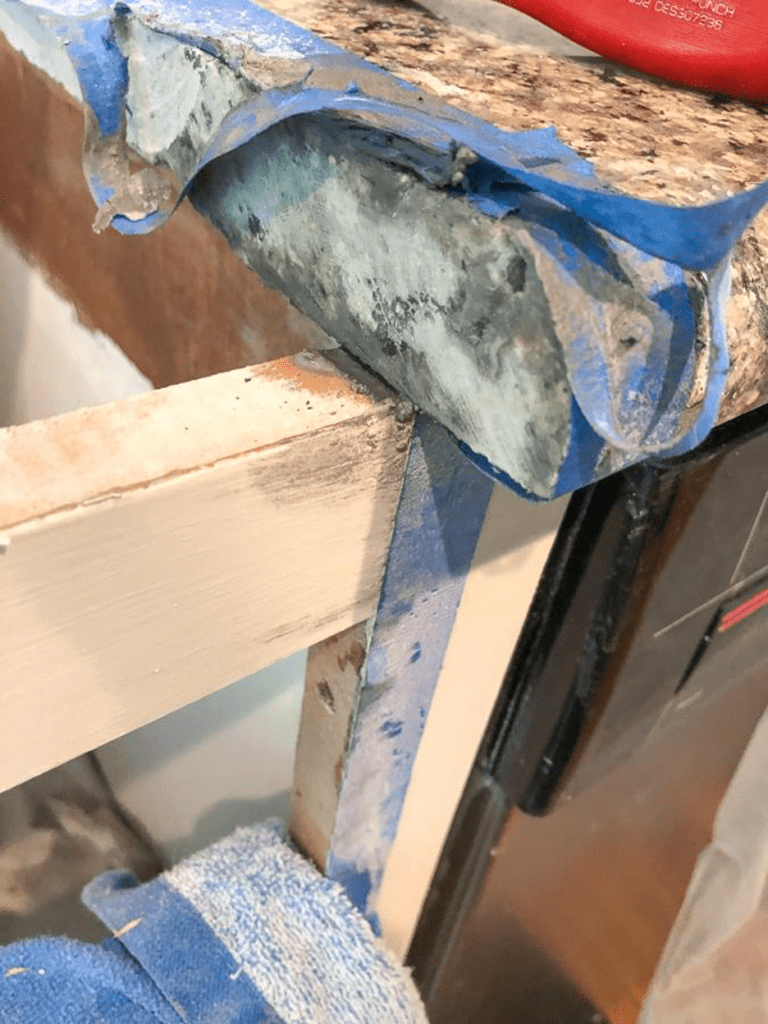
Here’s the aftermath.

prepping to install sink taping to install sink

STEP THREE: Cut out the top of the cabinet.

Check your measurements again before cutting. We were lucky in having a drawer front that was easily removed. All we needed to cut out was the top brace of the cabinet front. We used a reciprocating saw, but a hand saw would also work.

Now we were ready to do the final step to fit the sink.

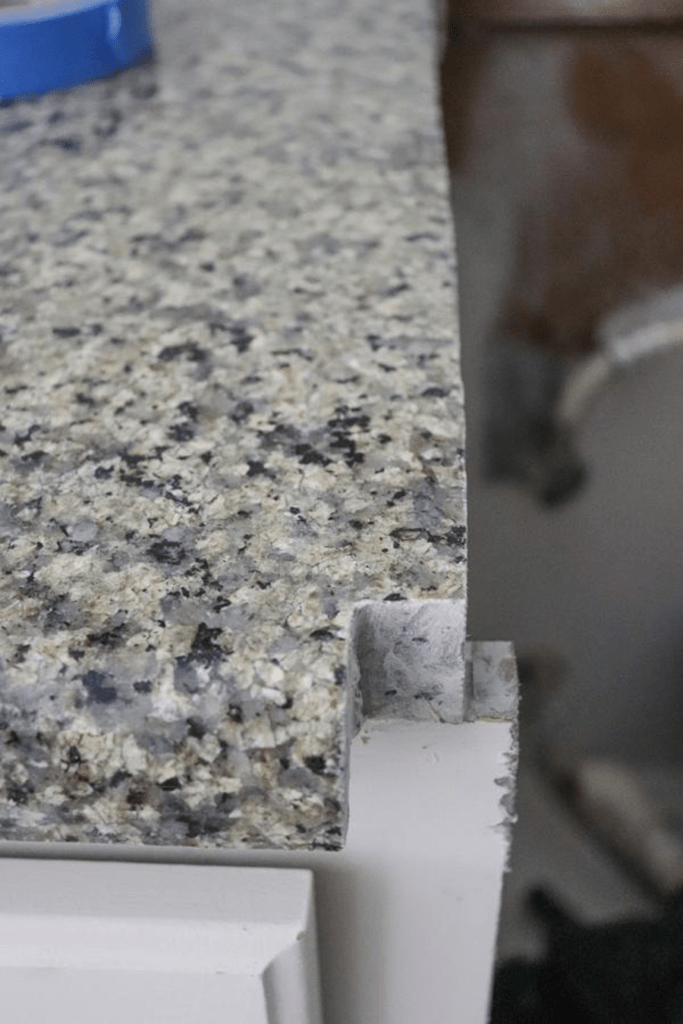
STEP FOUR: Notch out the granite for the apron front sink.

countertops cut

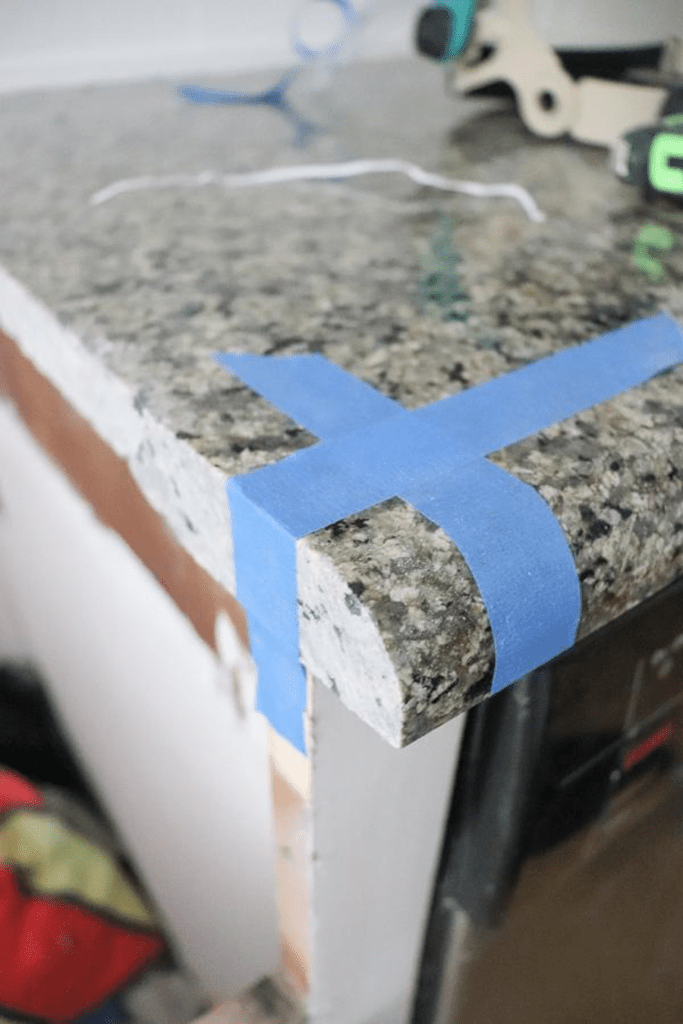
We taped off our cut lines and suited back up. These small cuts were the trickiest, but still easy to do! Handy Tip: The painters tape helps give a sight-guide to move the saw along a straight line.

The entire process to this point took just about an hour including measuring, cuts and clean up.

Dry fit your sink to make sure it fits. We did this often and made adjustments as needed.

close up of countertop before cut cut corner of countertop

STEP FIVE: Install the sink.

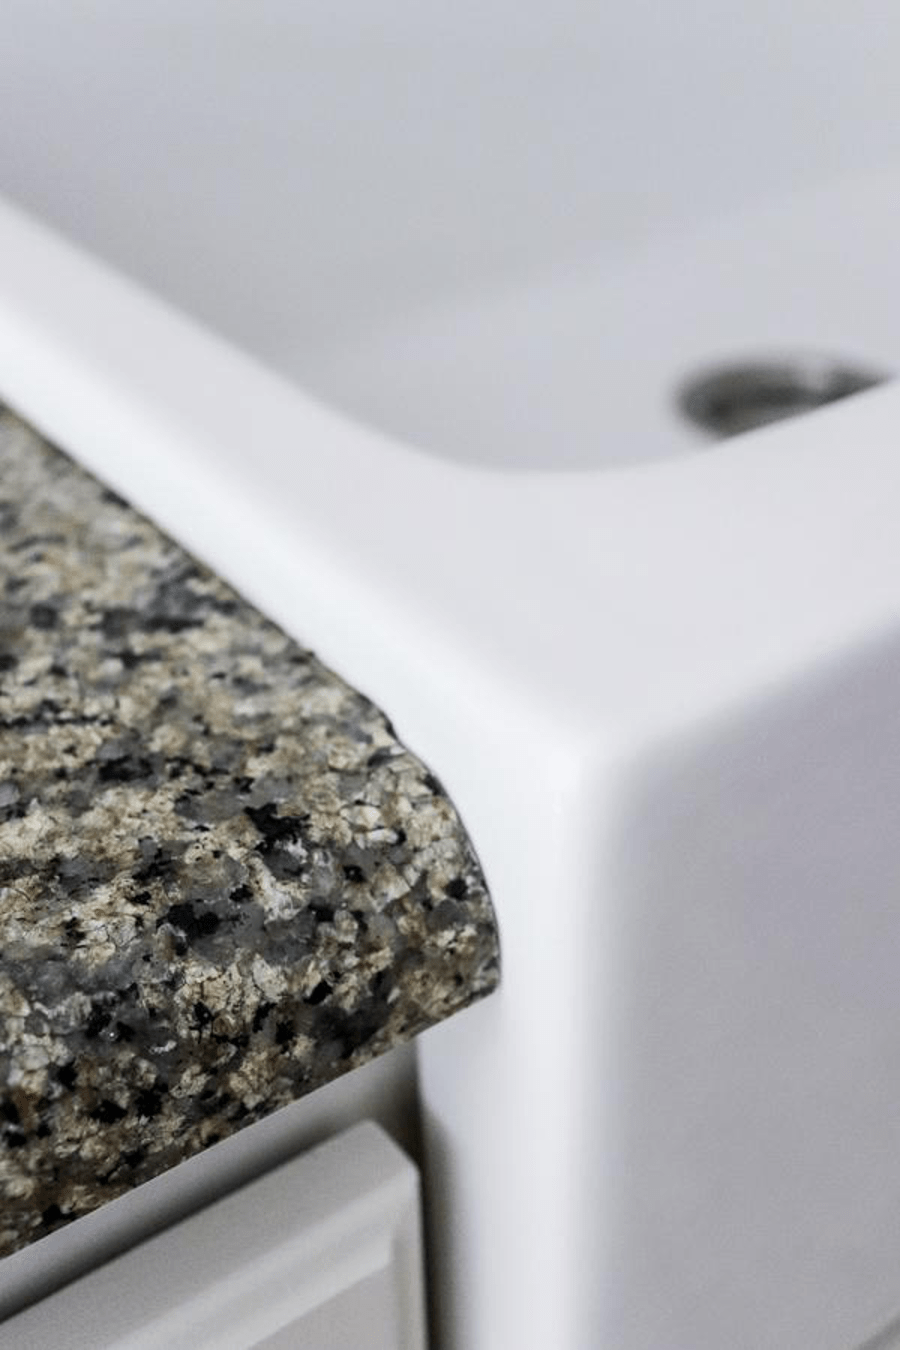
Apply a liberal amount of silicone, carefully drop in the sink, and let it sit before installing your plumbing.

We left ours to cure overnight.

edge of countertop and sink

STEP SIX: Install your Faucet.

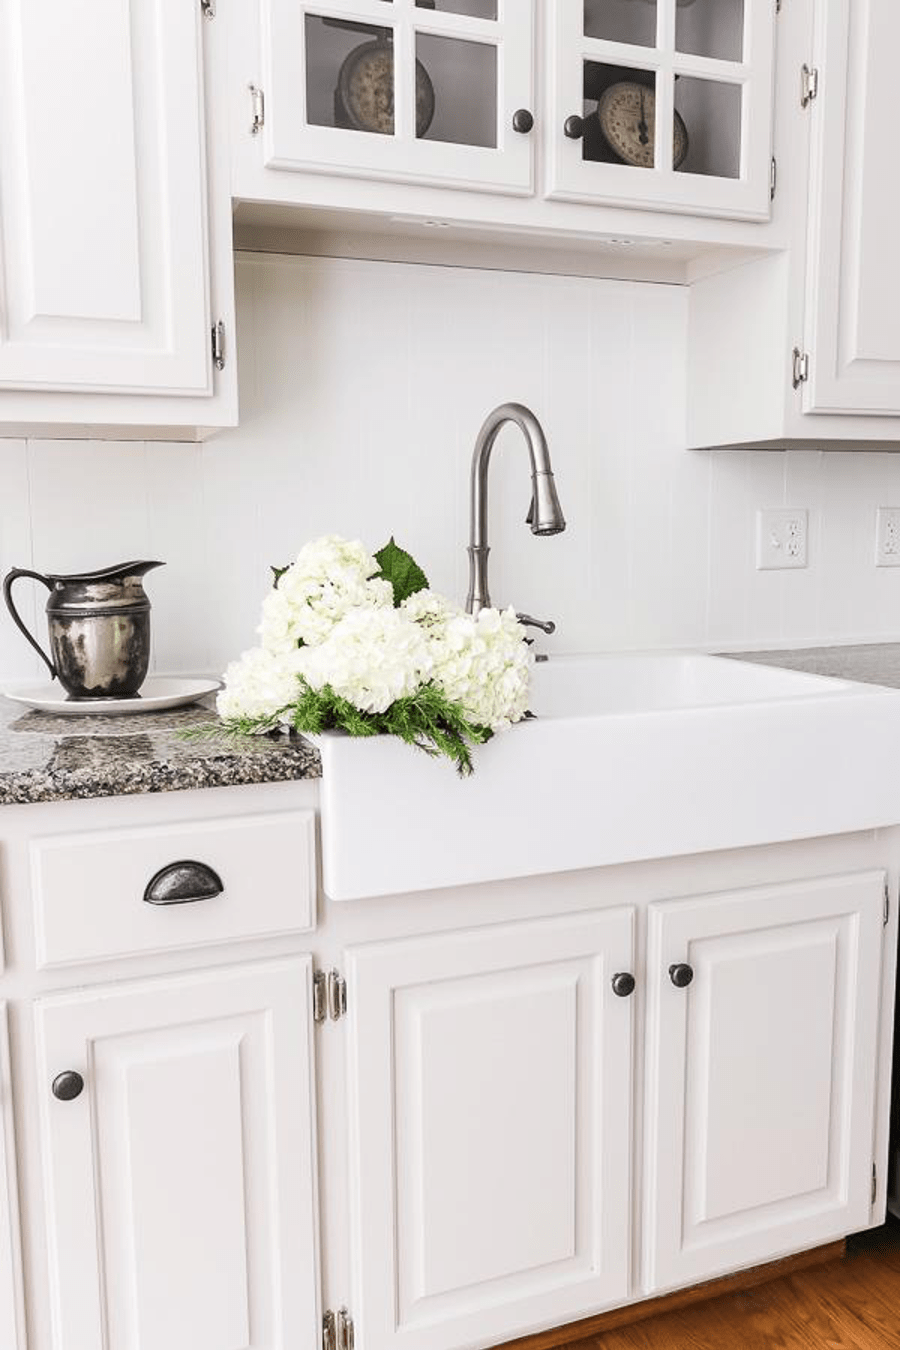
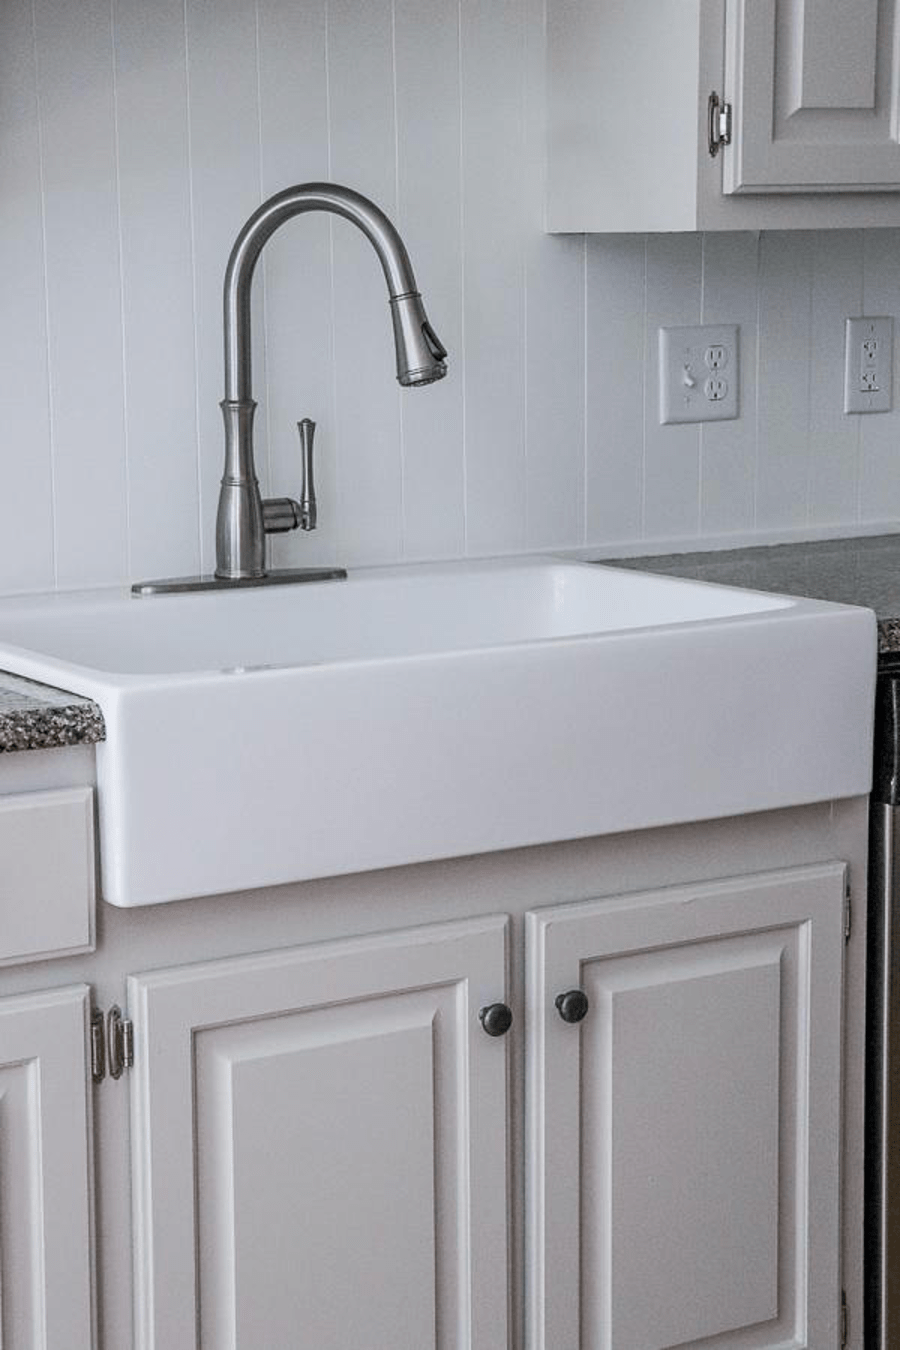
white farmhouse sink installed

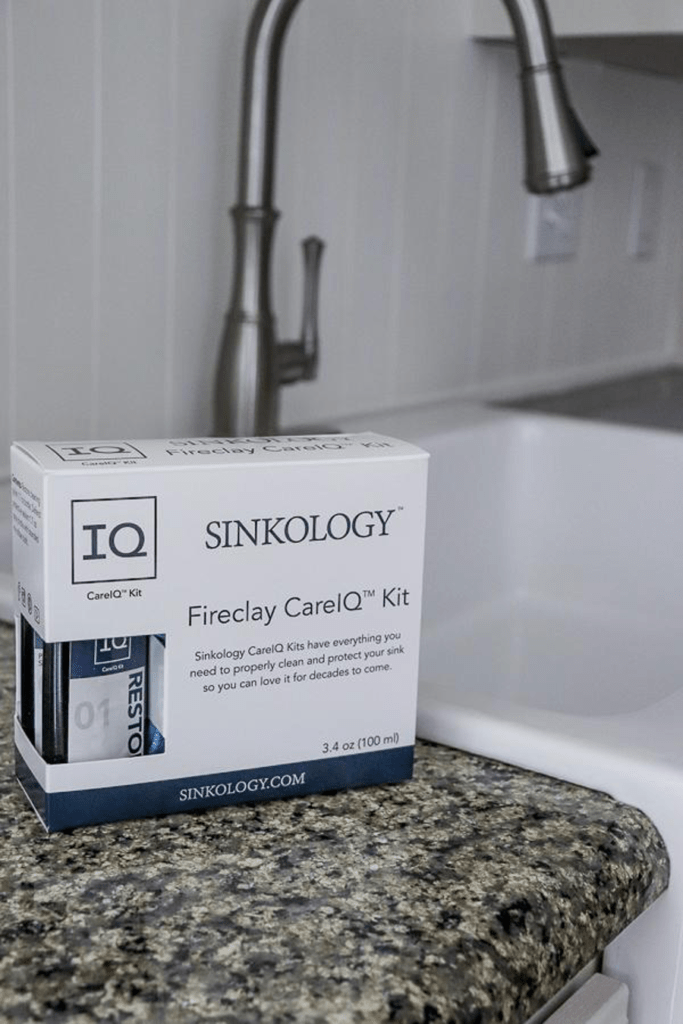
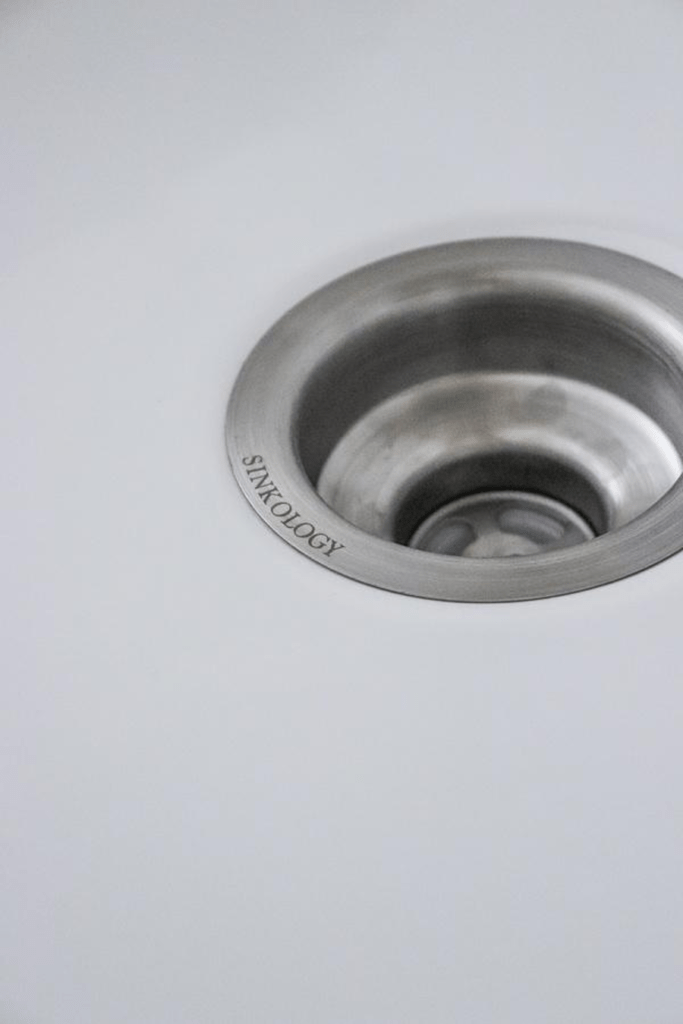
What I love about Sinkology is that they offer this as an All in One kit, which includes the sink, faucet, drain strainer, non-scratch scrubber and Sinkology Fireclay Care IQ kit! care kit.

fireclay care iq kit by white farmhouse sink stainless steel sink drain in fireclay sink

This one came with the Pfister Wheaton Sprayer Kitchen Faucet in Stainless Steel, but you can also choose from many different styles they offer.

side shot of fireclay drop-in sink

I think the faucet looks beautiful and my kitchen looks so much brighter now with this sink!

On this side of it – we’d do it again. Simply take your time and prepare well and you can have a stunning result like this one.

I am in love with my kitchen and now have the apron front sink I have always dreamed of!

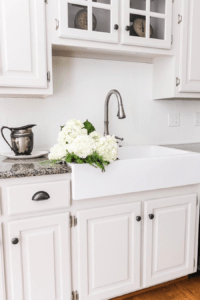
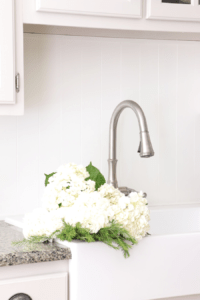
new renovated kitchen with fireclay sink new renovated kitchen with fireclay sink close up of flowers with fireclay sink in background new renovated kitchen with fireclay sink white farmhouse sink with white flowers white farmhouse sink with white flowers


_____________________________________________________________________

If you have any additional questions during your search for the perfect copper, fireclay farmhouse sink or granite sink, our Sinkologists are here to help. Contact us or follow us on Facebook, Houzz, Pinterest, or Instagram for more helpful tips and design ideas.

The post Our Apron Front Sink Install appeared first on Sinkology.


source https://www.sinkology.com/blog/our-apron-front-sink/

Thursday, August 27, 2020

Freedom from the Ordinary with Sinkology Sinks

At Sinkology, we believe in full freedom of expression, both in and out of the home. No one should have to stand for the sub-par. We all deserve to show our true selves, starting in our most regularly used rooms.

top view of hawking undermount 18-gauge copper bathroom sink with design kit

We are on a mission to bring beauty to every home’s kitchen and bathroom with unique sinks that stand out as a functional focal point. With our sinks, you have the freedom to:

  • Create a More Colorful Kitchen

Sure, monochrome is a favorite of many. In fact, it has been for years. But with the unique options from our VIBE Collection of farmhouse-style fireclay kitchen sinks, you can add an unexpected splash of color. Our Josephine QuickFit Drop-In Fireclay Kitchen Sink in Oceanside Matte Blue creates the calming essence of a morning beach walk to everyday tasks while our Bradstreet II Fireclay Farmhouse Kitchen Sink in Block Party Matte Gray brings in the best memories from your neighborhood block party without overpowering the rest of the room. Whether it’s the one standout piece among your marble countertops and all-white cabinets or the perfect piece that completes an eclectic look, you can – and should – show your true colors.


matte blue drop-in fireclay sink matte gray farmhouse fireclay sink


  • Have the Best of Both Worlds with Style and Material

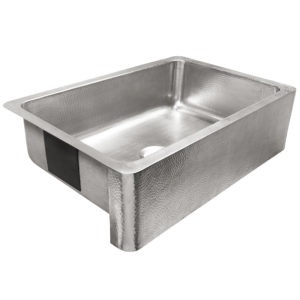
You know your favorite farmhouse sink comes in our classic fireclay and now in a range of colors. But with Sinkology, you can enjoy the beloved farmhouse shape in all types of material. Our Percy Farmhouse Apron Crafted Stainless Steel Sink brings the beauty of our hand-hammered finish in a centerpiece-worthy shape to your kitchen in both brushed and polished. Not only do we offer apron-front sinks in our specialty fireclay and favored stainless steel, you can enjoy Sinkology-exclusive copper with our Donatello Apron Kitchen Sink.This sink offers face embellishments like the Fleur De Lis, Scroll, Star, and Brick on the copper apron for a true work of art that will last with our limited lifetime warranty.

brushed crafted stainless steel single bowl farmhouse sink polished crafted stainless steel single bowl farmhouse sink


  • Obsess over Specialty Shapes

With standout selections like our Hawking Copper Bathroom Sink and our Curie Copper Bathroom Sink, you can create the spa-like bathroom of your dreams. Pure, solid copper is a natural focal point, especially in these unique shapes that become an instant focal point after easy drop-in or undermount installation. But, these aren’t the only eye-catching, DIY-friendly installation options. Our vessel sinks easily bring beauty to your bathroom, especially with an artist’s touch. Our Shockley Brass Bathroom Sink and Bardeen Copper Bathroom Sink make a statement with hand-applied mosaic glass surrounding the natural brass and copper basin.

hawking 20 hand hammered copper vessel bathroom sink curie undermount copper bathroom sink side view of shockley 18 gauge steel vessel bath sink with champagne finish Bardeen vessel copper sink with hand applied mosaics on exterior
  • Make the Mundane More Artful

When you look into the average sink’s basin, you see a flat surface. But with our Pauling Copper Bathroom Sink that features a hand-embossed scroll design and our Newton Copper Bathroom Sink with a hand-embossed leaf pattern, you’ll experience visual intrigue unlike ever before, making everyday tasks like toothbrushing a bit more beautiful. Both are handcrafted, custom copper made by our team of skilled artisans. They are truly works of art.

45 degree view of pauling undermount copper kitchen sink with scroll design embossment 45 degree view of newton drop-in copper bathroom sink

With Sinkology, you don’t have to be confined by standard sink styles and live with lackluster looks. You’re free to explore our kitchen sinks and bathroom sinks to find the perfect fit for your unique sink style.

_____________________________________________________________________


If you have any additional questions during your search for the perfect copper, fireclay farmhouse sink or granite sink, our Sinkologists are here to help. Contact us or follow us on Facebook, Houzz, Pinterest, or Instagram for more helpful tips and design ideas.

The post Freedom from the Ordinary with Sinkology Sinks appeared first on Sinkology.


source https://www.sinkology.com/blog/freedom-from-the-ordinary/

Thursday, August 20, 2020

Accessorize with Sinkology  

You already love your Sinkology sink. Now, it’s time you accessorize with pieces designed and built by our team of skilled artisans with only the finest raw materials. These accessories were created with you, our customer, in mind to help you get the most out of your favorite Sinkology products.  Today, we break down some of our top accessories that fit all types of kitchens and bathrooms that feature our beloved Sinkology kitchen sinks, bathroom sinks, and tubs.


For the Busiest Kitchens:

If you’re tired of the clammer of dishes and cutlery clouding your dinner party’s ambiance, you can’t go wrong with the Kitchen Sink Sound Dampening Kit. This is a must-have for any stainless steel or fireclay sink that is used daily. Why don’t copper sinks need this kit? Copper has natural sound absorption properties that eliminates excess sounds. Each sound dampening kit comes with 9 easy to install pads that stick directly onto the back of non-copper sinks. We find that placing one pad one each side wall and two on each side of the drain hole works best. The newfound quiet will be music to your ears.

sound dampening pad on copper sink


For the Cleanliness Obsessed:

In the kitchen, prevent stains and scum from building up on your precious sink with the help of one of our kitchen grids. We offer both copper and stainless steel grids that are sized right for any of our sinks. This is the perfect addition to any kitchen that wants to keep food waste away from the sink basin. Not only do our kitchen grids add a protective barrier against dirty dishes left in the sink, they also look beautiful when paired properly with a Sinkology sink. Click here to find the perfect fit for your kitchen sink. Then, take your grid up a notch and add a latch-on bottom organizer. This attachment will keep clean dishes off the countertop and away from dirty dishes as they dry. Available In antique brown and stainless steel. 

fireclay-metal-bottom-grid gridlogic plate rack stainless steel

In the bathroom, we recommend you clean your copper sink and bathtub regularly with the Deluxe Copper Armor Kit. We designed this kit to add shine while protecting natural copper. Simply boost shine with the spray wax, then use the Sinkology Breeze Non-Scratch Scrubber to blend your copper’s patina, and and clean without scratching with the two premium microfiber cloths.


For the Luxury Bath Lover:

If you indulge in a bubble bath after the end of a long day, the SinkSense Brass POP-Up Bathtub Drain and Overflow Kit In Antique Copper is the accessory for you. This kit pairs beautifully with our copper bathtubs. The high-quality, durable material resists corrosion and tarnishing while the pop-up drain style creates a more comfortable soak.

bronze bathtub overflow push drain bronze bathtub drain detail of overflow cover detail of bronze bathtub push drain


For the Longest-Lasting Sink:

Our Care IQ Kits are the best way to keep your sink looking its best for years to come. We’ve formulated each of our Care IQ Kits to care for your sink’s material with easy-to-follow instructions. Click here for our Copper Care IQ Kit and click here for our Fireclay Care IQ Kit.  

copper careiq kit, defend protective sealant fireclay careiq kit, defend protective sealant, restore cleaning polish

Our Sinkology accessories will complete your kitchen or bathroom look while bringing additional comfort and luxury to your everyday. Go ahead, accessorize.


_____________________________________________________________________


If you have any additional questions during your search for the perfect copper, fireclay farmhouse sink or granite sink, our Sinkologists are here to help. Contact us or follow us on Facebook, Houzz, Pinterest, or Instagram for more helpful tips and design ideas.

The post Accessorize with Sinkology   appeared first on Sinkology.


source https://www.sinkology.com/blog/accessorize-with-sinkology/