Thursday, October 28, 2021

Halloween Poke Cake Cupcakes

Sinkology is proud to present Emily Schuermann, our food-loving guest blogger who runs Food for a Year. Emily is here to share some recipes she has created exclusively for the Sinkology blog that reflect her view of a copper sink: simple, timeless, affordable, and beautifully rustic. 

____________________________________________________________________________________________

I am not a skilled cake decorator and honestly – baking isn’t my favorite. So Halloween treats are often a little stressful for me and that’s exactly why I’m sharing this poke cupcake recipe. It’s so cute, it’s festive, it requires very little effort and it’s so, so good. But, before I start breaking down the steps of this recipe for you, please know ::

— a boxed white cake mix and canned frosting will work nicely too. So feel free use both. – anyway, the real star of the show for these cupcakes is the “POKE”. 

A Classic White Cupcake Recipe
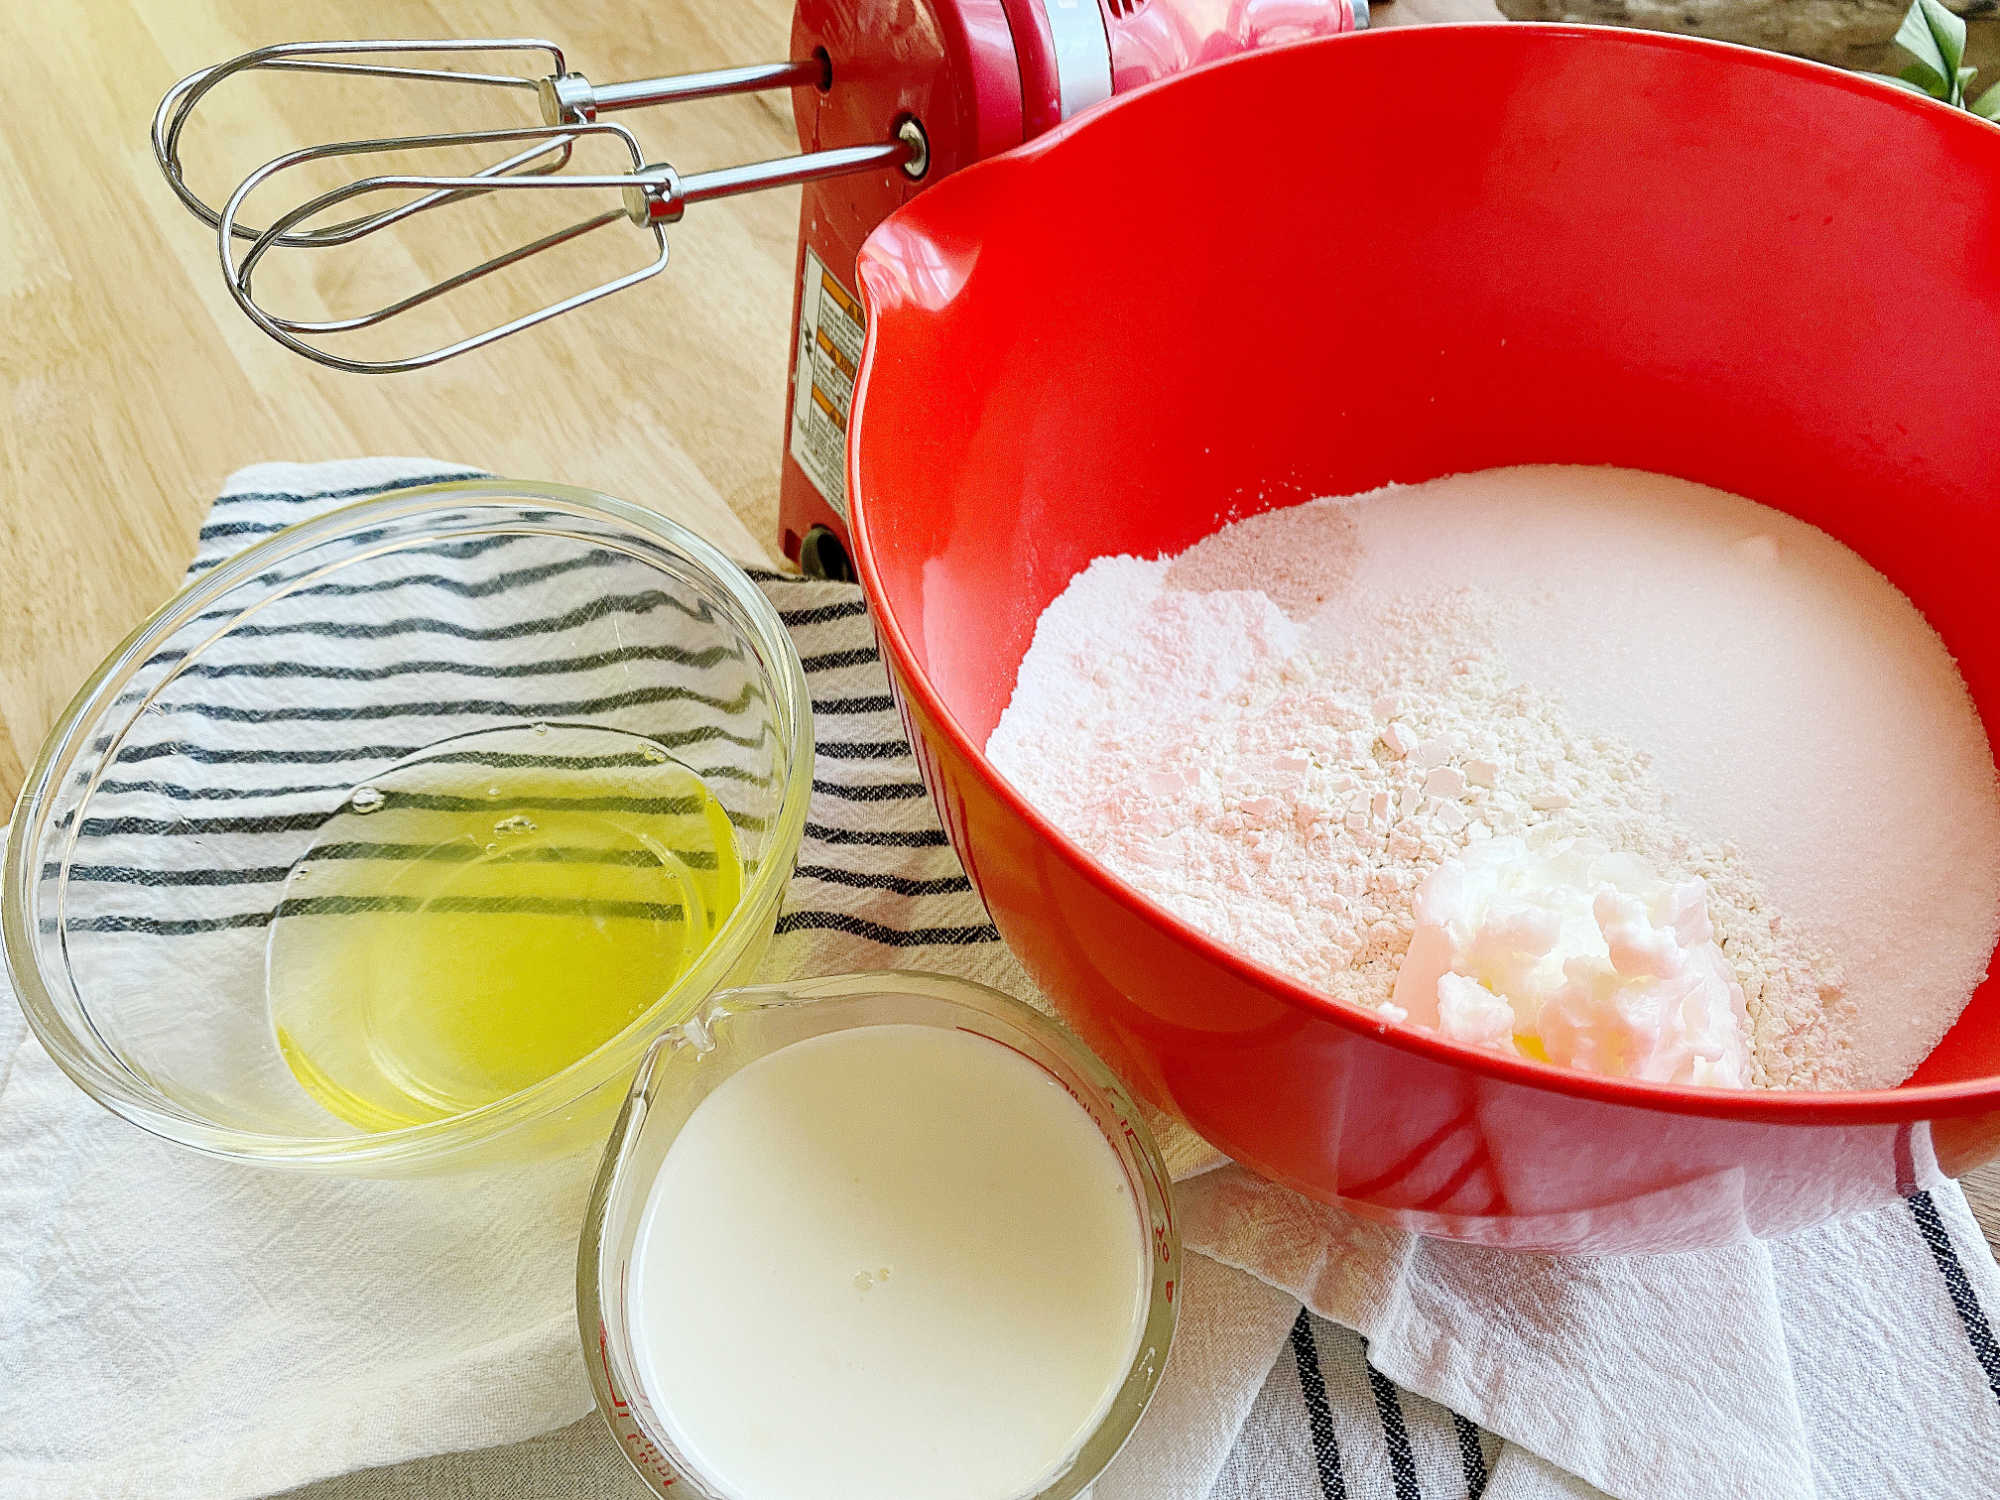
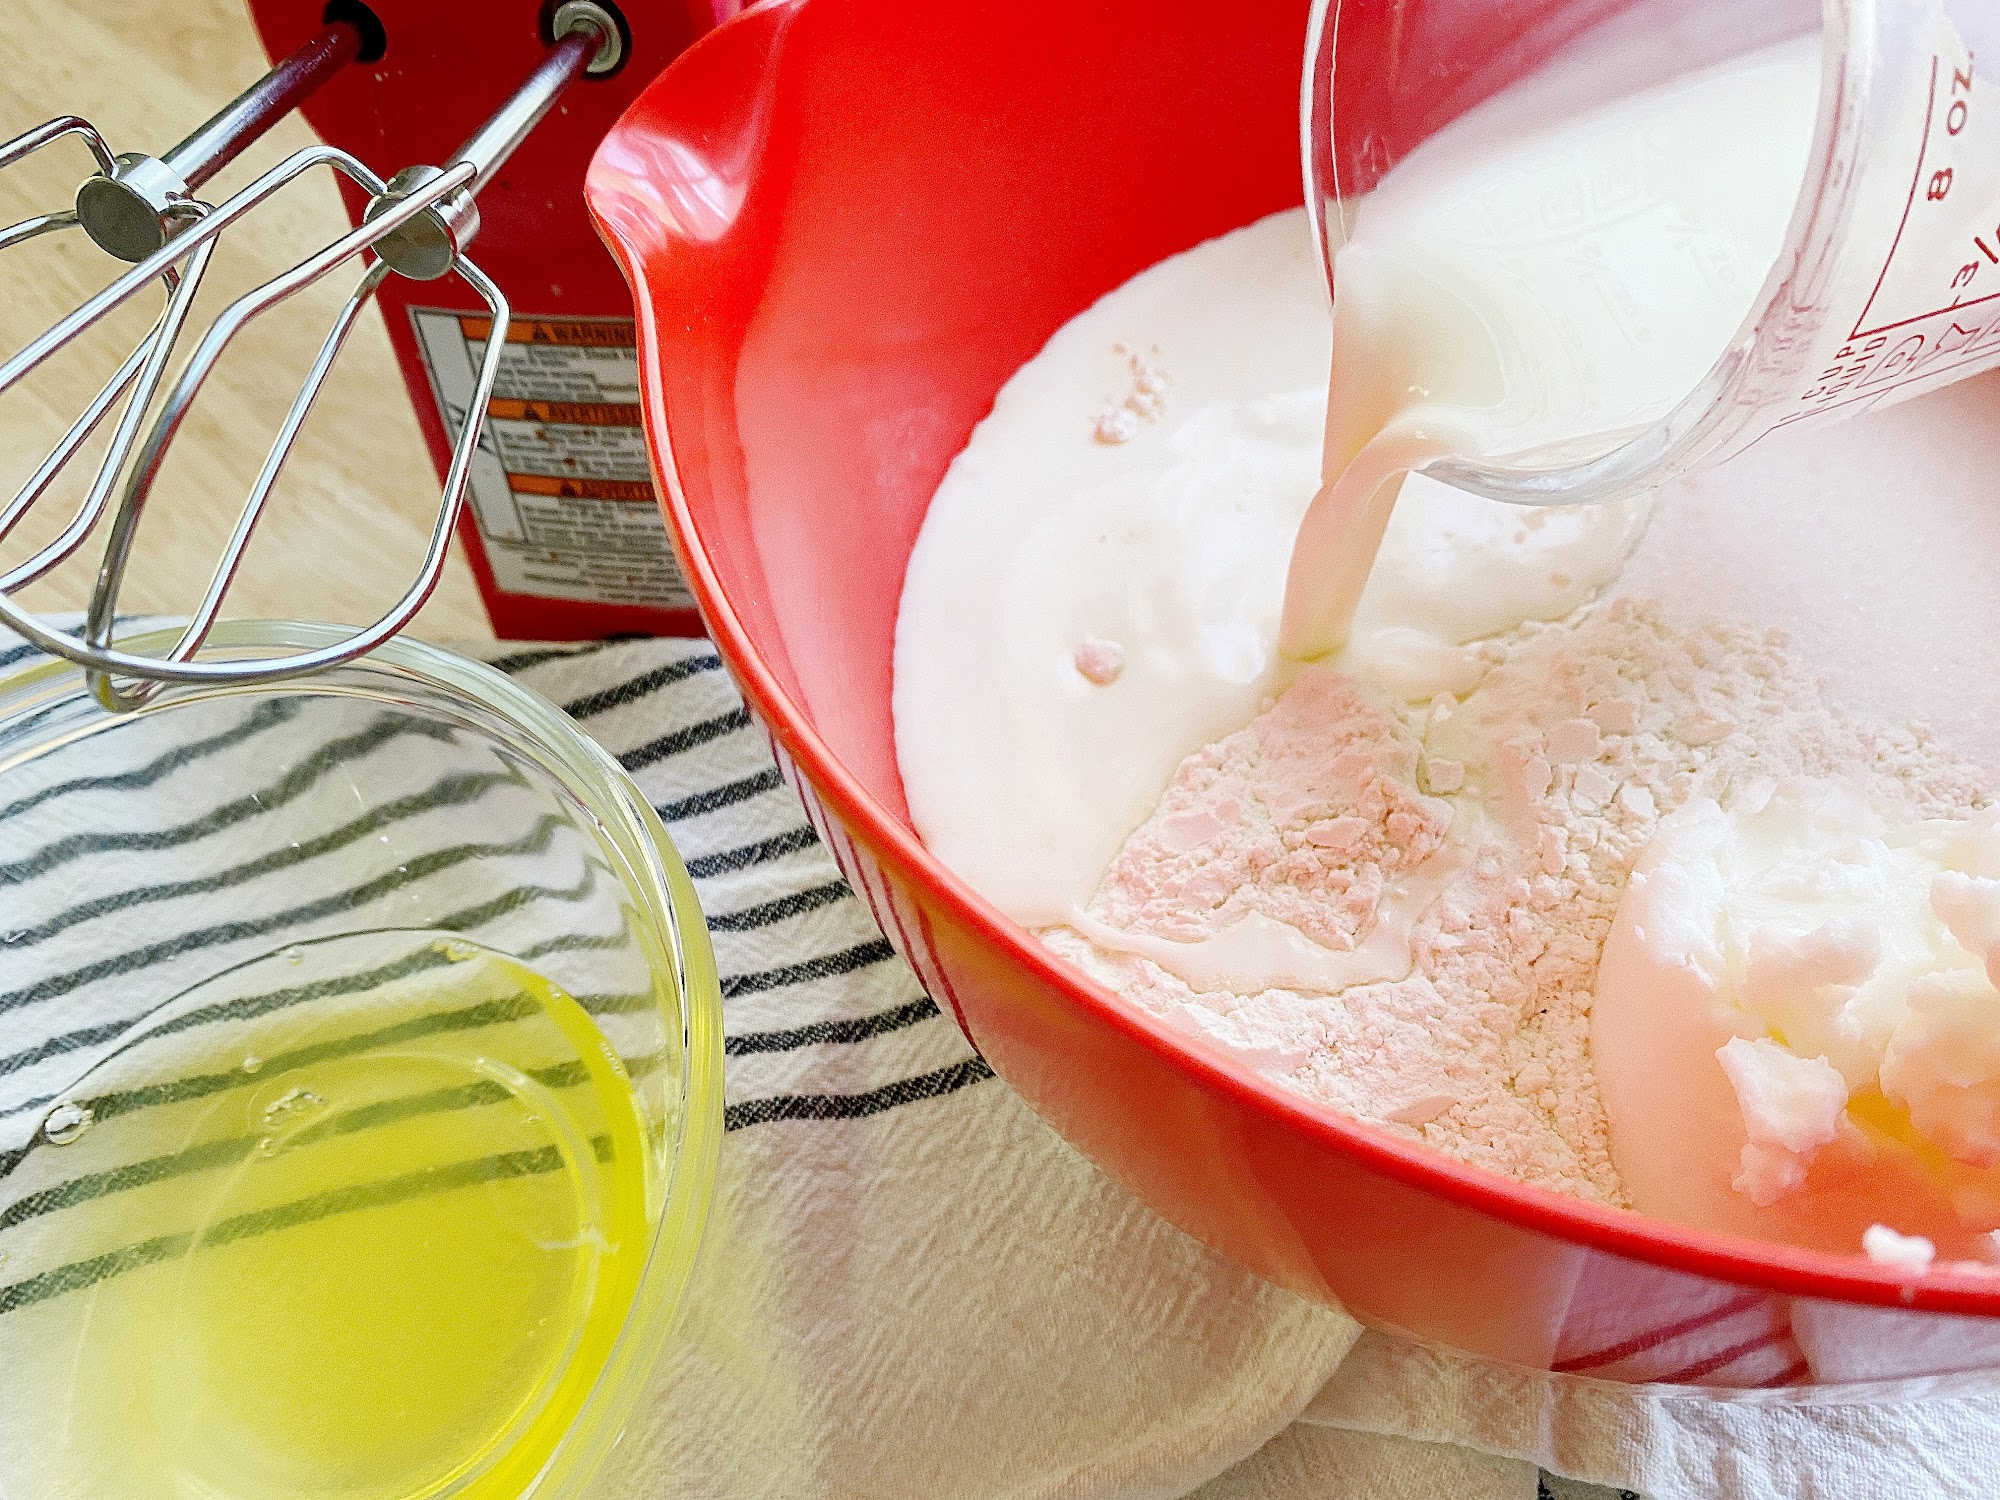
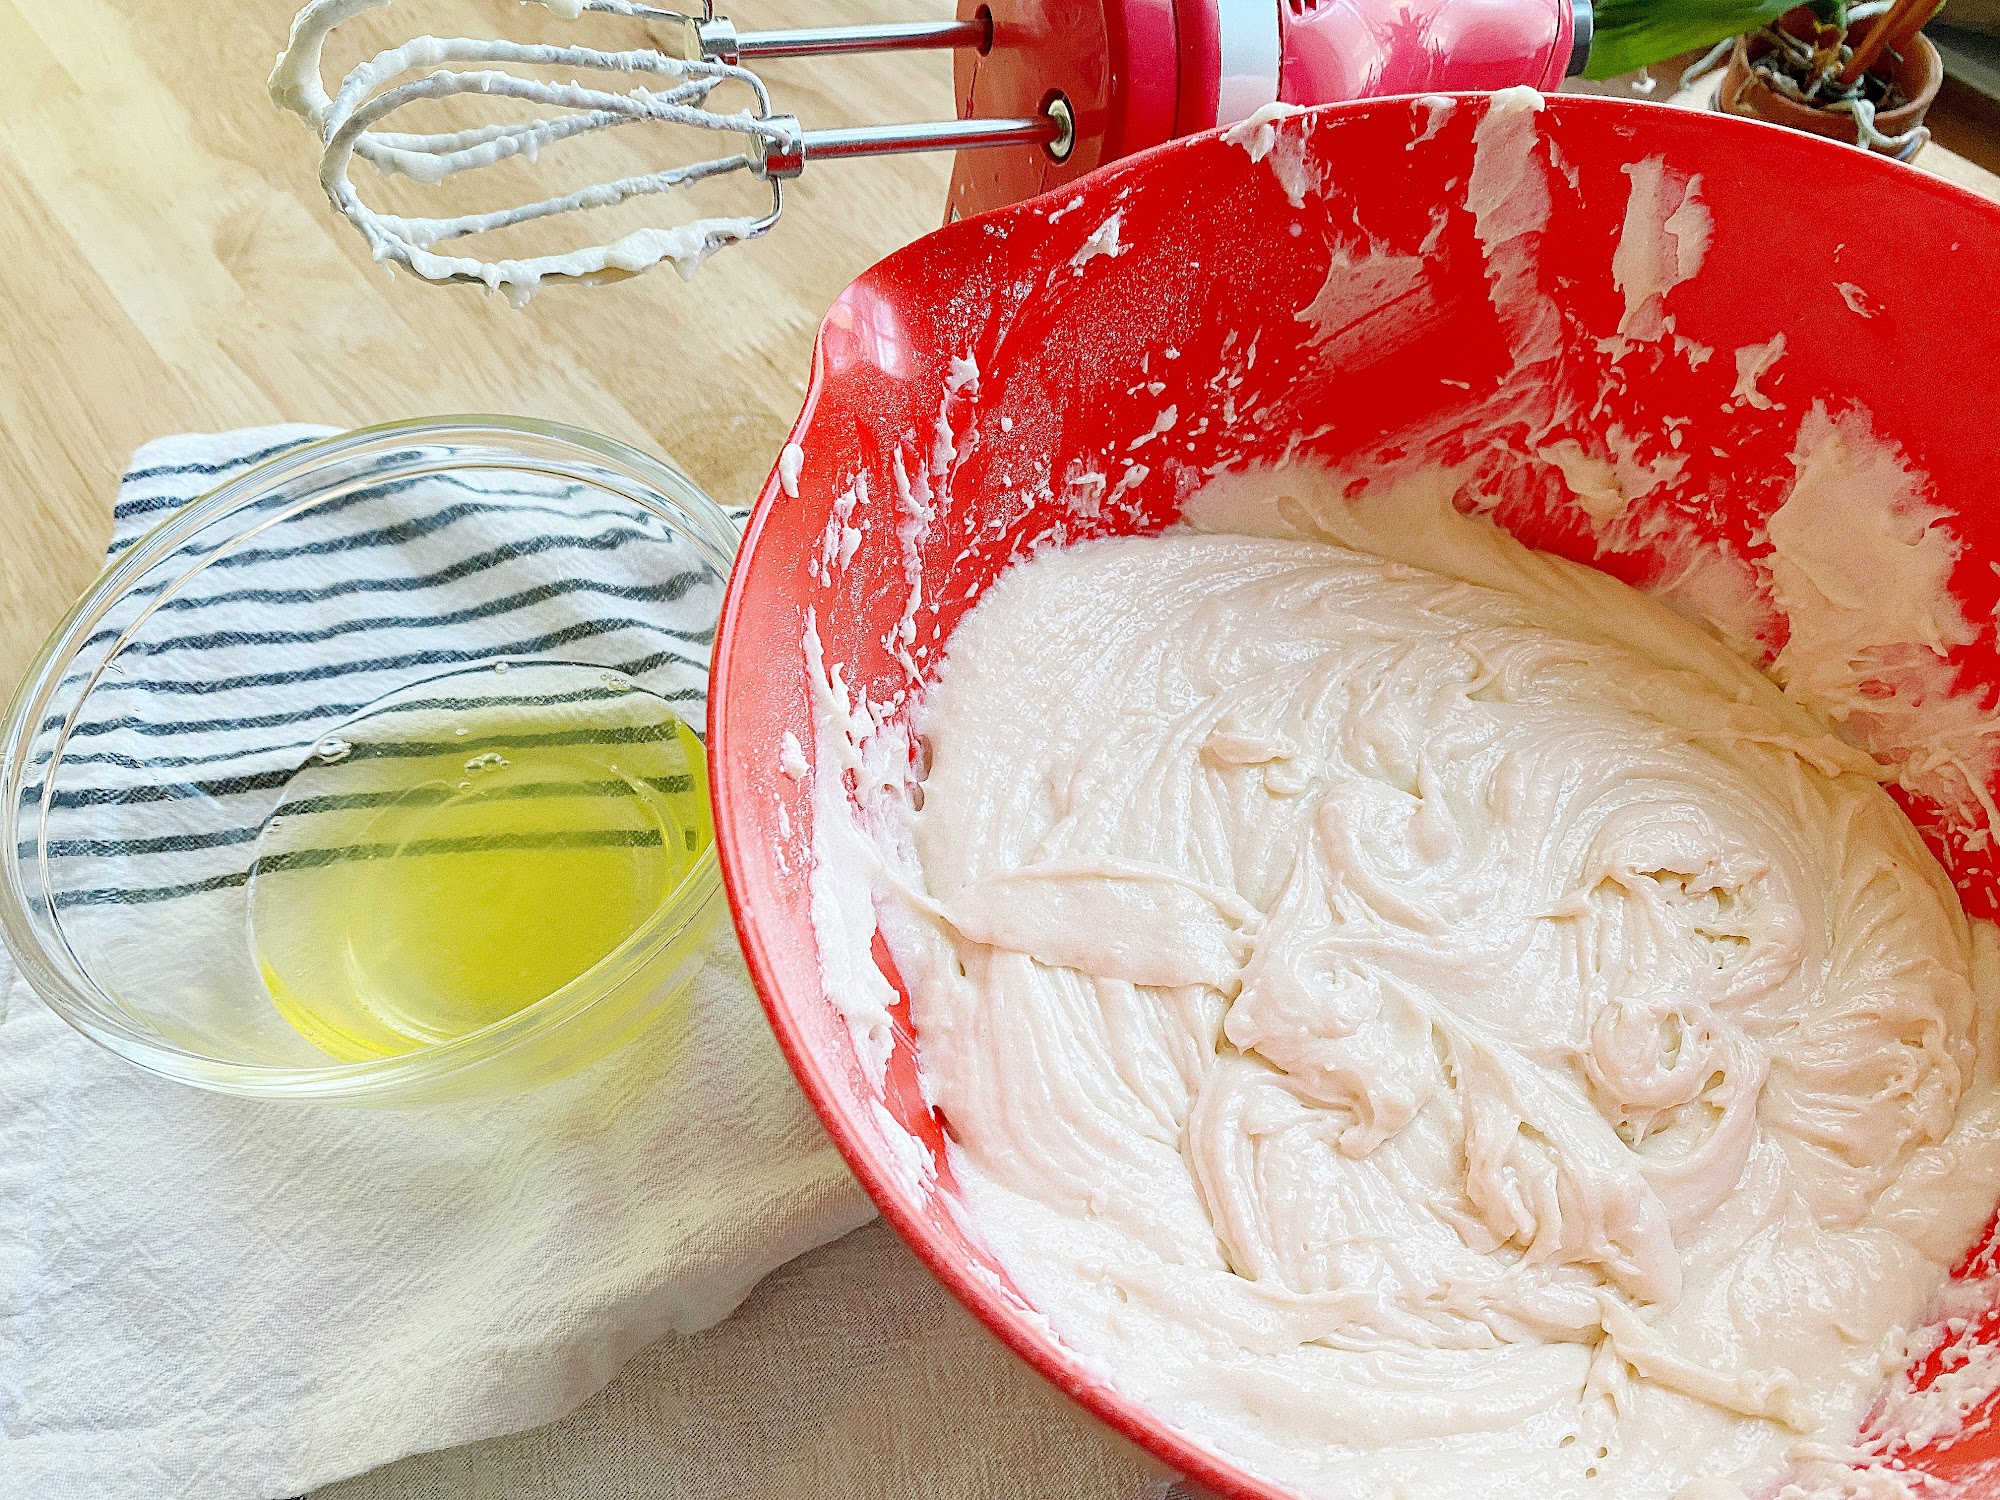
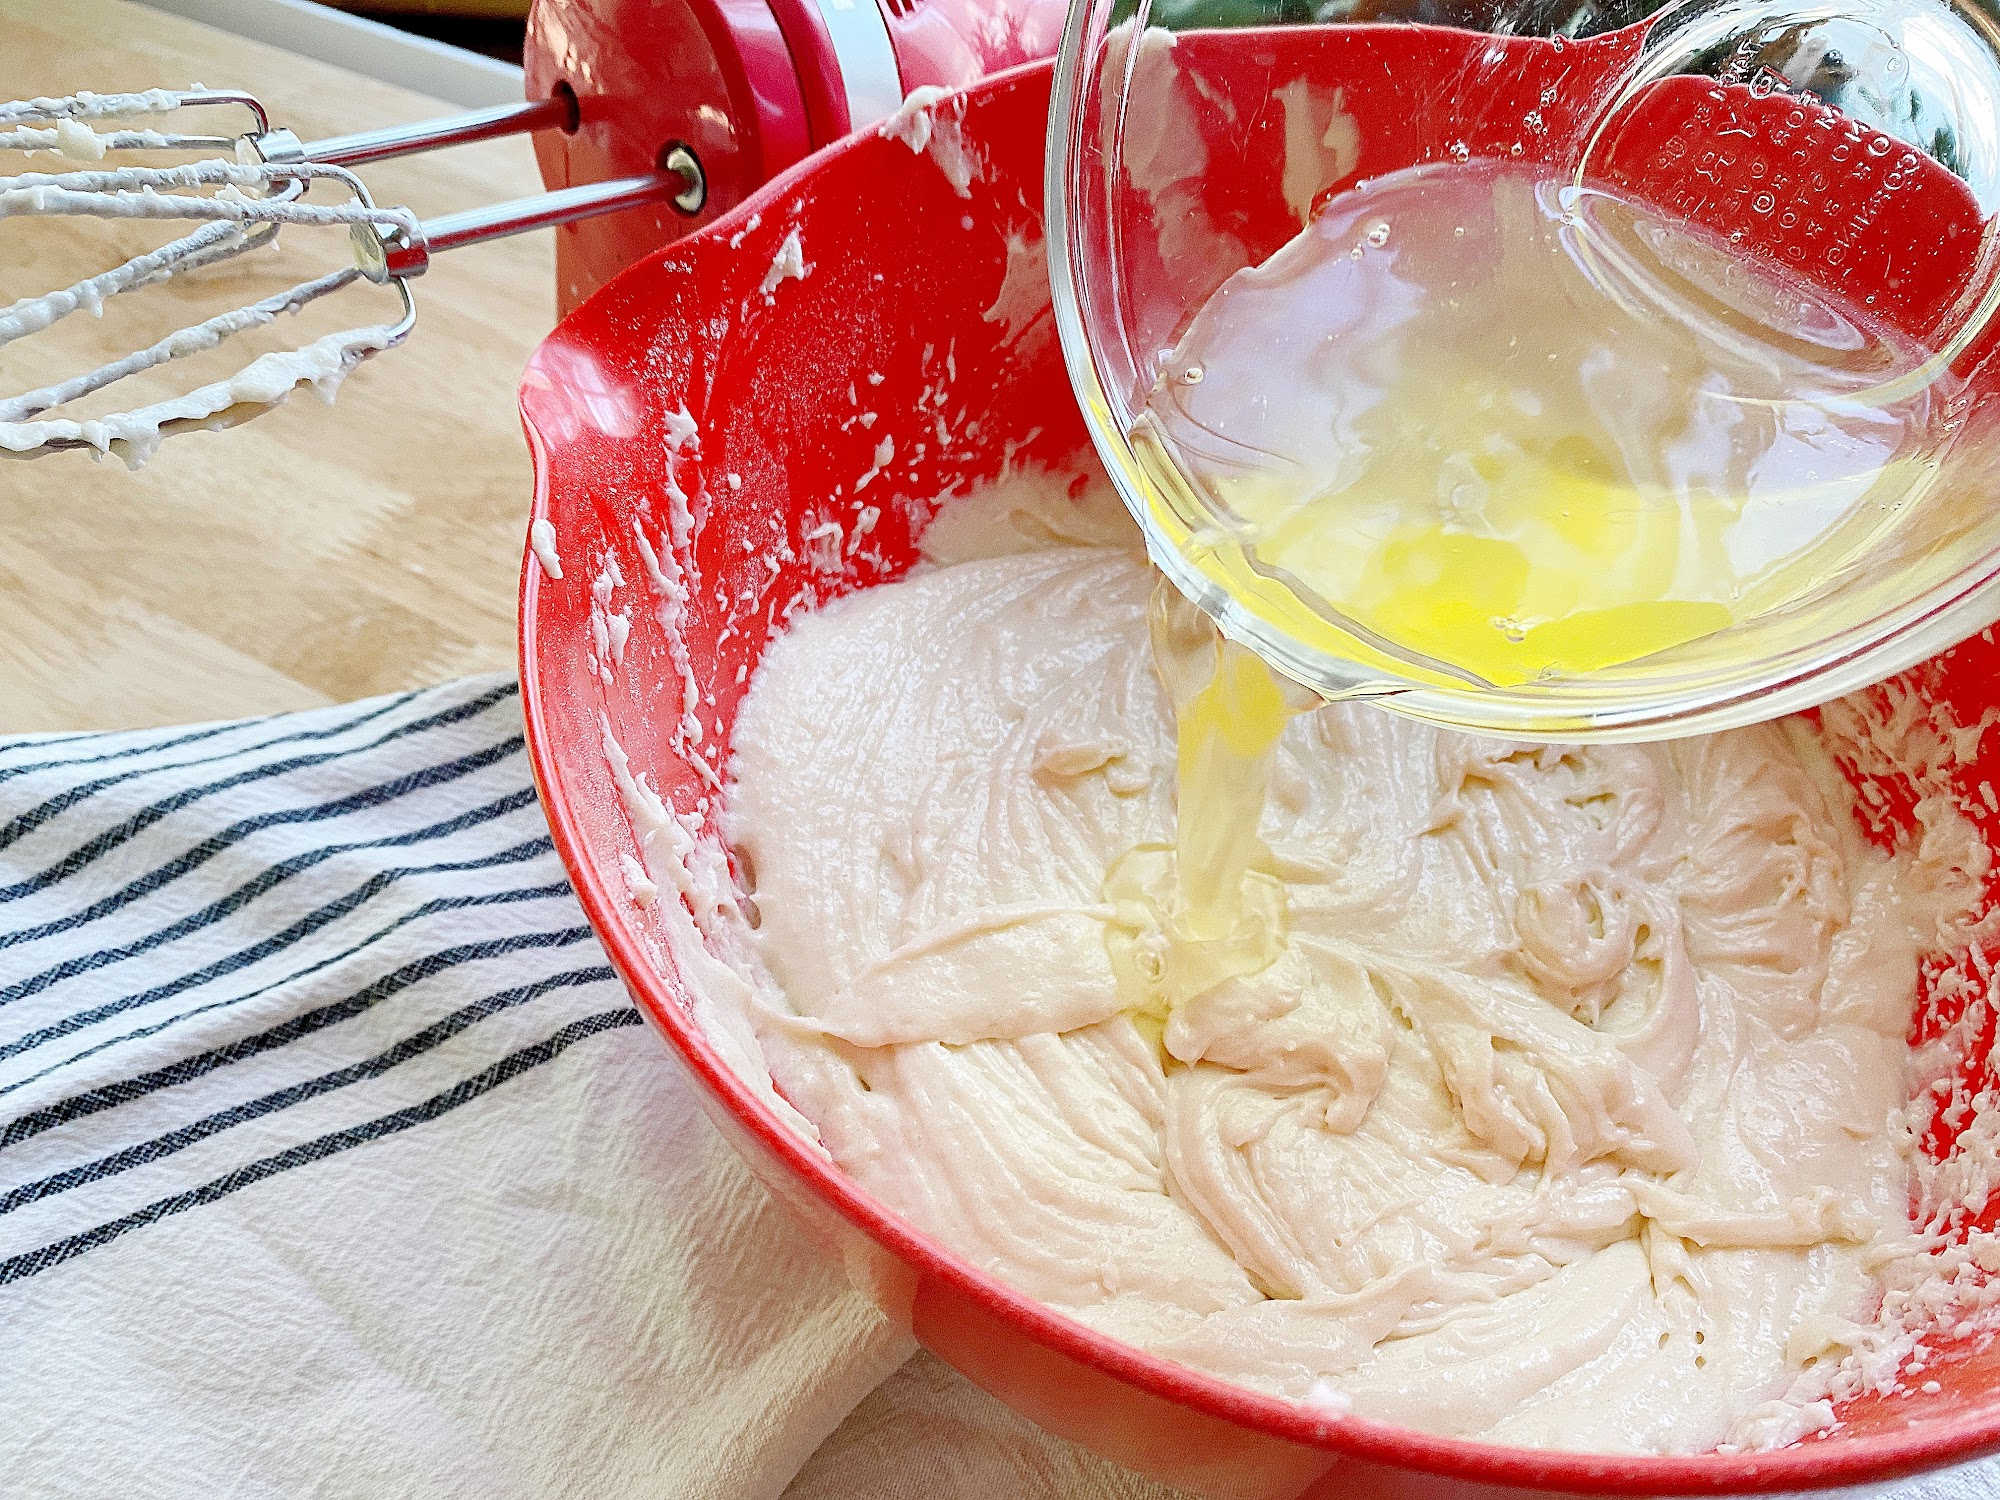
But, in case you want a really delicious, tender and simple white cake recipe, let me tell you about this one. This cake recipe came from my grandma’s 1979 Betty Crocker Cookbook, originally entitled “Silver White Cake”.  It’s a “one-bowl” cake recipe that instructs the baker to add all but the egg whites to the bowl of a stand mixer, mixing to combine. Then add in the egg whites, mixing until fluffy.
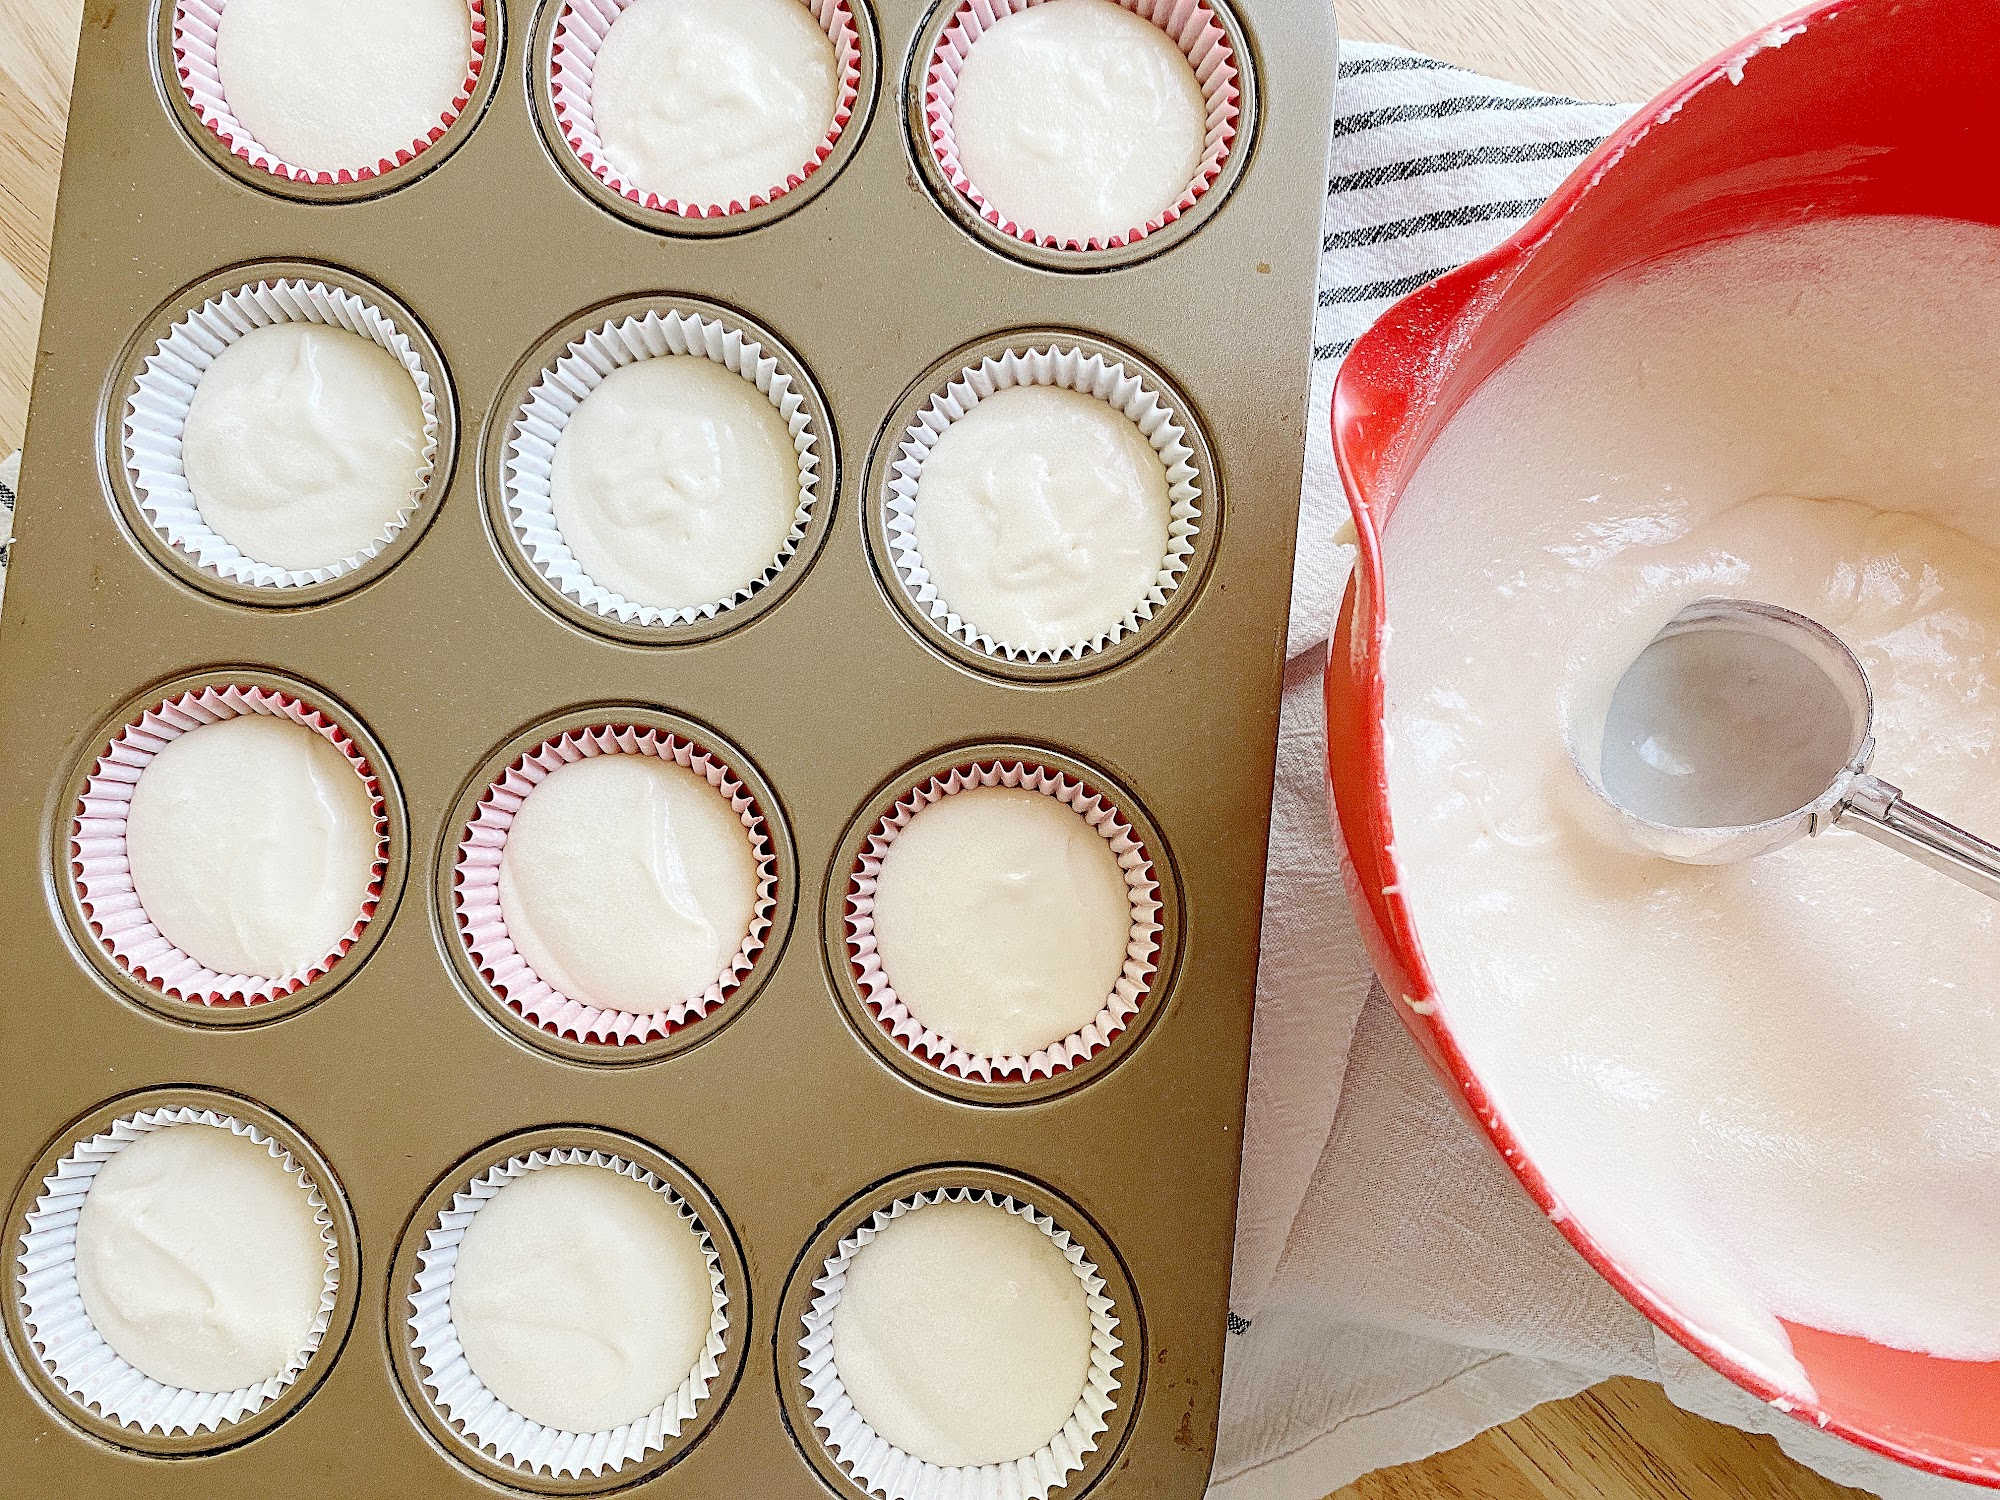
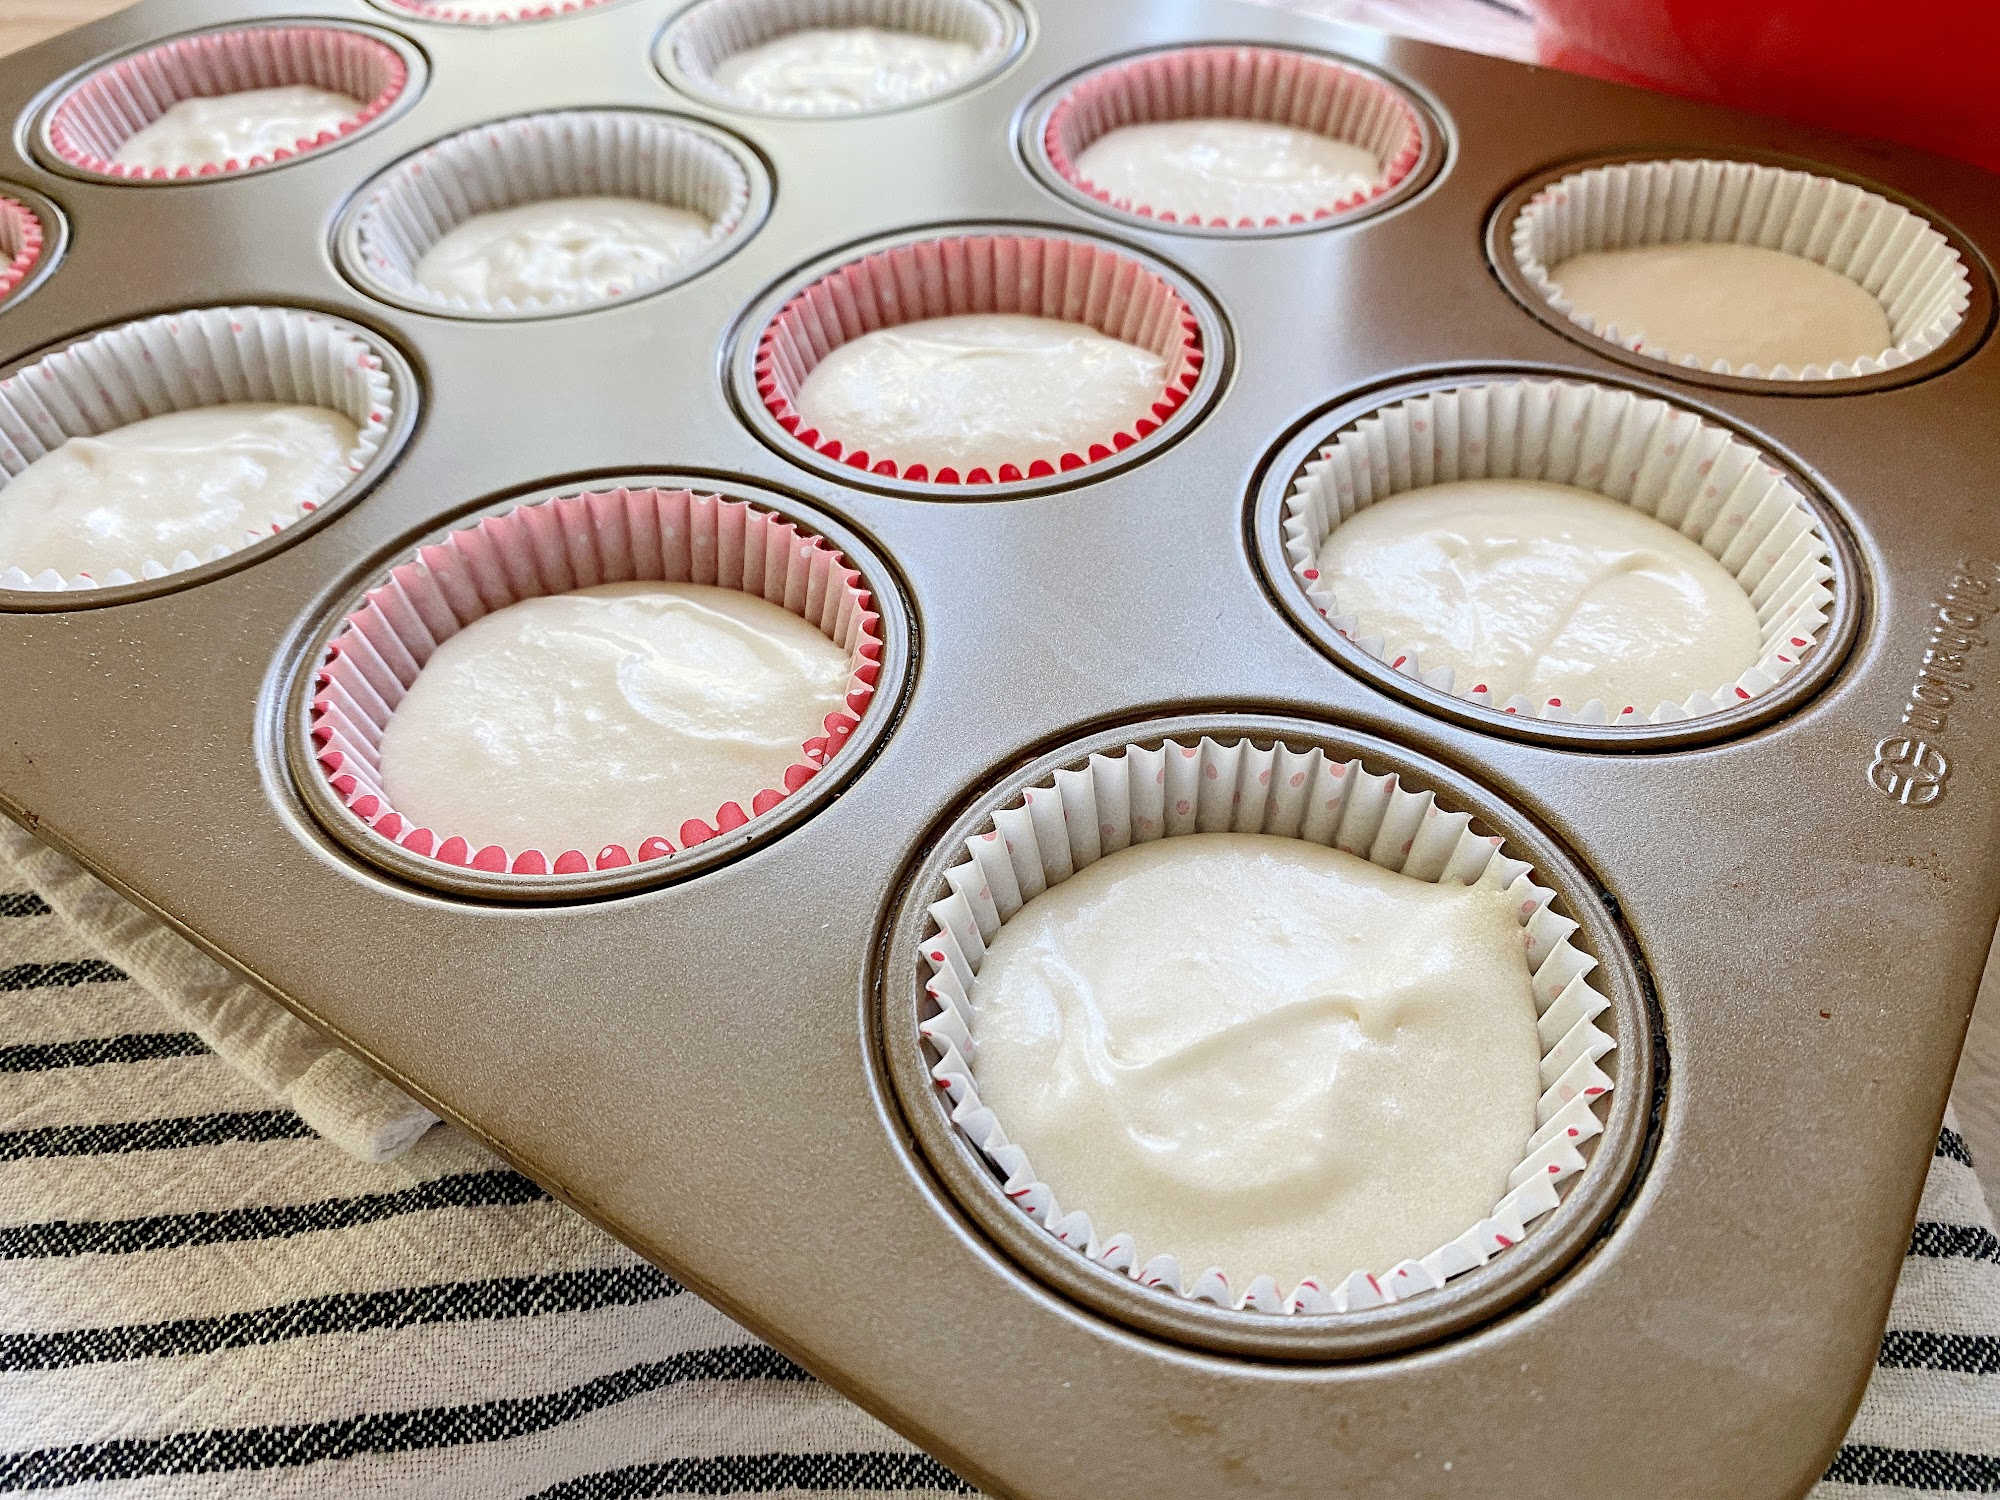
Scoop the cupcake batter into a prepared cupcake pan and bake at 350° for 17-20 minutes. 

Poking the Cupcakes

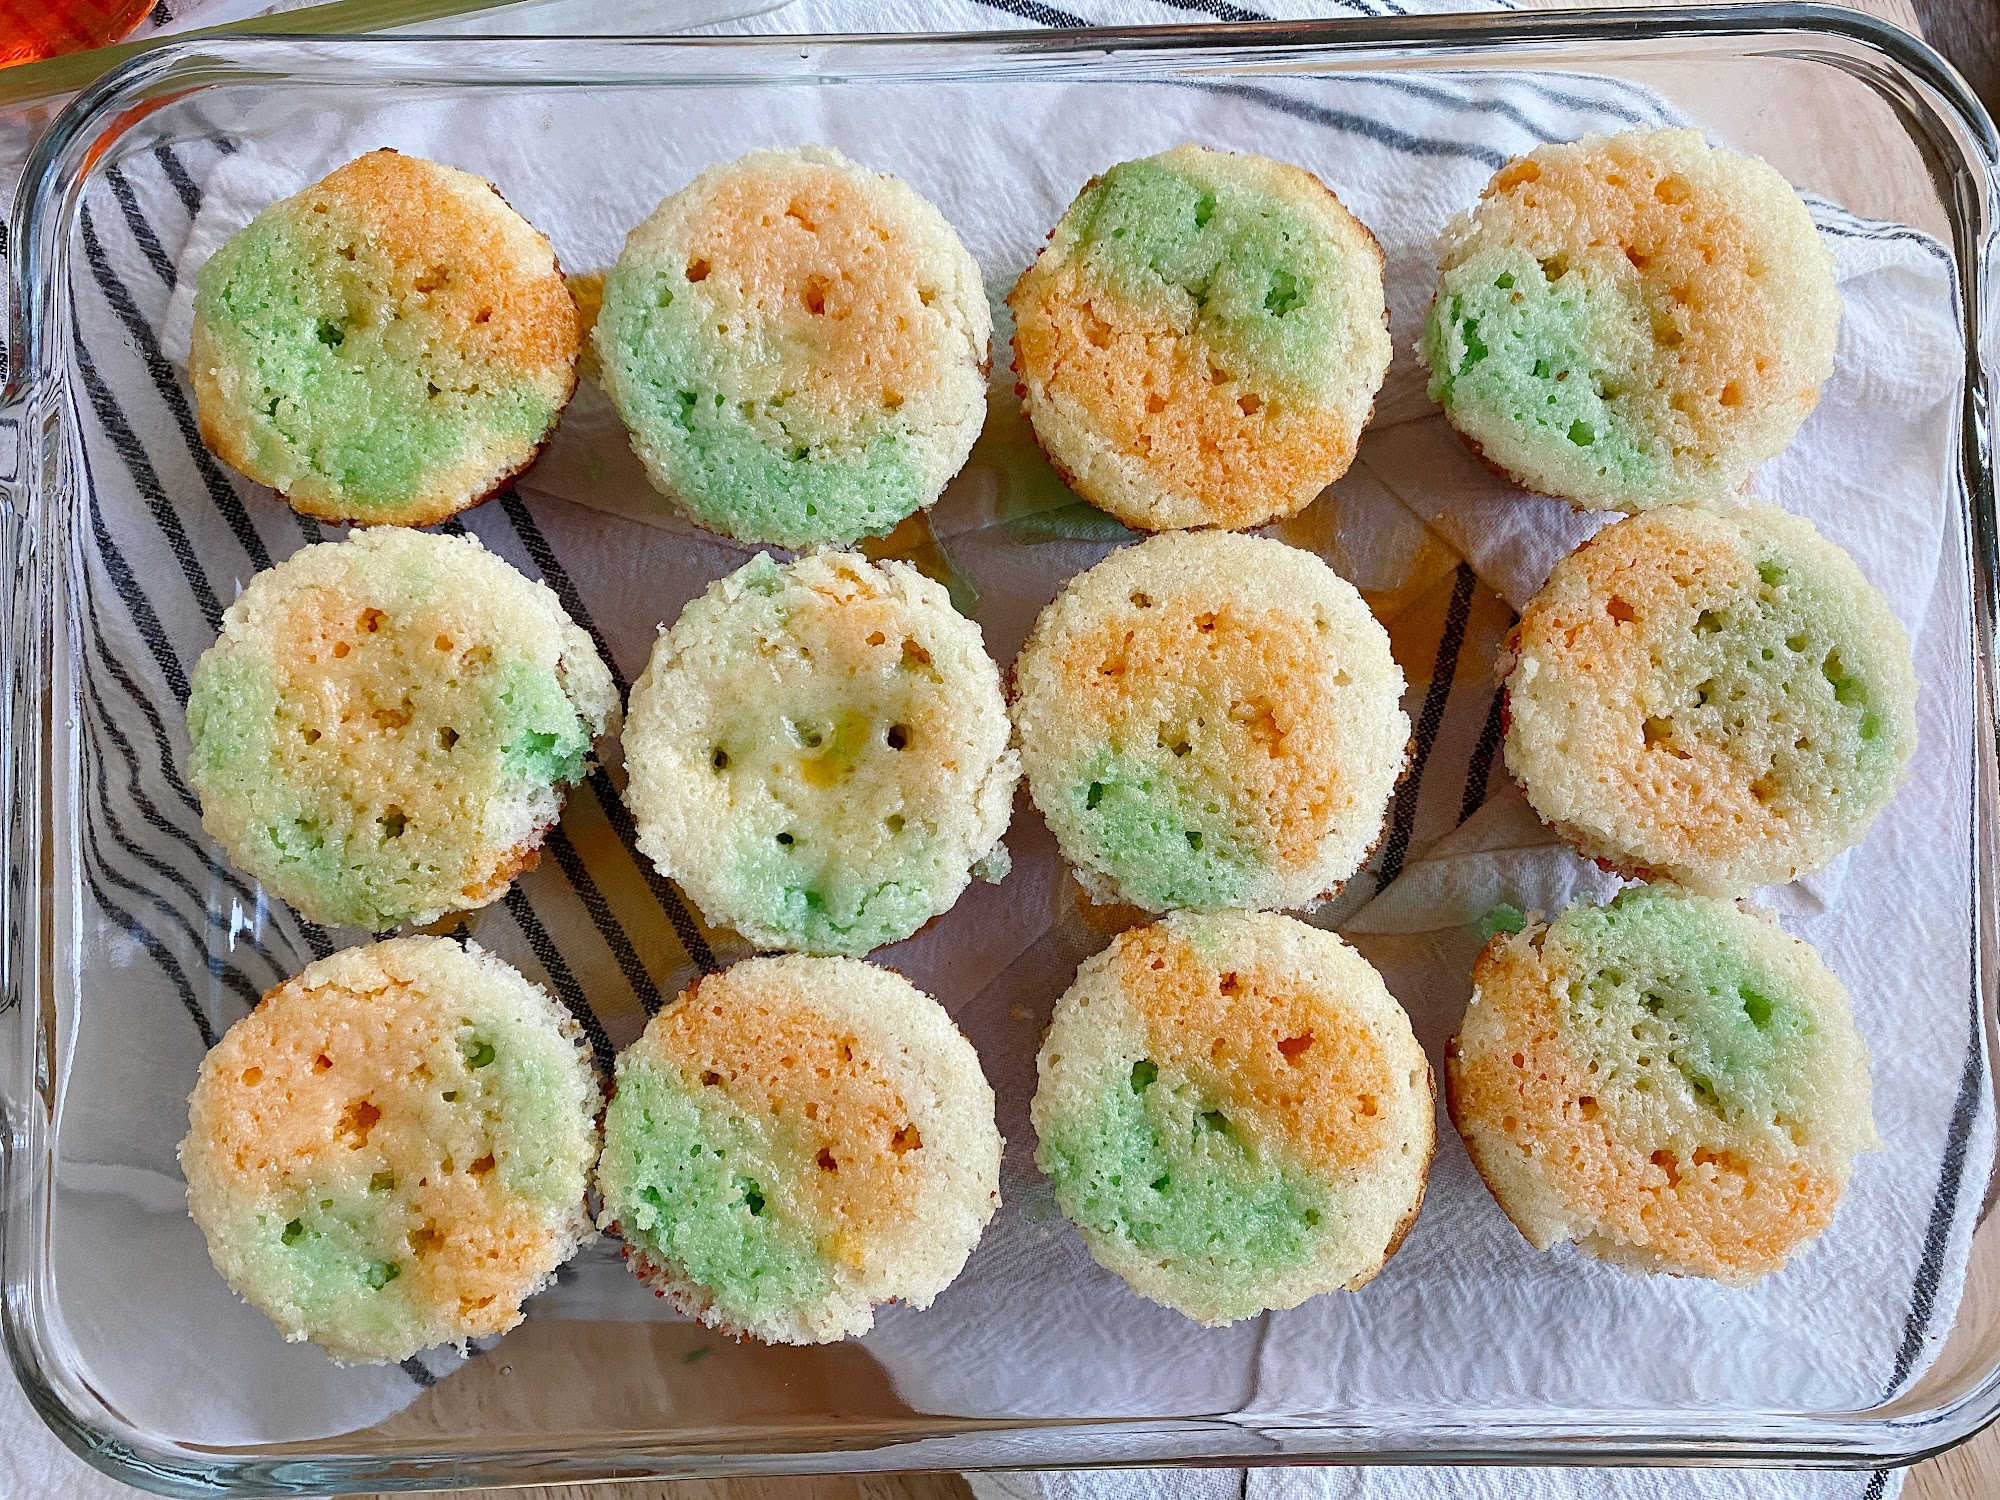
Whether using a boxed cake mix or homemade – here’s what makes this recipe special – the POKE. After the cupcakes are baked and cooled, use a chopstick to poke 6-8 holes into each cupcake, then prepare the gelatin mixtures. The next step is where the fun begins – drizzle 2T of the gelatin mixtures into the pokes of each cupcake (1 T of each flavor of gelatin).
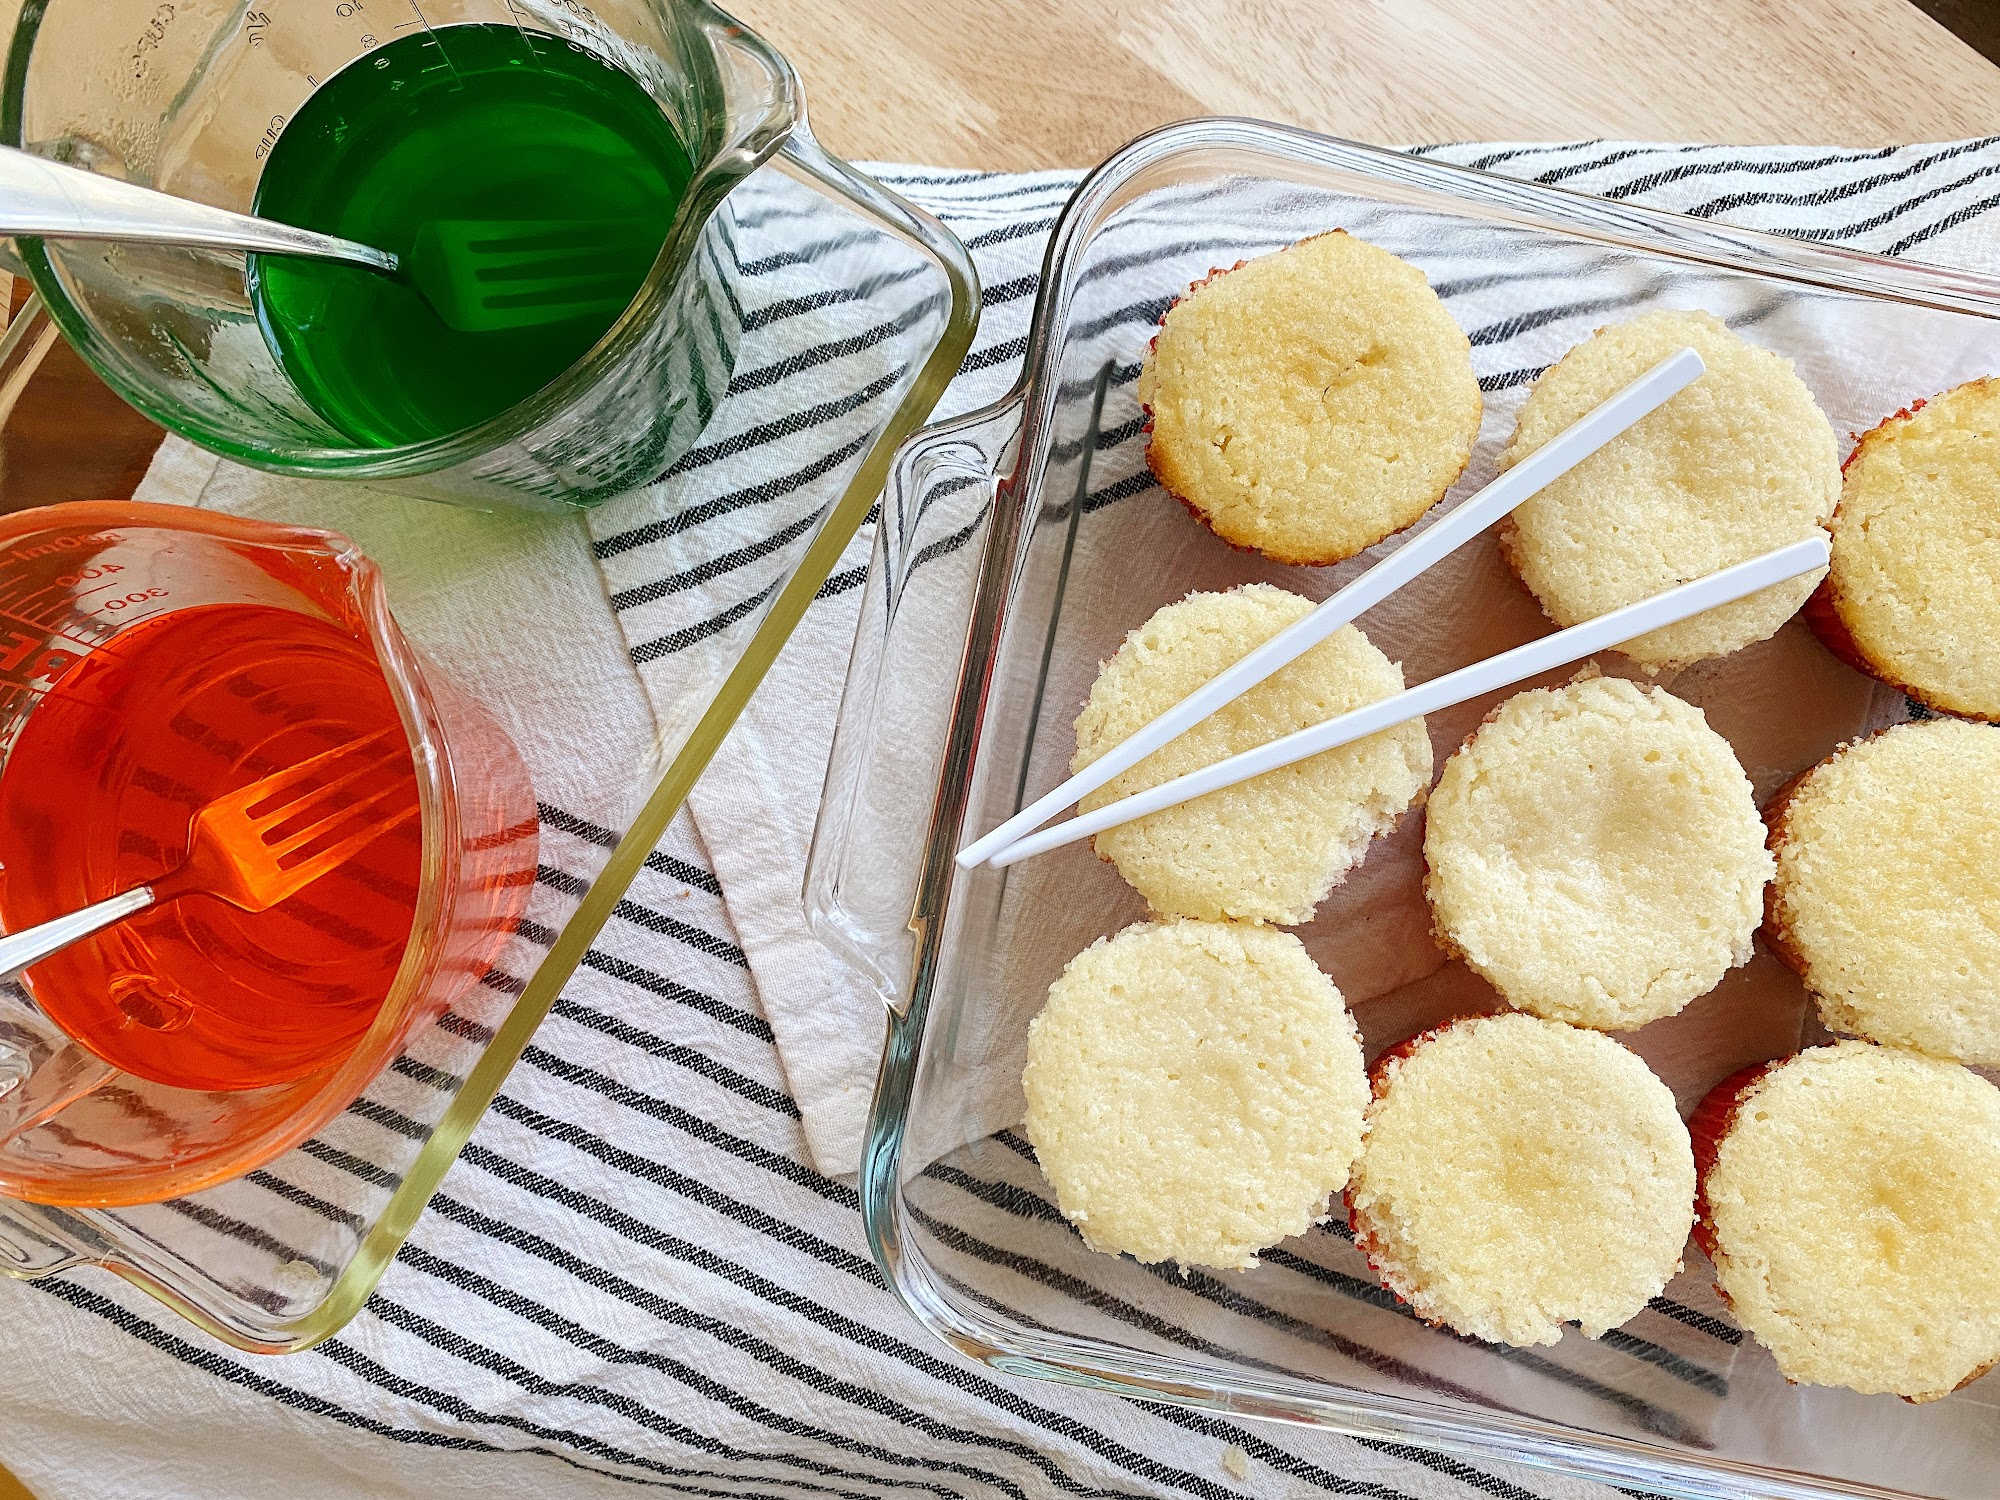
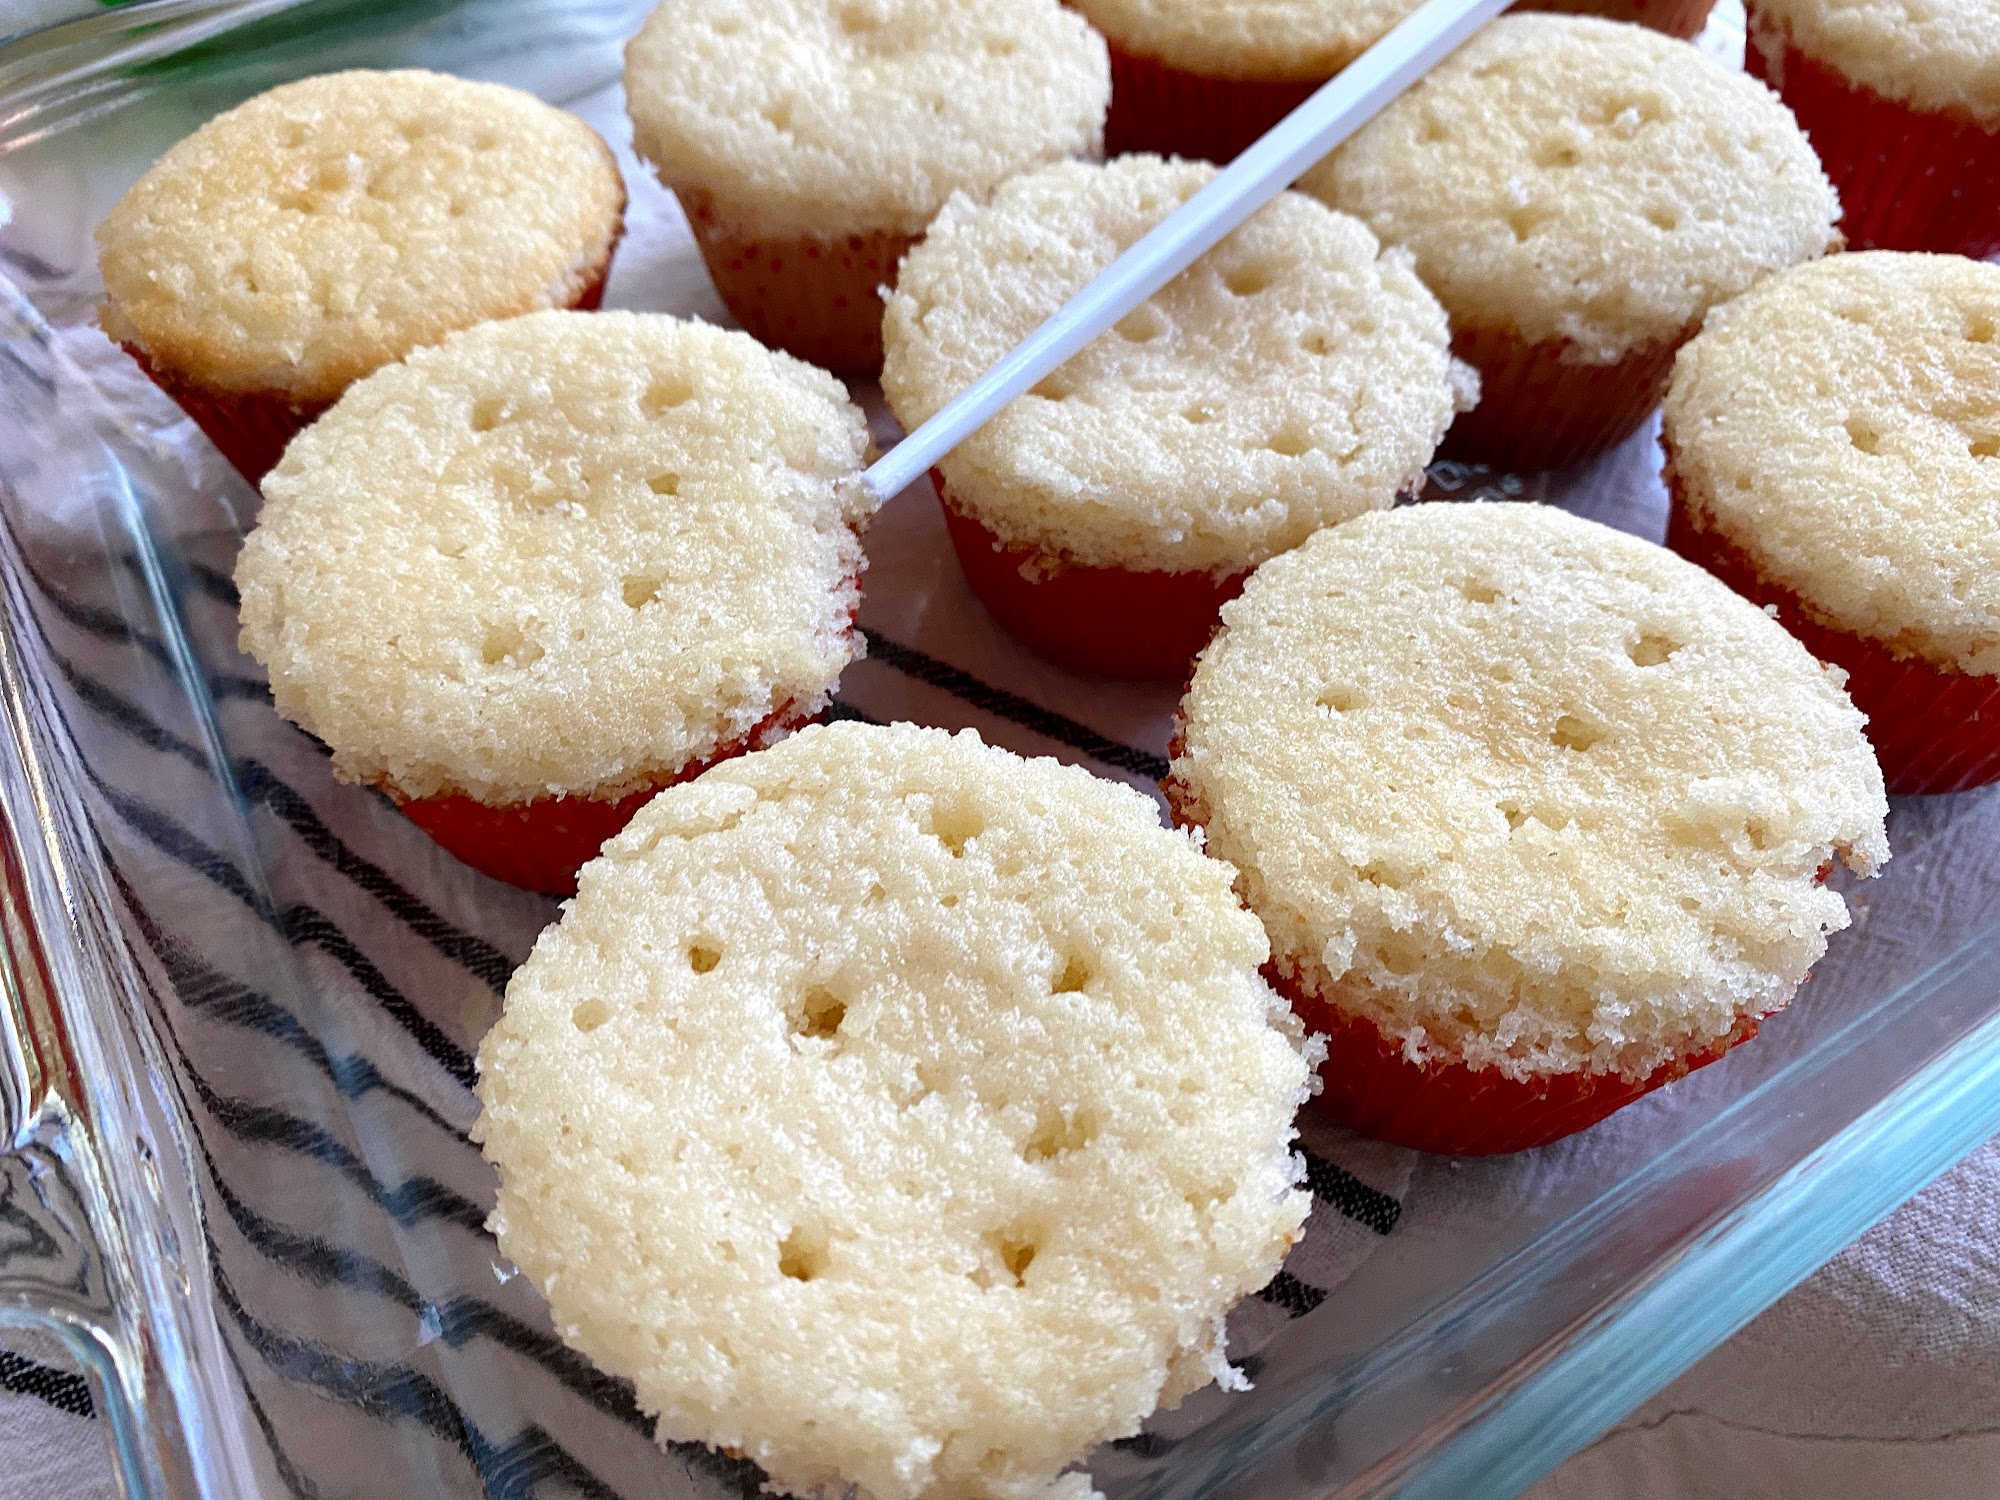
poke cupcake

Once the cupcakes are poked and drizzled with gelatin, refrigerate to allow the cupcakes to “set”. 

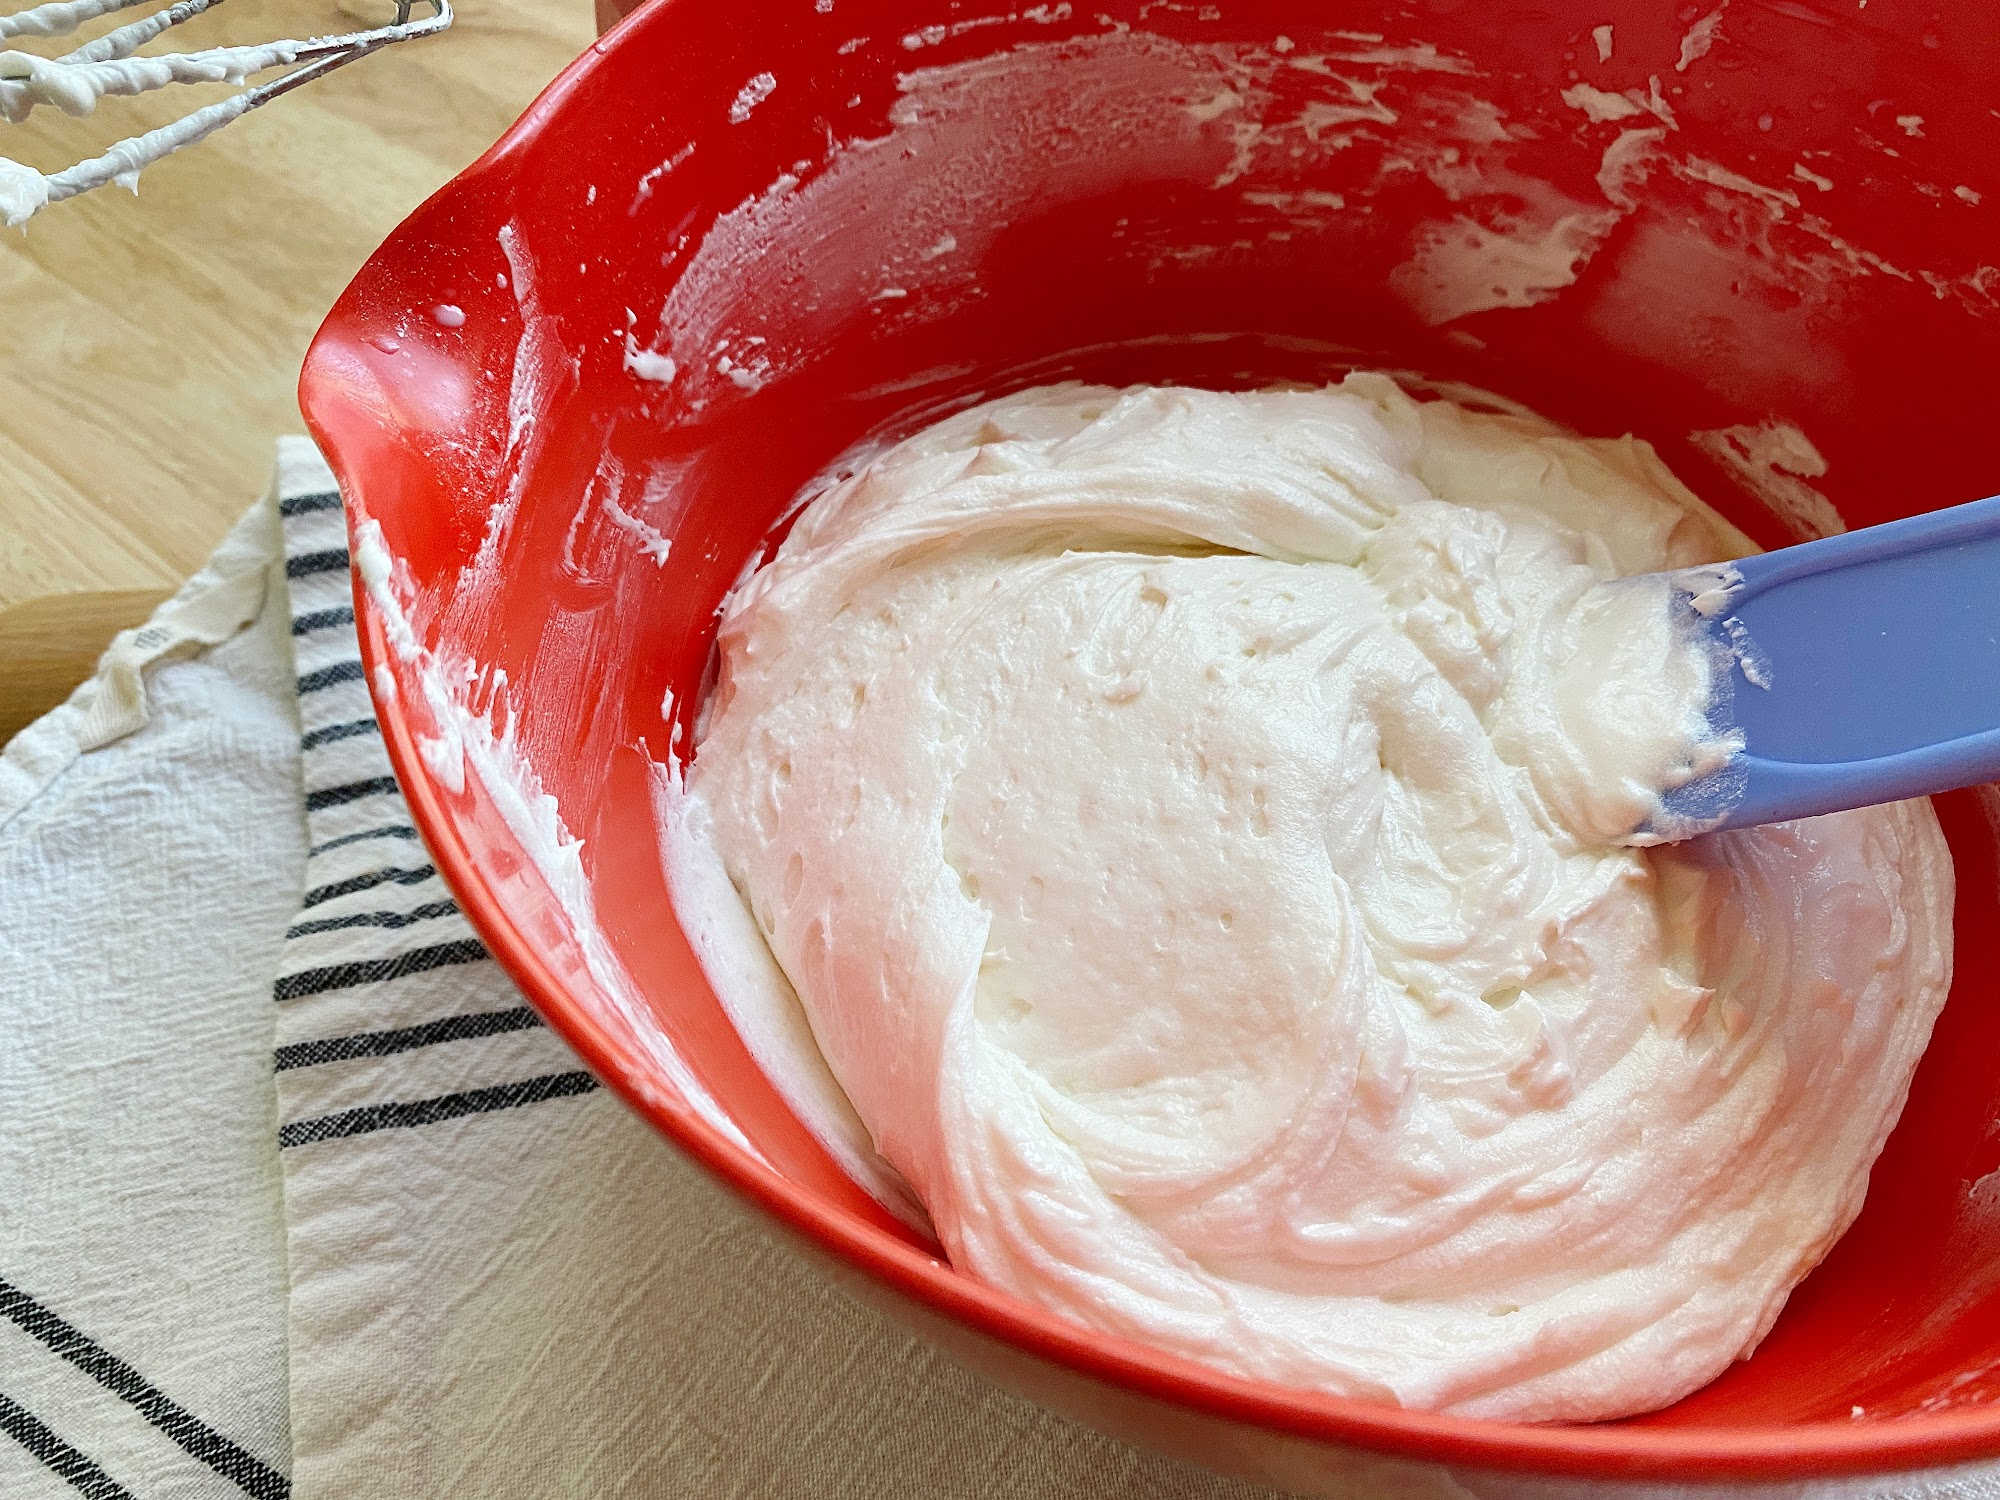
In the meantime, prepare the fluffy buttercream.
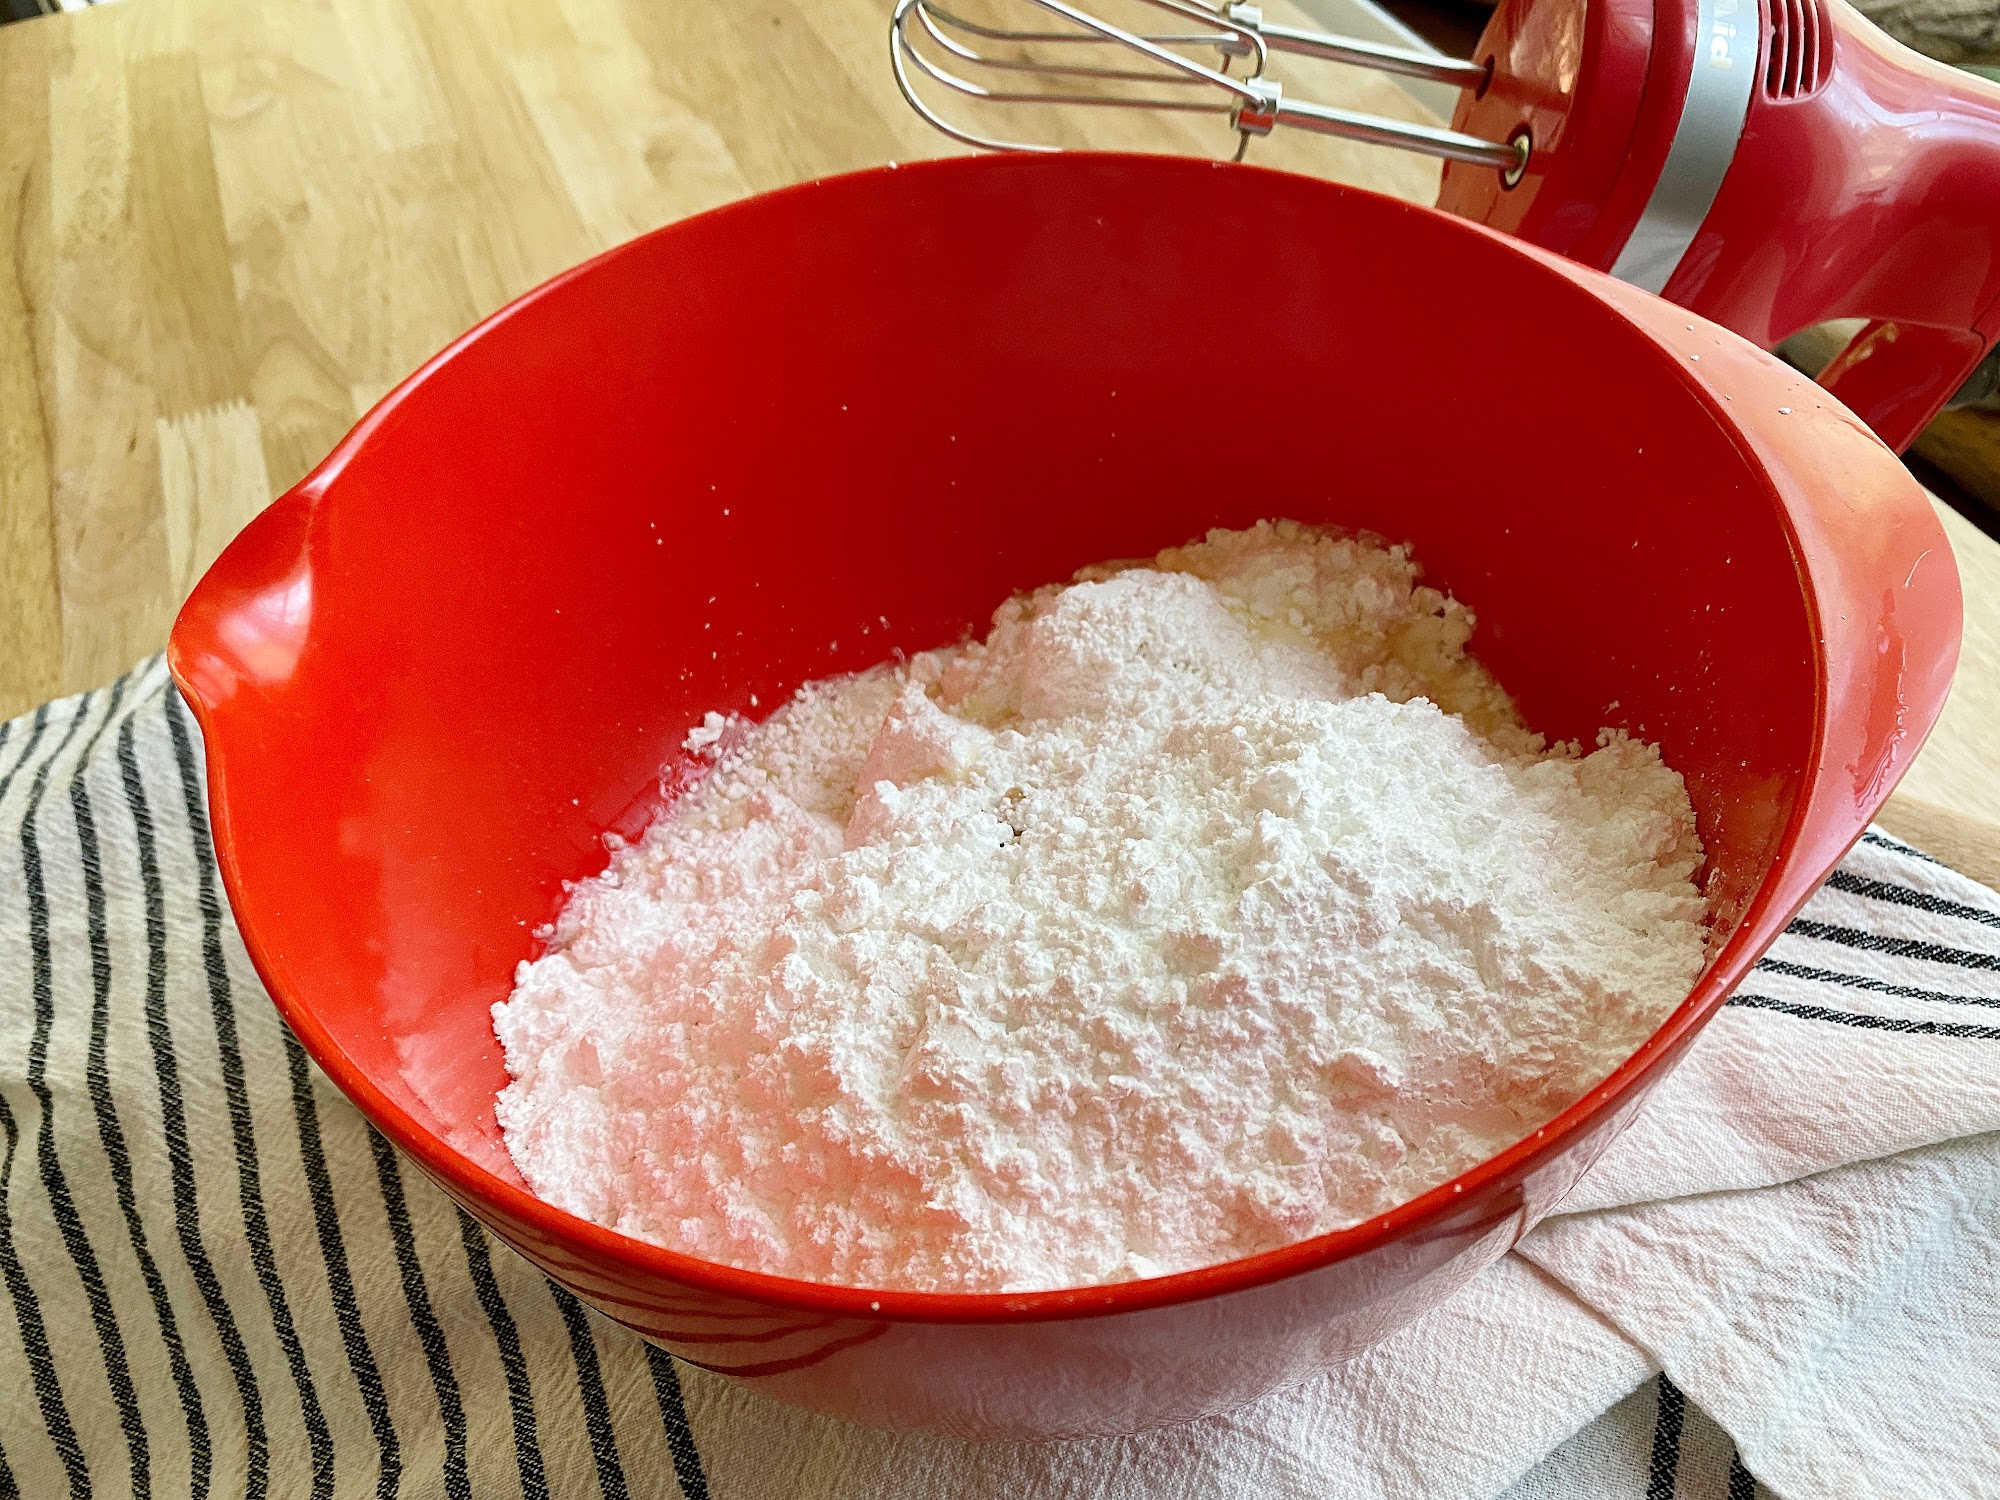
fluffy buttercream

Basic Fluffy Buttercream

This buttercream is really easy! Add all the ingredients to one bowl, whip to combine and add additional milk (slowly) to reach desired consistency.
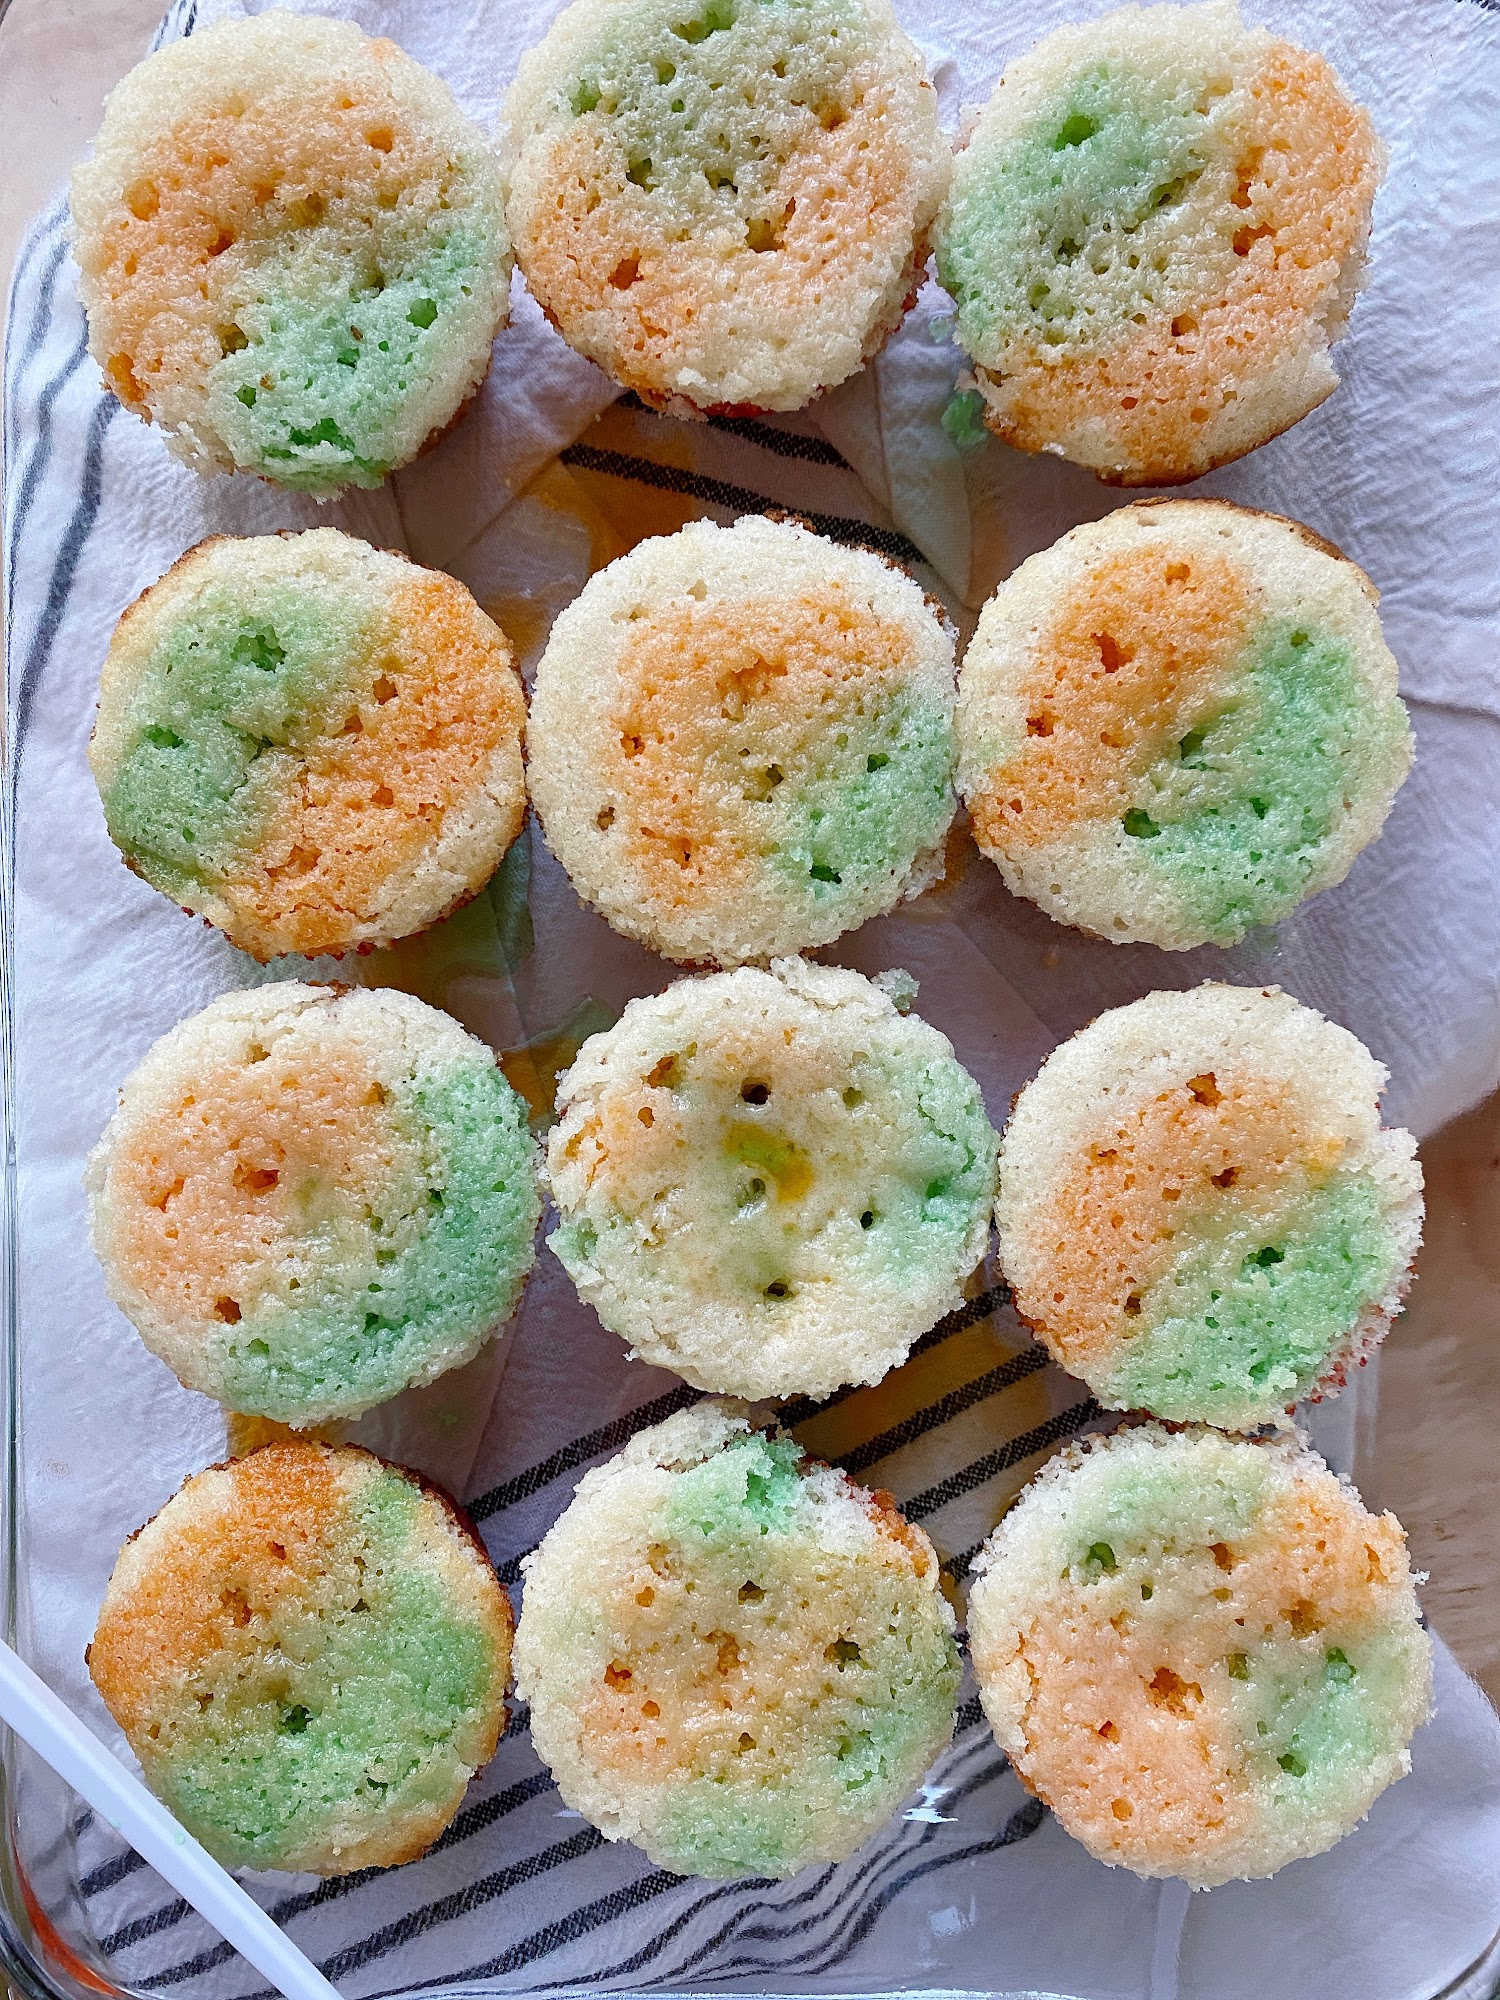
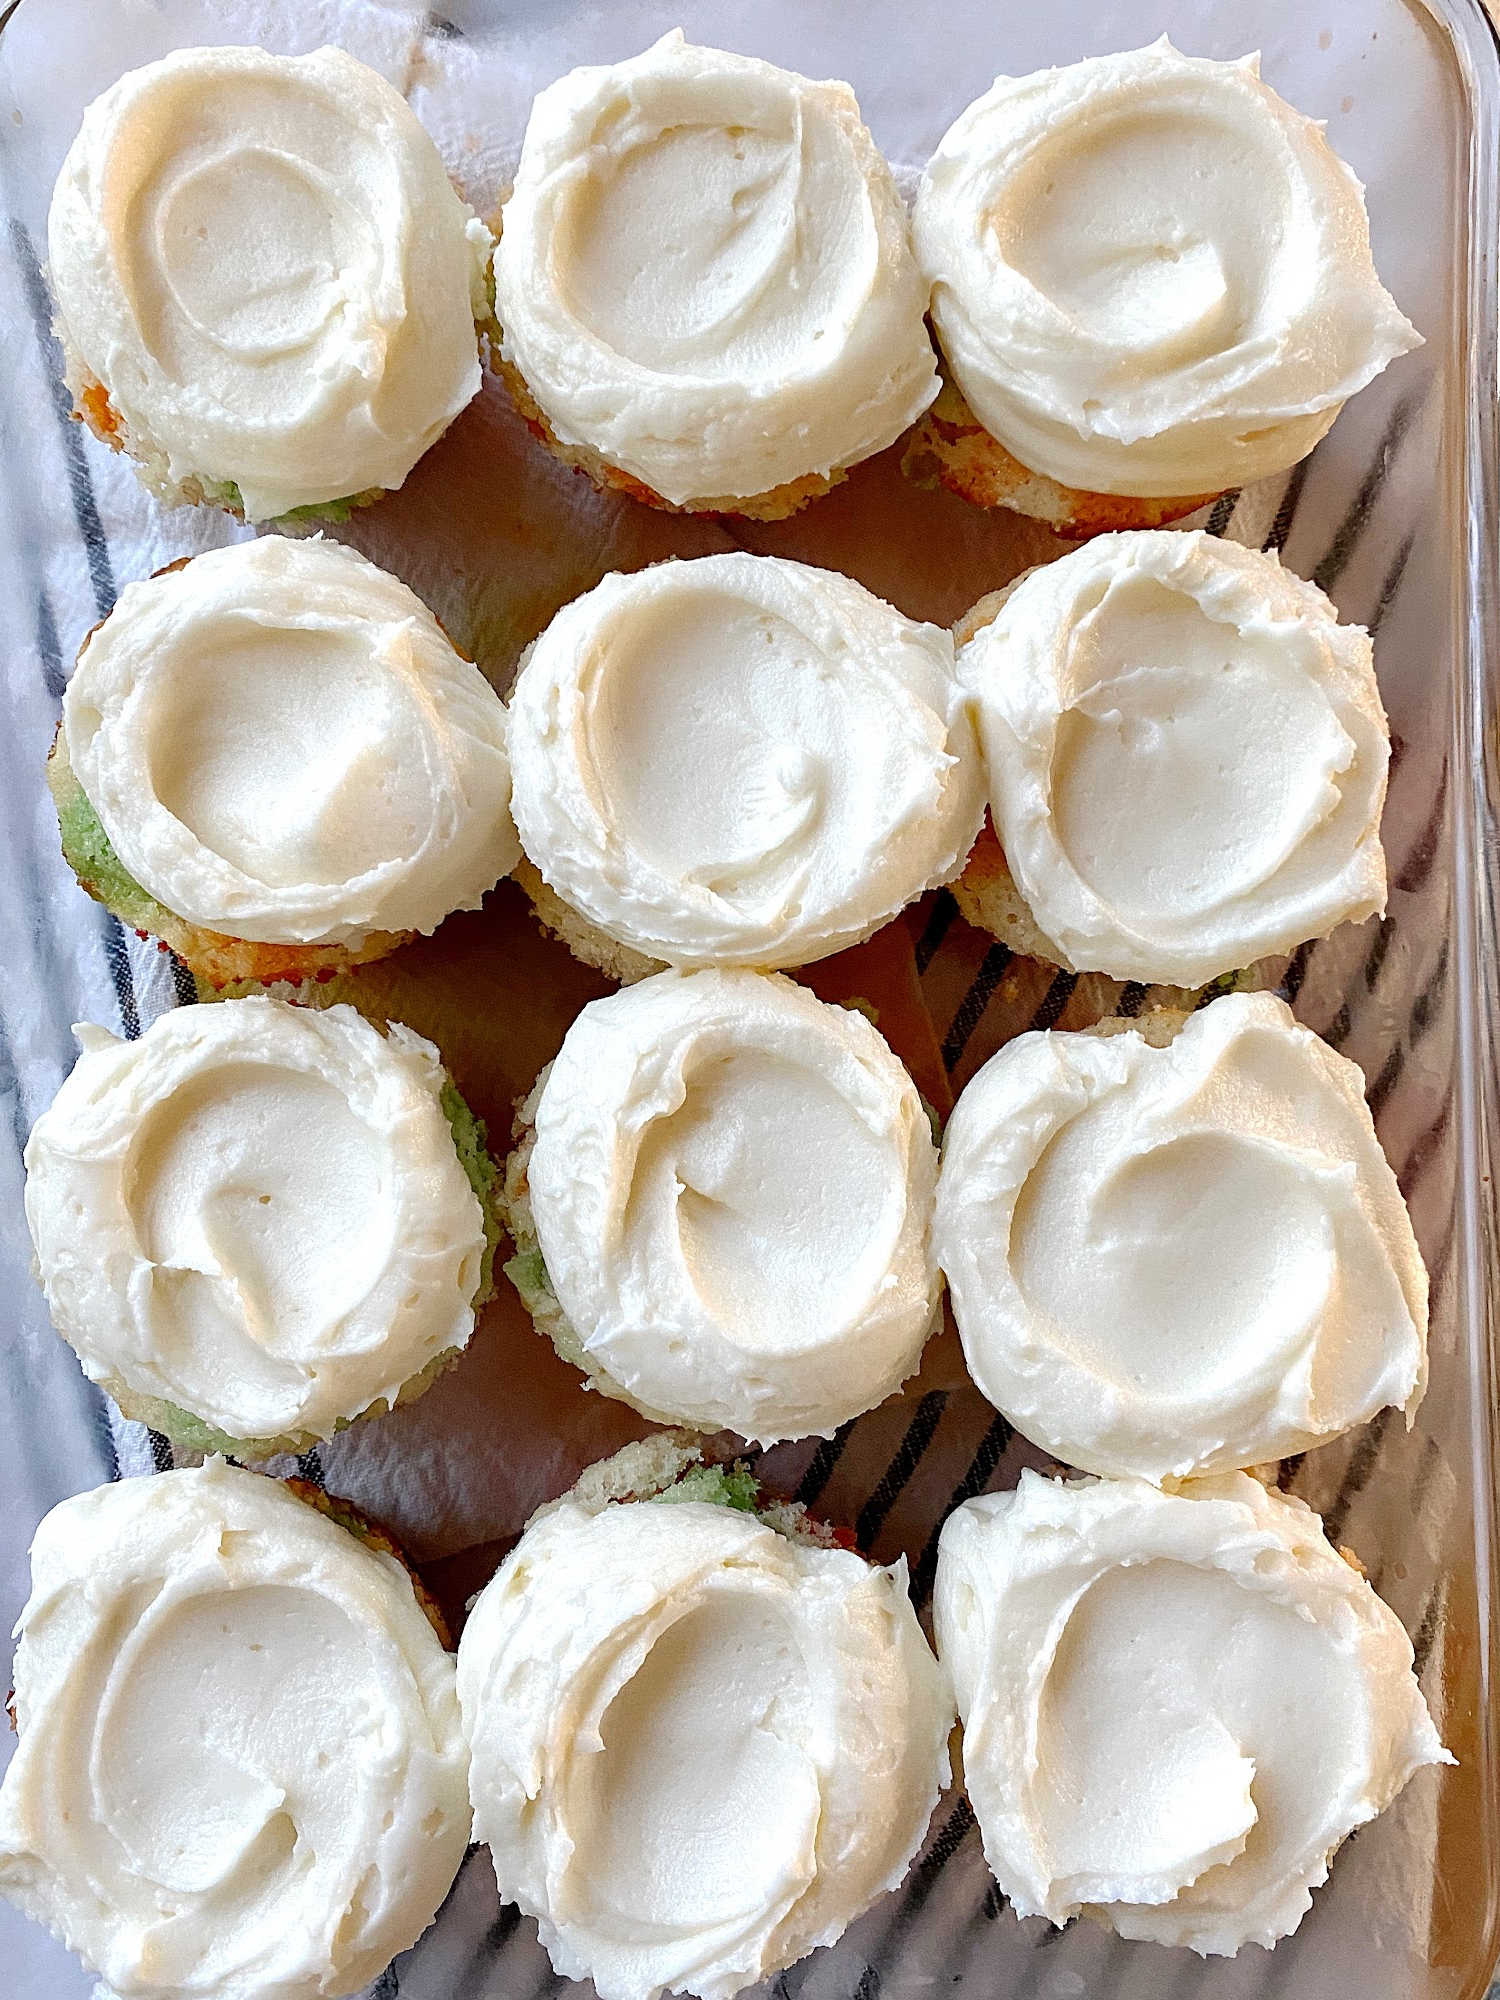
poked cupcakes frosted cupcakes

Decorating the Poke Cupcakes

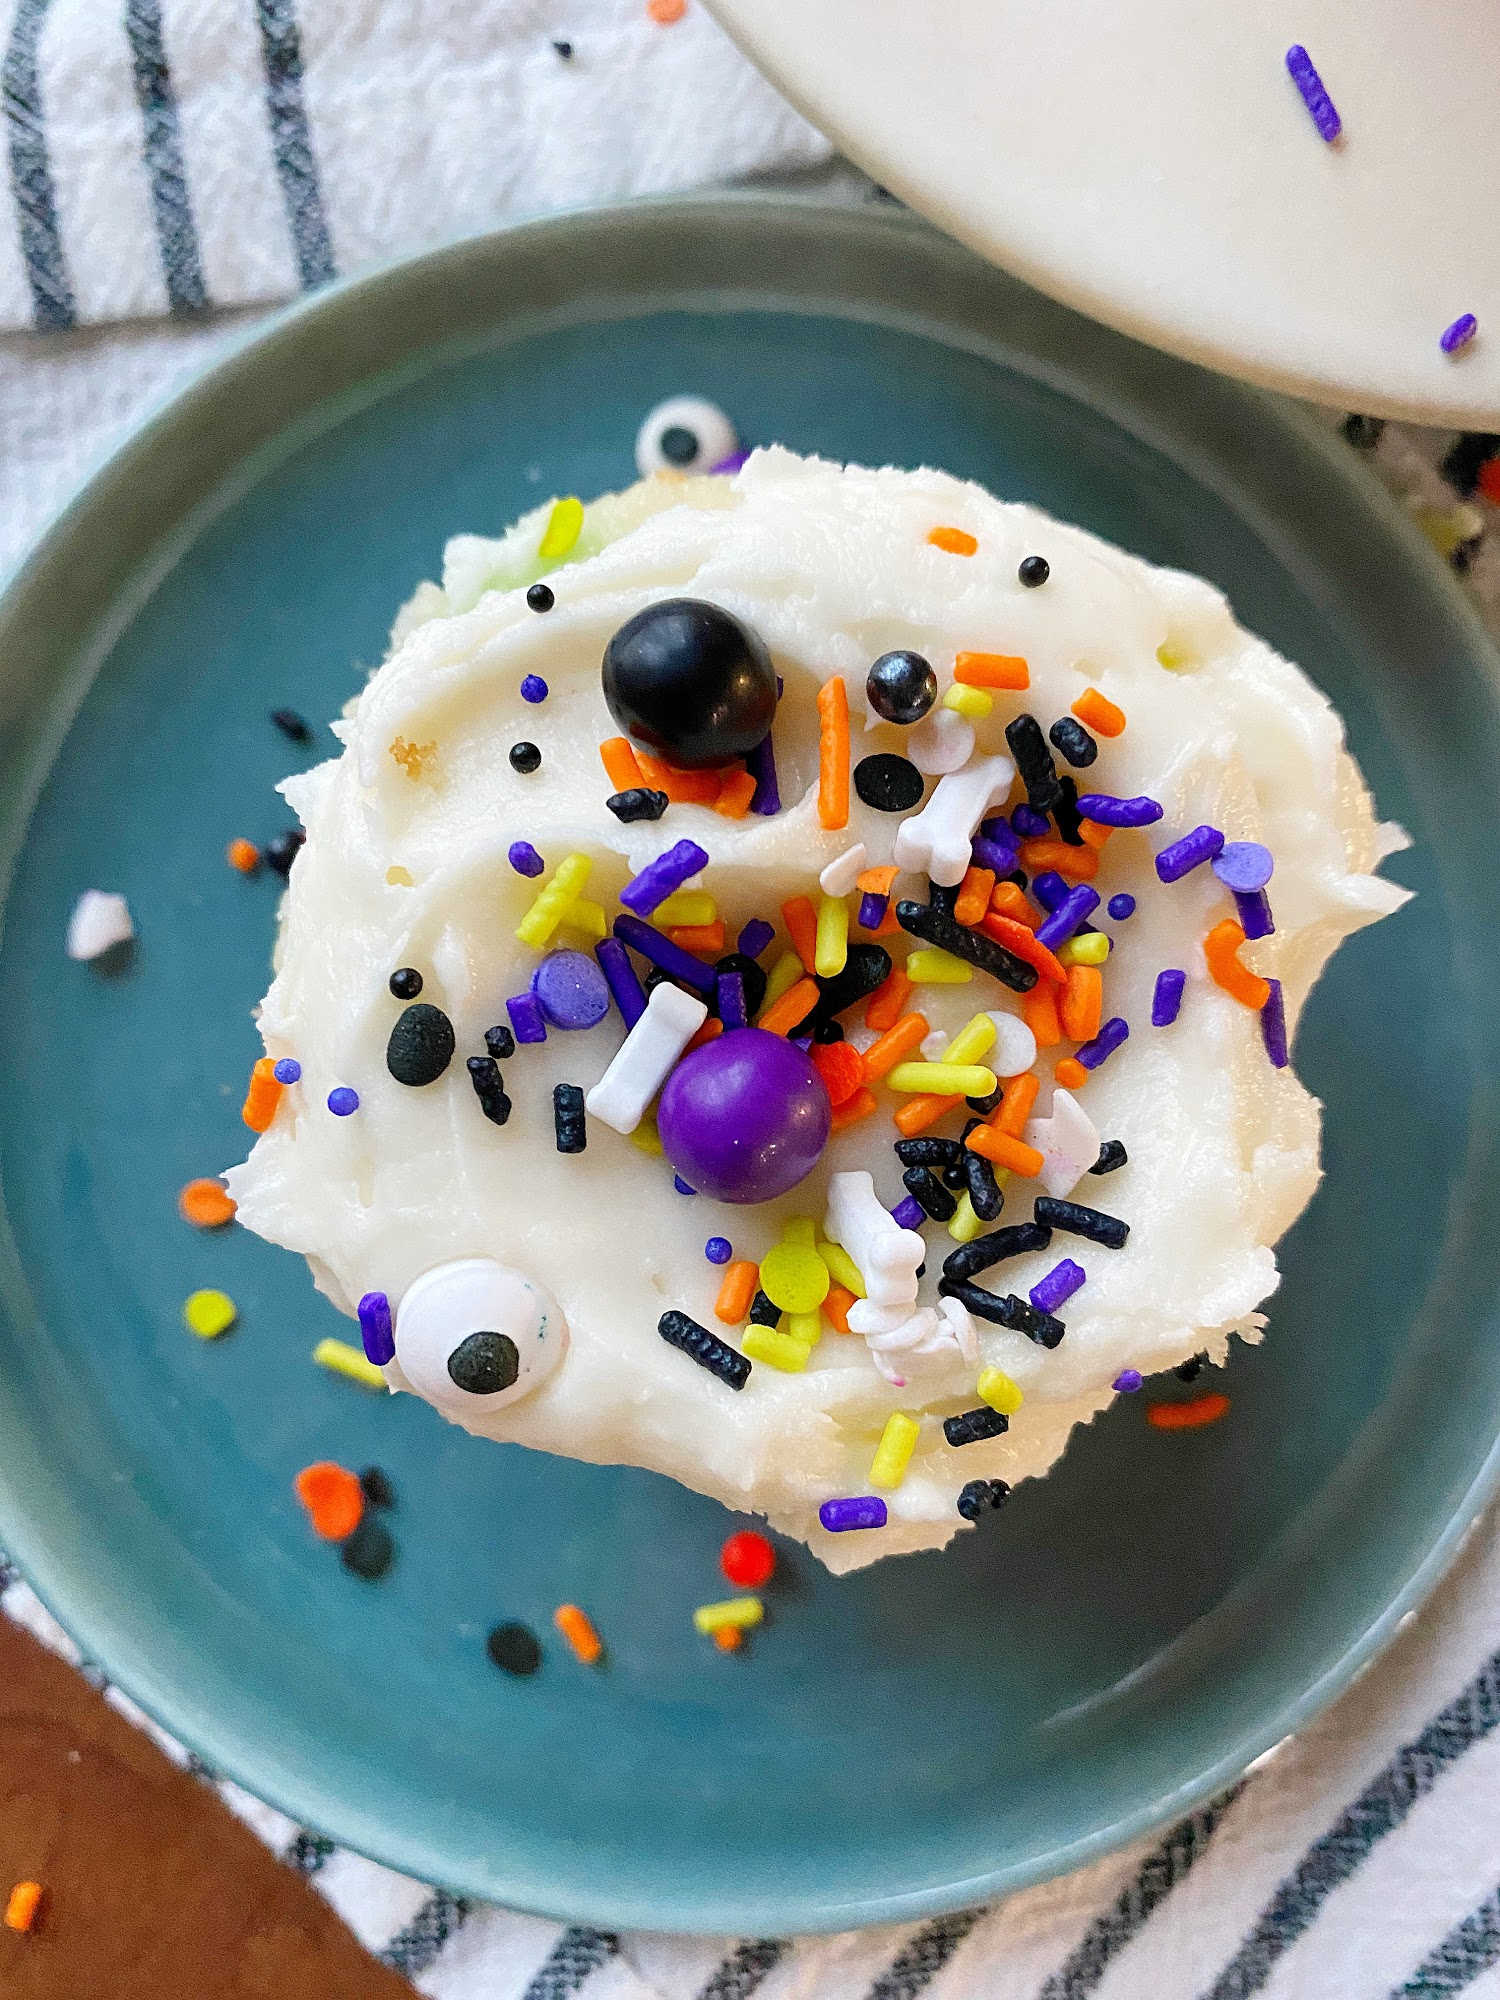
Sprinkle festive sprinkles over the frosted cupcakes and call yourself a baker!
 
decorated halloween cupcakes
 

I love the addition of orange and lime gelatin poked into these cupcakes! The citrus flavors are classic and the colors make it clear – the party has begun. Hope this makes your Halloween party chores a little more delicious and a little less stressful!
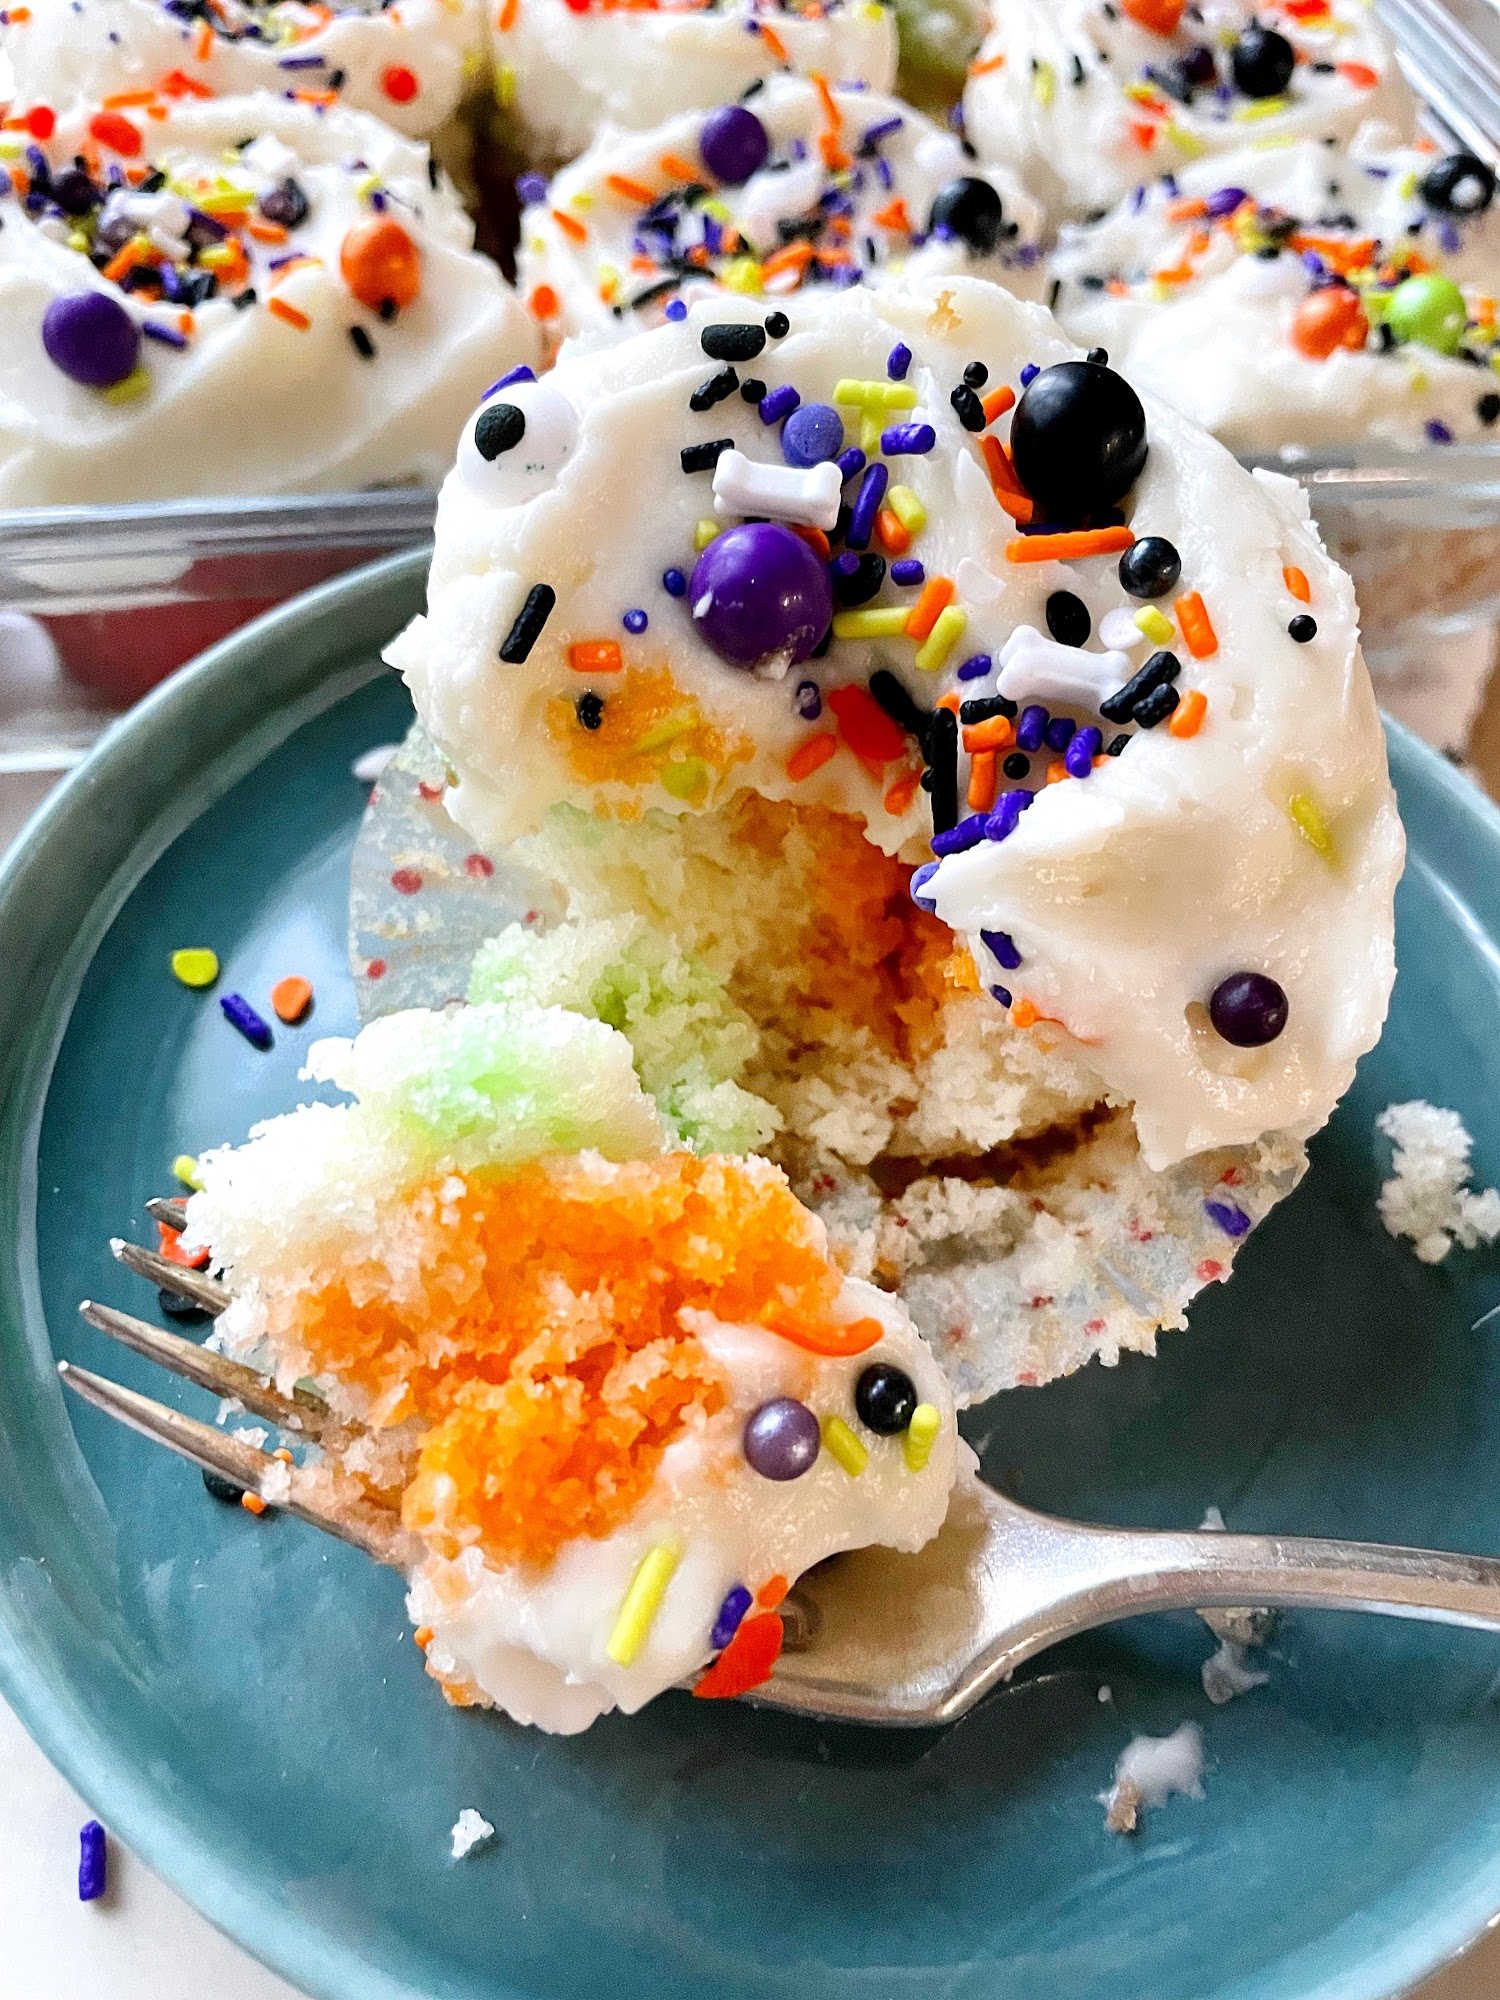
cupcake is served

Halloween Poke Cupcakes
  • simple homemade cake 

    • 2 c AP flour
    • 1.5 c sugar
    • 3.5 t baking powder
    • 1 t salt
    • 0.5 c shortening
    • 1 c milk
    • 1 t vanilla
    • 4 egg whites
    • (2) 3 oz boxes gelatin, orange and lime
    • 2 c boiling water divided
  • simple homemade buttercream

    • 3 c powdered sugar
    • 1/3 c salted butter, softened
    • 1 t vanilla
    • 2 T milk, more to desired consistency as needed
  • Halloween sprinkles (optional)

Preheat oven to 350°. Line a cupcake baking pan with cupcake liners and spray with nonstick spray.

In a large bowl or the bowl of a stand mixer, combine first 7 cake ingredients. Mix on medium speed (with a stand mixer or hand-held mixer) approximately 30 seconds to combine.

Add egg whites and mix on high speed, scraping the sides and bottom occasionally, for 2 minutes.

Scoop the batter into the lined cupcake pan, filling the liners 2/3 full. Bake 17-20 minutes, checking for doneness at 17 minutes by looking for an even golden color on the top and inserting a toothpick (that when removed, comes out clean).

Allow cupcakes to cool for 10 minutes.

While cupcakes are cooling, combine 1 packet of gelatin and 1 c boiling water (do this separately for the orange and lime gelatin). Stir the mixture to dissolve the gelatin into the water. Allow gelatin mixtures to cool for 10 minutes.

Use a chopstick to gently poke 6-8 holes into each cupcake.

To prepare the simple buttercream, place all ingredients in a large mixing bowl and beat, starting on low-speed and increasing to high-speed for 3 minutes (scraping the sides and bottom to evenly incorporate). Add additional milk to reach desired, stiff but fluffy consistency.

After gelatin mixtures have cooled, pour 1 T orange gelatin in half of the cupcake holes and 1 T lime gelatin in the other half of the holes (so that each cupcake has both lime and orange gelatin added). Allow cupcakes to “set” for 30 minutes in the refrigerator before frosting.

Top with prepared buttercream and sprinkles and serve.

Makes 15

_____________________________________________________________________

If you have any additional questions during your search for the perfect copper, fireclay farmhouse sink or stainless steel sink, our Sinkologists are here to help. Contact us or follow us on FacebookHouzzPinterest, or Instagram for more helpful tips and design ideas.

The post Halloween Poke Cake Cupcakes appeared first on Sinkology.


source https://www.sinkology.com/blog/halloween-poke-cake-cupcakes/

What’s In A Name?

Sinkology Logo in blue

A Sinkology sink by any name is a sink to fall in love with, and as you browse for your next kitchen sink by Sinkology, you might notice a few changes. Our team has been busy creating more styles, sizes, and colors of some of our best-selling kitchen sinks. As the Sinkology Kitchen Sink Collections expand, we wanted to keep the shopping experience simple and straightforward. We’ve made some name changes to a handful of Sinkology products to live up to one of our core values: keeping Sinkology products easy to find and easy to buy—and easy to love for life.

The following products are being rebranded and renamed to fit a more organized and simplified naming structure. Now, you can easily shop your favorite Sinkology kitchen sink by material, feature, and size. They are still the high-quality, durable and beautiful sinks that you know, just under a refreshed name.

Previous Names
New Name

Brooks II, Harper, Ward, Wilcox II

Austen Fireclay Farmhouse Sink

Josephine 34” Double Bowl

Parker 34’ Double Bowl Fireclay

Monet, Copley, Courbet

Lange Copper Farmhouse Sink

Rockwell, Porter, Moran

Adams Copper Farmhouse Sink

Riley, Rosa

Angelico Copper Drop-in Sink

Renoir, Kandinsky

Orwell Copper Under-mount Sink

Renzan

Ganku Double Bowl Copper Farmhouse Sink

Anning

Percy Farmhouse Crafted Stainless Steel Sink

Homer

Zelda Stainless Steel Bar Prep Sink

Greco

Pollock Copper Bar Prep Sink

Sisley Pro

Sisley 18” Copper Bar Prep Sink

As we continue to evolve the Sinkology brand and add to our collection, you may note additional changes. We will do our best to keep all partners and Sinkology shoppers updated on the latest products, brand developments, and new releases from our team. Thanks for bringing Sinkology into your home!

 _____________________________________________________________________

If you have any additional questions during your search for the perfect copper, fireclay farmhouse sink or crafted stainless steel sink, our Sinkologists are here to help. Contact us or follow us on FacebookHouzzPinterest, or Instagram for more helpful tips and design ideas.


The post What’s In A Name? appeared first on Sinkology.


source https://www.sinkology.com/blog/name-changes/

Wednesday, July 14, 2021

Simplify your DIY with BILT

At Sinkology, we are committed to keeping things easy and enjoyable for our customers. From our sleekest sink designs to the easiest of installs, we never want to make things complicated. If you’re familiar with our products, you understand what we’re talking about. We’re known for our high-quality, easy-to-install sinks and supportive customer service. Even with that stellar reputation we’ve been proud of for years, we are always looking for ways to improve. That’s why we’ve partnered with BILT Intelligent Instructions.

When we first learned about BILT, we were blown away by their beautiful 3D renderings and clear directions that support a range of products on the market. We felt like we could take on any project with their step-by-step guidance. New to BILT? This easy-to-navigate app brings something so simple yet utterly lifesaving to all DIY projects. Think of it as your project partner that’s ready and waiting right on your device, bringing quality customer service to your fingertips, every step of the way. 


BILT has been helping people tackle everyday projects for nearly a decade. And, we’re not the only ones who appreciate their innovative technology. Countless other brands, from industrial to consumer-packaged goods, give their customers a little more TLC with a BILT partnership. You can find many products on BILT, beyond Sinkology sinks, to do things like:


  • Assemble Little Tikes toys.
  • Set up a new Weber grill.
  • Get a Cuisinart appliance up and running.


BILT is on mission to enable and empower its users in a variety of ways. We love how it:


  • Brings our simple installation instructions to life with three-dimensional, cloud-based guidance.
  • Guides users through more than just assembly steps and also supports routine maintenance and repairs.
  • Helps our customers stay organized, keeping all relevant documents, such as warranty documents and receipts, in one convenient location.


Now, the question is: how to get started?


  • First, you’ll need to download the app. You can find BILT in the Apple or Google Play store. If you have a tablet, we recommend you download the BILT app on that device. That way, you’ll have a larger screen to follow each step without squinting.
  • Once you’ve downloaded the app, you can easily search for your favorite Sinkology products. Whether you type in its name or use the QR code, you’ll be taken to your interactive instructions instantly.


If you’re ready to take on your next DIY project with the help of BILT, explore their selection of our kitchen sinks, bathroom sinks, and more before purchasing. While they do carry a good amount of our products, we’re adding our products to BILT gradually. For now, you can make BILT-friendly upgrades to your kitchen with some of our favorites like our:


And, you can even finish your bathroom project, too. The BILT library includes top products including:


With quality products from Sinkology and supportive resources by BILT, you can take on any project. To learn more about BILT, visit their website here.

 _____________________________________________________________________

If you have any additional questions during your search for the perfect copper, fireclay farmhouse sink or granite sink, our Sinkologists are here to help. Contact us or follow us on FacebookHouzzPinterest, or Instagram for more helpful tips and design ideas.


The post Simplify your DIY with BILT appeared first on Sinkology.


source https://www.sinkology.com/blog/diy-with-bilt/

Wednesday, July 7, 2021

Smoked Salmon Dip

Sinkology is proud to present Emily Schuermann, our food-loving guest blogger who runs Food for a Year. Emily is here to share some recipes she has created exclusively for the Sinkology blog that reflect her view of a copper sink: simple, timeless, affordable, and beautifully rustic. 


I had an entirely different recipe in mind for this month but the plan changed when (as an afterthought) I whipped up some smoked salmon dip for my oldest son’s graduation party.

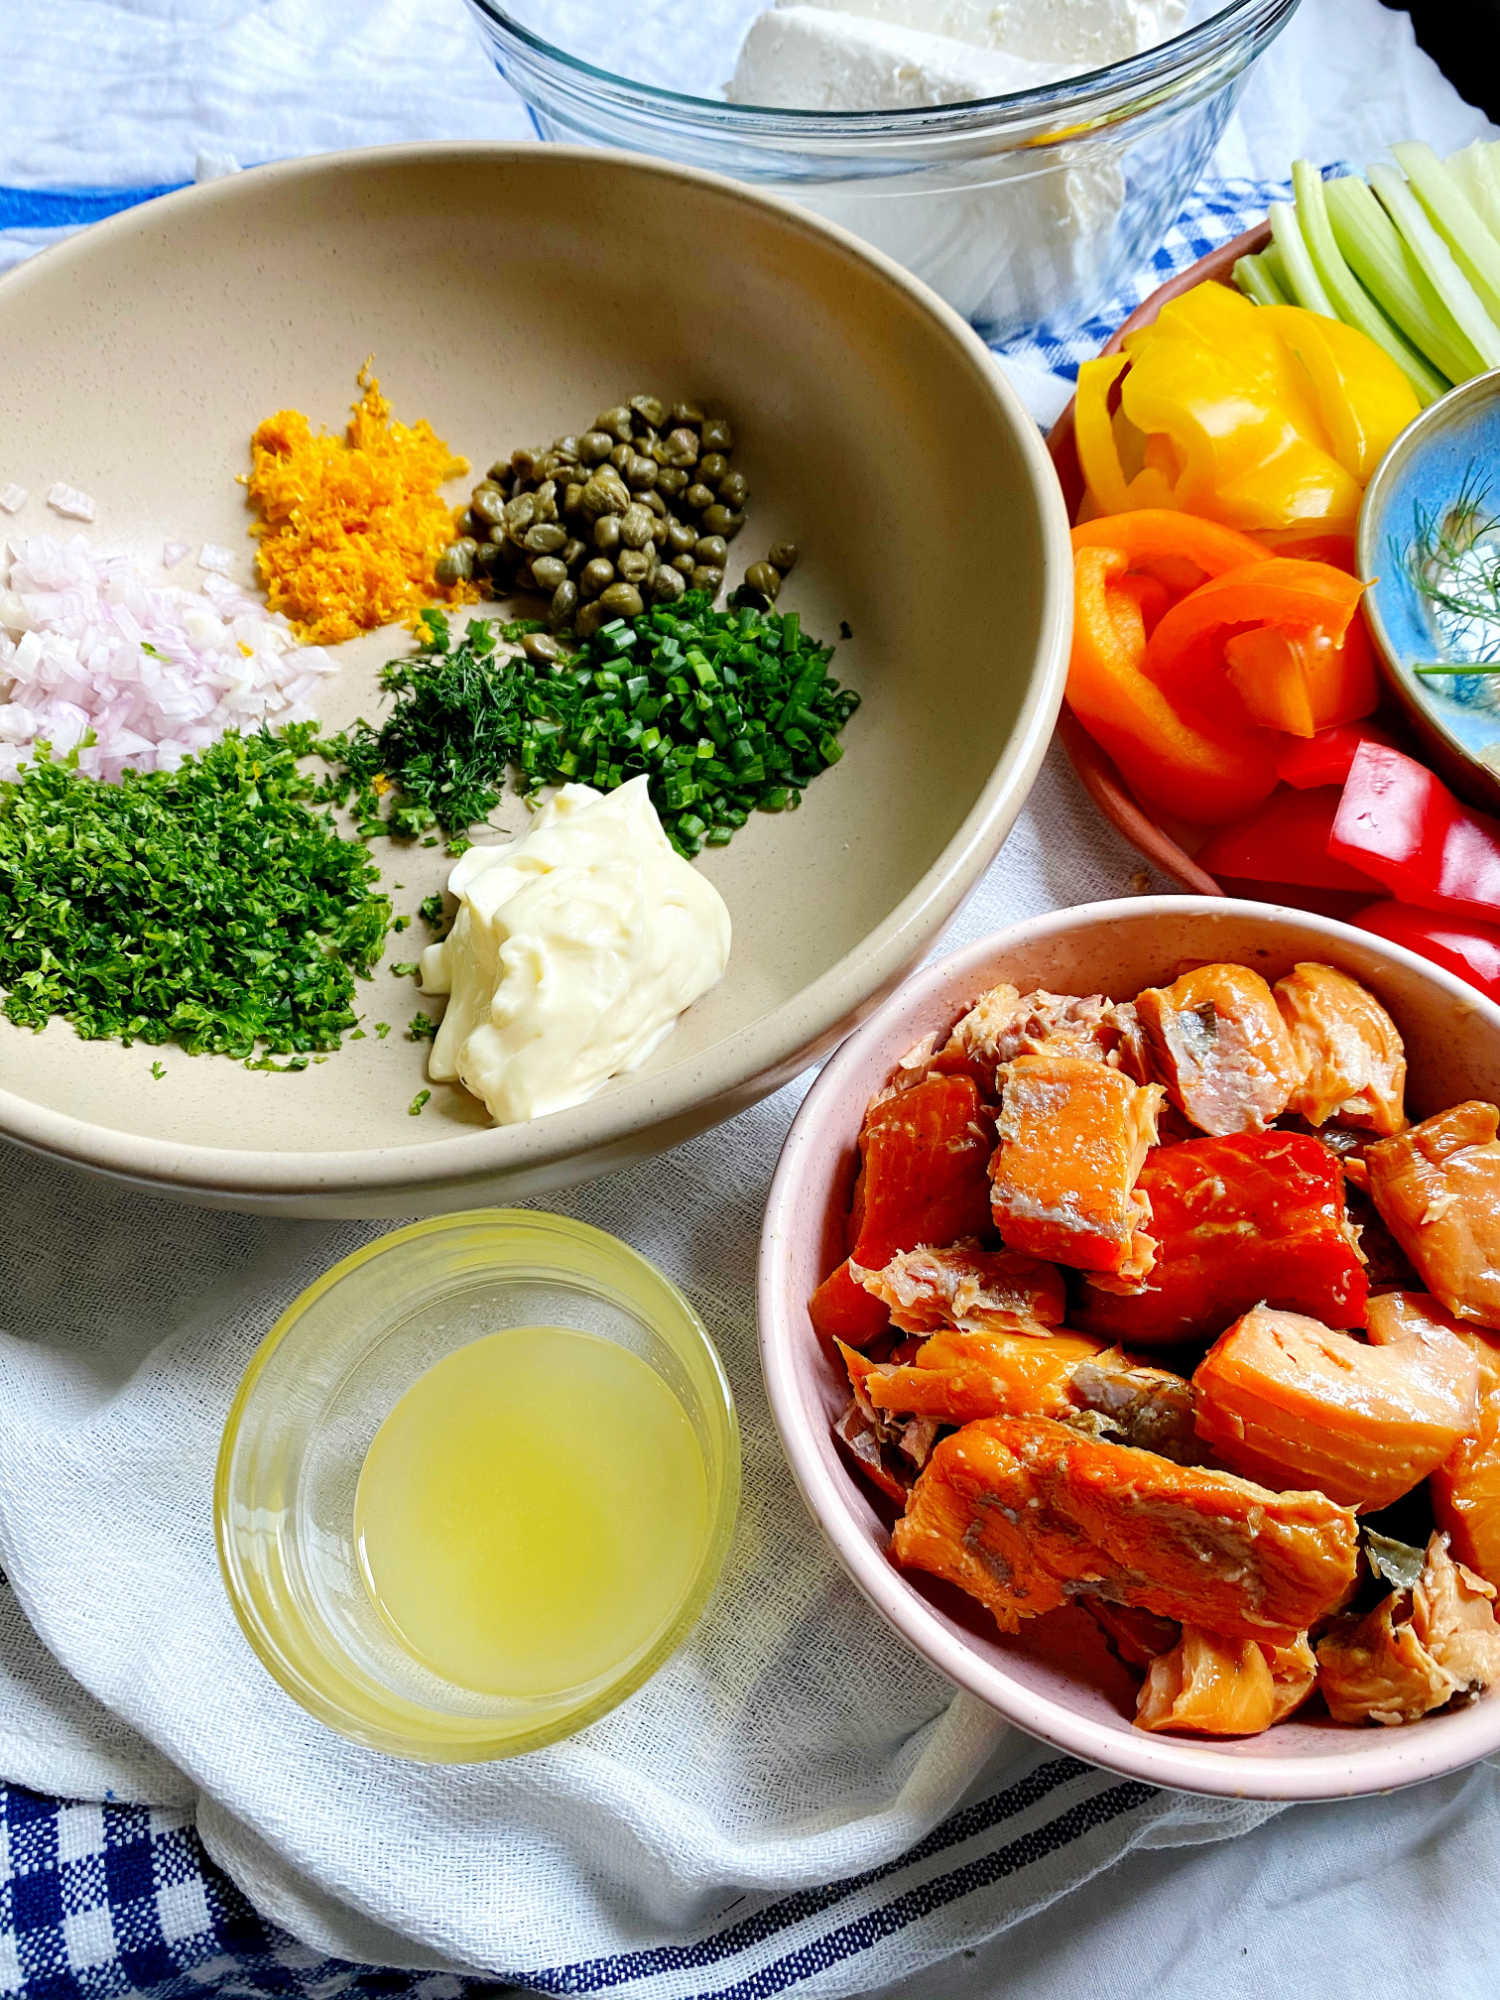
smoked salmon dip ingredients

I’d already checked off the main dish (smoked brisket) and the favorite dessert (wedding cake sheet cake), but I needed a few simple snacks to fill in the gaps. After assembling all the platters of beautiful, fresh fruits and veggies, I knew that smoked salmon dip would be the perfect addition.

This recipe is so easy, very delicious and can be made a few days ahead. The key to the perfect smoked salmon dip is to purchase high-quality canned smoked salmon. One more tip about canned smoked salmon: be sure the brand you’re selecting does not contain bones (otherwise you’ll spend too much time plucking them out).

It’s also important to have fresh herbs. Not only are they pretty, their flavor is unbeatable!

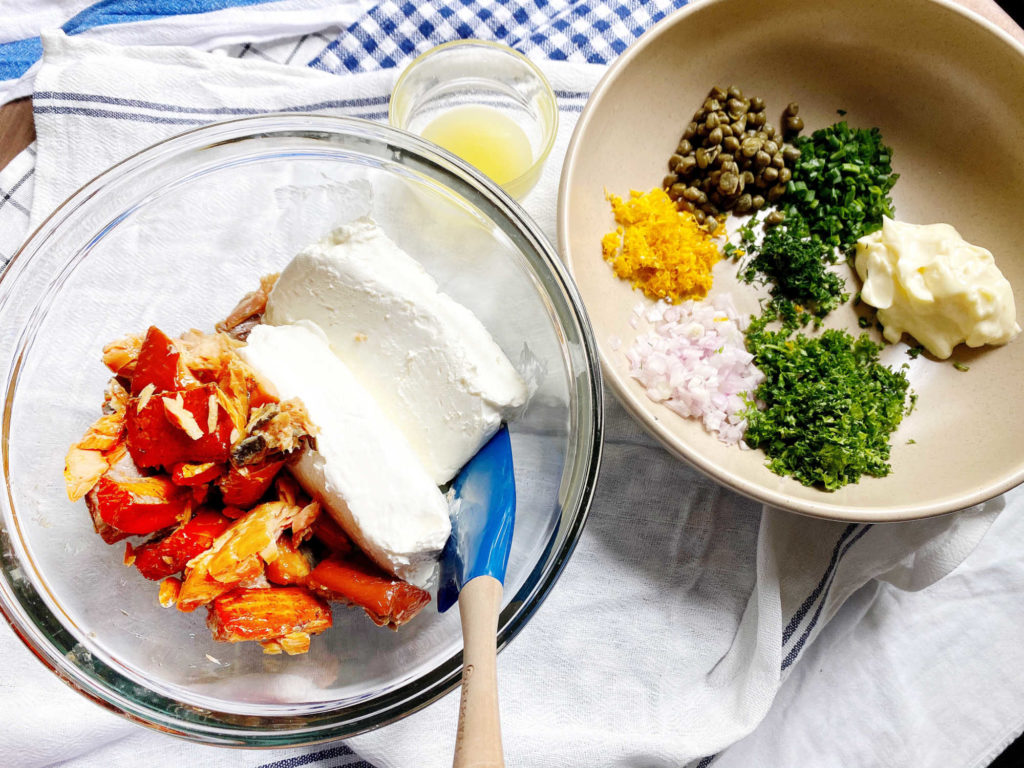
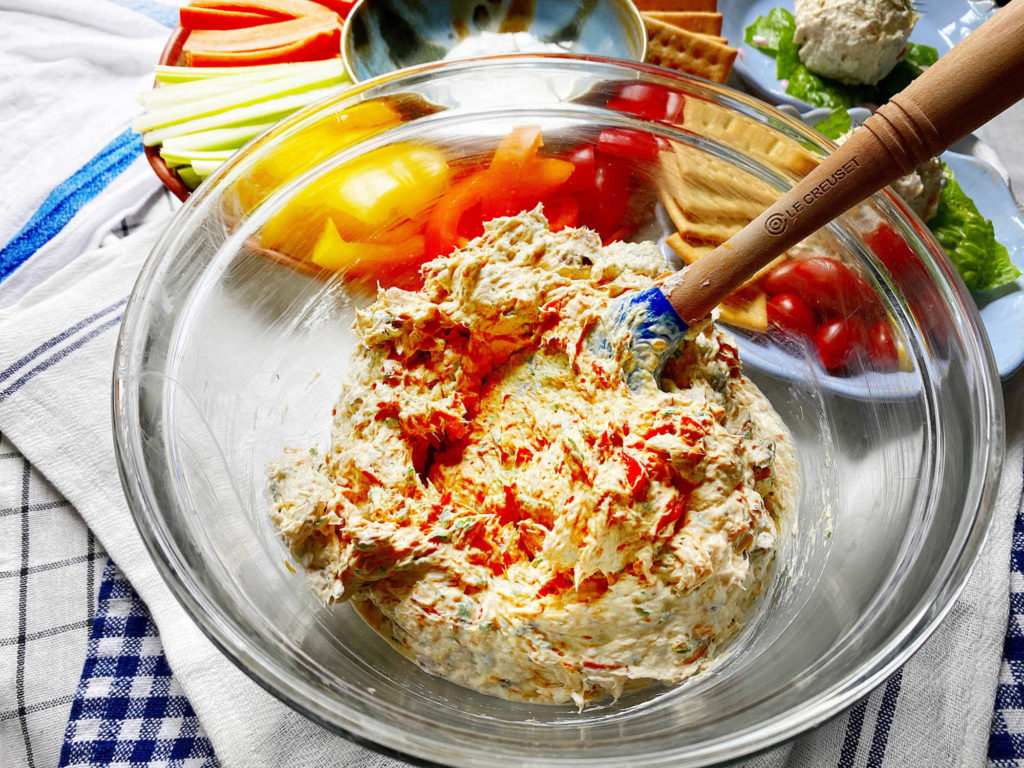
The last tip that makes this easy dip extra simple: use room temperature cream cheese. It’s so much easier to combine with the other ingredients. Once everything is combined, place the dip in a lidded container and refrigerate 8 hours up to overnight so that all the flavors can incorporate.

before mixing dip after mixing dip

Smoked salmon, cream cheese and a dollop of mayonnaise are essential ingredients but the other add-ins are according to your taste preferences. Here’s what I’m using for this recipe –

  • shallot
  • fresh dill, chives and parsley
  • capers + brine
  • lemon zest + juice
  • cracked black pepper

My favorite way to serve this is with crackers and veggies but you could place a scoop atop a green salad or even use as the filling for a sandwich. The capers, fresh herbs and lemon make this smoked salmon dip sing with flavor. Even amid the smoked brisket and wedding cake, this dip was the most complimented and requested. With the first bite, you’ll know why!

dip is served

Smoked Salmon Dip

  • 2 8 oz blocks cream cheese
  • 2 6.5 oz cans smoked salmon*
  • 1/2 shallot, finely chopped
  • 1 sprig fresh dill, about 1/2 t, finely chopped
  • 3 T fresh chives, finely chopped
  • 5 T fresh flat leaf or curly leaf parsley, finely chopped
  • 2 T capers + 1 t brine
  • zest of 2 lemons
  • juice of 1/2 lemon (more to taste, as desired)
  • 1/2 t freshly cracked black pepper
  • 1/8 – 1/4 c real mayonnaise (depending on your desired creaminess)

In a medium bowl, combine all ingredients. Stir to incorporate cream cheese and smoked salmon (we want a smooth, lump-free consistency).

Place in a lidded bowl for 8 hours up to overnight. Store, refrigerated 10 days. Serve with crackers and veggies.

Makes 4 cups.

*A high-quality canned smoked salmon is key to making this dip delicious! What to do with canned smoked salmon?? :: Remove skin and bones and drain any packing liquid.

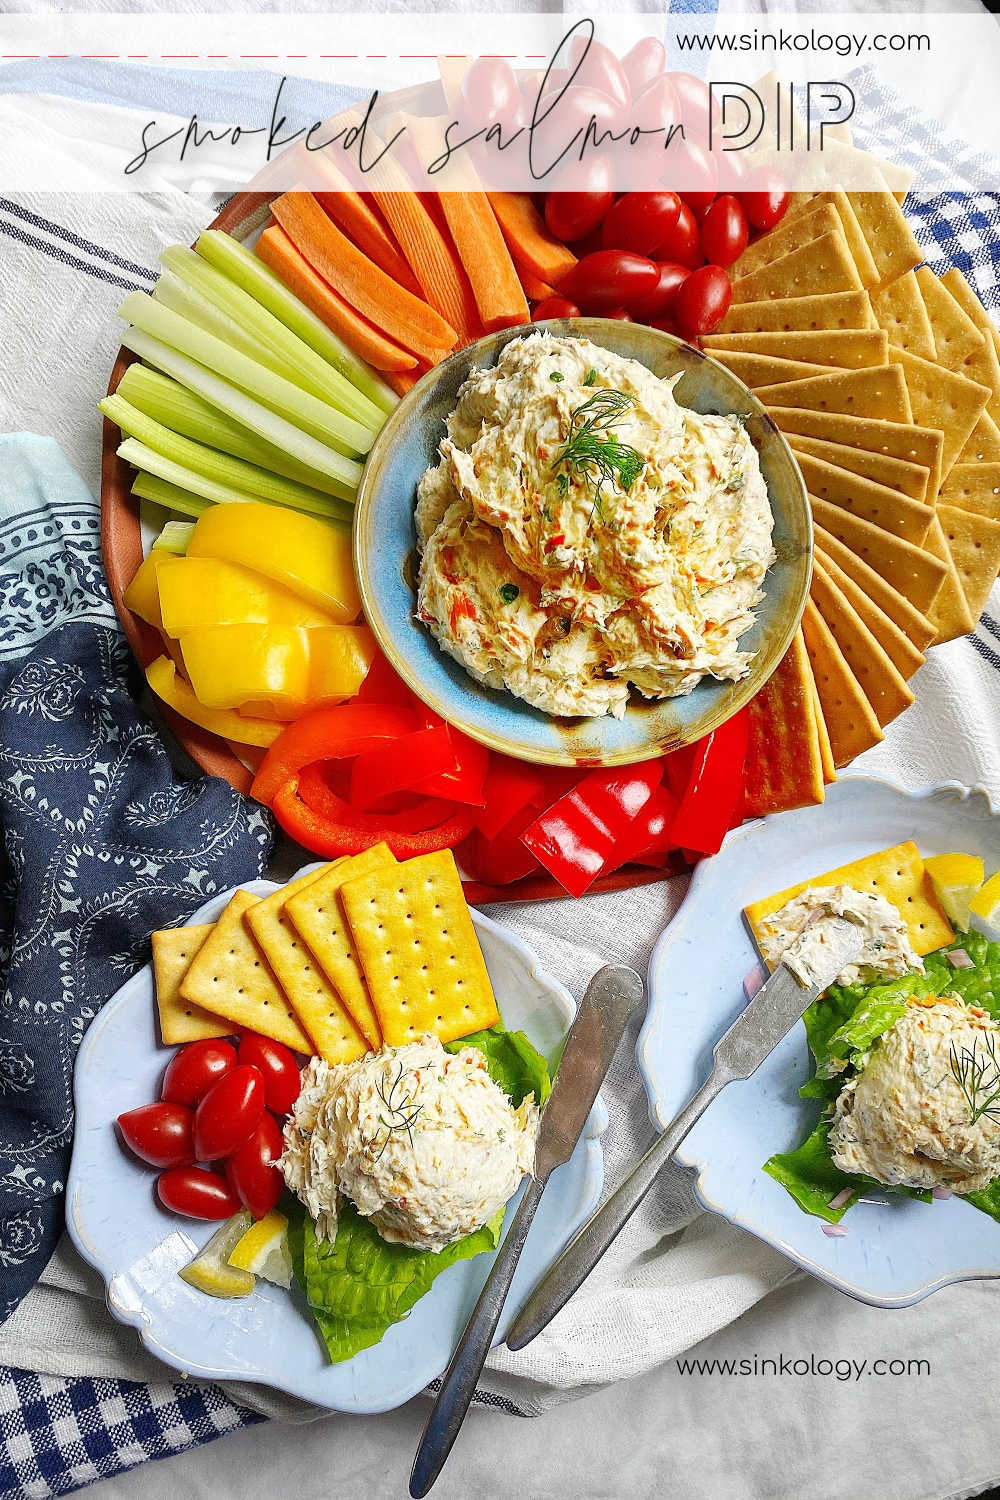
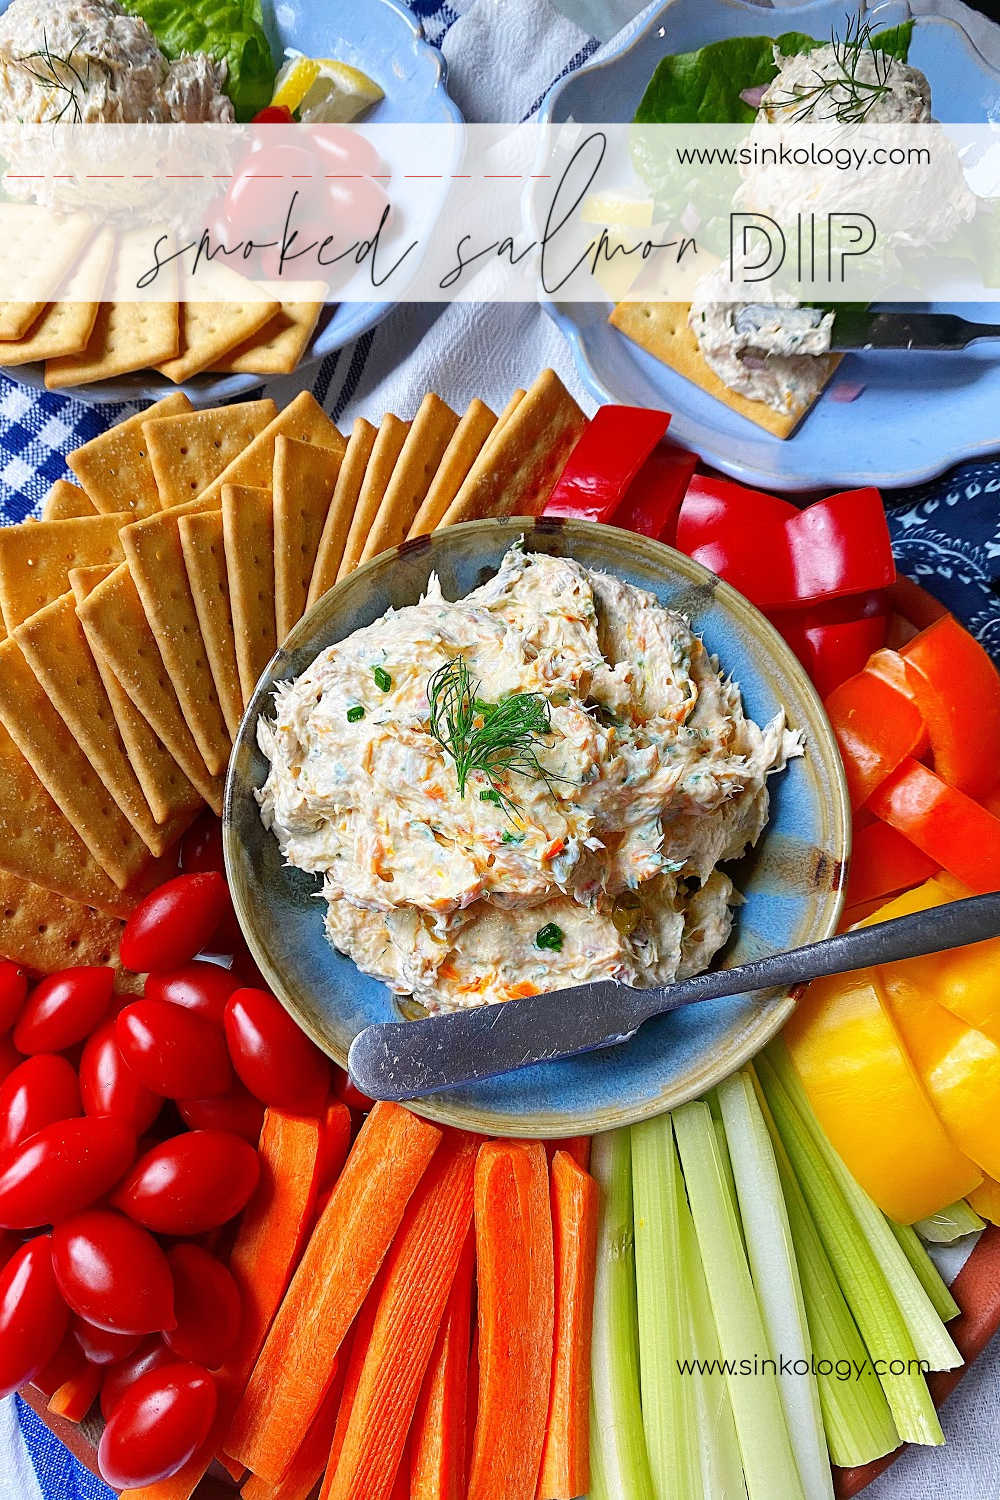
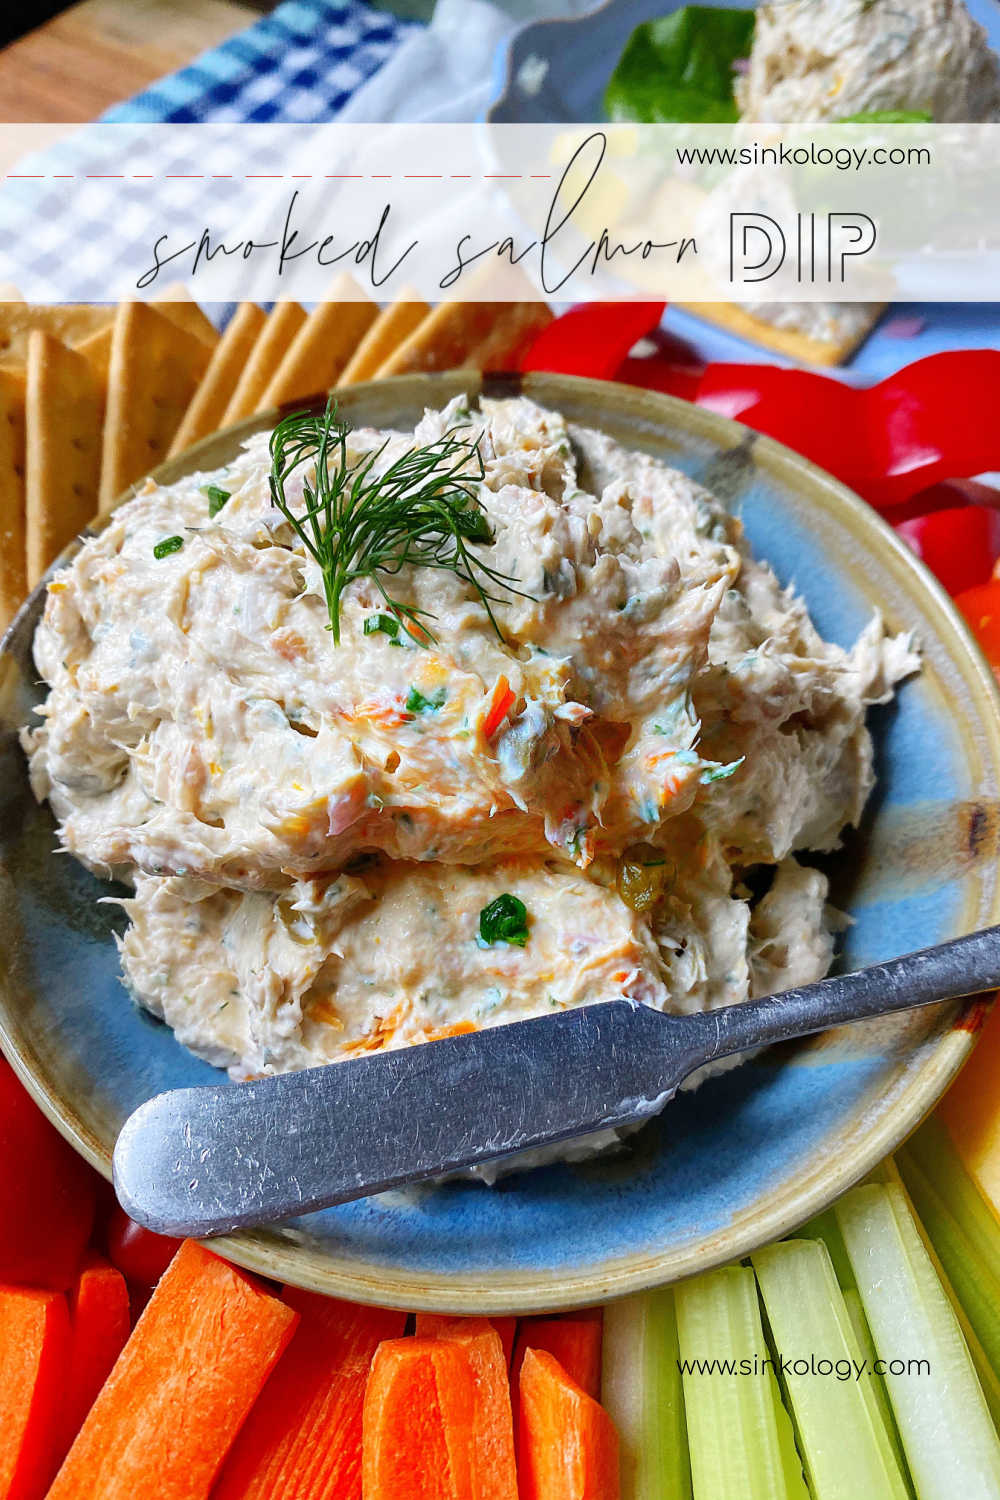
smoked salmon dip pin 3 smoked salmon dip pin smoked salmon pin smoked salmon dip close up

_____________________________________________________________________

If you have any additional questions during your search for the perfect copper, fireclay farmhouse sink or granite sink, our Sinkologists are here to help. Contact us or follow us on FacebookHouzzPinterest, or Instagram for more helpful tips and design ideas.

The post Smoked Salmon Dip appeared first on Sinkology.


source https://www.sinkology.com/blog/smoked-salmon-dip/

Wednesday, June 30, 2021

Dream in Color: Bright & Bold Kitchen Designs

As the colors of summer surround our homes, we’ve got the itch to bring some of that vibrancy to our interior, starting with the most-used room in the home: the kitchen. When done right, a few upgrades could make an incredible difference. Not only will a kitchen refresh breathe new life into the space, it will actually positively impact your mood. Research shows that bright, bold color impacts our emotions and behaviors. Think: more confidence, happier mood, or calmer state of mind.


Most people think that adding a dose of color means painting an accent wall or adding dramatic décor, but we believe that the sink is the real place to shine. After all, it’s the kitchen’s centerpiece. Here are a few of our favorite ways to stand out with your sink:

Be Bold with a New Basin

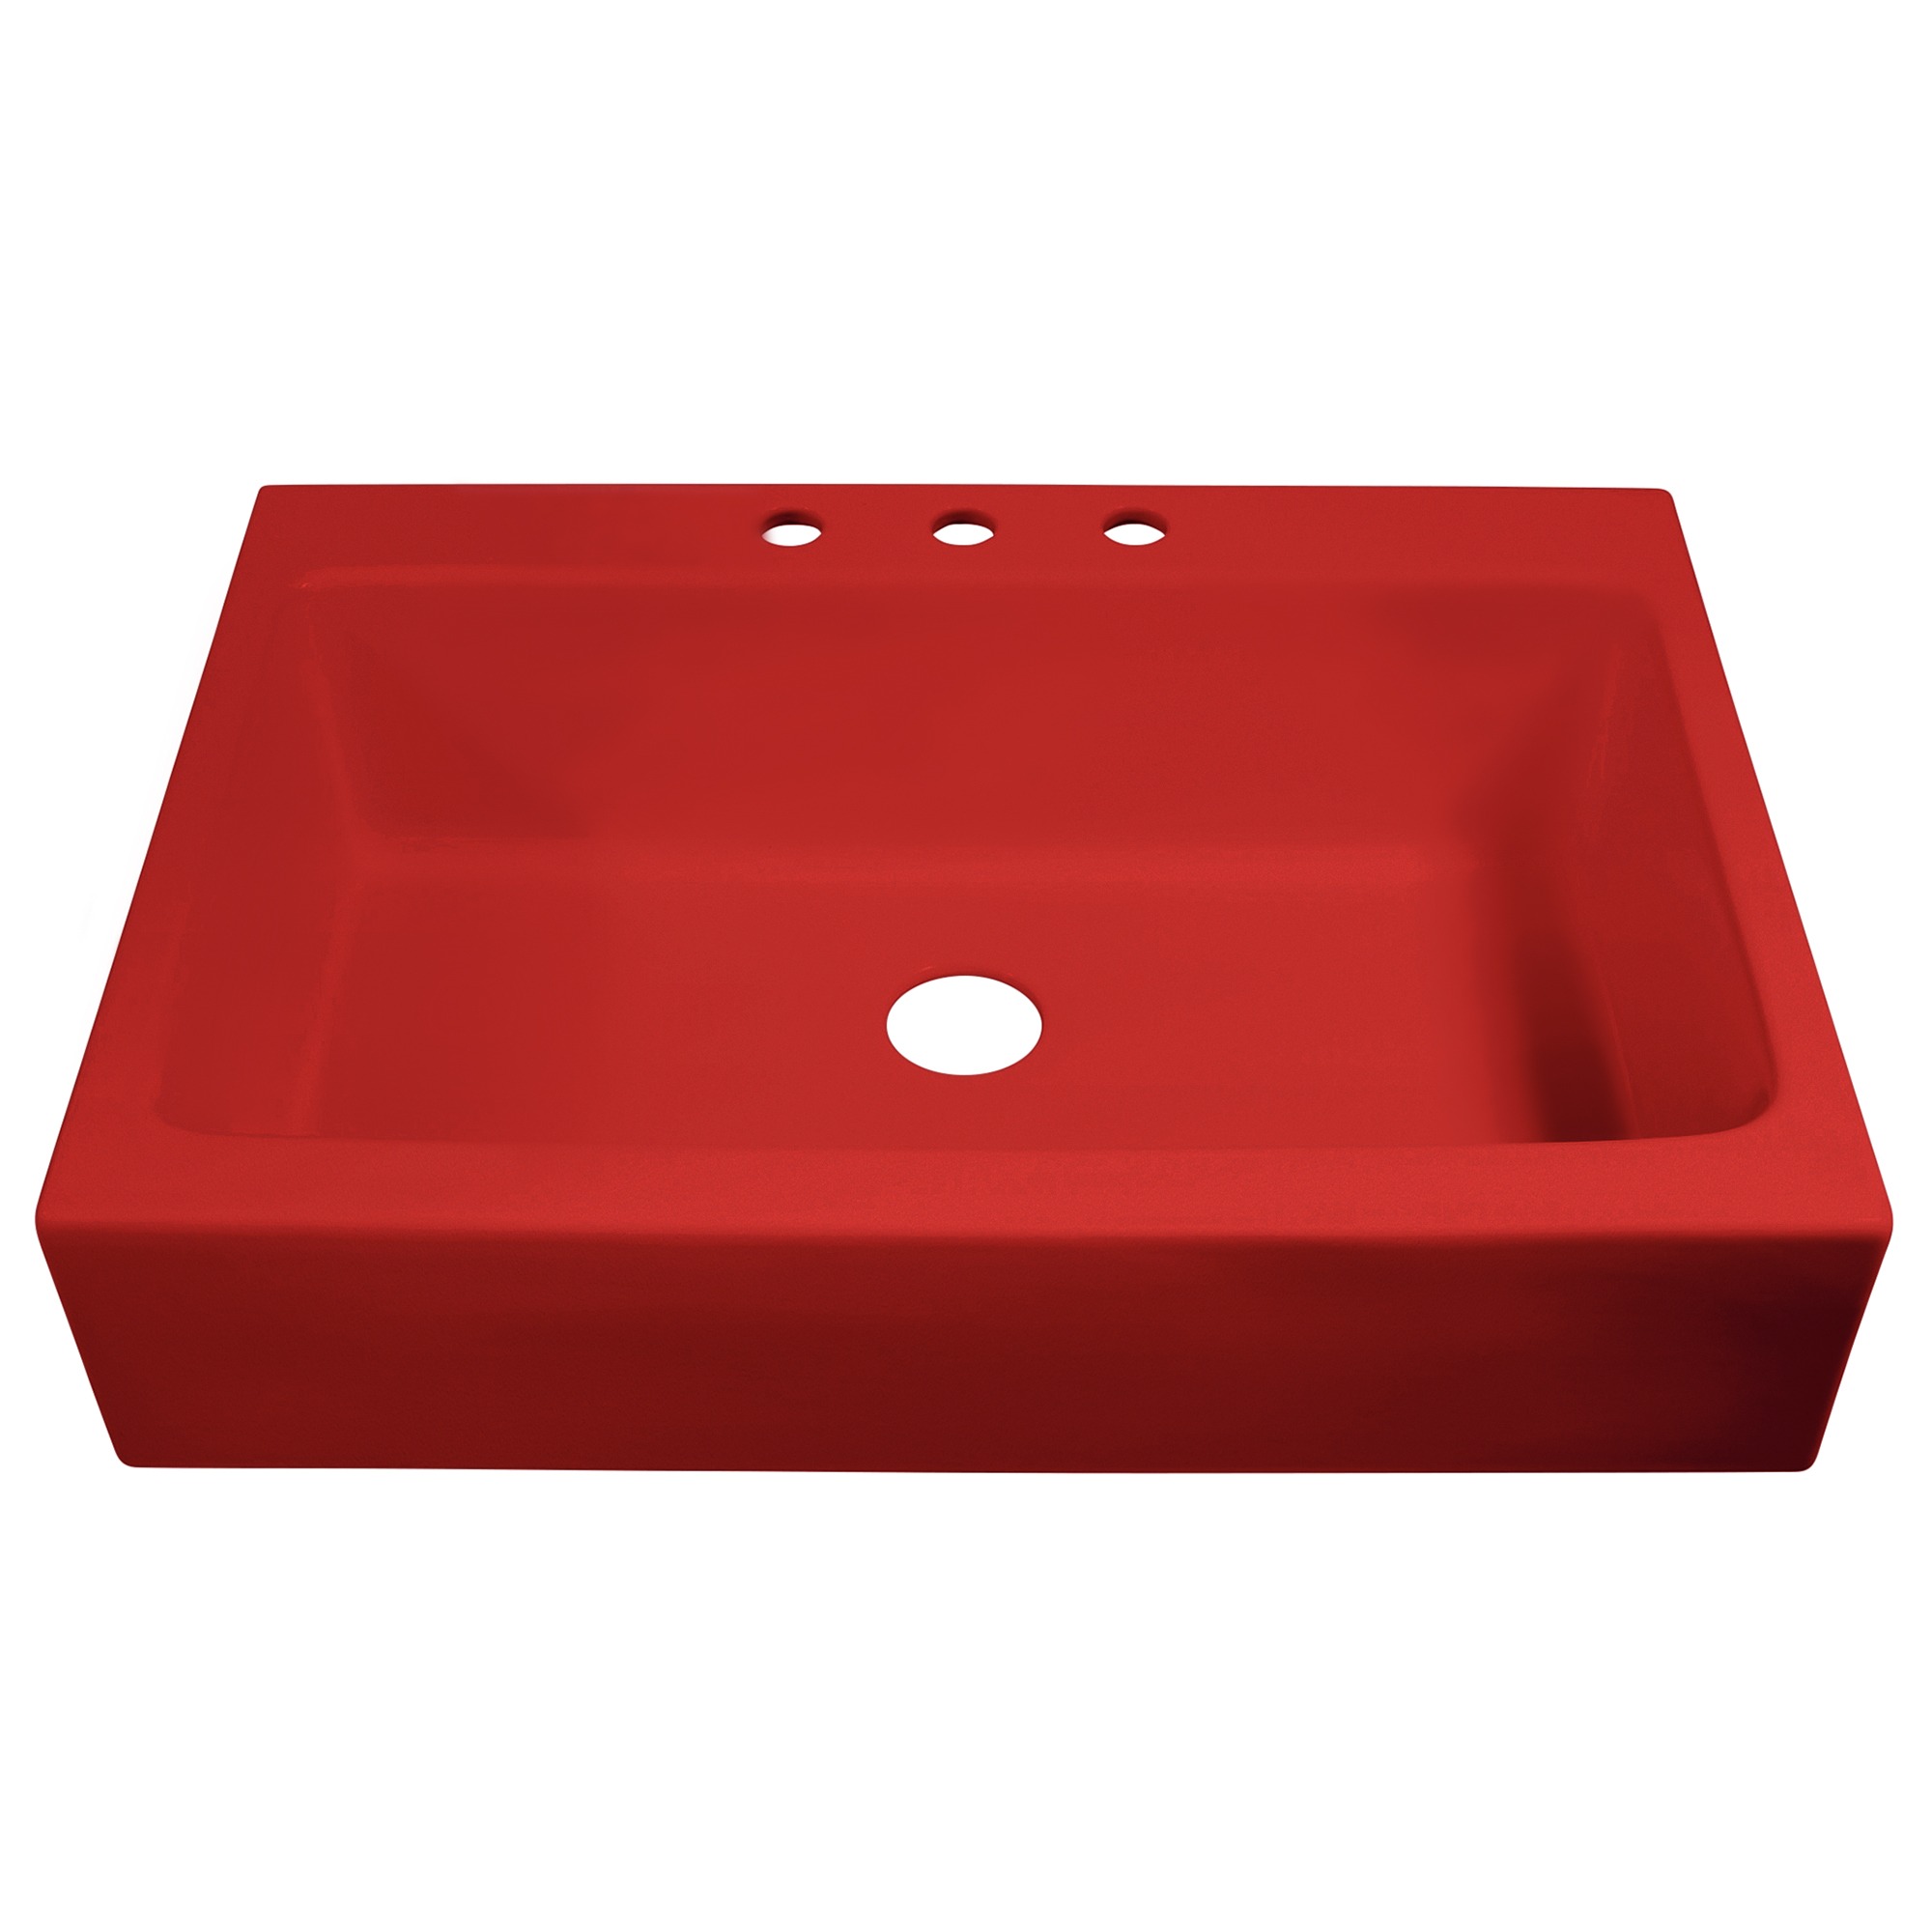
While we love the natural beauty of copper, the shine of stainless steel, and the crispness of white fireclay, we believe it’s time for a pop of color. If you agree, our VIBE Collection of fireclay sinks will have exactly what you’re looking for. This collection features the farmhouse style you love and the fireclay you trust in fresh, unexpected shades. We love how these apron-front styles show off each eye-catching shade, especially when paired with neutral countertops and cabinetry.


We selected our top-rated Bradstreet II and Josephine to showcase the most standout shades. Both of these fan favorite sinks now come in:

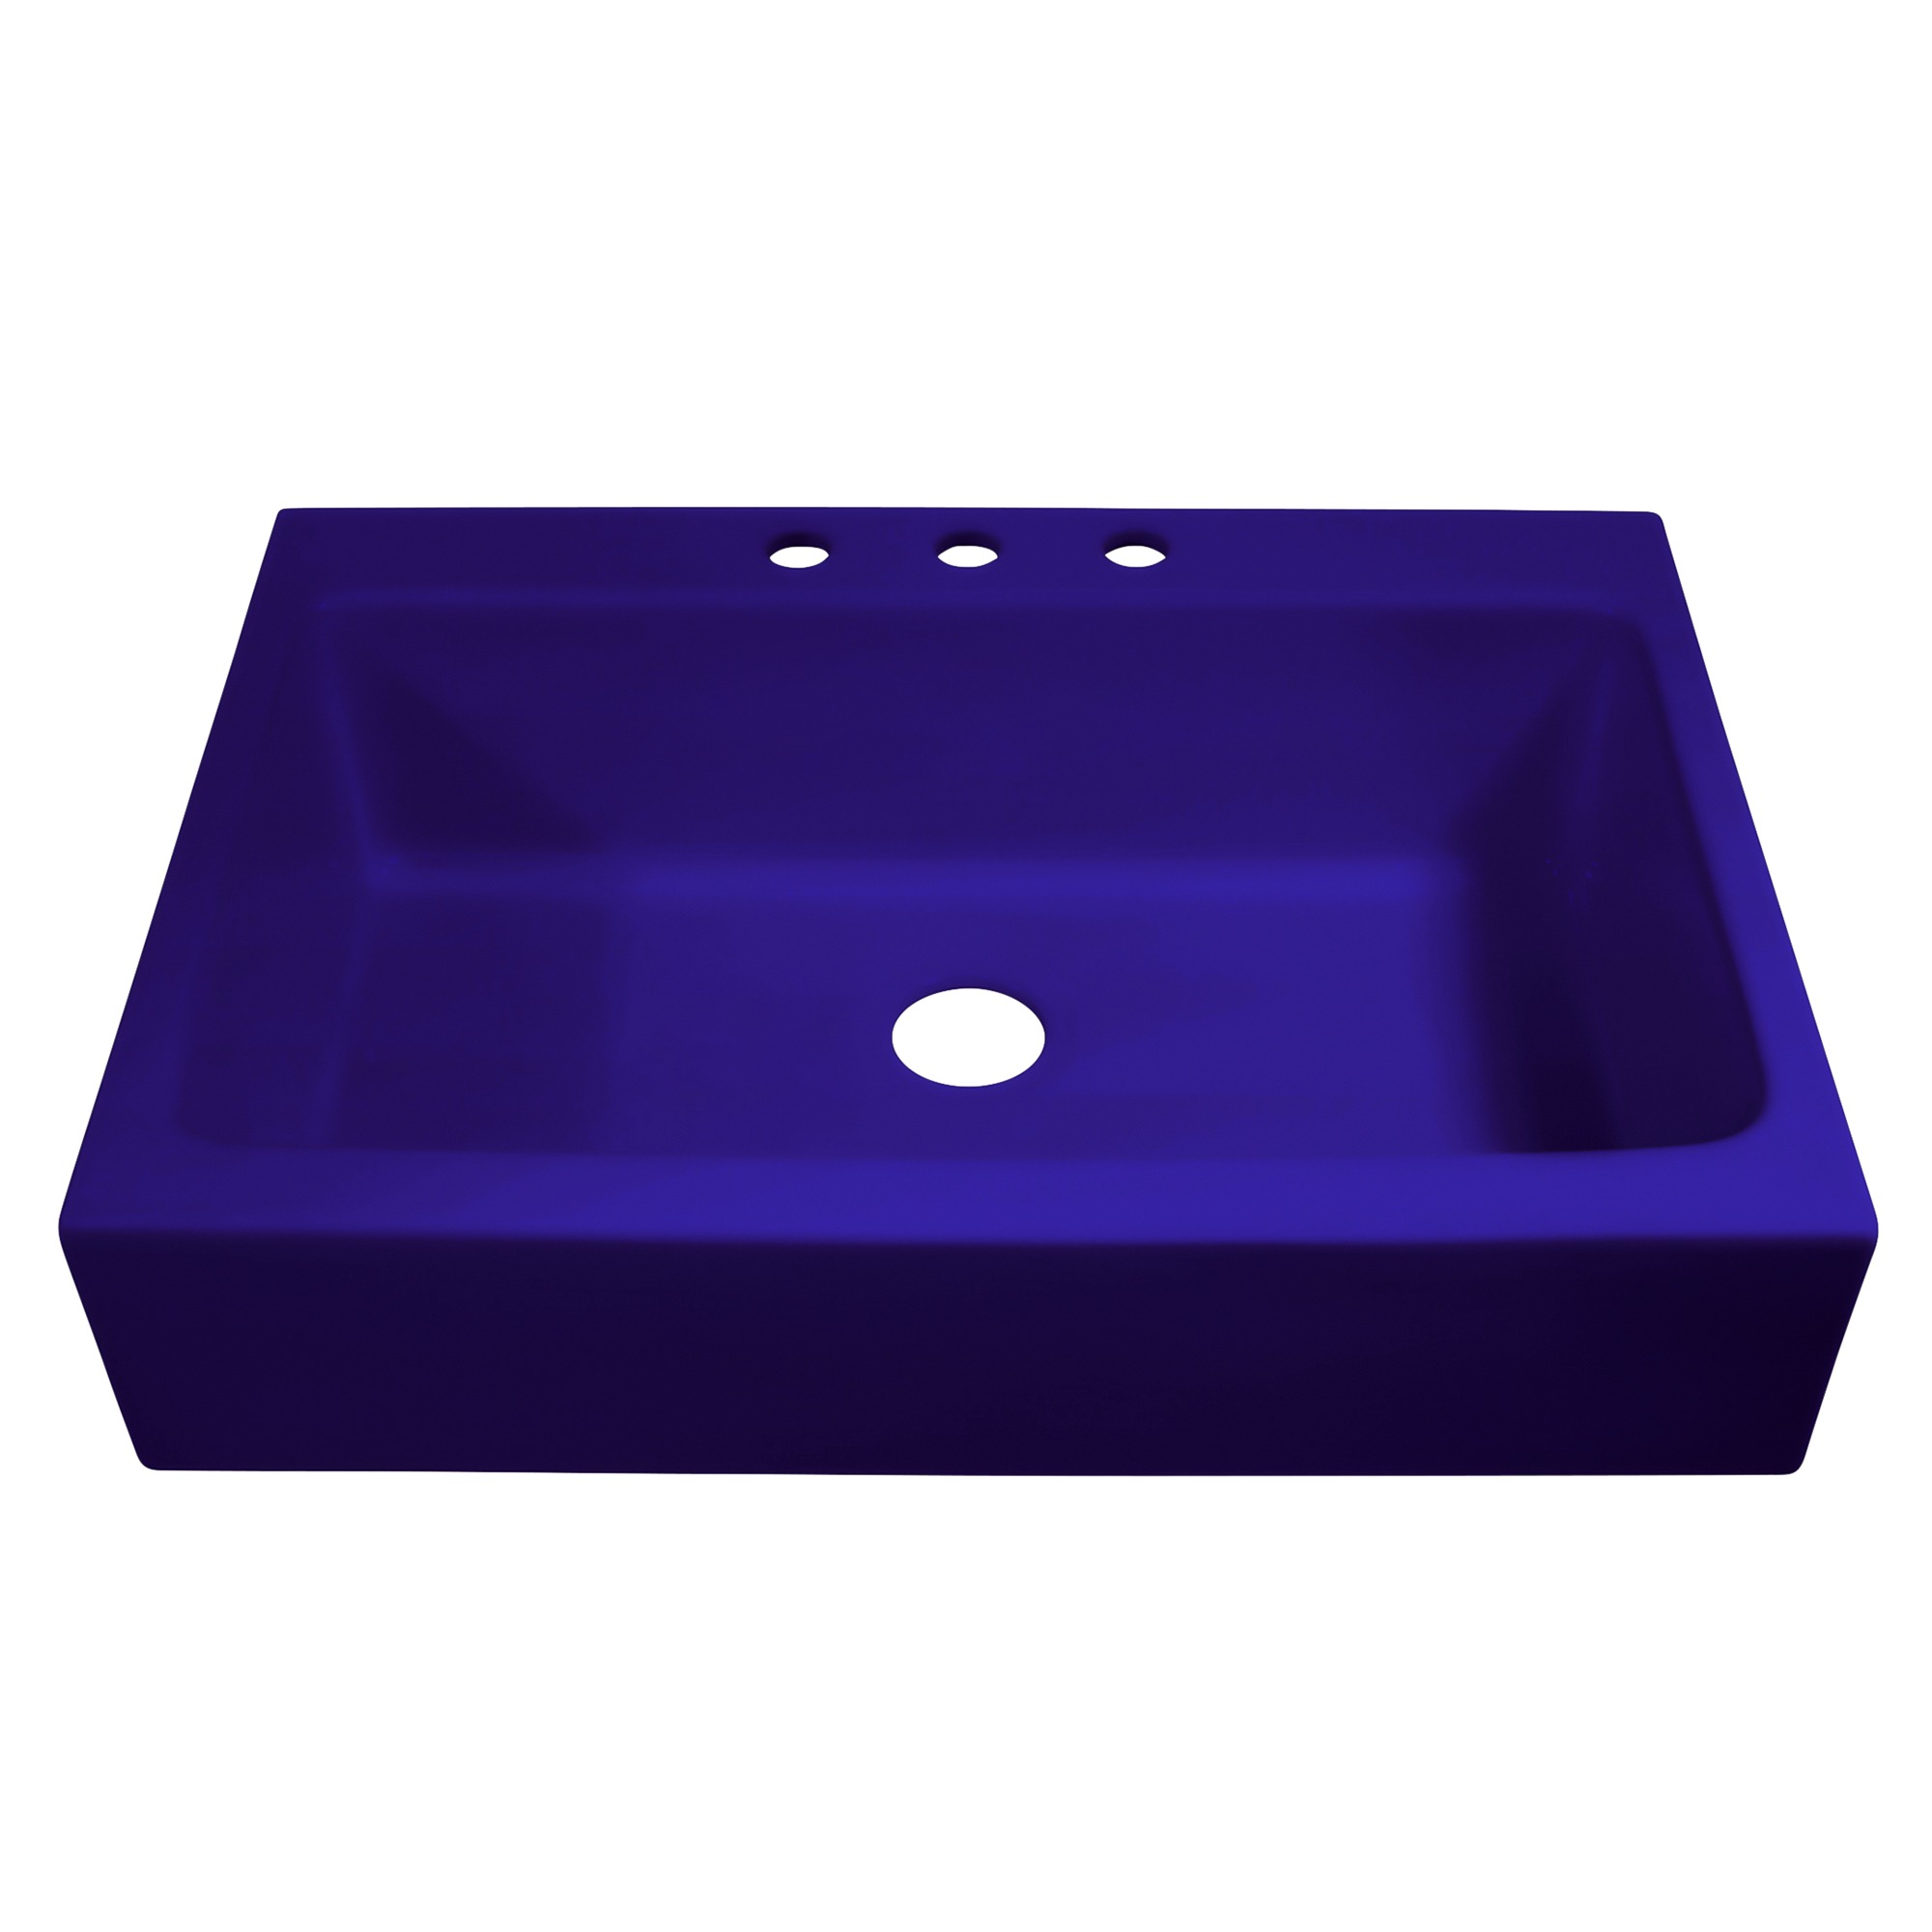
  • Puddle Jump – a deep glossy royal blue that is equally regal and rich.

matte blue farmhouse fireclay sink

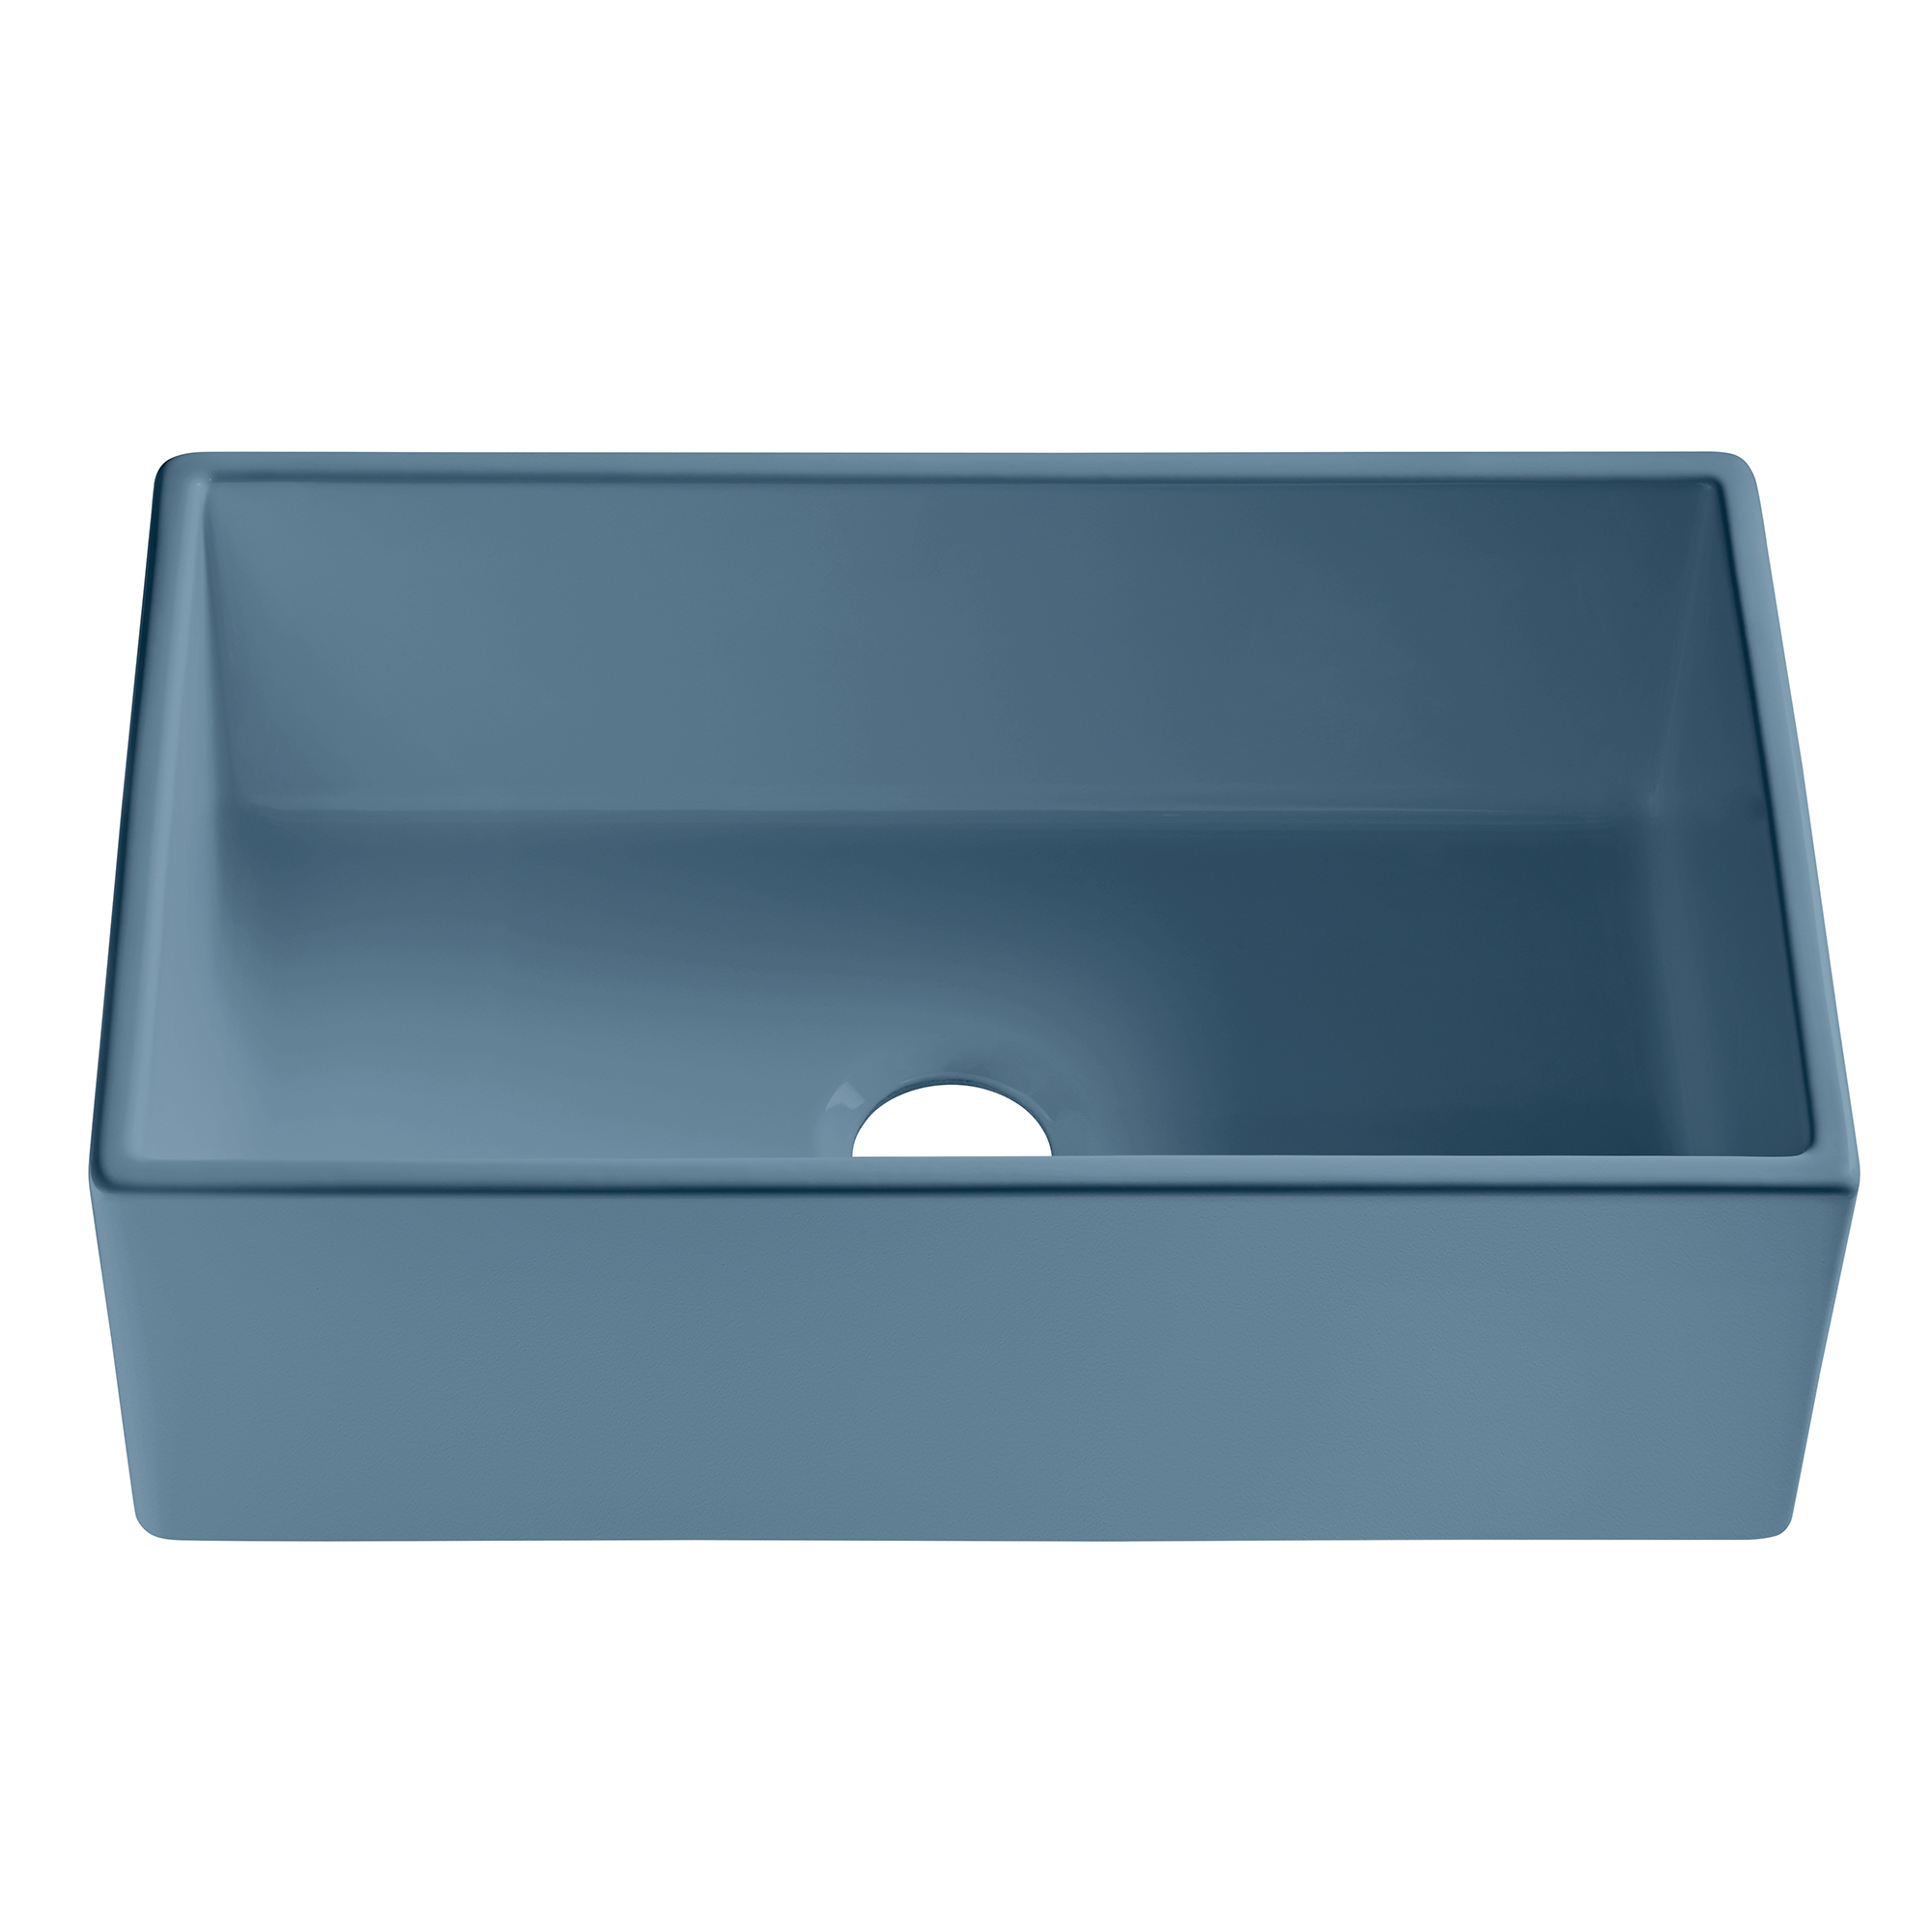
  • Oceanside – a beautiful and breezy matte blue that soothes the senses.

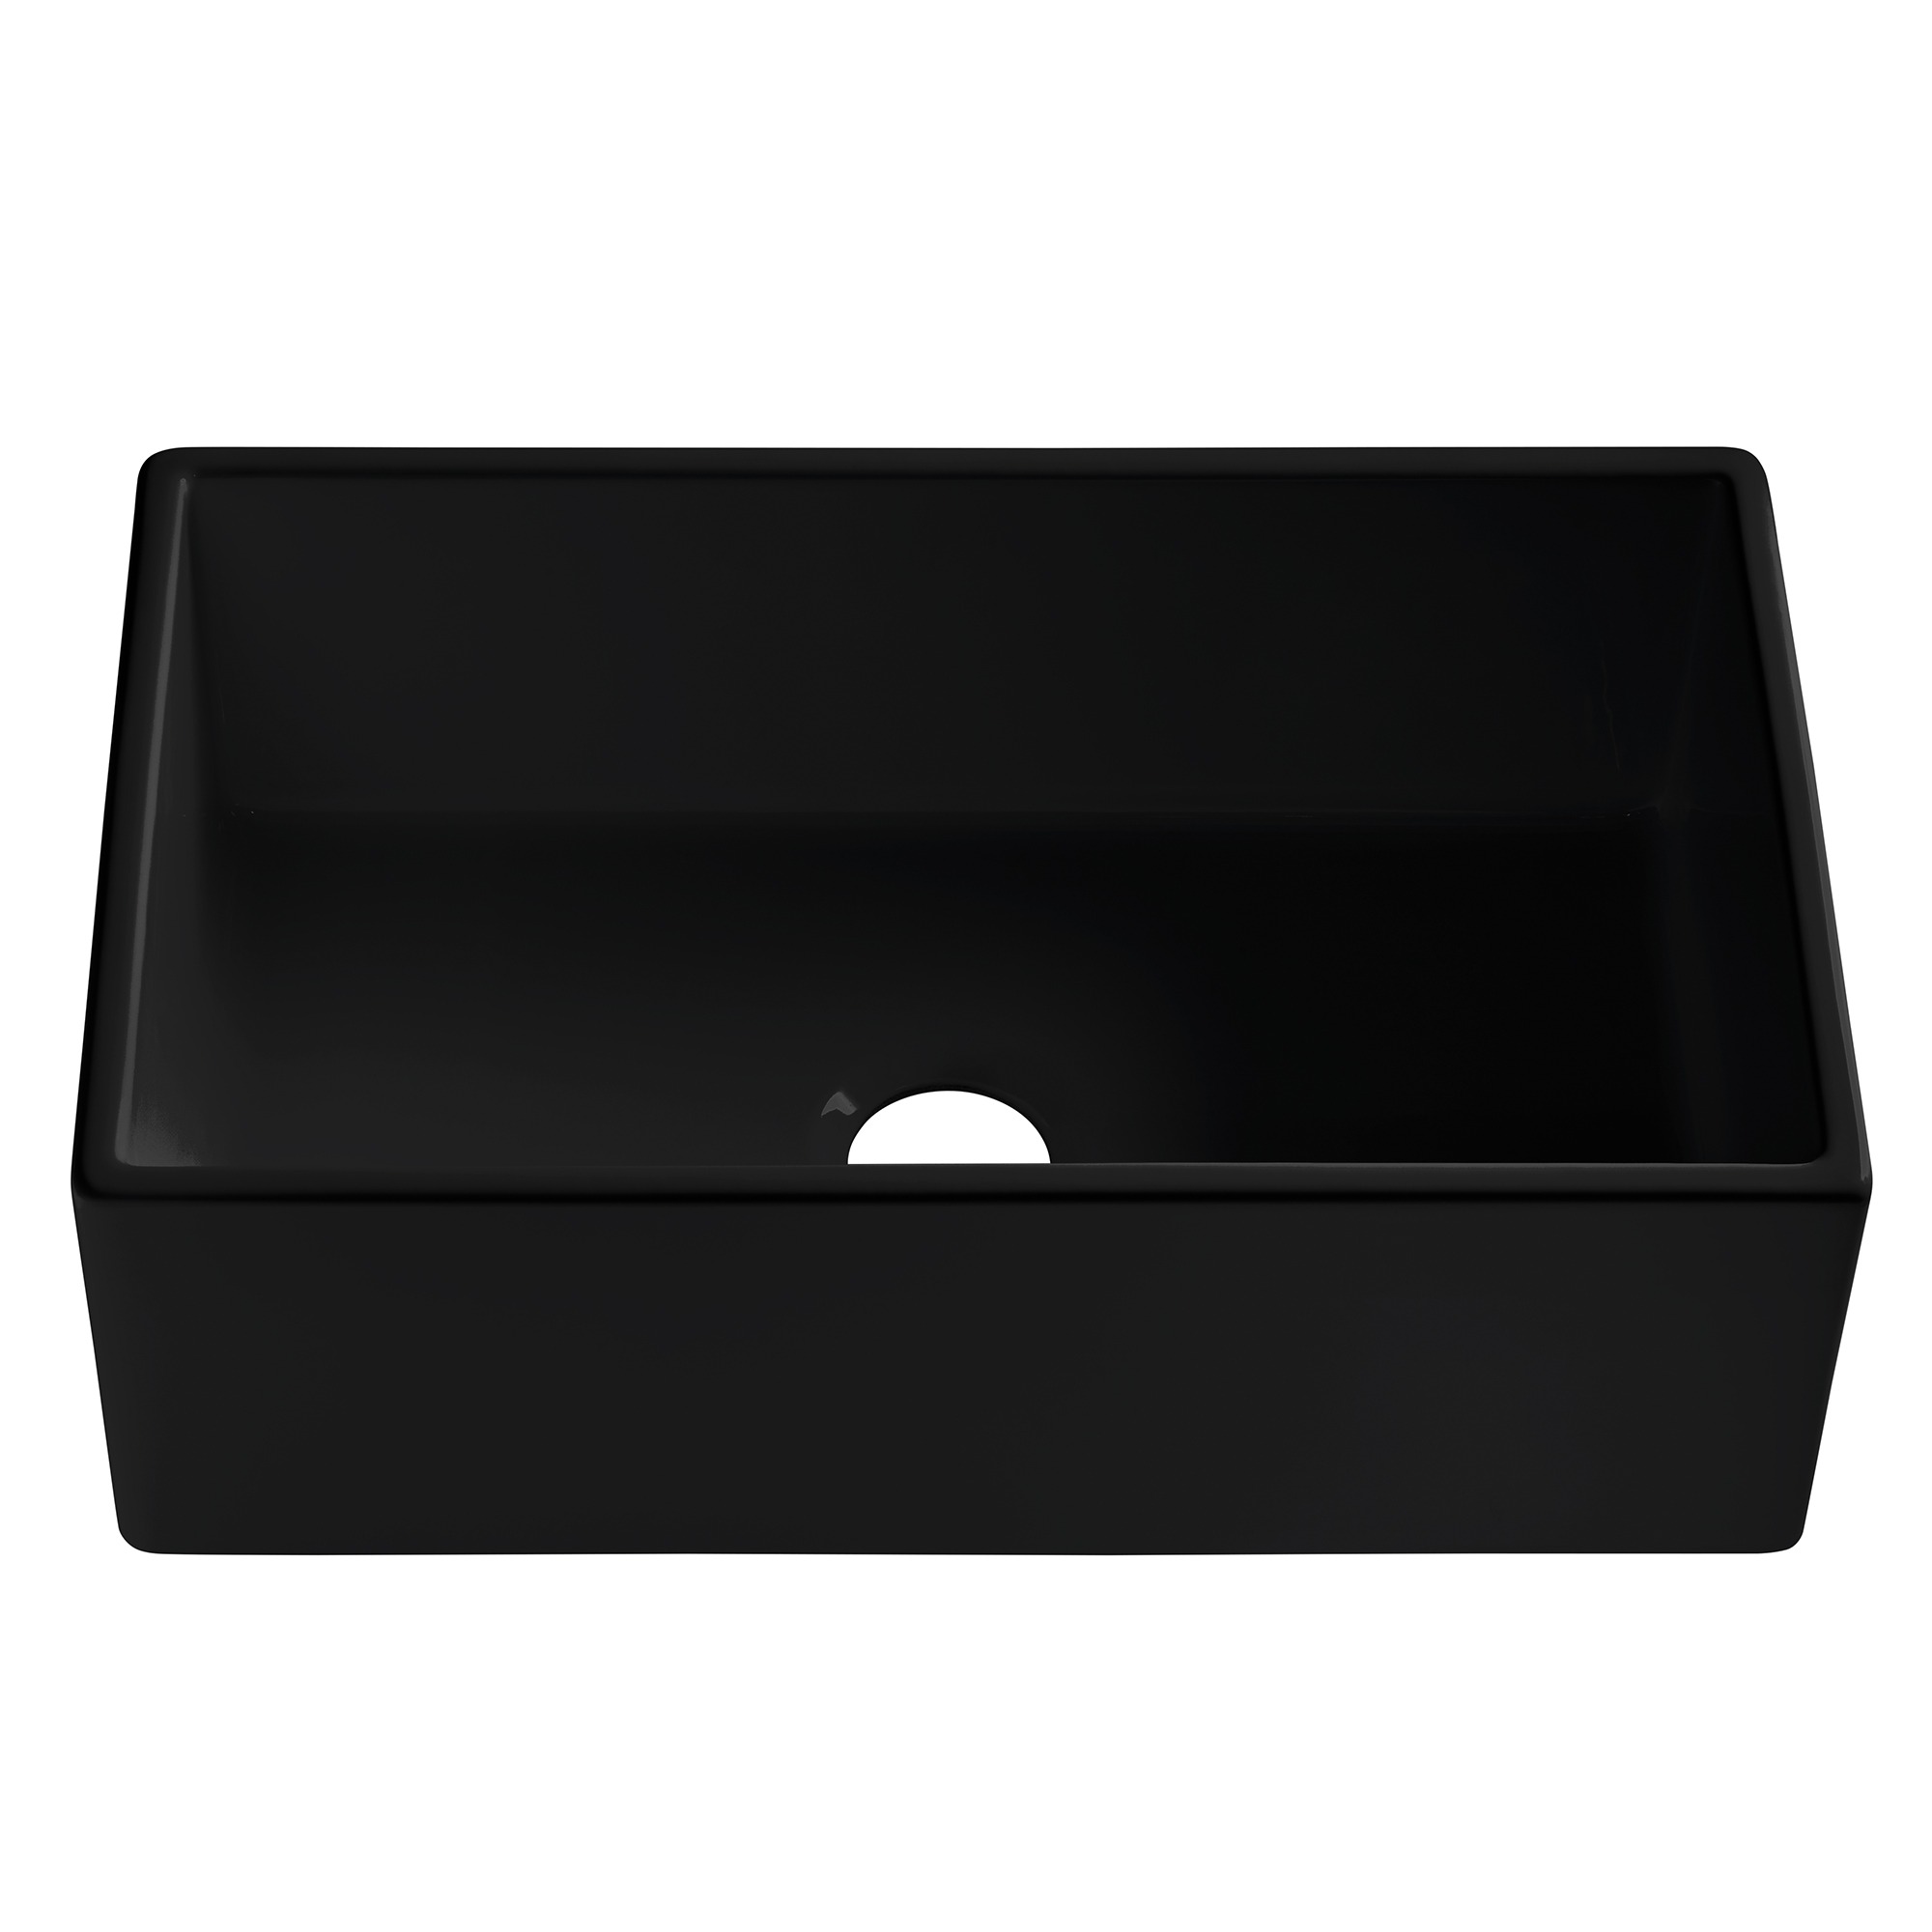
gloss black farmhouse fireclay sink


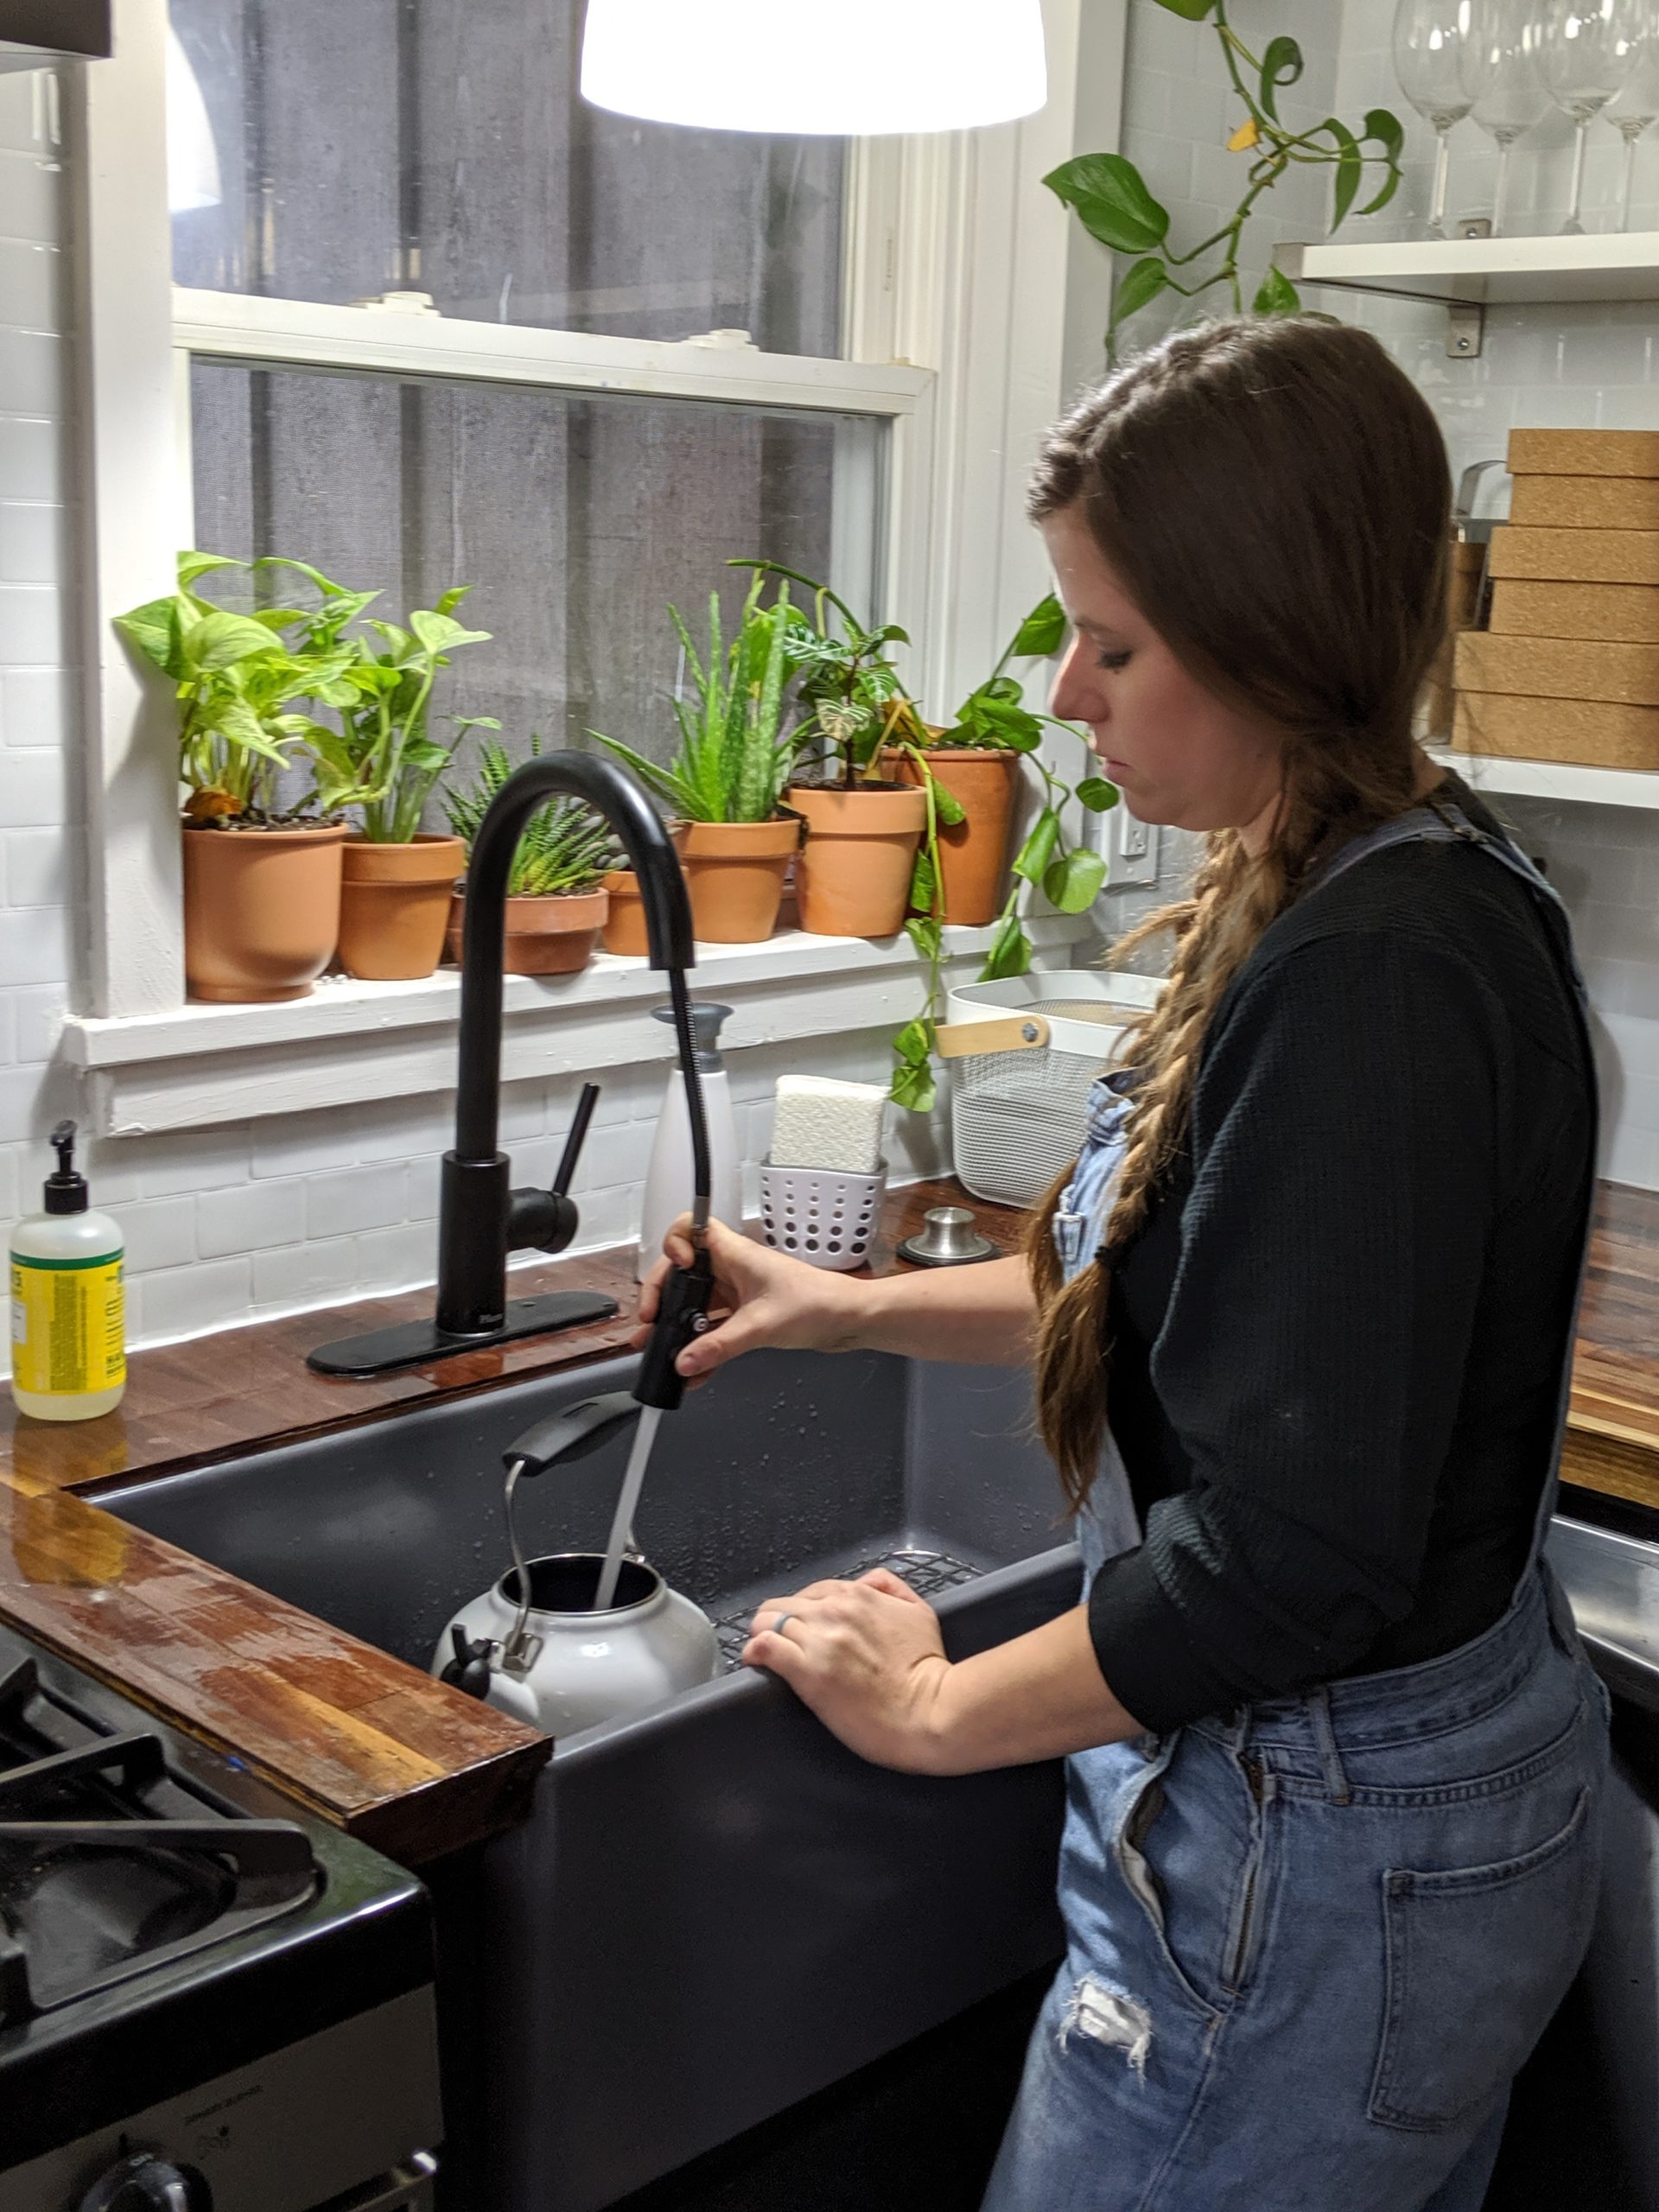
  • Tea Kettle – a mysterious, moody gloss black that intrigues even the least-motivated dish washer.


Brighten Up your Finishes


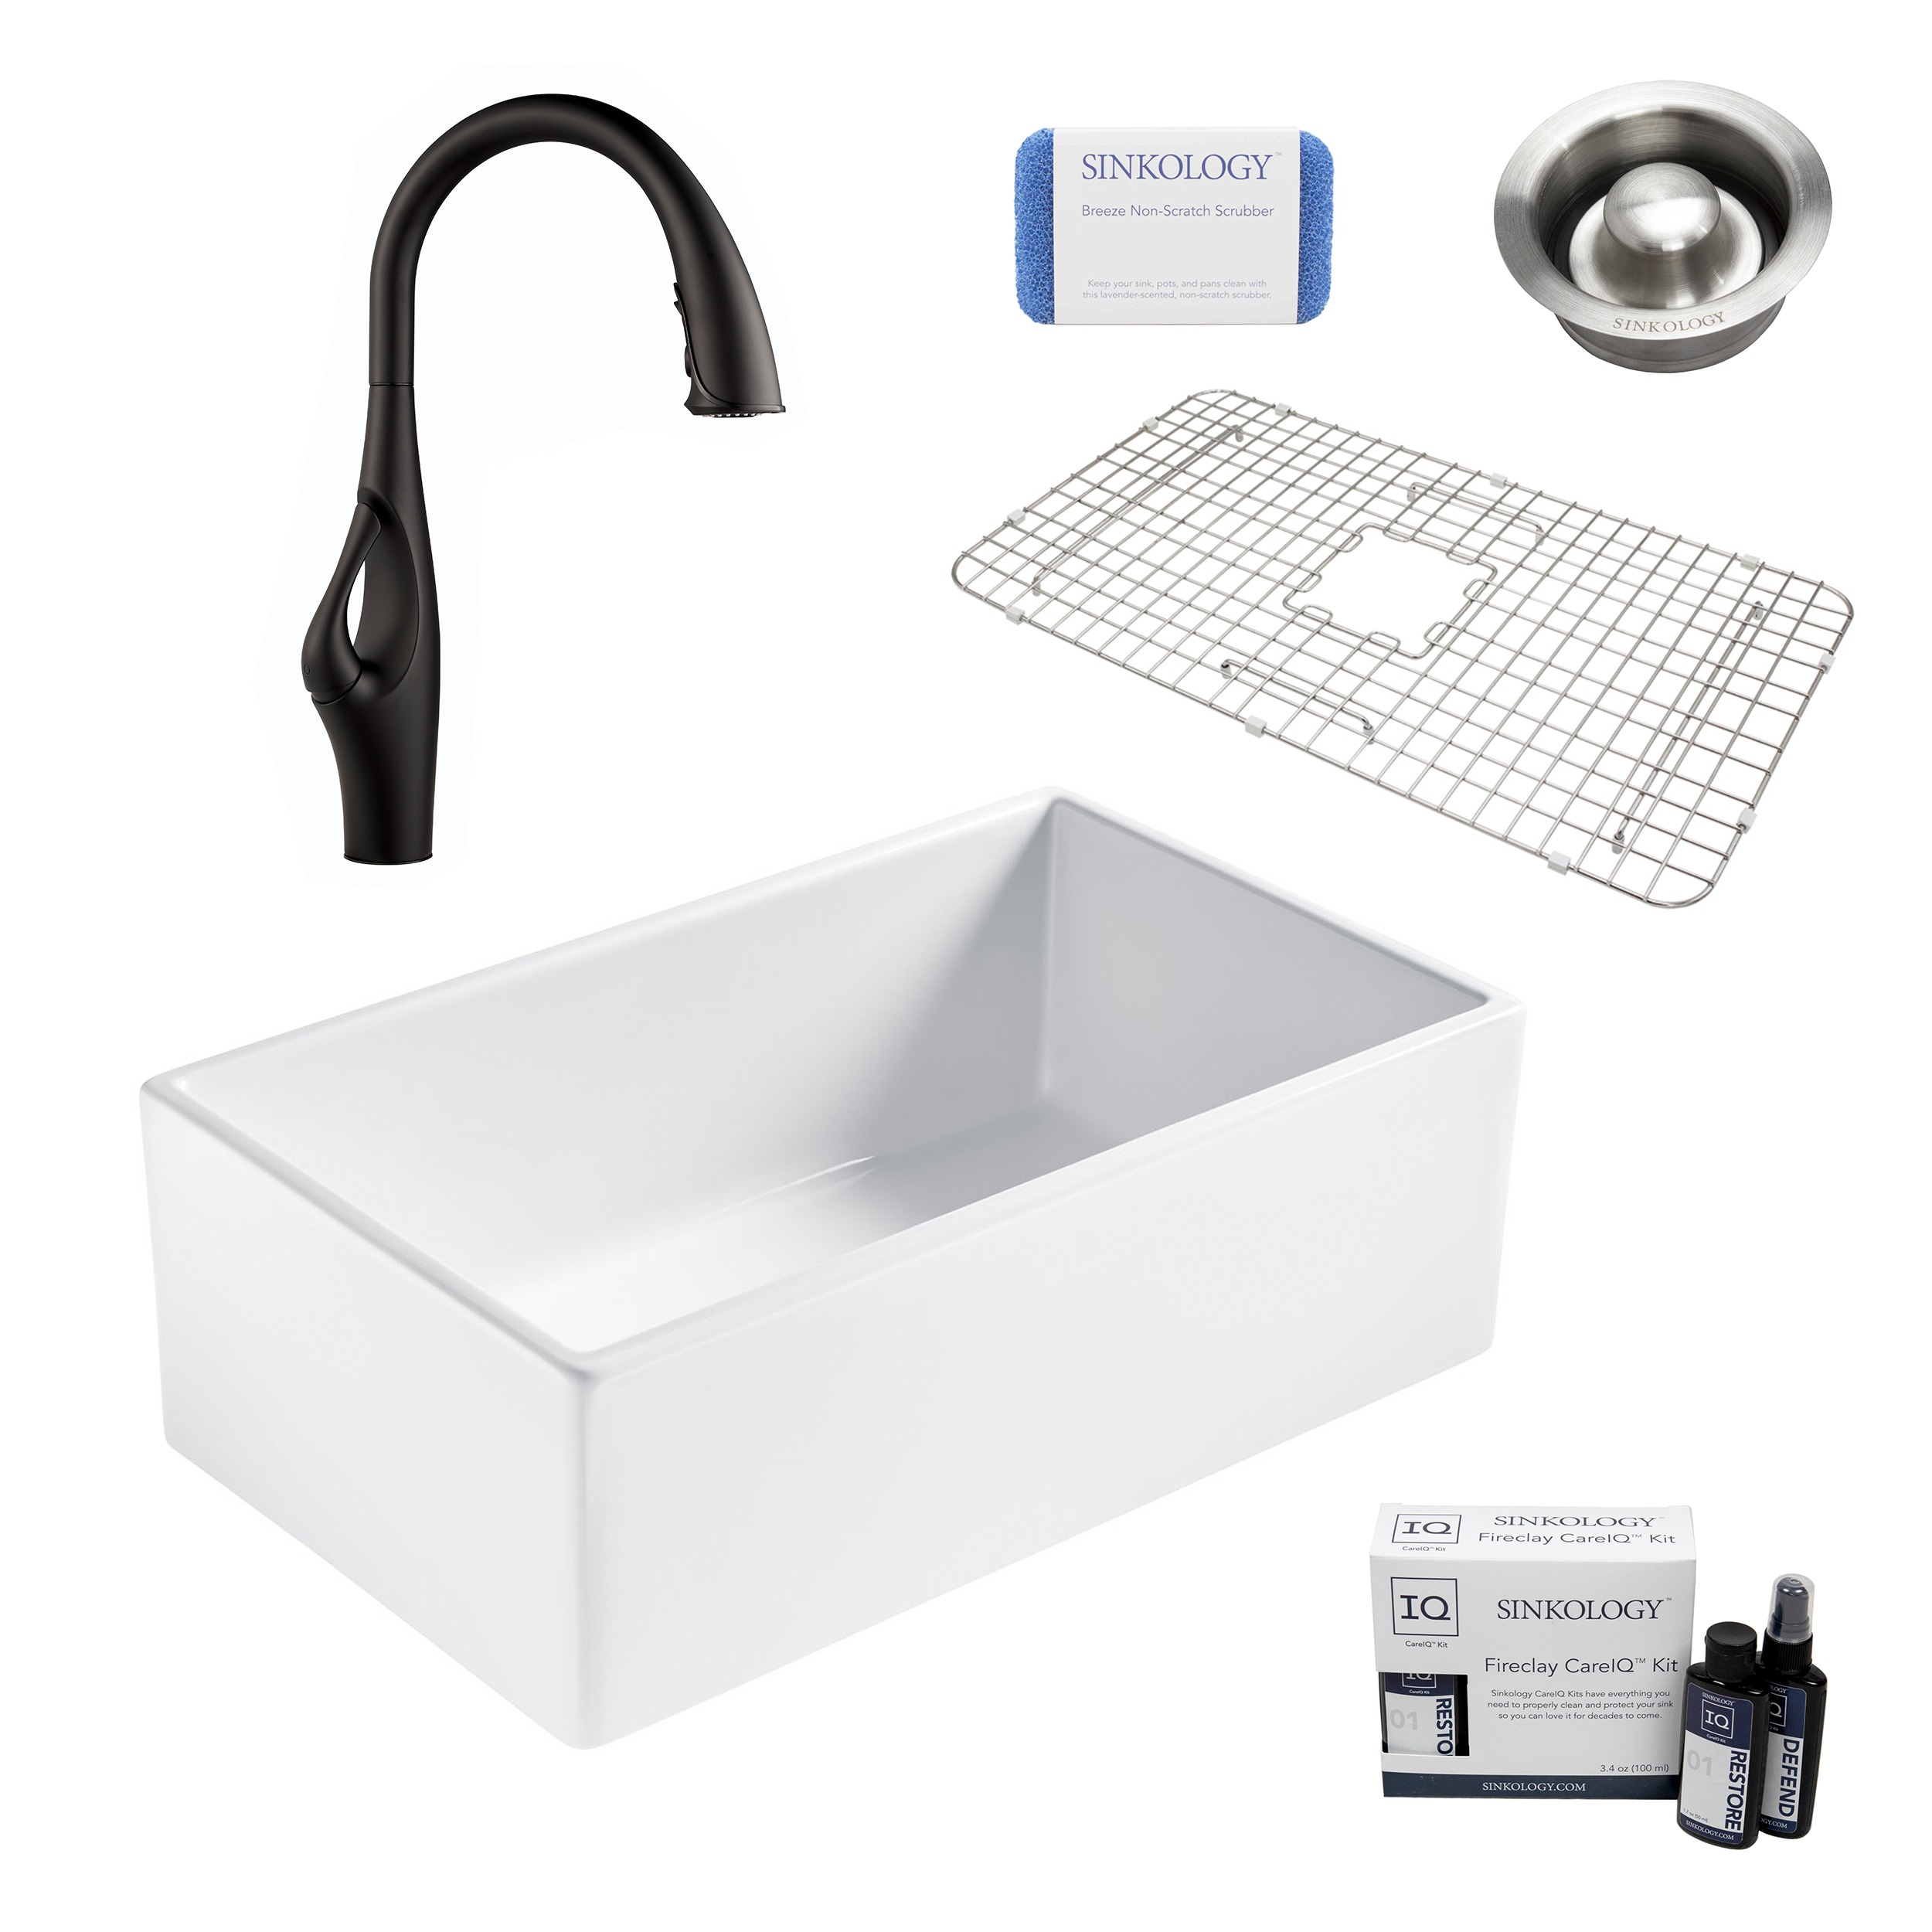
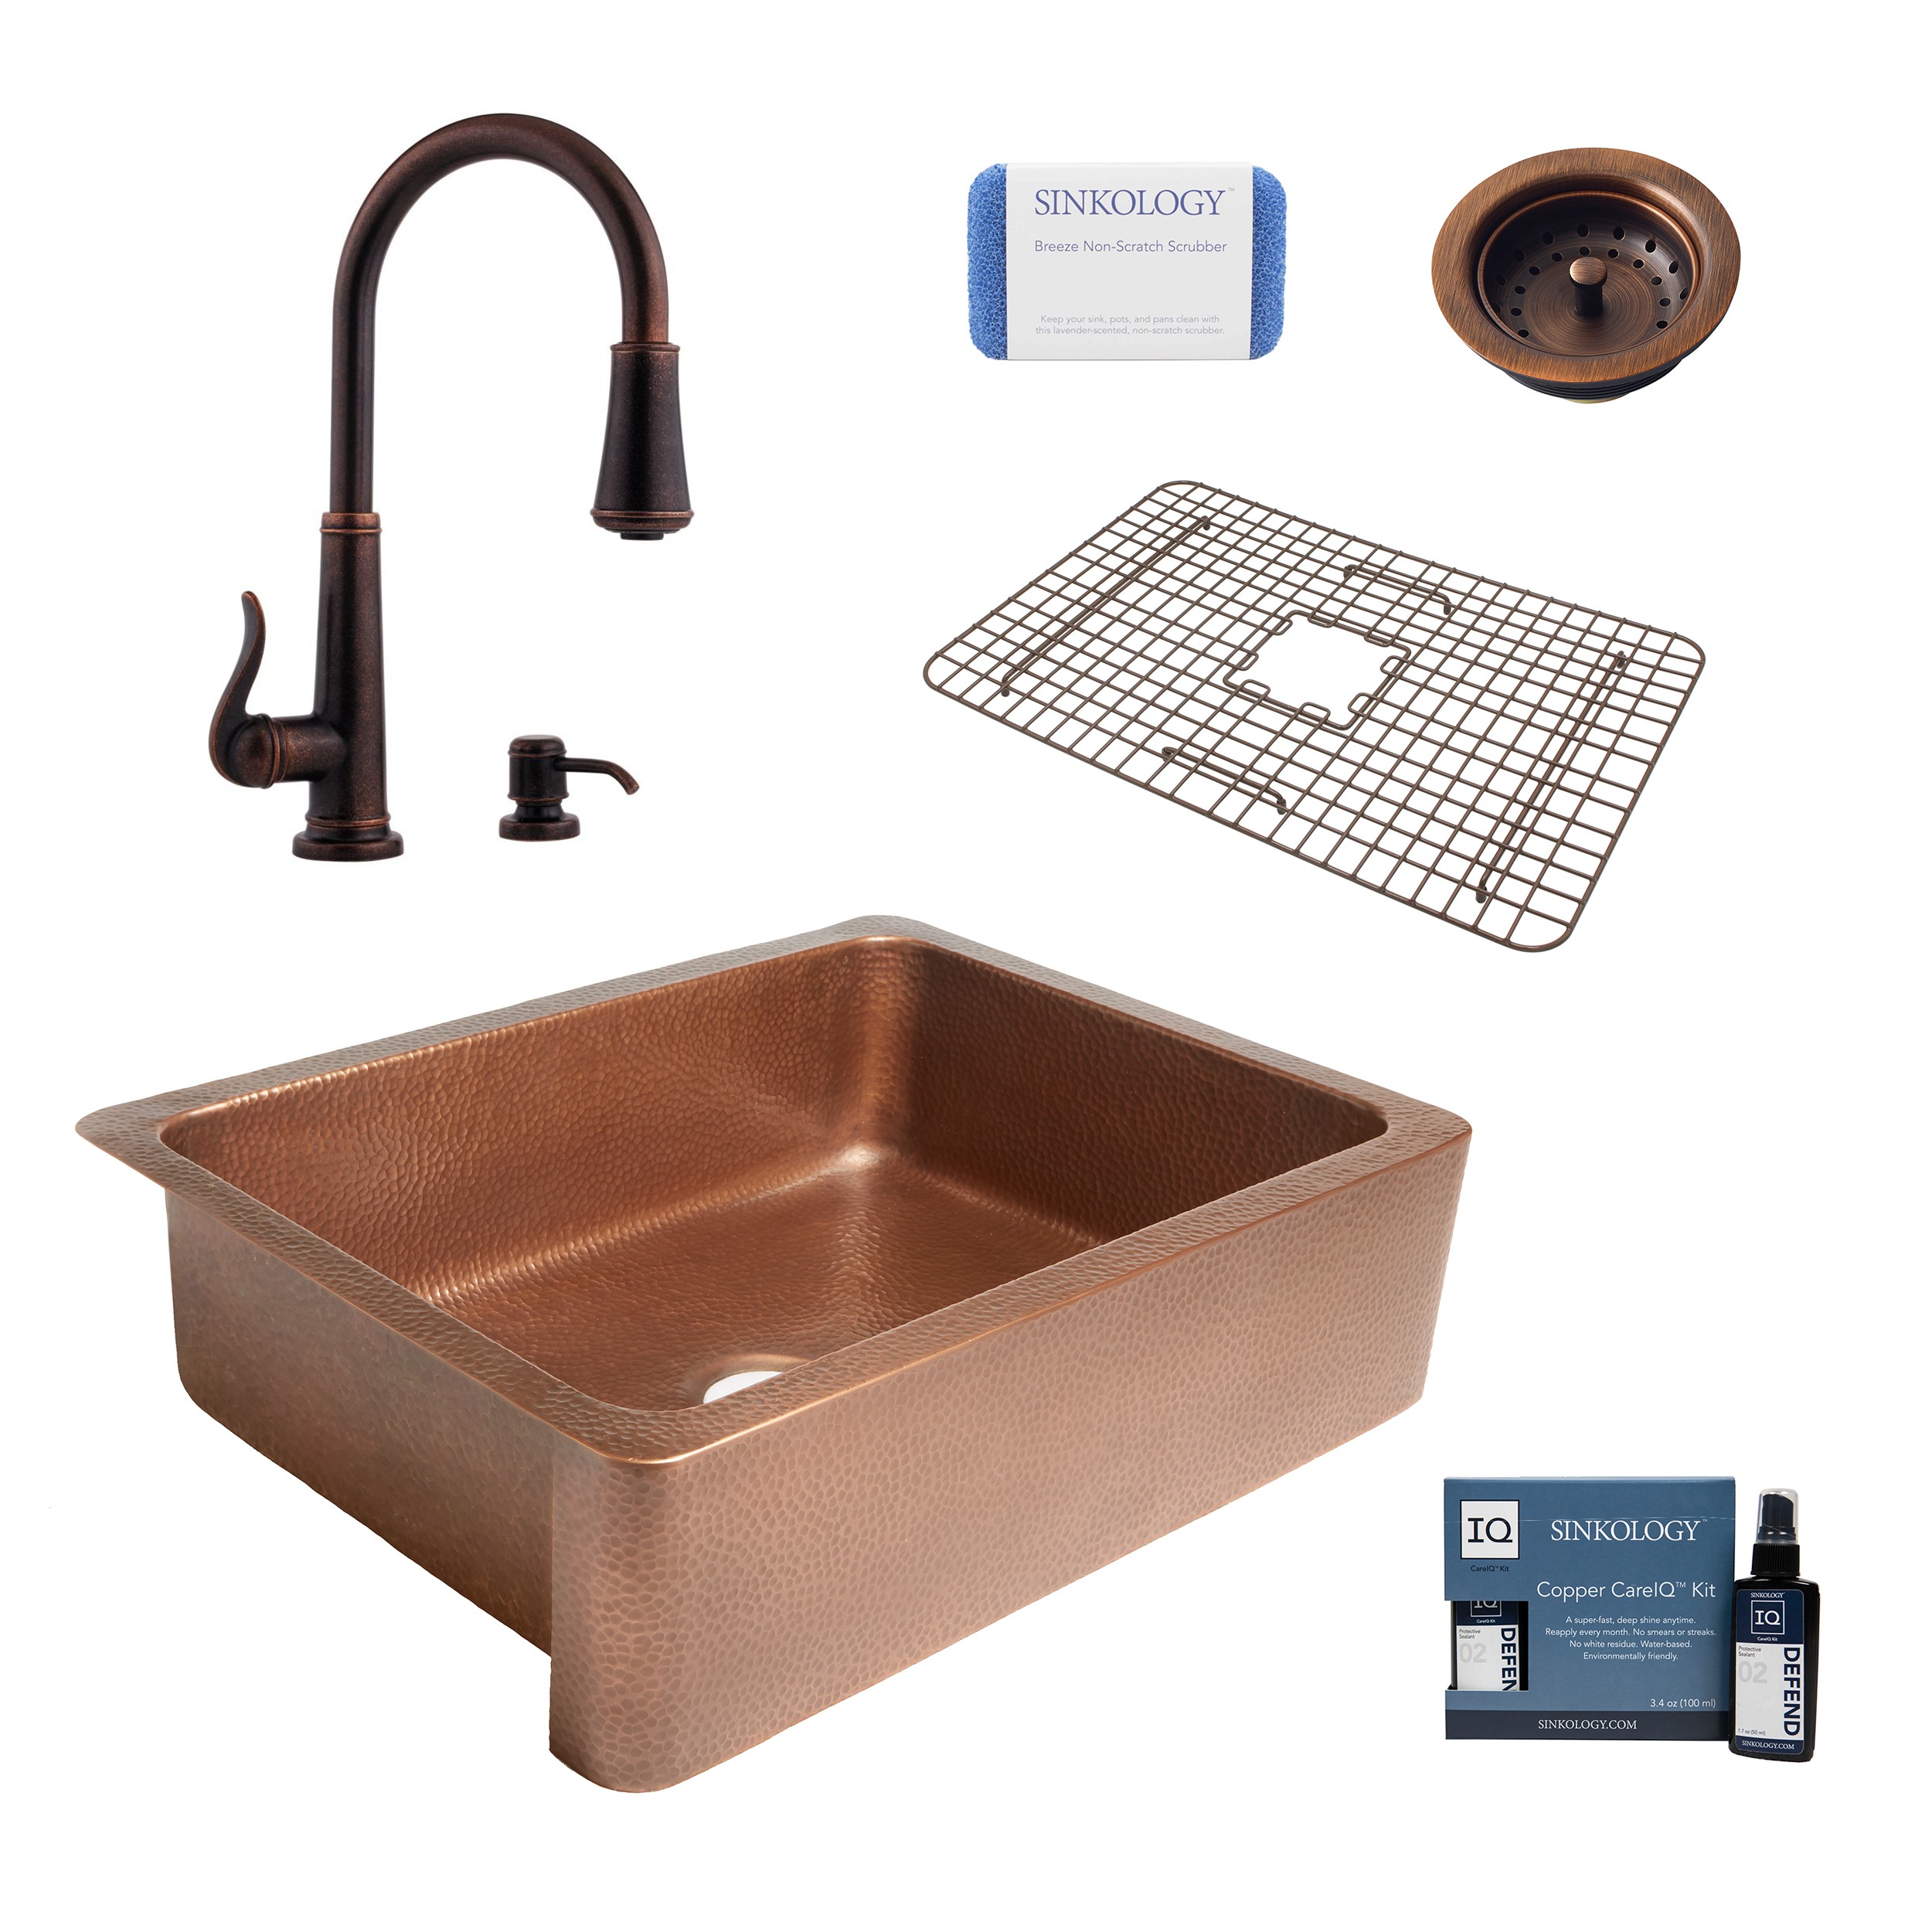
If a colorful sink isn’t your thing, we get it. Rather than go so big and bold, brighten up your sink’s surrounding fixtures. Sound like a big undertaking? Stick with our All-In-One Kits. We’ve expertly coordinated our traditional white fireclay kitchen sinks and classic copper kitchen sinks in our All-In-One Kits to take the guesswork out of your upgrade. Click here to find your perfect pair for the most standout sink suited for your kitchen. Some of our favorite kits that brighten up any kitchen include:

bradstreet II white fireclay sink, kai faucet, disposal drain, bottom grid, scrubber, and fireclay careIQ kit

courbet copper kitchen sink, ashfield faucet, bottom grid, basket strainer drain, copper care IQ kit, scrubber

fireclay sink, faucet, bottom sink grid, drain, cleaning kit, and scrubber


No matter how you add color to your sink, it’s sure to make an impact that lasts. As the heart of the home, the colorful improvements you make in your kitchen will extend well beyond its walls for brighter everyday life. Go ahead, dream up your standout sink.

_____________________________________________________________________

If you have any additional questions during your search for the perfect copper, fireclay farmhouse sink or granite sink, our Sinkologists are here to help. Contact us or follow us on FacebookHouzzPinterest, or Instagram for more helpful tips and design ideas.


The post Dream in Color: Bright & Bold Kitchen Designs appeared first on Sinkology.


source https://www.sinkology.com/blog/bright-and-bold-color-designs/

Wednesday, June 23, 2021

Bathroom Sink Installation 101

As you scroll through our selection of bathroom sinks, it’s easy to fall in love with one…or more. But before you fall too hard too fast, it’s important to understand what it will take to install your dream sink. If you want to take on all of your bathroom renovations on your own, get to know our sink installation styles before diving in. We offer an array of options to accommodate all types of renovators. So today, we rank our bathroom sinks’ installation intensity, starting with the most DIY-friendly.  


Drop-In Sinks


Our drop-in bathroom sinks are made for the weekend warriors of all skill levels who don’t want to waste their valuable time completing complicated steps just to upgrade their bathrooms. Designed to fit perfectly into pre-cut countertops, our drop-in sinks are so simple to install that even the most amateur DIYer can get this project done quickly and easily. But just because it’s easy to install by simply fitting into a standard cut countertop doesn’t mean it will look any less elegant once it’s in your countertop. In fact, we designed our line of drop-in sinks to add one-of-a-kind beauty that’s anything but ordinary. 


Pro Tip: Our drop-in sinks don’t use mounting hardware. But we recommend using expanding foam and 100% silicone to secure your sink.


undermount naked copper sink

Undermount Sinks


Our undermount bathroom sinks bring the same ease of drop-in along with a high-end, seamless look. Like our drop-in bathroom sinks, our undermount bathroom sinks fit easily into pre-cut countertops. But, instead of dropping the sink in to install, they attach to the granite from below. It takes slightly more skills and a bit more maneuvering to properly adhere, but we promise that it’s possible for rookies. And, no matter what level of expertise you have, everyone will appreciate the additional countertop space and easy clean-up undermounts provide.


Pro Tip: Like our drop-in sinks, our undermount sinks don’t include mounting hardware. Before you start your project, talk with the manufacturer of your countertop about which mounting hardware is recommended for your bathroom.


vessel sink

Vessel Sinks


What sets vessel sinks apart is that they actually rest on top of countertops. While this sounds simplest at surface-level (pun intended), this install requires you to drill a hole in your existing countertop. If you’re comfortable wielding a drill, you’ll find our vessel sinks to be incredibly simple to install – and so beautiful to look at once they’re on your countertops.


Pro Tip: Though preferred by some, we don’t recommend vessel mounting rings. Instead, drill a 2-3/4” hole to securely hold your sink in place.


45 degree view of bell drop-in copper bathroom sink 45 degree view of schrodinger undermount copper bathroom sink hubble vessel copper bathroom sink

Still not sure which sink installation is right for you? For many of our sink styles, you might not have to choose. As you browse, you’ll notice that some of our copper sinks have our exclusive Dual-Flex Rim. This feature allows you to install how you want, whether as a drop-in our undermount. No matter how you install, it’s sure to be striking. For all the nitty gritty details on how to install your Sinkology sink of choice, explore our complete installation guide with step-by-step instructions here.

_____________________________________________________________________

If you have any additional questions during your search for the perfect copper, fireclay farmhouse sink or granite sink, our Sinkologists are here to help. Contact us or follow us on FacebookHouzzPinterest, or Instagram for more helpful tips and design ideas.


The post Bathroom Sink Installation 101 appeared first on Sinkology.


source https://www.sinkology.com/blog/bathroom-sink-installation-101/

Monday, June 7, 2021

Hot Honey Shrimp Skewers

As a foodie, I love these warmer months because grilling takes over my meal-making and planning. What better way to celebrate the onset of “grill season” than with these Hot Honey Shrimp Skewers.

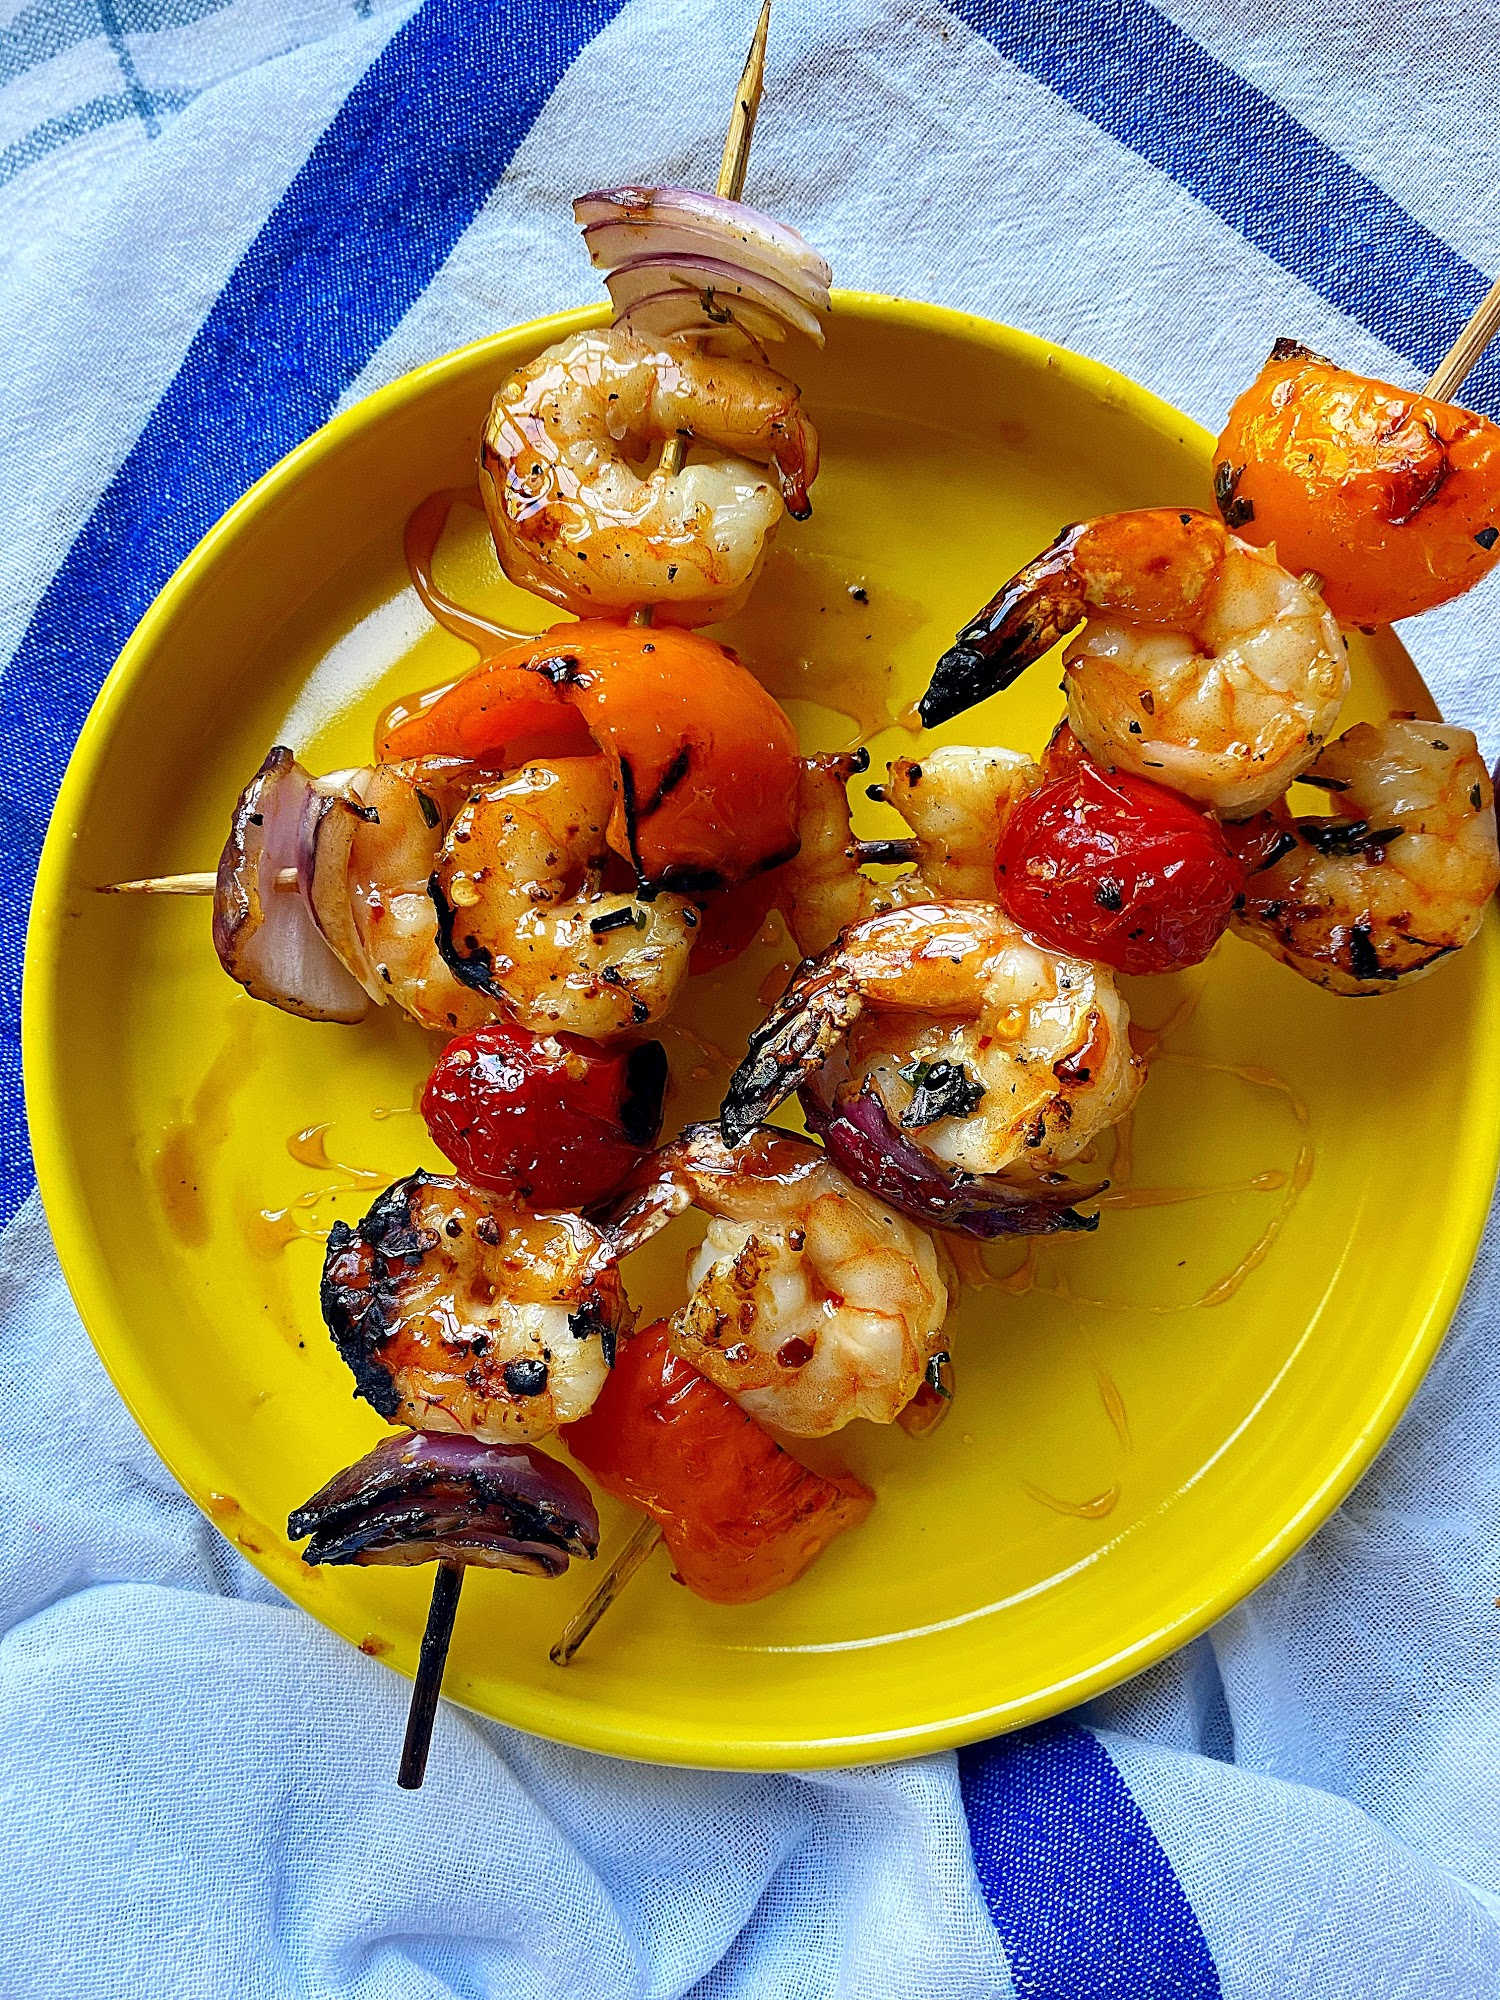
Hot Honey Grilled Shrimp Skewers

Hot Honey (HH) is pretty much the food trend of the decade and why not add that delicious flavor to some beautiful and simple shrimp skewers. You can either make your own HH by following my simple homemade recipe HERE or use your favorite store bought brand.

Spicy and sweet HH is the perfect partner for shrimp and veggies and is the base for this shrimp skewer marinade. You’ll want to be sure and have some reserved HH on hand for an “after grilling” drizzle.

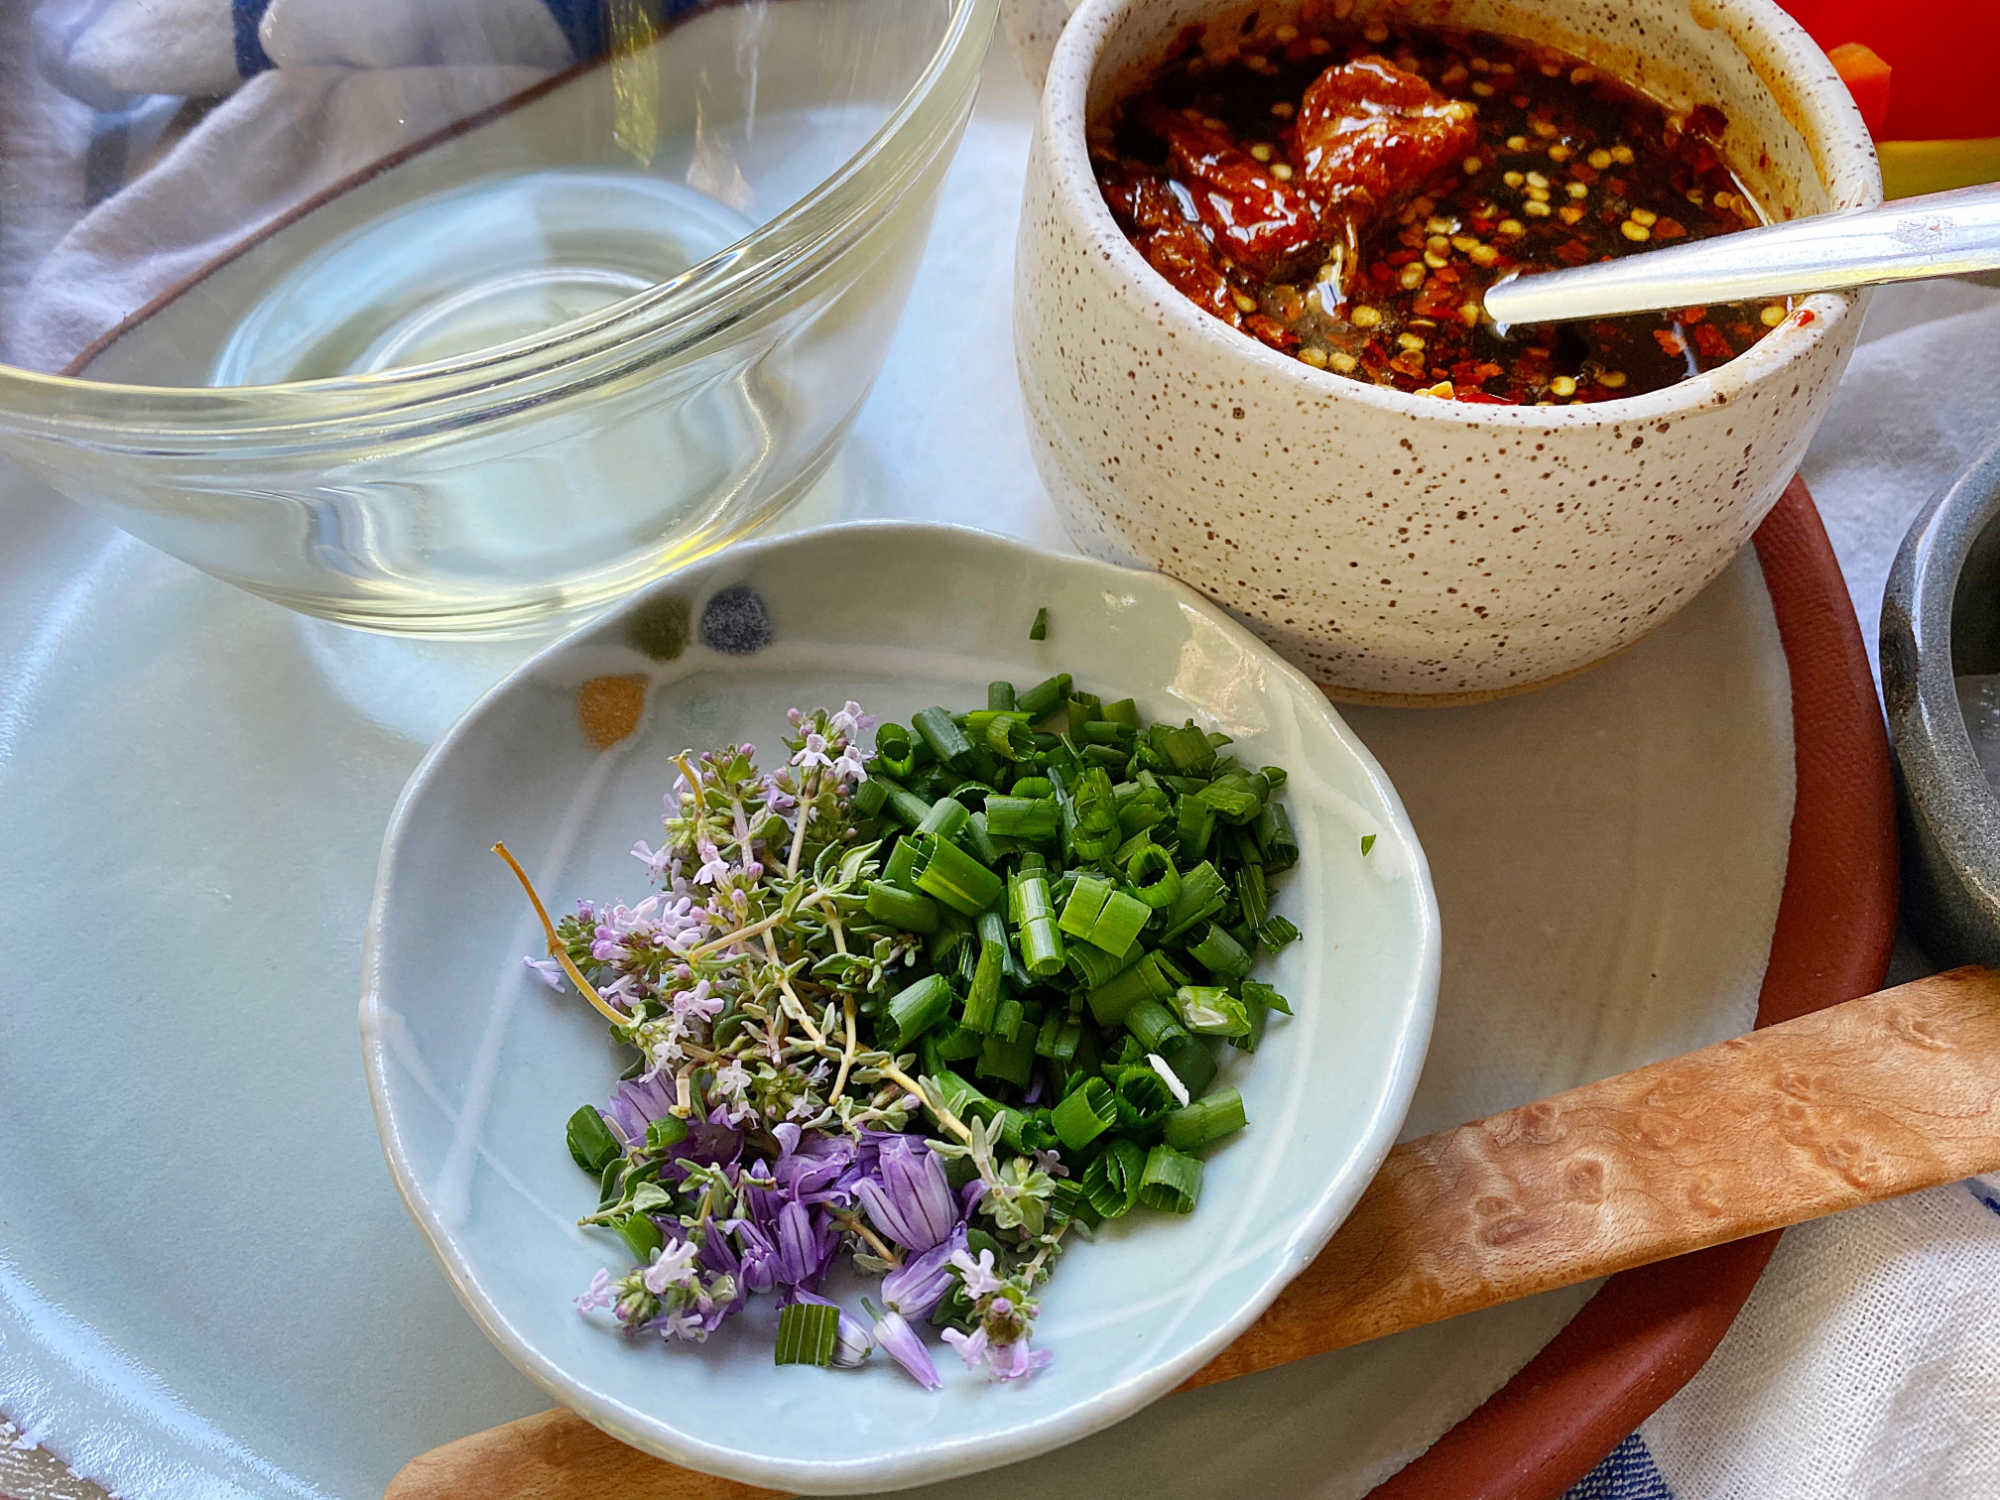
marinade ingredients

marinade

For the Hot Honey Marinade ::

  • Hot Honey
  • fresh chives* 
  • fresh thyme*
  • 4 T oil
  • 1/2 t sea salt
  • 1/4 t black pepper

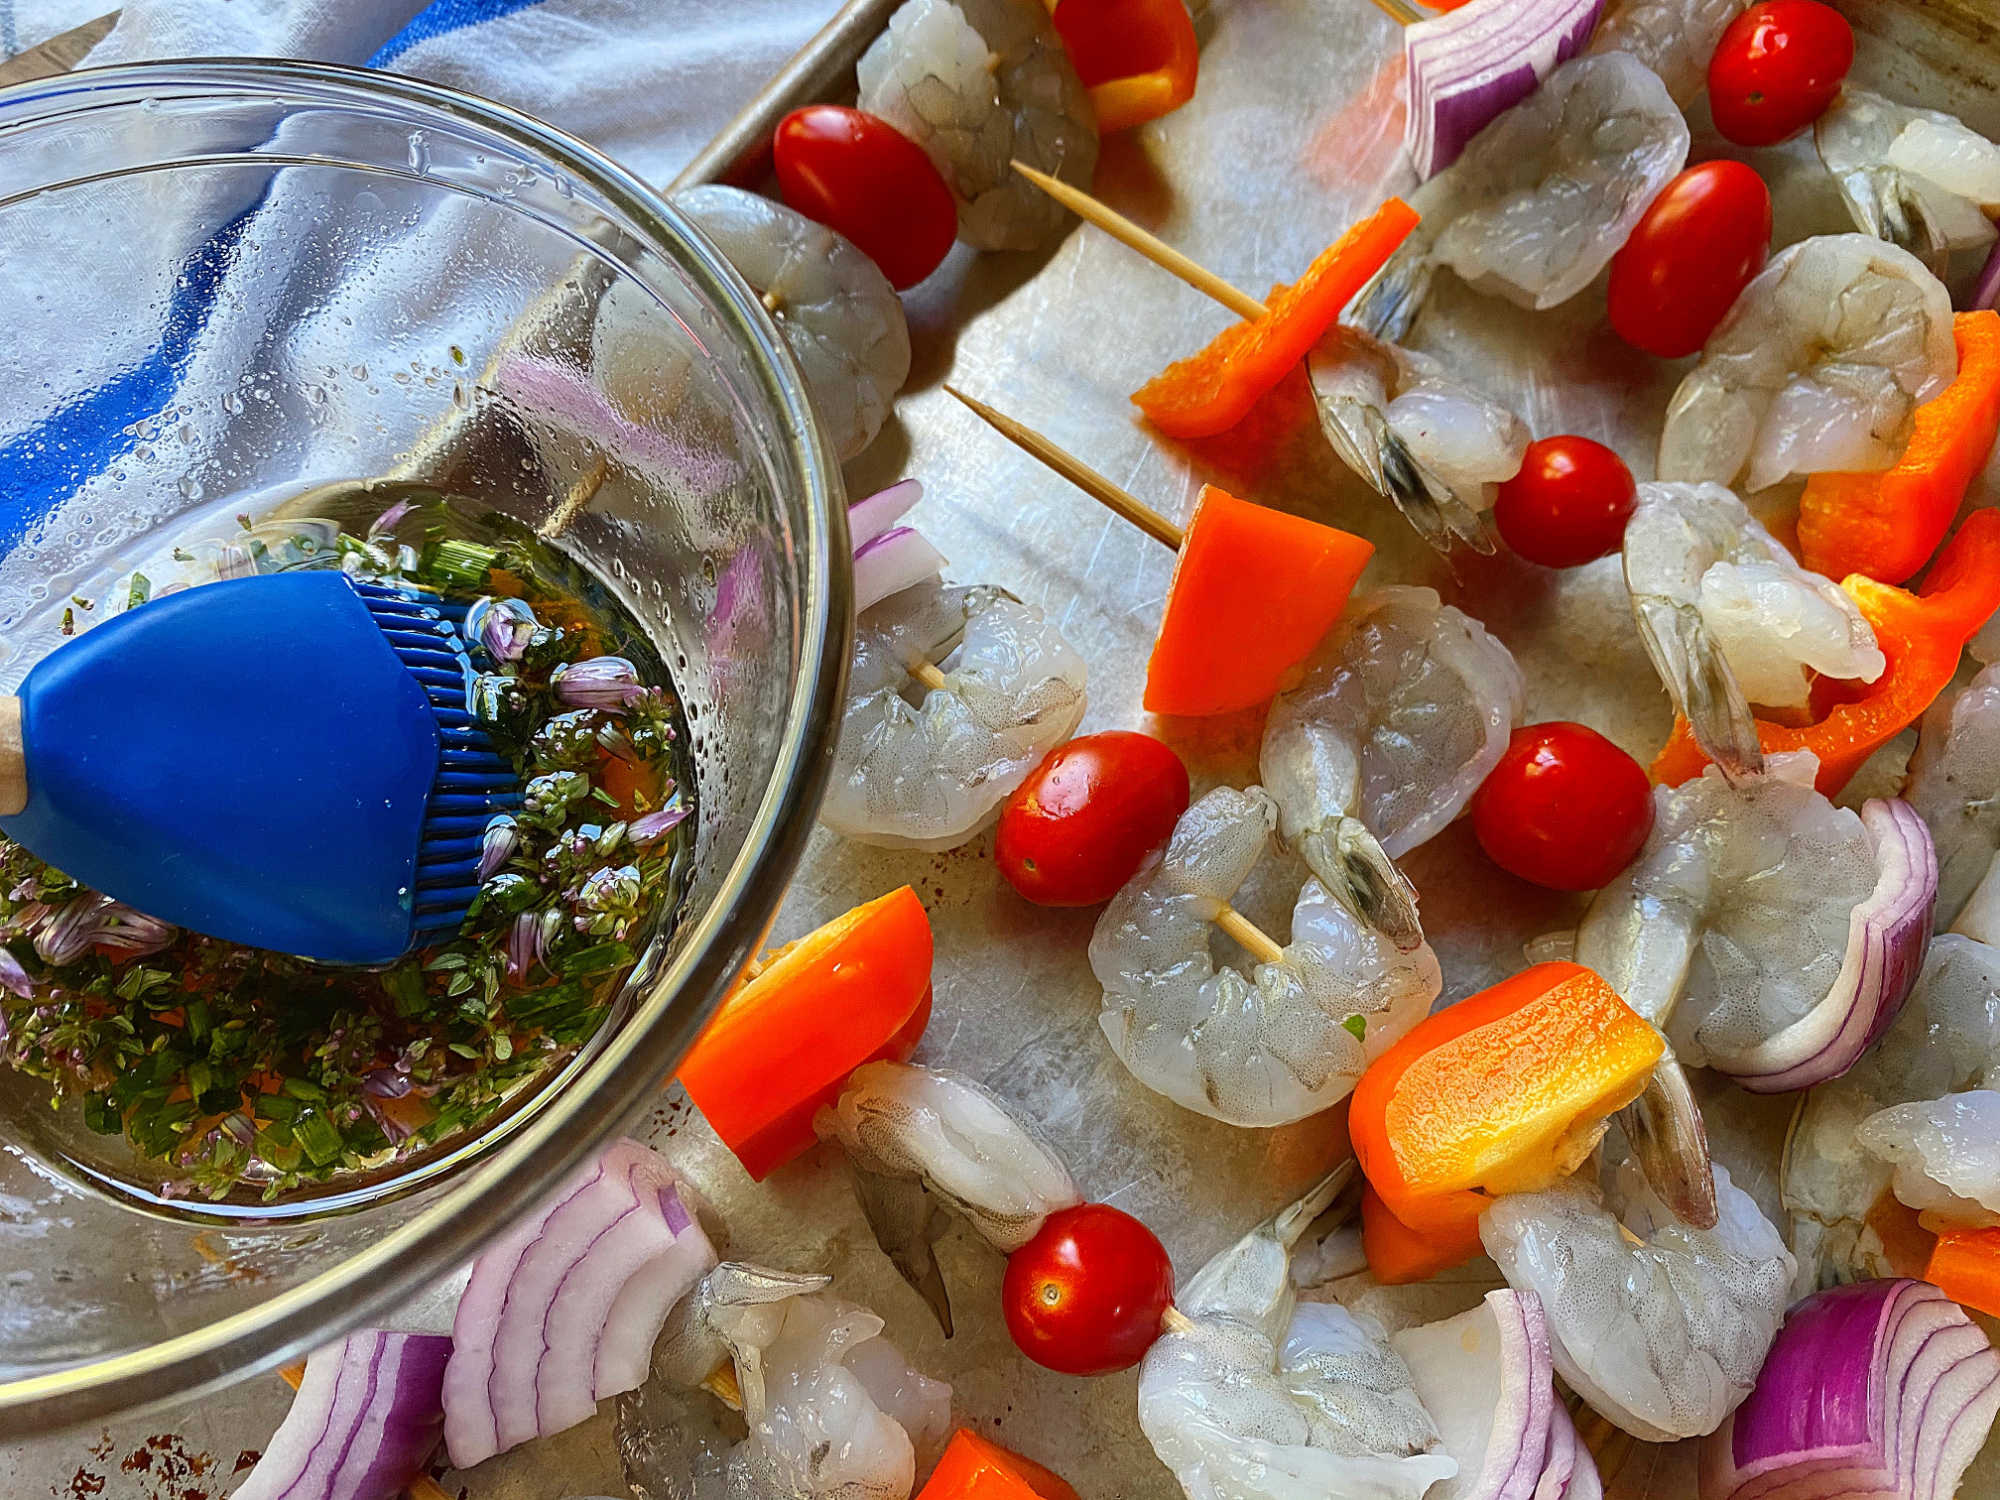
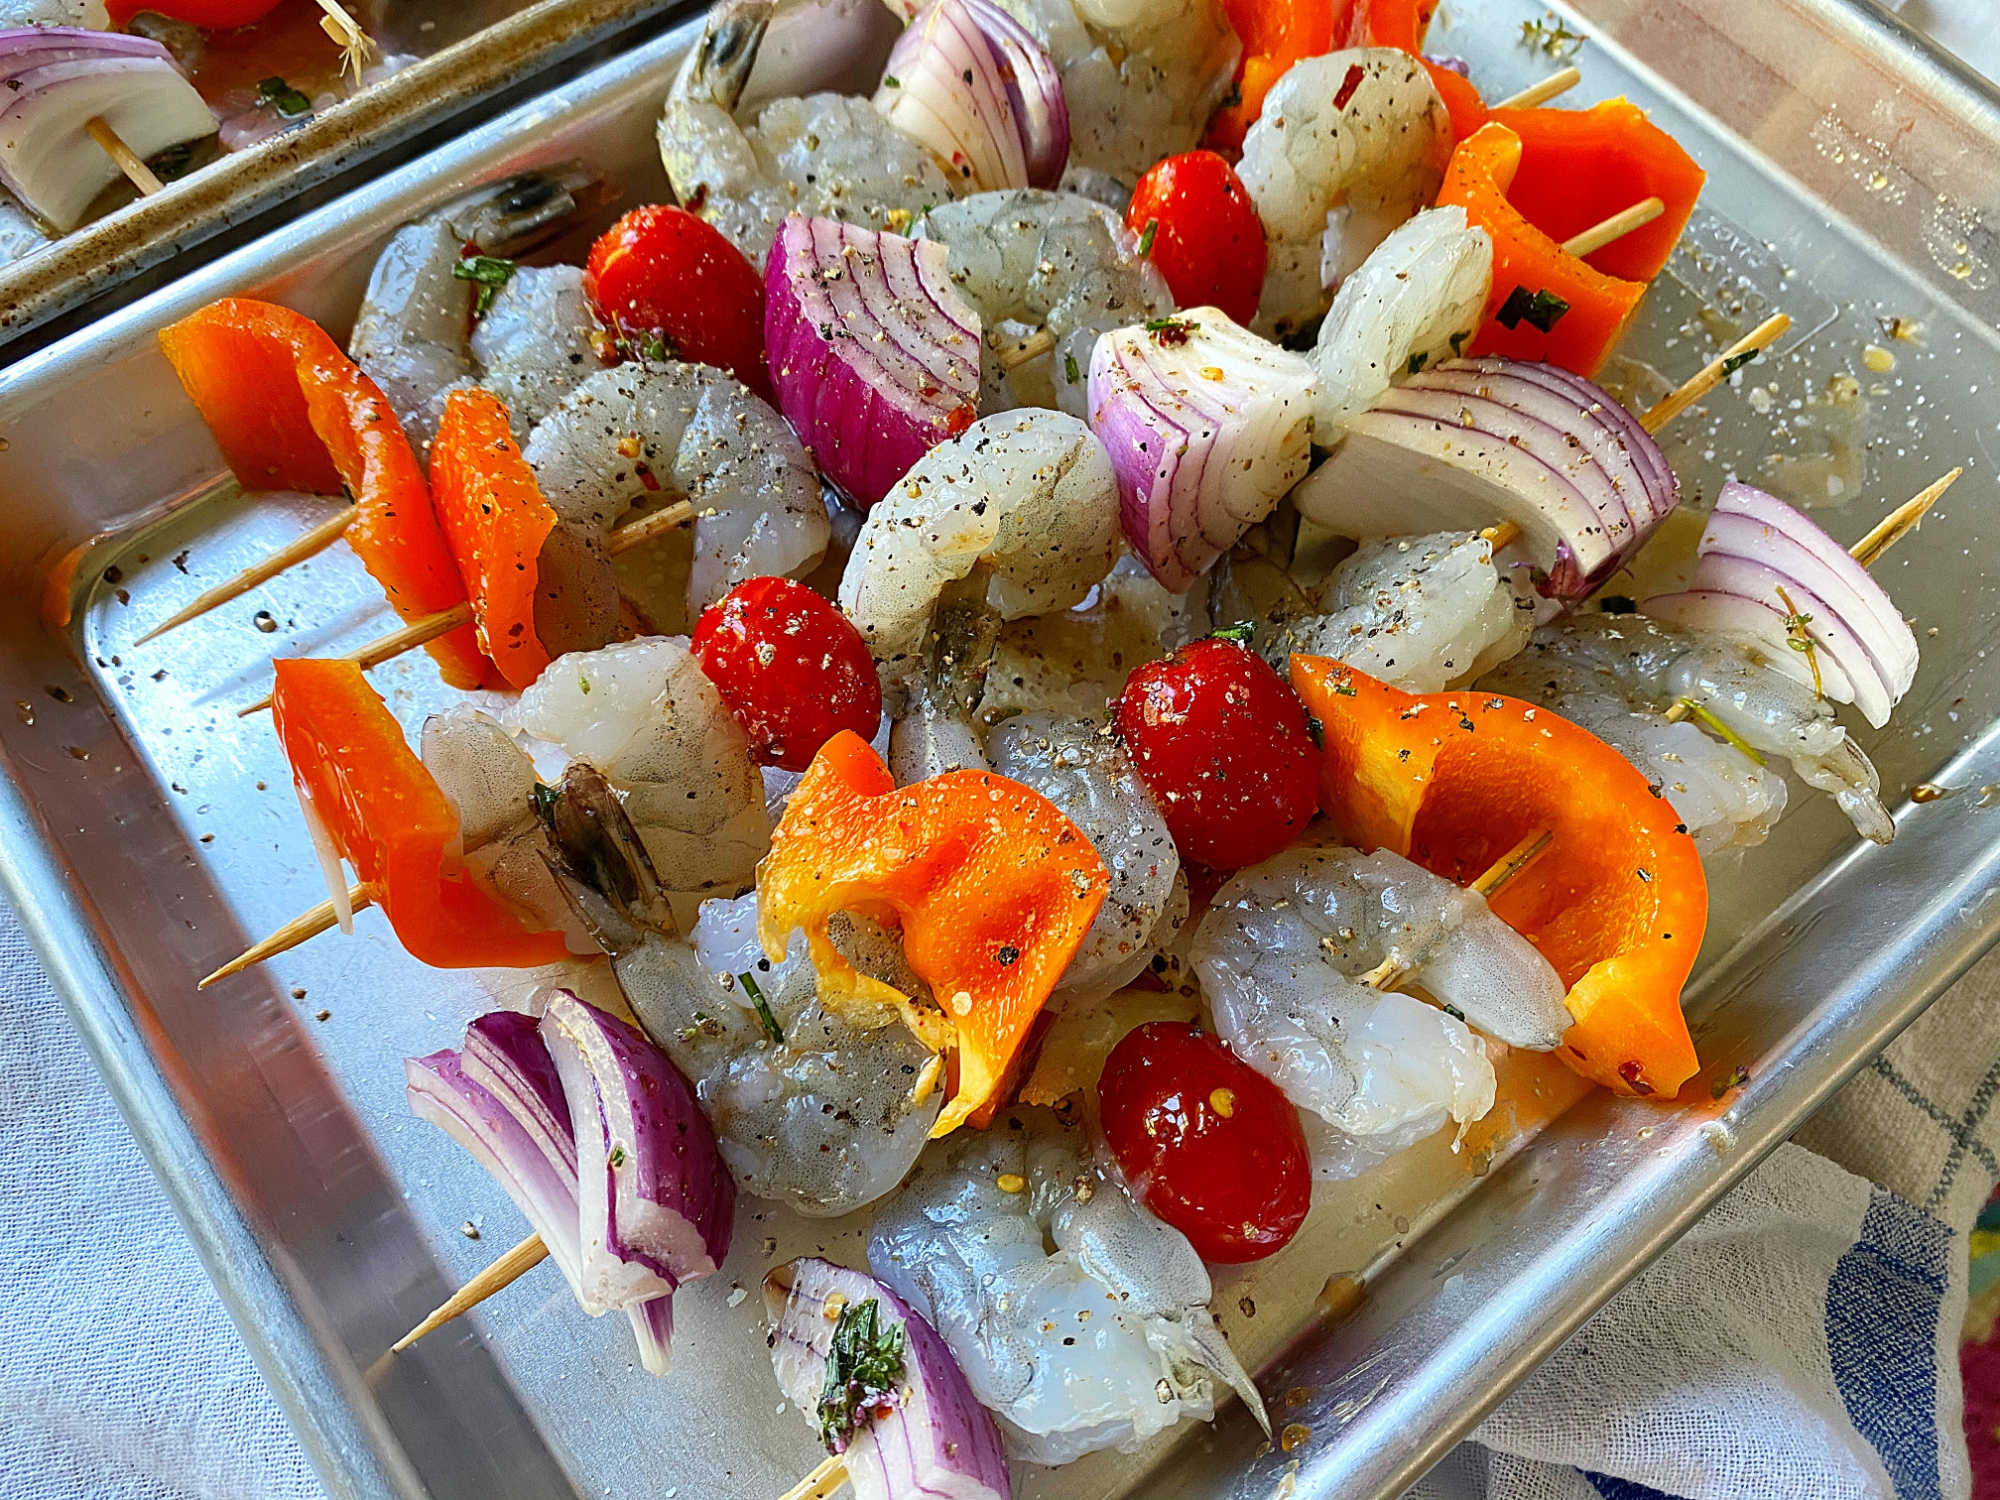
Once the marinade is assembled, it’s just a matter of assembling the skewers with veggies and shrimp, brushing with the HH marinade and then grilling.

assembled and marinating skewers

grilling shrimp

The flavors of these grilled fresh veggies and sweet shrimp are the perfect partner to this herby, spicy, sweet Hot Honey marinade. But I think steak, chicken and even lamb would be equally delicious. This recipe is so simple and perfect for an easy grill night!

shrimp is served

Hot Honey Shrimp Skewers

Hot Honey Marinade

  • 1/2 c Hot Honey
  • 1 T fresh chives*
  • 3 t fresh thyme
  • 6 T oil
  • 1/2 t sea salt
  • 1/4 t black pepper
  • more s+p to taste
  • more Hot Honey for drizzle after grilling

Hot Honey Shrimp Skewers

  • 2 lb peeled raw shrimp, U 15-20
  • 2 orange bell peppers, cut into 1.5″ pieces
  • 40 cherry tomatoes
  • 1 red onion, cut into 1″  pieces
  • 20, 8″-10″ bamboo skewers, soaked in water 2+ hours

To prepare the Hot Honey marinade, combine all marinade ingredients in a small bowl.

Set aside marinade and prepare skewers.

Once the bamboo skewers have soaked in water, assemble the shrimp skewers alternating shrimp and veggies until all the shrimp has been skewered.

Brush the veggies and shrimp (on all sides) with the marinade, season with salt and pepper and cover. Place in the refrigerator for 1-2 hours.

Prepare charcoal or gas grill according to manufacturer’s instructions.

Once the flame has reached temperature, place the skewers on the hottest portion of the grill.

Grill for 2-3 minutes per side, until shrimp are cooked through and pink.

Serve immediately with extra Hot Honey as garnish.

Serves 8

*I’ve included the herb blossoms because they were in season

hot hot shrimp pin

shrimp pin

skewer pin 3

The post Hot Honey Shrimp Skewers appeared first on Sinkology.


source https://www.sinkology.com/blog/hot-honey-shrimp-skewers/