The kitchen sink is easily the most striking piece in any kitchen. No matter the style, from fireclay farmhouse sinks to handcrafted copper sinks, we refer to the kitchen sink as the focal point for a reason. But the often-overlooked sink drain is an incredibly important accessory in any kitchen sink and, therefore, a critical part of any kitchen sink upgrade.
Taking on a sink drain installation project may sound like a challenge at surface level, but we promise that you don’t need to be a professional plumber to get the job done. With the help of easy-to-understand Sinkology instructions and the interactive BILT Intelligent Instructions® app, you can complete your kitchen sink upgrade in less than 30 minutes.
First, you’ll need to decide what type of drain you need: either a disposal-ready drain or a multi-use drain.

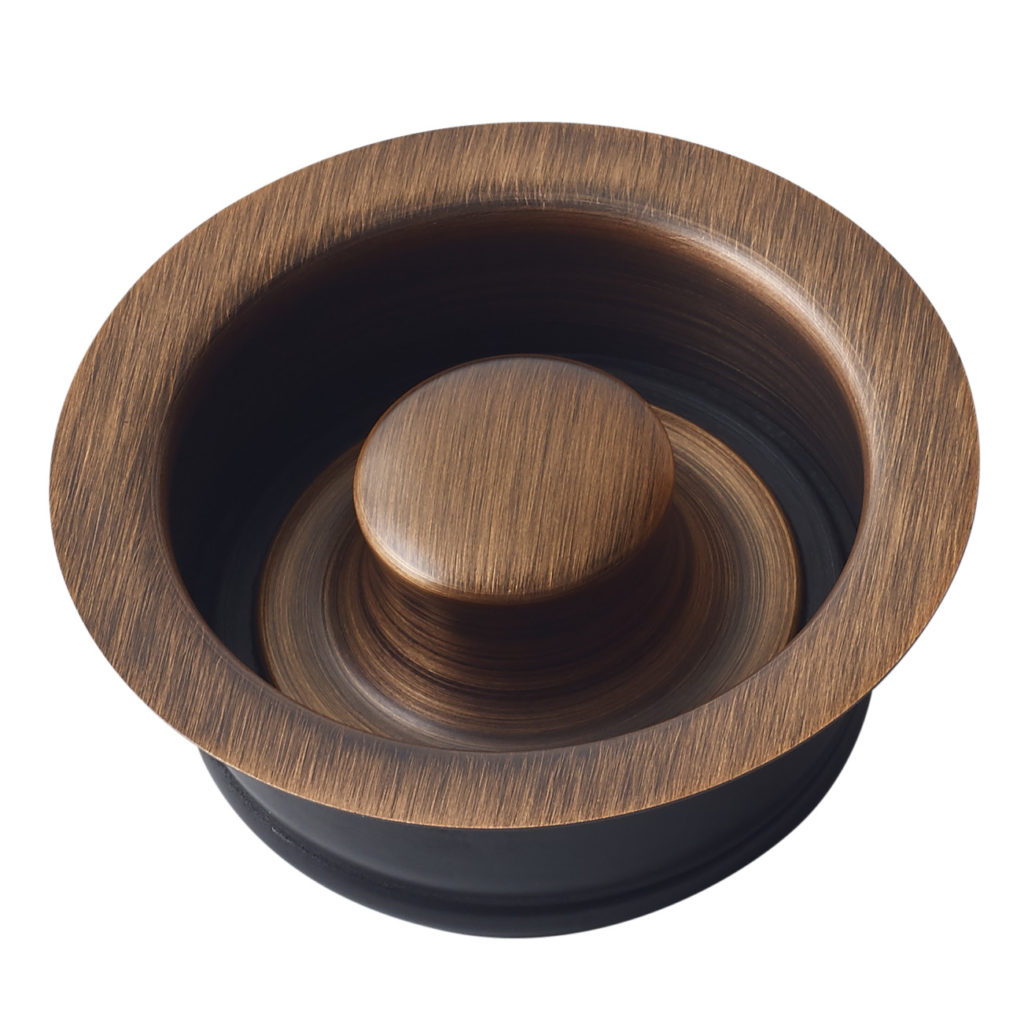
The Sinkology disposal flange drain with stopper is made to work with most InSinkErator disposals. If you aren’t sure if this drain will work well with your existing disposal, contact us at customerservice@sinkology.com. If it’s the right fit for you, you’ll see why homeowners appreciate the open access to the ever-helpful garbage disposal as well as the versatility the stopper provides for heavy washes.
To install a drain with a disposal flange:
1.Follow the steps outlined on the InSinkErator instructions to install the disposal to the flange.
2.Apply plumbers’ putty around the underside of the outer drain flange lip and place it in the drain hole in the sink. Please note, the metal flange will sit directly on the metal sink.
3.Complete the installation by wiping away any excess plumbers’ putty that’s left around the rim of the drain.
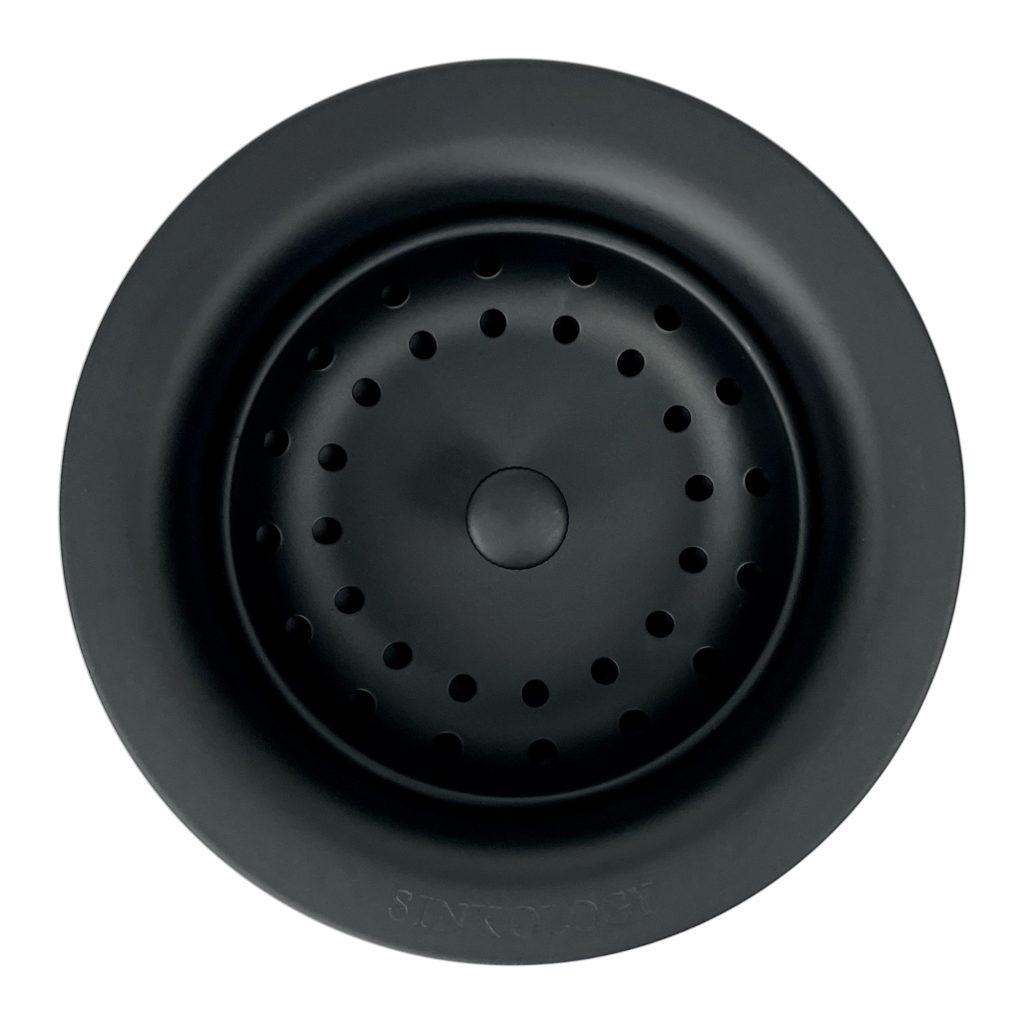
If your kitchen sink does not have an InSinkErator disposal, or if you have a double-bowl sink with only one drain that has access to a disposal, the Sinkology kitchen sink basket strainer drain is right for you.
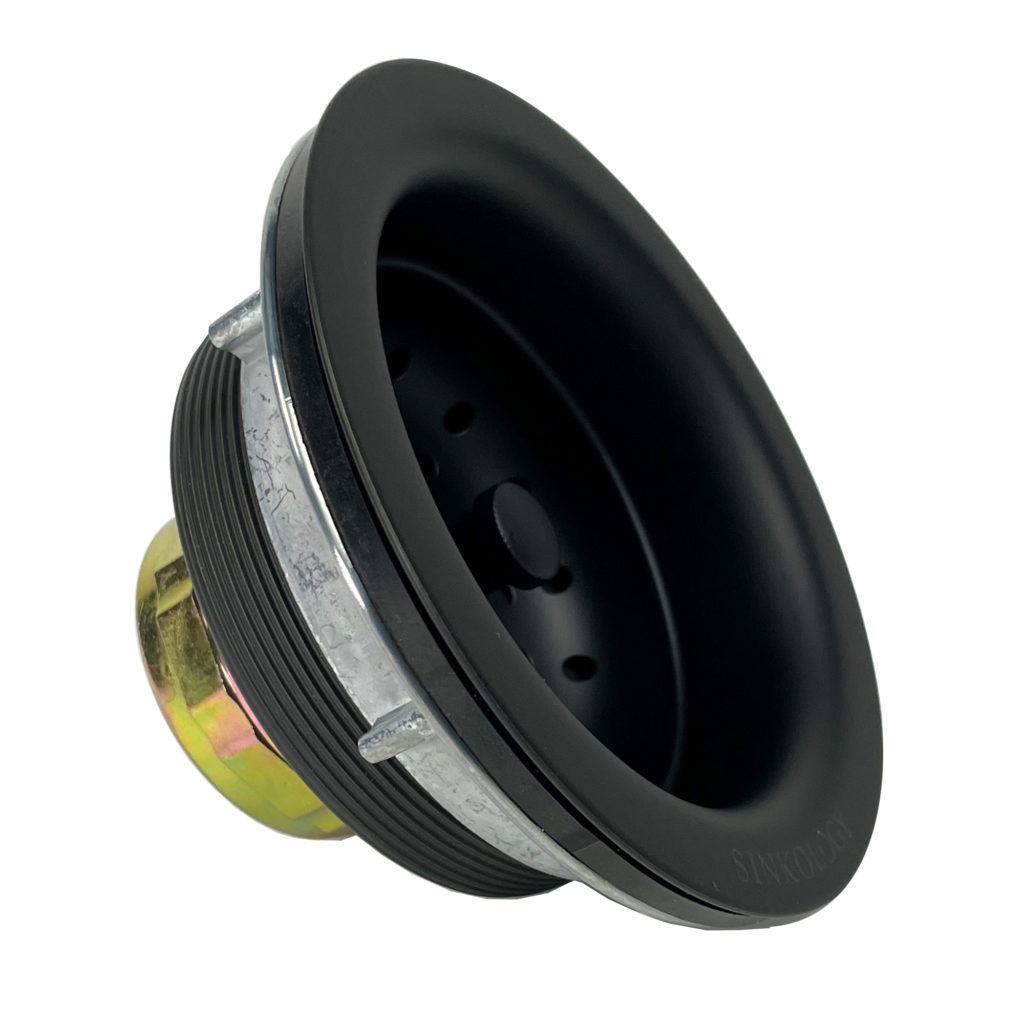
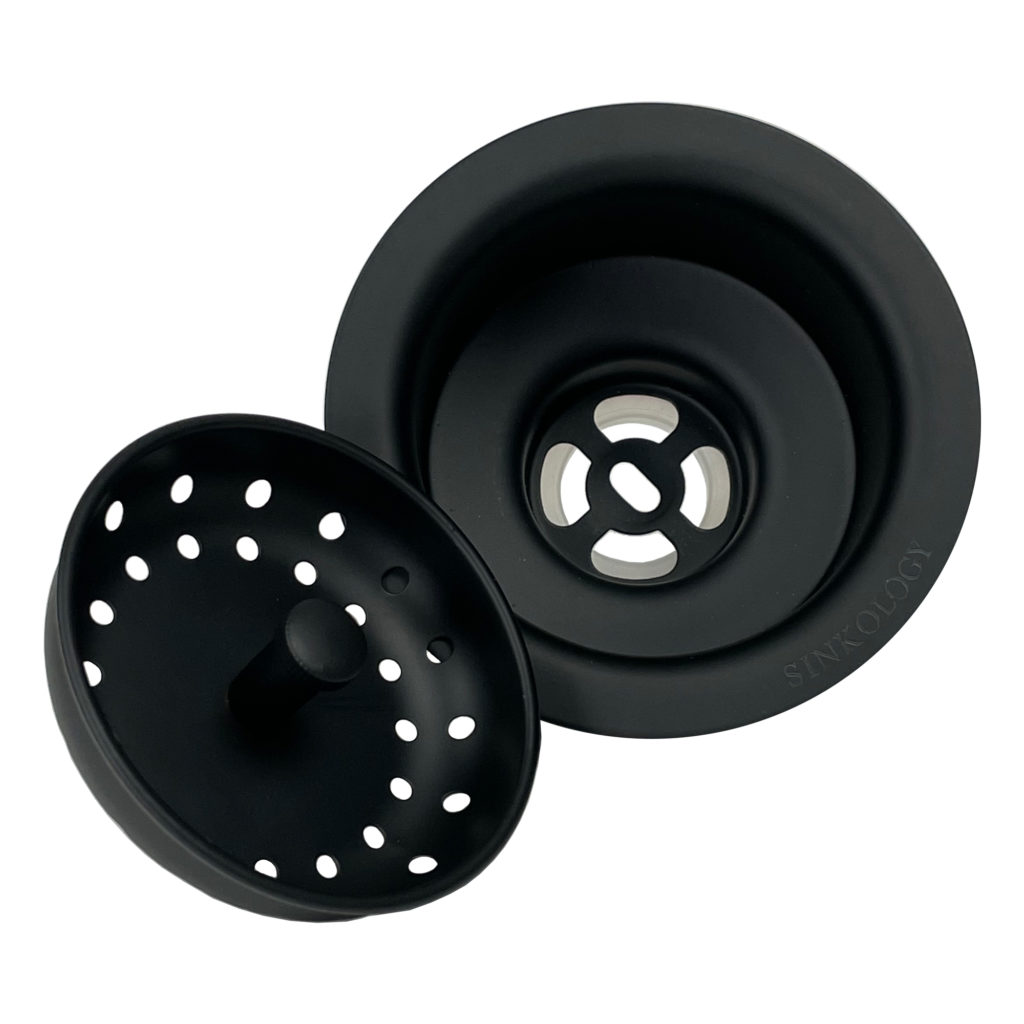
To install a drain with a basket strainer:
1.Unscrew the locking nut and washer from the drain flange.
2.Like the disposal directions, you’ll need to apply plumbers’ putty around the underside of the outer drain flange lip and place it in the drain hole in the sink. As stated before, be sure that the metal flange sits directly to the metal sink.
3.Place the rubber washer on the large metal nut and screw on to the drain underneath the sink.
4.Last, but not least, wipe away any excess plumbers’ putty around the rim of the drain.
Before you install, be sure to take the other materials in your kitchen in mind. Sinkology offers drains that blend beautifully with copper sink basins, pair perfectly with stainless steel sinks or even match the trendy matte black or satin gold fixtures in your kitchen.
After installing your new sink drain, share a photo with us on social @Sinkology with #MySinkologyDrain.
For more helpful how to’s, follow us on Facebook, Houzz, Pinterest or Instagram. If you are looking for personalized answers to your questions about your kitchen renovation project, contact us here.
_____________________________________________________________________
If you have any additional questions during your search for the perfect copper, fireclay farmhouse sink or crafted stainless steel sink, our Sinkologists are here to help. Contact us or follow us on Facebook, Houzz, Pinterest, Instagram, or TikTok for more helpful tips and design ideas.
The post Kitchen Sink Drain Installation 101 appeared first on Sinkology.
source https://www.sinkology.com/blog/kitchen-sink-drain-installation-101/
No comments:
Post a Comment