Monday, April 3, 2023

Single Basin Vs Double Basin – Pros & Cons

Washing dishes is an essential part of keeping your kitchen clean and hygienic. However, choosing the right sink for your needs can impact the way you wash your dishes. In this blog, we’ll explore the differences between washing dishes in a single basin sink versus a double basin sink.

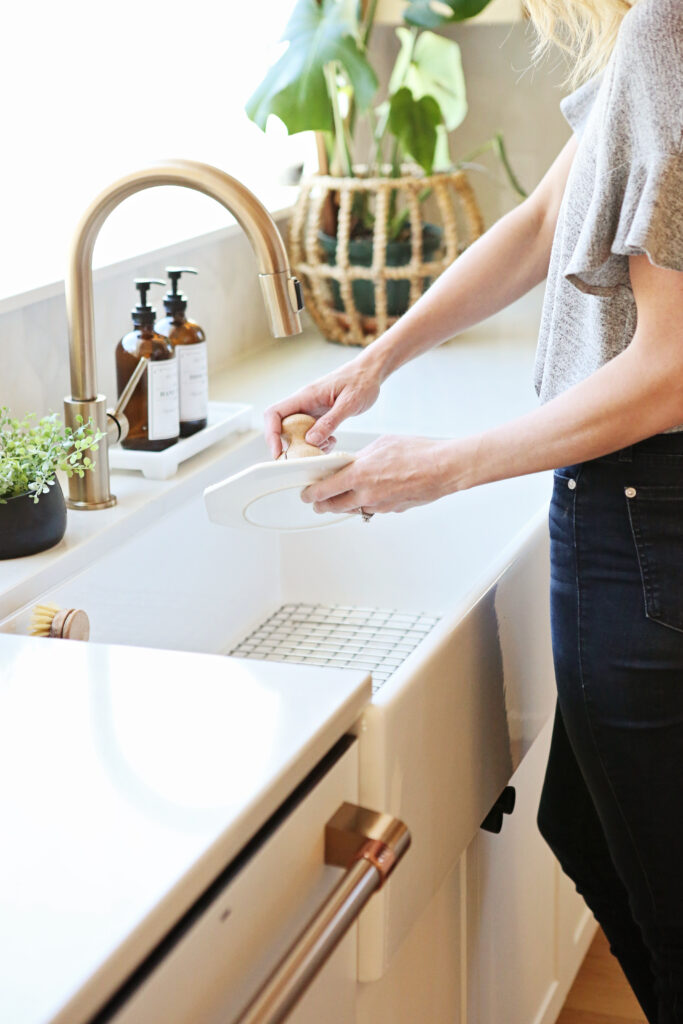
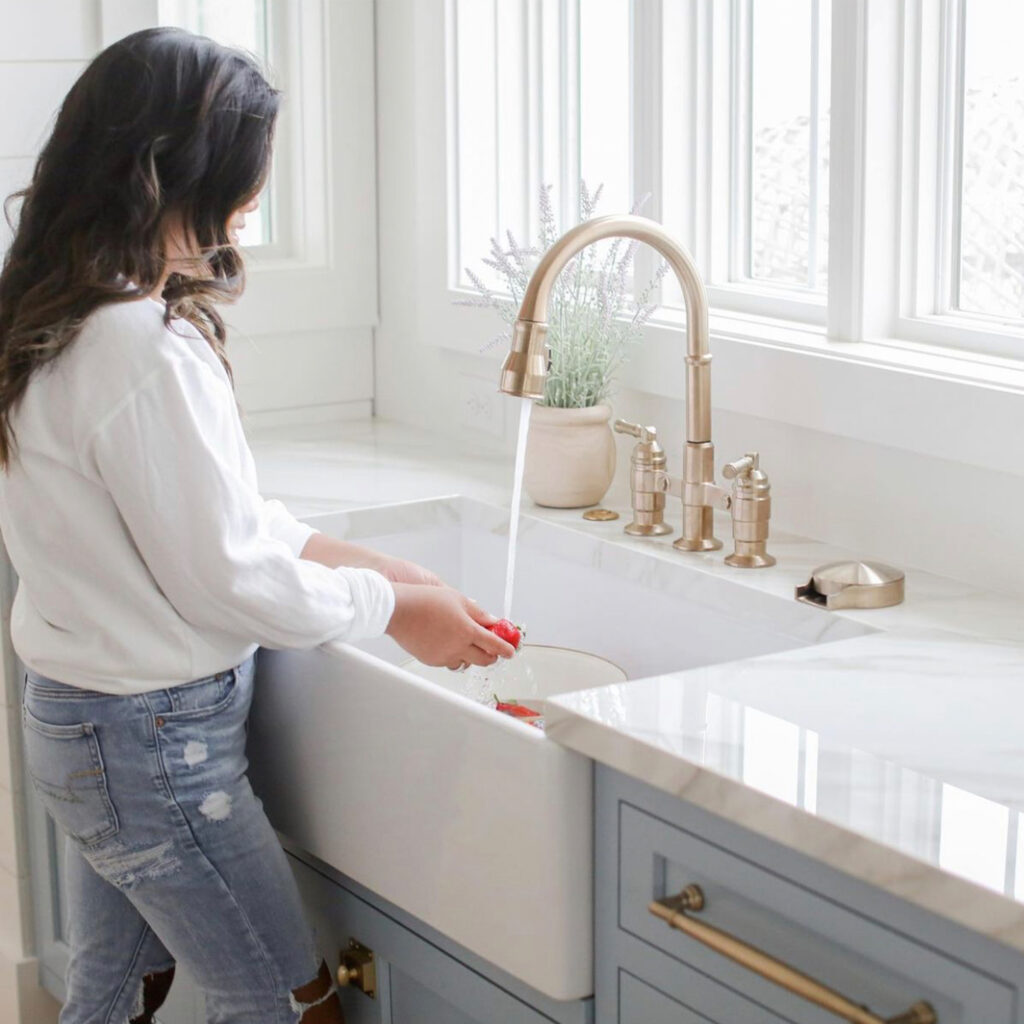
woman washing dishes at a white fireclay farmhouse sink.

Single Basin Sink
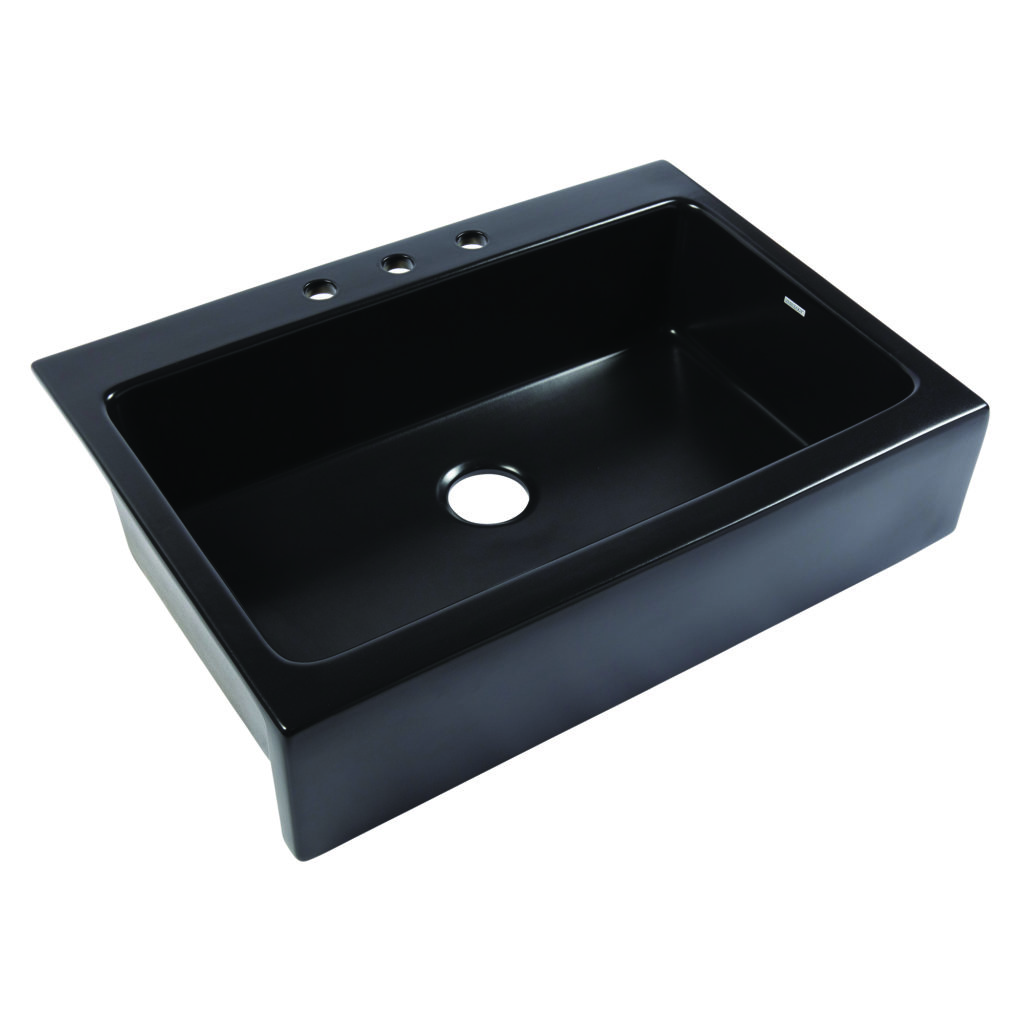
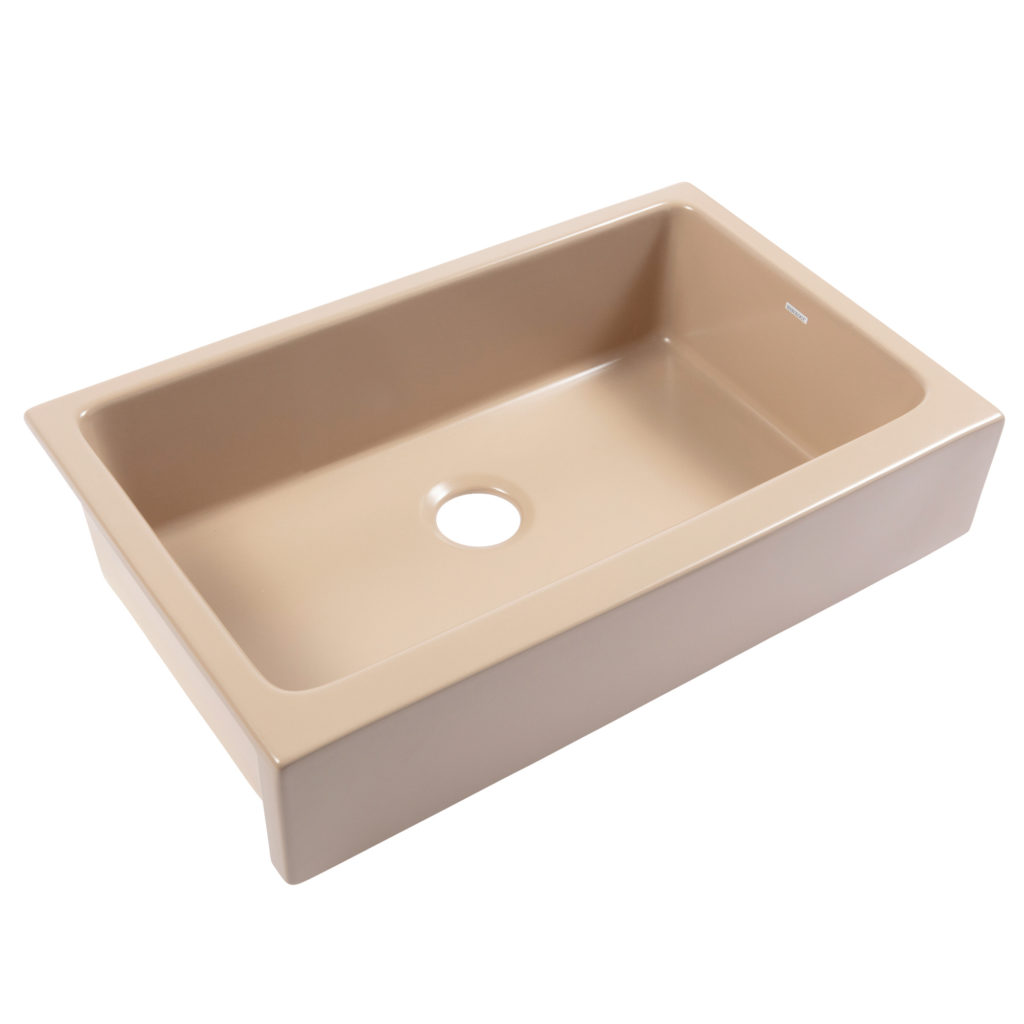
A single basin sink, as the name suggests, has one large basin for washing dishes. This type of sink is becoming increasingly popular due to its versatility and modern design. When it comes to washing dishes, a single basin sink has both advantages and disadvantages.

woman washing dishes at a white fireclay farmhouse sink.

Pros:
-Large surface area for washing larger items, such as pots and pans
-More flexibility in terms of how you organize your dishes
-Can be easier to clean due to the lack of a divider

Cons:
-No separation between clean and dirty dishes
-Can be more difficult to wash multiple dishes simultaneously


Double Basin Sink
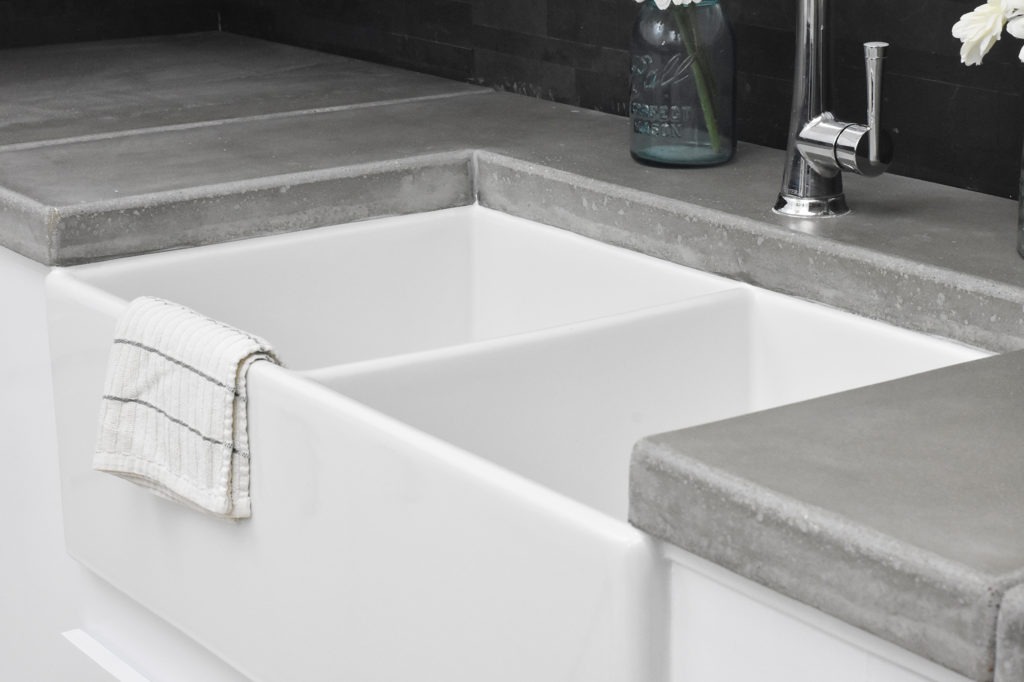
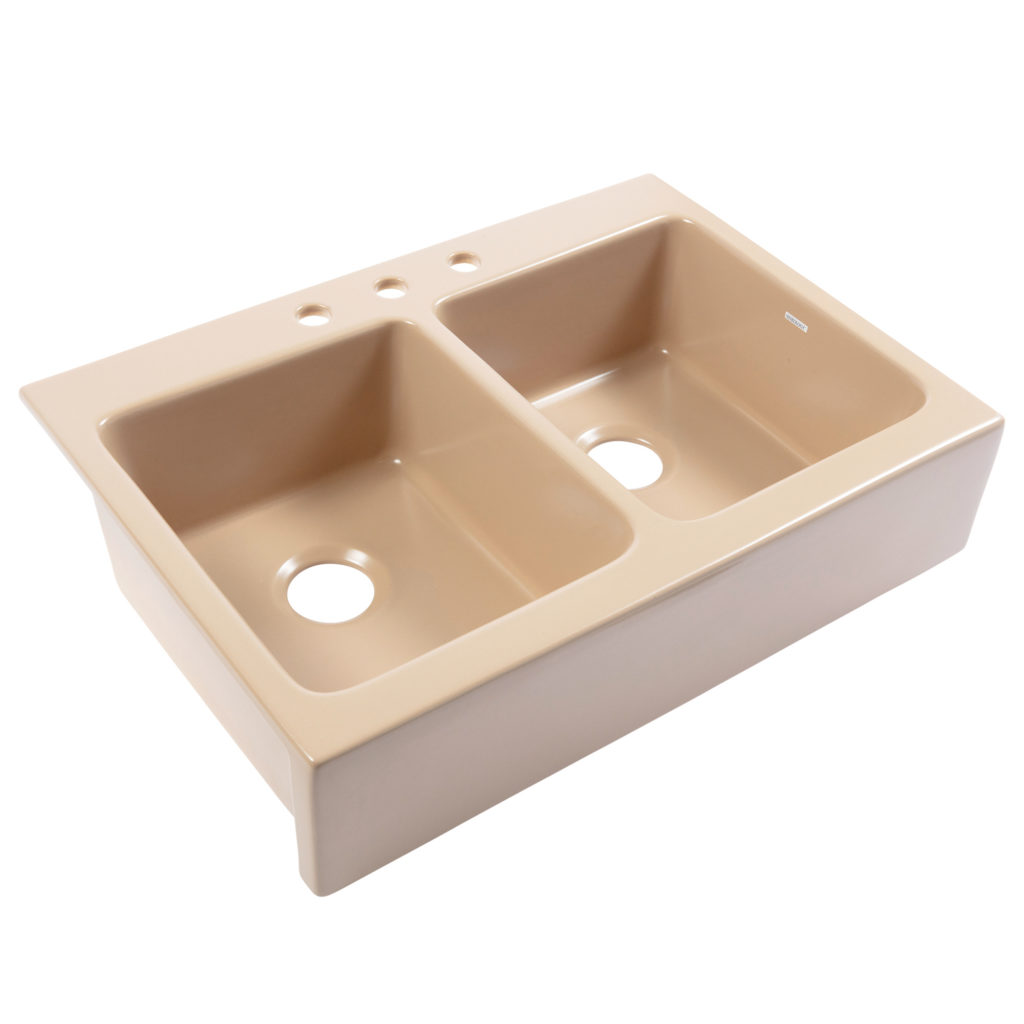
A double basin sink, on the other hand, has two basins, usually separated by a divider. This type of sink has been a popular choice for many years due to its functionality and versatility.

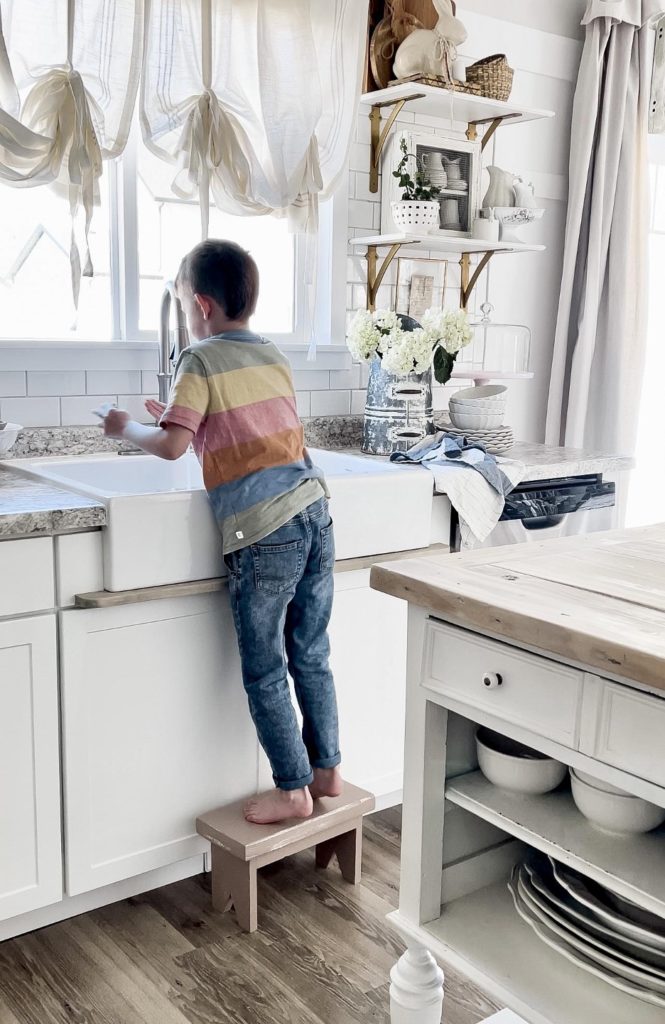
small child standing on a stool cleaning dishes in a fireclay kitchen sink.
Pros:
-Separation of clean and dirty dishes
-Space for soaking dishes or rinsing vegetables
-Ability to wash multiple dishes at once

Cons:
-Limited space for larger items, such as pots and pans
-Can be more difficult to clean due to the presence of a divider
-Less flexibility in terms of how you organize your dishes

woman washing dishes at a white fireclay farmhouse sink.

Which is Better?
Ultimately, the decision between a single basin sink and a double basin sink comes down to personal preference and the way you use your kitchen sink. If you frequently wash larger items, such as pots and pans, a single basin sink may be the better option. However, if you prefer to keep your dishes organized and separate, a double basin sink may be the better choice.

___________________________________________________________________

If you have any additional questions during your search for the perfect copper, fireclay farmhouse sink or crafted stainless steel sink, our Sinkologists are here to help. Contact us or follow us on FacebookHouzzPinterestInstagram, or TikTok for more helpful tips and design ideas.

The post Single Basin Vs Double Basin – Pros & Cons appeared first on Sinkology.


source https://www.sinkology.com/blog/single-vs-double-basin/

Wednesday, January 25, 2023

Short Ribs Bolognese

Sinkology is proud to present Emily Schuermann, our food-loving guest blogger who runs Food for a Year. Emily is here to share some recipes she has created exclusively for the Sinkology blog that reflect her view of a copper sink: simple, timeless, affordable, and beautifully rustic. 


Short Ribs Bolognese is such a classic comfort food that’s surprisingly easy to make in your own kitchen. With the shift to Winter and longer spans of moody, chilled skies, I find myself looking for recipes that match the season and this recipe is certainly “Winter on a plate”. 

At first glance, the words – ‘short ribs’ and ‘bolognese’ – compel thoughts that trick me into thinking that time and talent and even expense are prerequisites for success. But before we go any further, let me assure you that this meal:

  • can feed 6 people who are eating on a budget (less than $6 per person)
  • comes together with only about 30 minutes worth of your labor
  • cooks while you are occupied with unrelated festivities

ingredients for bolognese


With the shift to Winter and longer spans of moody, chilled skies, I find myself looking for recipes that match the season and Short Ribs Bolognese is certainly “Winter on a plate”. 

— Emily, Food for a Year


How to Cook with Short Ribs

If you are unfamiliar with beef short ribs, you might be tempted to ignore them altogether. BUT, I encourage you to give them a chance! Short Ribs are ::

  • packed with flavor
  • simple to work with and
  • add a lot to your dish with minimal effort

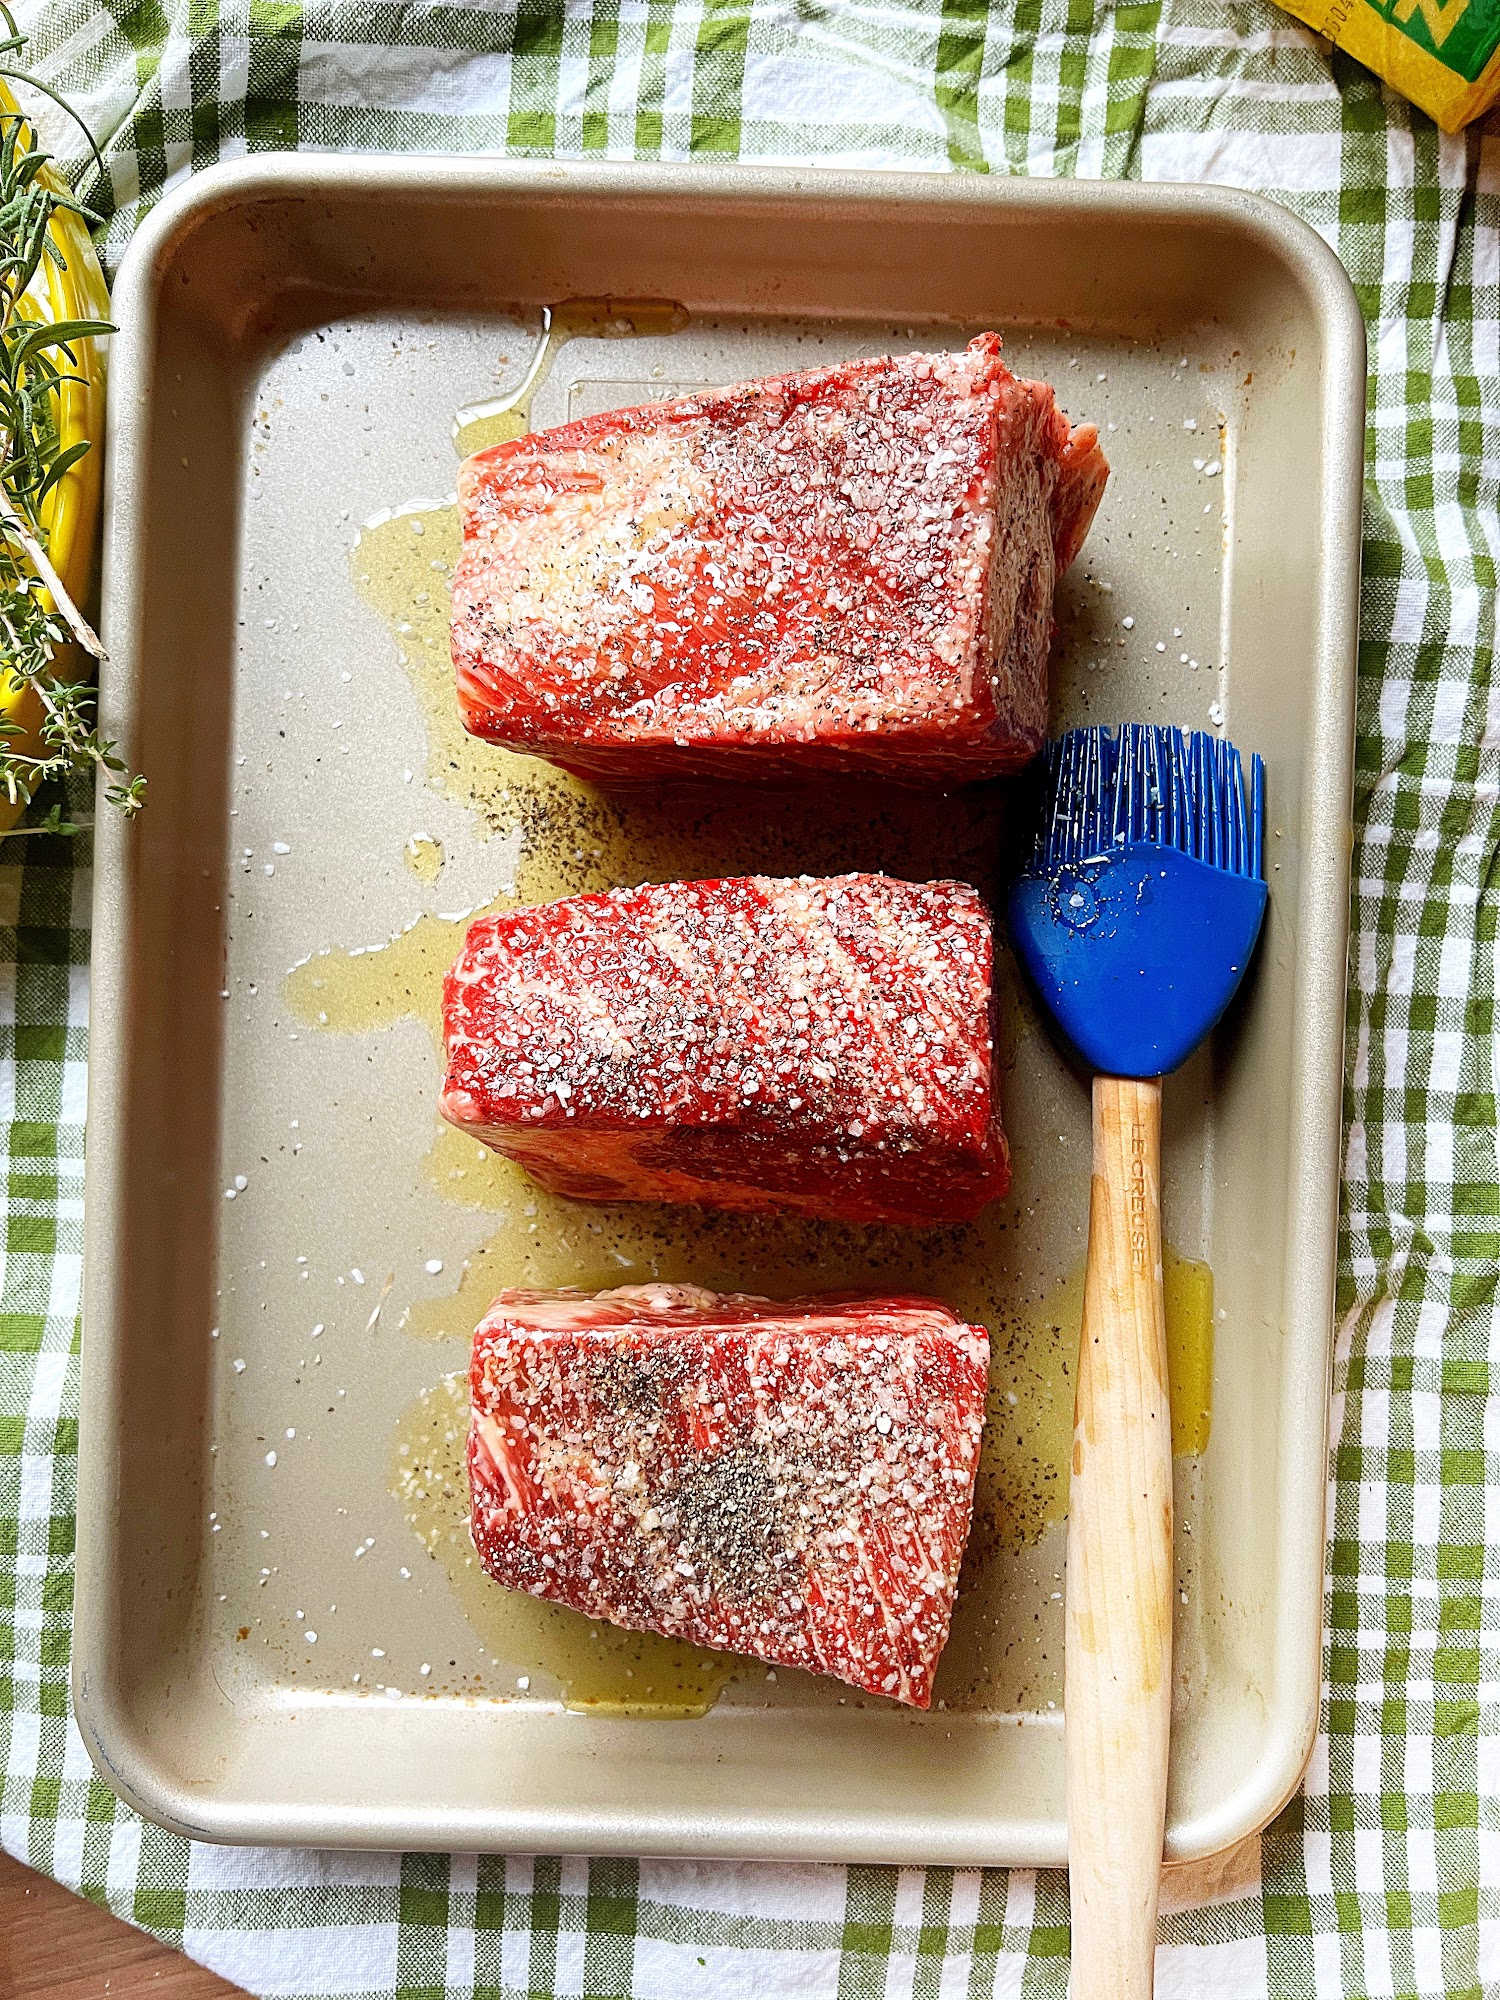
1 — Start by preheating your oven to 425° and then brush all sides of each short rib with olive oil and sprinkle with salt and pepper. Place on a rimmed baking sheet and cook in the oven for 30 minutes.


seasoning shorts rib

2 — Once the short ribs are browned and some of the fat has rendered, add them to the simple tomato sauce that you’ve prepared during the short oven-cook of the short ribs.


Bolognese Made Simple

The word alone “BOLOGNESE” sounds slightly untouchable, but I believe you’ll be surprised at just how simple this sauce really is ::

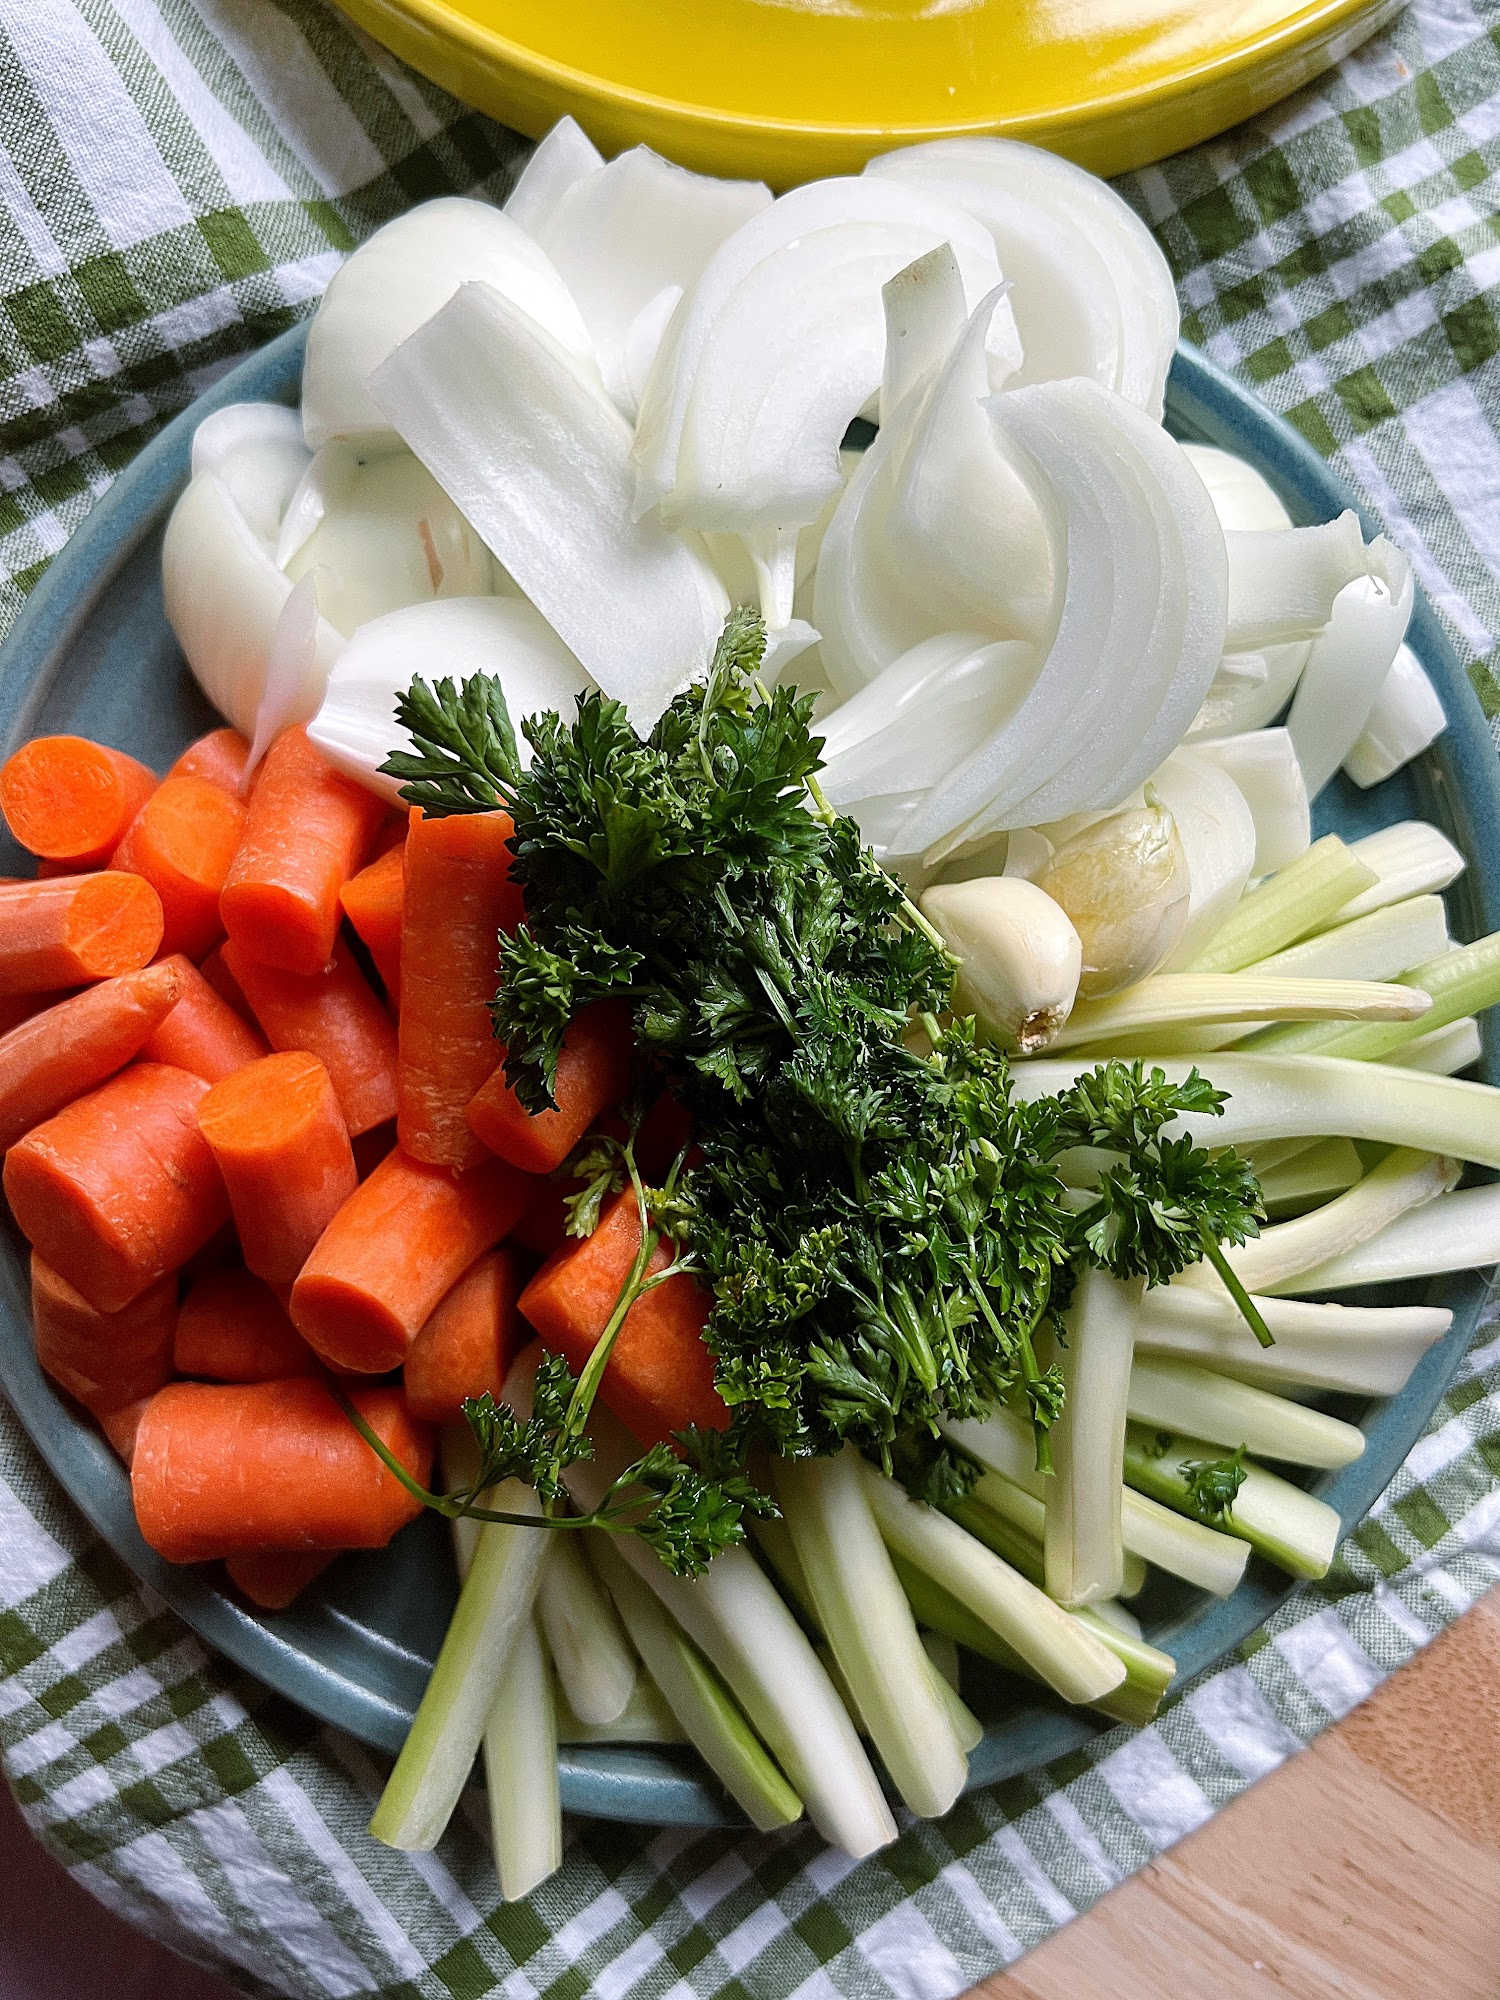
  • combine all the veggies (carrots, celery, onions, garlic and parsley) in the bowl of a large food processor and pulse until everything is coarsely chopped.
  • sauté chopped veggies with olive oil in a large dutch oven over medium high flame
  • add tomatoes, red wine and additional herbs, plus S + P
  • simmer while the short ribs are oven-cooking
Hands-Free Short Ribs Bolognese

Once the bolognese sauce has simmered and the short ribs have finished their oven-cook, place the short ribs in the tomato herb sauce (be sure to pour the pan drippings into the sauce). Place the lid on the dutch oven and bake at 400° for one hour and then remove the lid and reduce the temperature to 350° for 90 additional minutes of cooking time.


When the cooking time is complete, shred the tender short ribs in the sauce and serve over your favorite cooked pasta, rice or fluffy cheese polenta (as pictured above). Of course, this warm pot of short ribs and bolognese is delicious on its own as a stew! 

bolognese short ribs served

Deep well developed caramelized flavors of tomatoes mixed with just the perfect balance of herbs and wine and vegetables all partnered perfectly with the salty, peppery chunks of tender, roasted short ribs. It really is a meal for those long winter nights! Oh – and the leftovers are even more magical, trust me!

Short Ribs Bolognese

Ingredients

  • 2 pounds boneless beef short ribs (3-4 short ribs)
  • 1/4 cup olive oil and more for brushing the short ribs
  • 6 cups coarsely chopped vegetables (roughly 2 cups each)
    • carrots
    • celery
    • onions
  • 2 garlic cloves 
  • 3 tablespoons of fresh Italian parsley
  • 60 ounces whole (San Marzano if possible) or crushed tomatoes
  • 1/2 liter red wine
  • 2 sprigs of fresh thyme
  • 2 sprigs of fresh rosemary
  • 1-2 teaspoons Kitchen Bouquet Browning & Seasoning Sauce, optional
  • coarse kosher salt
  • freshly cracked pepper

Method

Preheat the oven to 425°. Brush each side of the short ribs with olive oil and generously sprinkle with salt and pepper. Place the short ribs on a rimmed baking sheet and cook for 30 minutes.

Meanwhile, warm 1/4 cup of olive oil in a large 6-7 quart dutch oven. Once the oil is warm, add the coarsely chopped vegetable medley (carrots, celery, onions, garlic and parsley) to the oil. Sauté vegetables for 10 minutes over medium flame, stirring occasionally

Add tomatoes, red wine, thyme, rosemary and seasoning sauce (optional) to the sautéd vegetables and simmer while short ribs continue cooking. Add 2 teaspoons salt and several twists of cracked pepper.

Once short ribs have finished cooking, place them and their pan drippings into the simmering tomato sauce.

Place the lid on the dutch oven (that now contains the short ribs and bolognese) and place bake in the oven. Reduce the oven temperature to 400° and cook for 1 hour. After 1 hour, reduce the oven temperature to 350°, remove the lid and cook for an additional 90 minutes.

Once cooking time is complete, shred the short ribs with two forks, stir into the bolognese, (taste and adjust seasonings as needed) and serve over your favorite cooked pasta, mashed potatoes, rice, creamy polenta or enjoy as a stew.

Serves 6-8

short ribs long pin w ingredients

short ribs pin 1

short ribs shredded pot pin

_____________________________________________________________________

If you have any additional questions during your search for the perfect copper, fireclay farmhouse sink or crafted stainless steel sink, our Sinkologists are here to help. Contact us or follow us on FacebookHouzzPinterestInstagram, or TikTok for more helpful tips and design ideas.

The post Short Ribs Bolognese appeared first on Sinkology.


source https://www.sinkology.com/blog/short-ribs-bolognese/
Tuesday, December 13, 2022

Kitchen Sink Drain Installation 101

The kitchen sink is easily the most striking piece in any kitchen. No matter the style, from fireclay farmhouse sinks to handcrafted copper sinks, we refer to the kitchen sink as the focal point for a reason. But the often-overlooked sink drain is an incredibly important accessory in any kitchen sink and, therefore, a critical part of any kitchen sink upgrade.

Taking on a sink drain installation project may sound like a challenge at surface level, but we promise that you don’t need to be a professional plumber to get the job done. With the help of easy-to-understand Sinkology instructions and the interactive BILT Intelligent Instructions® app, you can complete your kitchen sink upgrade in less than 30 minutes.

First, you’ll need to decide what type of drain you need: either a disposal-ready drain or a multi-use drain.

TD35-01 Lifestyle Image TD35-01

The Sinkology disposal flange drain with stopper is made to work with most InSinkErator disposals. If you aren’t sure if this drain will work well with your existing disposal, contact us at customerservice@sinkology.com. If it’s the right fit for you, you’ll see why homeowners appreciate the open access to the ever-helpful garbage disposal as well as the versatility the stopper provides for heavy washes.

To install a drain with a disposal flange:

1.Follow the steps outlined on the InSinkErator instructions to install the disposal to the flange.

2.Apply plumbers’ putty around the underside of the outer drain flange lip and place it in the drain hole in the sink. Please note, the metal flange will sit directly on the metal sink.

3.Complete the installation by wiping away any excess plumbers’ putty that’s left around the rim of the drain.

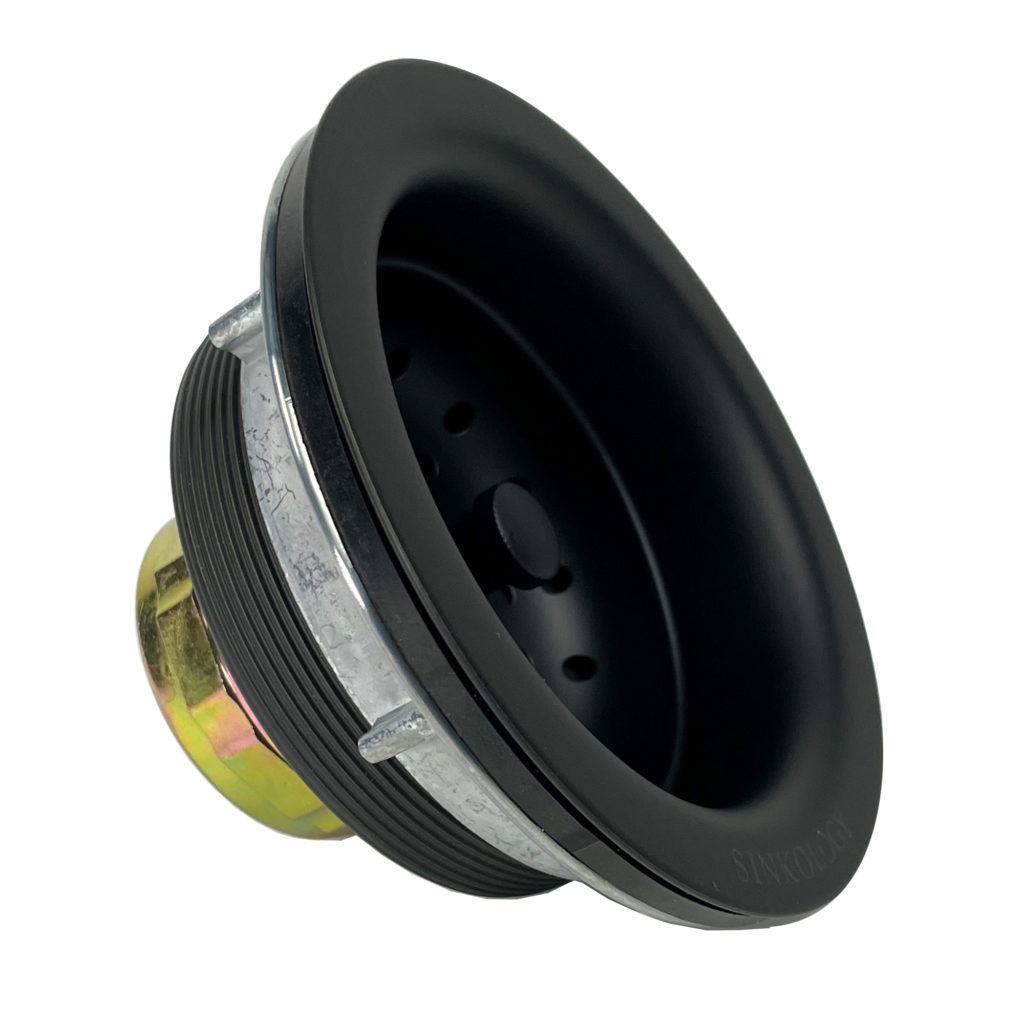
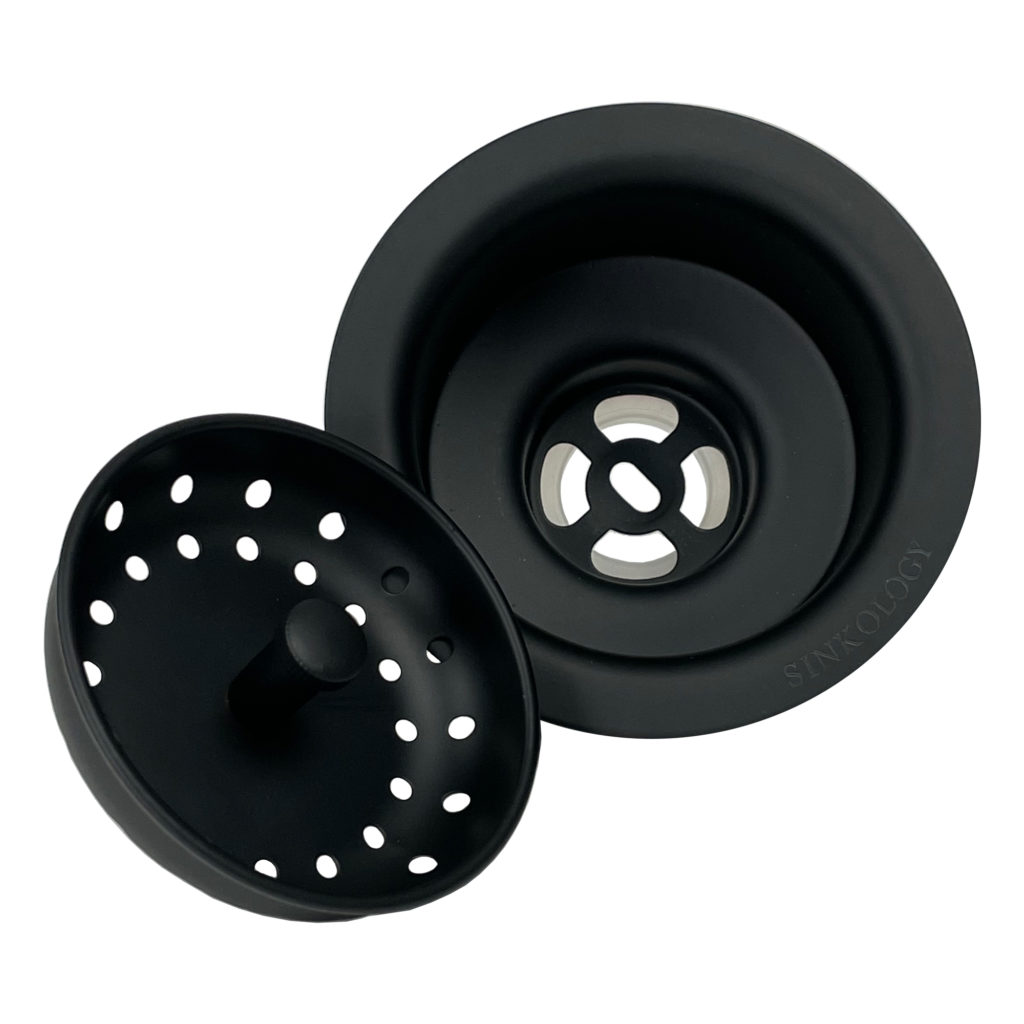
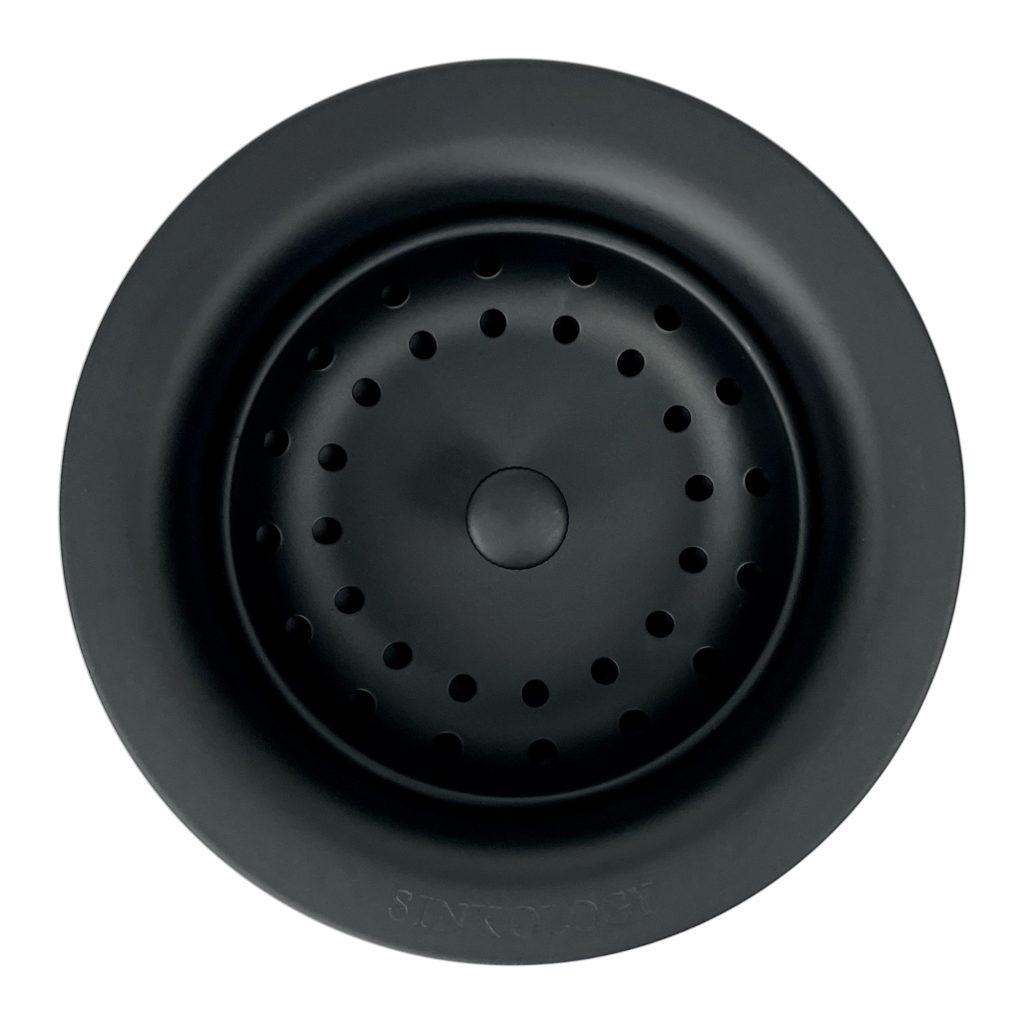
If your kitchen sink does not have an InSinkErator disposal, or if you have a double-bowl sink with only one drain that has access to a disposal, the Sinkology kitchen sink basket strainer drain is right for you. 

black strainer drain black strainer dreain black strainer drain


To install a drain with a basket strainer:

1.Unscrew the locking nut and washer from the drain flange.

2.Like the disposal directions, you’ll need to apply plumbers’ putty around the underside of the outer drain flange lip and place it in the drain hole in the sink. As stated before, be sure that the metal flange sits directly to the metal sink.

3.Place the rubber washer on the large metal nut and screw on to the drain underneath the sink.

4.Last, but not least, wipe away any excess plumbers’ putty around the rim of the drain.


Before you install, be sure to take the other materials in your kitchen in mind. Sinkology offers drains that blend beautifully with copper sink basins, pair perfectly with stainless steel sinks or even match the trendy matte black or satin gold fixtures in your kitchen. 

After installing your new sink drain, share a photo with us on social @Sinkology with #MySinkologyDrain.

For more helpful how to’s, follow us on Facebook, Houzz, Pinterest or Instagram. If you are looking for personalized answers to your questions about your kitchen renovation project, contact us here.

_____________________________________________________________________

If you have any additional questions during your search for the perfect copper, fireclay farmhouse sink or crafted stainless steel sink, our Sinkologists are here to help. Contact us or follow us on FacebookHouzzPinterestInstagram, or TikTok for more helpful tips and design ideas.

The post Kitchen Sink Drain Installation 101 appeared first on Sinkology.


source https://www.sinkology.com/blog/kitchen-sink-drain-installation-101/
Wednesday, December 7, 2022

Drop-In Kitchen Sink Installation 101

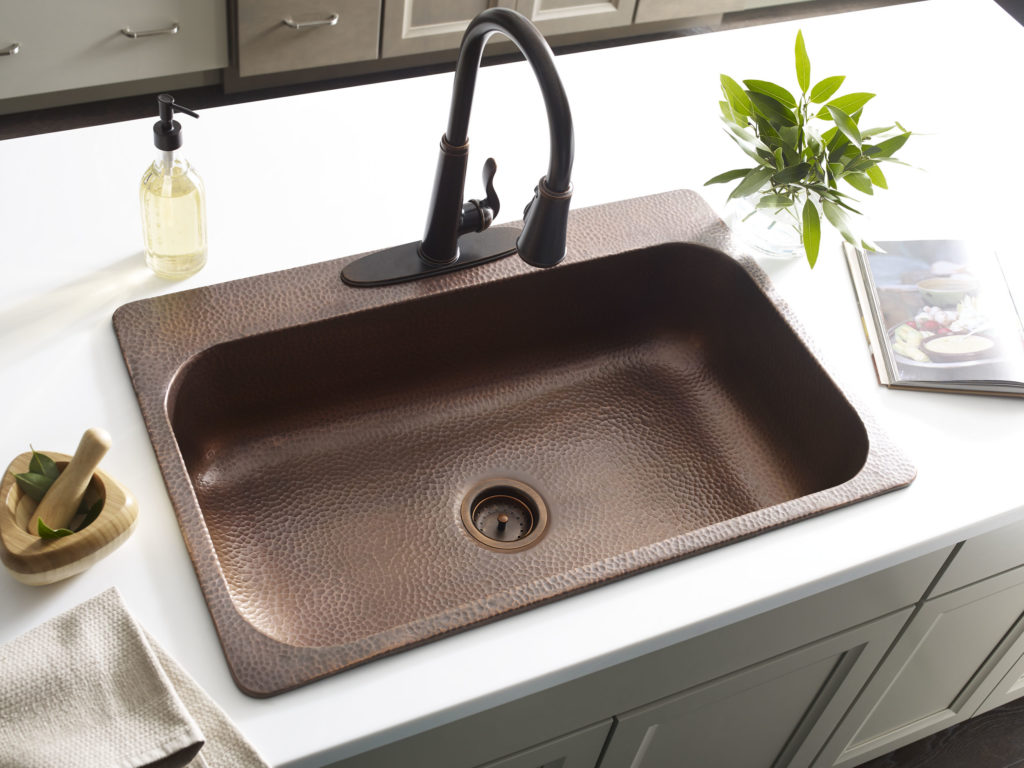
installed angelico copper drop-in sink with white countertop and rustic bronze pfister faucet

The drop-in kitchen sink is a DIYer’s dream come true. Designed to install simply and beautifully into precut countertops, anyone can tackle a drop-in sink installation project in just a few spare hours on a Saturday. We love how drop-in’s allow homeowners to refresh the look of the bathroom without taking on an entire bathroom renovation so they can enjoy their new sink sooner with less stress along the way.

Now, you may be wondering if the final look of a drop-in sink is as spectacular as the straightforward installation process. We can confidently tell you that yes, even though the project itself won’t cost you much time, the end result won’t look cheap. Drop-in sinks are the easiest way to get a high-end look for less effort. We designed our Sinkology drop-in sinks to fit flush for a seamless, meant-to-be finish in every kitchen. So, whether you love the look of an oversized farmhouse sink or the sleek, multipurpose style of double sinks, there is a drop-in sink to suit your style…and your busy schedule.

But what’s the best drop-in sink installation strategy? We break it down to two simple steps.

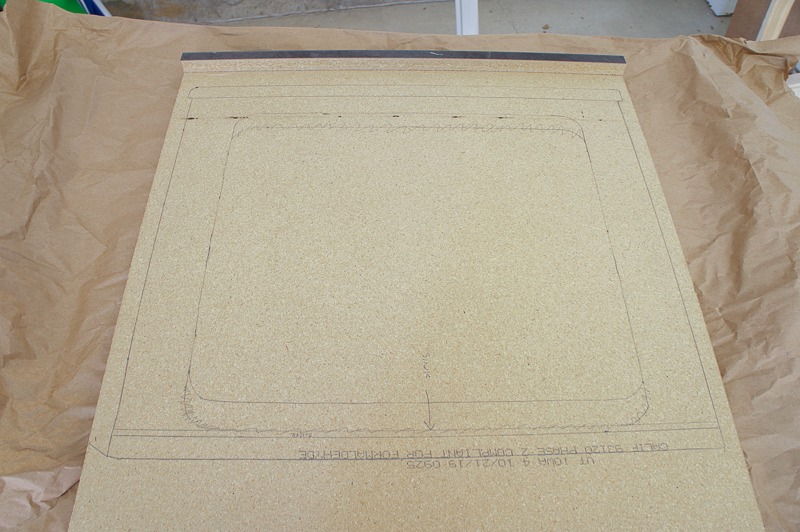
trace on countertop

1.Plan

Every successful DIY project begins with careful planning, even for straightforward installations like this. We recommend you:

-Flip your Sinkology sink upside down and trace the outside edge onto thick paper. We love using sturdy cardboard. Once the first line is made, draw a second line inside the first, ½” away. This is the line that you’ll work with.

-Take your freshly cut template and place it on your countertop, aligning with the cabinet and plumbing connections. Be sure to mark openings before cutting the countertop at all.

-Before installing, make sure that the sink will fit in the hole. It may seem obvious, but we can’t say it enough: this step is really important.

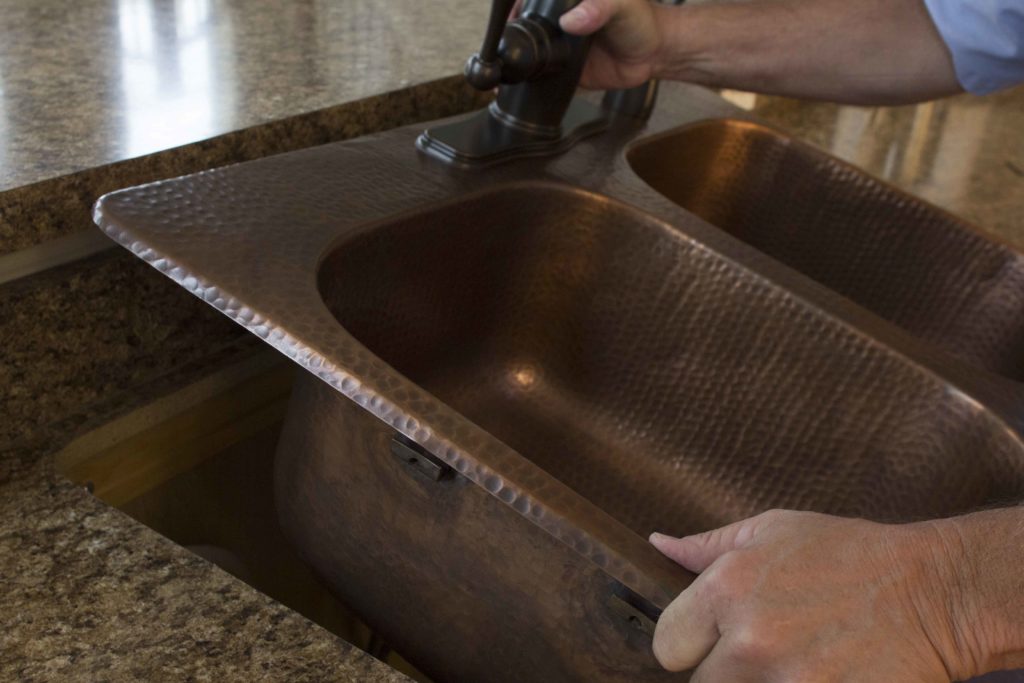
installing a copper sink into countertop

2.Mount

The actual mounting process will depend on the specific sink you buy. Some Sinkology sinks will include mounting hardware, while others do not. No matter how it’s attached to the countertop, we promise you can do it.

-If your sink does not come with mounting hardware, you will use a combination of polyurethane expanding foam, plumbers’ putty and 100% silicone cure to adhere to the countertop.

-If your sink does include mounting hardware, you’ll work with things like bolts, brackets and claws to secure.

Now that you know the gist of a drop-in sink project, we hope you feel ready to replace your existing sink. We have even more resources available for you when you do. Every Sinkology sink comes with detailed instructions that walk you through each step from start to finish. If you need a bit more support, we recommend you explore BILT Intelligent Instructions®. We’ve partnered with BILT to create step-by-step installation support specific to Sinkology sinks in their user-friendly app. First-time DIYers love the interactive guidance in this easy to follow, easy to find app.

After your successful install, share a photo of your new drop-in kitchen sink with us on social @Sinkology with #MyDropInSink.

Still looking? Browse through our Drop-In Kitchen Sinks on our website.  

For more helpful how to’s, follow us on Facebook, Houzz, Pinterest or Instagram. If you are looking for personalized questions about your sink installation progress, contact us here.

_____________________________________________________________________

If you have any additional questions during your search for the perfect copper, fireclay farmhouse sink or crafted stainless steel sink, our Sinkologists are here to help. Contact us or follow us on FacebookHouzzPinterestInstagram, or TikTok for more helpful tips and design ideas.

The post Drop-In Kitchen Sink Installation 101 appeared first on Sinkology.


source https://www.sinkology.com/blog/drop-in-kitchen-sink-installation-101/

Tuesday, November 29, 2022

Farmhouse Kitchen Sink Installation 101

Austen Snow Day Fireclay Farmhouse Sink in Matte White

It’s no secret that the Sinkology Fireclay Farmhouse Kitchen Sink is a customer favorite. A beautiful addition to any kitchen, this sink style exudes sweet simplicity. But if we’re being honest, the installation is anything but effortless.

A fireclay farmhouse kitchen sink takes a bit more expertise and elbow grease to install, especially when compared to DIY-friendly drop-in sinks. But we promise it’s worth the effort. Everyone can appreciate the statement-making apron-front design and impressive durability that withstands the test of time. But before you can enjoy all the perks of a fireclay farmhouse kitchen sink, we recommend you familiarize yourself with the installation process.

There are two things you will want to keep in mind before taking on this project:

1. You will need extra support.

And by support we mean both in the form of a helping hand as well as quality, professional tools.

If you’re new to this whole home renovation thing, we highly encourage you to hire professionals to install your new sink safely and securely. These individuals are trained to complete even the most complicated sink installation projects and are experienced in making modifications to the existing kitchen when necessary (more on that soon).

At the very least, you’ll want a project partner to help with the heavy lifting. Fireclay sinks are known for their durable strength. So, it shouldn’t be a surprise that this dense material is very heavy. An extra set of hands will go a long way when positioning the sink in place.

No matter if you’re a pro or a newbie, you’ll love the extra guidance that comes with the BILT Intelligent Instructions® app. In it, you can find step-by-step support, specific to Sinkology Fireclay Farmhouse Sinks, that will help you understand the process, even if you’re just monitoring.

Before committing to the installation project, make sure you at least have the following tools on hand (and are comfortable using them):

-Carpenter’s square
-Tape measure
-Saw fitted with a carbide or diamond blade
-Screwdriver
-Plumbers’ putty
-Silicone
-Painters’ tape
-Water soluble marker
-Safety glasses


2.Modifications are a must.

Given the unique shape and style of a farmhouse kitchen sink, you’ll need to make some adjustments to accommodate it. For example, if you’re replacing your existing sink, you’ll need to remove the false panel over the sink cabinets to make space for the eye-catching apron front. Even if you’re starting from scratch and redoing your entire kitchen, you will need to get comfortable with some heavy-duty countertop cutting for a perfect farmhouse sink fit.

As for the project itself, here’s a preview of what you should expect:

1.First, you’ll create templates by tracing the sink onto a piece of cardboard, both the inside edge of the lip and the apron front.

2.Next, you’ll create the sink support in the cabinet base, modifying if necessary.

3.Then, you’ll place the sink in the support structure and seal.

4.After that, you’ll hook up the drain.

5.Last, you’ll cut the countertop to size and install.

Now, the question is: did the above inspire you to tackle your fireclay farmhouse kitchen sink installation on your own or are you ready to call in the professionals? However your Sinkology Farmhouse Kitchen Sink is installed, once it’s complete, share a photo with us on social @Sinkology with #MyFarmhouseSink.

For more helpful how to’s, follow us on Facebook, Houzz, Pinterest or Instagram. If you are looking for personalized questions about your sink installation progress, contact us here.

_____________________________________________________________________

If you have any additional questions during your search for the perfect copper, fireclay farmhouse sink or crafted stainless steel sink, our Sinkologists are here to help. Contact us or follow us on FacebookHouzzPinterestInstagram, or TikTok for more helpful tips and design ideas.

The post Farmhouse Kitchen Sink Installation 101 appeared first on Sinkology.


source https://www.sinkology.com/blog/farmhouse-kitchen-sink-installation-101/

Tuesday, November 15, 2022

SINKOLOGY Holiday Sale 2022

Holiday Sale Banner

The holidays are here and so are big savings with up to $150 OFF some of our most popular sinks!

You can save on a variety of products from our best-selling SureFire® fireclay kitchen sinks to our gorgeous handcrafted copper and stainless steel kitchen sinks. We are even tossing in a few of our unique bath sinks to really bring the festive holiday feel to one of the busiest rooms in your home.

These deals will be long gone before the New Year! So don’t miss out!

Select your favorite style below to see what amazing savings we have in store for you!


Fireclay Holiday Sale Banner

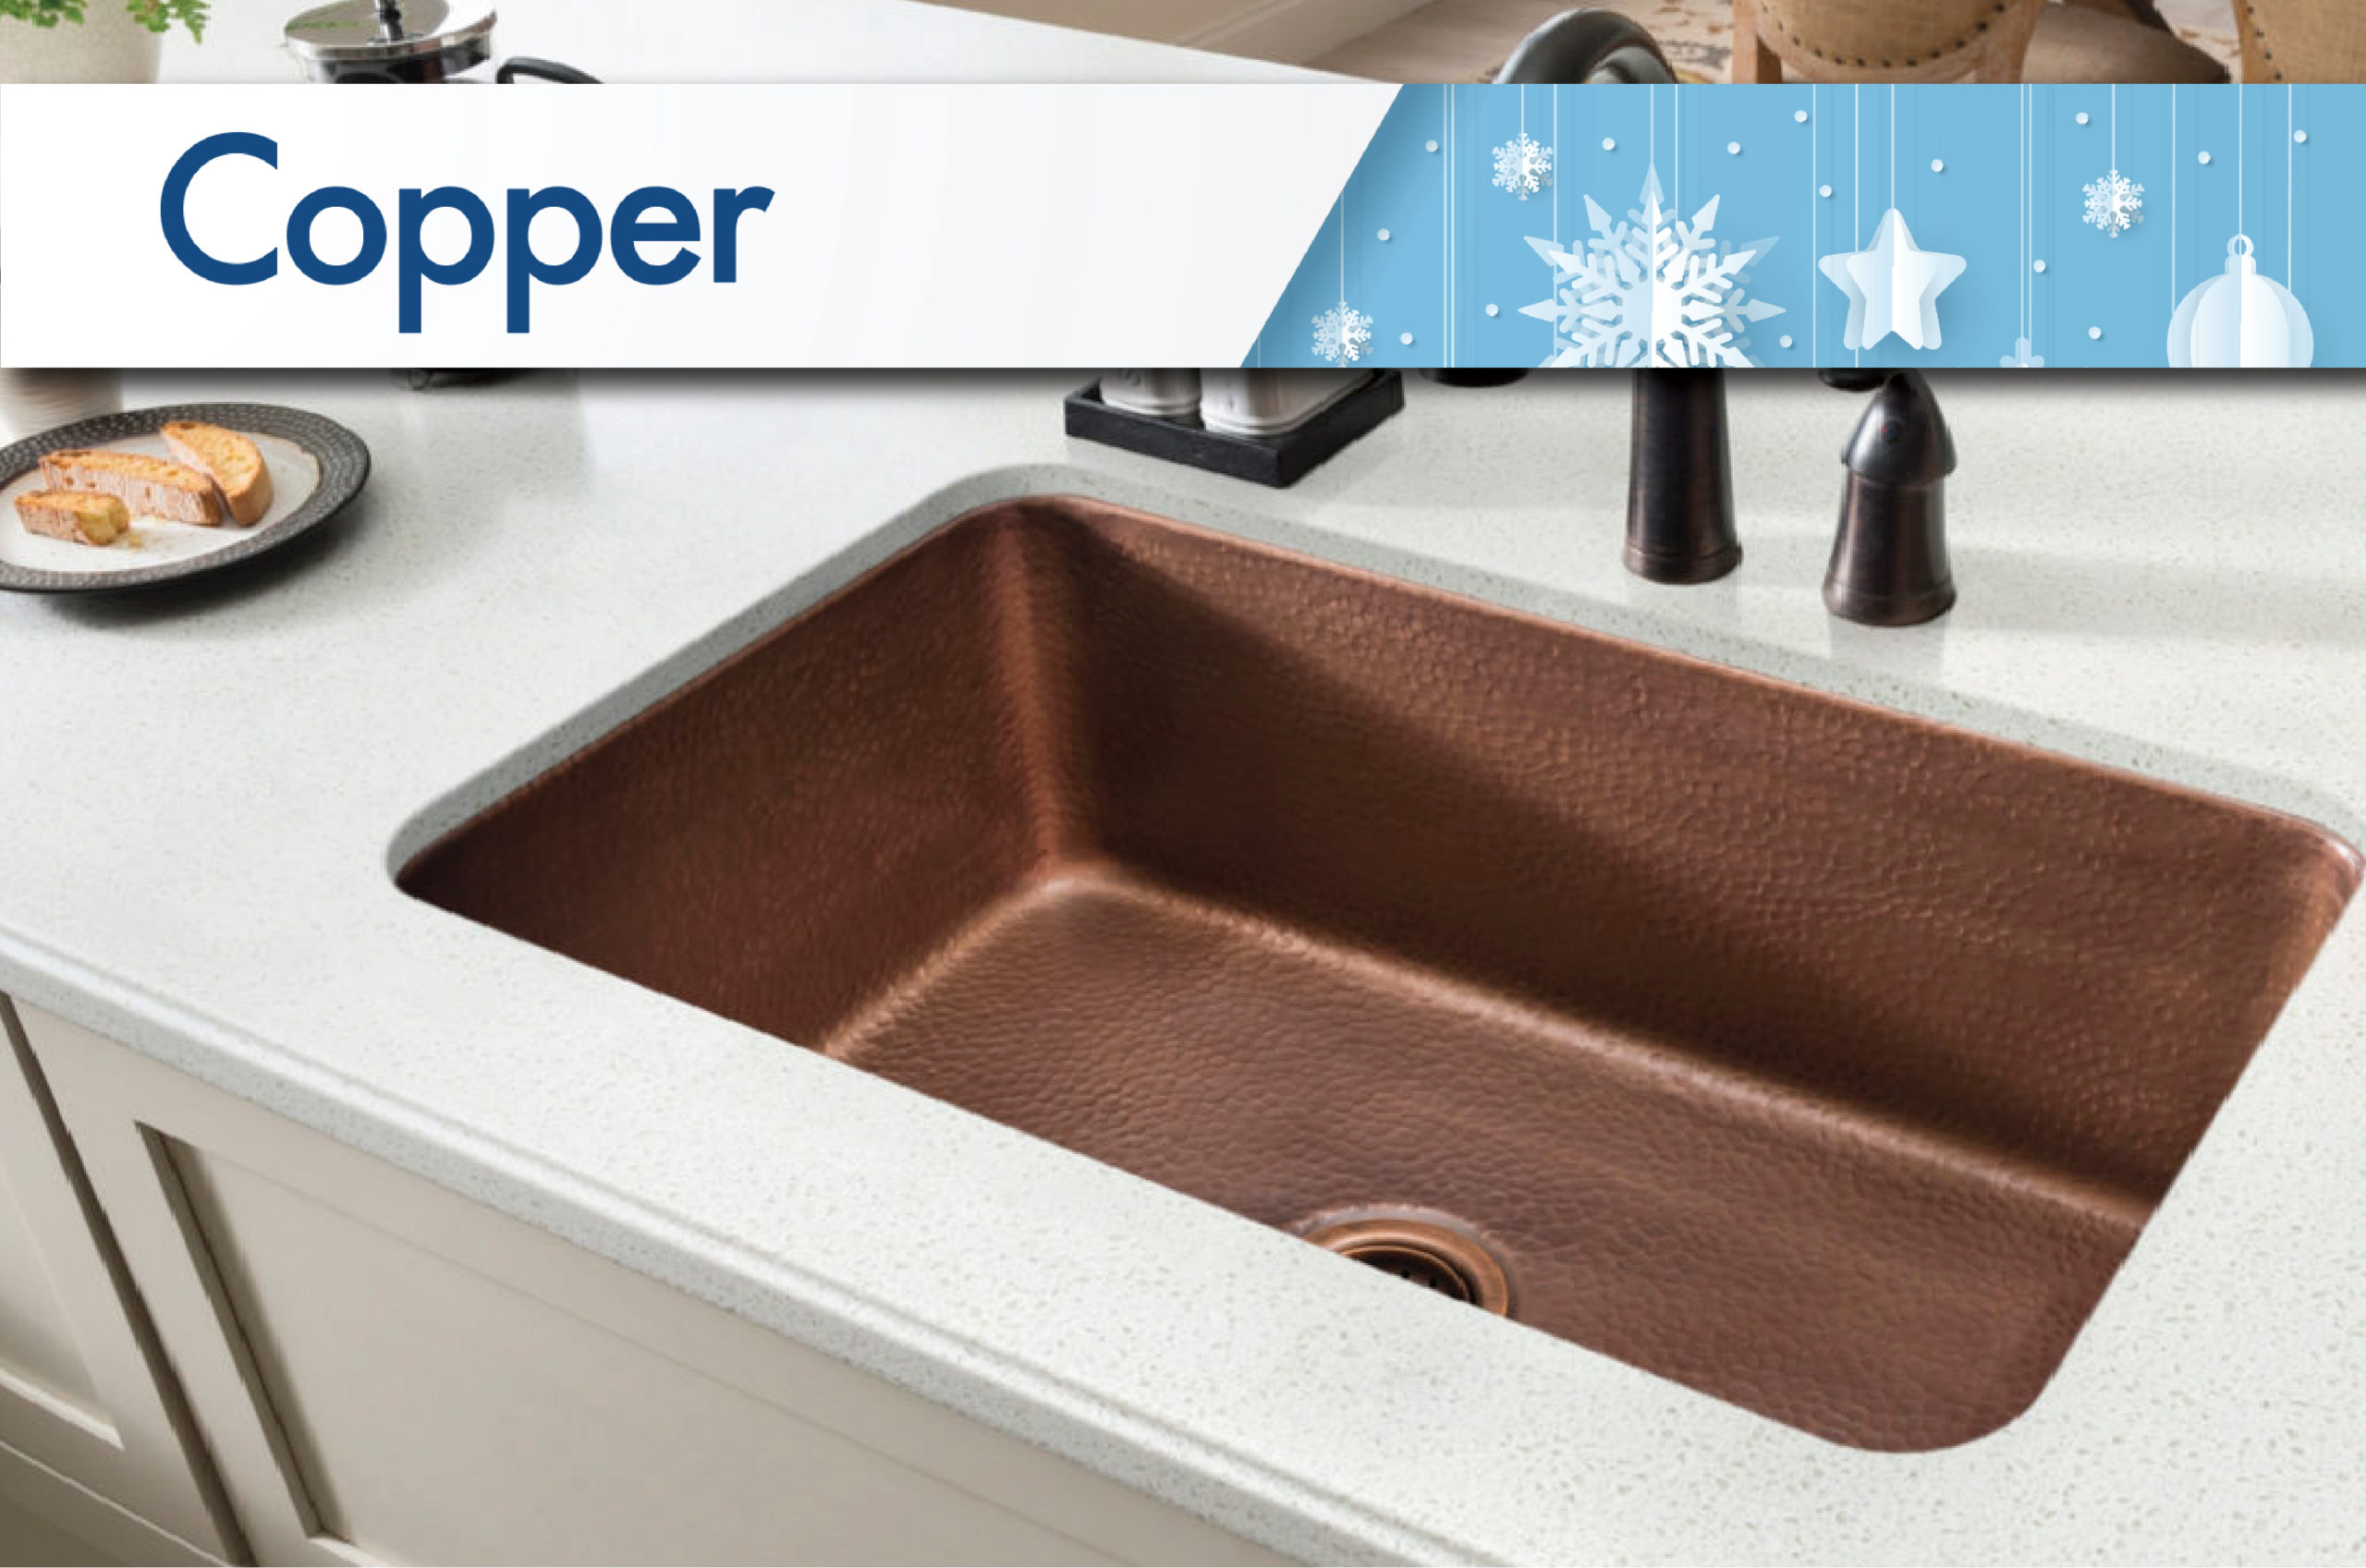
Copper Holiday Sale Banner

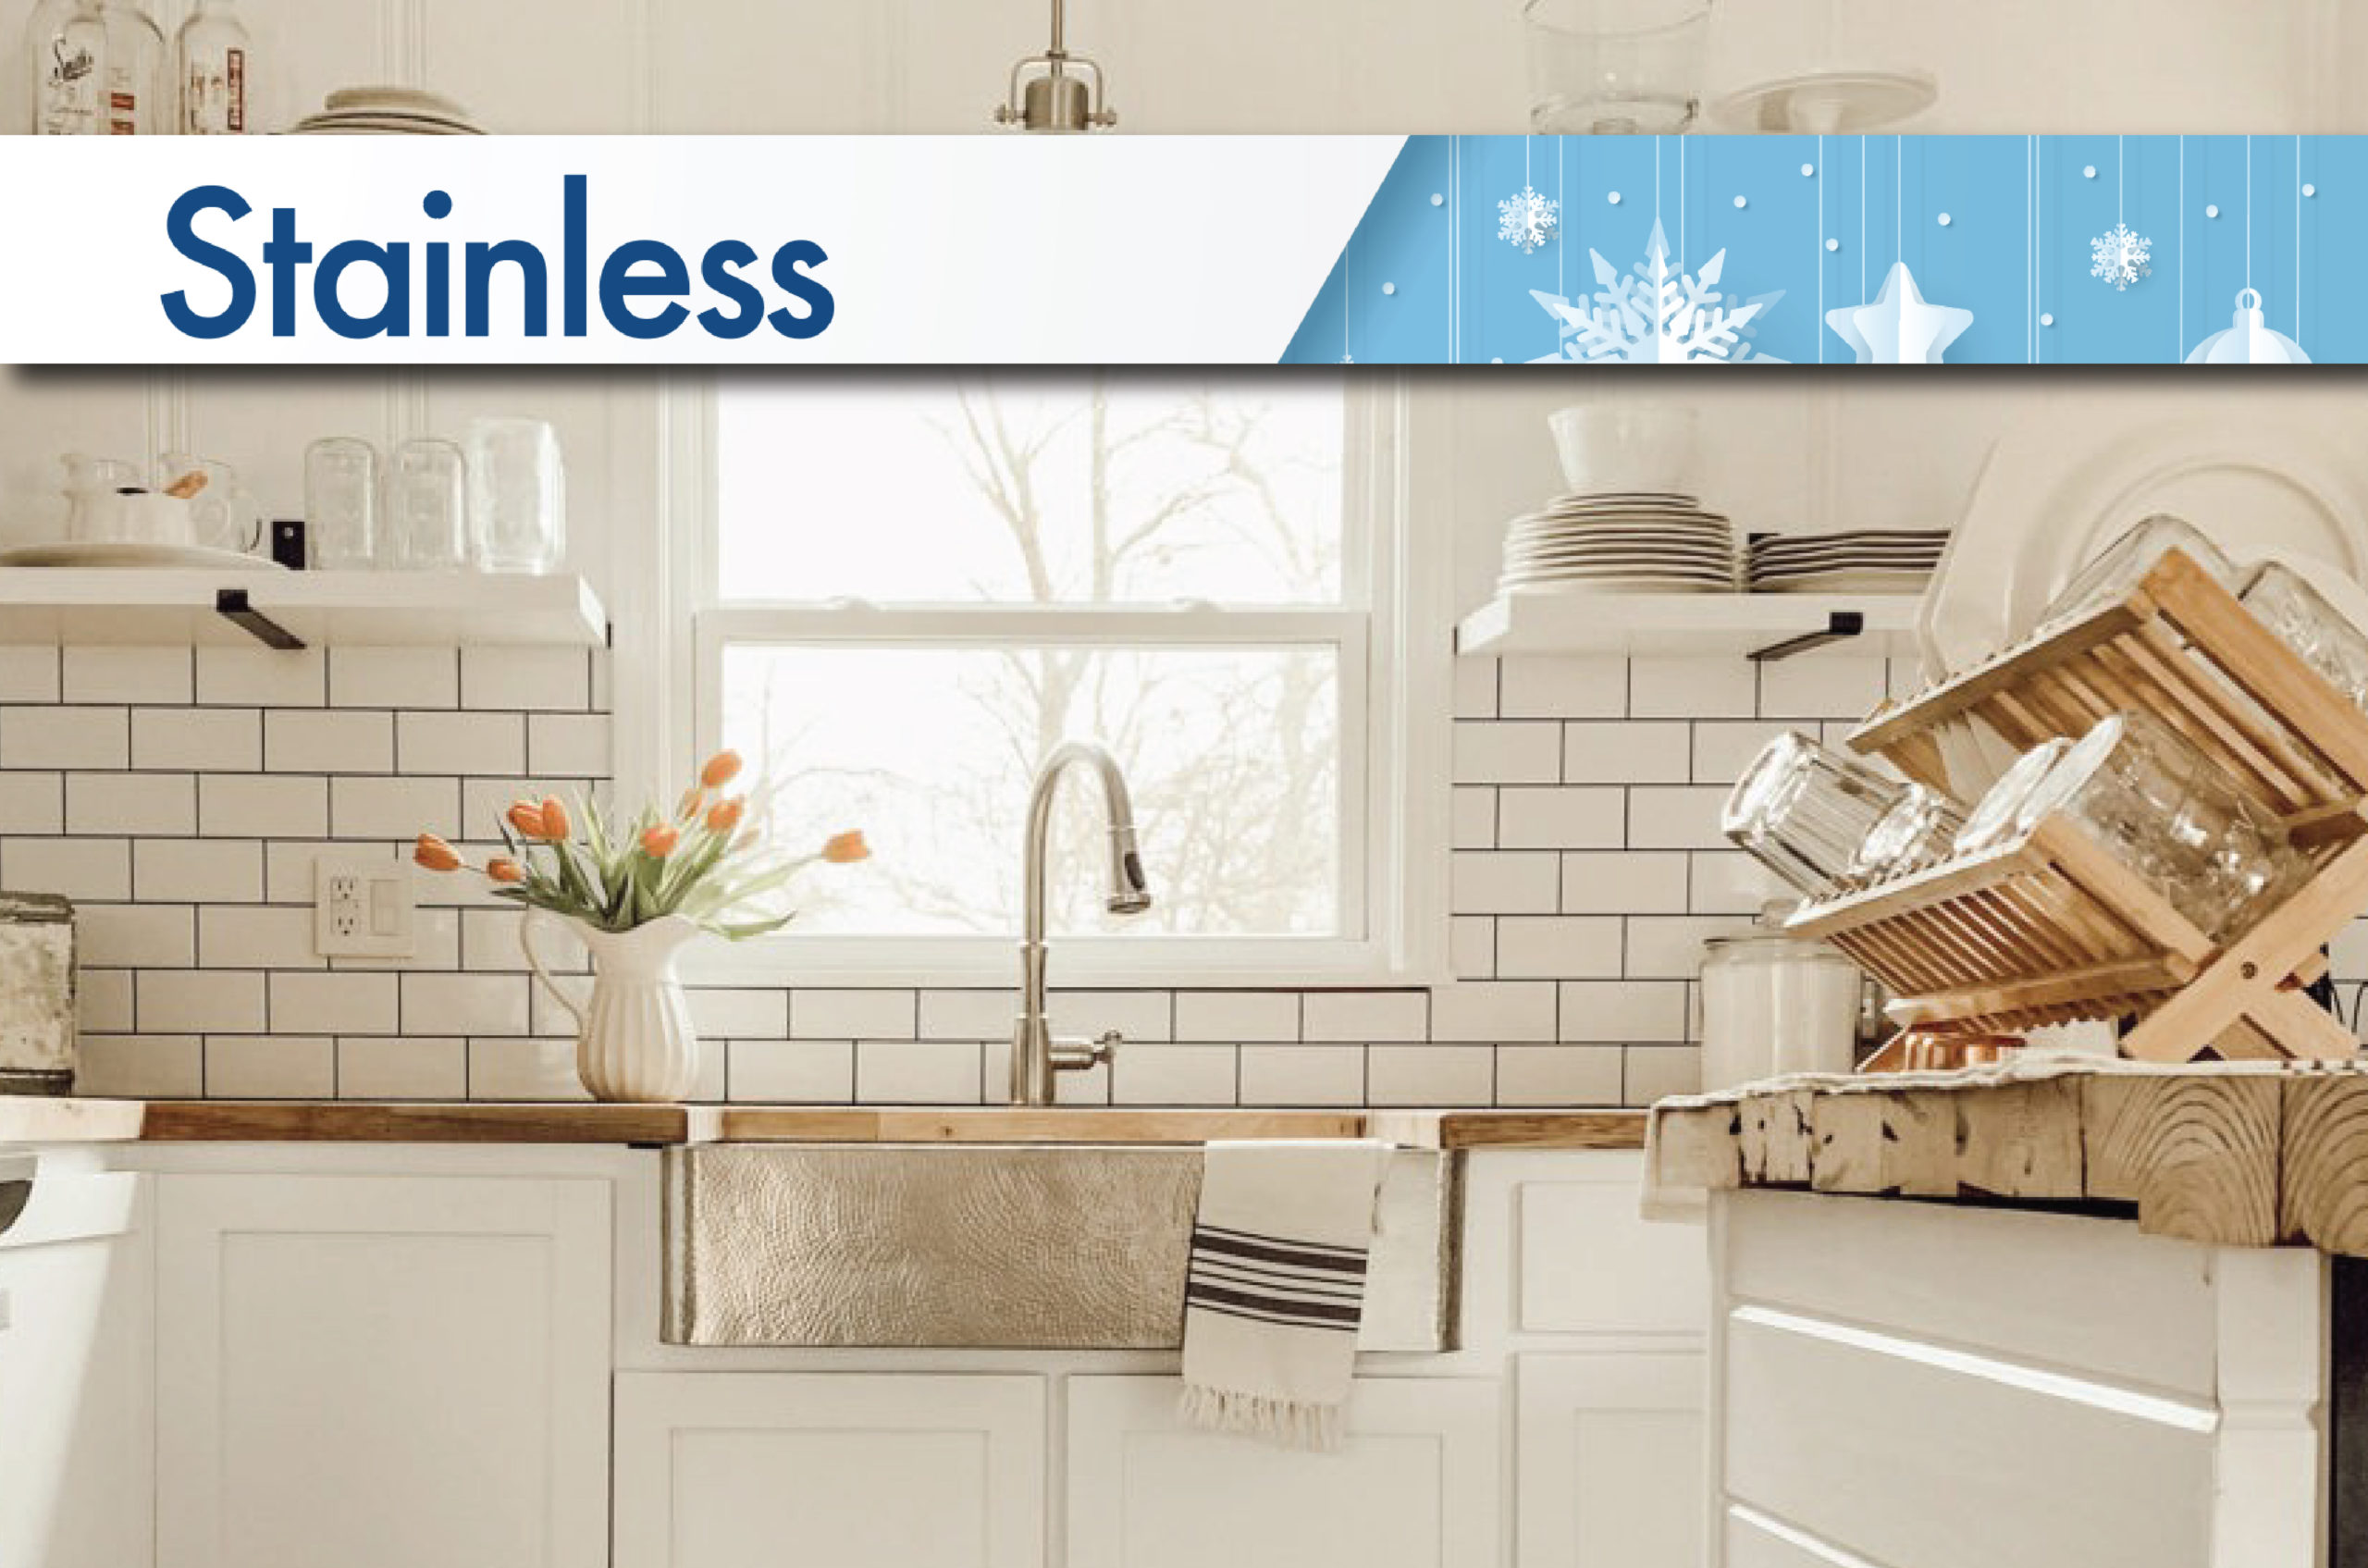
Stainless Holiday Sale Banner

Bathroom Holiday Sale Banner

_____________________________________________________________________

If you have any additional questions during your search for the perfect copper, fireclay farmhouse sink or crafted stainless steel sink, our Sinkologists are here to help. Contact us or follow us on FacebookHouzzPinterestInstagram, or TikTok for more helpful tips and design ideas.

The post SINKOLOGY Holiday Sale 2022 appeared first on Sinkology.


source https://www.sinkology.com/blog/holiday-sale-2022/

Fireclay Holiday Sale 2022

Holiday Sale Small Banner

The holidays are here and so are big savings with up to $150 OFF some of our most popular sinks!

Our holiday sale is all fired up: this year, save big on our best-selling SureFire® fireclay kitchen sinks. These special deals won’t last! For a limited time, you can shop for the perfect sink for the heart of your home—and save big. Sinkology sinks come in a range of sizes, colors, and layouts to match the look and style of your home.

Select your favorite style below to see what amazing savings we have in store for you!


Bradstreet II Undermount Sinks

BrooksII-fireclay-double-bowl-farmhouse-sink

SK496-33FC / Bradstreet II Farmhouse/Apron-Front Fireclay 33 in. 50/50 Double Bowl Kitchen Sink in Crisp White


Crisp white fireclay farmhouse kitchen sink from overhead

SK495-36FC / Bradstreet II Farmhouse Apron-Front Fireclay 36 in. Single Bowl Kitchen Sink in Crisp White


Austen 24" Farmhouse Fireclay Sink

SK494-24FC / Bradstreet II Farmhouse Apron-Front Fireclay 24 in. Single Bowl Kitchen Sink in Crisp White


SK497-36FC / Bradstreet II Farmhouse Apron-Front Fireclay 36 in. Double Bowl Kitchen Sink in Crisp White


turner fireclay kitchen sink with white cabinets and wooden shelves.

SK405-33FC / Turner Crisp White Fireclay 33 in. 50/50 Double Bowl Farmhouse Apron-Front Kitchen Sink


Josephine Quick-Fit Drop-in Sinks

Anna 26" Apron Front Farmhouse Kitchen Sink

SK452-26FC-3 / Josephine Quick-Fit Drop-in Farmhouse Fireclay 25.85 in. 3-Hole Single Bowl Kitchen Sink in Crisp White


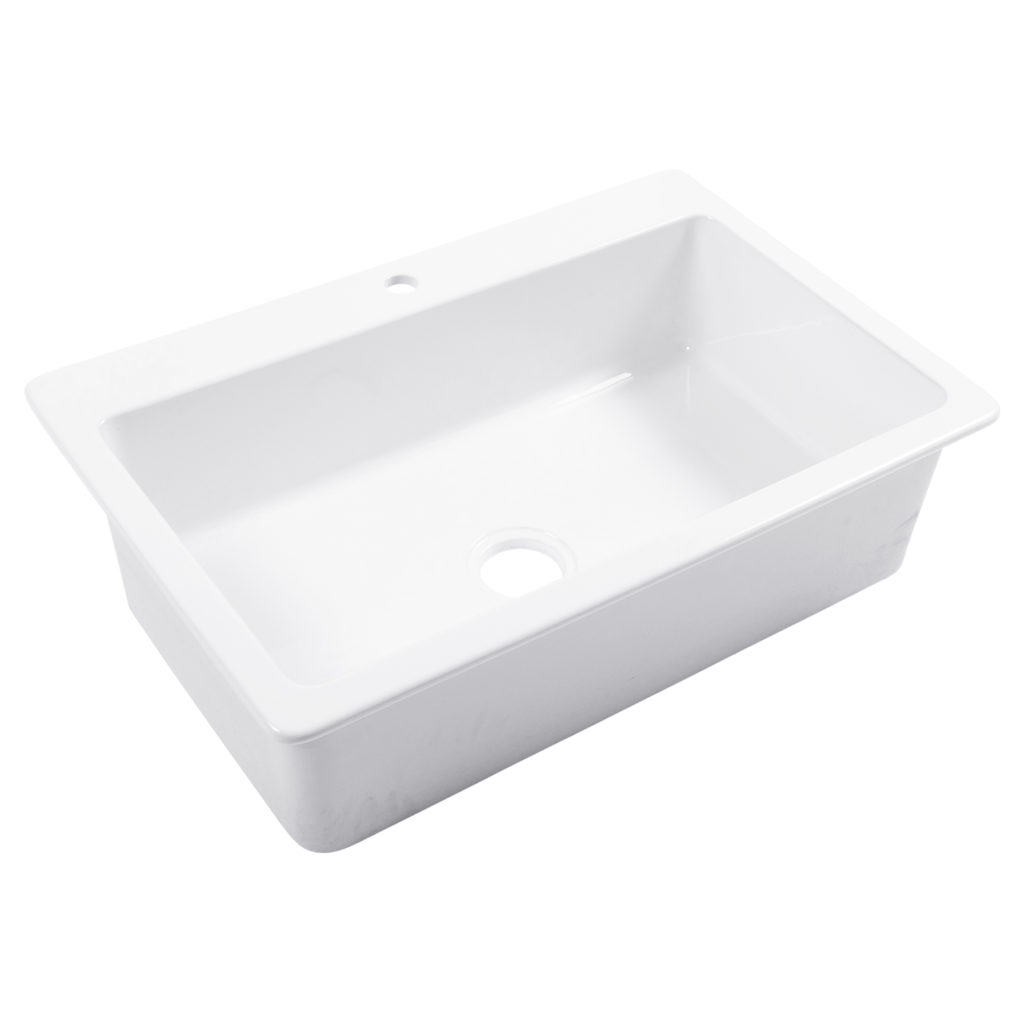
Josephine fireclay drop-in with one faucet hole

SK450-34FC-1 / Josephine Crisp White Fireclay 34 in. 1-Hole Single Bowl Quick-Fit Drop-In Farmhouse Apron Kitchen Sink


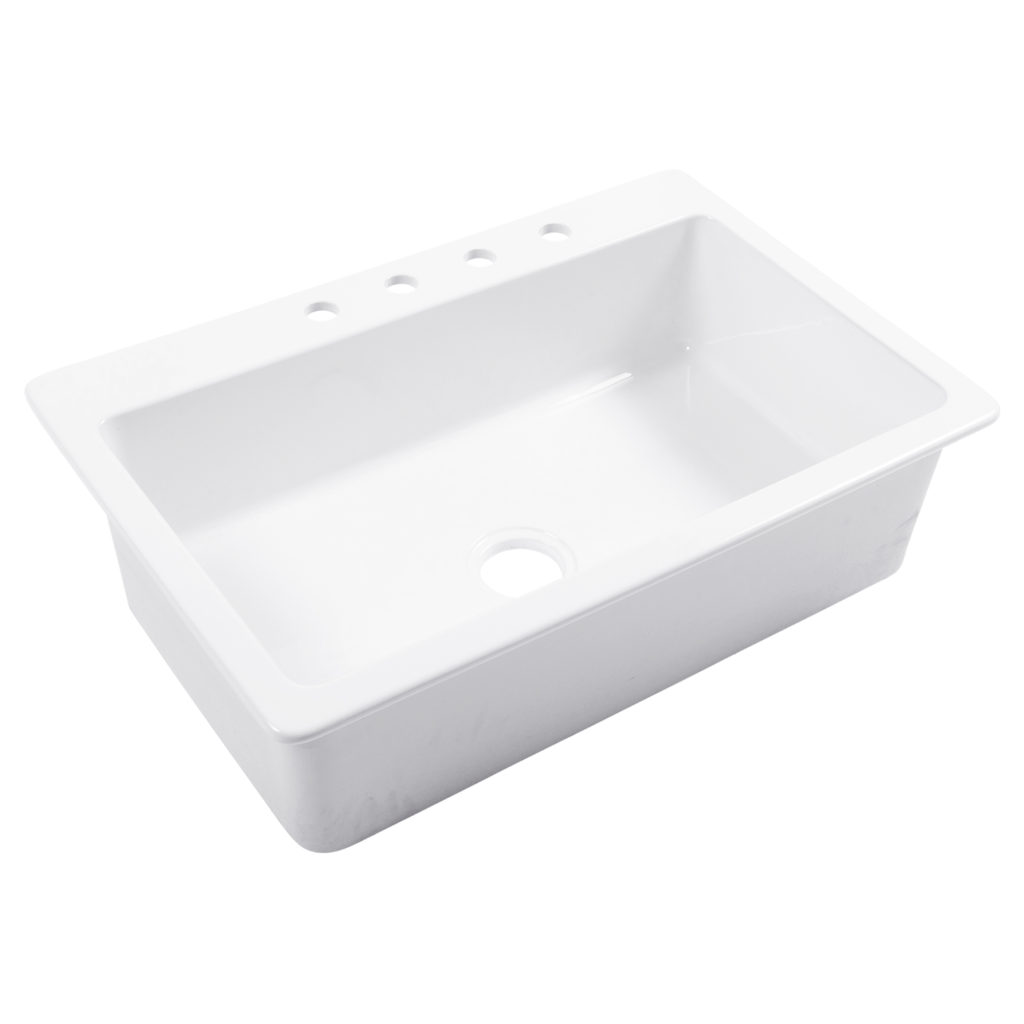
Josephine 4-hole fireclay drop-in farmhouse sink.

SK450-34FC-4R / Josephine Crisp White Fireclay 34 in. 4-Hole Single Bowl Quick-Fit Drop-In Farmhouse Apron Kitchen Sink


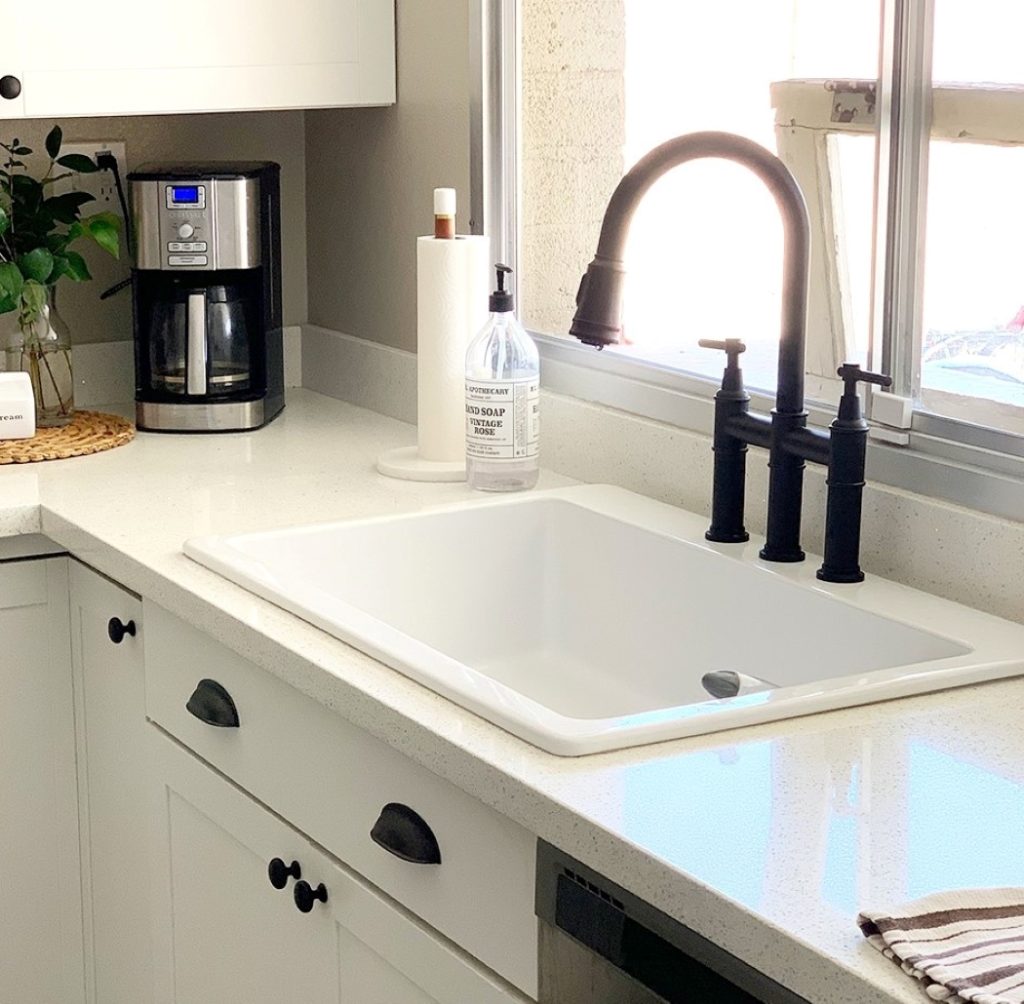
Jackson fireclay drop-in sink in white cabinets.

SK411-33FC-WH / Jackson Drop-in Fireclay 33 in. 3-Hole Single Bowl Kitchen Sink in Crisp White


Jackson 1-hole drop-in fireclay sink in white.

SK411-33FC-WH-1 / Jackson Crisp White Fireclay 33 in. Single Bowl 1-Hole Drop-In Kitchen Sink


Josephine 4-hole fireclay drop-in farmhouse sink.

SK411-33FC-WH-4R / Jackson Crisp White Fireclay 33 in. Single Bowl Drop-In 4-Hole Kitchen Sink


VIBE Collection Fireclay 

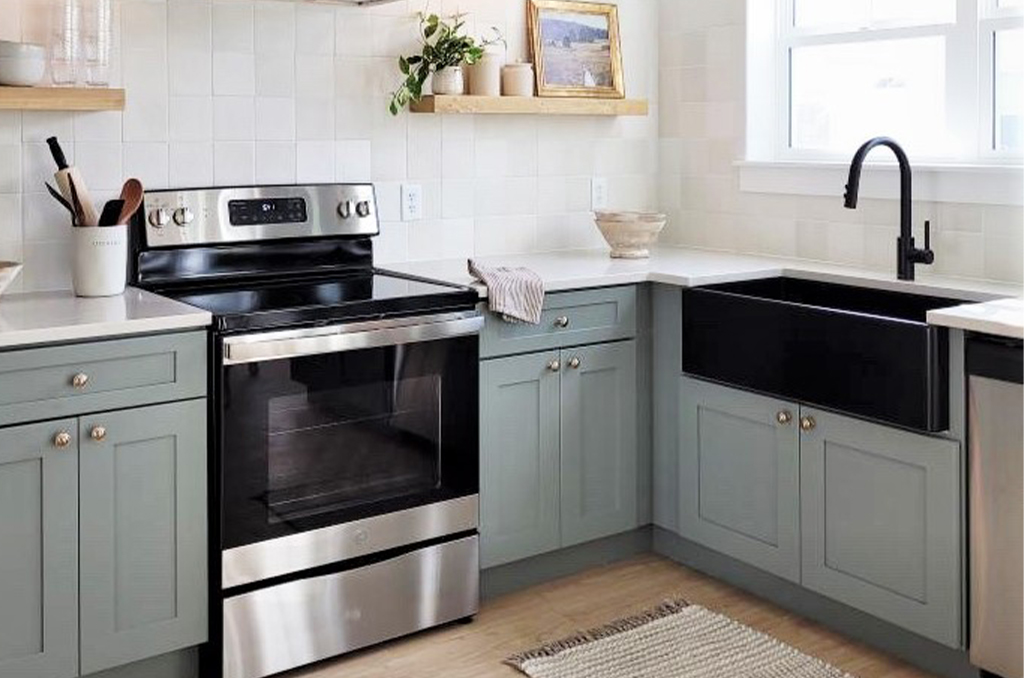
matte black fireclay sink in new kitchen with light blue cabinets


SK499-30FC-MB / Bradstreet II Farmhouse Apron-Front Fireclay 30 in. Single Bowl Kitchen Sink in Summer Night Matte Black


24" Bradstreet ll fireclay sink in matte tan.

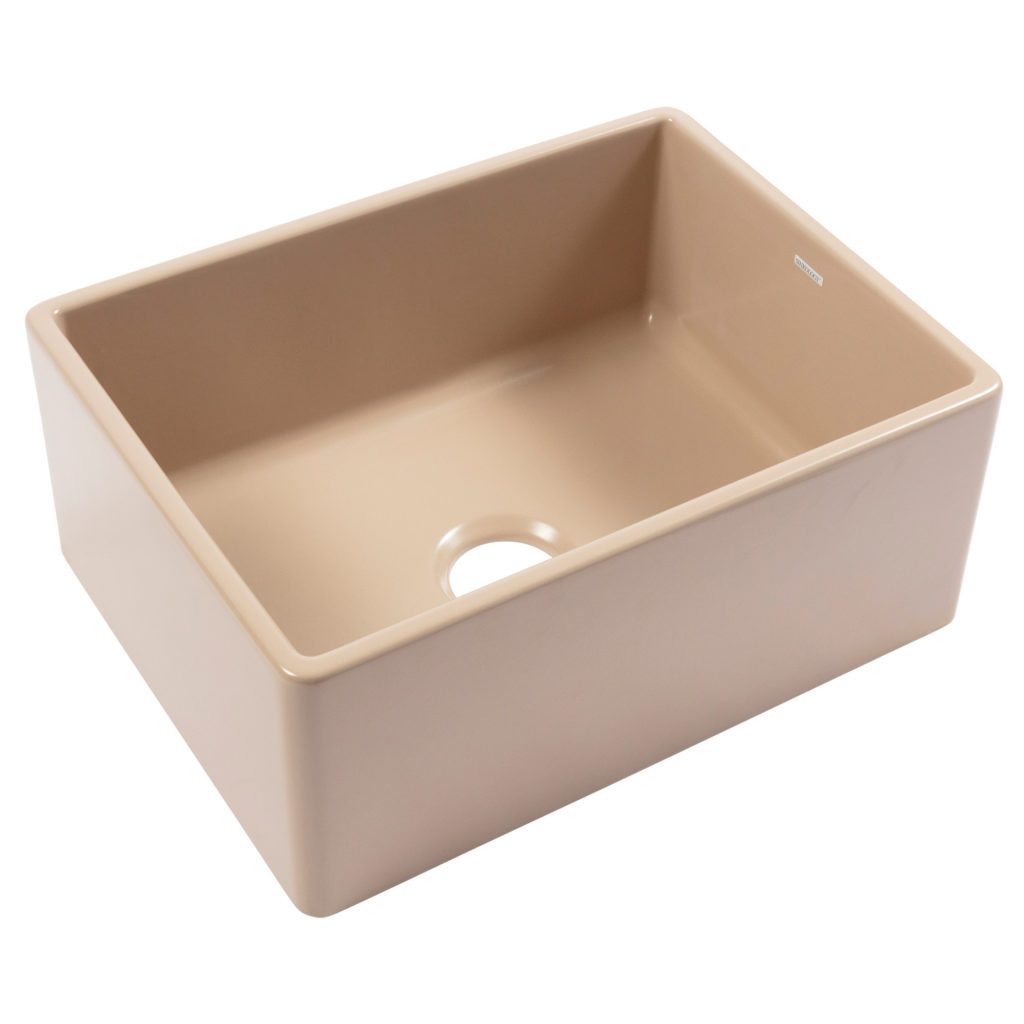
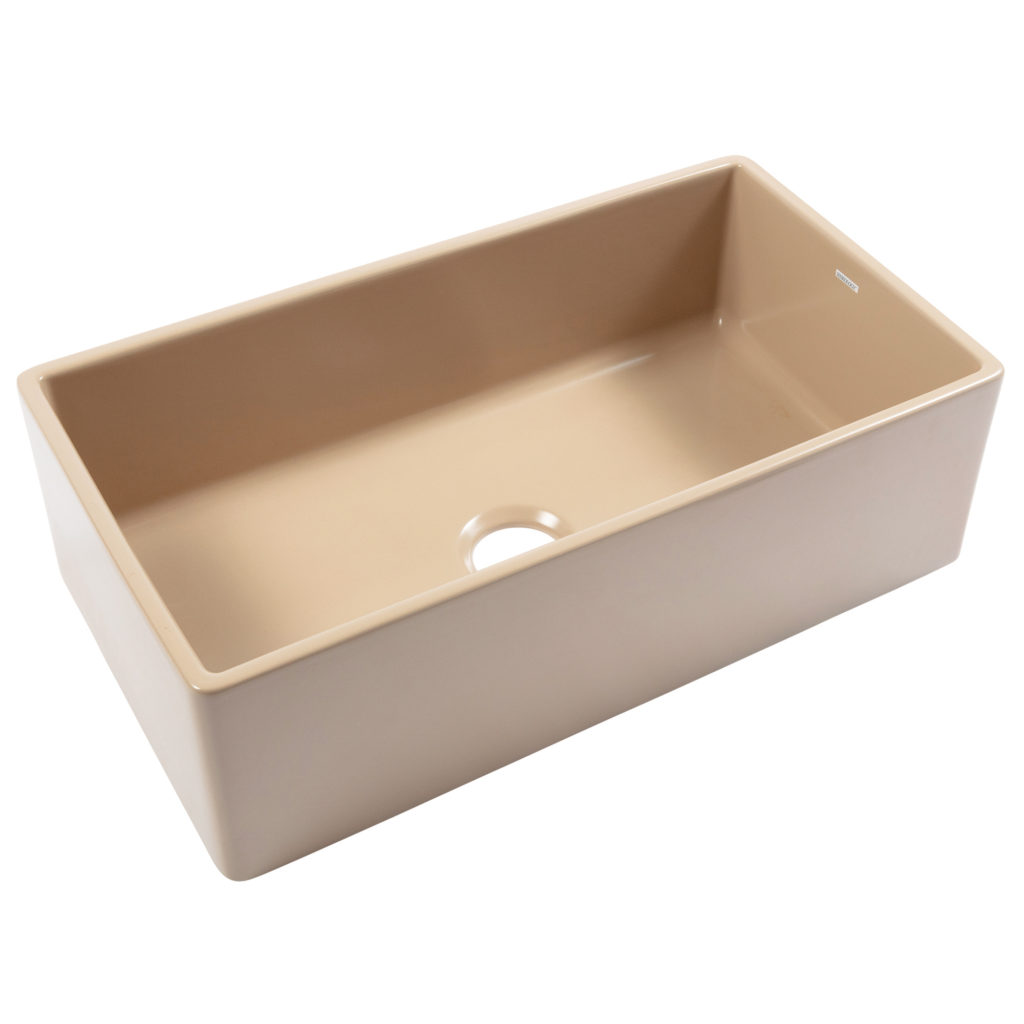
SK494-24FC-MT / Bradstreet II Morning Latte Matte Tan Fireclay 24 in. Single Bowl Farmhouse Apron Kitchen Sink


36" Bradstreet ll fireclay farmhouse sink in matte tan.

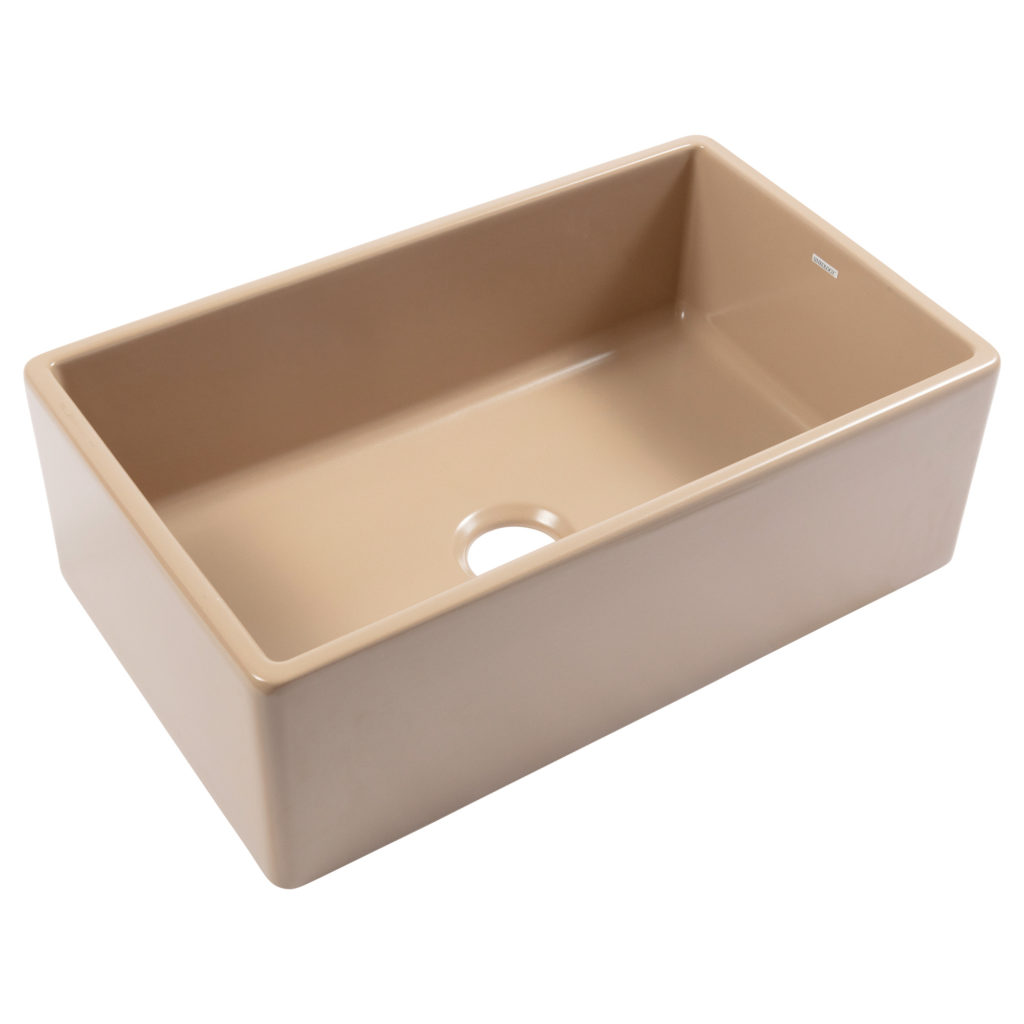
SK495-36FC-MT / Bradstreet II Morning Latte Matte Tan Fireclay 36 in. Single Bowl Farmhouse Apron Kitchen Sink


30" Bradstreet ll fireclay farmhouse sink in matte tan.

SK499-30FC-MT / Bradstreet II Farmhouse Fireclay 30 in. Single Bowl Kitchen Sink in Morning Latte Matte Tan


Josephine fireclay drop-in in matte tan

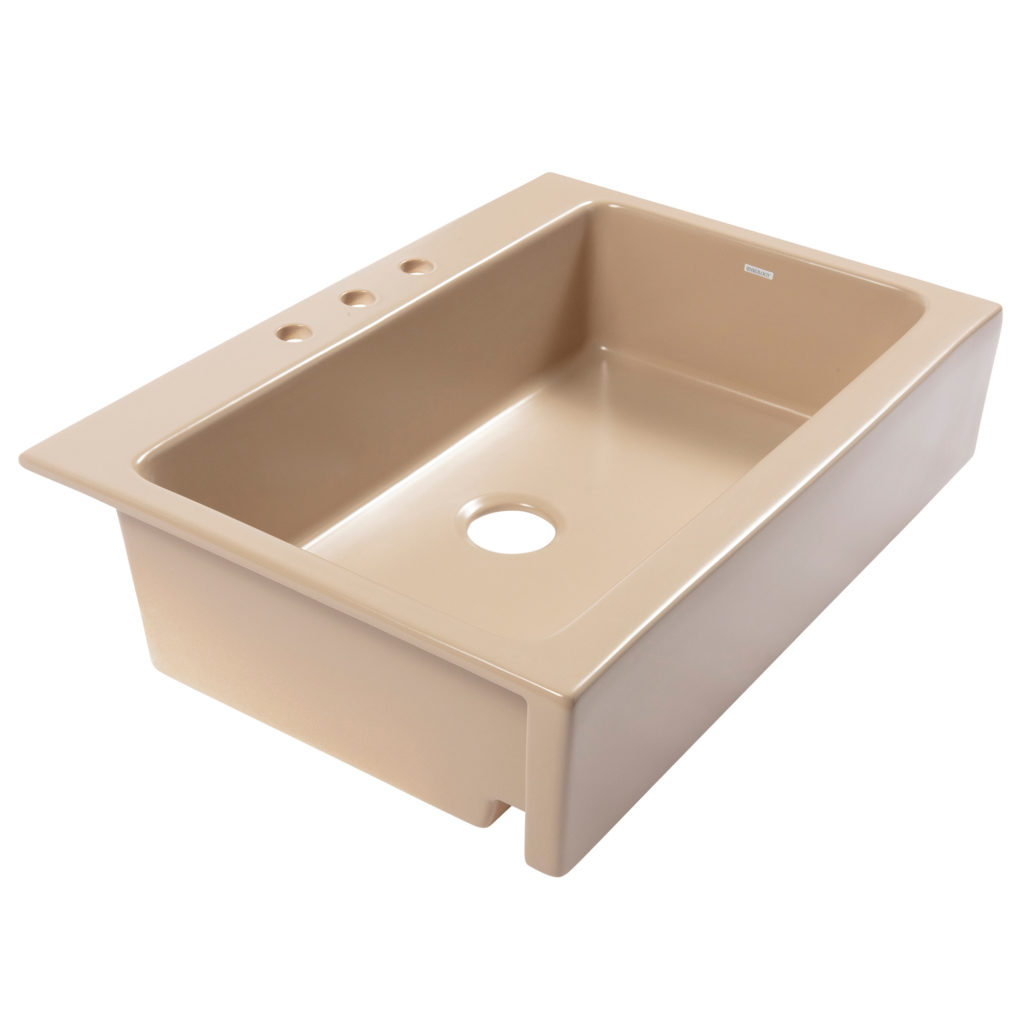
SK450-34FC-MT / Josephine All-in-One Quick-Fit Fireclay 33.85 in. 3-Hole Single Bowl Farmhouse Kitchen Sink in Morning Latte Matte Tan


26" Josephine QuickFit Drop-in fireclay sink in matte tan.

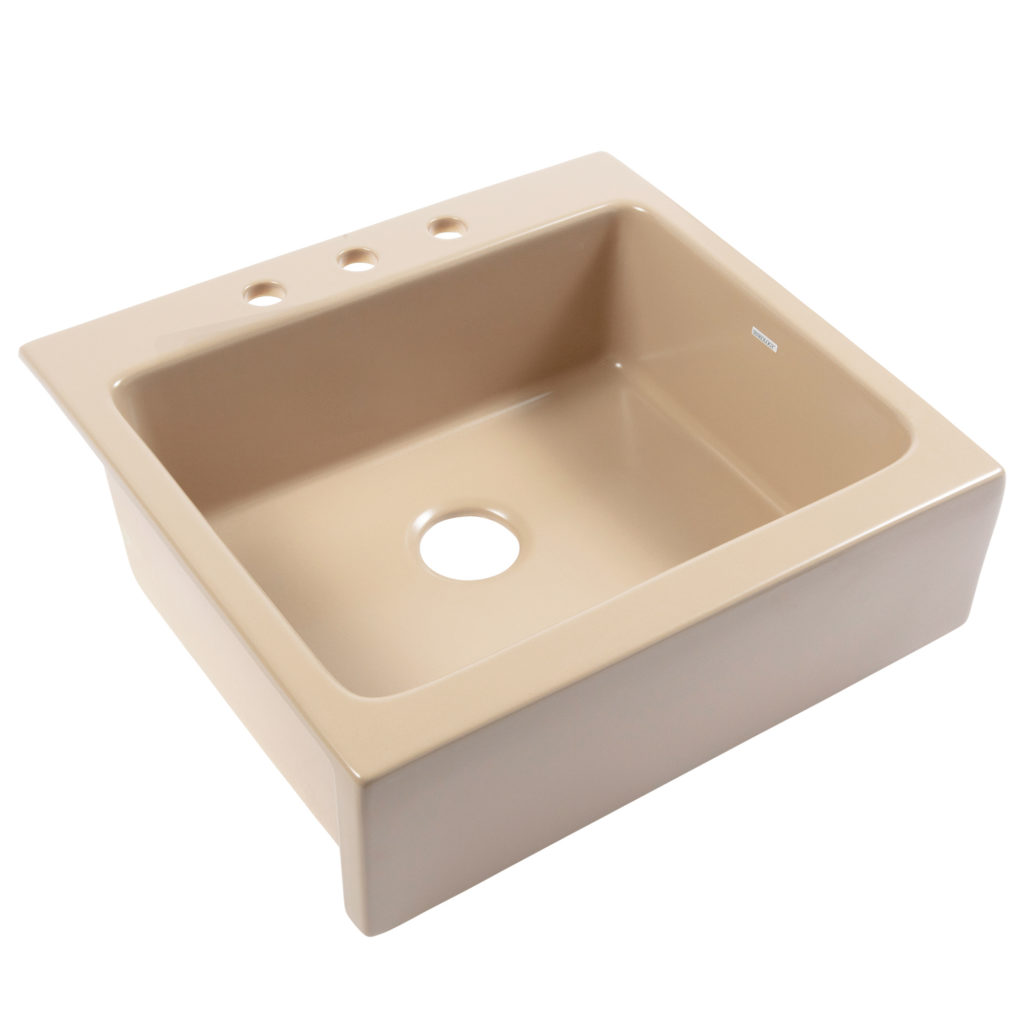
SK452-26FC-3-MT / Josephine Morning Latte Matte Tan Fireclay 25.85 in. Single Bowl Quick-Fit Drop-In Farmhouse Apron Kitchen Sink


Josephine Double Basin fireclay drop-in sink in matte tan.

SK453-34FC-MT / Josephine Morning Latte Matte Tan Fireclay 33.85 in. 3-Hole Double Bowl Quick-Fit Drop-In Farmhouse Apron Kitchen Sink


Josephine fireclay drop-in in matte black

SK450-34FC-MB / Josephine Quick-Fit Drop-in Farmhouse Fireclay 33.85 in. 3-Hole Single Bowl Kitchen Sink in Summer Night Matte Black


Grace undermount fireclay apron front sink in matte tan.

SK451-34FC-MT / Grace SureFire Matte Tan Fireclay 33.85 Single Bowl Quick-Fit Undermount Farmhouse Apron Kitchen Sink


Sinkology SureFire® fireclay kitchen sinks are fired at 2100° to lock in the natural material’s durability and strength. Artisans handcraft each sink into a unique work of art that’s completed with our signature finishing glaze to create a smooth, gorgeous surface. With a look like this, it’s no wonder they sell fast.

Get them while they’re hot!

_____________________________________________________________________

If you have any additional questions during your search for the perfect copper, fireclay farmhouse sink or crafted stainless steel sink, our Sinkologists are here to help. Contact us or follow us on FacebookHouzzPinterestInstagram, or TikTok for more helpful tips and design ideas.

The post Fireclay Holiday Sale 2022 appeared first on Sinkology.


source https://www.sinkology.com/blog/fireclay-holiday-sale-2022/